JUNK JOURNAL – MAKE A JOYFUL NOISE PART 20
There was a blank page in this journal that I wanted to work on.
This was a page I’d used when I sprayed some punched medication leaflet paper which then acted as a stencil. This looks like a blot-off sheet where you clean off your brush or brayer, and in this case it also looks as if I’d used it when painting something, to prevent the excess getting on our desk. It’s a long time since I made it so I can’t be sure. Anyway, I don’t throw things away and knew this scratch paper would come in handy one day.
I was watching Natasha from Treasure Books on YouTube and she was making various pockets and other elements to put in her journals. I decided to follow her instructions for one of them, but it became clear that I’d have to adapt it in order to make it work in my situation, so I folded certain parts in the opposite direction from hers.
A flippy flappy envelopey thingy
I really don’t know what to call this!
How to make it
You take a square of paper (whatever size you want) and find the centre. You then bring opposite corners so that their points touch the centre mark, and crease the folds. Turn the whole thing over and do the same with the remaining corners. You then fold it in half vertically, and you end up with a piece with various pockets to put things in, and you can either bind it in as an extra signature, or attach it to a page, as I am doing.
I made mine to wrap around the outer edge of the scratch paper page, with the other half being on the right hand page of the centrefold. Each side needed different treatment in order to co-ordinate with the respective colours of the pages. This meant that the front and back of the element were very different.
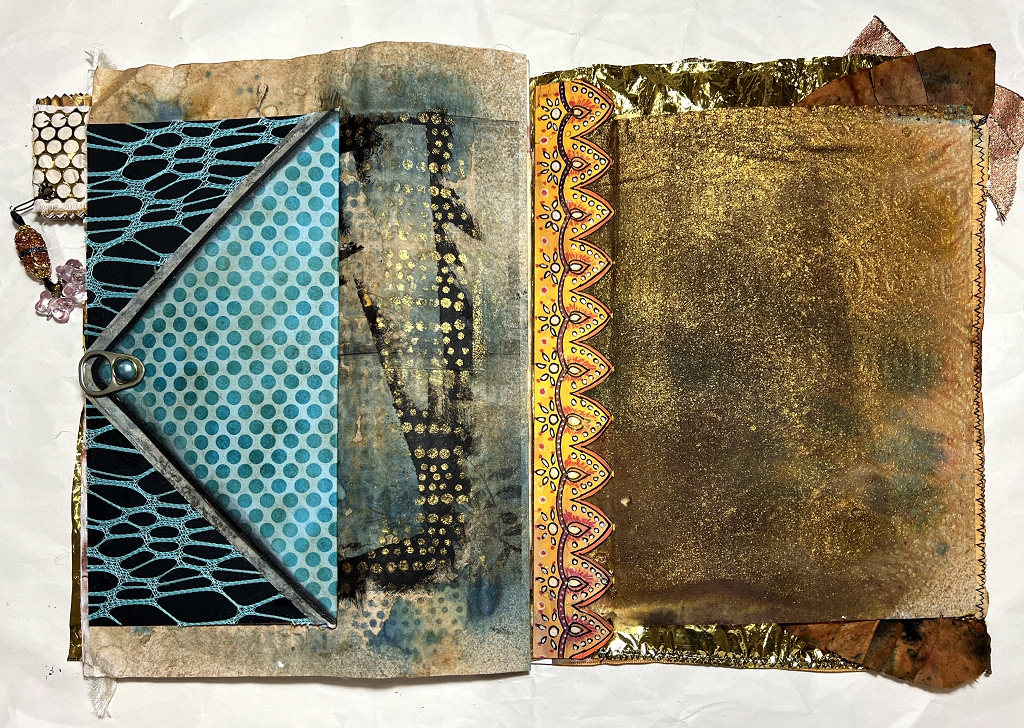
The turquoise side
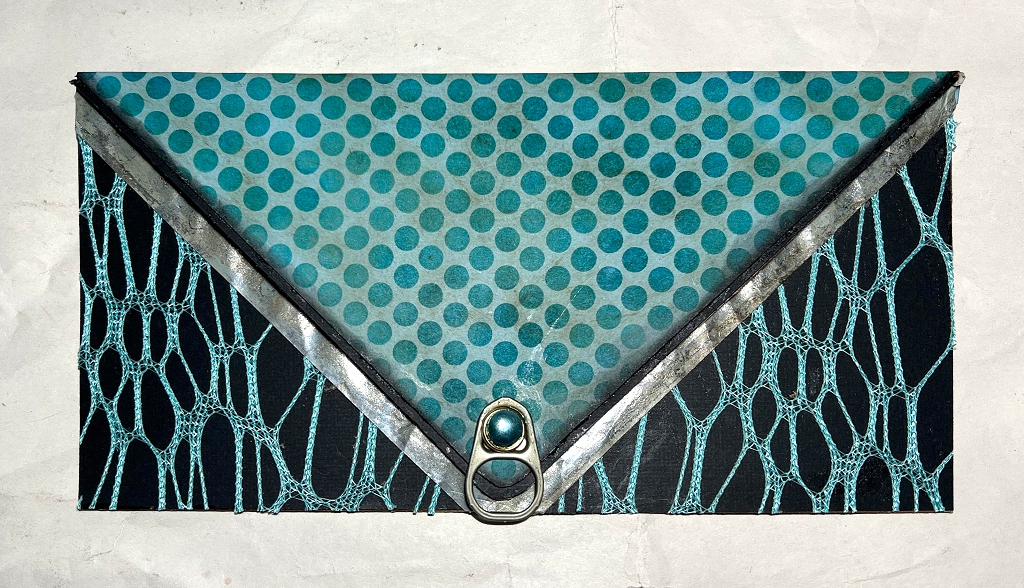
I made the whole emellishment out of a square of packaging paper which probably isn’t the best quality, but the colour was right. I don’t own a lot of printed papers, so made my own with stencils, and also covered various parts of the element with cardstock to strengthen it.
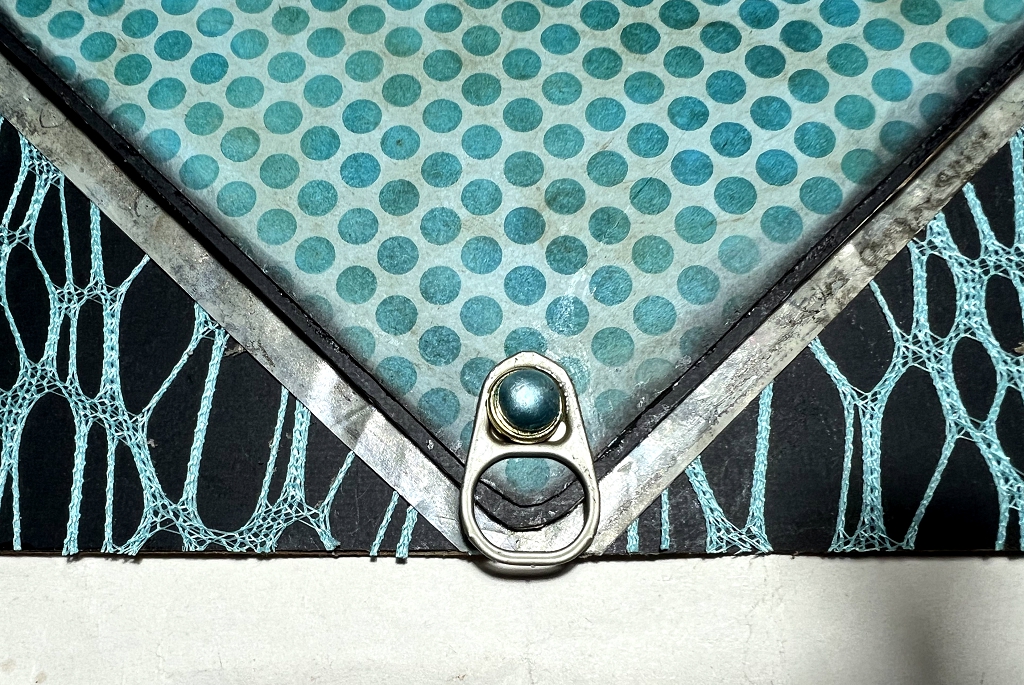
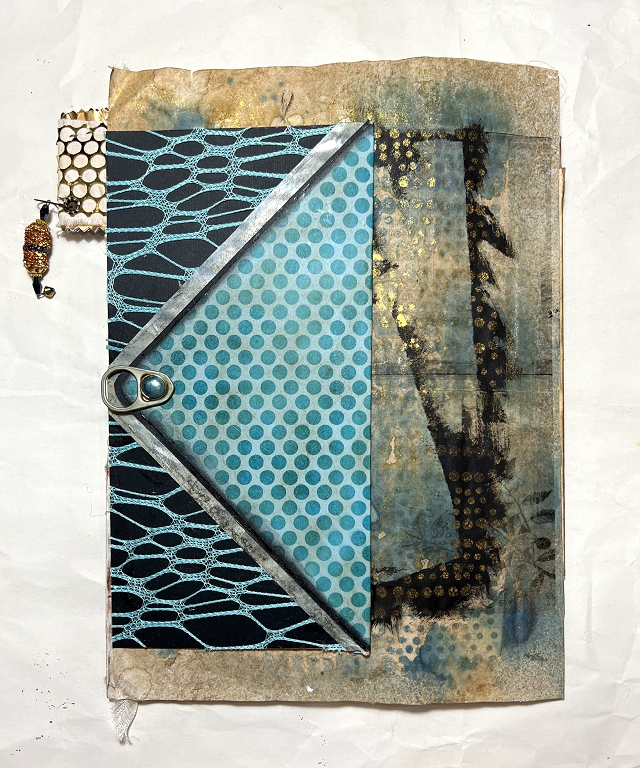
In the above illustration, you can see that I stencilled with darker turquoise on a background scrap which was rather bright turquoise and needed toning down so I blended on some brown ink. I matted the packaging paper with some black cardstock to strengthen it and then stuck down the turquoise layer which I edged it with black ink. I covered the bottom triangles with black cardstock and then stuck down some turqoise mesh with spray adhesive. The shiny border attached to them was made from two narrow offcuts from a gel print I’d made ages ago. You always end up with raggedy borders but I don’t throw them away as they are great for collage. I had just enough for this project. When I was covering the inside of the flap, I incorporated a magnet to keep it closed, and to lift the flap, I attached a ring pull with a matching brad. Eventualy there will be a dangly something attached to this. Here’s a close-up.
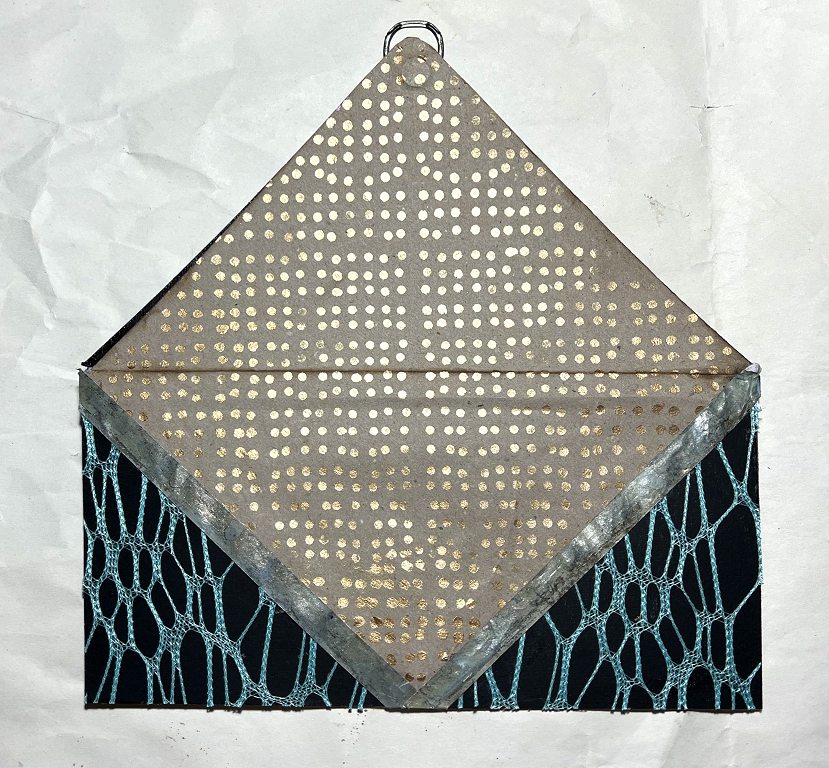
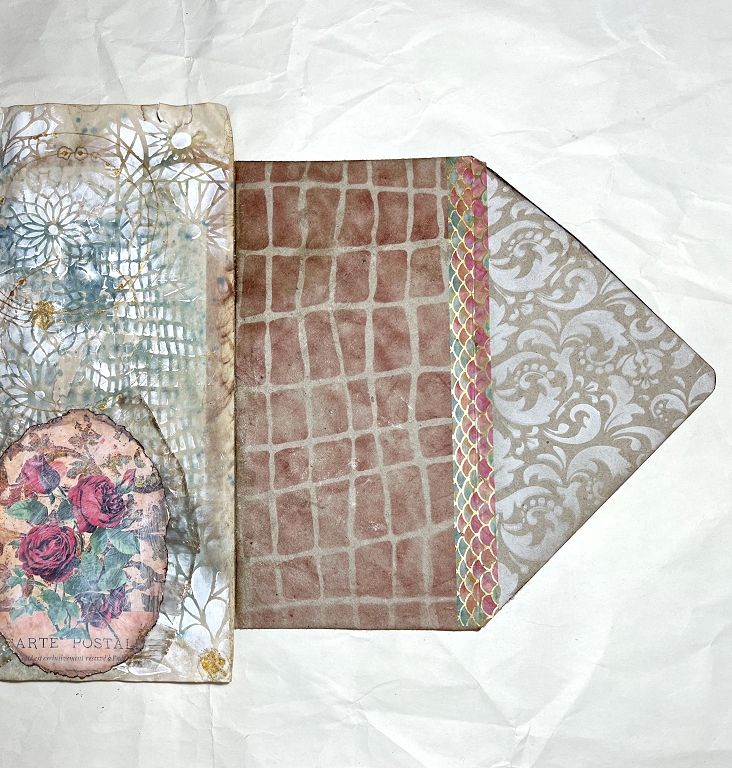
Lifting the flap, you can see the original packaging paper. I took a piece of punched medication leaflet and used it as a stencil, applying Golden iridescent bronze fine fluid acrylic with a soft brush (my favourite gold paint).
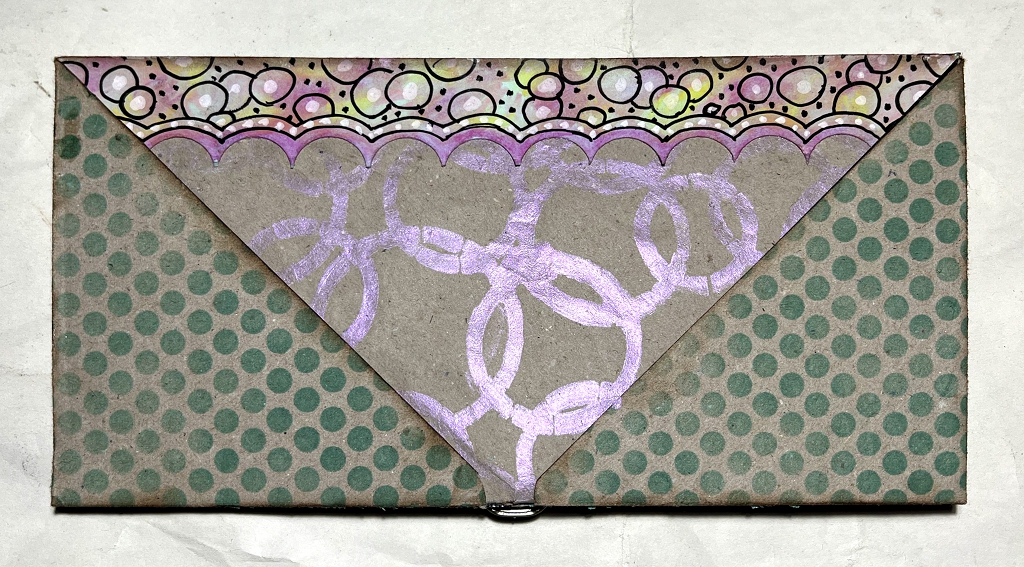
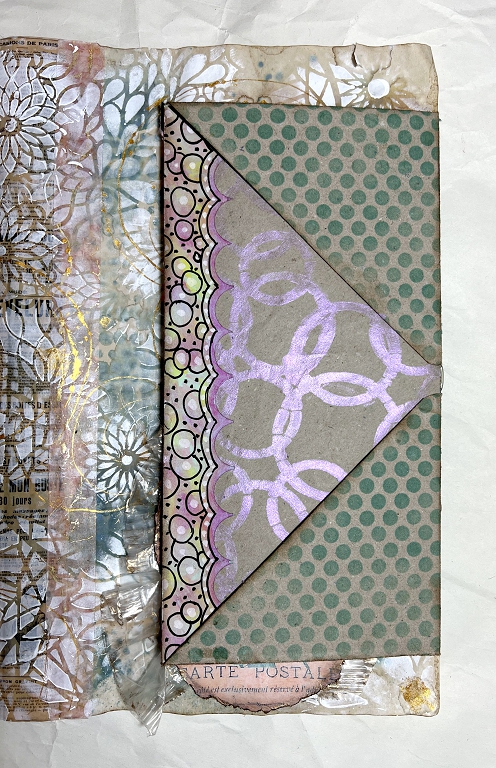
The pink and green side
This is what the other side of the element looks like. I decorated the packaging paper in the with Arteza Playful Pink acrylic paint – this is a gorgeous shimmery paint – using one of my own DIY stencils cut from Tyvek on the cutting machine. There is a border along the top from my collection of decorative strips which I made some time ago. The colours and the circle motif fitted well with this project.
This part is not a flap – it is the main part of the element. The triangles at the bottom are part of the folding process and I embellished these with another of my DIY stencils, using a green Distress Ink. I strengthened these inside with triangles of cardstock glued on. These triangles form pockets to put stuff in.
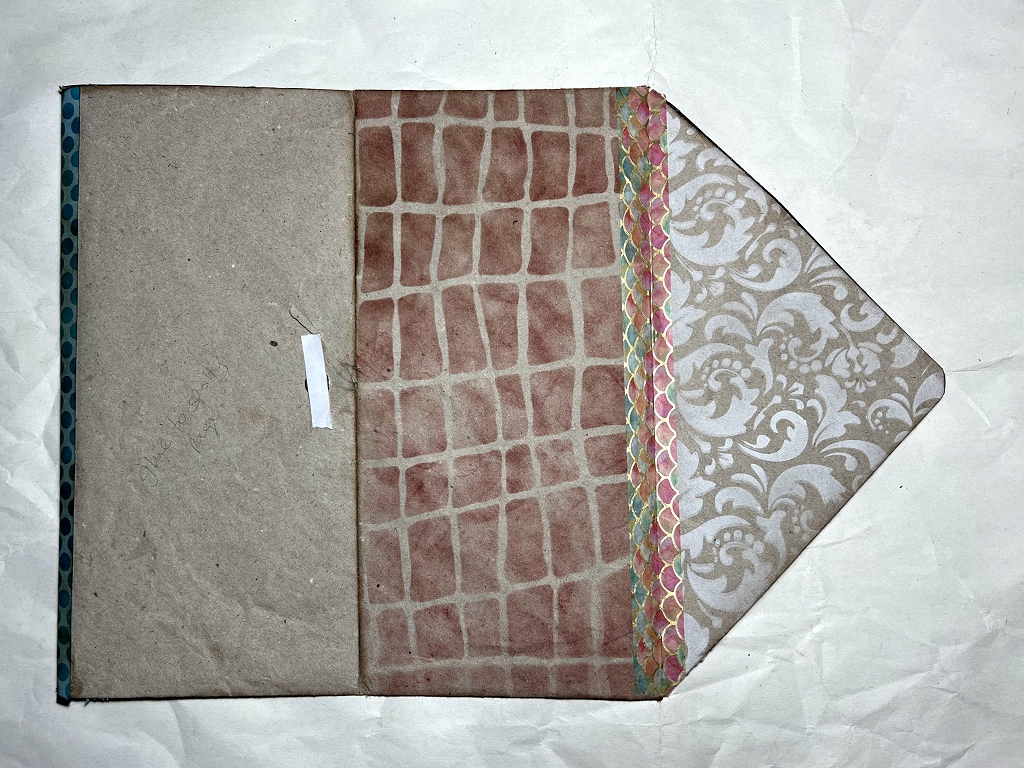
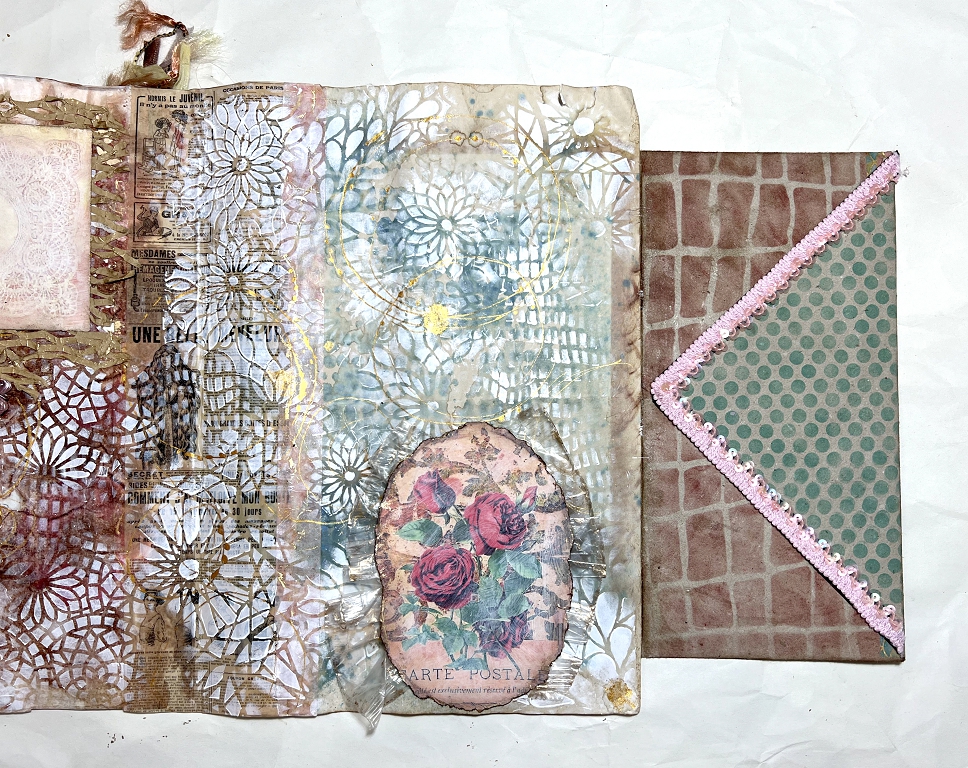
The whole of this side of the element lifts up and folds outwards. Turned sideways, this is what you see with the first fold. Again, green stencilling on the flap, and some pink sequined fabric trim glued on with Fabri-Tac adhesive. Underneath, I have added brown Distress Ink through another of my DIY stencils. On the left, you can see the back of the turquoise element. The edge of the stencilled turquoise spotty paper is folded over, and there is a strip of double sided tape holding the second half of the closure magnet in place. This part is not decorated because it won’t be seen.
Lifting the green stencilled triangular flap, the whole of the brown stencilled area is revealed, and the underside of th flap which I decorated with white ink pad through a swirly stencil. The packaging paper isn’t very strong, so I reinforced the hinge with some washi tape.
The element glued in place on the page
I spread glue all over the blank part of the element and stuck it down onto the scratch paper page. The flap now opens to the right.
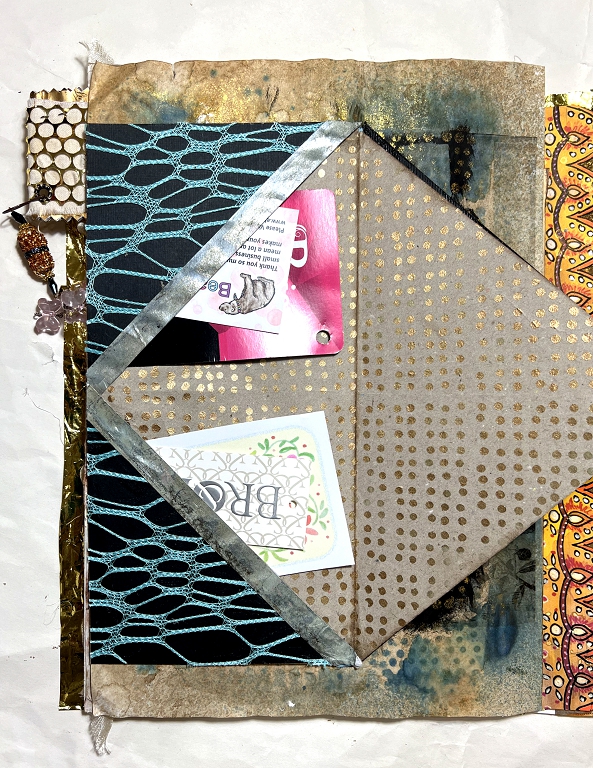
In the next photo, I have lifted the flap, and stuck in a few random tags to show how these triangular pockets will work. I shall be making tags and other embellishments to complete the project once the pages are bound.
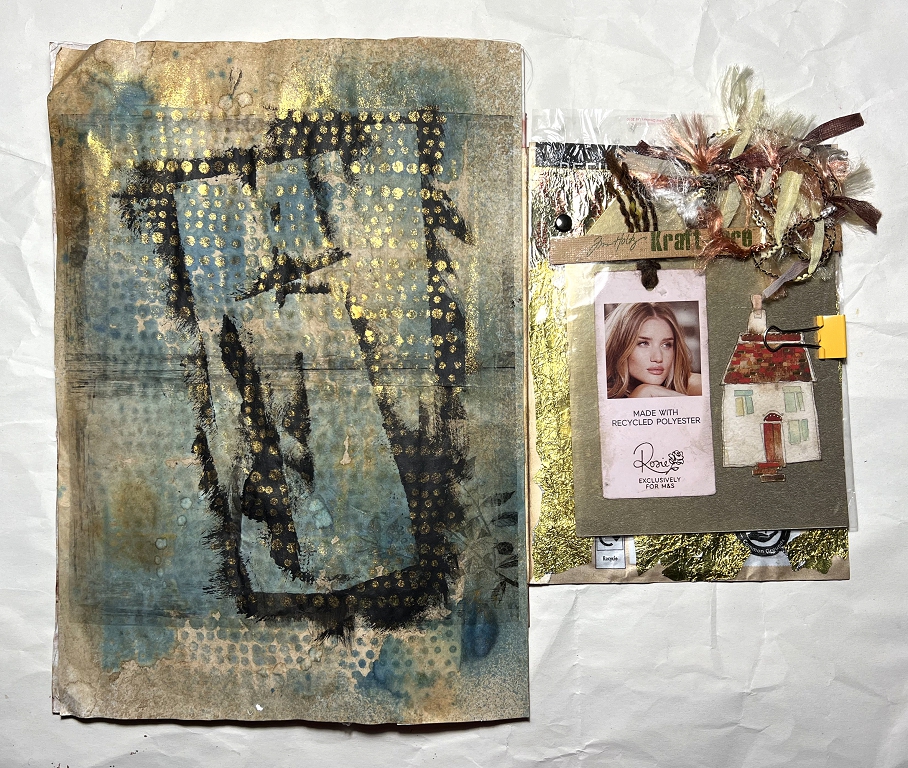
This is how the page now looks, with its adjoining page. It is the gold which really draws these pages together because otherwise they are pretty different and not really co-ordinating.
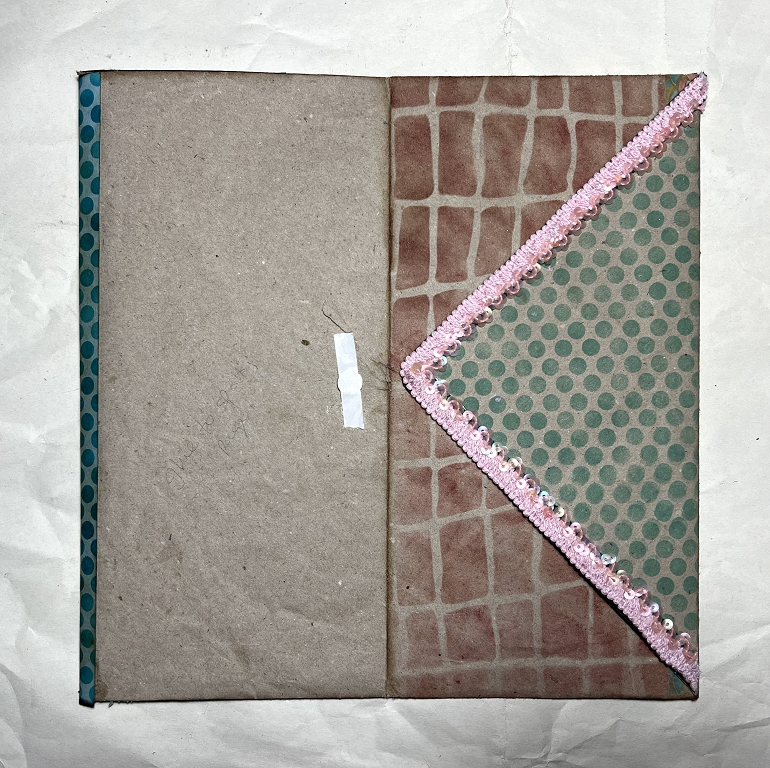
Turning the page back to reveal the centrefold of the signature, you can see the pink and green side of the element in place. It doesn’t need to be glued down because the other half of it is attached to the scratch paper page overleaf.
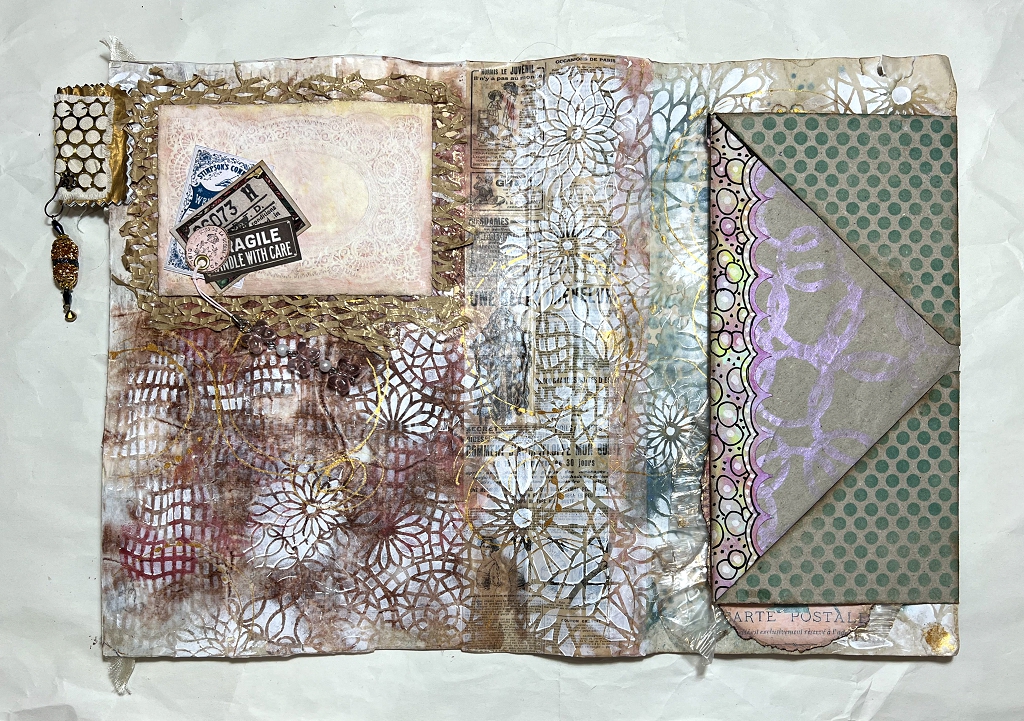
I deliberately chose colours which would more or less co-ordinate with this page which is predominantly green and pinkish-brown. Here’s a detail shot.
The first flap opened:
and the second:
Finally, some random tags inserted into the spotty green pockets.
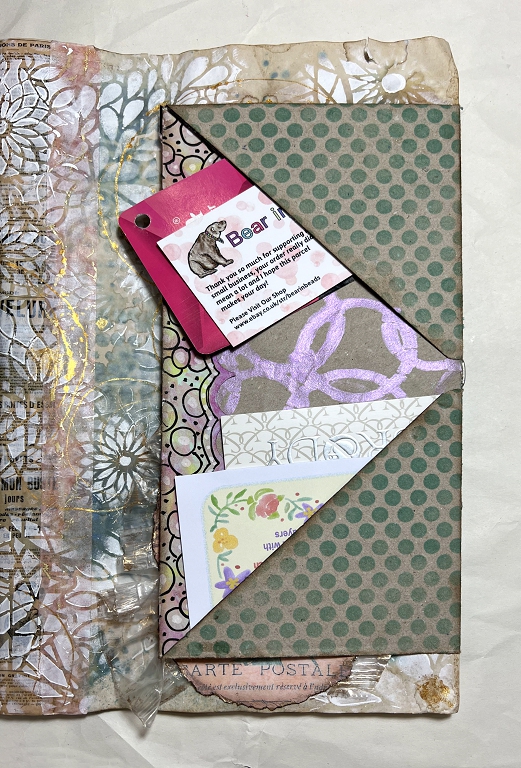
I shall be adding further embellishments to most of these pockets.
The description of this element may seem a bit complicated, and it would be much easier to see in a video. I shall be making a flip-through video of the whole book once it is completed, and then I hope things will be a bit clearer.
This is a fun interactive element. It doesn’t have any particular sounds associated with it but it’s an added bit of fun to discover as you turn the pages of the book.