JUNK JOURNAL – MAKE A JOYFUL NOISE PART 25
Embellishments
In today’s studio session, I added embellishments to several of the pages of the journal. There were also a few running repairs that needed to be done, mostly where the previous glue had failed, before I bought the E6000 which works much better on shiny surfaces.
Fixing a pocket and reinforcing a page
On this page, the tag in the vertical pocket kept falling out. I couldn’t think of a way to secure it in the pocket, until I thought that if the actual pocket opening was smaller, it might grip the tag better. I therefore added glue top and bottom inside the pocket, which was quite difficult to do as it wasn’t easy to access. The opening in the pocket is now only slightly larger than the tag, and the pocket is now gripping the tag enough to stop it falling out
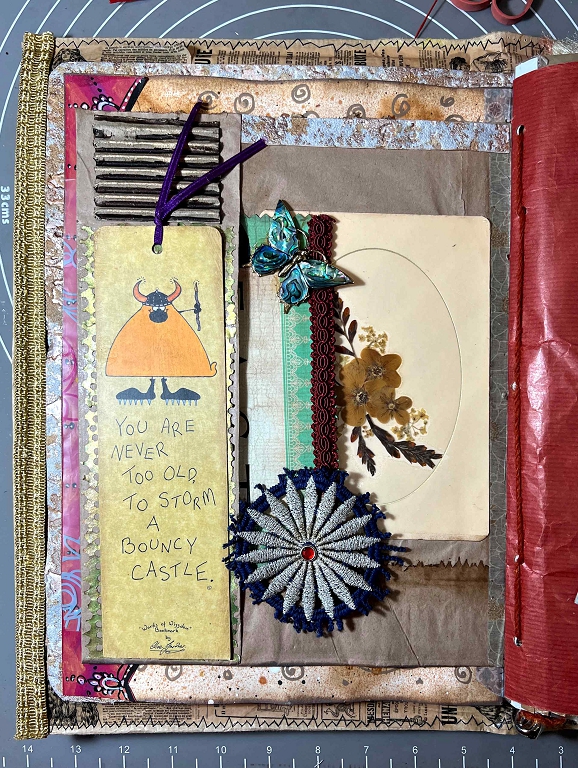
I also noticed that this rather fragile page was coming apart along the top. It is only a rather thin brown paper bag. When I made the endpapers for the book, they were sticking out a bit too far and I had trimmed them back a little. The offcuts were too nice to throw away and were still hanging around on the desk, so I cut one to size and glued it along the top of the page to reinforce it. It was only after this was done that I realised that it matched exactly with the narrow bit of endpaper showing above the page when the book was opened. This was a lovely serendipitous improvement!
Hidden paperclip
I have wanted to make one of these for ages. The main reason for doing it now was that I thought it might hold the tag in the pocket (see above) but the tag sticks out too far out of the pocket and the paperclip wouldn’t reach far enough to do any good. I decided to make the paperclip anyway, and use it elsewhere.
Hidden paperclips are great fun. They can be clipped on any page, anywhere in the book, to hold various floating embellishments in place temporarily.
Construction
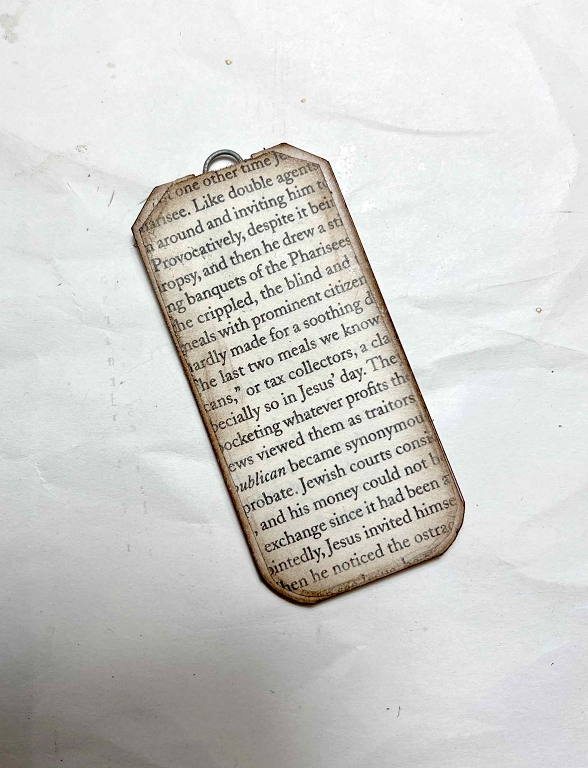
A hidden paperclip is basically a plain paperclip covered with paper so that you can’t see it. The papers front and back can be embellished as you like. I took two strips of card from my scraps box and folded them in half. I put a large paperclip over one of the folded pieces and held it in place with a strip of masking tape front and back, leaving the top loop of the paperclip to stick out a little, in order to attach a dangly once the paperclip was finished. I cut a half-circle notch in the other piece, using my 1 in. circle punch.
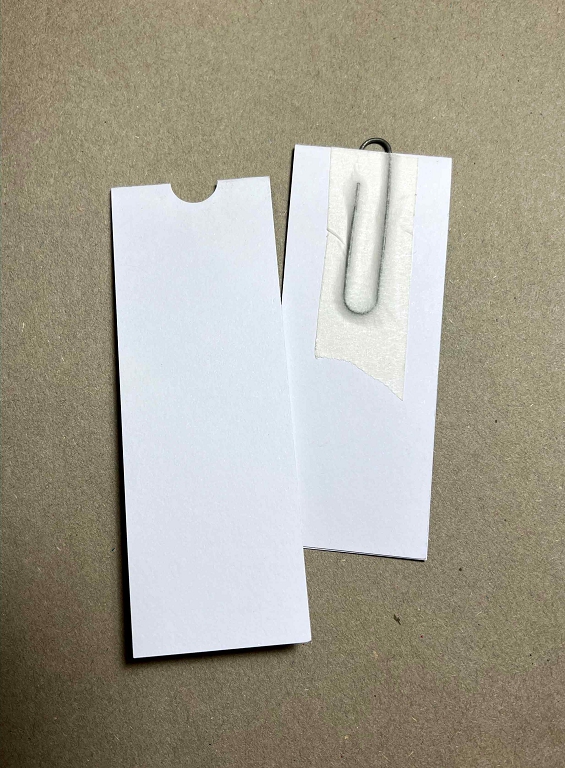
I tucked the piece with the paperclip inside the other piece and made sure the folds were pressed together as much as possible. I stuck the two pieces together, front and back, so that the paperclip was sandwiched securely between the two pieces of card.
Once the glue was dry, trimmed the corners off the top, and trimmed the length shorter, rounding the corners with a corner-rounder punch. I inked all the edges. It would have been easier to do most of this before assembling the paperclip but I didn’t think of it at the time.
Embellishment
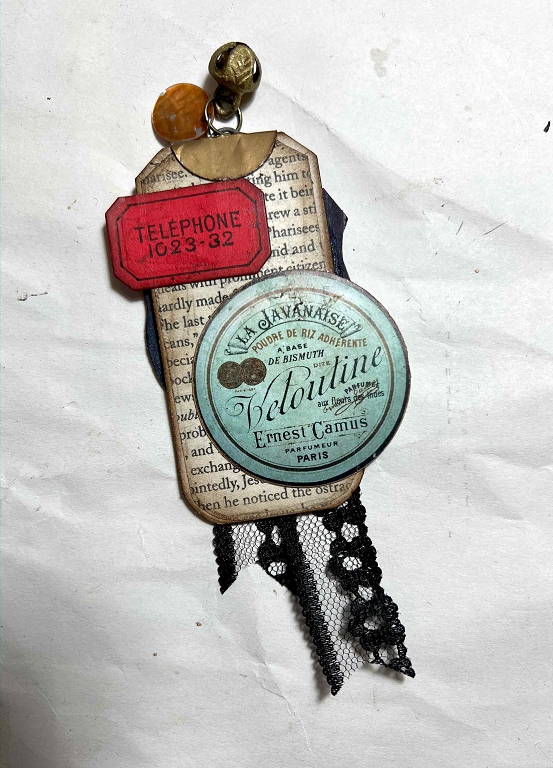
I cut a couple of pieces of book page from an old book my hubby threw out in my direction (he’s learning!!), trimming them down to be slightly smaller, inked the edges and glued them in place.
I rummaged in my printed labels stash and found some to suit, glueing them down to embellish the clip, with some of them sticking out to the sides. I also added a bit of black lace on one side, under the label.
When the paperclip is not attached to a page, you can see the backs of the extended labels, but once the clip is in place, these are not visible.
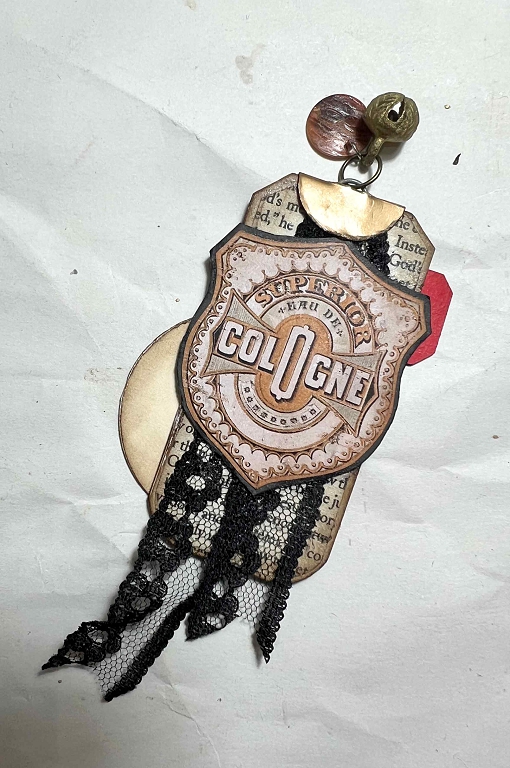
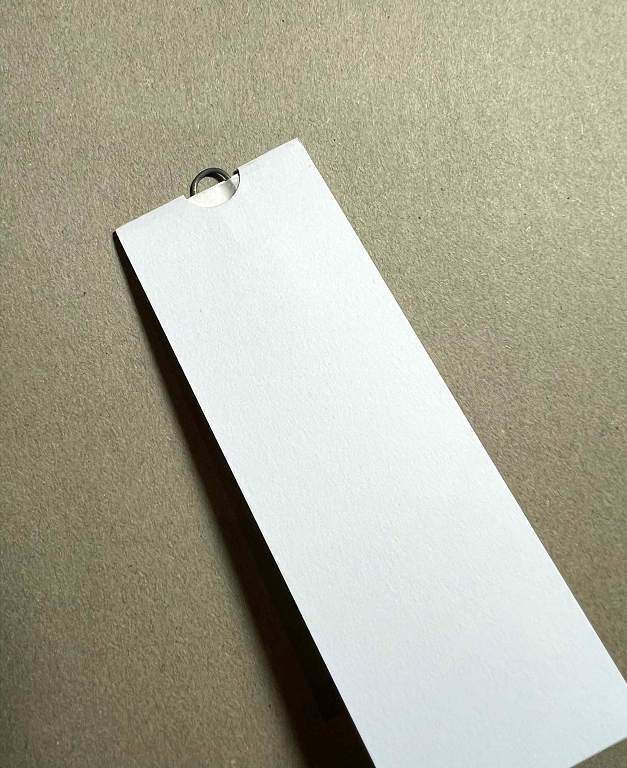
I’d have done better merely to cut a slit in the fold of the outer piece of card, rather than punching the semi-circle, because this now needed to be covered (first one I’ve ever made, so I’m learning on the job!). I cut a piece from dull gold card with my 5/8-in circle punch, folded it in half, and cut a slit in the centre of the fold, large enough to poke the top of the paperclip through. I went round the edges with my distressing tool and inked them, and glued it in place, securing it with clips until I was sure the glue was dry.
The final touch was to add a little dangly to the top, threading a jump ring through the loop of the paperclip. I used a little Indian brass bell and a small round shell embellishment, both from my recently organised charms box. The project was then complete.
The paperclip in situ
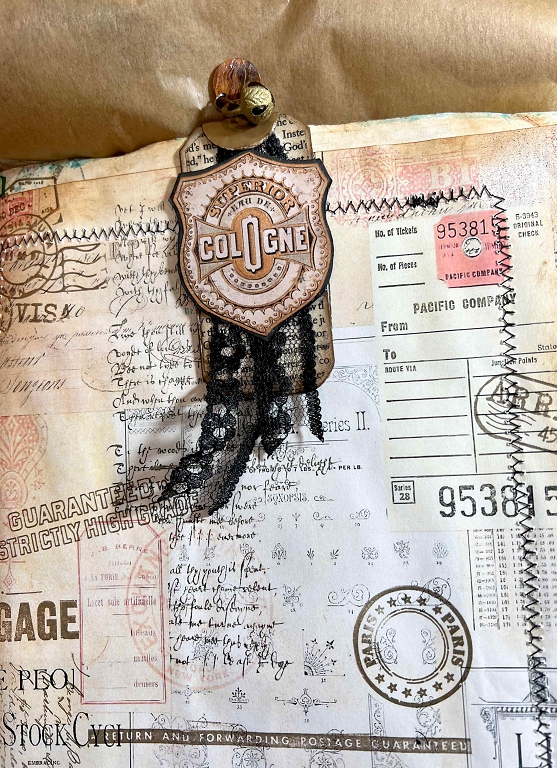
I chose a page at random that had space for this, and simply clipped it on. The two pieces of card glued together around the two halves of the metal paperclip hide it completely, and all you do is open the double-thickness card a little in order to slip it onto the page.
Here is the paperclip on one side of the chosen page. All I need to do now is to slip a tag under it and the strong metal paperclip hidden inside will hold it in place on the page. The whole thing can be easily removed, and relocated elsewhere if desired.
The other side:

I am delighted with how this turned out, and shall definitely be making more hidden paperclips in future. The large paperclips are probably better than regular office sized ones but these would probably do if you were only making small hidden paperclips.
Adding clusters
When I made my clusters yesterday, I attached sparkly ribbon beads to most of them with a bulb pin. This was always only going to be a temporary arrangement, mostly for the benefit of the photograph, and I’d decided I would mostly be attaching danglies (whether the original ribbon bead or something else) permanently with a jump ring.
Wrapped around the first signature is a cereal box liner fused around a napkin and stitched, forming a pocket on each side of the signature. These are quite pretty but I thought they could be improved with the addition of one of my new clusters. I had to stick them down using E6000 adhesive because no regular glue seems willing to adhere to the slick surface.
First pocket
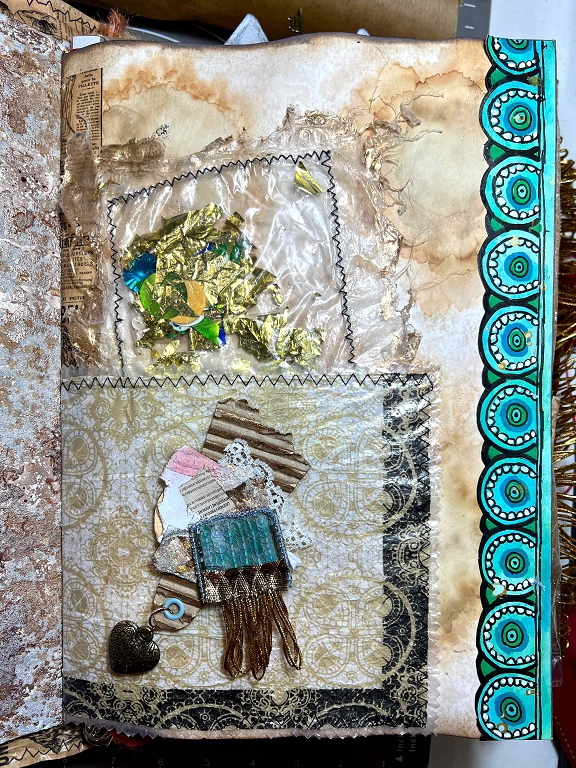
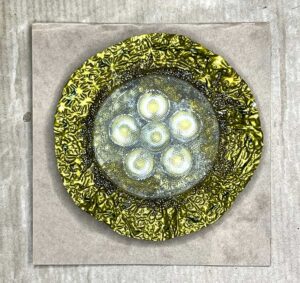
I chose a cluster with some turquoise on it to co-ordinate with the page border and the contents of the transparent shaker inside the pocket. I removed the sparkly ribbon bead and added a metal heart with a jump ring. I also added a little gilding wax to the ridges of the corrugated card base.

Second pocket

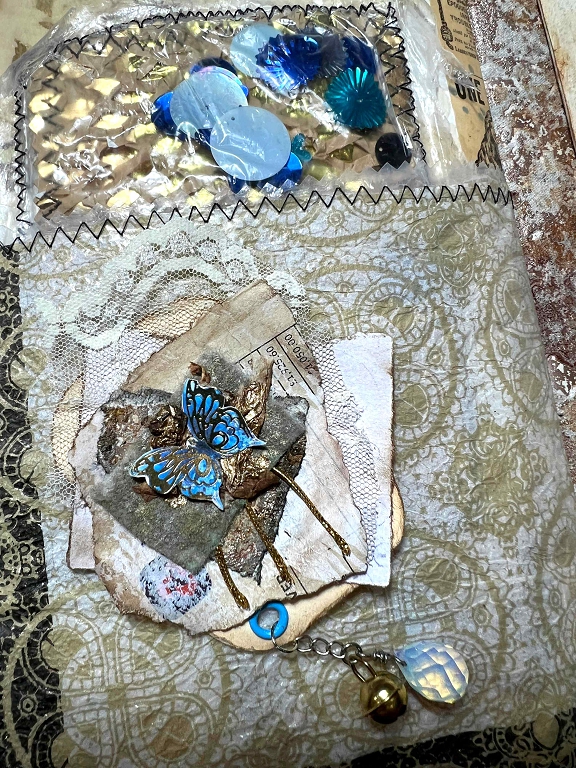
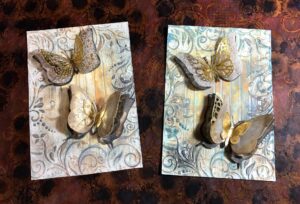
Again I chose a cluster with some turquoise on it. I removed the bead dangly and replaced it with a paired embellishment – a little gold bell and a crystal dangle bead with a turquoise hue. They were connected with a jump ring and I added a few links of a chain from some junk jewellery, attaching the embellishment to the cluster with another jump ring. The butterfly embellishment on this one is metal, not acetate as I stated in my previous post.
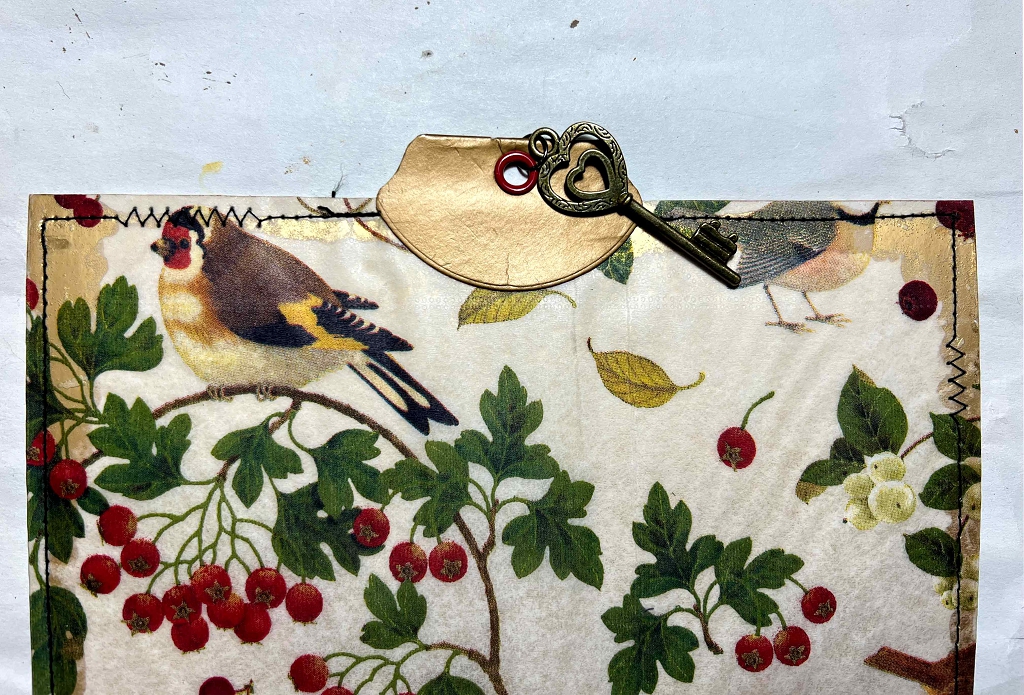
Tab embellishment
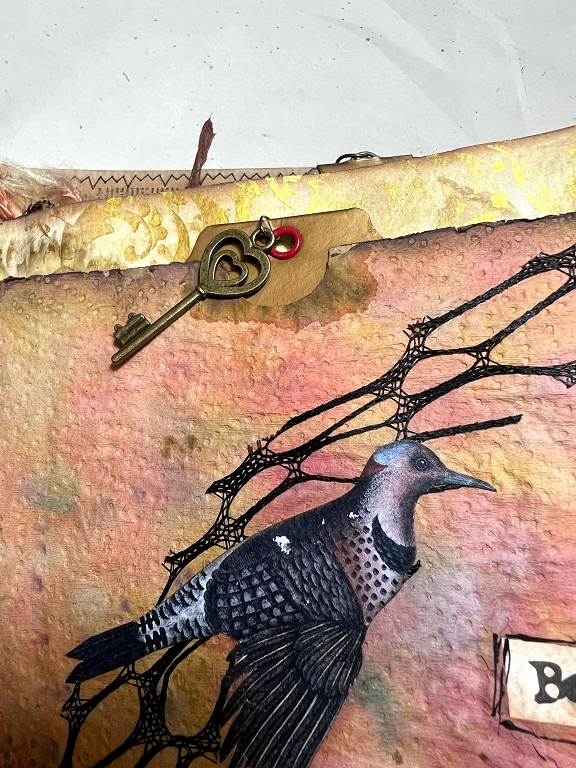
The large tag inserted into the bird page has a tab on top for easy removal. I decided to add a dangly to this, in the form of a metal key from my small bag of different key embellishments. I added a red eyelet to the tab and attached the key with a jump ring.
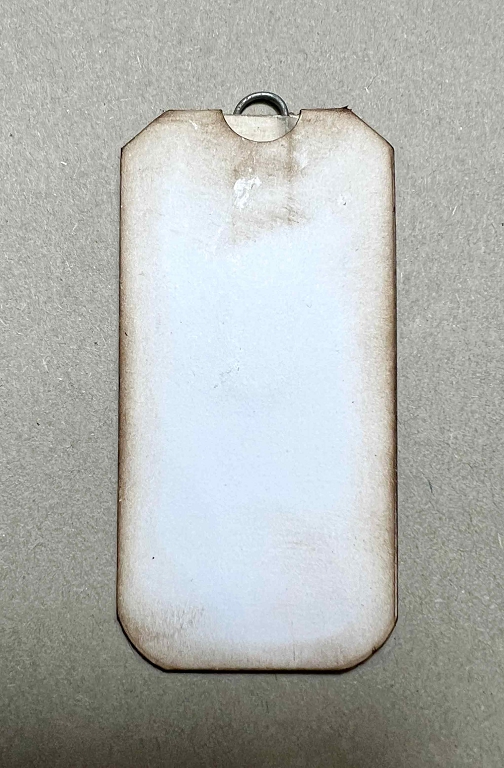
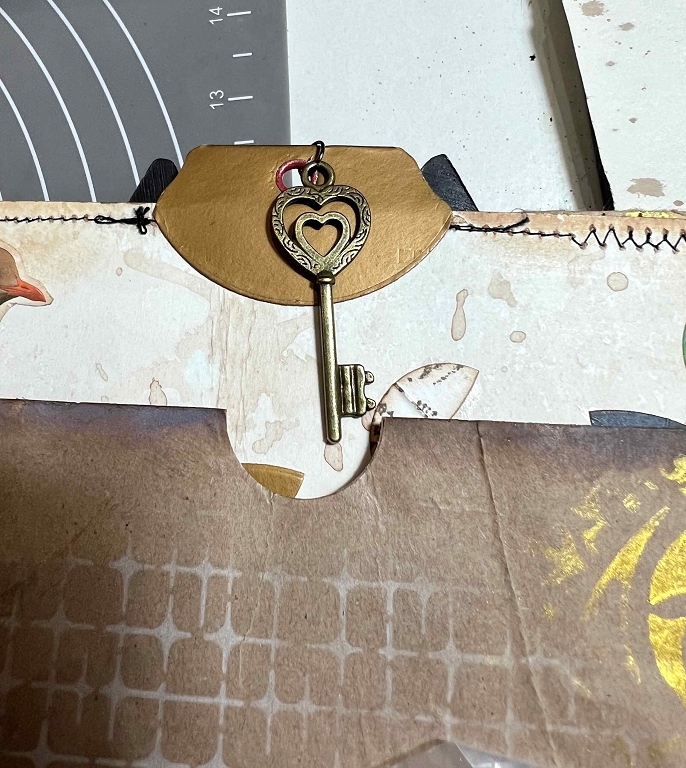
This is how it shows on the other side of the tag.
The tag removed from the page.
Further embellishments to come
I want to add a few page tabs where appropriate, and there are also several loose strings and threads just crying out for the addition of beads and bells and what not! Watch this space.
Oh wow, we have so much more in common. I’ve only looked at two of your things on your site. I’ve gotta go to sleep. Bless you heaps.
Hi Michelle, thanks for your comment. Lovely to see you on here. I hope you enjoy my site.
These are so intricate, detailed, unique and utterly lovely! Reminds me of the beautiful item you gave me (which I still use) – every tiny detail is beautifully crafted with love and care, it’s a delight!
Such intricate, unique and creative work – each detail lovingly created and crafted, so lovely. It reminds me of the beautiful item you gave me which I treasure and use, every tiny detail is skillfully crafted, it’s a work of art. Love it.