8 X 8-IN ORIENTAL STYLE ALBUM
The other day I watched an excellent video from Dawn’s Inspirations on how to make an album using an 8 x 8-in paper pad. I have got a couple of these that I bought at craft shows and have never used. I am trying to use up stuff in my studio, and while I really like these papers, it is several years since I bought them and they weren’t showing any signs of getting used any time soon!
Dawn calls this a “One Hour 8 x 8 Mini-Album” and she made it in real time on the video, actually in less than an hour. It took me longer, of course, because I’m a pretty slow worker and I had to keep stopping the video to do the next stage, etc., and also had to find the various papers and equipment I needed for the project.
It is a very basic book, really designed for beginners, and it is based on a much earlier video she made, using a 6 x 6-in paper pack.
I have subsequently discovered another album maker that I am also very impressed with, and in future I am going to follow her method, which is more complicated, but in the end it gives a better result. She is absolutely meticulous and because she takes such care at every step, the results are consistently very neat and professional. Her preferred method results in an album that is a lot more stable than Dawn’s, and I am keen to try it. In this particular video that I have linked to, she compares three different methods, one of which has a fairly floppy spine like Dawn’s, and she also demonstrates the traditional method of wrapping the cover in a single step.
I shall be writing up my experiments with her preferred wrapping method in due course, once I’ve finished this current album.
Anyway, after this preamble, I have made a start on the project and so far it is going pretty well.
Oriental album
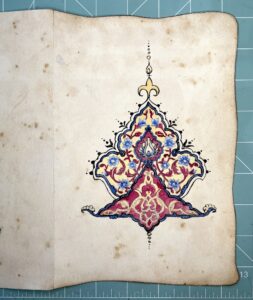
Years ago I bought this paper pad which has some lovely backgrounds, some of which include full-sized images. Also, several years ago at a craft show, I bought a small pack of Japanese embellishments from a stand-holder who visited Japan regularly so they are the genuine article – small fragments of beautiful papers, some images (6 x 6-in) and some little embellishments.
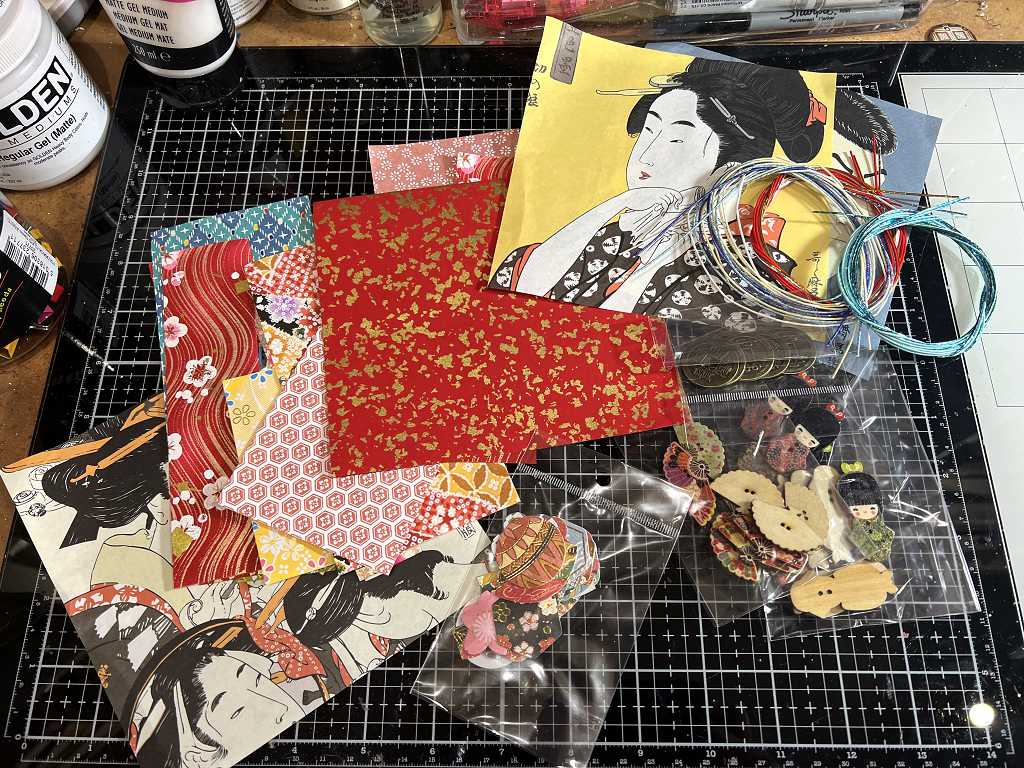
When I was covering the pages of the album, I selected pairs of papers that co-ordinated with one another, to make a more cohesive spread with each turn of the page. There are two pieces of each design so I’ve got plenty for making extras like pockets etc. I also have several bundles from the Graphics Fairy Premium Membership site on an Oriental theme so I’ve got plenty to choose from. I have been watching videos of flip-throughs of Oriental-themed albums and the construction of embellishments on the same theme, and people have made some astonishingly beautiful books! So much inspiration. My first effort is probably going to be fairly simple by comparison!
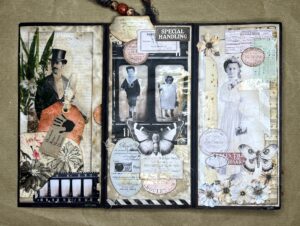
The front cover
I chose a pair of matching papers with a fairly neutral theme, to provide a simple but stylish cover for my album.
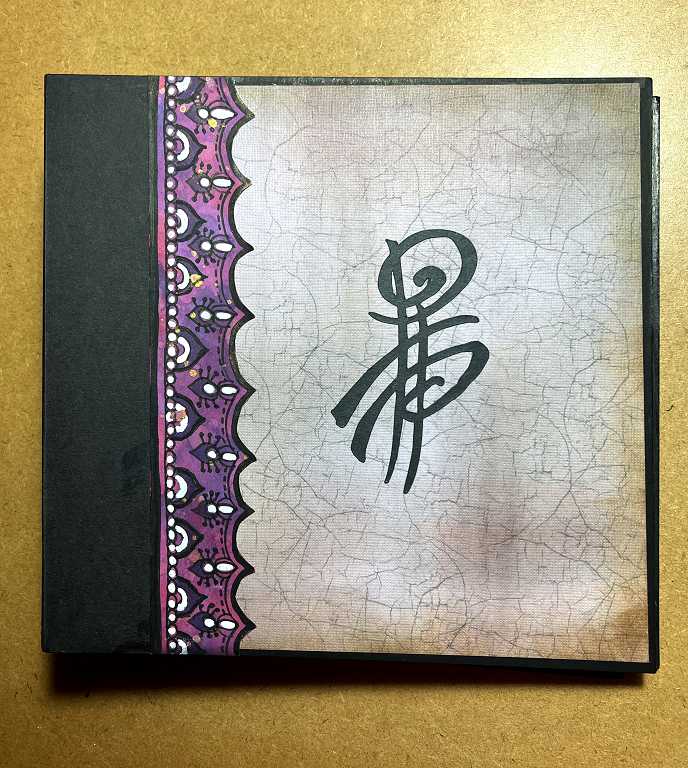
The black wrap-around on the spine is part of the original construction. I have added one of my faux Oriental characters on the front, one of a number that I cut with my electronic cutting machine at the time I was making my stencils. To cover the edge of the spine wrap-around, I chose one of my recent decorative borders, trimming the length to fit.
So far I have only worked on pages 1 and 2, the first spread. I chose a single 6 x 6-in image from the embellishment pack for page 2, simply adding some matting and layering, and no interactive elements. The larger mat, the pink card, is one of the few remaining sheets from the 12 x 12-in paper pack that I’ve had for many years and which I really hated (I bought a lot of stuff in the early days when I didn’t know what I was doing or what I wanted to do!! – it seemed a good idea at the time!). I used most of this in the construction of the floral interactive album I made about Mum just after she died. The paper is a pain to work with (it needed drastic altering because most of the designs were horrible) – it has a slightly waxy finish which resists inks. Anyway, this pink sheet was ideal for this.
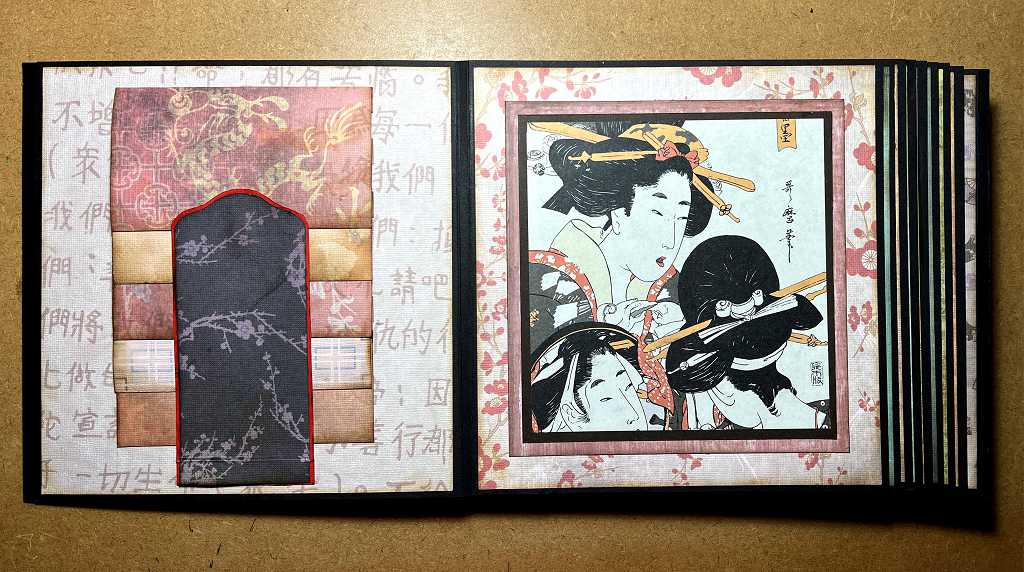
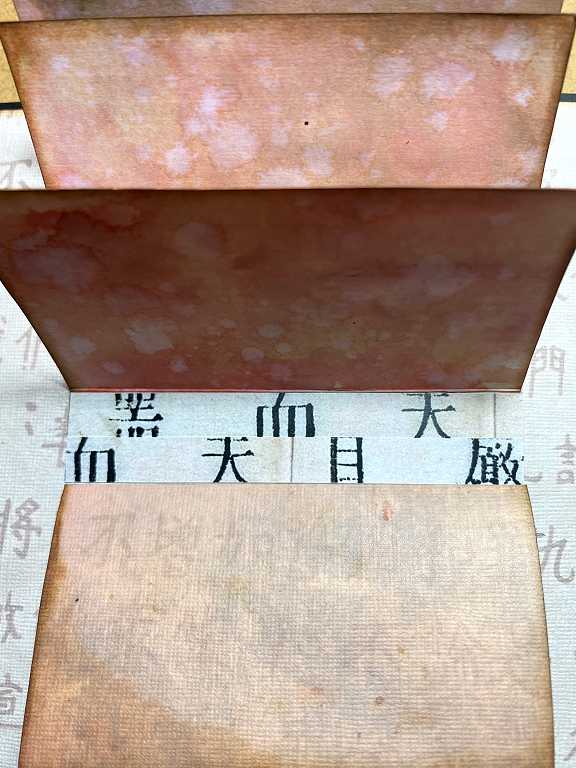
On the left-hand page, page 1, I created a waterfall from the paper pack. Each piece is hinged at the top, and the whole thing is kept in place with a downwards-folding flap attached at the botom, and held in place at the top with magnets.
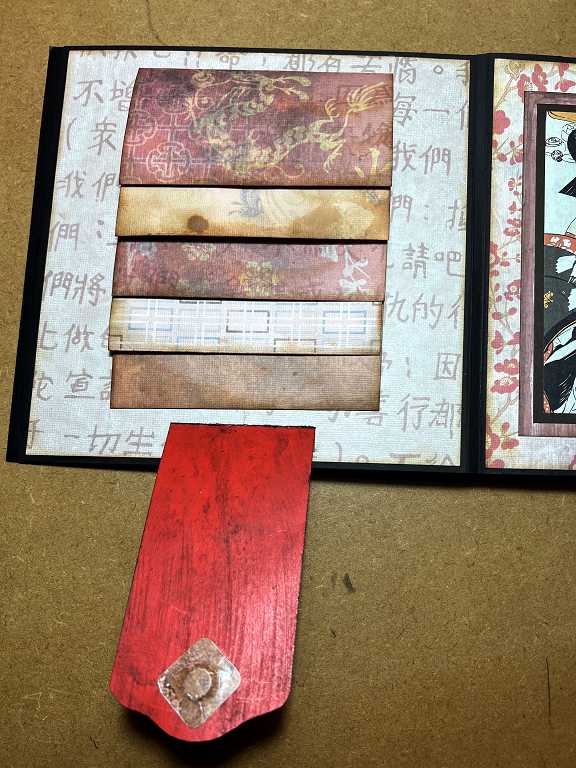
I had some problems with this. Before I remembered I had a large stash of plain coloured cardstock, I rummaged in my scrap box and found a fairly thick piece of shiny red card which had been part of an Easter egg packaging. The red was much too bright. Of course, being shiny, trying o add Distress Ink and Oxides didn’t work too well, so I added some clear gesso and sanded it to get rid of the excess grittiness, and tried again. Pretty grainy, but in the end I quite like the texture! The front is covered with more paper from the pack.
I had some problems with the magnet. I sandwiched one between the red card and the top layer, but once the waterfall was assembled, there proved to be too much thickness for the magnet to work properly, so I added another one on the flap (hence the card cover over it) and two more to the waterfall! It now closes with a satisfying click, but it has added to the bulk and the flap magnet is no longer hidden. I shall probably add one of the small embellishments from the Japanese embellishment pack.
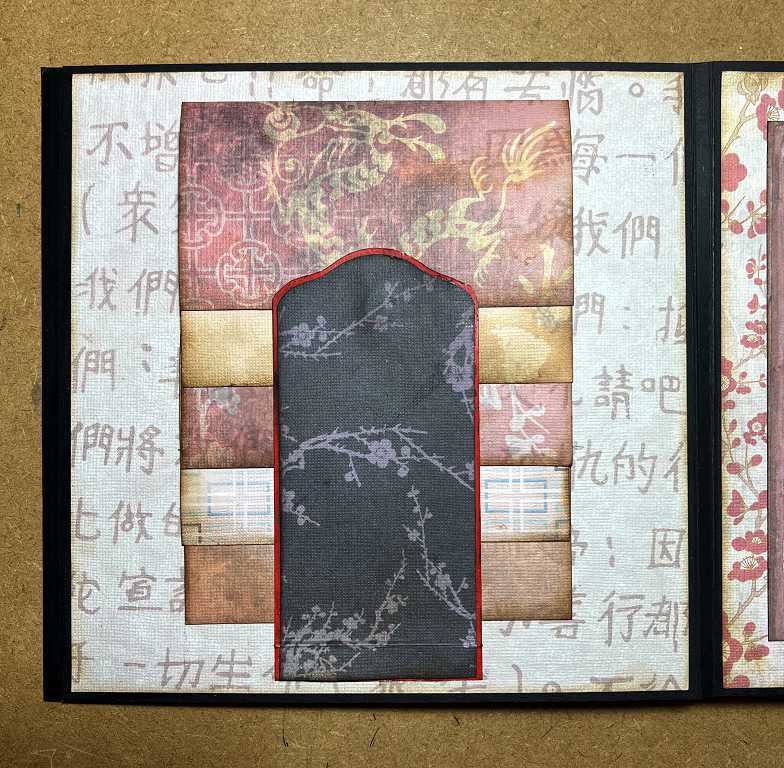
Opening up the waterfall.
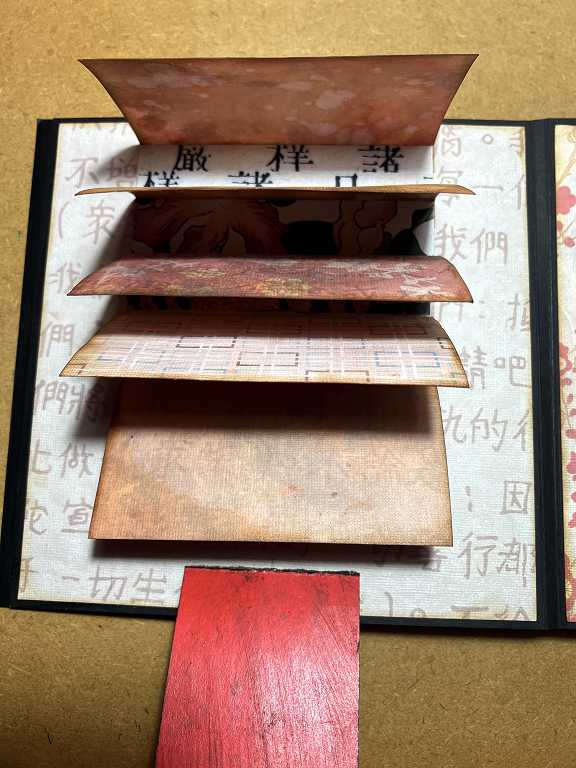
I didn’t back the printed paper because I didn’t want to add more bulk, so I inked them.
Here are the flaps being opened one by one.
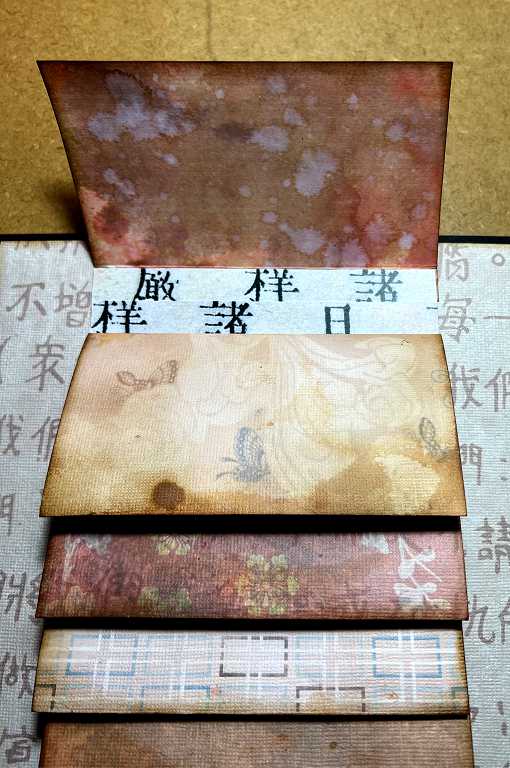
The magnets are attached under the strip on the third flap. The photo doesn’t show it very well but it is pretty bulky, and just above the bottom edge of the covering strip, so it’s not a terribly neat job, I’m afraid!
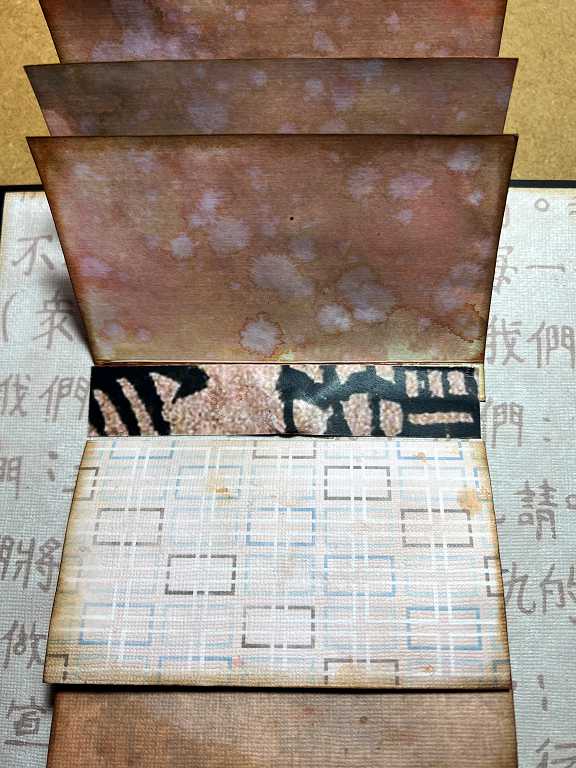

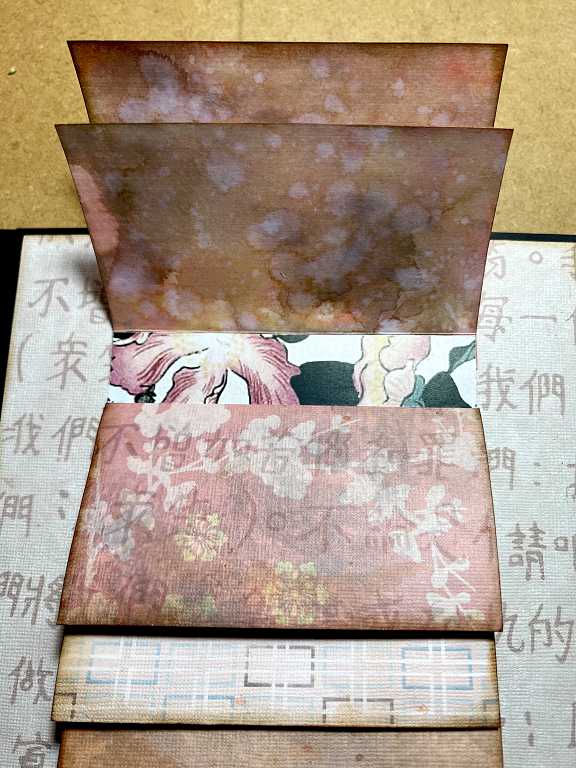
Each flap has a half-inch tab which is glued to the page. I didn’t ink these because I got a bit confused and thought that side was going to be glued, so they were a bit of a mess, and the spacing of the flaps meant that there were gaps between them. I decided to cover these with washi tape but none of my tapes was wide enough. I opened one of the Graphics Fairy printables which is a whole sheet of washis which you can print out and cut out. They were quite narrow, so I selected a few, and scaled them up to 1 inch wide in my desk-top publisher, printed them out and then trimmed them with my knife and a metal ruler. I think they do the job OK.
I am planning to add some sort of embellishment to the underside of these flaps. I shall most likely leave the tops plain, but I am thinking of adding something to the flap that holds them in place.
I am watching a brilliant video at the moment (about 2 1/2 hours long) from the lady with the professional touch, as she makes an album from start to finish and adds loads of interactive elements. I got the idea of the waterfall with the magnetised strip from this video. I shall probably make quite a few of her elements. There is plenty of room between the covers for a lot of thickness.
This is not something I’ve really attempted before – most of the books I have made have been on an ad-hoc basis, constructing them as I went along. I really like the idea of creating an album base first, and then decorating it. One advantage which I think will be good for me is that you are immediately somewhat constrained, leaving fewer choices of what to do – I have felt a bit overwhelmed in the past with simply too much choice and not really knowing what I was doing.
I have adopted the same principle for most of my card-making these days, too. I don’t really consider myself to be a card-maker because I only make them out of necessity and have a bit of a love-hate relationship with them for all sorts of reasons. I now have a stash of pre-cut and folded card bases in different sizes, pre-cut (but not glued) matching enveloped ready to be embellished to match, and sheets of prepared mats cut to size, as well as packs of printed, stamped or cut out sentiments, ready for use. This has helped me a lot.
This album is a bit of an experiment, in an area I am not too familiar with – using pre-printed decorative papers. It’s never really been my thing, but I think it’s a good base from which to start, and I have a lot of materials at my fingertips now with the Graphics Fairly downloads which are infinitely editable to suit my needs! I am keen to plough through a lot of redundant stuff in my studio and finally get down to making something beautiful with it. I’ve been making a lot of embellishments recently – those decorative strips, DIY washi tapes, collage elements etc., all ready for use. I definitely think this is the way to go, and it will also enable me to use up a lot of scraps which are making a takeover bid in my studio!!

Lovely work Shoshi – and lovely that you are redeeming stuffs you’ve had for years and finally putting them to creative use. I love the different flaps created in the book – very clever, and all very “oriental”! Well done again, it is another work of art!