FAUX VINTAGE COPPER EFFECT WITH ACRYLICS
The other day I watched a video on YouTube where someone made an amazing journal cover with mixed media, which looked like old copper. I had to try this! She used some pretty unusual materials which I didn’t have – chemicals which seemed a bit dangerous (she said wear gloves, have good ventilation etc.) and I thought I could achieve the effect just as well with the materials I had. Basically just acrylic paints.
Some new tools for the studio
Tim Holtz typewriter embossing folder
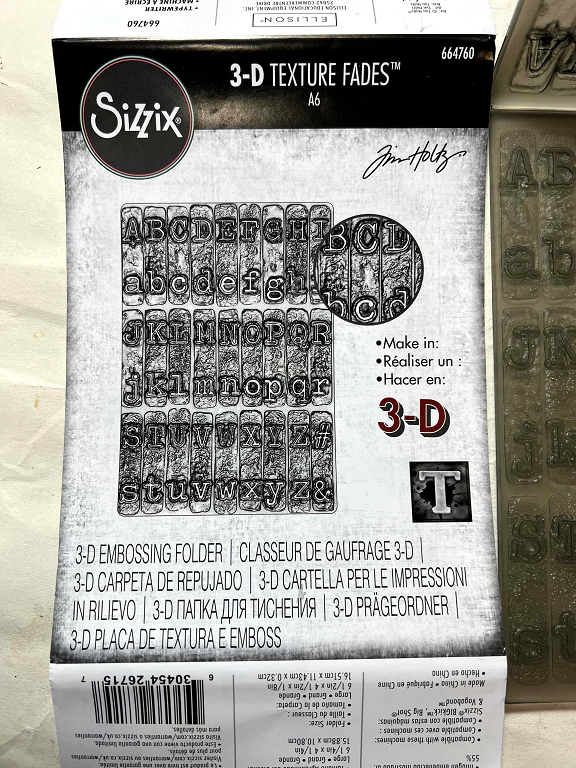
For those unfamiliar with embossing, there are basically two types – heat embossing and dry embossing. To heat-emboss, you apply a sticky clear ink either with a stamp, or with an embossing pen, and sprinkle on embossing powder. You tap off the excess, and what remains is the powder sticking to the embossing ink. You heat it with a heat tool (hotter than a hairdrier) and the powder melts and fuses, resulting in a shiny embossed surface. I never tire of watching the magic happening, especially with gold! Dry embossing is the creation of a raised impression on paper. It does not involve heat. You place your paper or card in an embossing folder and put it through a machine which has rollers which compress the folder as you turn the handle. One side of the embossing folder has raised projections, and the other side has depressions which match. In recent years, 3-D embossing folders have come on the market, which impress the paper at different levels, and some of the effects are extremely realistic.
I bought this particular folder with a view to being able to cut up the resulting embossed sheet to make use of the individual letters. It does make a fantastic background, though!
Faux vintage copper
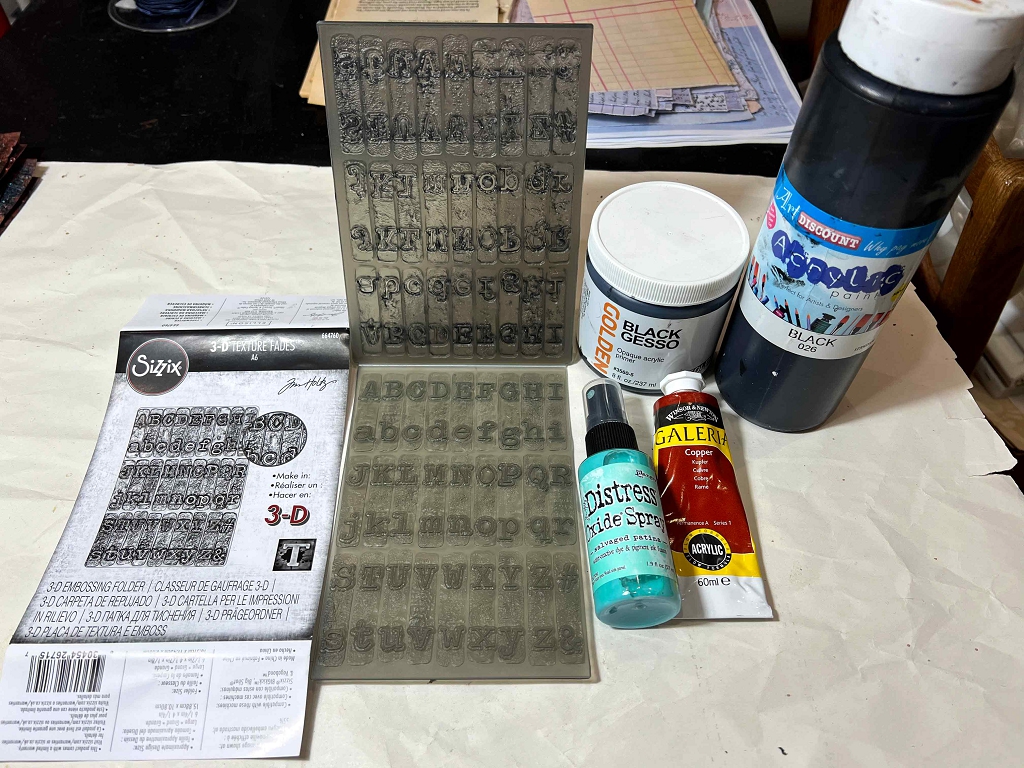
Here are the materials I used for this project.
I made my pieces from card scraps cut to the size of the embossing folder. I didn’t photograph the individual stages of this. The steps were as follows, drying between each one:
- Paint the card with black gesso.
- Paint a couple of coats of copper metallic acrylic paint.
- Dry-brush on some black acrylic paint in random patches, making sure not to cover too much of the copper.
- Add more copper as required – I used my fingers for this.
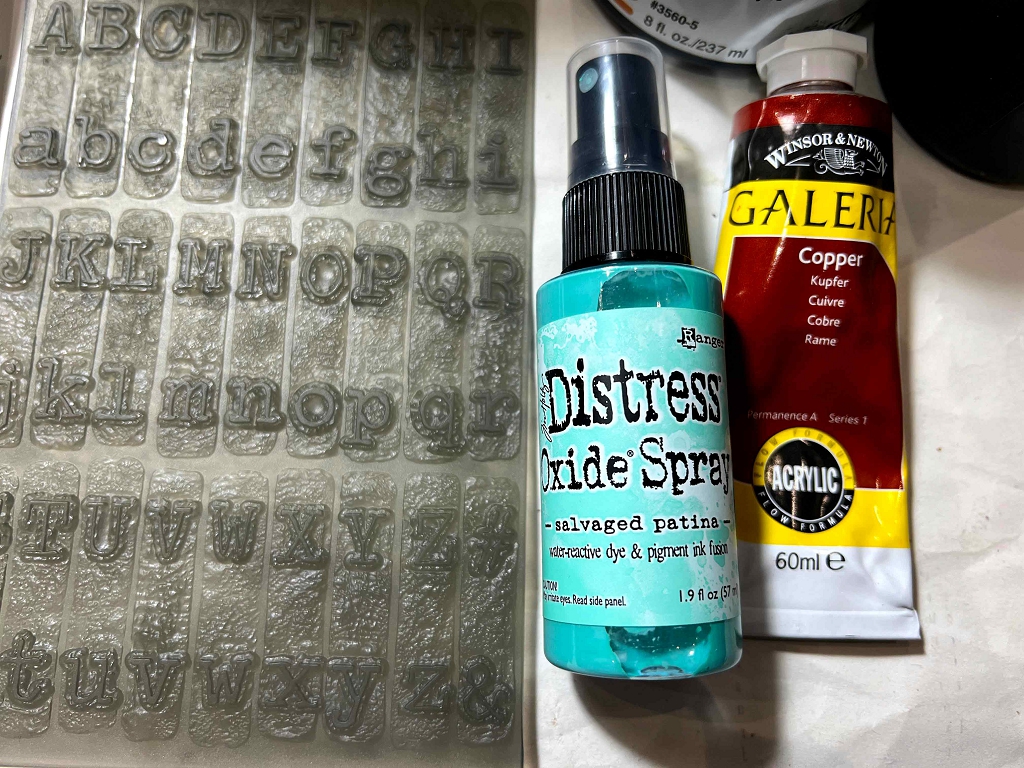
- Add patina – the YouTube video person used a chemical for this but I spattered and sprayed on some Salvaged Patina Distress Oxide Spray and dabbed it with a paper towel.
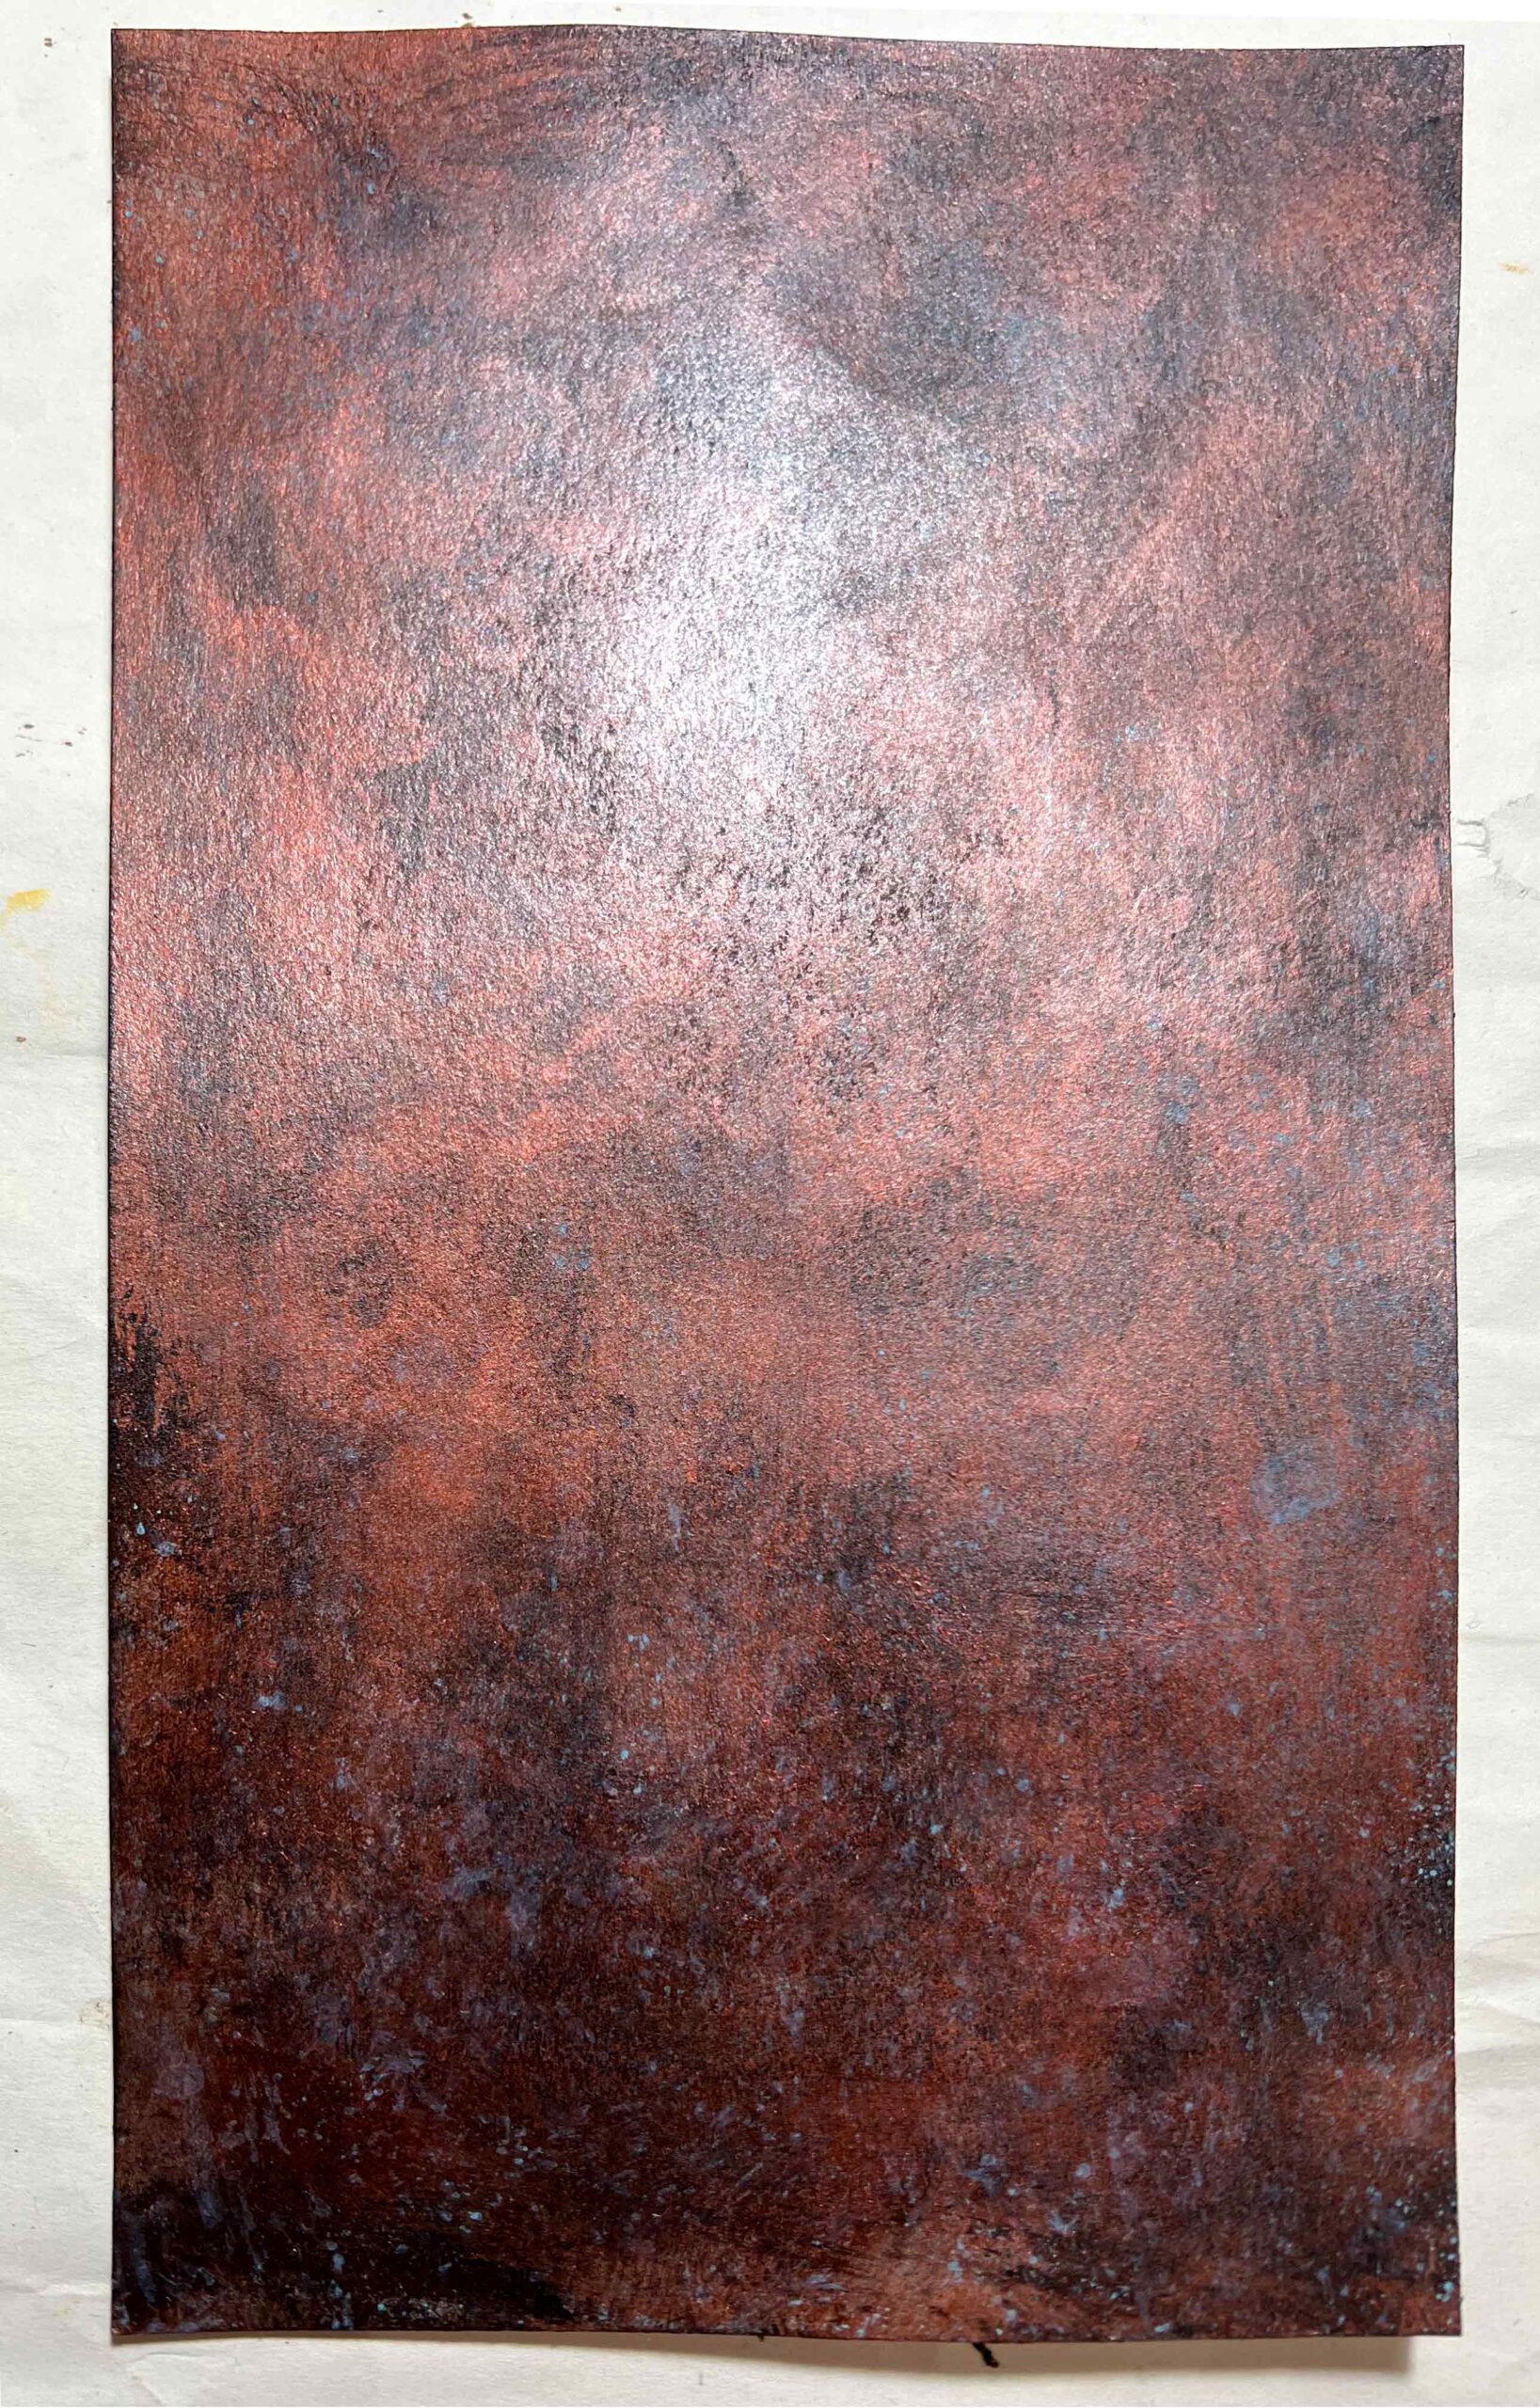
Once everything was dry, I embossed each sheet. This is the result.
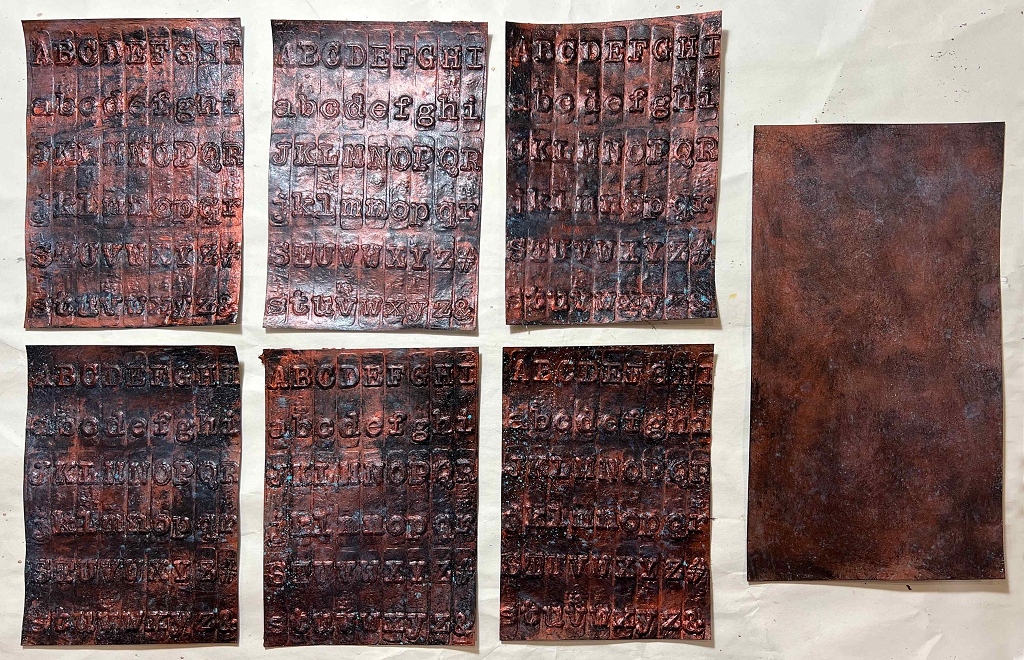
The patina doesn’t show up very well on the photos. It is quite subtle. I wasn’t convinced that this water-based spray would stick on the slick surface so I sprayed the pieces with clear gloss varnish to seal them, and this made it disappear even more. I had a tube of patina gilding wax (Rub ‘n Buff) but unfortunately this had dried up and had to be thrown away. I think this would be a better solution so I shall order some more.

The above photo shows the patina a bit more clearly. I am very pleased with how these pieces turned out.
You can see that I also cut a larger piece of card which I left un-embossed.
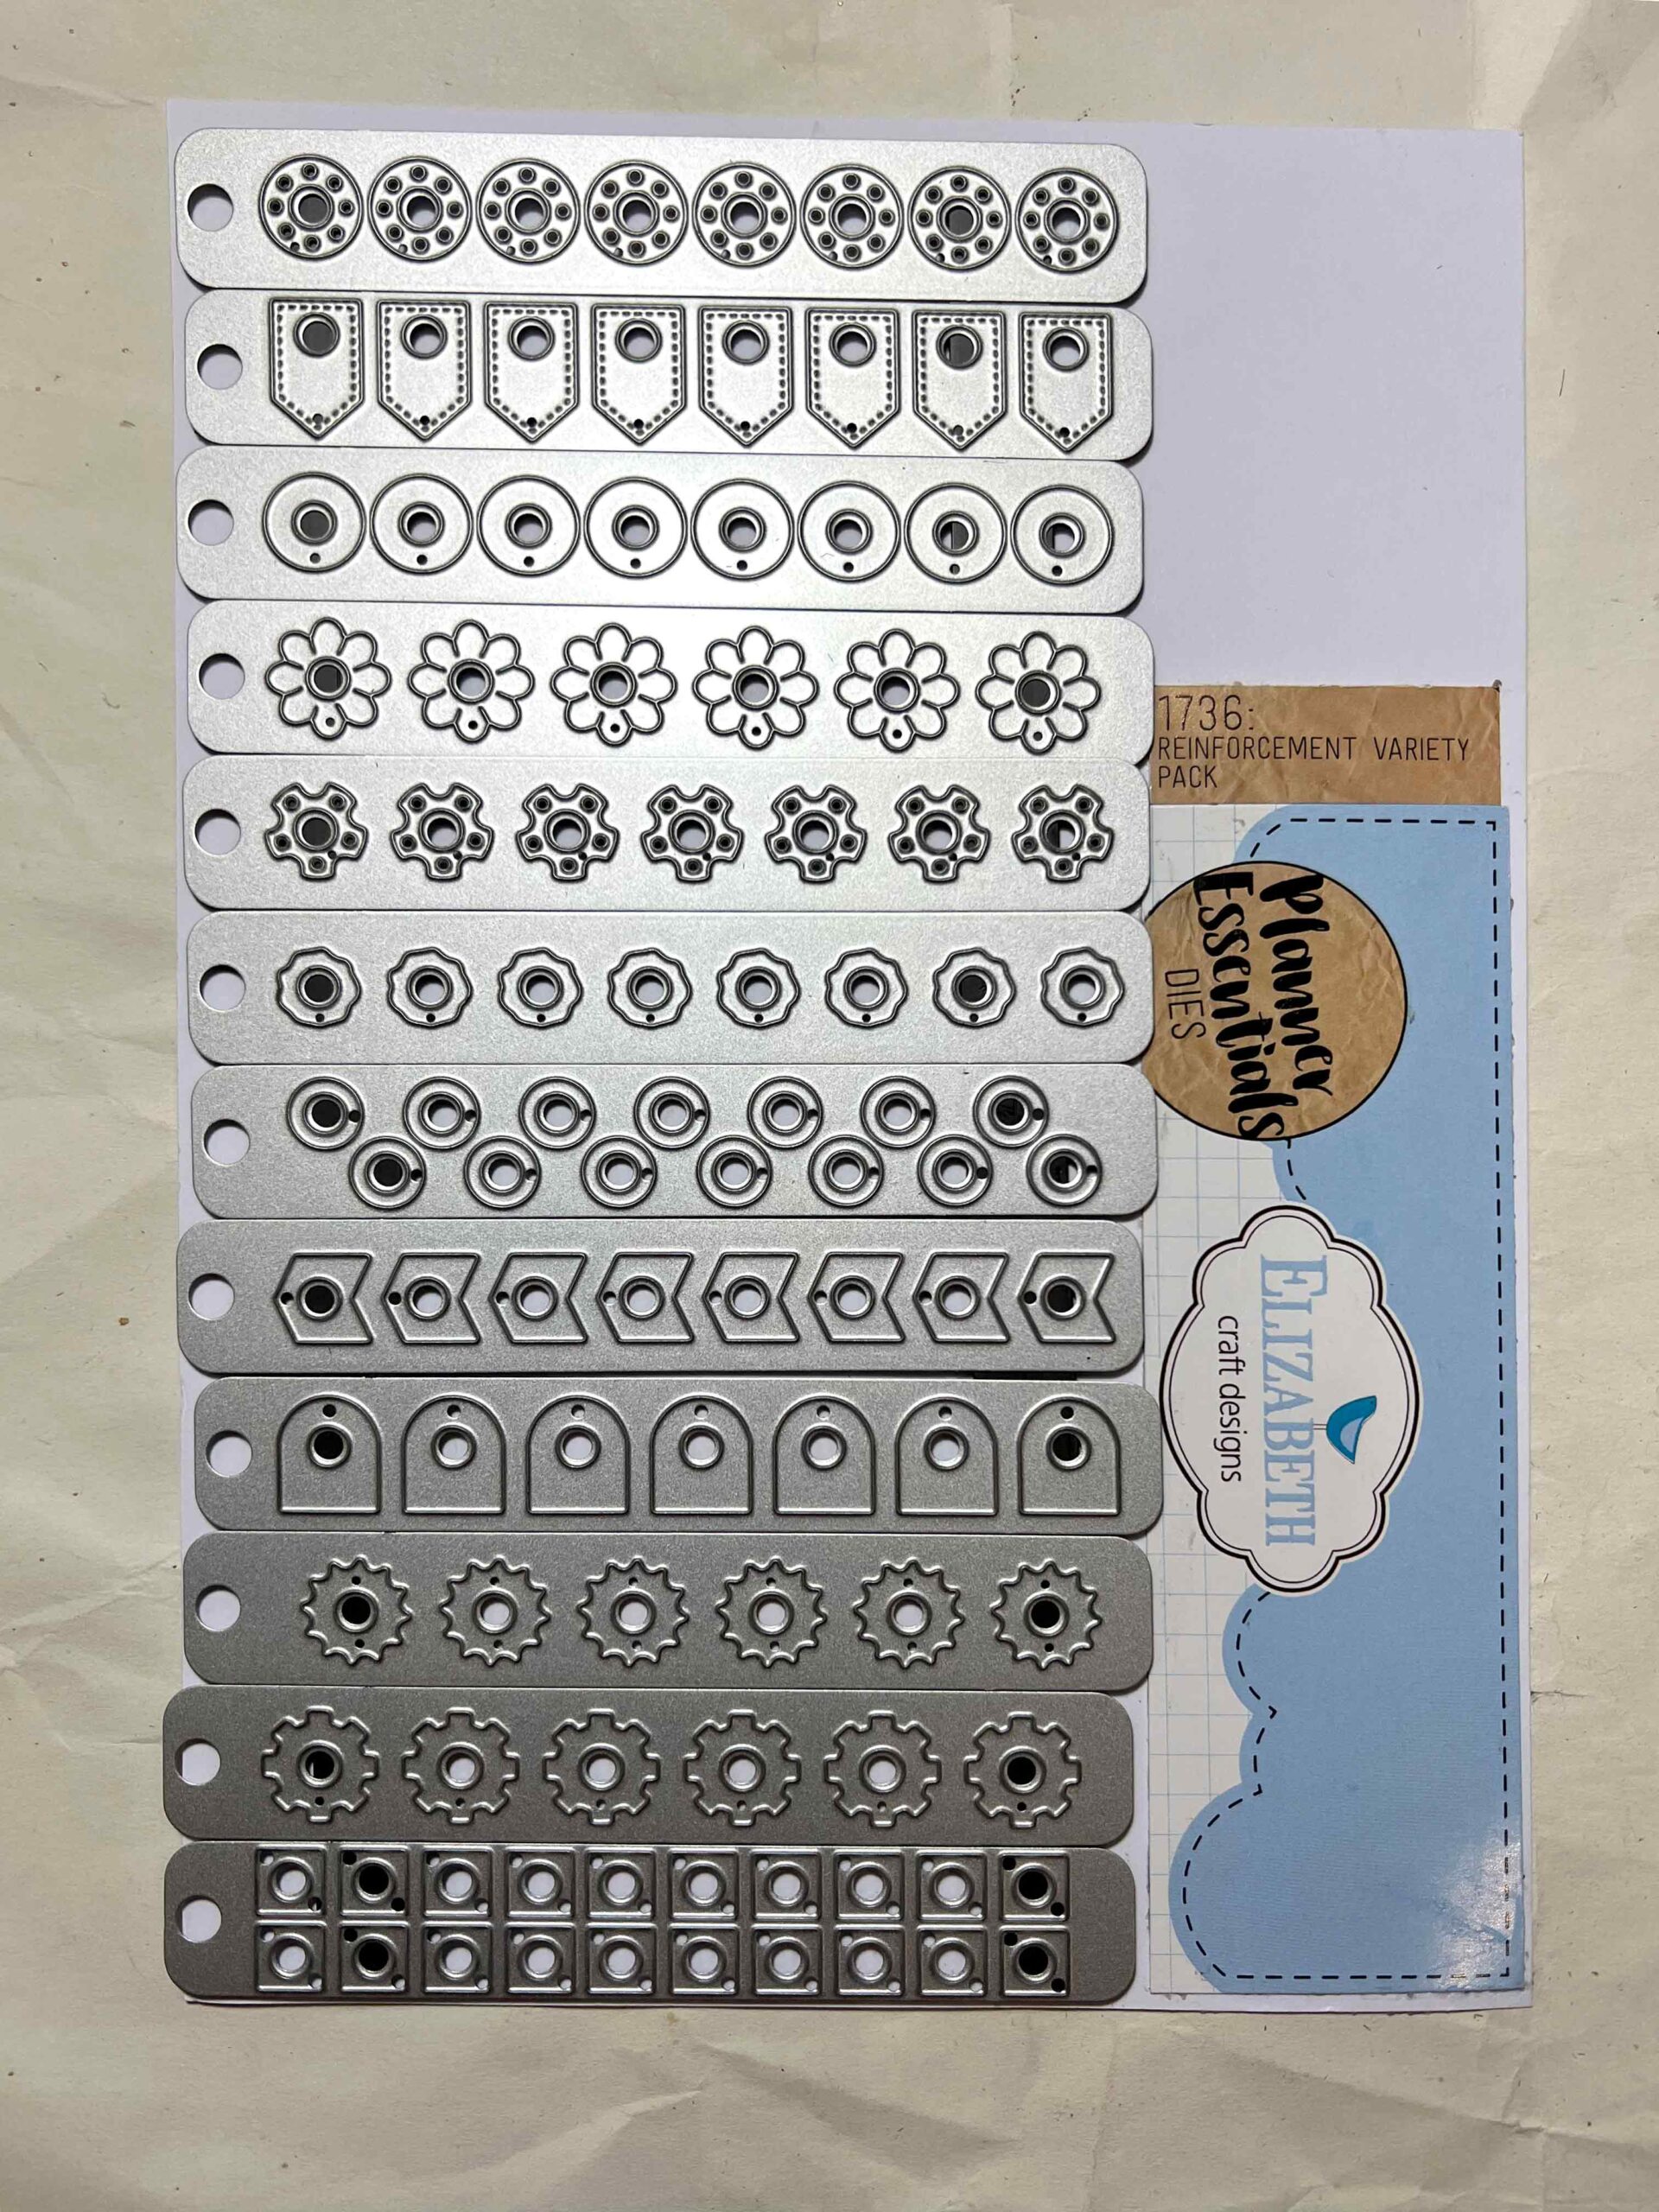
Decorative hole reinforcements
Another purchase this week was a set of cutting dies for making decorative hole reinforcements. I am sure everyone is familiar with the self-adhesive little circle reinforcements in office supplies. They are always white, plain, and boring. Someone has designed a whole set of different shaped ones and these look great on the top of tags.
These dies go through the same machine as the embossing folders, but instead of pressing a raised design, they cut the card. I decided to cut a whole set of different ones from the faux copper sheet. The pokey tool is necessary for pushing the die cuts out of the metal dies.
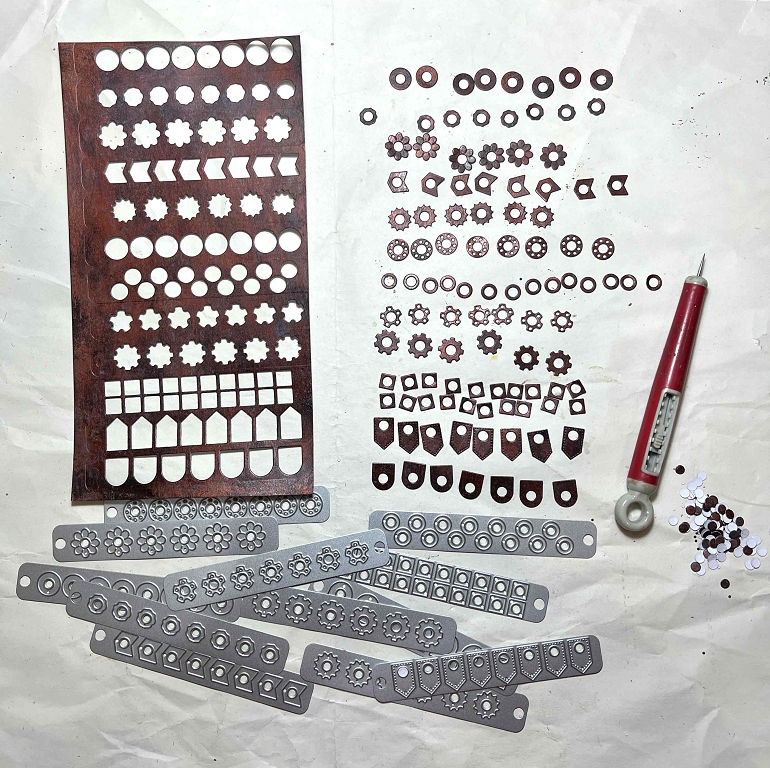
This is the “negative space” left behind after the die cutting. Far too interesting to throw away! I am sure this will come in for something…
Storing the reinforcements
They’ve gone in a plastic box with compartments. When I make more in different colours, I shall probably sort them according to shape rather than colour.
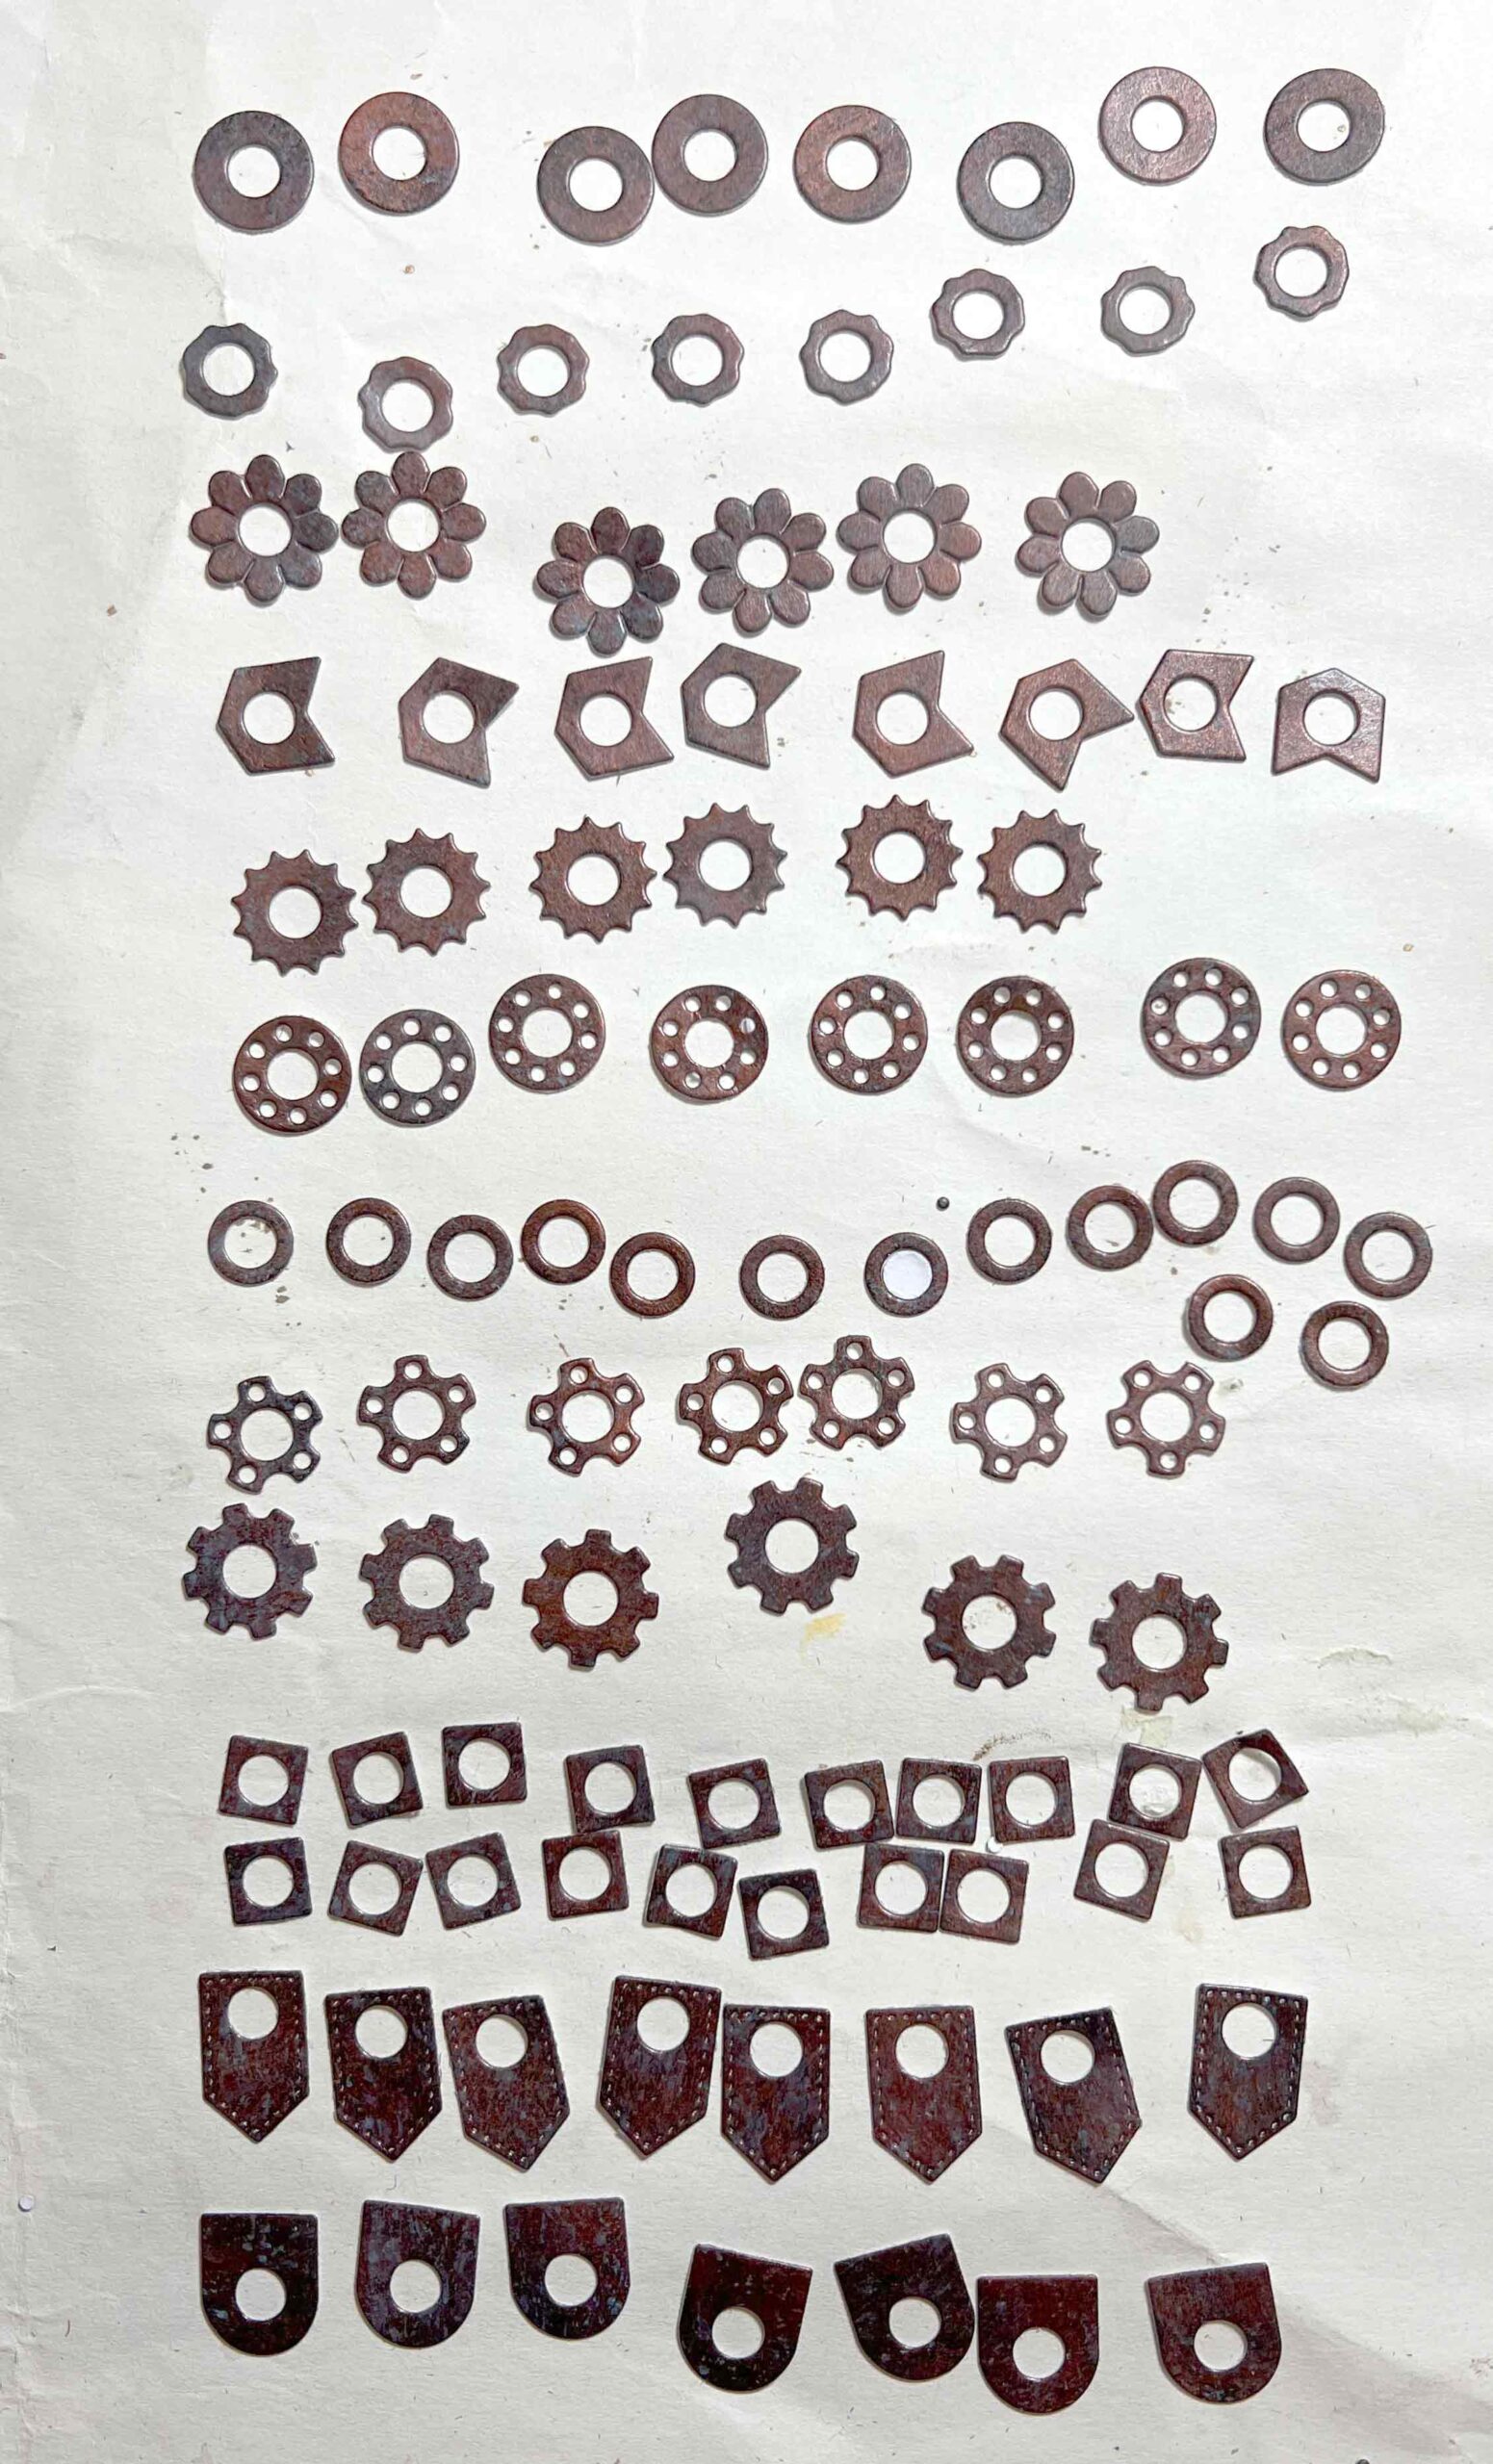
In this picture, you can see more clearly that some of the reinforcements have an embossed pattern on them in addition to the cut. This is an unexpected bonus!
It is unfortunate that the photos never do justice to shiny and reflective surfaces. This faux copper is much more metallic in appearance in real life. In some of these photos it looks more like leather than metal. Choosing the right subject for it helps, though – embossing a pattern that you expect to be made of metal helps fool the brain into believing it!
Bulk making
I’m busy bulk making various embellishments at the moment, mostly with a view to completing my “Make a Joyful Noise” junk journal. It will be good to have plenty of supplies to draw from for this and other projects in the future.

Very clever and so realistic! Excellent to have in your artistic resources for your projects.