SCRAP BUSTING – LUISE HEINZL’S MIXED MEDIA MASTERBOARDS
This has to be one of the most imaginative forms of scrap busting I have ever come across!
Whenever we punch or die-cut any shapes, there is always that negative space paper remaining. Many people simply throw this in the bin but I usually keep it because some of the shapes can be interesting and many of them can be made into frames if a symmetrical shape has been cut from them.
Gathering the materials
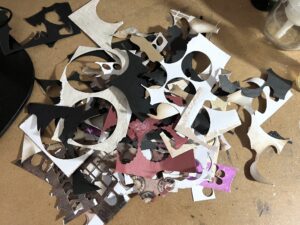
When I saw Luise’s videos about this I knew I had to try it, but I didn’t think I’d have enough of this material to make a start. However, when I got down the pizza box containing miscellaneous die cuts, I found a load of the negative pieces mixed in with them. I separated them all out and ended up with quite a pile! This means that the box is noticeably less full than previously, which is all to the good.
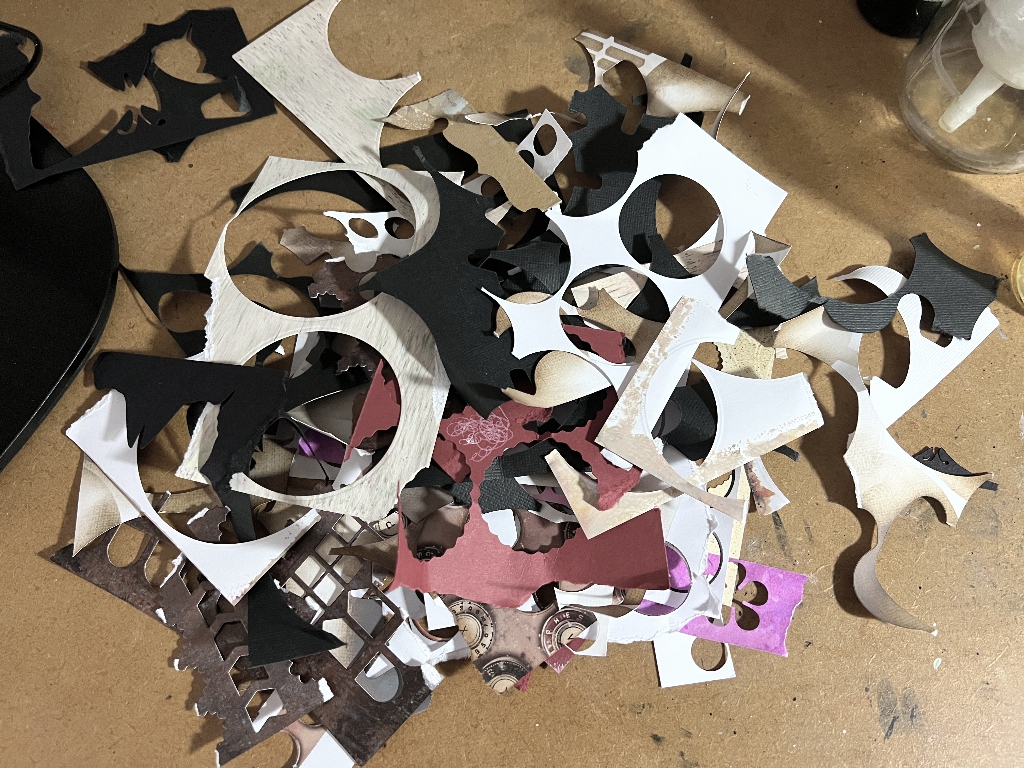
Going through it, I tore some of them up into more manageable pieces, and also separated out the ones that were suitable for use as frames or other useful elements.
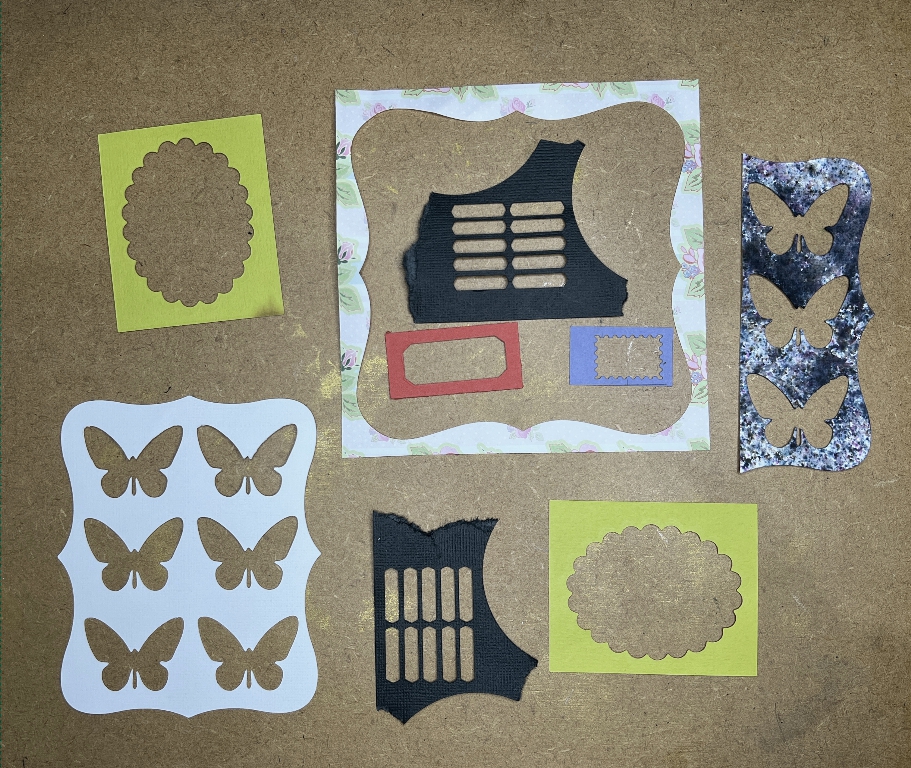
The colour of all of this stuff is irrelevant because everything can be changed.
Assembling the masterboards
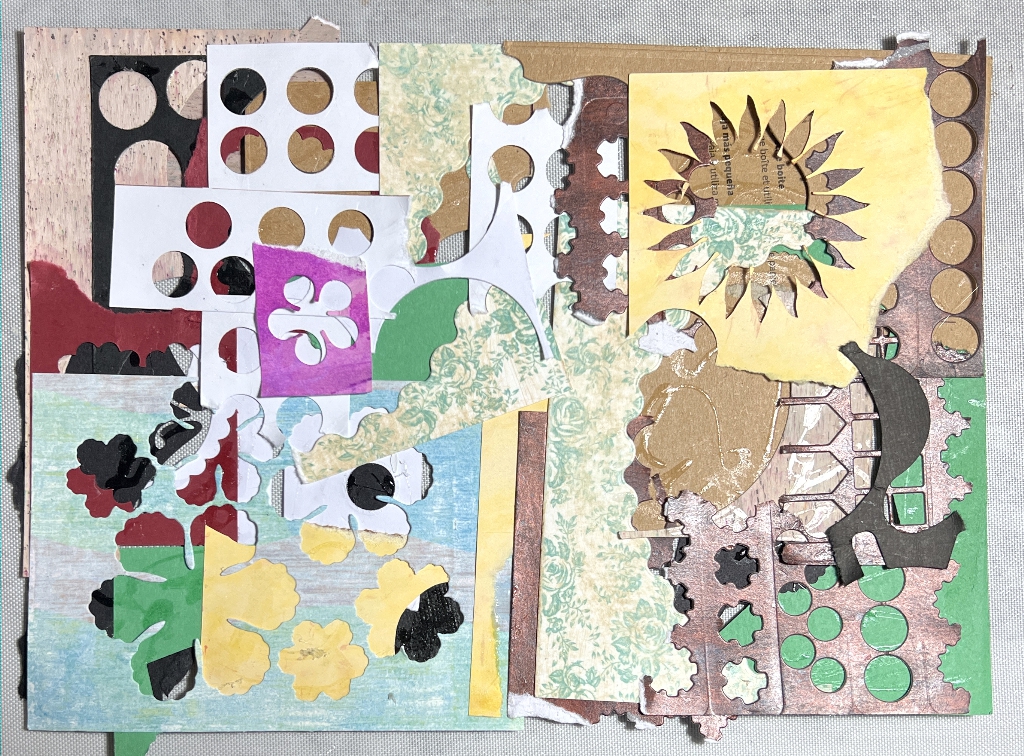
The idea is to glue the scraps together randomly in layers. Like Luise, I tried to keep the whole thing roughly rectangular, and not too large, because the next stage involves the sewing machine.
For someone without a sewing machine, they would have to spend a bit more time on the glueing stage, making sure everything was really stuck down securely, but the machine stitching makes short work of this.
Machine stitching
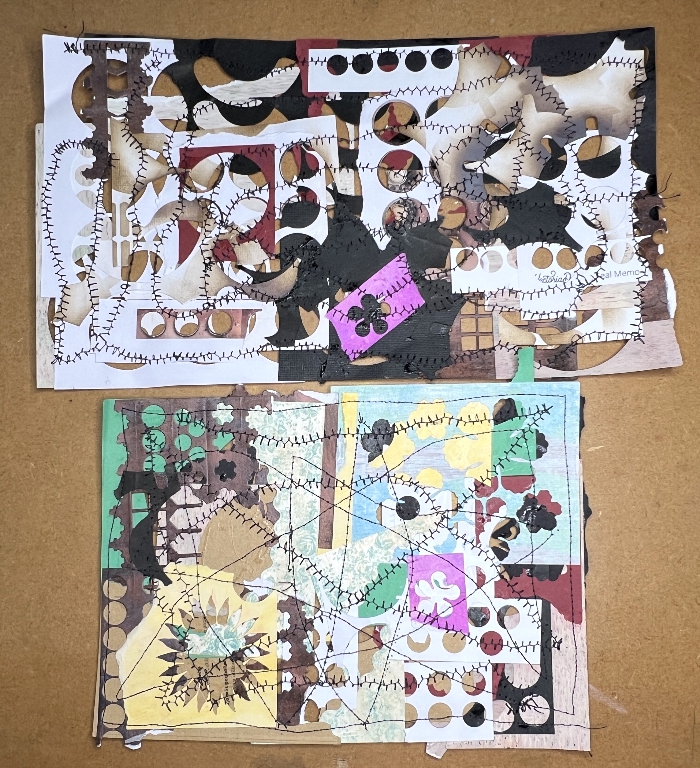
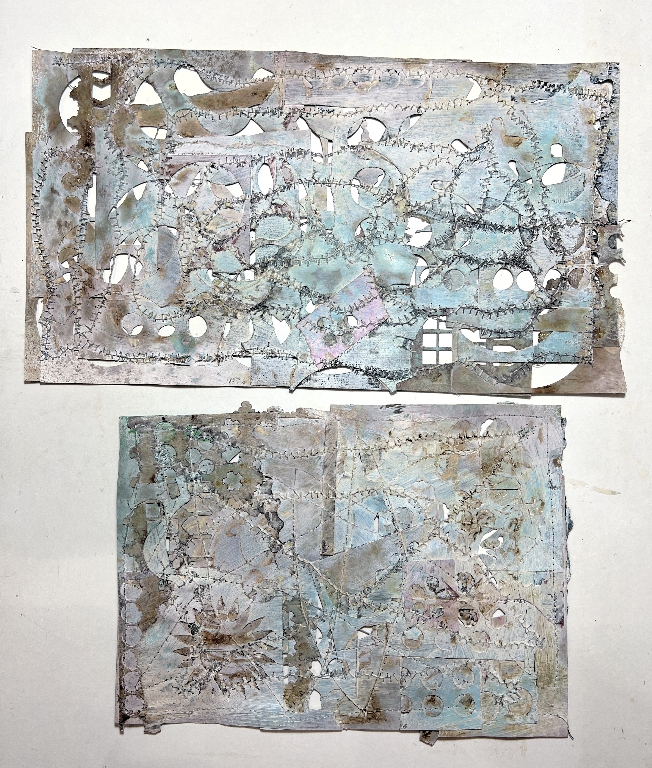
Running the stitching randomly all over the sheet holds everything in place sufficiently that it doesn’t fall apart. Any loose bits would be more or less secured by the addition of media later on. Luise used a mixture of straight and zig-zag stitching on hers, and I repeated this process on my first one (the smaller of the two), but used exclusively zig-zag on the larger one.
While it is a good idea to make the sheet as solid as possible, leaving a few holes just adds to the texture and interest.
They do look a total mess at this stage, but as my Scottish granny always used to say, “Feels (fools) and bairns (babies) should’na’ see half done things”! Be patient, things will improve!
Adding media
The fun begins here. Anything goes. For these first ones I followed Luise’s lead but she suggests adding stencilling and stamping and whatever you like, really – it depends on what you want to use them for.
Luise made several videos showing how she treated her masterboards. For my smaller one I followed her first instructions which resulted in a dark grungey one slightly resembling leather. For the larger one I followed her instructions to tear the masterboard into small pieces before adding colour, giving one more scope for variety, and useful for adding to small embellishments.
Gesso
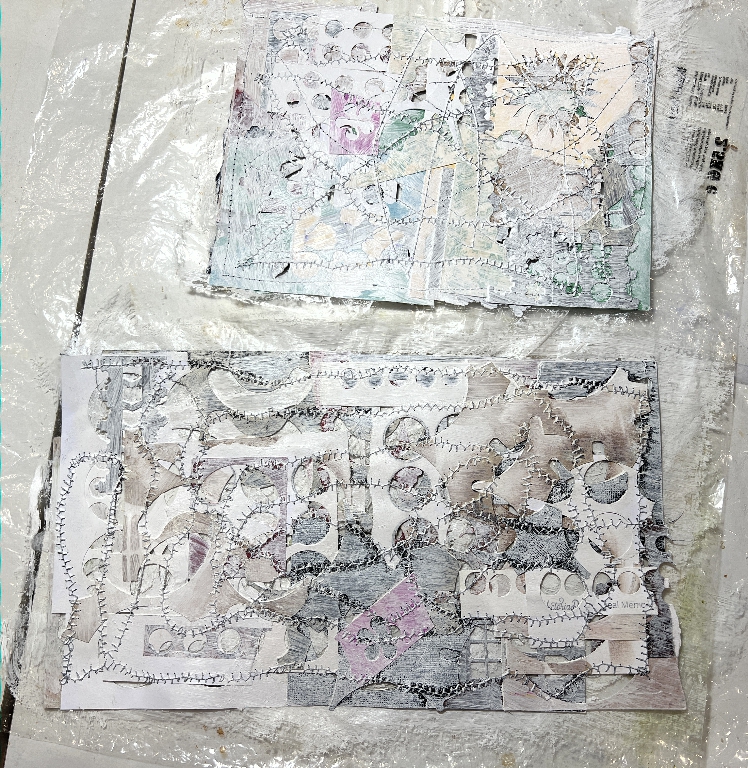
The first layer was white gesso over the whole thing, to begin to obliterate the colours of the fragments and also provide a surface to work on.
Inks
Obviously, gesso being acrylic-based, water-based inks were not going to dry on it, but if you apply them while the gesso is still wet, they colour it, and in the process, become permanent. I sprayed on Walnut Stain Distress Spray Stain and Frayed Burlap Distress Oxide Spray, spritzing on some water to get the ink moving and blotting up any obvious pooling.
Here are some detail shots.
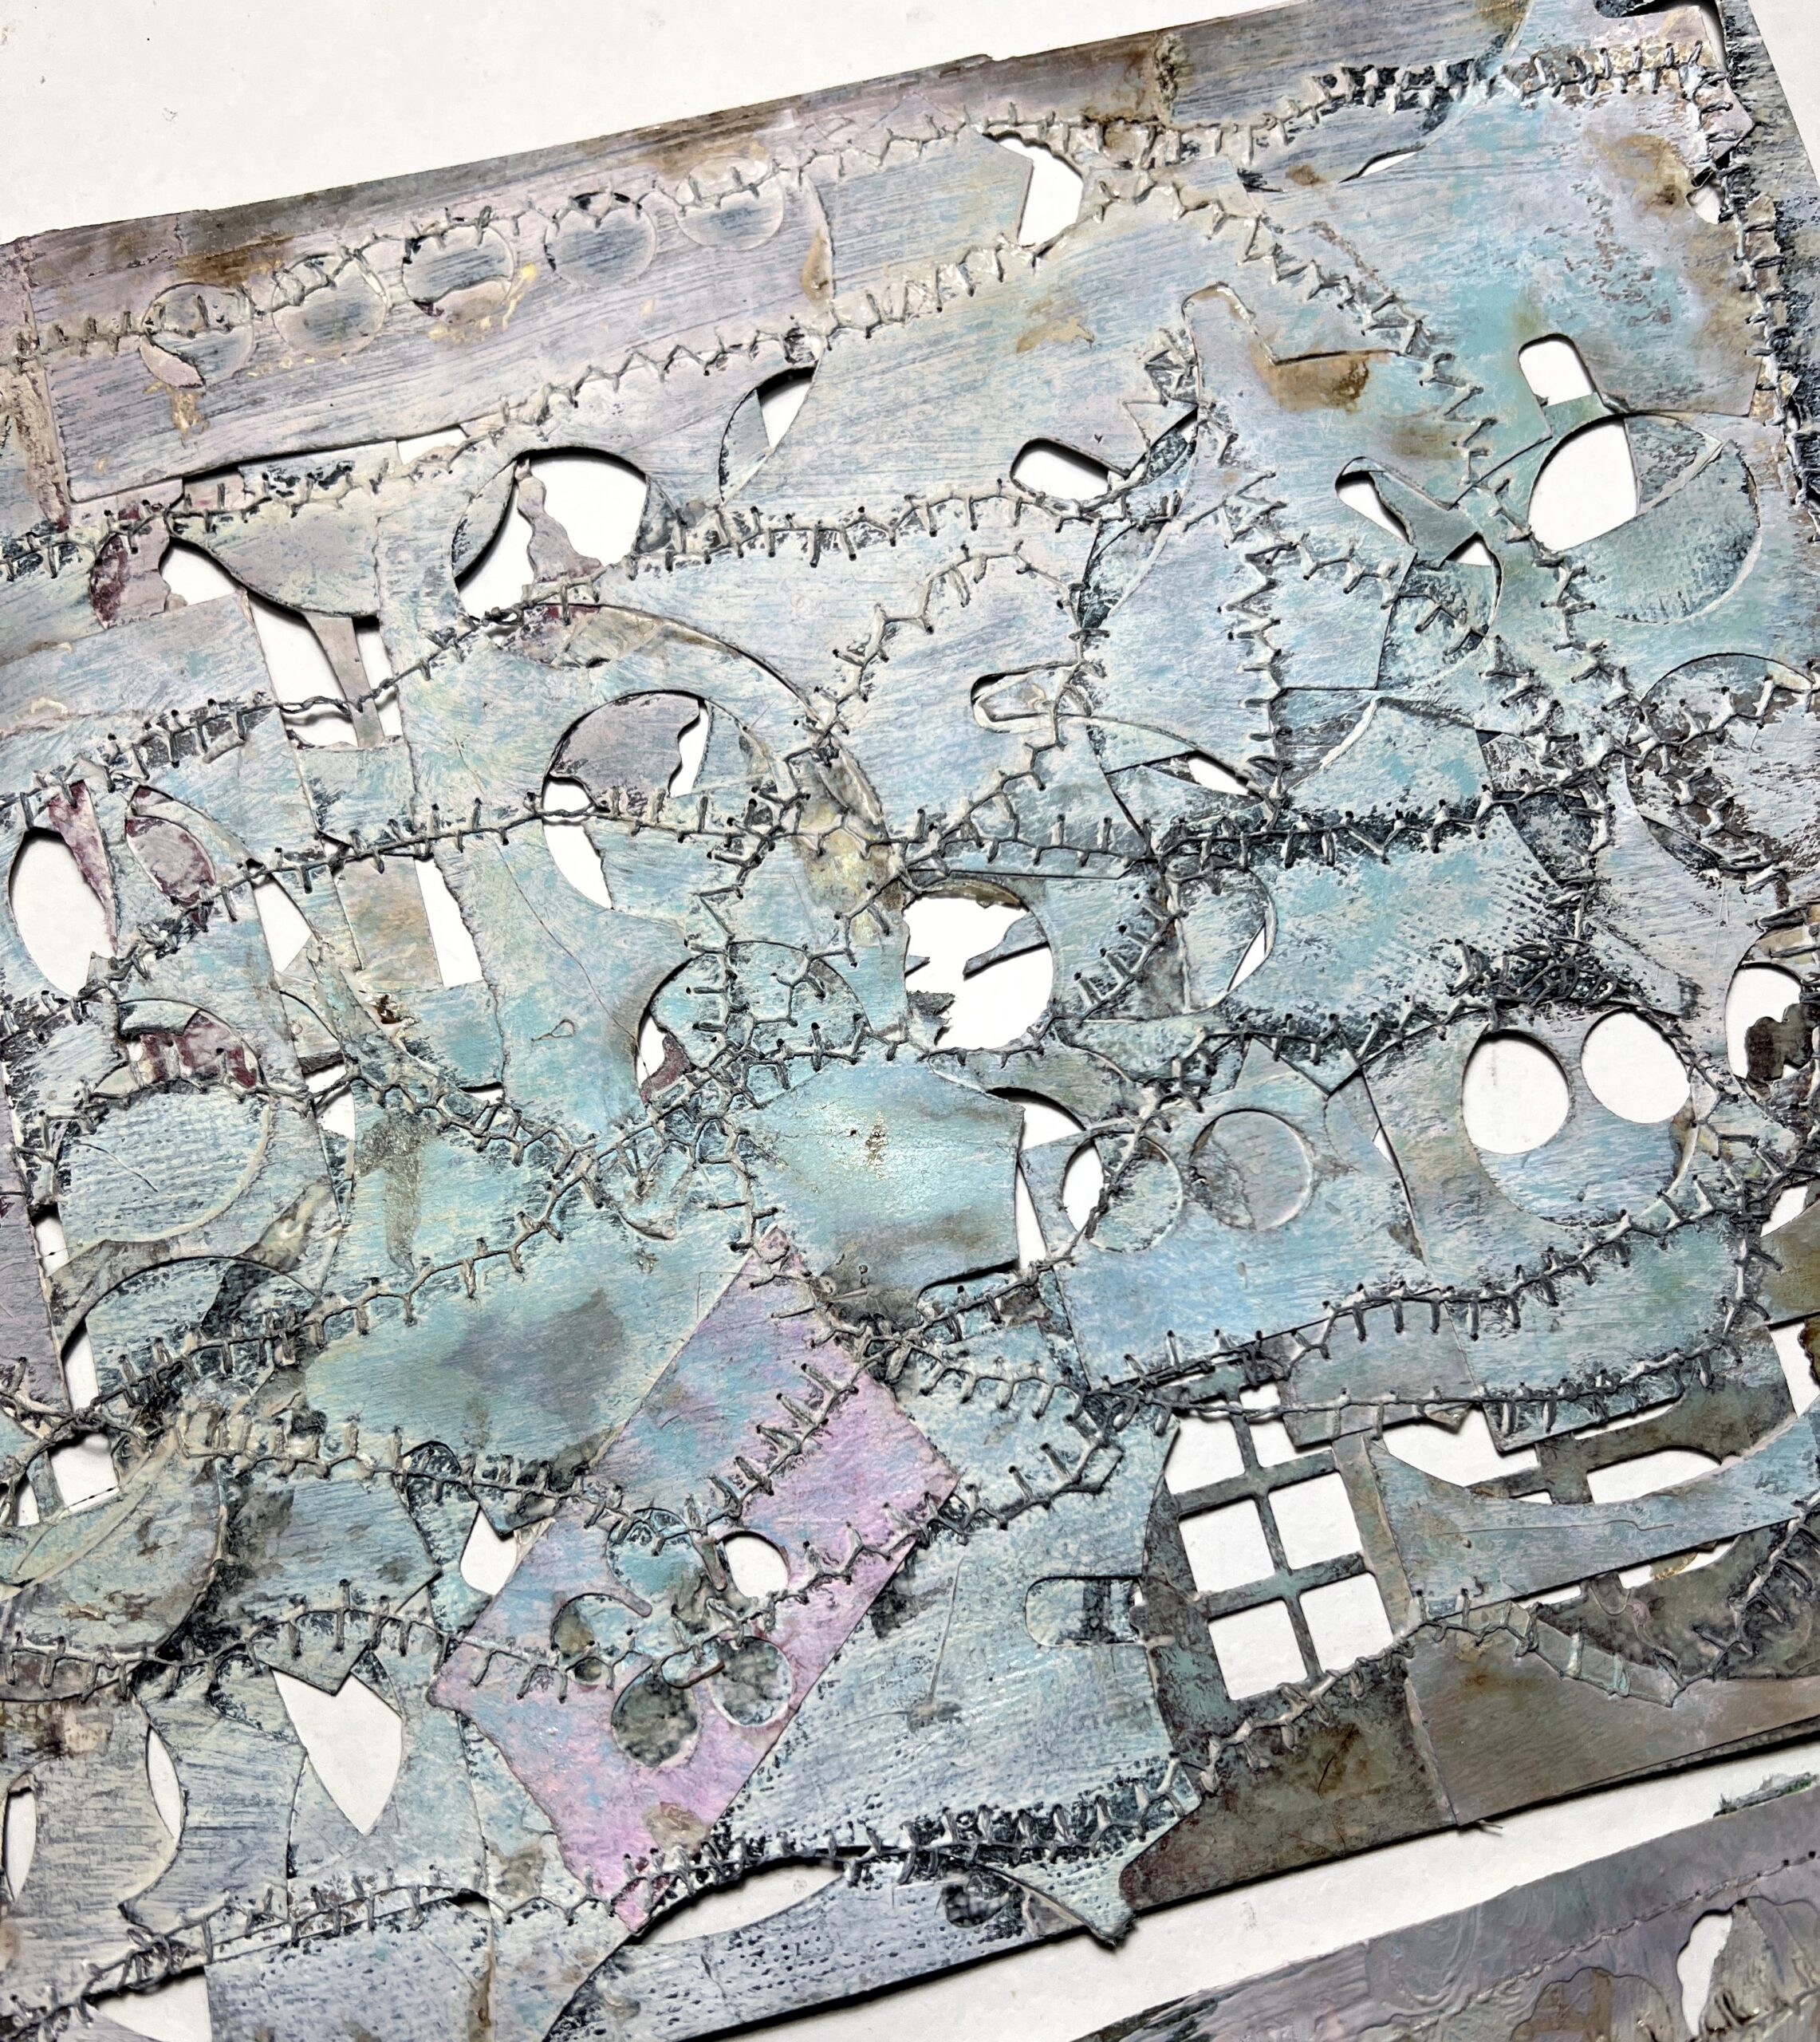
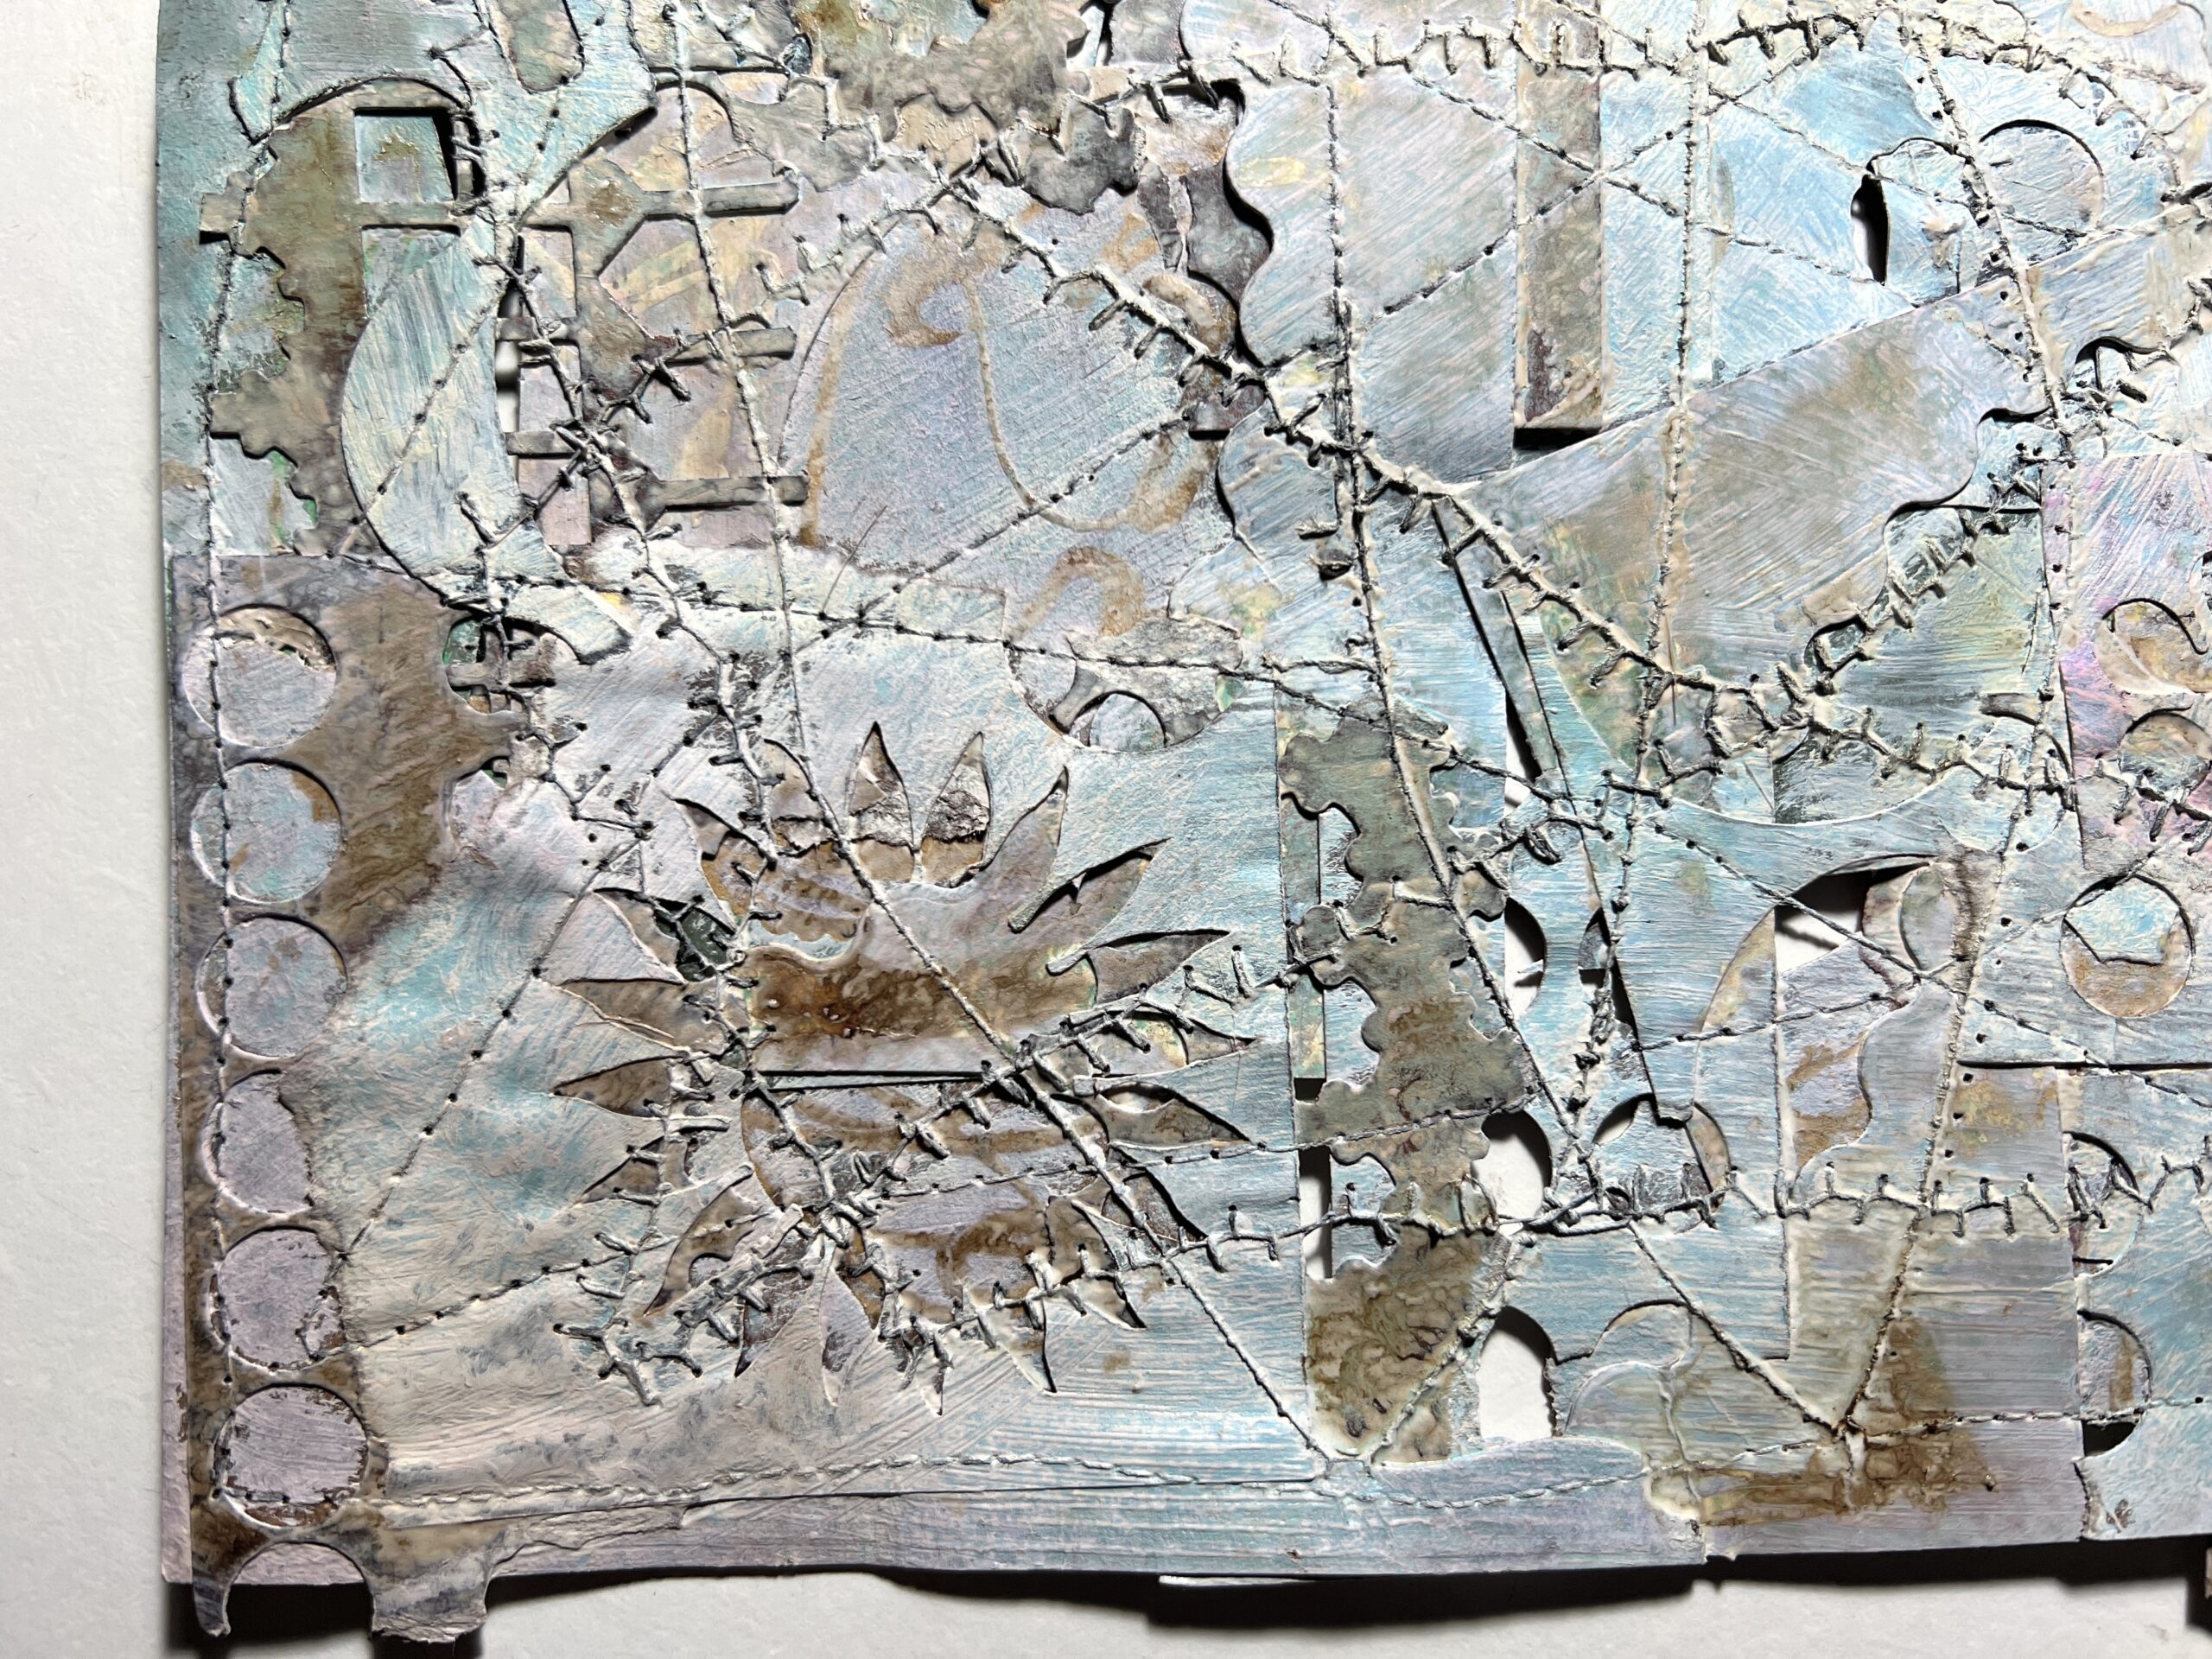
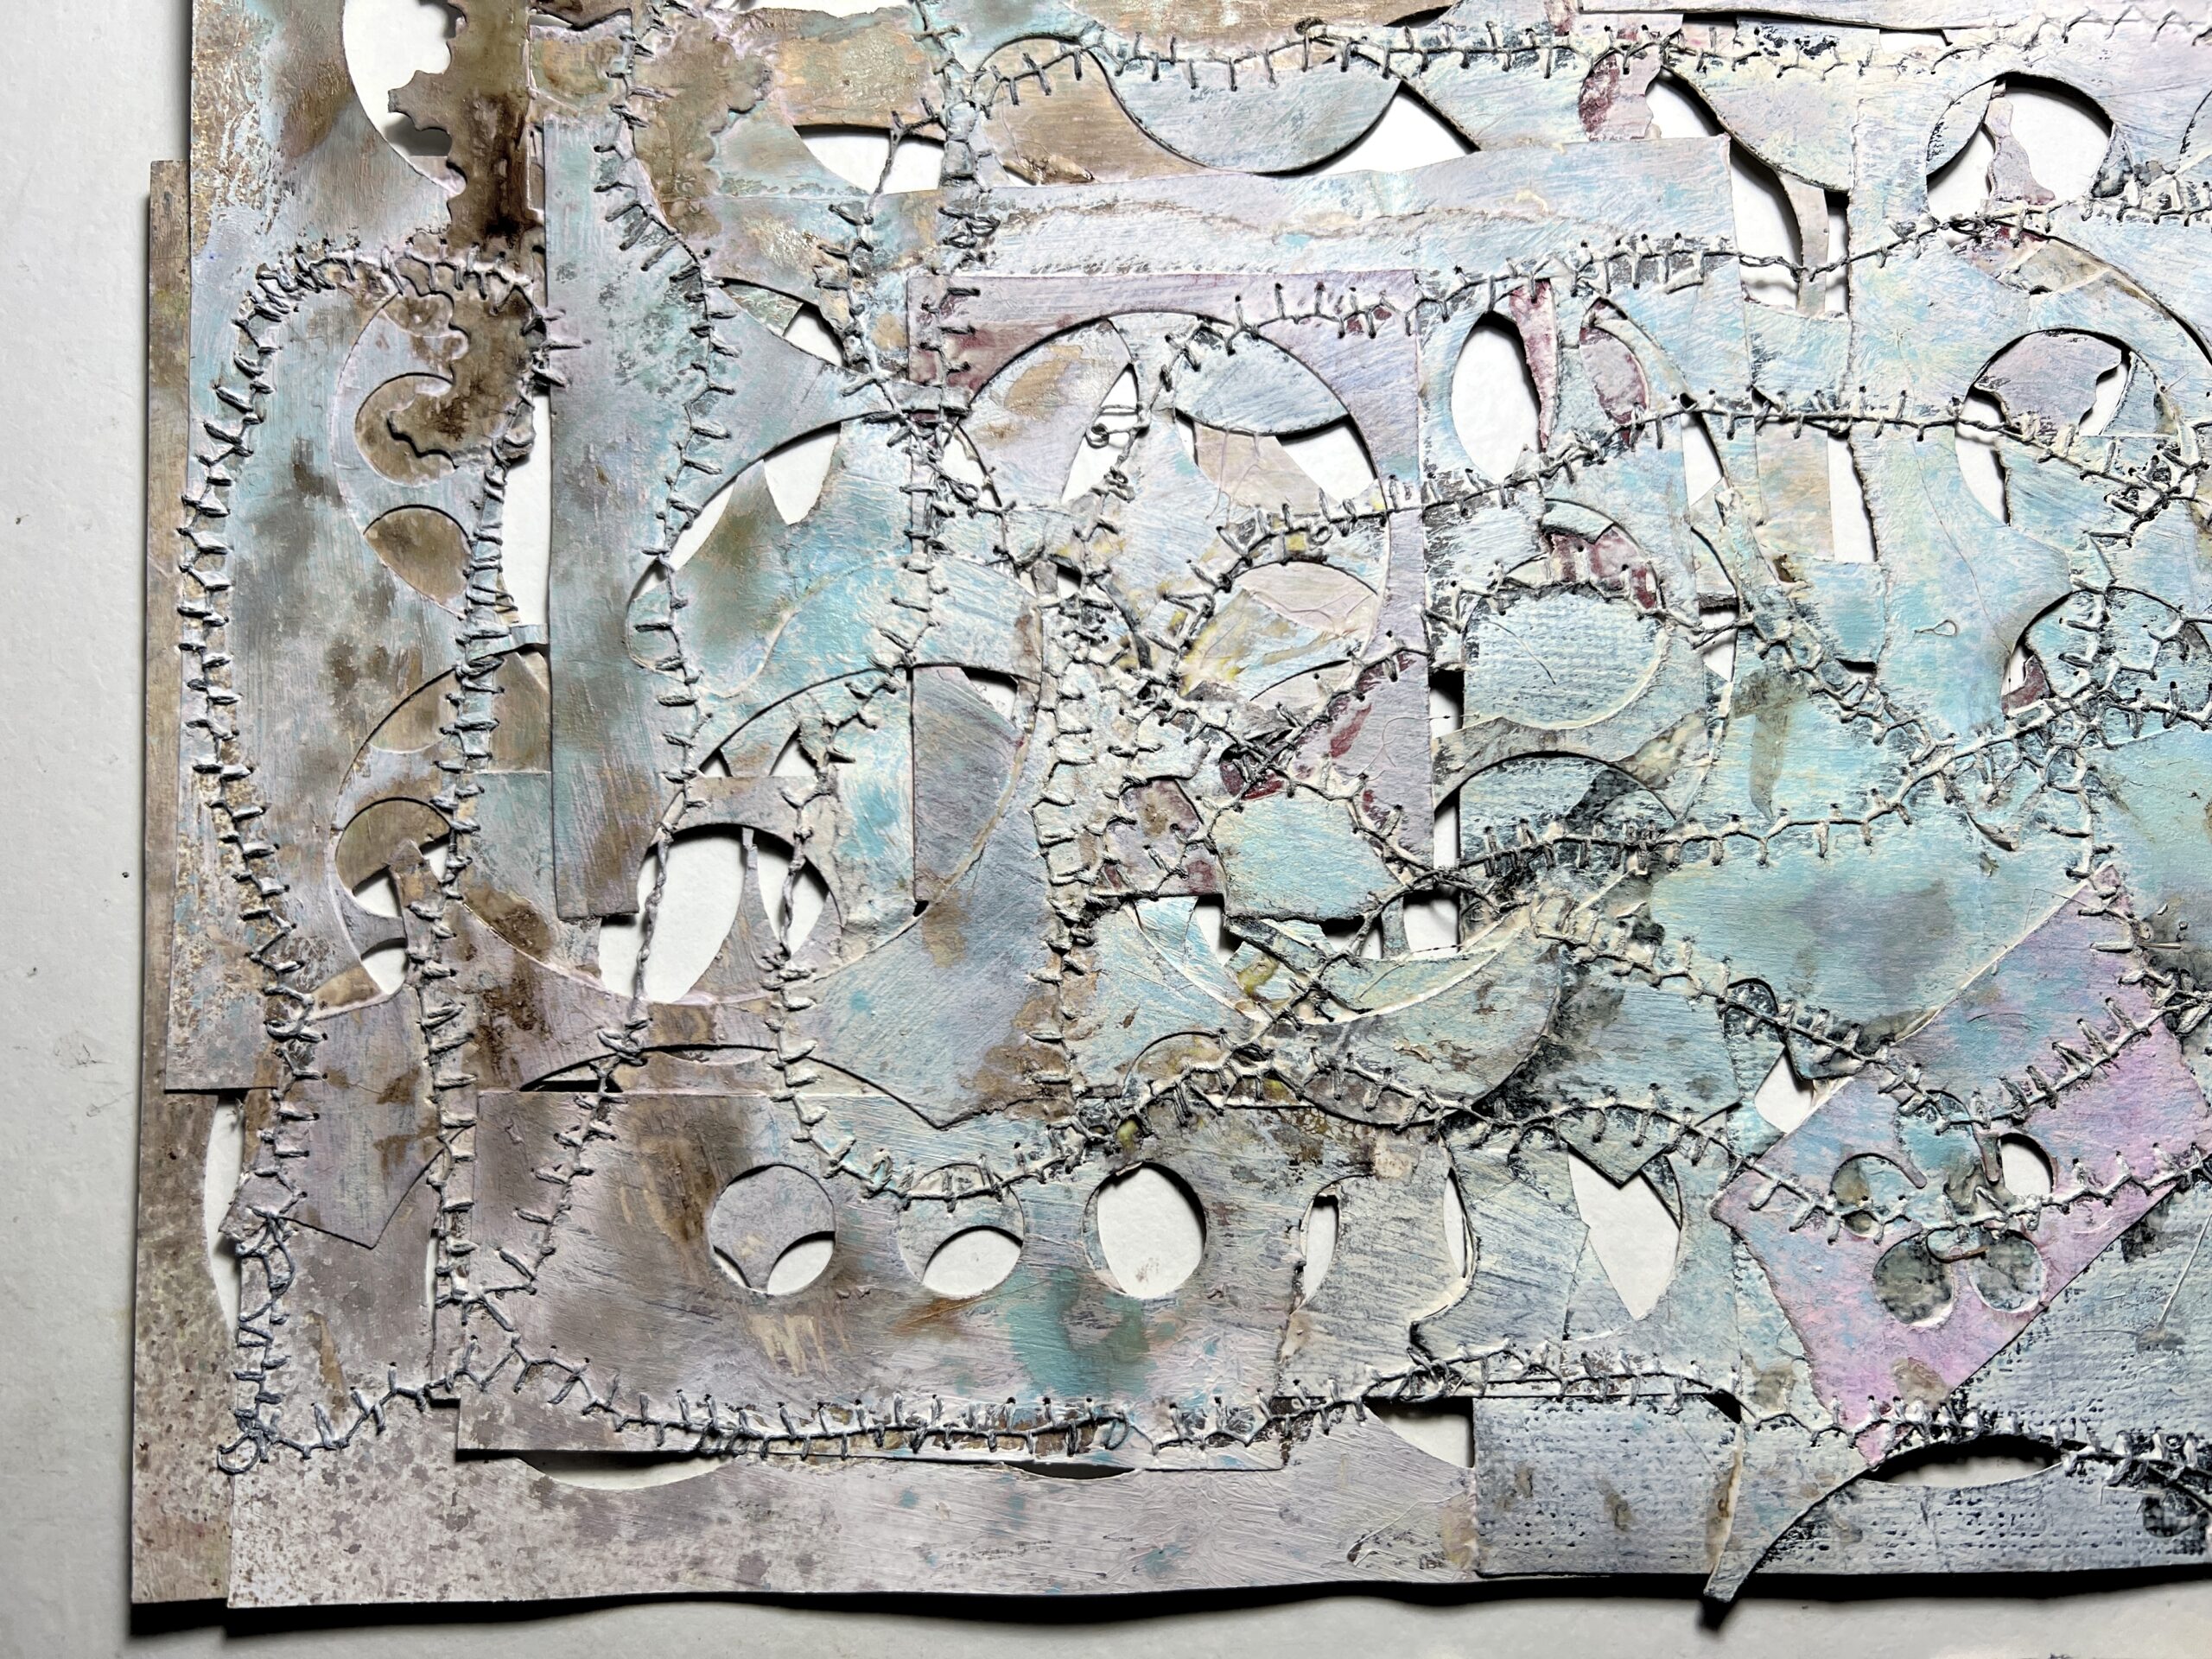
You can still see some of the original underlying colour in places, which is great, because it all adds to the layering interest. Soaking into the gesso, the inks are quite subtle.
Here is a baby wipe that had already been used for mopping up something else, and I decided to use it instead of kitchen paper this time, so that it would be ready for use in another project. I could never throw this gorgeousness away! Dry baby wipe feels so soft, almost like silk. It makes great collage fodder and adds that extra dimension of a different feel.
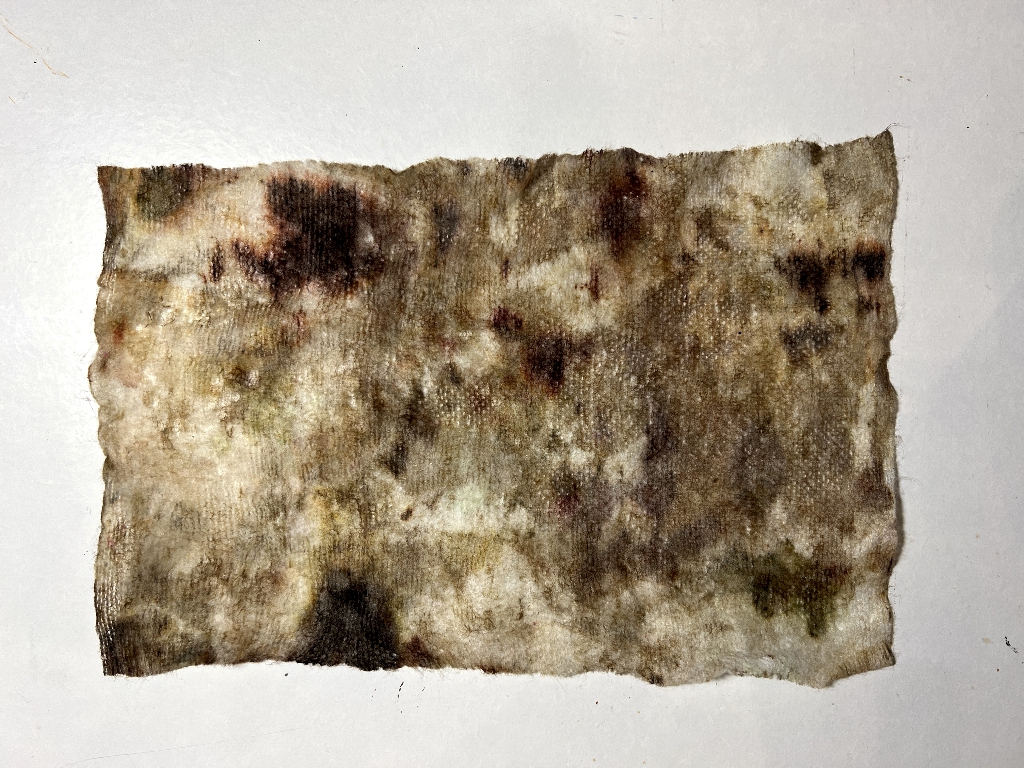
From now on, I shall be concentrating only on the first masterboard. The second one will be treated differently.
Additional layers
I added more acrylic and inks to darken the masterboard. The first step was to brayer on black acrylic. Using this method meant that the black paint only hit the raised parts of the texture.
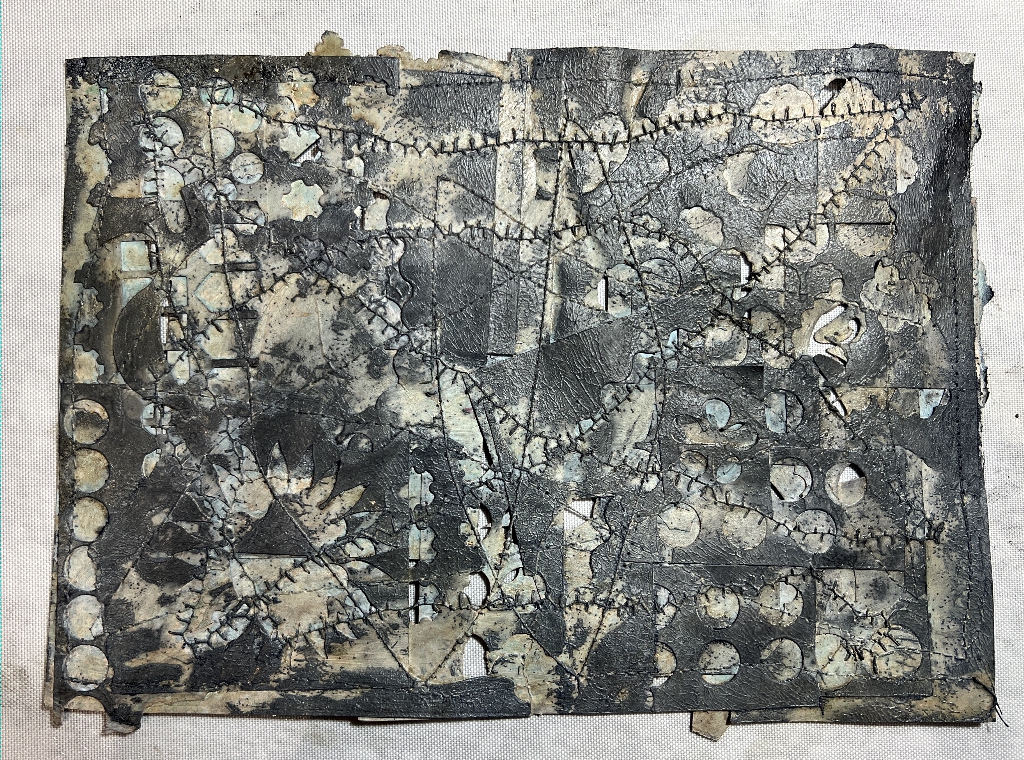
Some detail shots of the further layers. Firstly I sprayed on some Frayed Burlap and Lost Shadow Distress Oxide sprays while the acrylic paint was still wet, spritzing with a little water to get the ink to move. Once it was dry, I rubbed off the excess where any paint had resisted it.
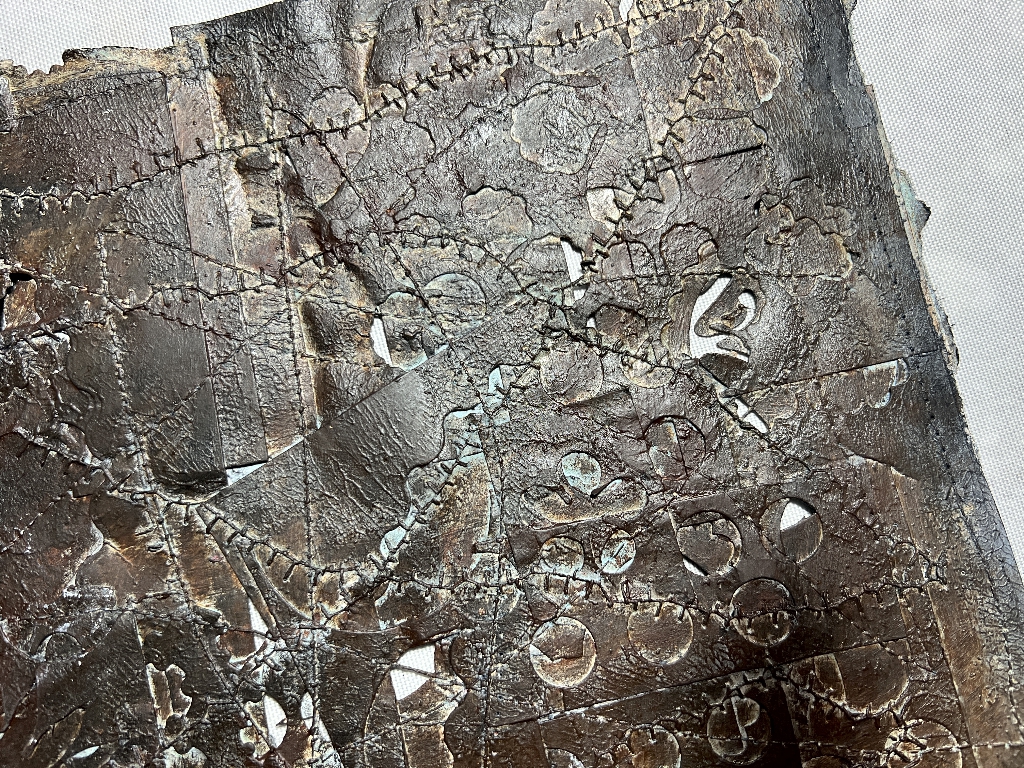
It was hard to get accurate photos of these complex surfaces and subtle colours. I felt it was getting a bit dark and samey, so I dry-brushed on some black and burnt umber acrylics, having mixed them slightly on the palette. This served the bring out the texture better. Once it was dry, I enhanced this effect by rubbing on a little white acrylic with my finger, emphasising the more obvious bits of texture.
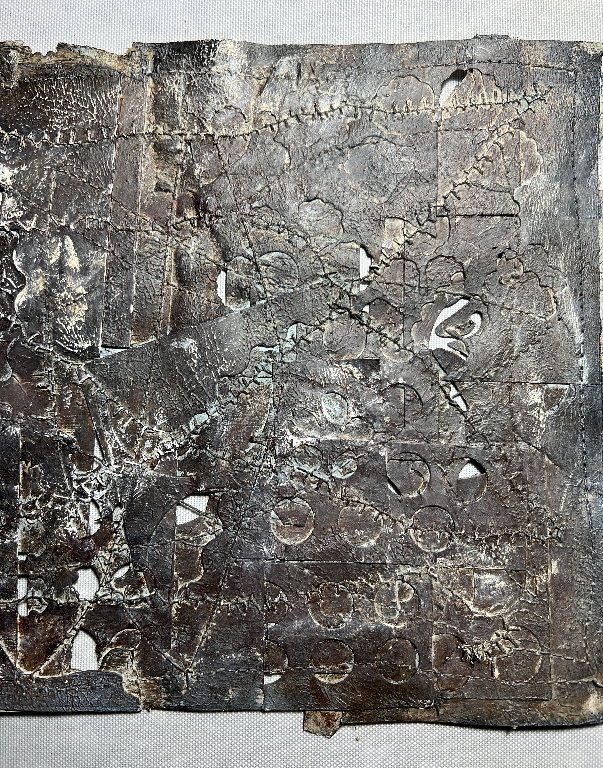
Gilding wax
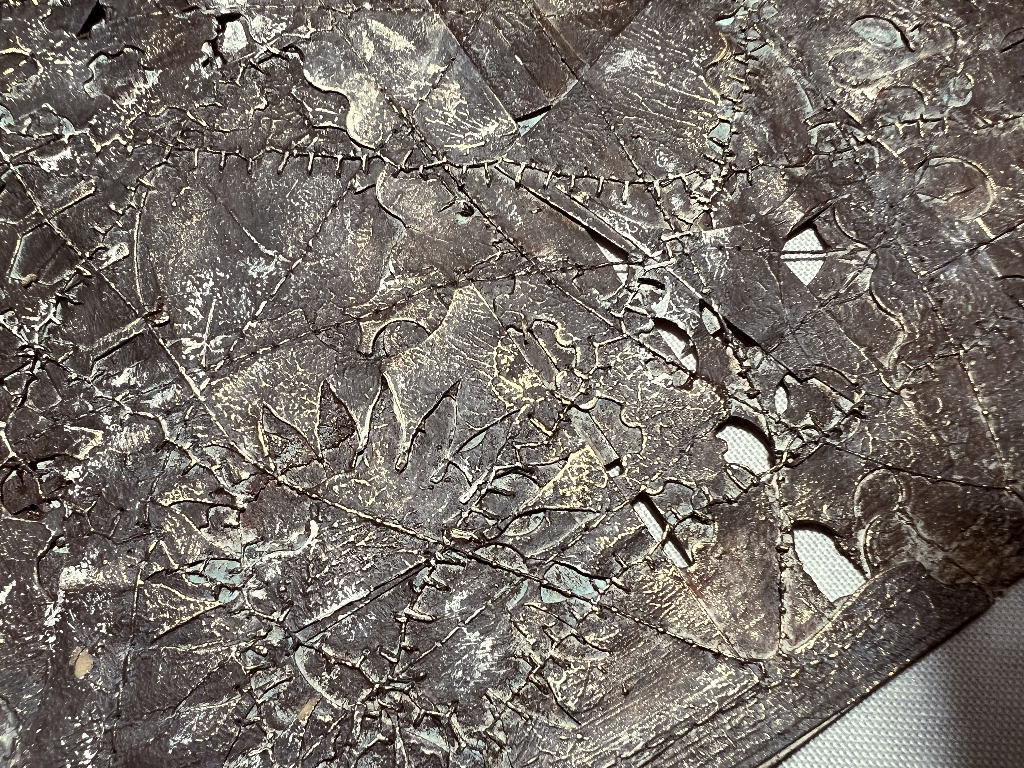
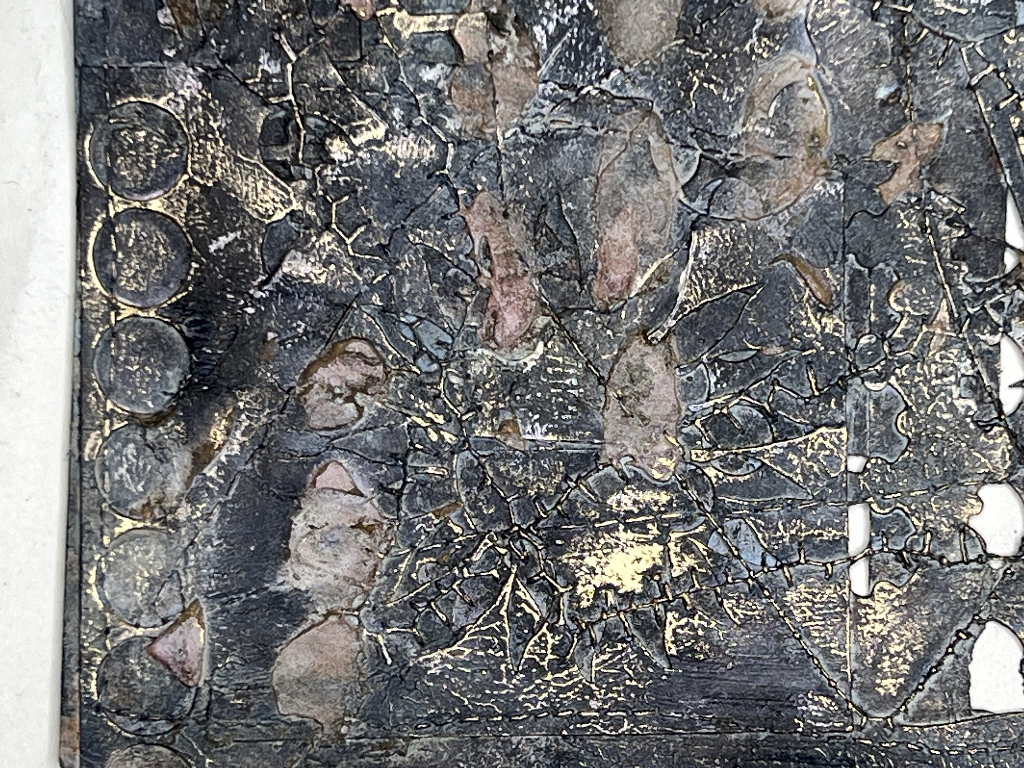
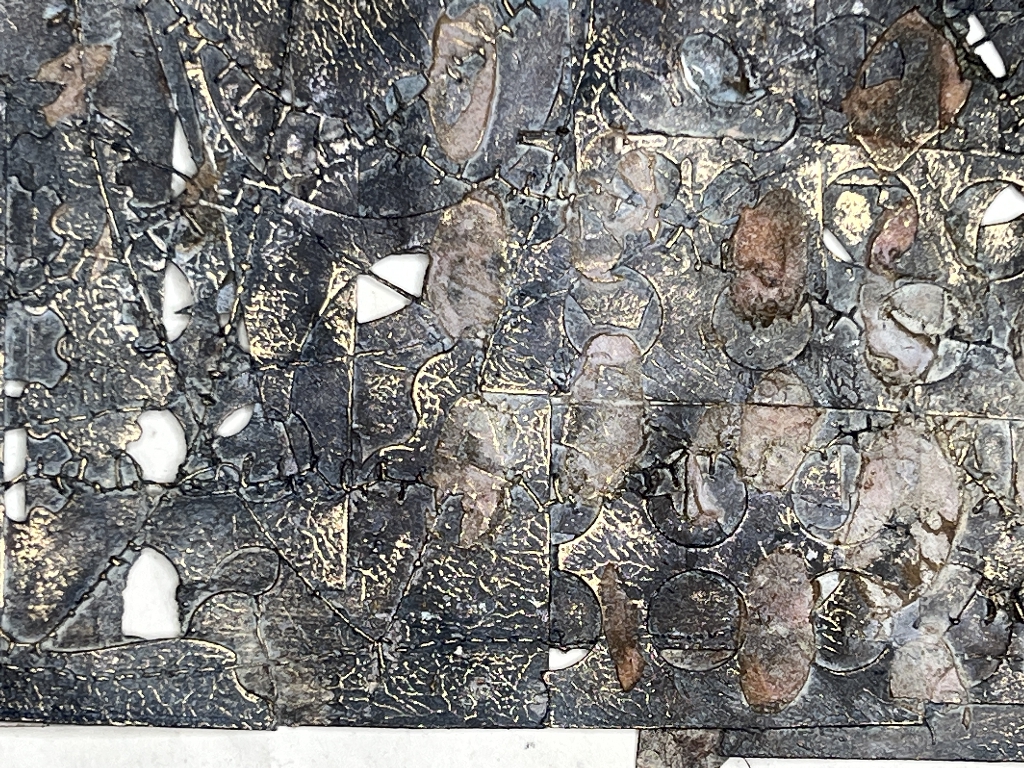
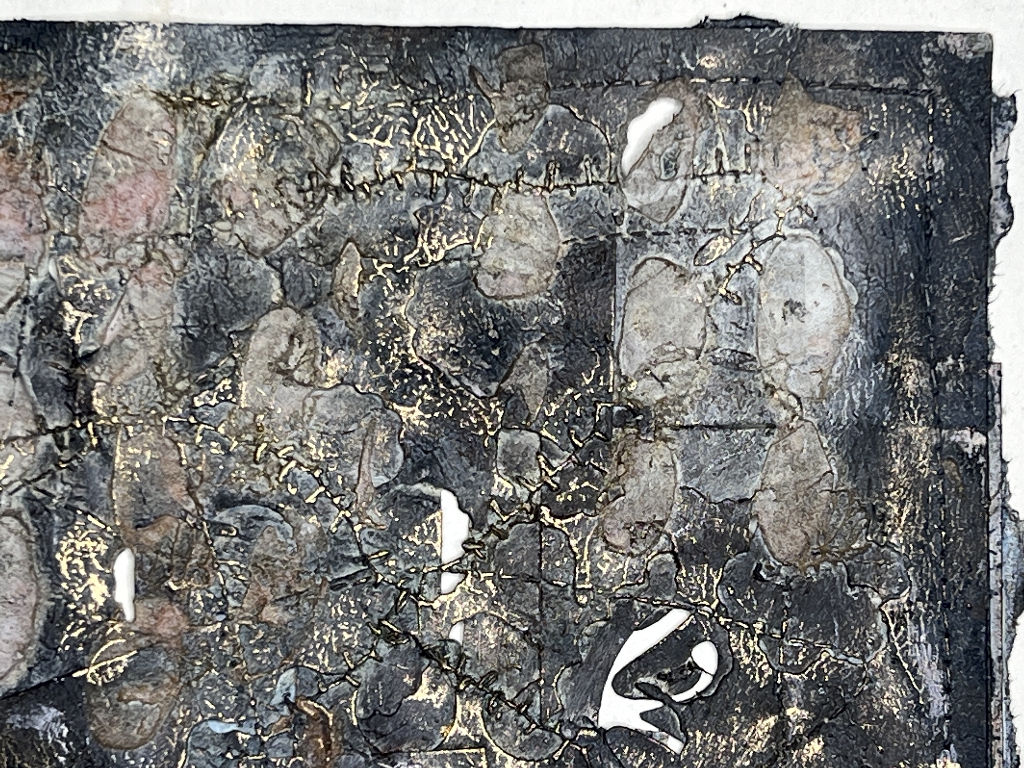
Another layer to bring out the texture further. I applied the gold gilding wax with my finger, emphasising the edges of the raised texture.
Stencilling with moulding paste
This was less successful than I’d hoped. I’ve got a small pot of soft moulding paste which I want to use up because it’s not that brilliant for providing texture. The result here was more subtle than I wanted, but it is still visible. I applied the paste through my “Irregular Ovals” stencil in random places across the masterboard.
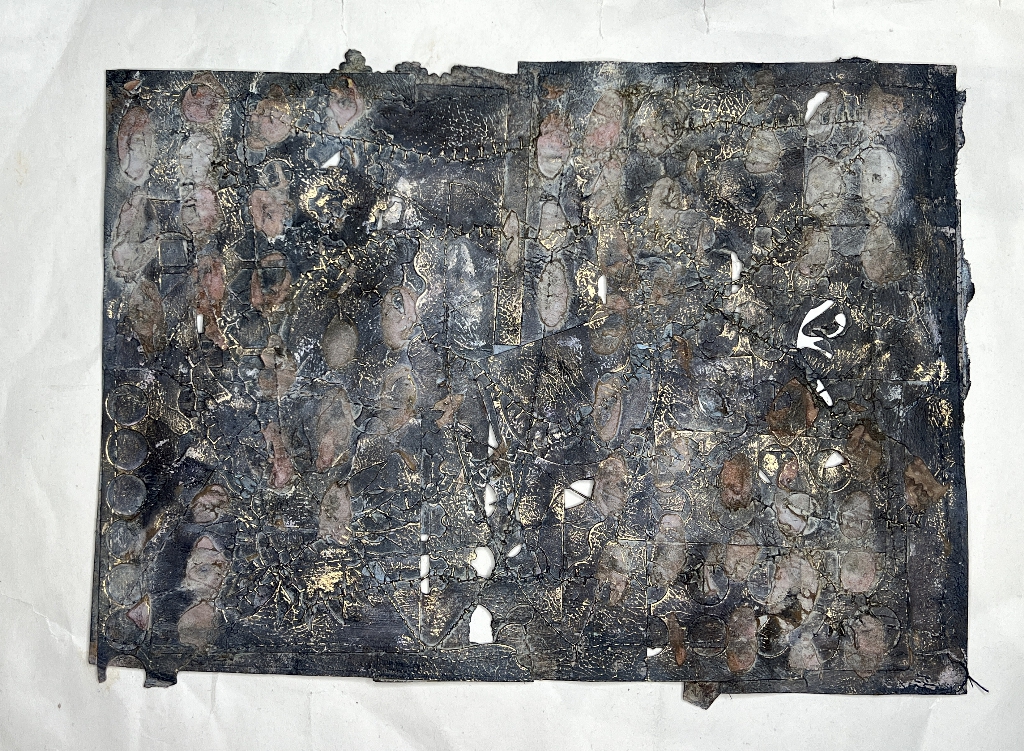
While it was still wet, I sprayed it with Frayed Burlap Distress Spray Stain and Lost Shadow Distress Oxide Spray, sprintzing with water as before, and left it to dry. To brighten the stencilled areas a bit, I sprayed on some Rusty Hinge Distress Spray Stain.
When everything was dry, I rubbed the whole thing down. The acrylic paint and gilding wax acted as a resist to the sprays, which then remained only where they had adhered to the stencilled areas. During the rubbing some of the gilding wax was removed so I went over the piece with some more.
Final detail shots
A few close-ups of the gilding wax on the texture.
Waste not, want not!
There was still quite a bit of the black and burnt umber acrylic paint on the palette and I didn’t want to waste this. I found one of my old bank letters that had been coffee-dyed, and simply brushed the paint on all over it, not being careful about the direction of the brush strokes and not worrying about any areas left blank.
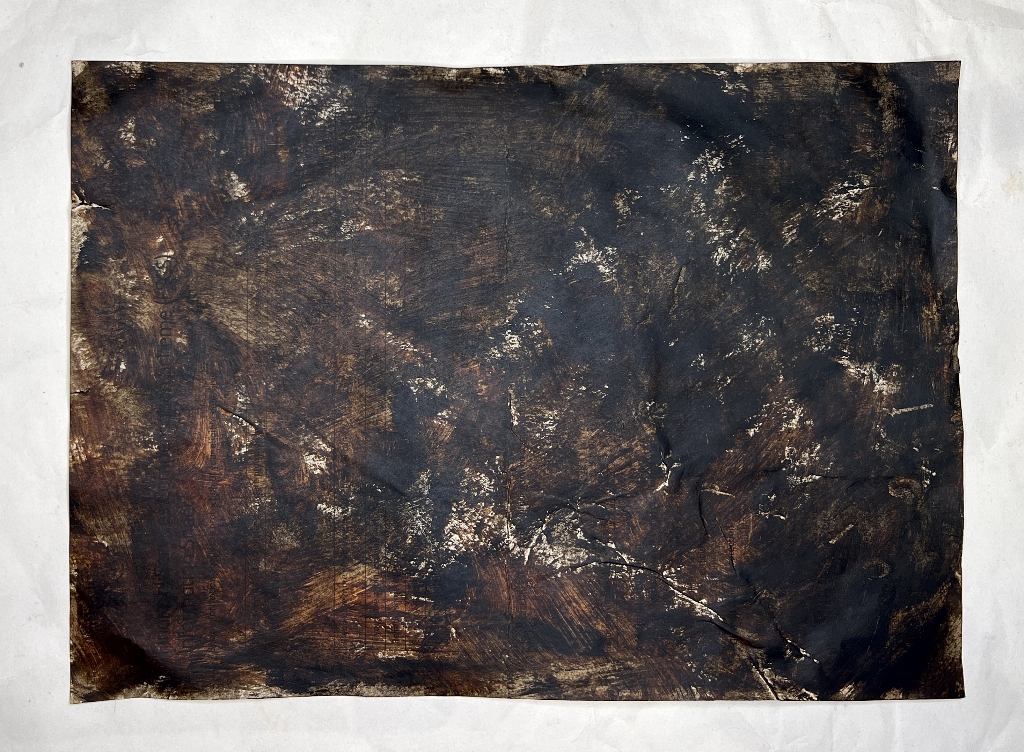
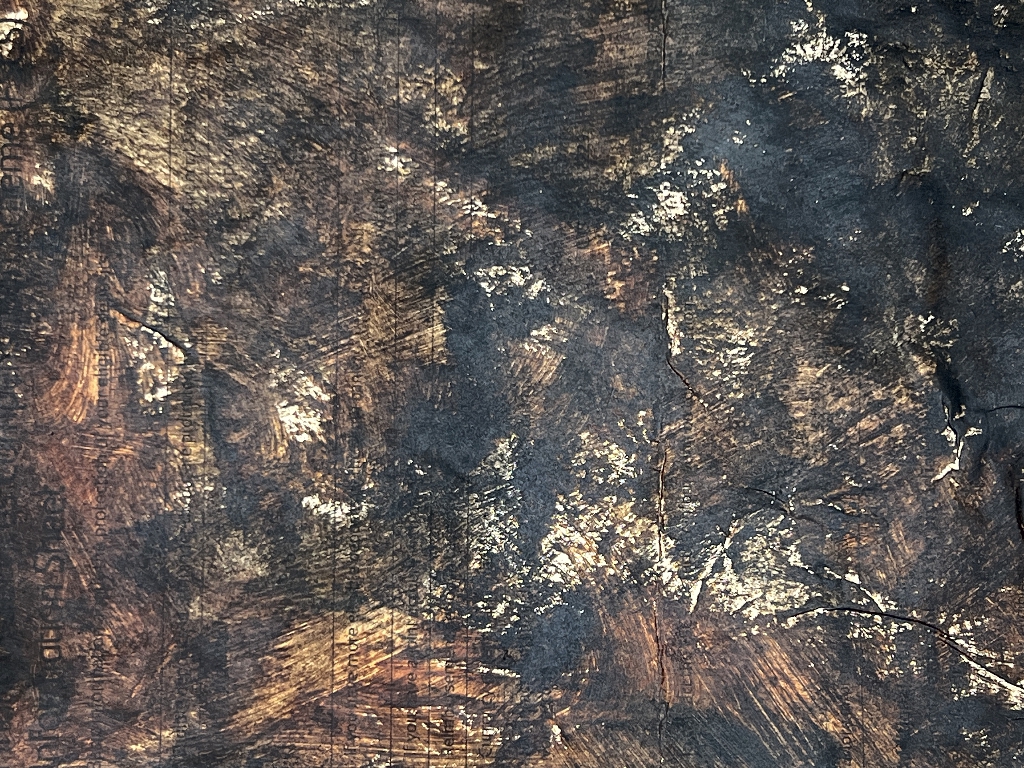
If you look carefully you can see a bit of the printing on the paper where the paint is thinner. This paper is now set aside to be one of the pages in the journal that I am making, which will incorporate these mixed media masterboards.
This has been a really fun project to work on. There are a lot of steps and you might think it isn’t worth the bother, but to turn this:
into this:
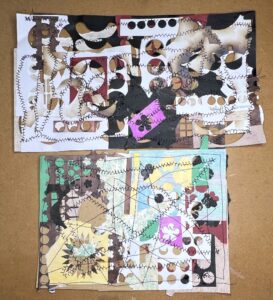
and ultimately into this:
is surely worth the effort! It feels fabulous.
Final step
The final step for this piece was to tear it into several smaller pieces. I had to cut the sewn threads in places.
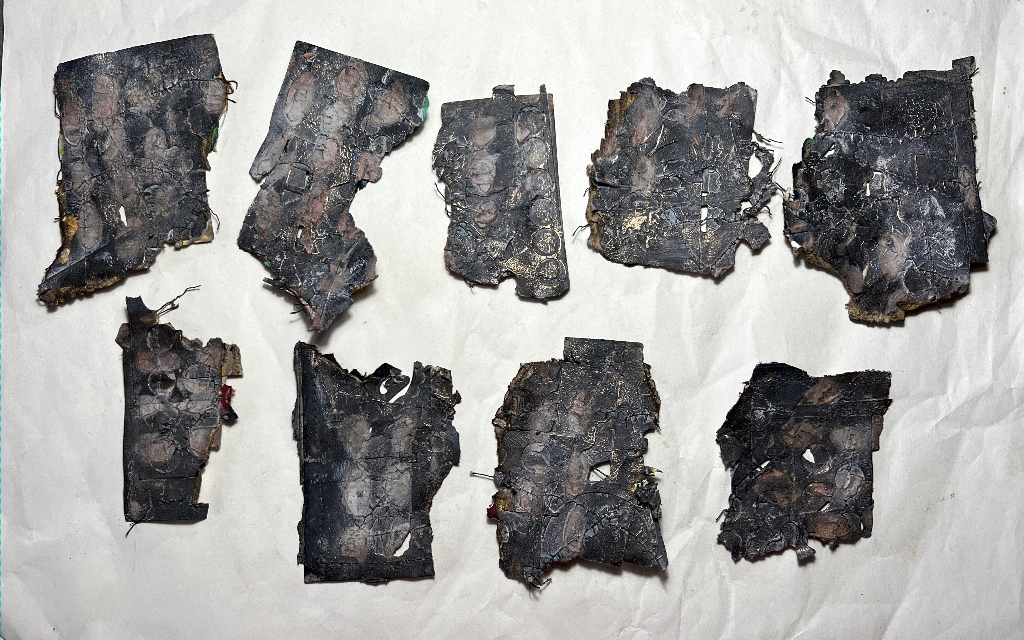
With the addition of other elements, these fragments will become page tabs for the upcoming album.