SCRAP BUSTING – MIXED MEDIA FRAGMENTS
I have made further inroads into my overflowing scraps box, grabbing a handful of white card strips which had been trimmed off larger sheets.
Tea and rust
I laid them out on the table close together and tea dyed them from a spray bottle, and once they were dry, I spattered them with rust water.
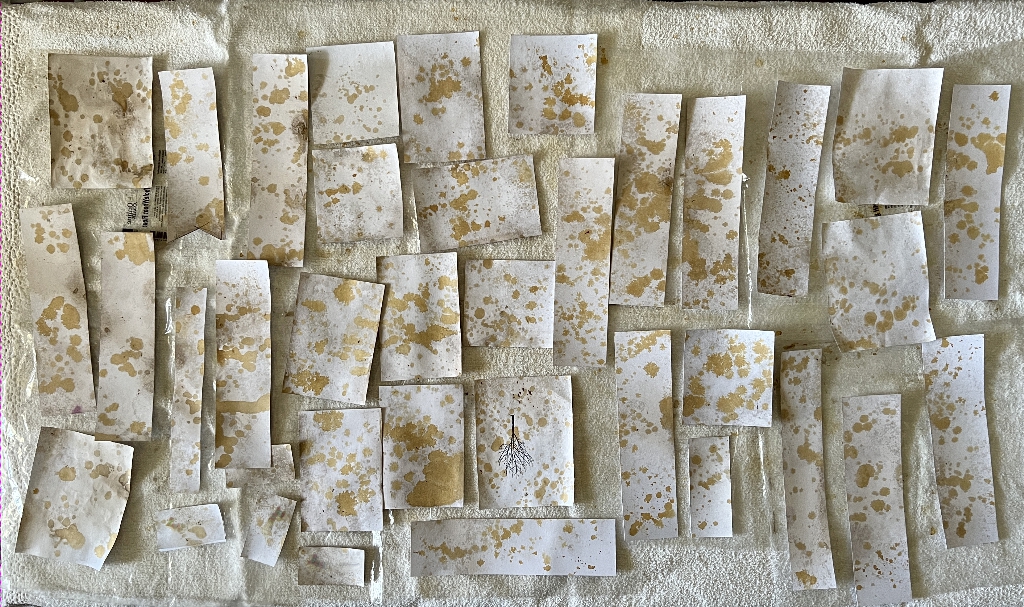
They are quite usable at this stage, but I had more layers to come.
Stencilling with ink
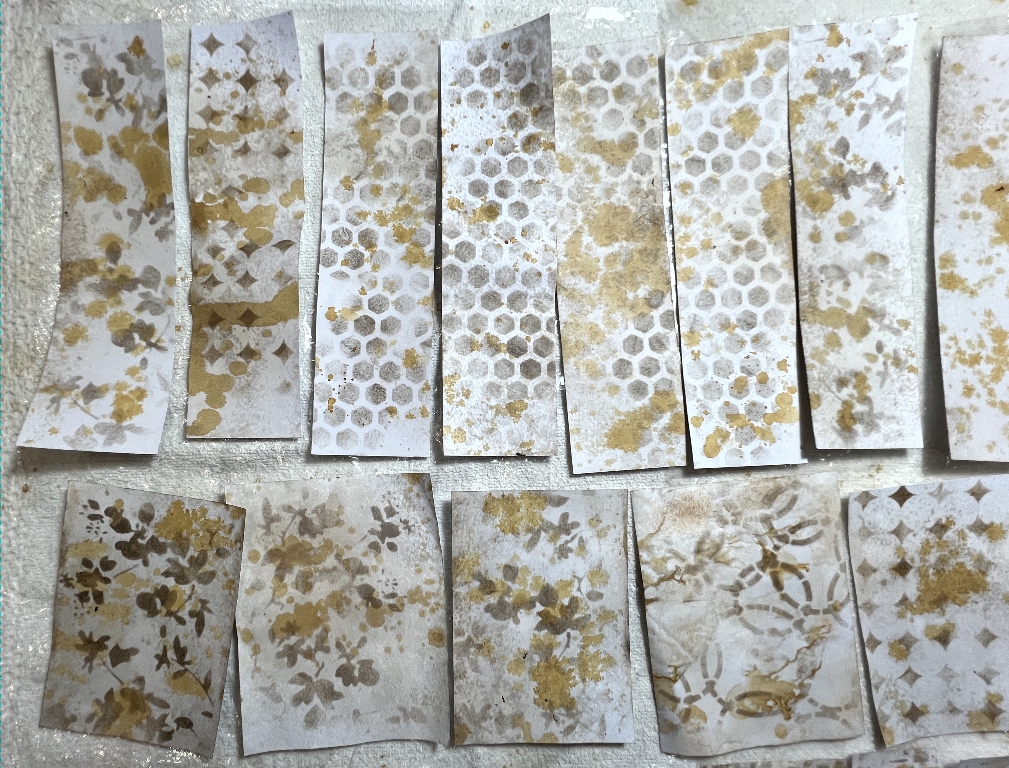
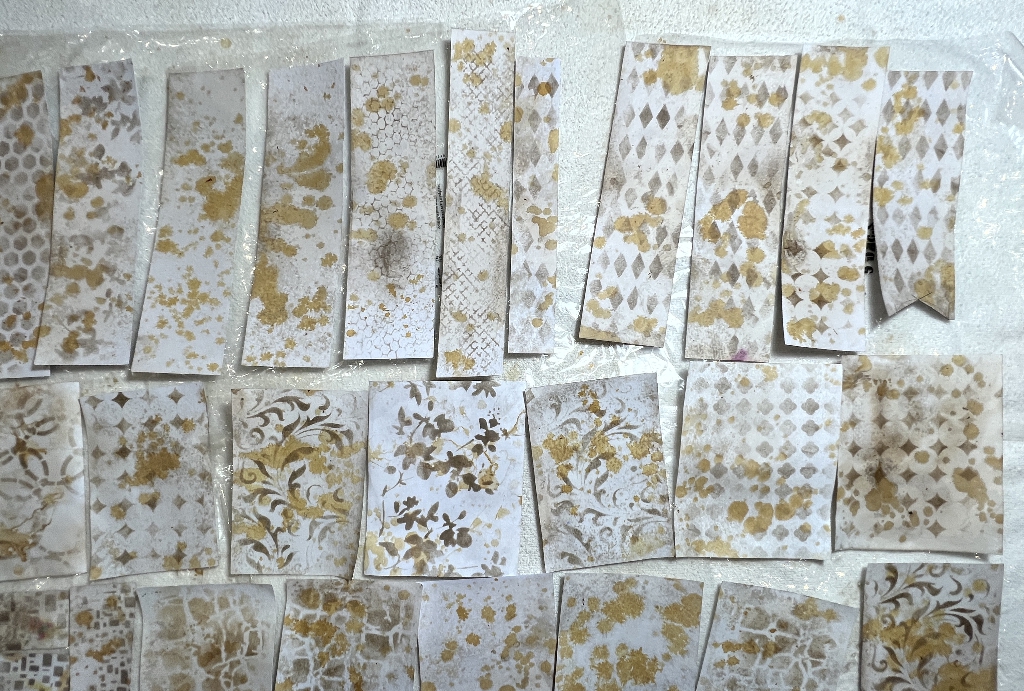
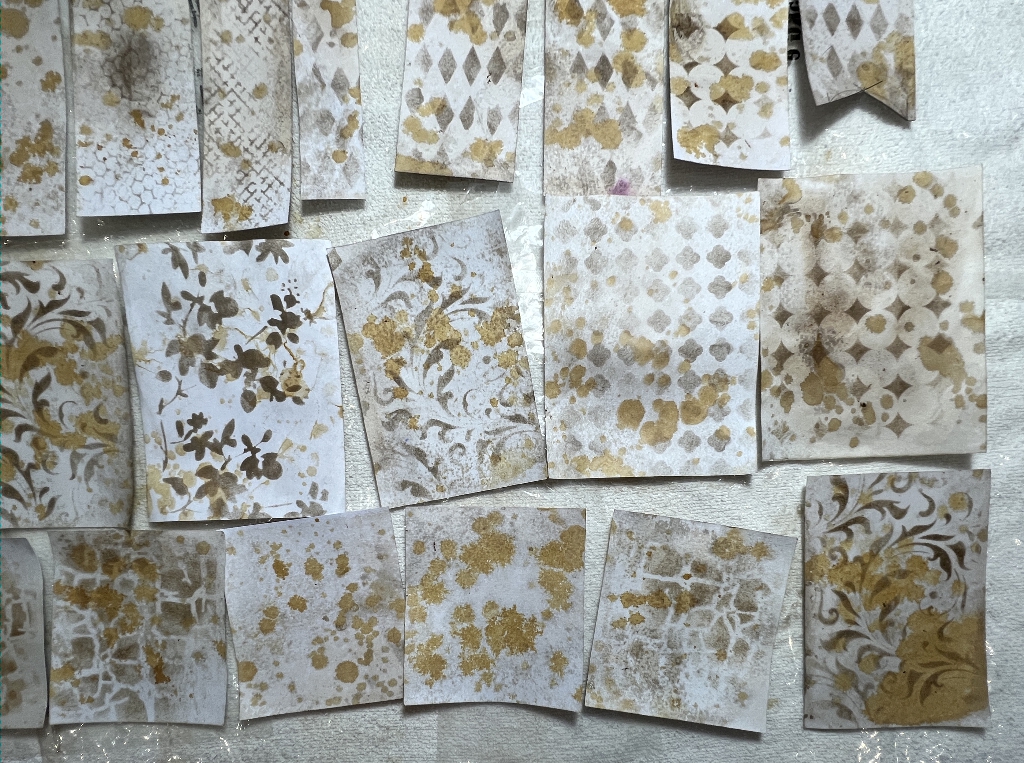
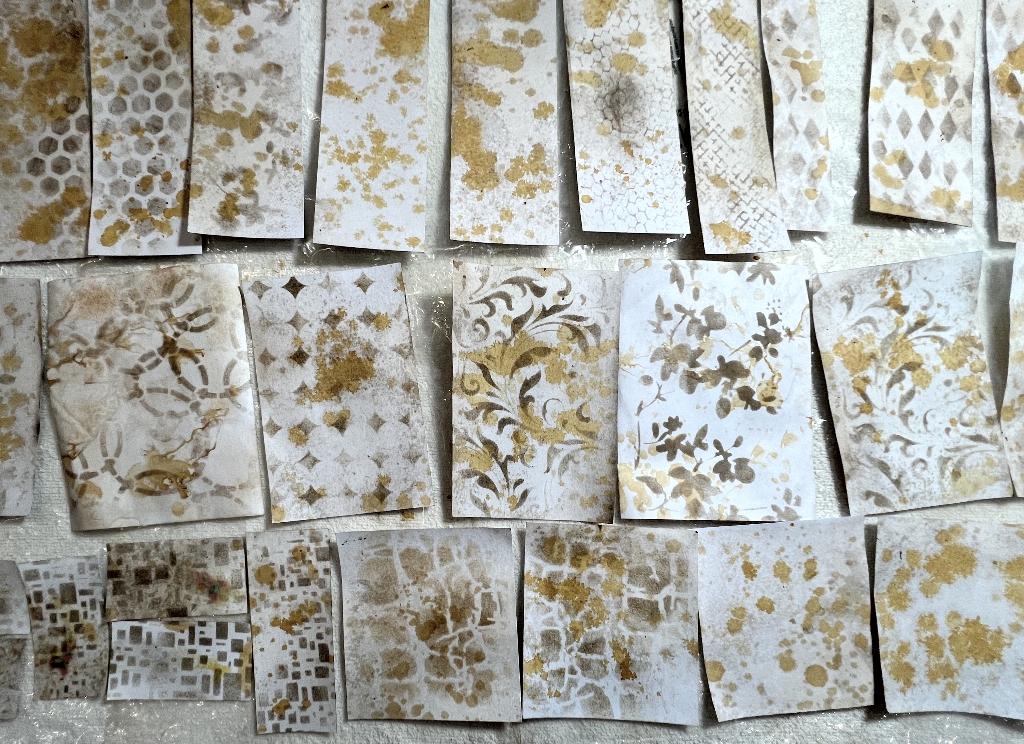
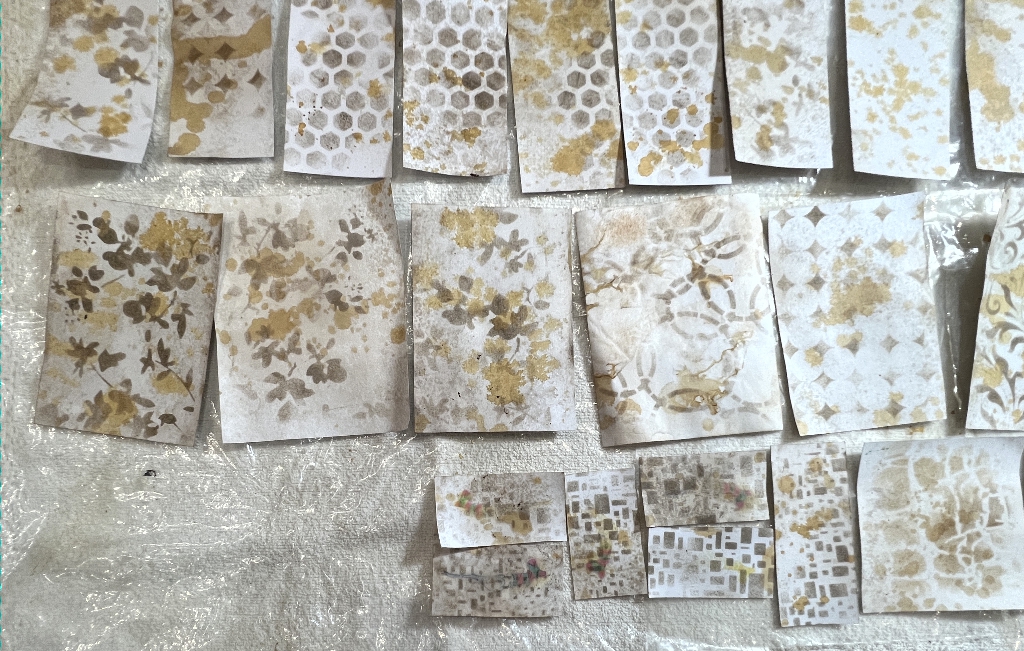
I applied Distress Ink through various stencils for the next layer. I chose Pumice Stone, a colour I used to use a great deal in the old days but somehow had forgotten about. It is a lovely muted greyish brown.
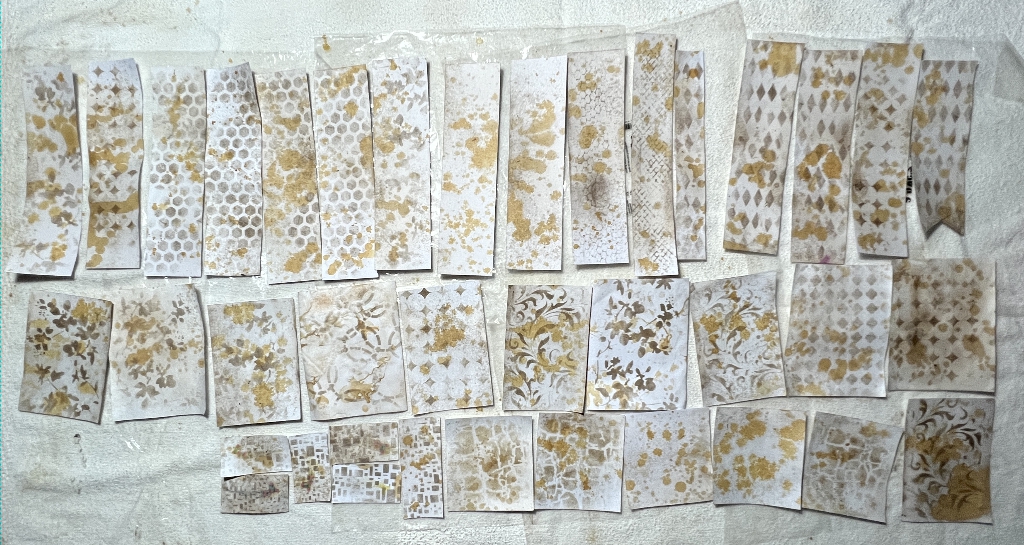
I should have thought ahead, though, because of course this ink is water-based, and any further wet media added as another layer would reactivate it and lose the definition of the stencilling.
Tim Holtz has a product called Distress Microglaze which is good for this sort of thing. For what it is, it is fairly expensive, and I found a DIY recipe on YouTube – it is merely Vaseline (petroleum jelly) with some isopropyl alcohol mixed in. Cheap as chips! You apply a thin layer with your finger and allow it to dry, and this effectively seals any water-based medium under it.
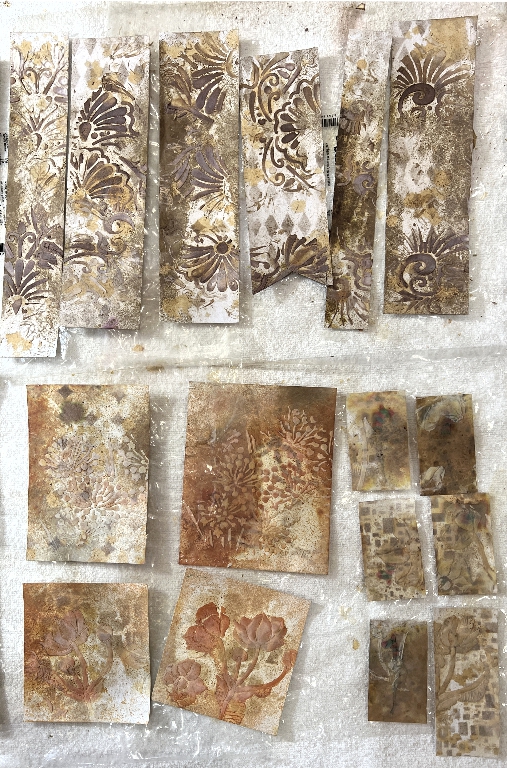
Here are some close-ups of the pieces at this stage.
Stencilling with moulding paste
I used a soft silicone spatula to apply moulding paste through various stencils.
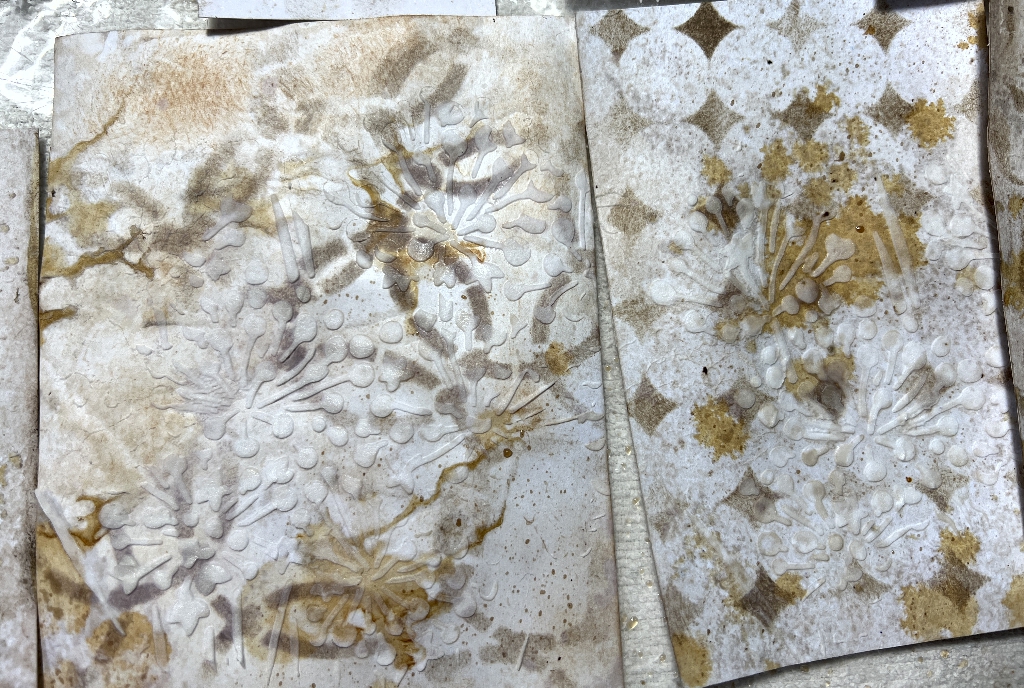
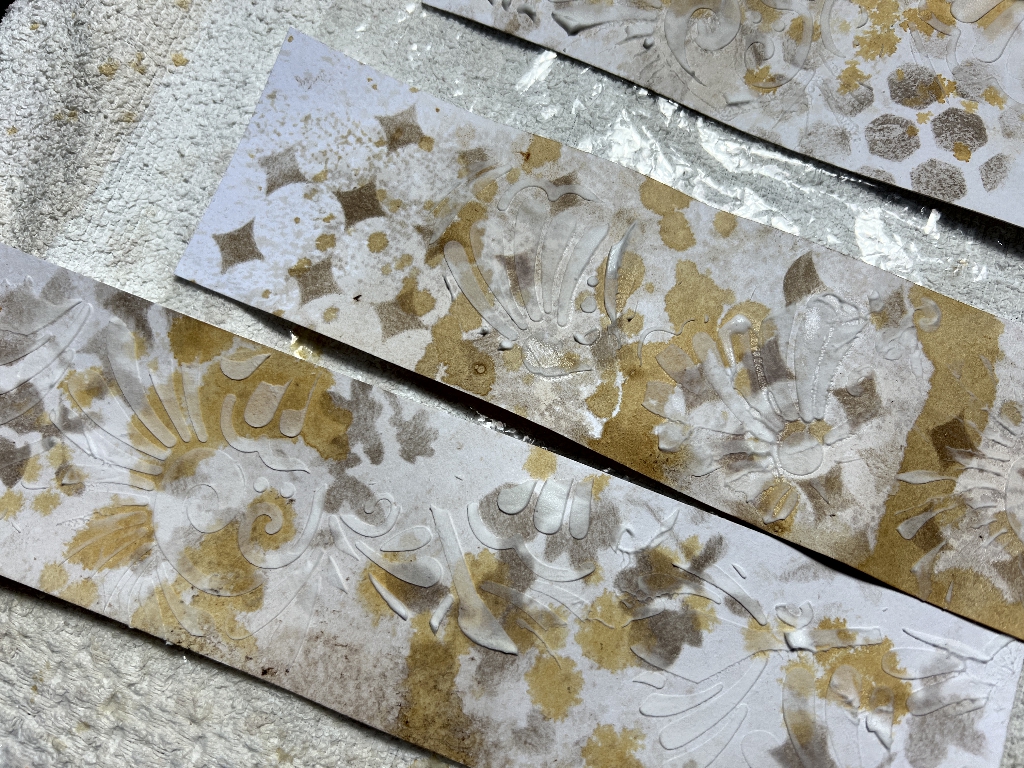
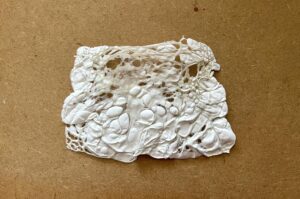
It is rather difficult to see at this stage so I haven’t taken a lot of photos – just a couple of detail shots.
Spritzing with ink
I chose a selection of Distress Spray Stains (basically Distress Ink in liquid form in a spray bottle).
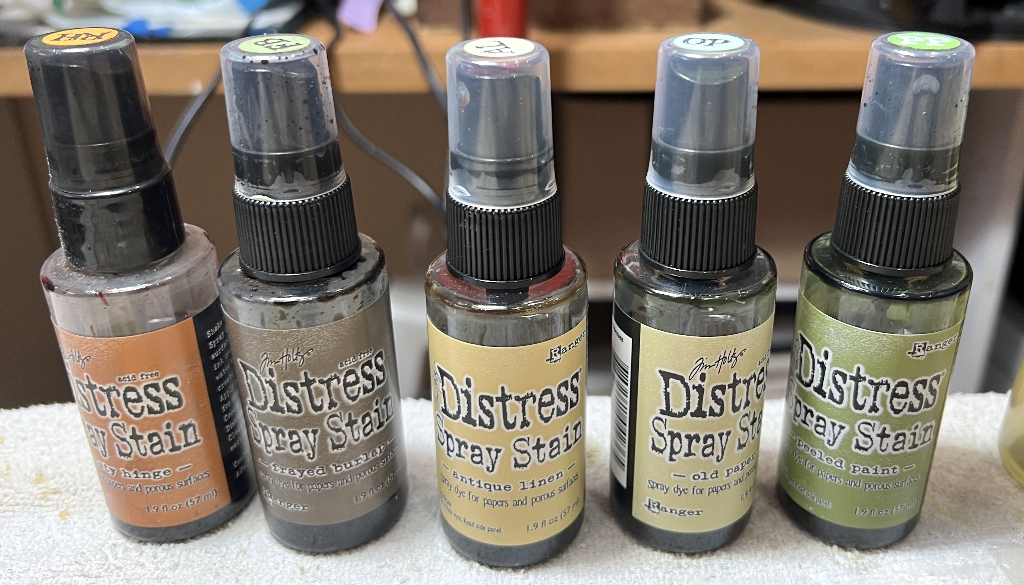
The colours I selected were muted browns and greens with a splash of orange.
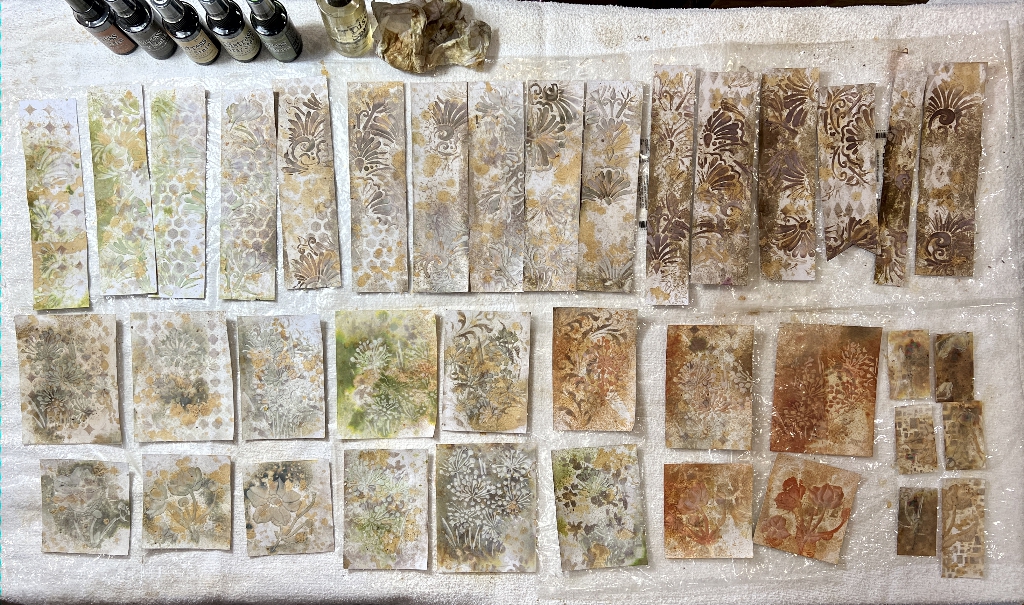
I sprayed on water to get the ink moving a bit. Some of the results are quite subtle – this may be because the moulding paste wasn’t quite dry and absorbed some of the colour. Where the DIY Microglaze was exposed, the ink tended to bead up, and I allowed everything to sit for a while before gently dabbing this off because it wouldn’t dry on this non-absorbent surface. Some of it did penetrate though, and I like the effect of the colour. The Frayed Burlap ink was a bit dark (top right) but the stencilled moulding paste texture shows up pretty well, as does the original stencilling.
I am very pleased with the subtle greens. The orange was a bit bright but after dabbing off the excess and with the addition of a bit of the Old Paper which has a greenish tinge (some of the spray was accidental!) I was quite pleased with the result.
The tiny pieces at bottom right were a bit of a disappointment. The paper was very thin, and the random application of the moulding paste was a bit hit-and-miss. I may use these but I won’t break my heart if they end up in the bin.
Some close-up shots.
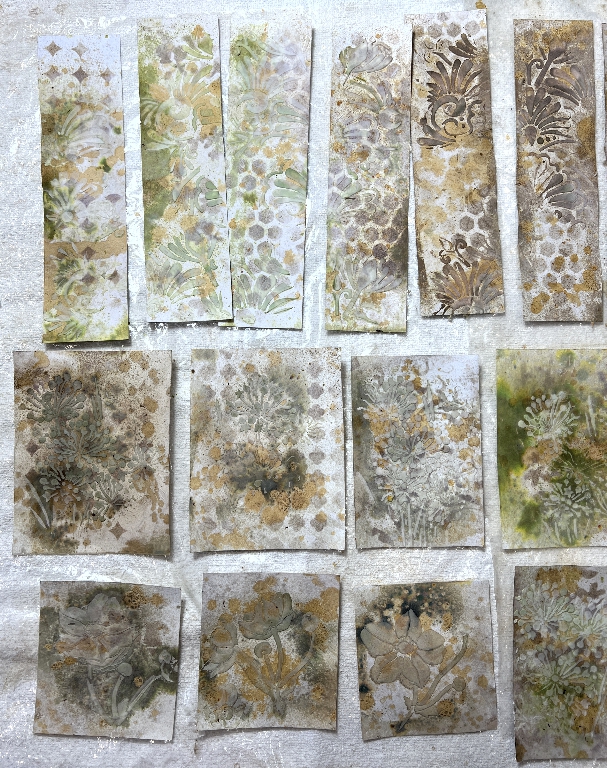
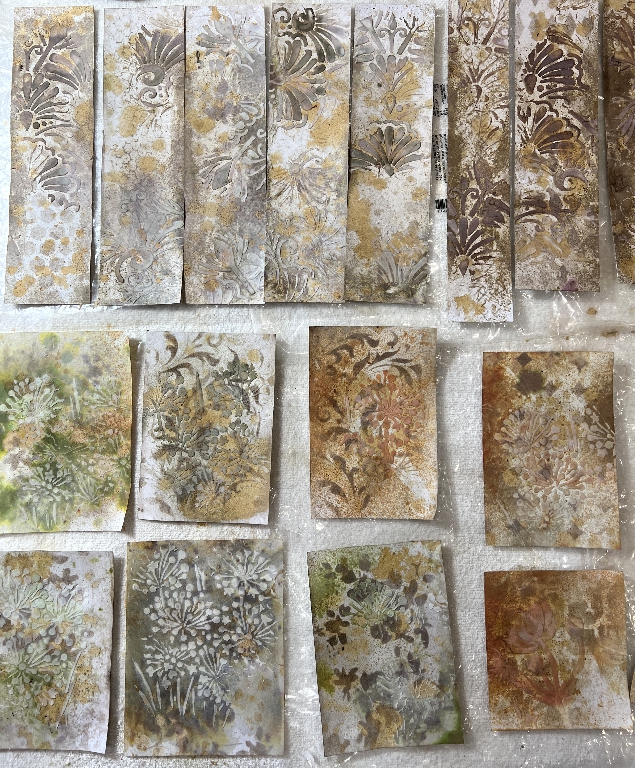
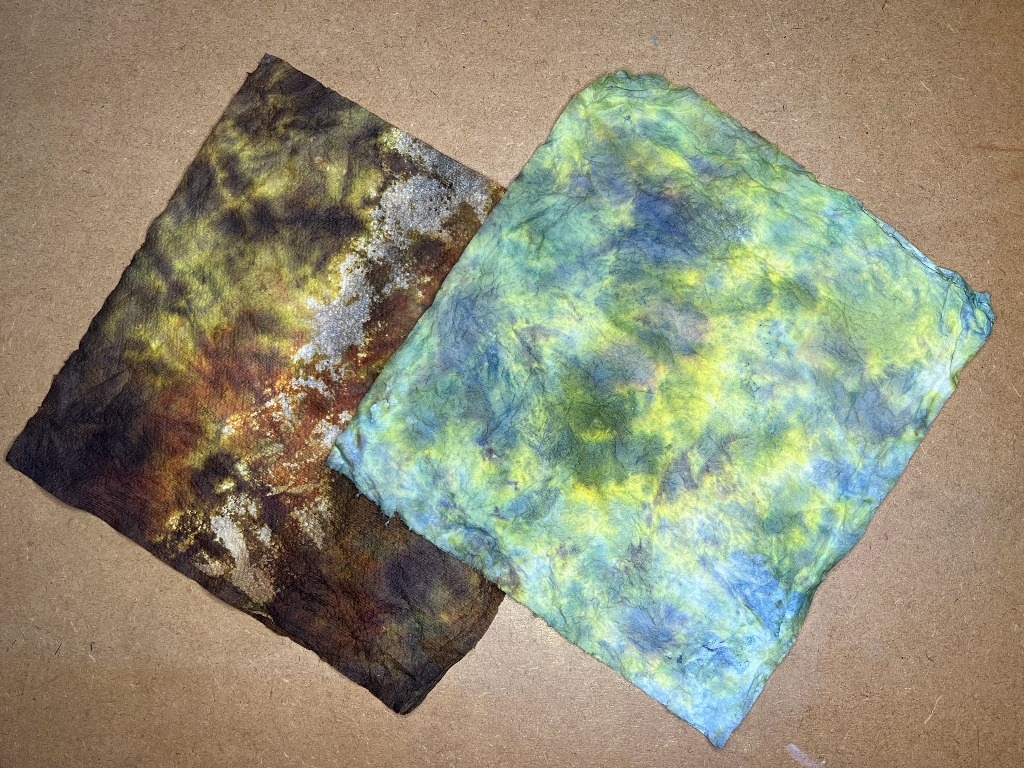
An added bonus at this stage: some gorgeous new mop-up sheets for collage fodder!
I originally thought that in order to bring out the definition of the moulding paste stencilling, they might require a bit of gilding wax. I tried a tiny bit but it didn’t really show up, and the moulding paste is fairly flat which made it difficult to avoid applying the paste to the background. I therefore abandoned that idea and slept on it.
Looking at them again in the cold light of day, I have decided to leave them as they are. The moulding paste stencilling on some of them is very subtle but it is visible. These are going to be backgrounds anyway, and that top layer does add a bit of texture and interest, which is sufficient. I am not sure what these pieces will be used for but they will provide useful little bases for various embellishments.