GLASSINE AND PIANOLA ROLL PAPERS
I have had a great creative fun afternoon today. For some time I have wanted to experiment with glassine paper. A few months ago I bought a pack of this special paper from Amazon. The pieces are quite large, and there’s a lot of it in the pack. It is used in the catering trade to wrap sandwiches etc., and I believe it is made from cellulose – it is certainly compostable. One side is matte and the other side is shiny, and it is slightly translucent. You can buy both white or kraft coloured, and I opted for the former which I thought would be more versatile.
I knew that when it was wet it would tend to crinkle, and after drying, it would become very crisp and crinkly, and would make a gorgeous rustling sound when handled, which is what I wanted.
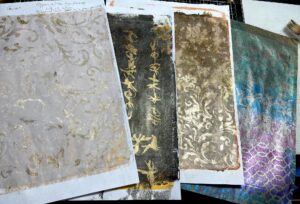
As usual with subtle and neutral colours, I found it very difficult to photograph the papers accurately. They are better in real life.
Coffee dyeing
The first step was to spray it with coffee.
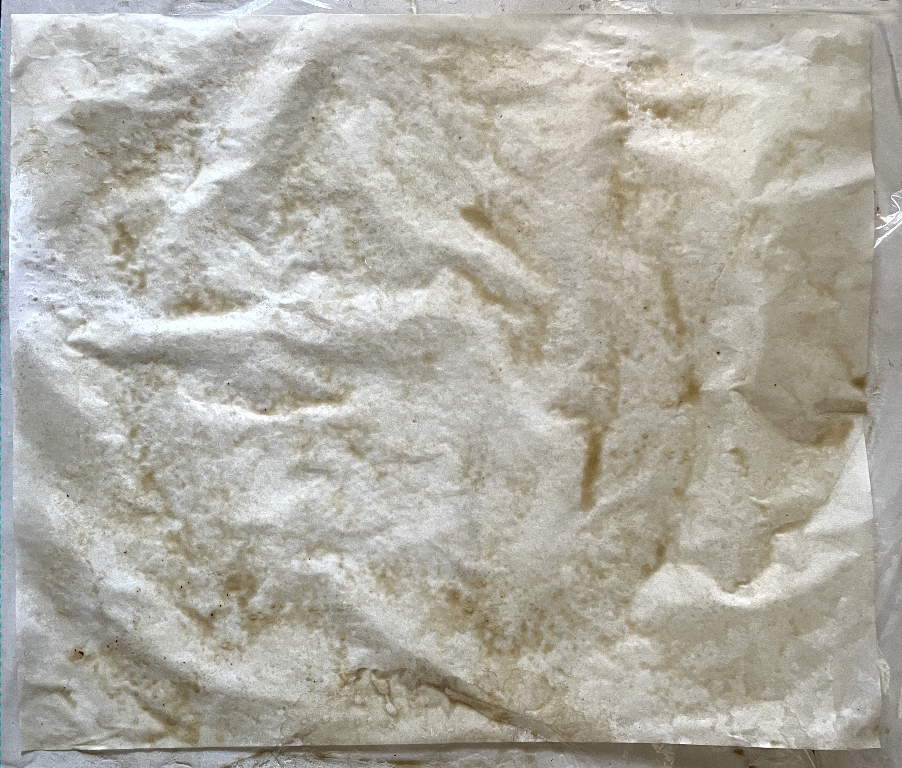
You can see that the paper has already wrinkled quite a bit. I mopped up the worst of the pooling of the coffee.
Pianola roll paper
As I posted recently, I was given a lot of old pianola rolls and was keen to start experimenting with them. The other day I cut off some pieces and they immediately rolled up tight, which is hardly surprising because they had spent decades being rolled up! Even after several days under heavy books, they would not lie flat. It was only after I wet them that they flattened out.
I wanted to combine some of this paper with the glassine and see if I could use it as a stencil. I decided to use the same processes simultaneously on both papers to build up the layers of colour. Of course the pianola paper came out darker because it was not white to start with.
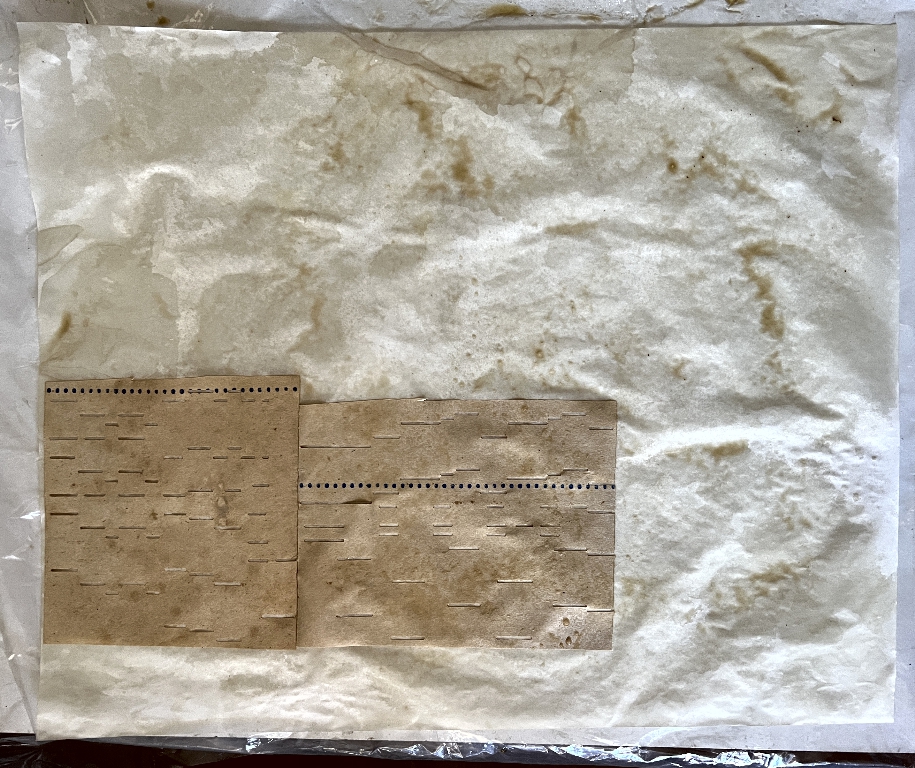
I trimmed off the blank areas from two small pieces of the pianola paper and laid them on the coffee-dyed glassine, once this was mostly dry. I then sprayed it with coffee again and dried it a bit, and spattered it with more coffee, hoping that the coffee would go through the slots in the pianola paper so that it would act as a stencil. This didn’t work.
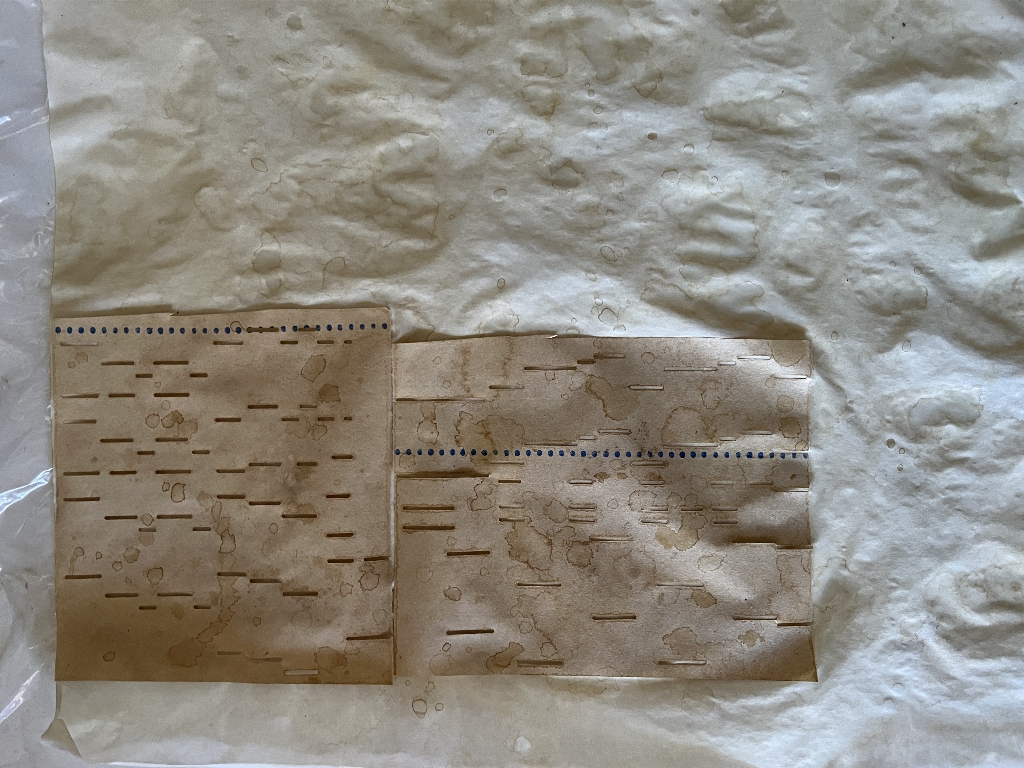
I sprayed on some Distress Oxide Sprays in Frayed Burlap and Walnut Stain, blotting off the excess where necessary.
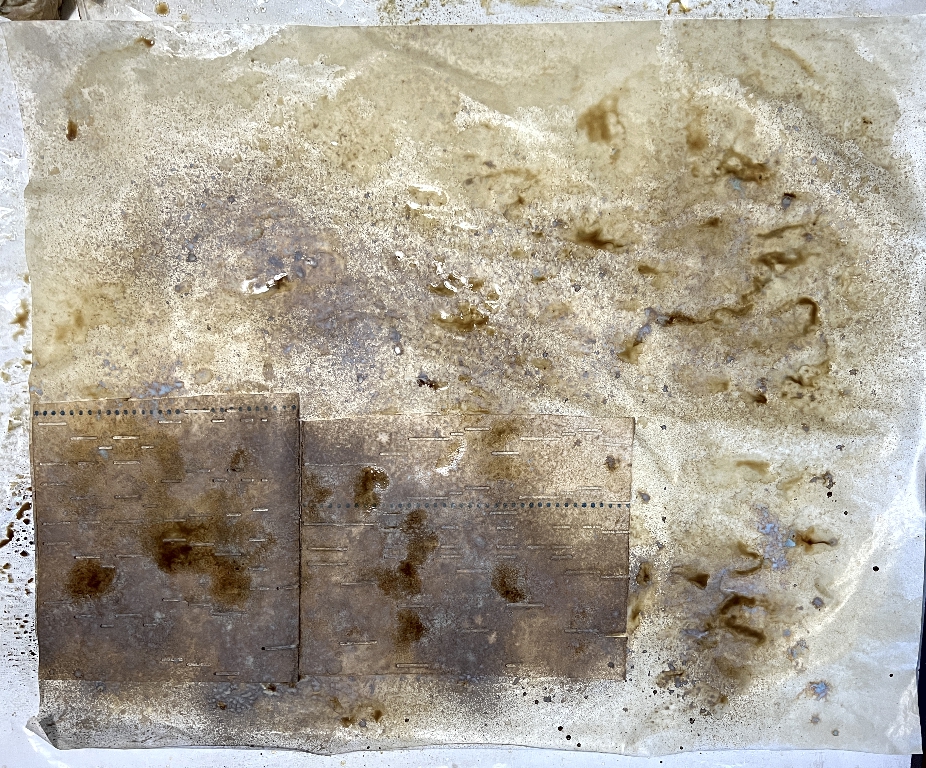
The pianola paper now looked quite dark. I am disappointed that the gorgeous oxidation doesn’t show up very well on the photos – with the Frayed Burlap it goes quite blue.
I spattered the piece with some of my strong rust water, and the medium-strength Payne’s grey water (which didn’t show up much on this surface).
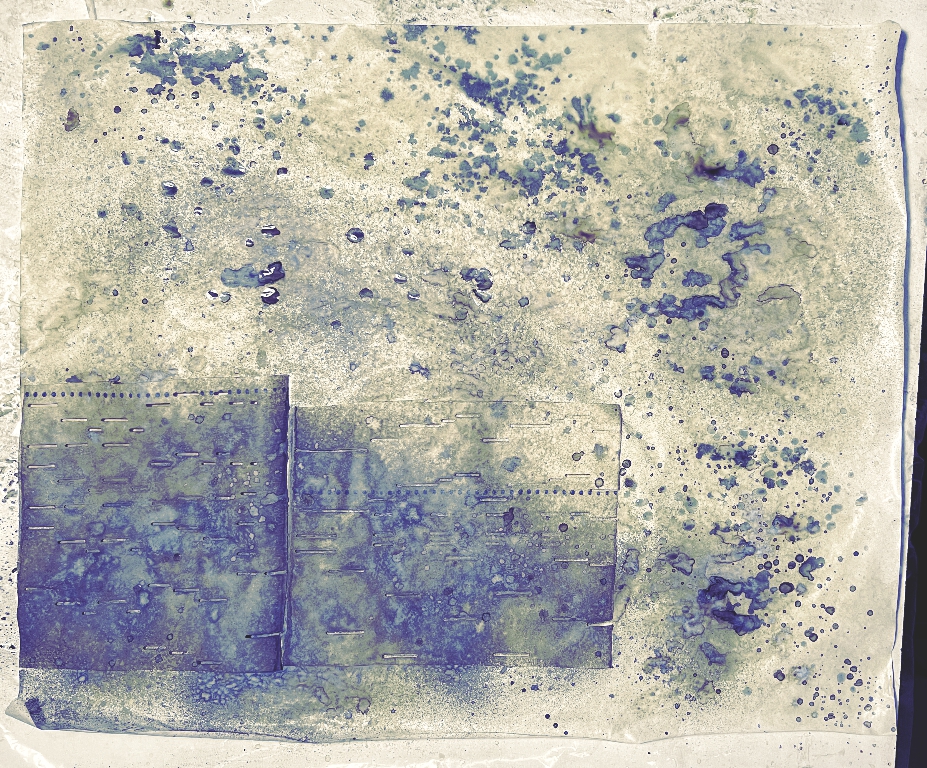
The rust water went very dark as it dried. In the above photo you can see a bit of the blueish oxidation especially over the pianola papers.
You can see how the texture builds up with successive layers.
Time to remove the pianola papers. Obviously the glassine was pretty light-coloured where they had been, because they acted as masks.
I was hoping for better results with the media going through the slots in the pianola paper but it is what it is! Some areas are better defined than others.
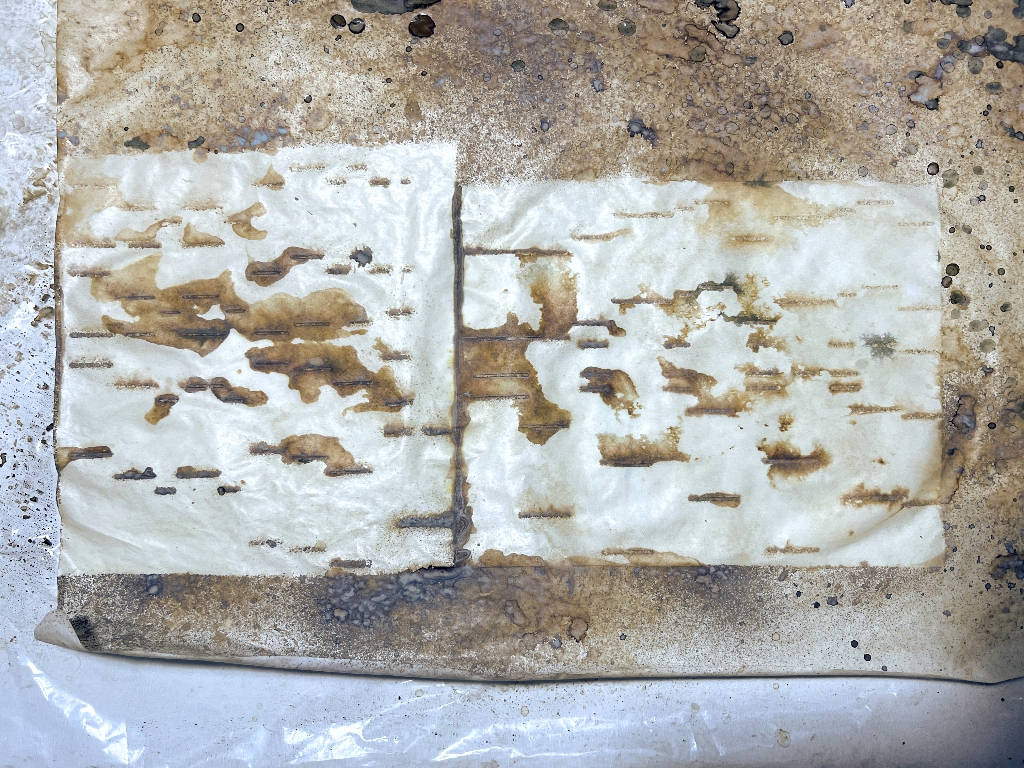
Once everything was dry, I took one of the pianola papers and used it as a stencil over the same areas. I used Frayed Burlap Distress Oxide (from the ink pad, not the spray), using a make-up brush.
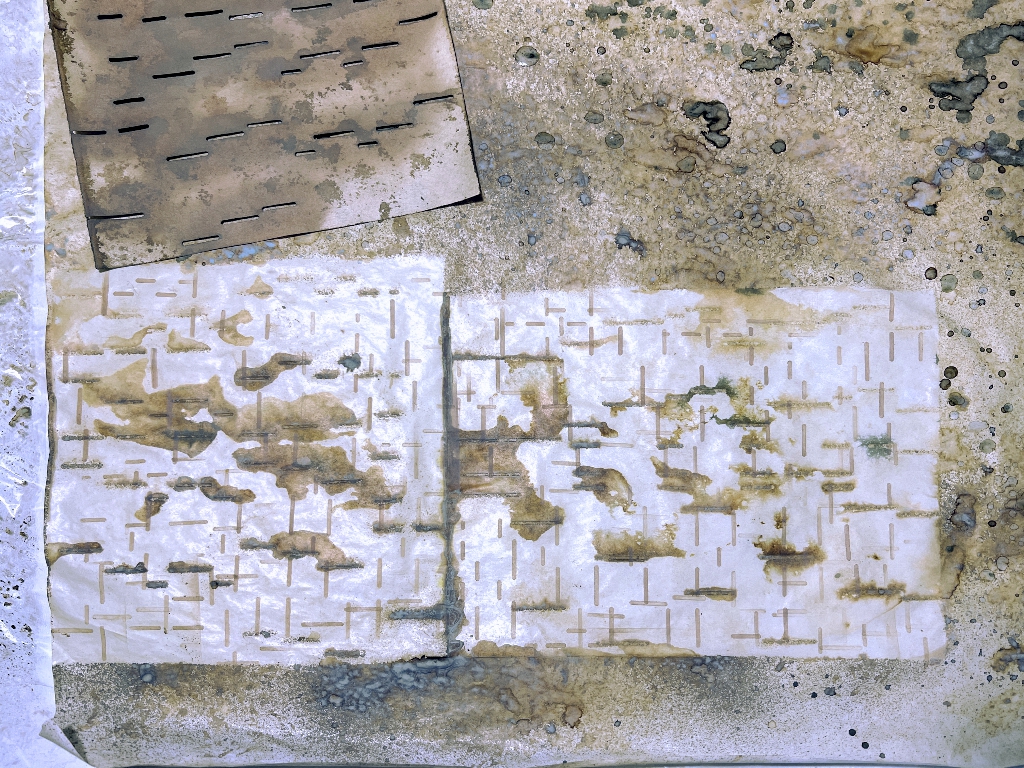
I turned the pianola paper through 90 degrees and stencilled again. I really like the effect, and the blobs where the sprays spread under the stencil before, now look pretty cool.
I added more Oxide Sprays to the front surfaces of the pianola pieces Again, the oxidation is more blue than on the following photos.
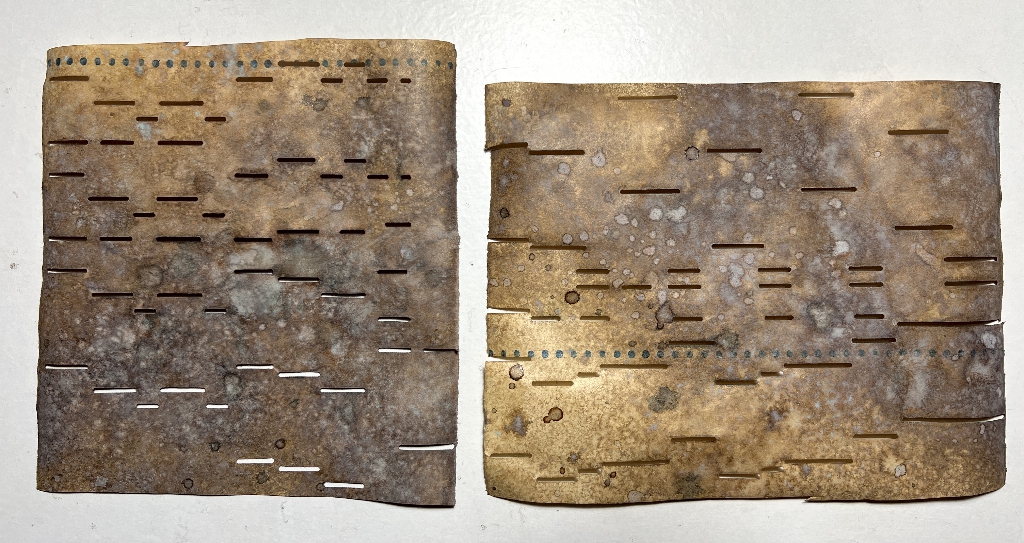
These are the backs of the pieces.
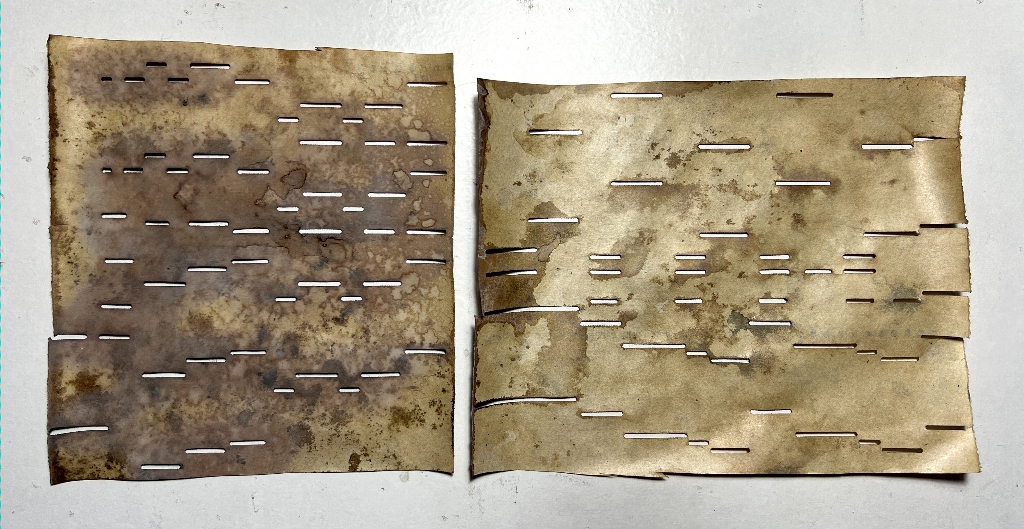
The one on the left is the one I used to stencil the Distress Oxide onto the glassine, which is why it is darker than the one on the right.
The piece de resistance
Wondering what I could use to back the pianola paper, which would show through the slots, I decided on gold. I had some scraps of gold gift wrapping paper in my gold paper/card scraps folder, and managed to make a kind of patchwork collage on the back, and had just enough to cover all the holes.
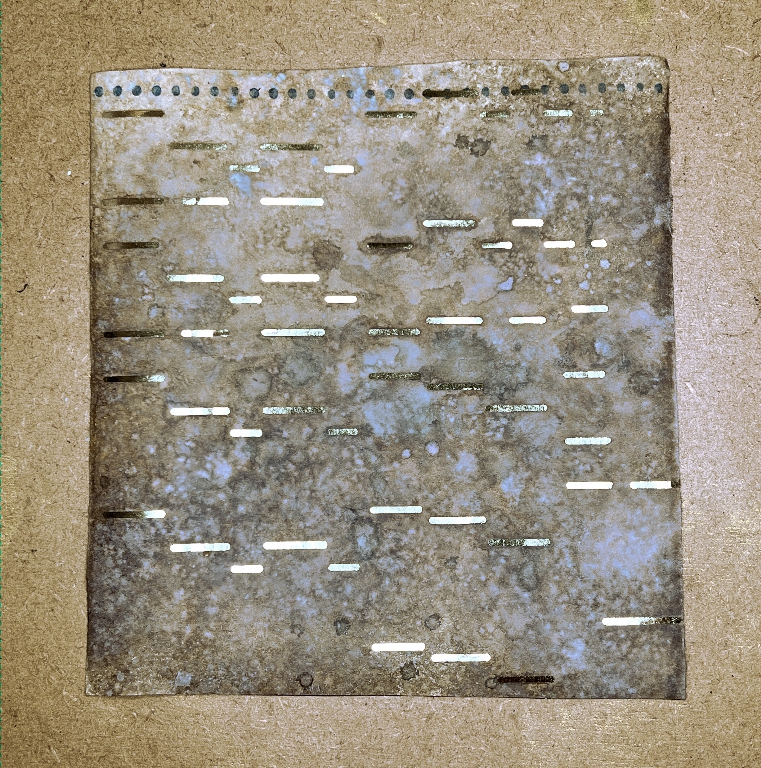
In real life this looks absolutely stunning – better than I could have expected! Of course, photos don’t do this sort of thing justice, as the best effect is seen when the paper is moving, so I made a little video clip showing this.
Super cool!!!
The stencilled glassine
I cut this section out and added more coffee to darken the background a bit. I also added some gold spatters, using Dr. Ph. Martin’s Iridescent Copper Plate Gold calligraphy ink. (I am not sure whether this is waterproof when dry – I will have to experiment with this before adding any further wet medium onto the piece.)
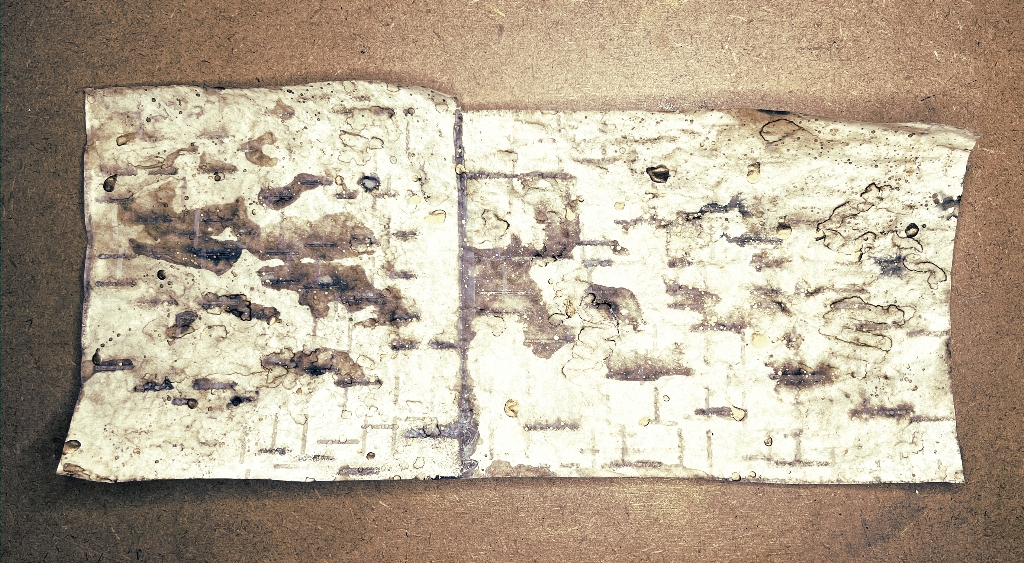
Detail shots.
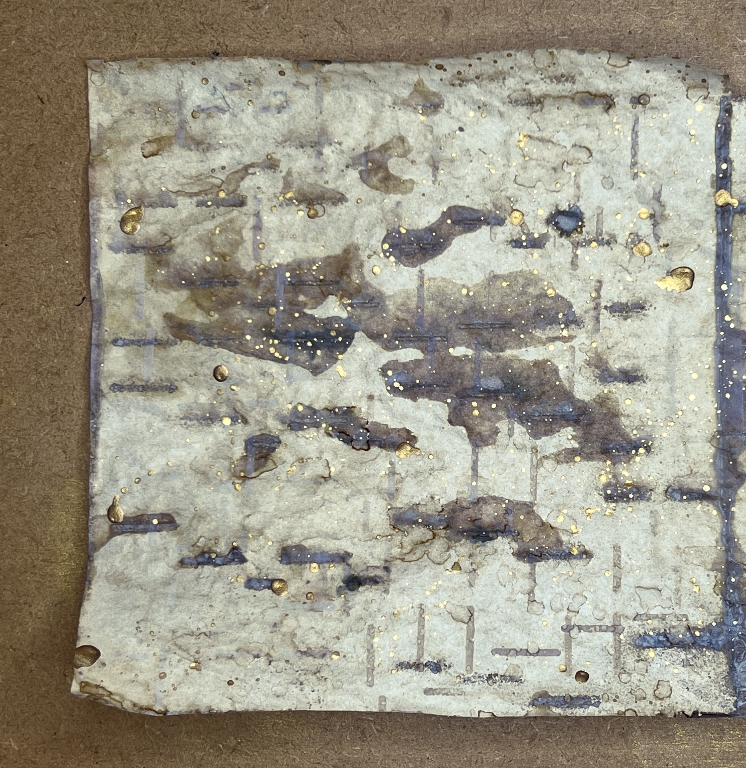
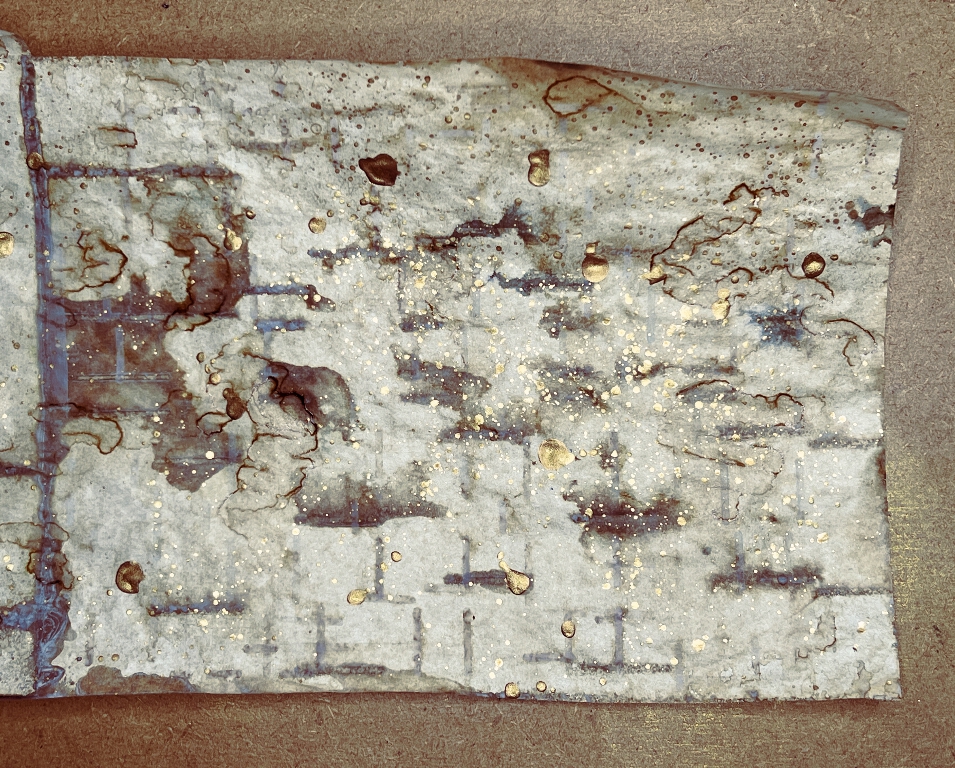
I could use this whole piece as an additional page in my Typewriter Album, to add a bit of texture difference. This paper is deliciously crunchy and crackly! It needs handling to appreciate it.
Long strip
In the course of cutting bits out, I ended up with a long strip which had been the edge of the paper below the bottom of the pianola papers.
In these photos you can see the blue oxidation a bit better.
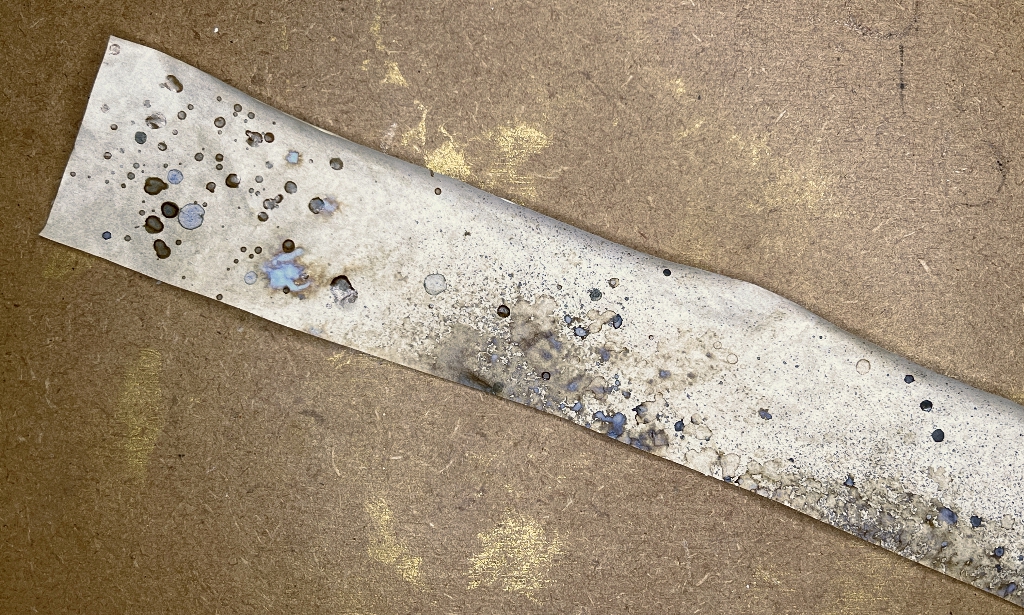
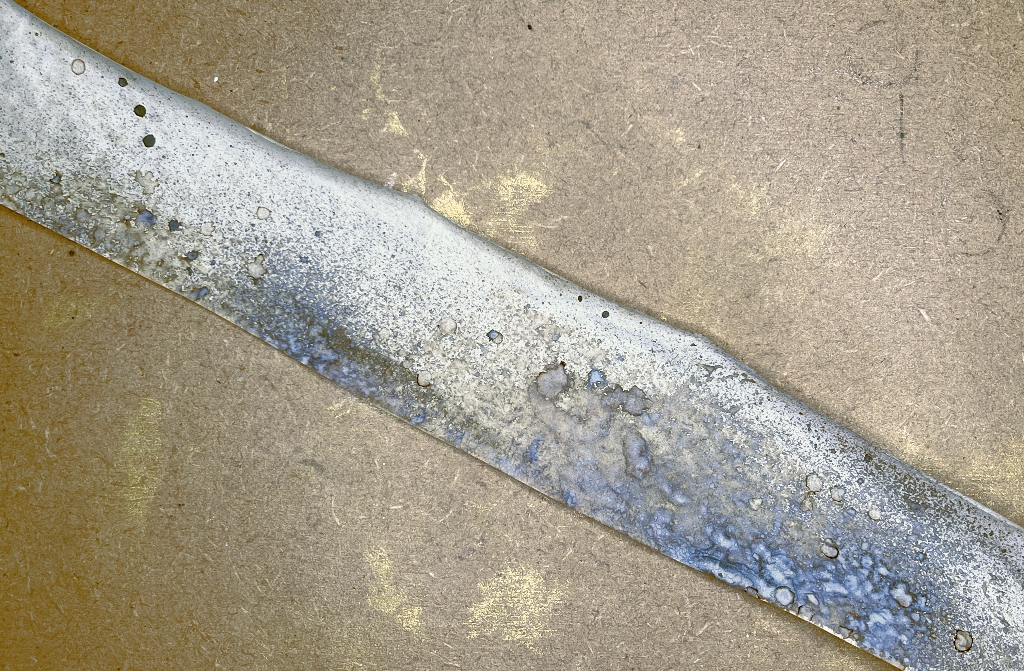
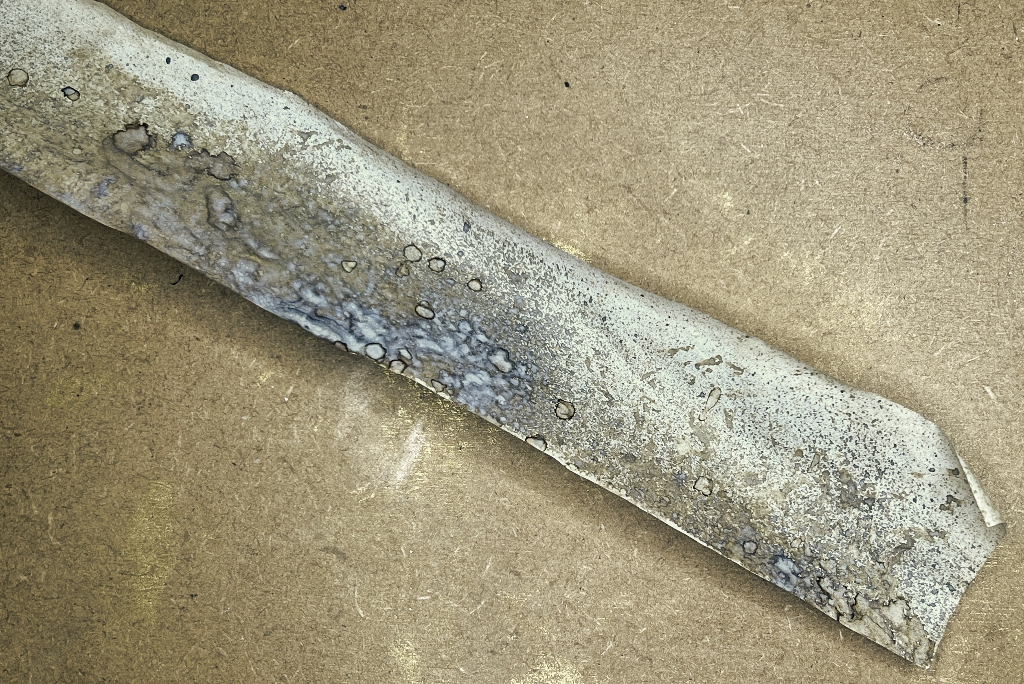
Deliciously grungey!!
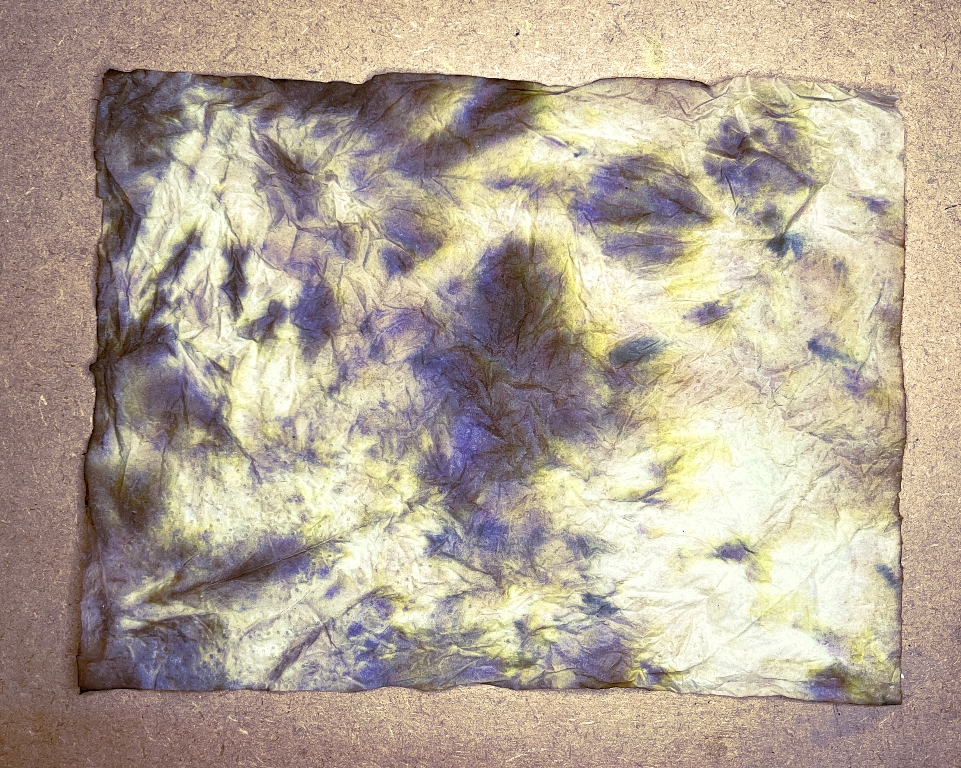
Mopping up
In the course of the work, I blotted the piece fairly frequently with a piece of kitchen paper, and also used this to mop up the plastic sheet I’d been working on once everything was complete. I ended up with this scrumptious mopping up sheet which will definitely get used for collage!
This session was incredibly rewarding and fulfilling for me. I love experimenting, and I have ended up with some gorgeous papers. I am planning to use some of the largest remaining piece to make some paper flowers, and I also want to make some multi-layered pockets for my album. The texture of the glassine is just fabulous. The shine has gone from the surface and it feels very smooth with the oxide spray, and I love the wrinkly effect which I shall definitely not be attempting to flatten out. The paper is quite strong and should stand up well to the addition of further wet media, including texture paste, stencilling and stamping. Layers upon layers! Oooh the layers… oooh the grunge! Gets the old creative juices flowing big time.
The pianola paper also seems to stand up extremely well to wet media, which is great. I suppose the paper has to be pretty strong in order to function well in its original purpose, running through the mechanism of the pianola and producing the music. They are now producing a different kind of music – the visual kind!
I didn’t photograph the backs of these papers but they are quite interesting – predominantly spattered with patches of yellow from the inks, and grey from the rust water. No oxidation on the back, of course, because this is a surface effect and doesn’t bleed through. I think the rust has gone black/grey because of the coffee-dyeing. It will react in this way when in contact with organic products such as leaf stains, tea and coffee. I must try it on undyed glassine to see if the cellulose of which the paper is composed will react in the same way, or whether the colour will remain true rust. The glassine paper certainly works very well with the Distress Oxides, and presumably the Distress Inks and Distress Spray Stains (both dye inks – the oxides are a combination of dye and pigment inks).
I’m super-thrilled with the result and want to do more with both these papers, as well as the recently acquired cicada wing paper. I think they will all work well together.