TYPEWRITER ALBUM PART 9 – KEYBOARD ON CICADA WING PAPER
I have had the most tremendous fun making this page. It is multi-layered and I think it has come together very well. There are a couple of techniques in it which are new to me.
The folio with the completed page
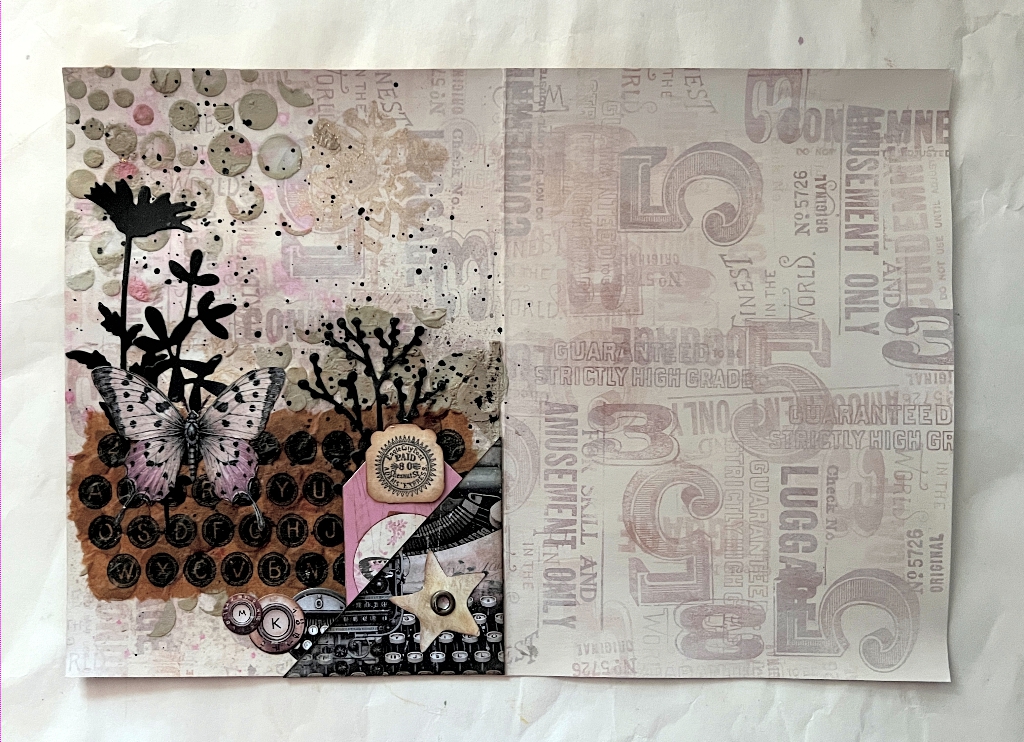
For this first photo, I have chosen to photograph the complete folio, with the finished page on the left, and the as yet unadorned other half on the right. This shows the original randomly stamped paper as it appeared before I began work on the left-hand page. I took this photo without the lamp, because the gold stencilled snowflakes were reflecting the light and looking much too bright on the page, which was not a faithful rendition of the page in real life. In the next photo I shot it with the lamp on, and you can see the difference.
When I place its adjacent page (on the next folio) beside it, you can see how I have attempted to co-ordinate the pair of pages.
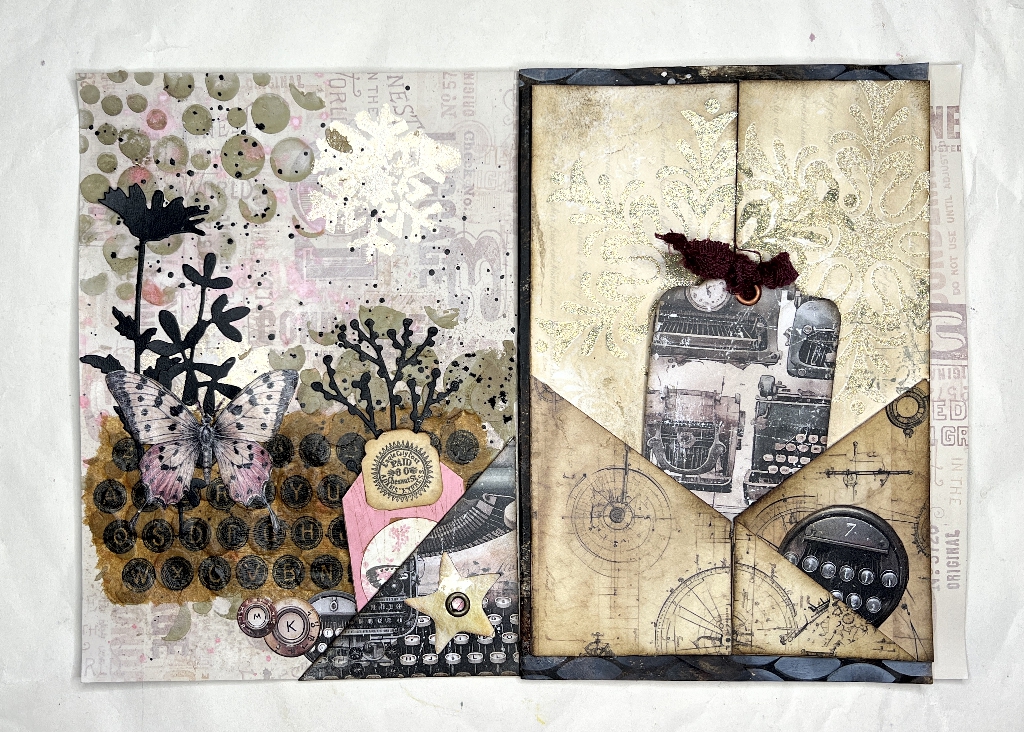
The background paper of the right-hand page was one from a winter-themed scrapbooking paper stack. I found a stencil with snowflakes, and masked off the ones immediately surrounding the one I wanted, using masking tape, and applied champagne gold acrylic paint through the stencil onto the left-hand page. This was to echo the gold snowflake pattern on the right-hand page.
Here is a closer view of the completed page.
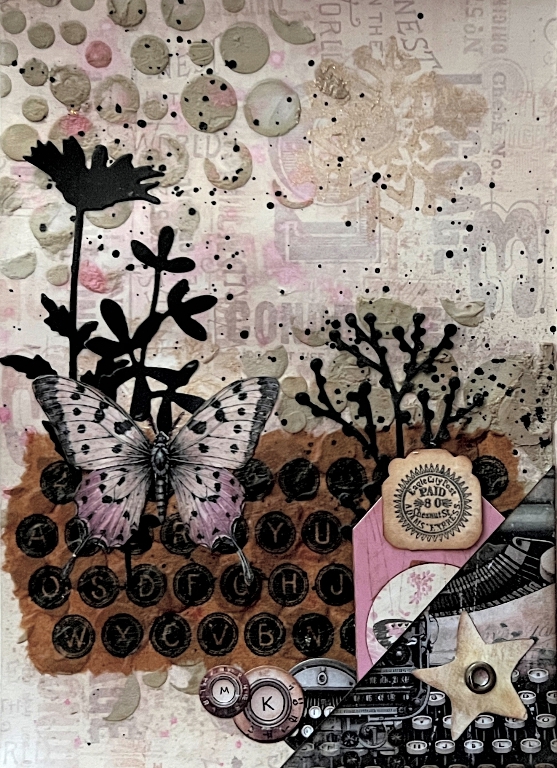
Luise Heinzl’s double stencilling technique
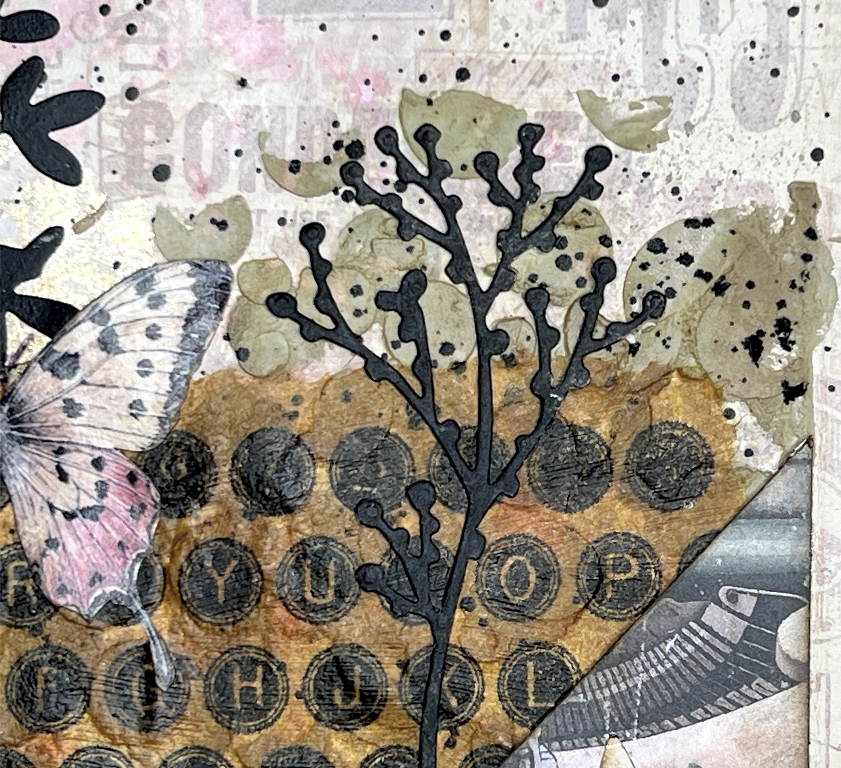
This is something I saw her do recently on one of her videos and I was keen to try it. I scooped out some Polyfilla into a palette and added some Frayed Burlap Distress Spray stain, a little at a time to get the colour how I wanted, and without watering down the Polyfilla too much. I applied this mix through my Increasing Circles stencil at top left and bottom right. While the Polyfilla was still wet, I laid the stencil down again in a different way over the bottom-right Polyfilla stencilling, and applied more of the coloured Polyfilla. Some of the first circles were squashed, producing an interesting texture, and some of them looked as if they were 3-D with one on top of the other. I am delighted that this technique worked for me, and it’s very effective. Of course, most of it got covered up later but there are still glimpses! (I know it’s there even if nobody else does.) While the Polyfilla was still wet, I sprayed a very little Worn Lipstick Distress Oxide Spray in certain places onto the stencilling. I spritzed it with a tiny bit of water to get the oxidation going, and left it to dry.
Cicada wing typewriter keyboard
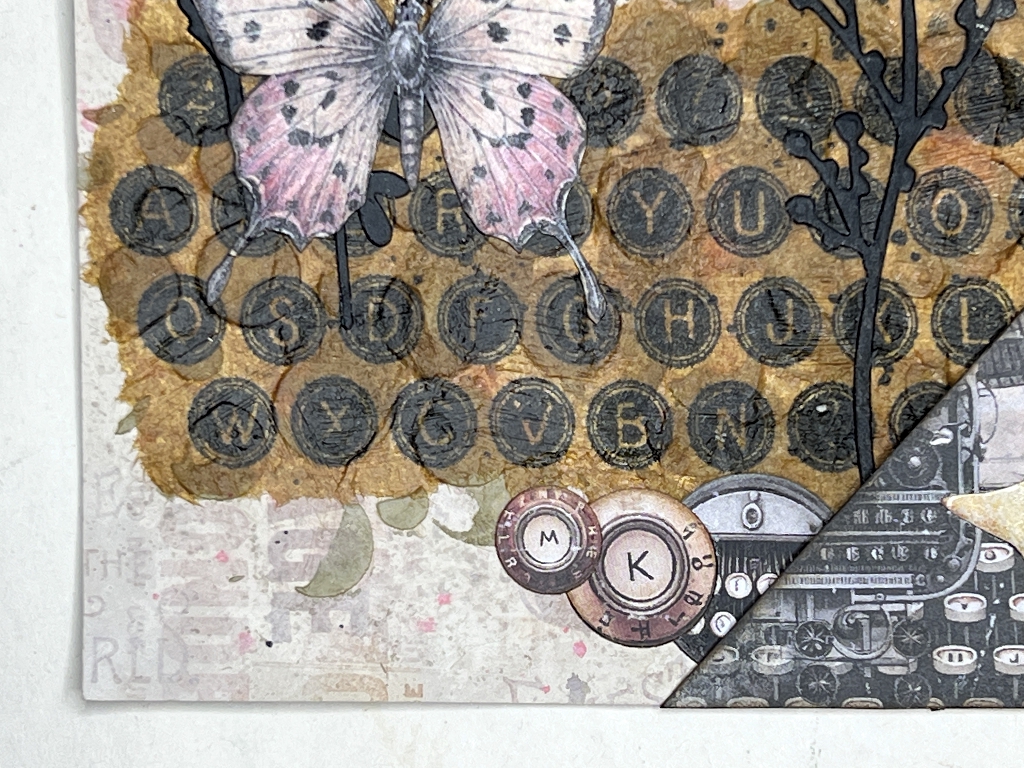
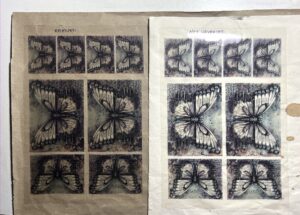
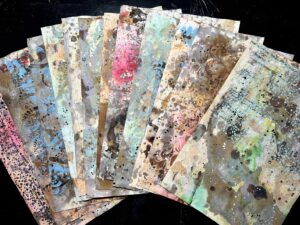
I did some experiments the other day with my newly-acquired cicada wing paper, and chose a stamped typewriter keyboard from one of the test sheets for this page. I used a deckle-edge ruler to tear the keyboard out. The cicada wing paper is quite hard to tear, unlike regular tissue paper. I have done further experiments (post upcoming) on achieving transparency with different media, and chose Golden Soft Gloss Gel Medium to create the effect by painting a layer of medium all over the top surface of the piece. When it was dry, I laid it down onto the using Ranger Matte Collage Medium. I don’t use this very often and thought I’d give it a try, hoping that any matte medium would not negate the transparency work I had done. It dried clear, and matte, and later I covered the still shiny right-hand end of the keyboard with some more of it.
The paper is quite dark, but it is definitely transparent, and you can see the raised texture of the Polyfilla underneath, with the double stencilling technique.
Here are some further photos, showing the detail of the rest of the page.
I chose some black floral die cuts from my stash, and layered them with a fussy-cut butterfly with some pink on its wings. The straight edge along the bottom of the keyboard didn’t look right at all so I broke it up with the addition of one of Luise’s triangular pockets and a few circular elements from the Typewriter Ephemera kit, to break up this line.
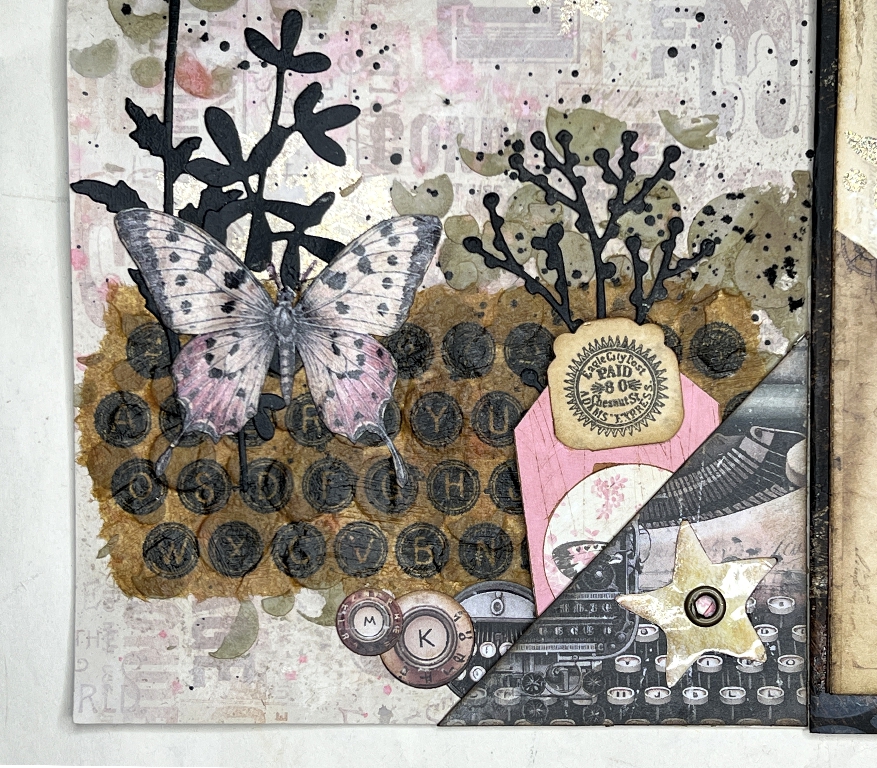
The star on the pocket
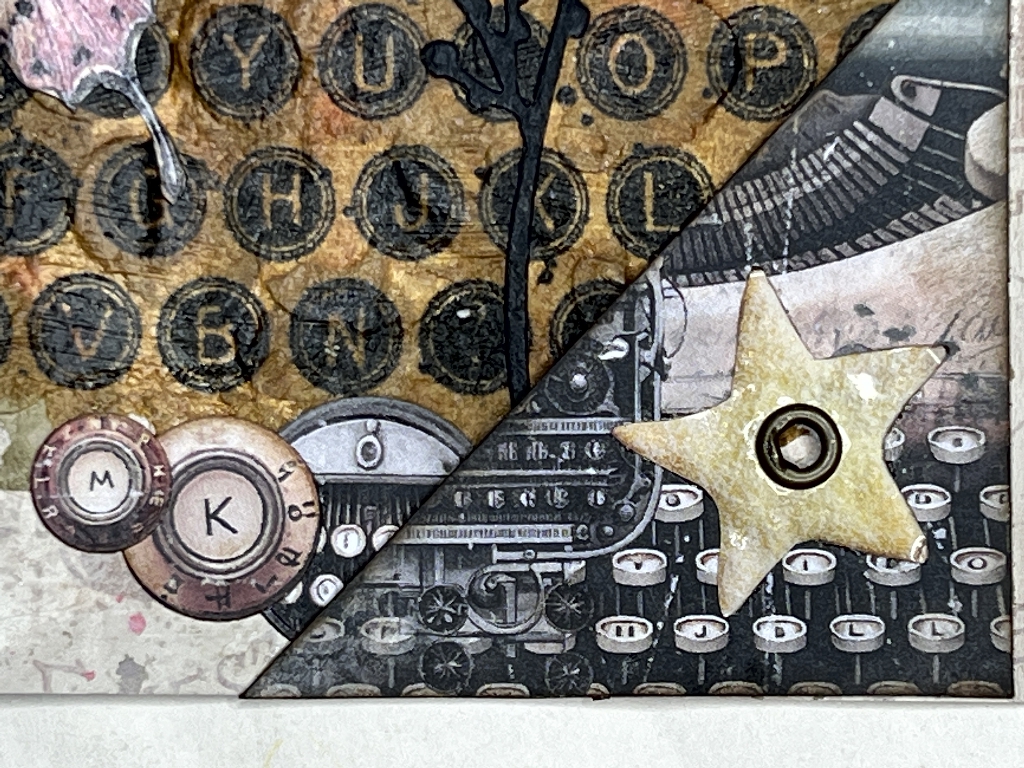
I had some fun with this – details in another post which I have yet to write! I added an eyelet to the centre, and stuck it down onto the triangular pocket.
The tag
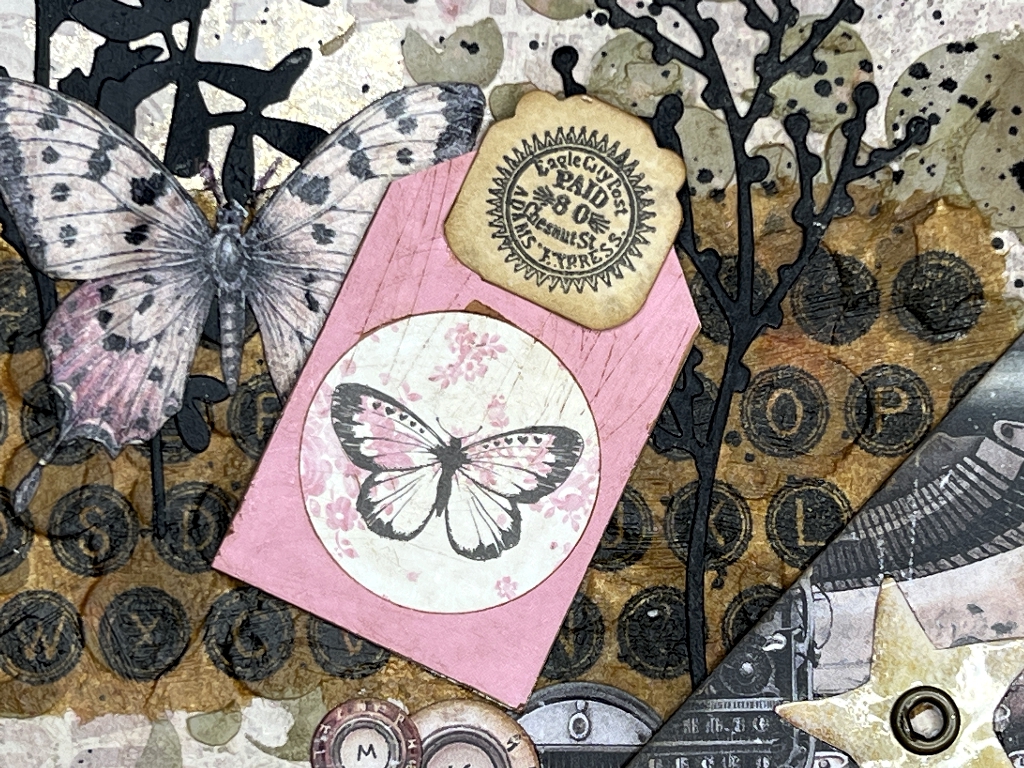
I found this pink tag with a butterfly on it in my box of tags saved from clothing and other sources. It was a bit too bright pink so I sanded it to distress it, and added some Vintage Photo Distress Ink. To cover the logo at the top, I added one of the small tag toppers I made recently.
This is the reverse side.
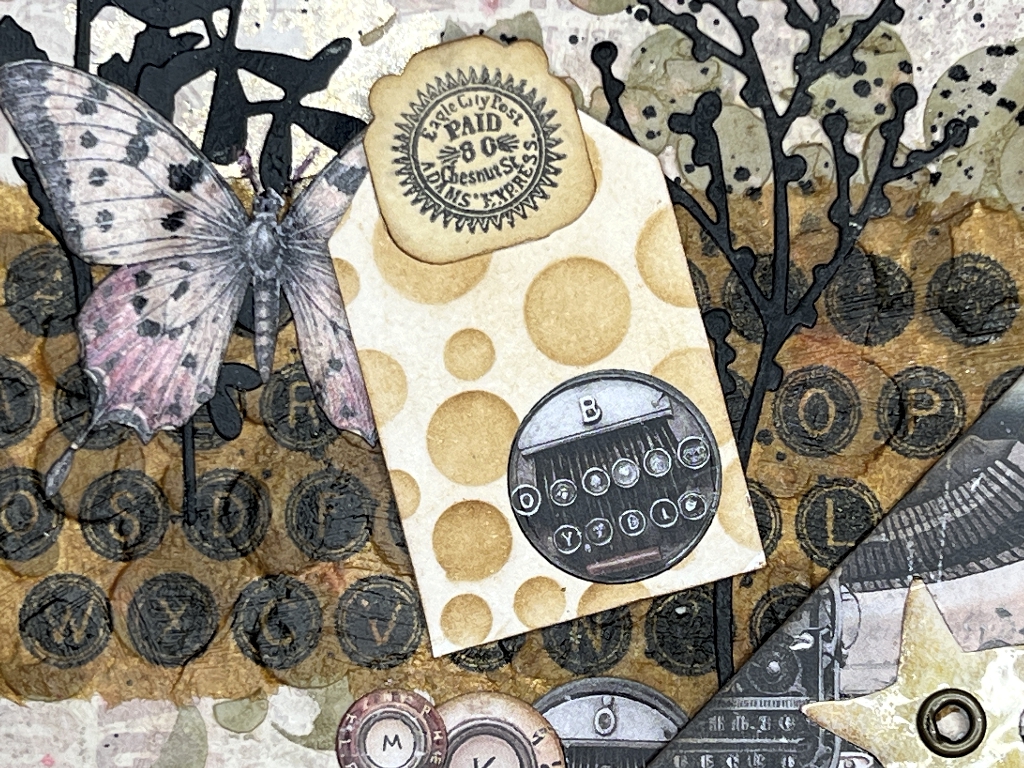
I used my same circles stencil and some Distress Inks to make the white back more interesting, and added another of the small circles from the Typewriter Ephemera kit.
Here’s another look at the finished page. I am very happy with how this turned out, and with the fact that I have learnt some new techniques along the way.