BONNIE BAGGIE NO. 3 – UPCYCLED HOT WATER BOTTLE COVER
I was going through some old stuff the other day and in a drawer in the bedroom I found a spare hot water bottle cover that I don’t use. I don’t know where it came from but it was never very satisfactory as it was slightly on the small side and the overlapping flap which you would lift up to insert the bottle didn’t overlap as much as it might have done, which sometimes exposed the hot water bottle inside. I decided to upcycle it and make it into…
Bonnie Baggie No. 3
The hot water bottle cover in its (almost) original state, after I had started removing the lace from around the edge. My initial thought was that I would simply remove the lace to recycle, and ditch the cover, but then I thought it was already a sort of bag shape, so why not make it into a bag?
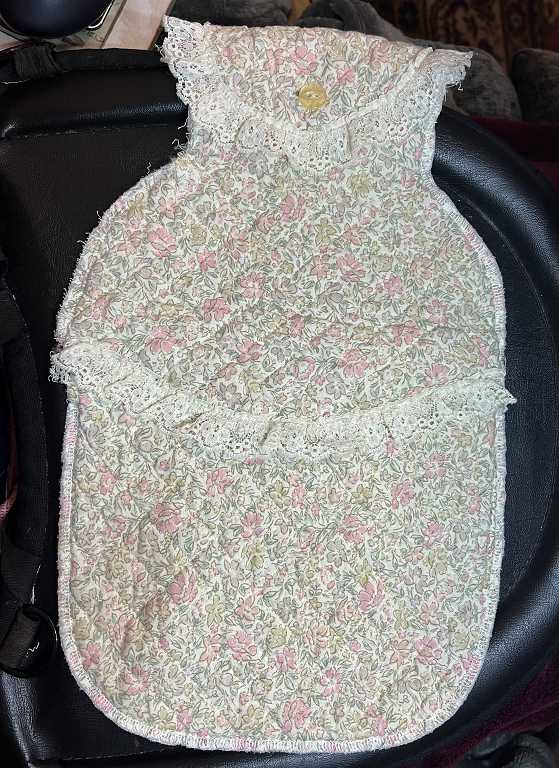
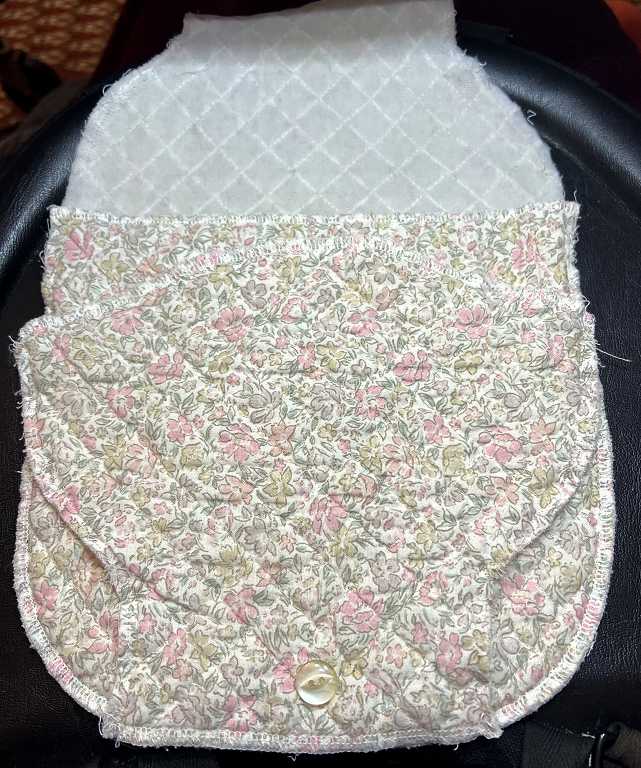
The top folded down into a bag shape.
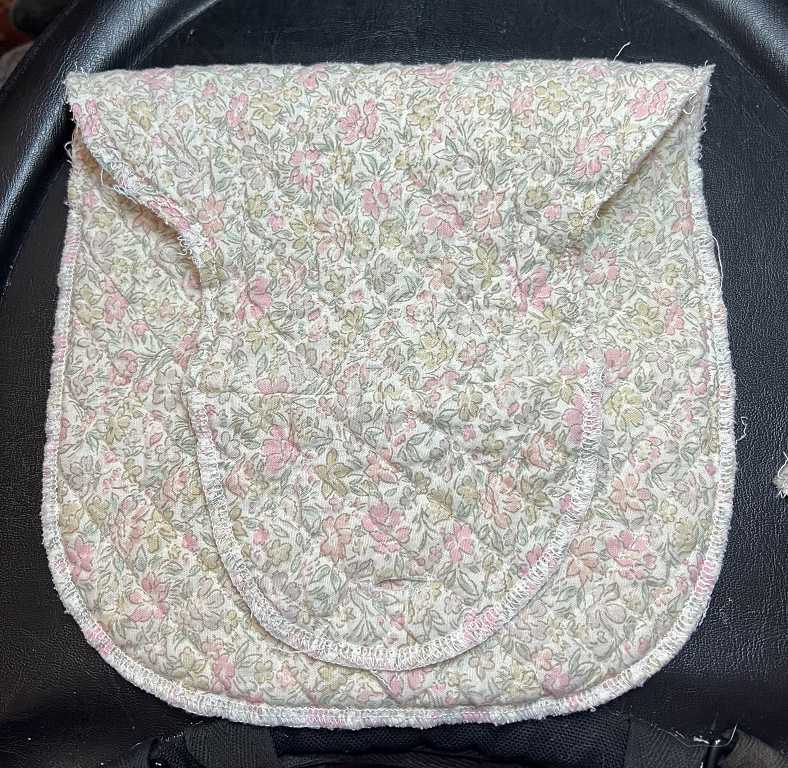
This is the cover after the removal of the overlapping flap.
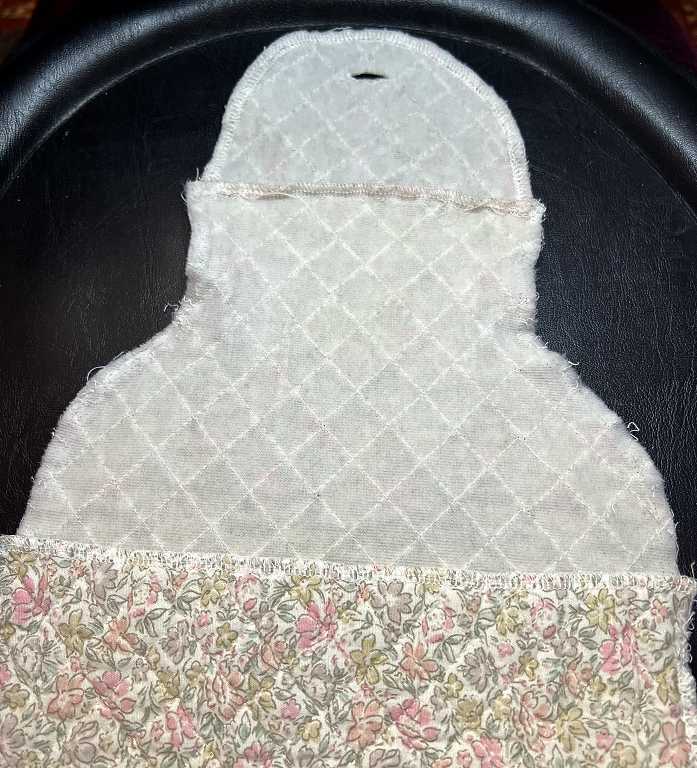
The overlapping flap laid upside down on top of the cover. I thought it might make an interestingly shaped pocket on the front of the bag.
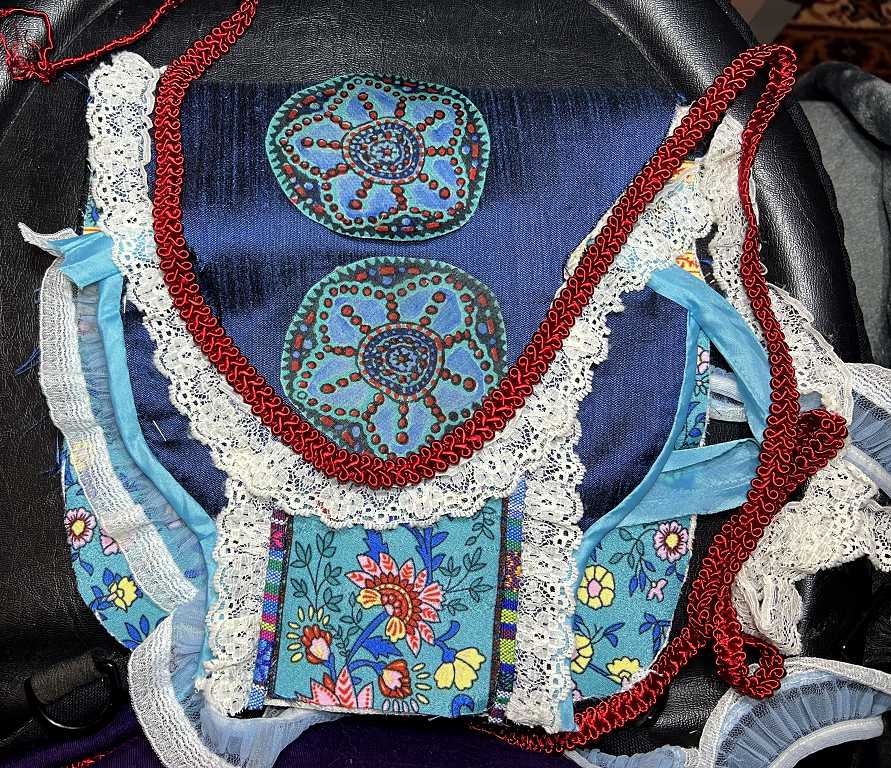
The next photo shows the project several stages on, with some of the materials I thought I would use. The dark blue satin fabric covers the back of the bag and the outside of the front flap.

The floral material on the front of the main part of the bag is from this Ebay dress that I posted about recently, which I took apart.
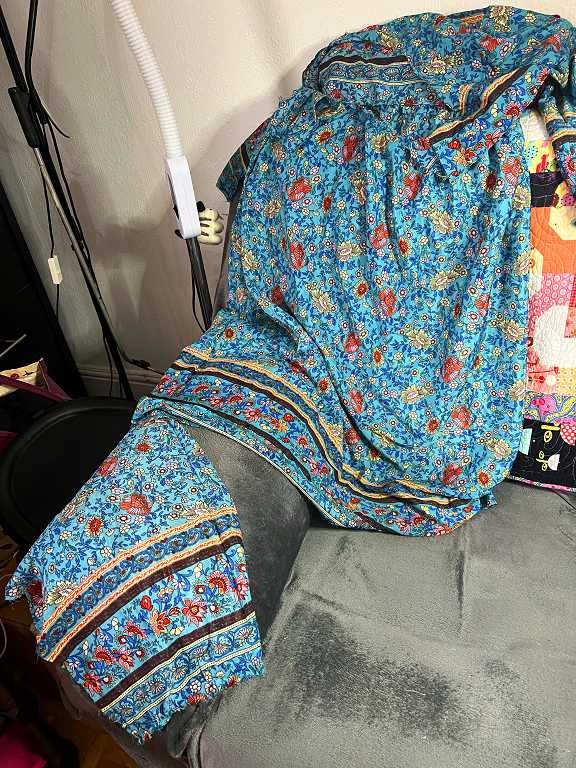
There are lots of gorgeous border designs, and also quite a large quantity of turquoise satin bias binding which I rescued from the dress, as well as the decorative turquoise cords from the bodice. I have used these cords to make a temporary handle for the bag as I wanted to use it tonight when I went out, but I need to do more work on this eventally.
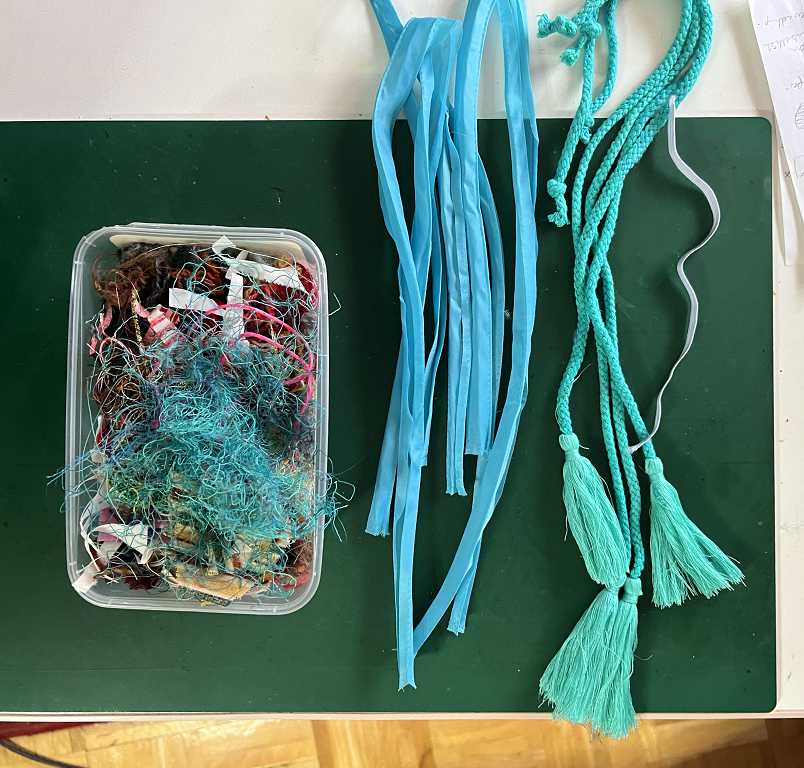
Returning to my previous photo with the various materials, I used most of the lace from the hot water bottle cover. The blue lacy trim is from an old scarf (seen at the top of the photo). The jewellery elements are from my recent Ebay haul of junk jewellery. My original plan was to use the bracelet at the bottom but I decided I liked it so much that I wanted to wear it. It is elasticated, and a bit too tight on my wrist, so I shall probably restring it eventually. In the end I used the adjustable macrame bracelet in the right, pulling it up tight and letting the blue beads dangle either side – more photos of this later. I loved the circular metal medallion which is a broken brooch or possibly a pendant. It only has one hidden bale on the back so I was not able to attach it top and bottom, so it is only attached at the top and loose at the bottom. I didn’t use the butterfly.
The circular motifs are cut from a silk scarf. There are circles of different sizes, and I cut two of the medium sized ones for the front, and a large one for the back of the bag.
This is a mock-up from later in the project, when I was deciding what trims to use. At this stage, the front pocket is now almost complete, and I am binding the edges with some of the satin bias binding, and adding the pale blue ruffled lace down the sides. It’s funny – I have a lot of stuff in my stash which I’ve inherited from various sources, some of which I really don’t like and thought I might never use, but once you start putting things together in this way, suddenly some of these become quite acceptable! This blue ruffled lace trim is a case in point, as is the bit of braid I used at the bottom of the bag at the very end.
Moving on to the finished bag – I didn’t photograph every stage after this. We’ll go through each element step by step. There is quite a bit of bling on this bag and of course the camera doesn’t pick this up.
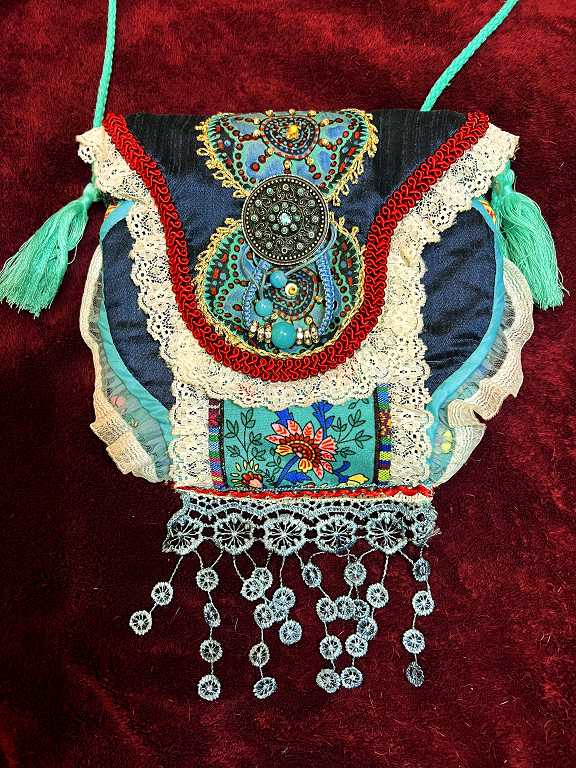
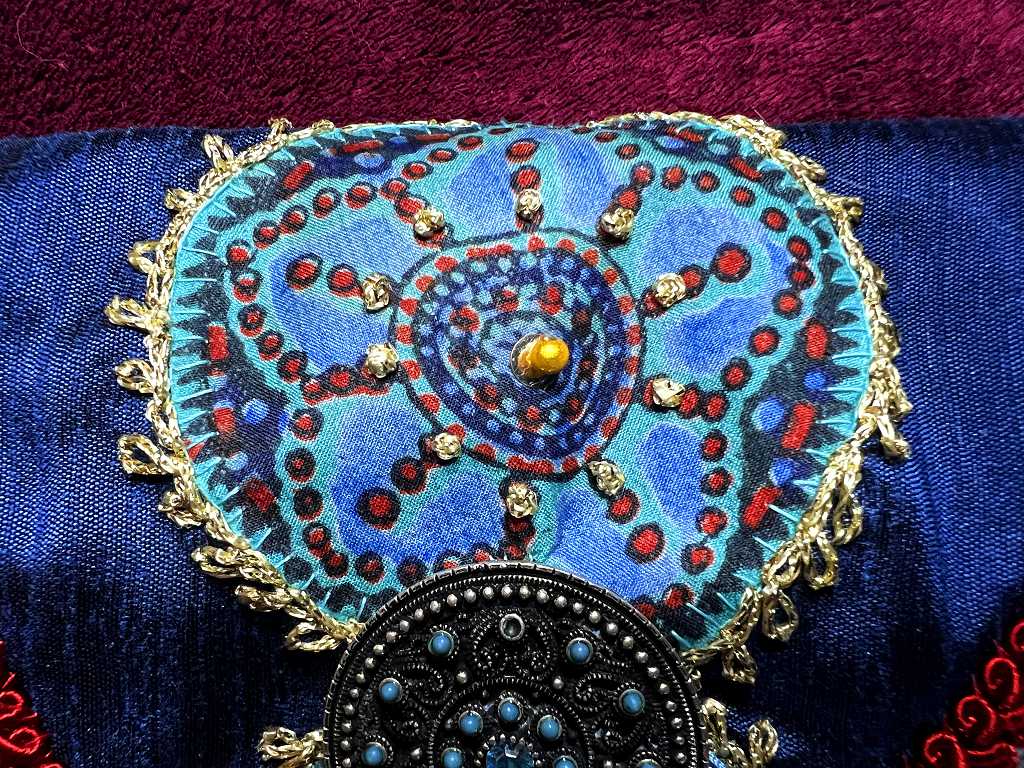
The front flap of the bag. You can see that I have added some gold embroidery to the silk applique’d medallions – a bead over a gold sequin in the centre, gold French knots surrounding this, and some decorative gold chain stitch around the edge. These medallions were hand-printed on the scarf and are not perfect circles but I don’t mind this – in fact I prefer it as it adds to the boho effect.
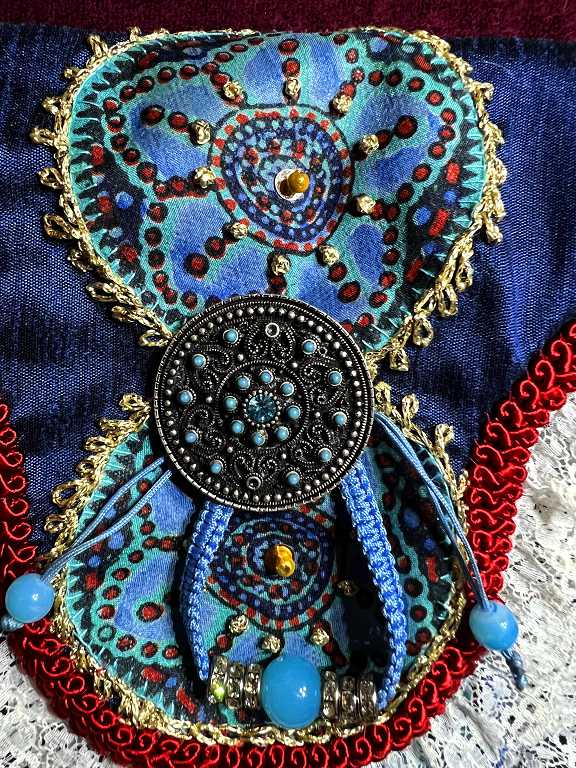
The metal medallion is stitched over the junction of the two silk applique circles, and also covers the stitching holding the bracelet in place. In real life this bracelet shows up a lot more clearly as the spacer beads either side of the central turquoise one are very sparkly.
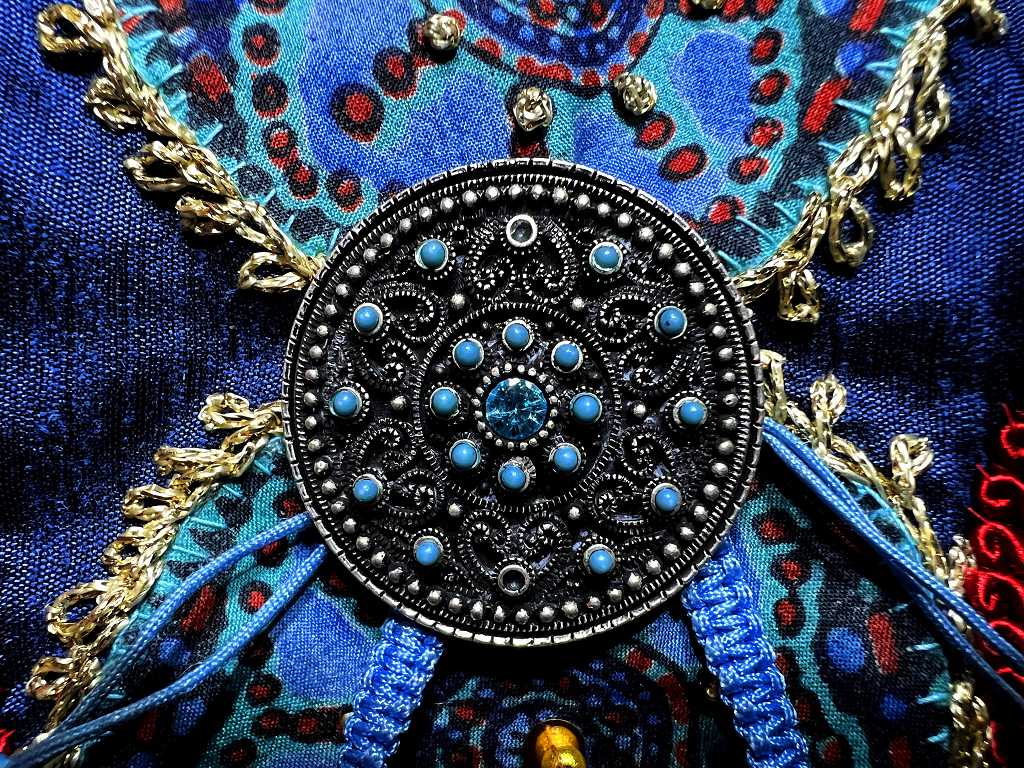
The circular metal embellishment showing the little turquoise stones, two of which are missing, but I don’t think that matters. The detail on it is gorgeous. There is a sparkly turquoise gem in the centre.
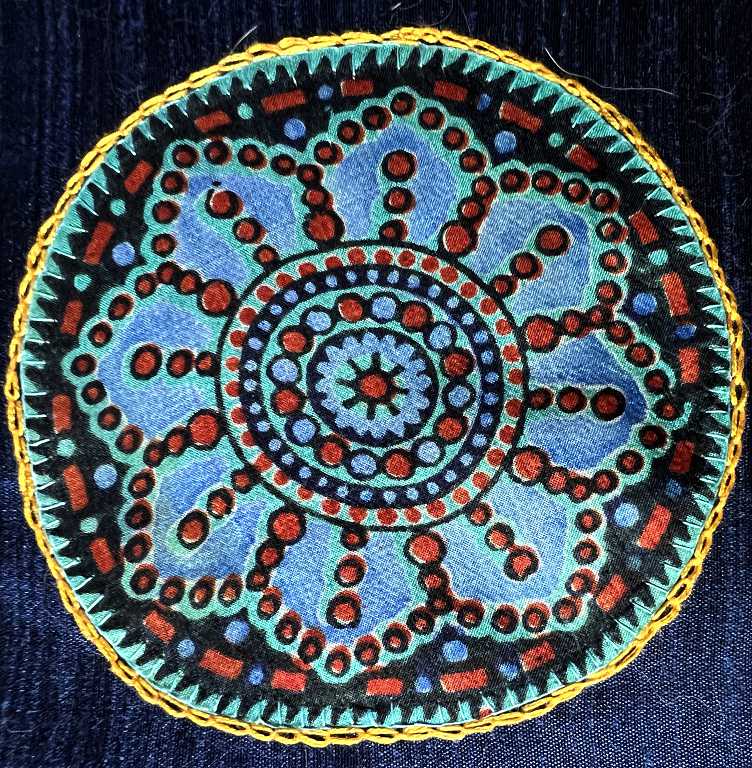
Detail of the top applique’d silk circle showing the print, and the embroidery. I attached these with Bondaweb which stiffened them qite a bit, and then sewed them down with buttonhole stitch in matching turquoise sewing thread, and finally added the gold chain stitch embroidery around the edge.
The bottom silk applique’d circle and the macrame bracelet. You can see the bead and sequin in the centre of the applique’d circle and the French knots surrounding it.

I edged the front flap of the bag with lace from the hot water bottle cover, and some twisted red braid, which looks much brighter and shinier in real life.
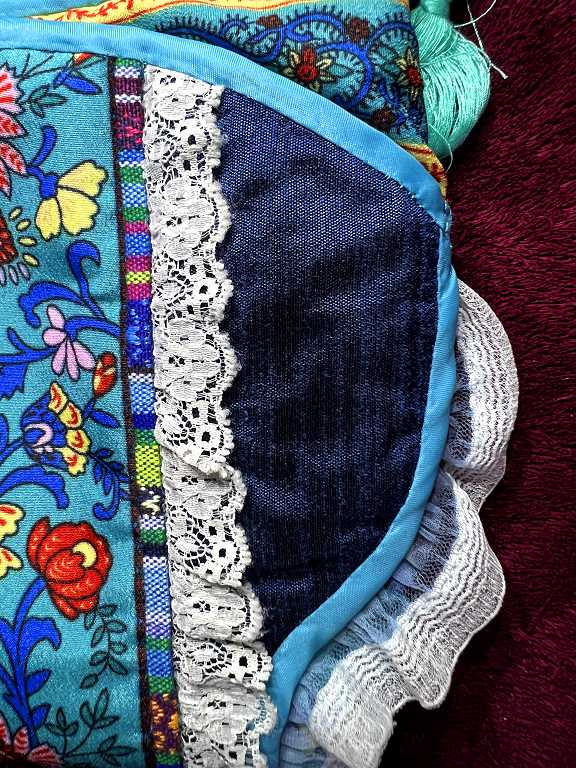
The front of the bag with the flap lifted up to show the front pocket. All of the bag incorporates the original quilted hot water bottle cover as an interlining which gives the bag more body, and certain elements are also reinforced with iron on interfacing, such as the Ebay dress fabric which is quite lightweight. I used a piece of this to cover the front of the bag, with the border across the top. I chose another border section to form the central panel down the front of the pocket – the dark stripe either side of this is part of the fabric print. The horizontally striped pieces either side of this are cut from one of the multi-pack of woven eyeglass cords that I bought recently – the colours are perfect! This is sewn down on top of more of the lace. You can also see that I have made two little loops at the top of the bag, from some satin cord in my stash, for attaching the strap and maybe some further clip-on tassels and embellishments that I might make further down the line.

The whole of the flap is bound with the satin bias binding which covers the attachment of the ruffled blue lace strip down the sides.
I stitched a seam vertically down each side of the centre panel, concealed by the lace. This has formed a pocket in the centre which fits my phone. The side pockets were intended for pens etc., but they stick up a bit too much for the flap to close nicely, so for now they are not being used.
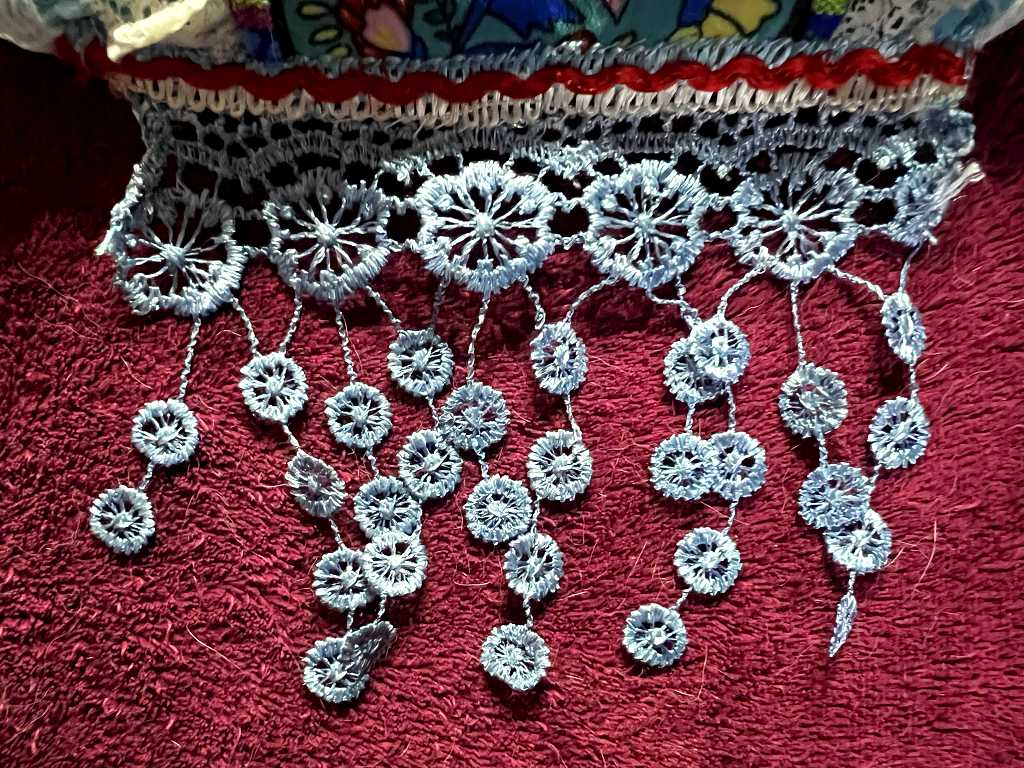
I love this delicate floaty trim from the end of the blue scarf. I sewed a small section of this onto the bottom of the bag and covered the seam with a small piece of trim from my stash – I have a large ball of this, which has red rick-rack down the centre, and blue on one side and white on the other – I couldn’t think of anything I would ever use this for, but laying it along the bottom of the bag I realised it was perfect for this. Plenty more to play with on future projects.
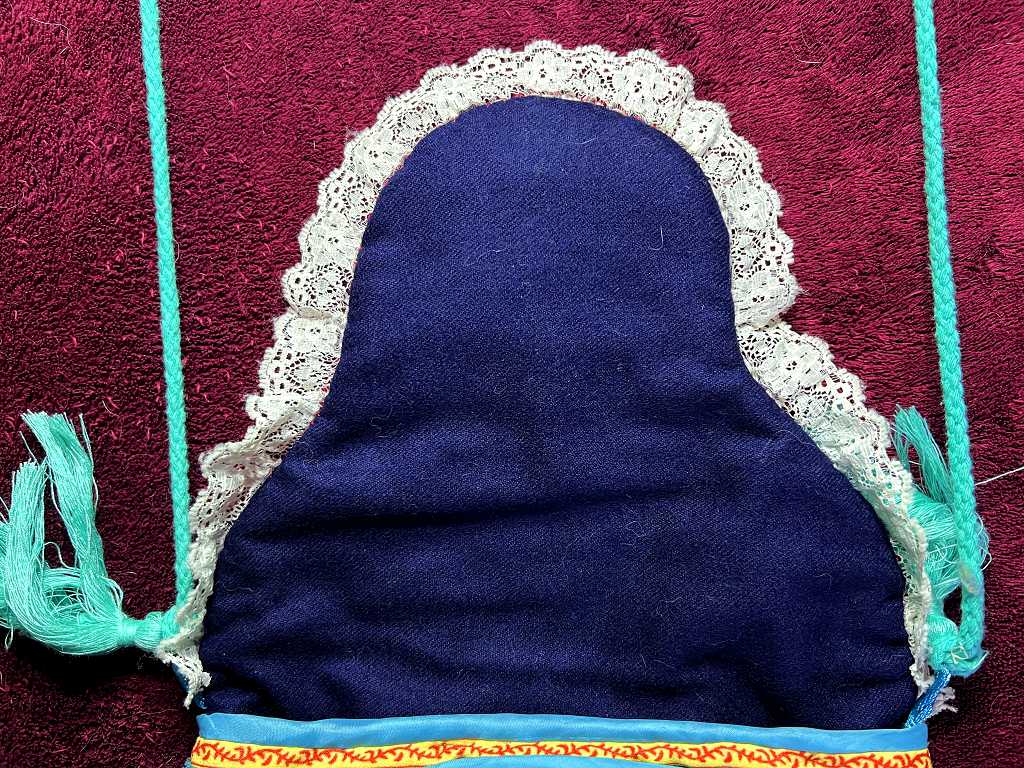
The inside of the flap. This dark blue fabric forms the lining of the bag. I have a reasonable sized piece of this in my stash, and for this it was a bit too thick and woolly, and frayed quite a bit. It has added quite a bit of bulk to the bag, but no matter. We use what we’ve got!
The back of the bag. I attached the large applique silk circle in the same way as I did for those on the front, but didn’t add any gold embroidery as I wanted to keep it flat. I worked some plain chain stitch in a yellow stranded cotton embroidery thread just to finish it off. (Note the cat hair on the bottom! Duh… it gets everywhere…)
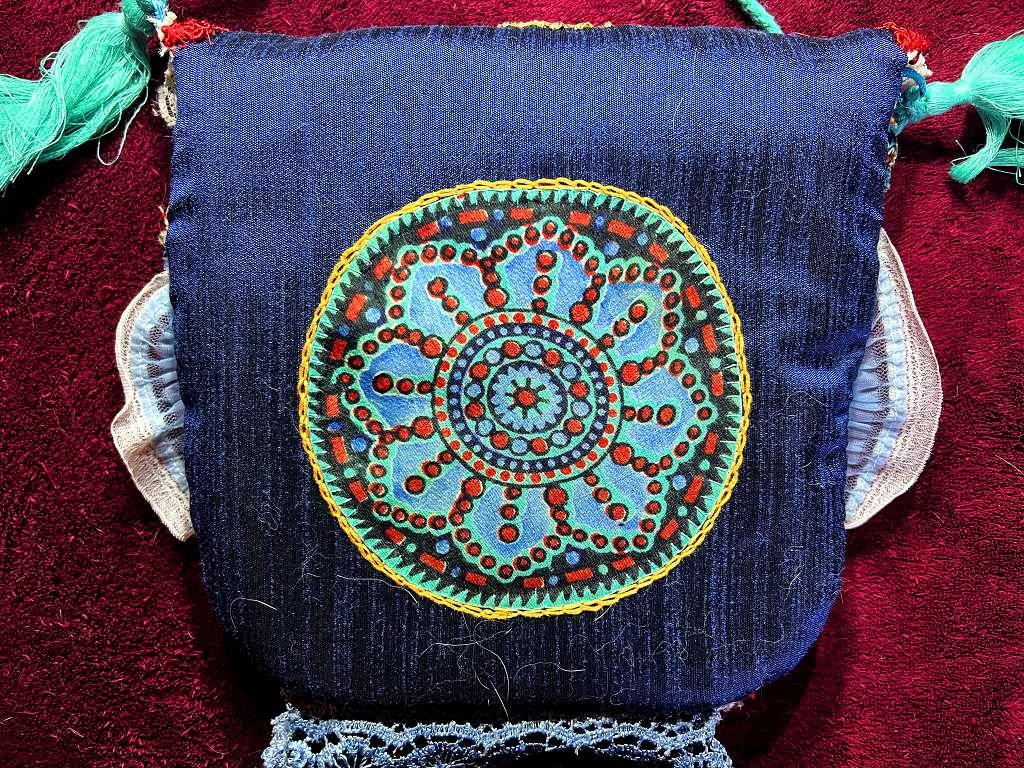
Detail of the silk applique circle on the back of the bag.
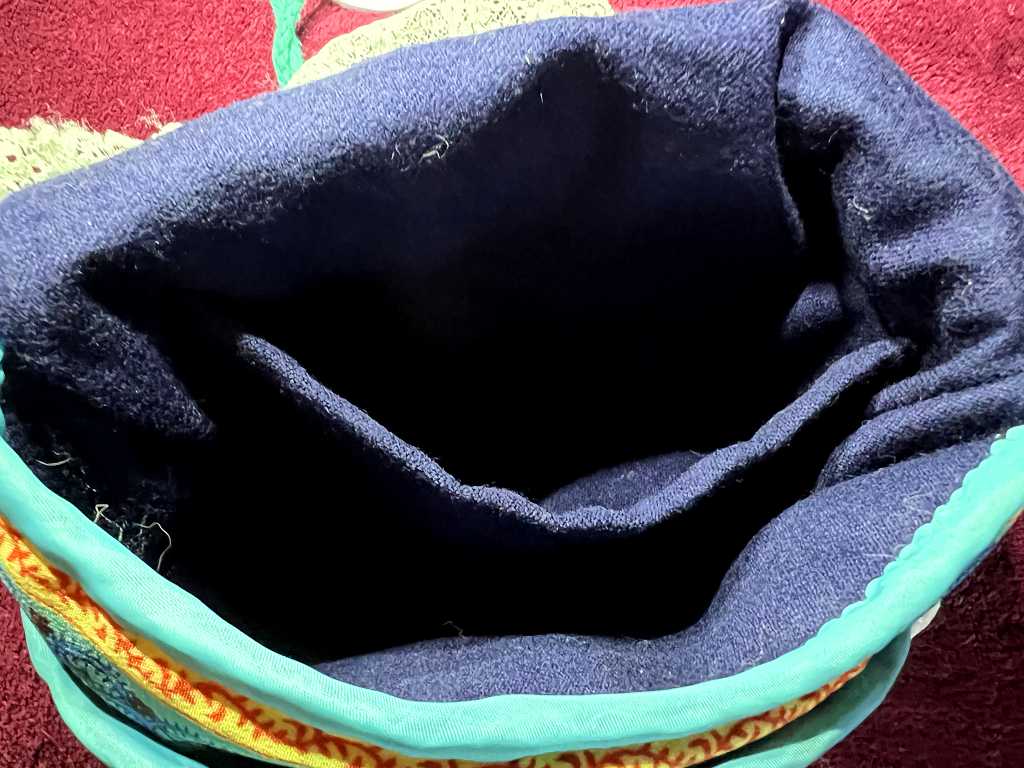
The inside of the bag, showing the lining. You can see that I made a pocket.
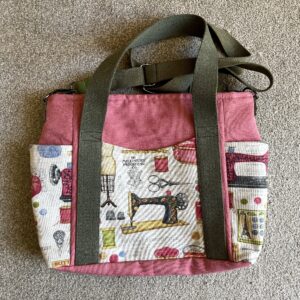
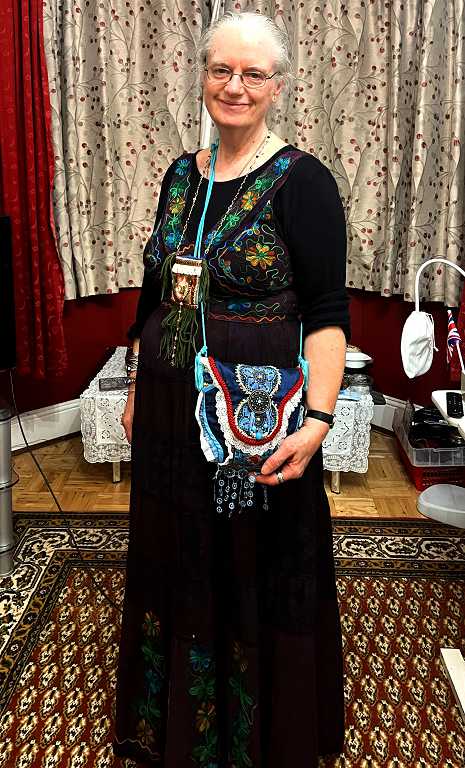
Finally, a picture of yours truly wearing both Bonnie Baggies 2 and 3.
As I mentioned earlier, the strap for this baggie is only temporary. These cords with tassels came off the Ebay dress, and for now they are knotted together. This cord is a bit thin and is not so comfortable to wear when the bag has got stuff in it. I have found a really nice YouTube video on how to crochet a bag strap with a very pretty pattern and may end up making that, if I can find a suitable yarn for it.
For now, I’m pretty pleased with Bonnie Baggie No. 3 made from a hot water bottle cover!
I am going to clear up the clutter in the sitting room now this is finished, and before making another Bonnie Baggie, I am going to concentrate on taking various garments and other bits and pieces apart and sorting and storing the resulting elements. We are going shopping on Thursday and I intend storming the charity shops for more treasures! I am definitely going with an eye for fabric with interesting prints, trims, lace, fastenings etc., rather than looking at the garment itself – I am not intending to wear any of this stuff unless there is something in my size which can be upcycled and improved upon in some way to make it unique, more boho and fun! I’m also on the look-out for furnishing fabrics, lace curtains or table linen, leather clothing, books with interesting illustrations or print for mixed media work, and bits of cheap jewellery – in fact anything that takes my fancy and looks good for upcycling. Some of the fabrics and trims will be useful in album binding and embellishment too.
I’ve been watching videos recently on how to make shabby chic and boho tassels and I’m really keen to get into this! Sooo much fun, and so little time or energy to do all that is buzzing around in my head!