EYEGLASS CORDS, BONNIE BAGGIE NO. 2 – GREEN NECK PURSE, AND MY OLD BAGGIES
Now that the final supplies have arrived for Bonnie Baggie No. 2 and future projects, I am able to post the completed baggie.
Eyeglass cords from Amazon
The other day, I spent some considerable time searching online for beaded chains, and couldn’t come up with anything that seemed just right to make the handles/straps for my bonnie baggies. During one of my searches, an eyeglass cord came up, and I thought that would be a brilliant idea, so I searched for those and was delighted with the result. They are ideal.
There are plenty of lovely decorative ones out there, and on Amazon I found lots of multi-packs – people obviously like to co-ordinate their eyeglass cords with their clothes, and ring the changes!
I ended up buying a multi-pack of four made of beaded chains, a single one with a jewelled chain, and a multi-pack of twelve woven braid ones with an ethnic flavour.
It is most unlikely that I shall ever make enough baggies to create handles with all of that lot, but they can be cut up and repurposed as required.
The four-pack
The top two have little jewels incorporated into the chains (one silver and the othe gold) – only at the ends and not all around, unfortunately, but that’s fine. A particular advantage of these two is that they have a lobster claw fastening on either end.
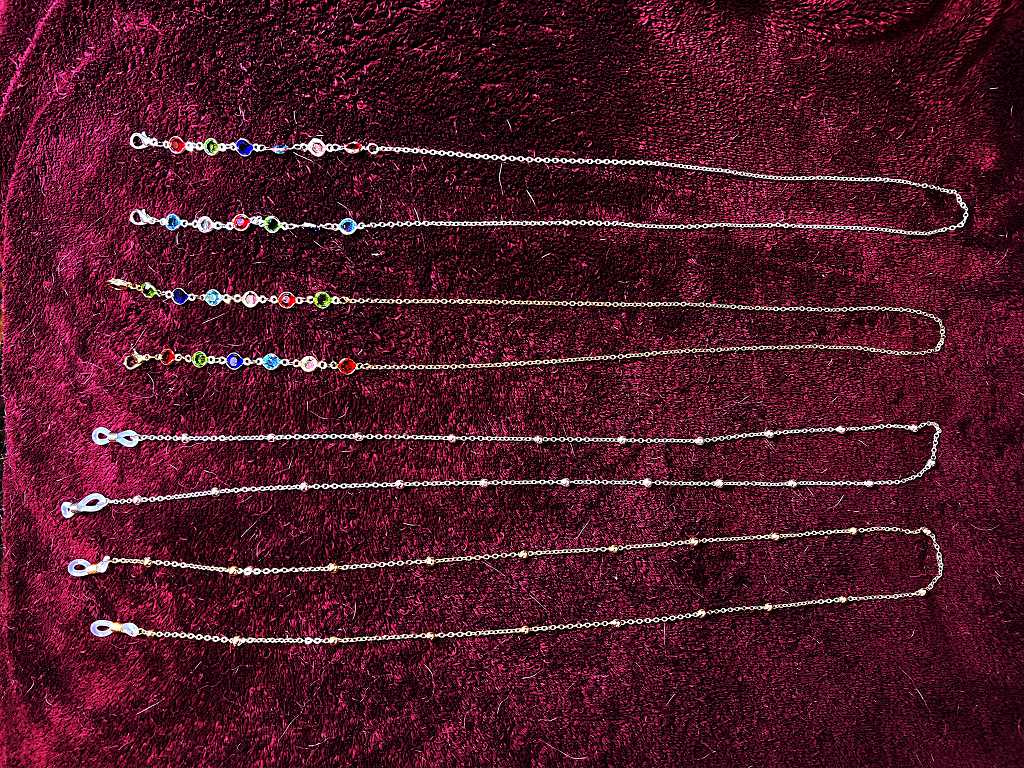
The bottom two are identical, except one is silver and the other is gold, with self-coloured beads incorporated into the chains. These ones do not have the clasp but have the rubber attachments through which you put the ends of the glasses. The jewelled ones also had these but I removed them.
I found this very pretty single one with little jewels all the way around, and it came complete with a small black fabric pouch. Like the jewelled ones above, it also had the lobster claw fasteners as well as the rubber rings.
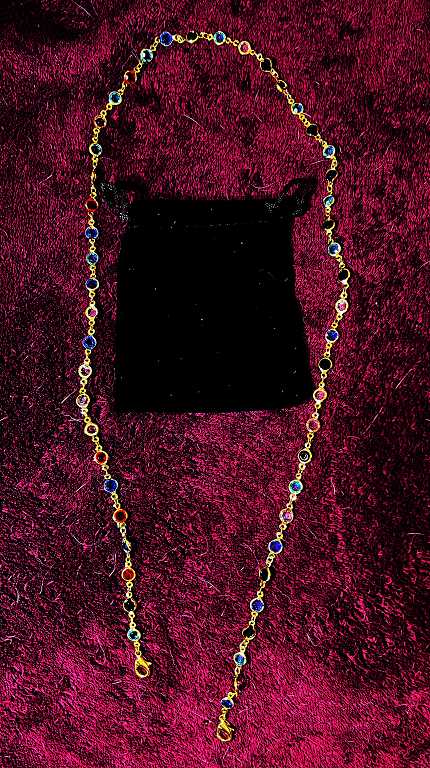
This is the one I have chosen to use for the handle for Bonnie Baggie No. 2.
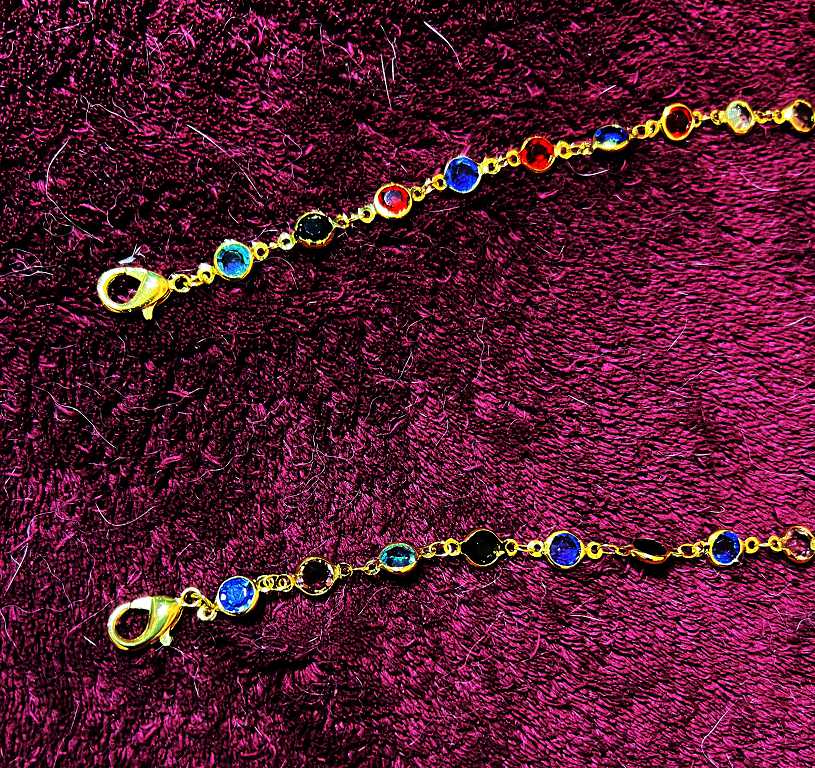
The great adantage of the lobster claw fastenings is that you don’t have to sew these handles onto the baggie, or mess about with jump rings; they can be clipped onto loops, and as such, are interchangeable should you so desire.
The twelve-pack of woven ones
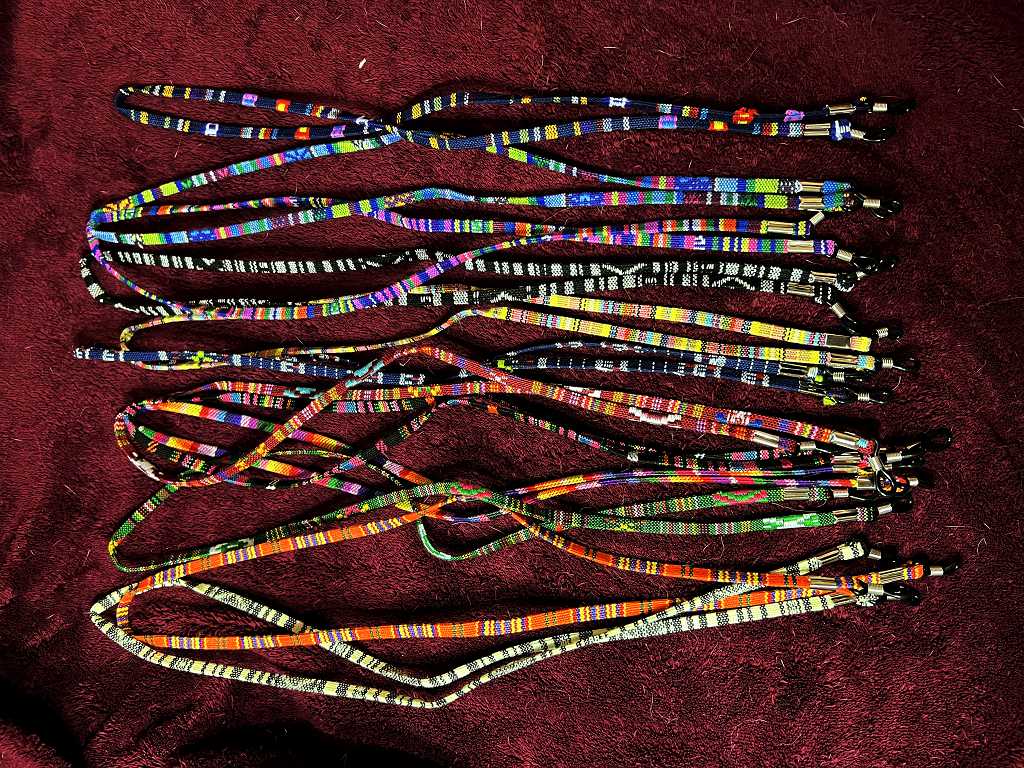
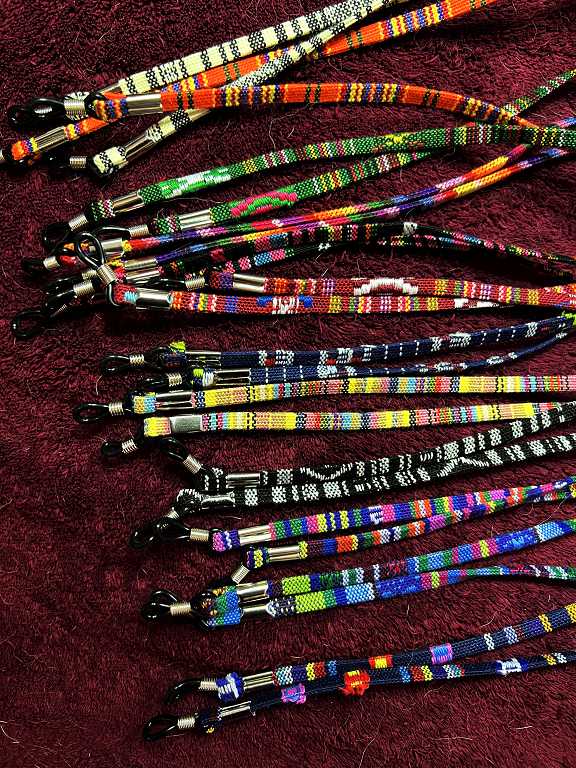
Gorgeous colours! Unfortunately none of these came with the lobster claw fasteners so they will need adapting.
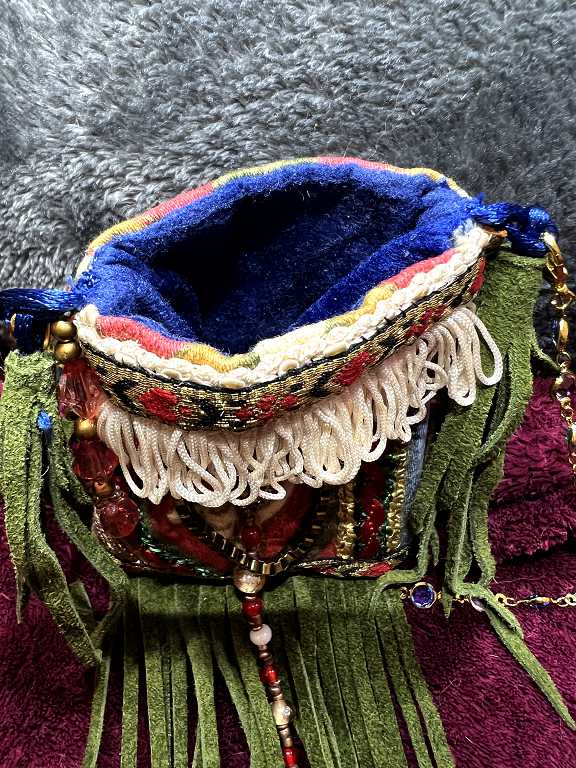
Bonnie Baggie No. 2 – Green Neck Purse
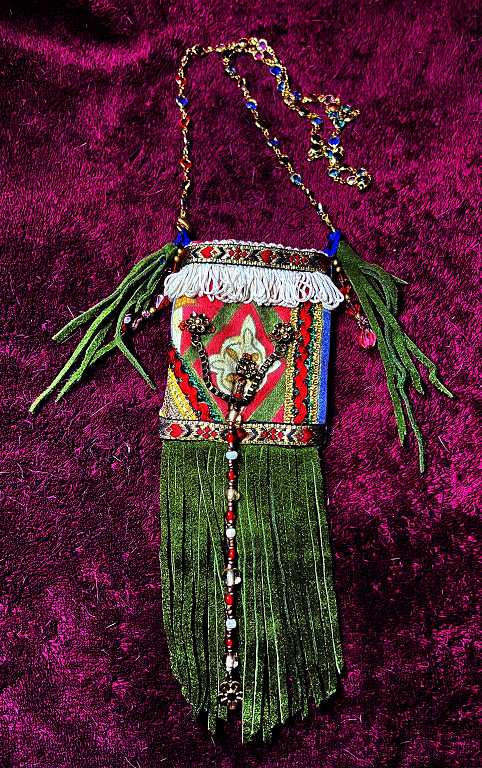
The main bag part of this measures about 3 x 4 inches. It is made from a fragment of curtain material which has vertical stripes with the diamond motif in the stripes. I cut the front and back almost identical, except that I made sure the diamond motif was lower than centre on the front piece in order not to be obscured by the top fringe. The motif on the back piece is in the centre.
The baggie has braid embellishments, some junk jewellery and re-strung bead elements, and a green leather fringe and tassels.
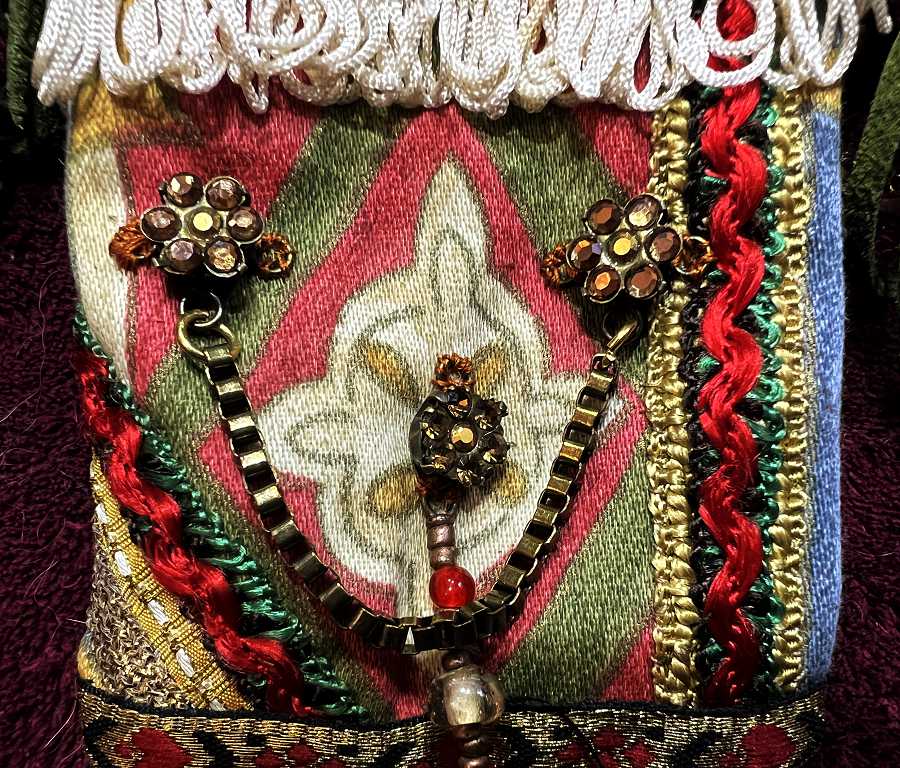
I chose to apply the braid embellishments to the centre part of the bag asymmetrically for interest, with one of them following the diagonal line of the diamond. The red and green braid is identical, but on the right, it is applied over a piece of cream/gold trimming. There is gold metallic trimming on the bottom left-hand corner of the bag.
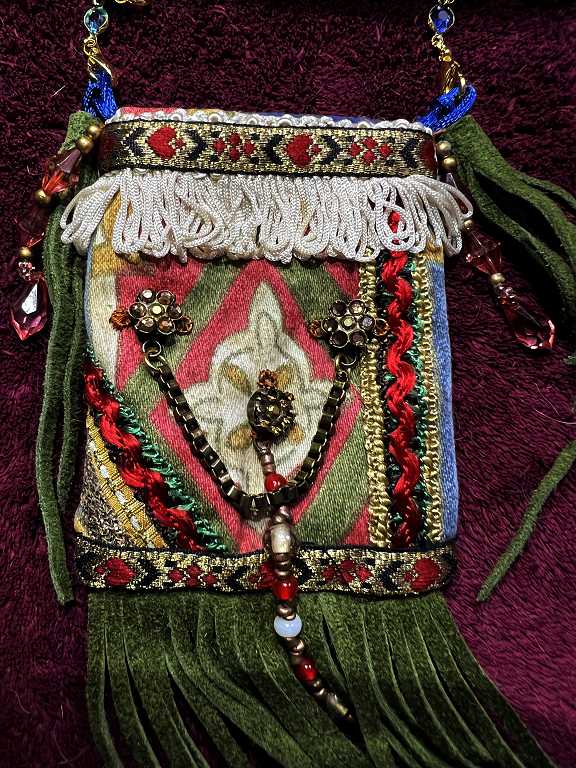
The three metallic elements were from a necklace which I took apart. Each motif has an orange gem and several attachment loops so I had no difficulty attaching these to the front of the bag. The loop of square-linked chain came from the same necklace, and is attached to the floral elements with jump rings.
Unfortunately the photos don’t do it justice. It is much more shiny in real life!
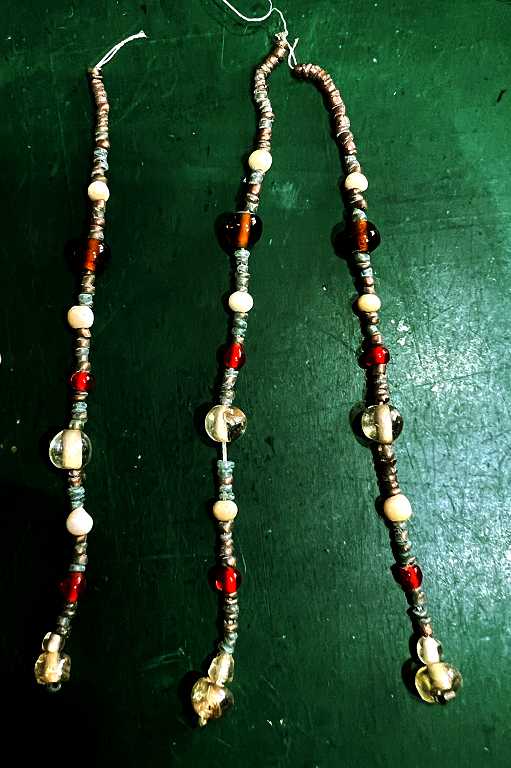
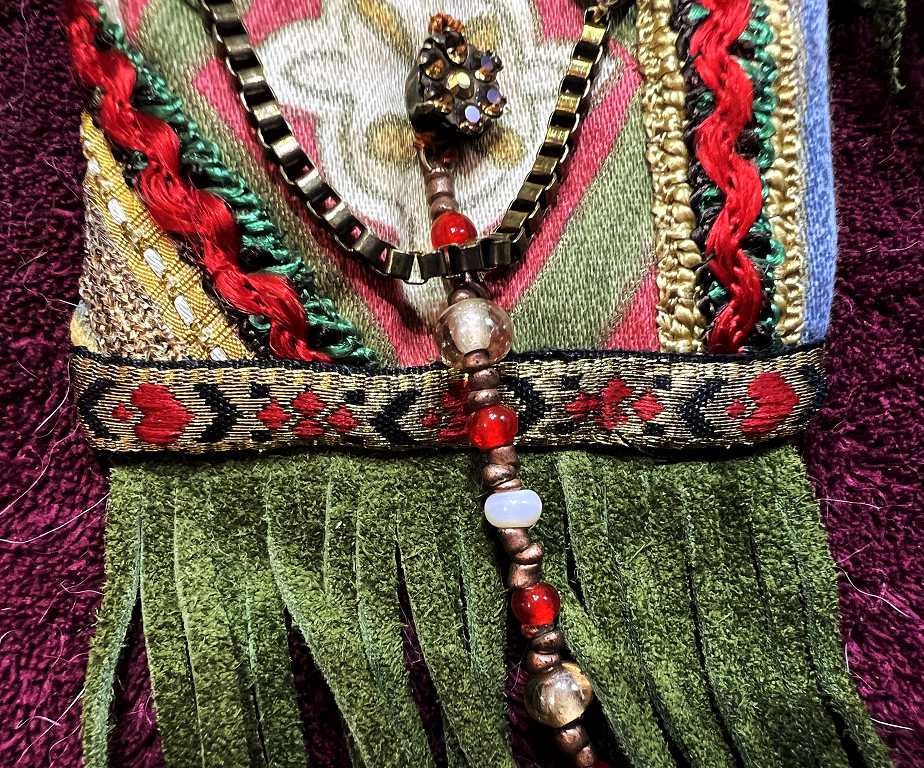
The long dangle is part of an old beaded tassel from my stash, which I will need to restring (or use in other ways) as the whole thing fell apart when I took the tassel apart. I had photographed some of the original strands as I liked the arrangement of the beads, and repeated this for my baggie, but making it shorter, and adding a small charm to the bottom.
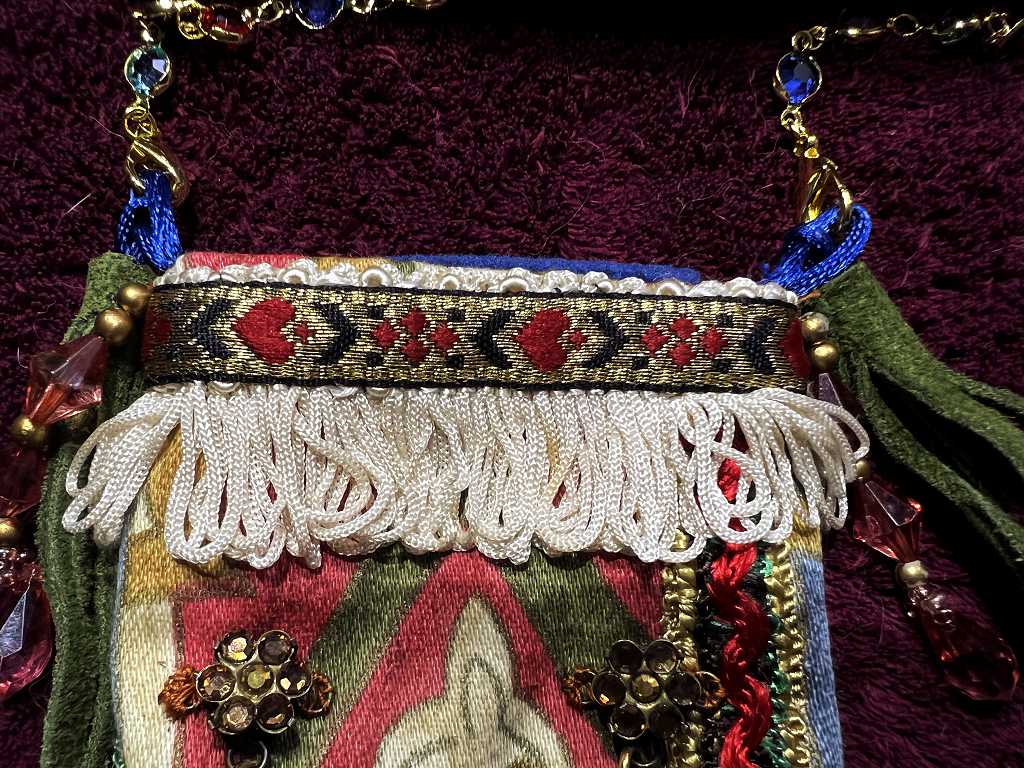
The top of the baggie, showing the cream coloured looped fringe trim and the attachments for the handle and tassels. The gold braid is Indian, and I have quite a large quantity of this. It’s very useful because it provides a bit of drama and bling.
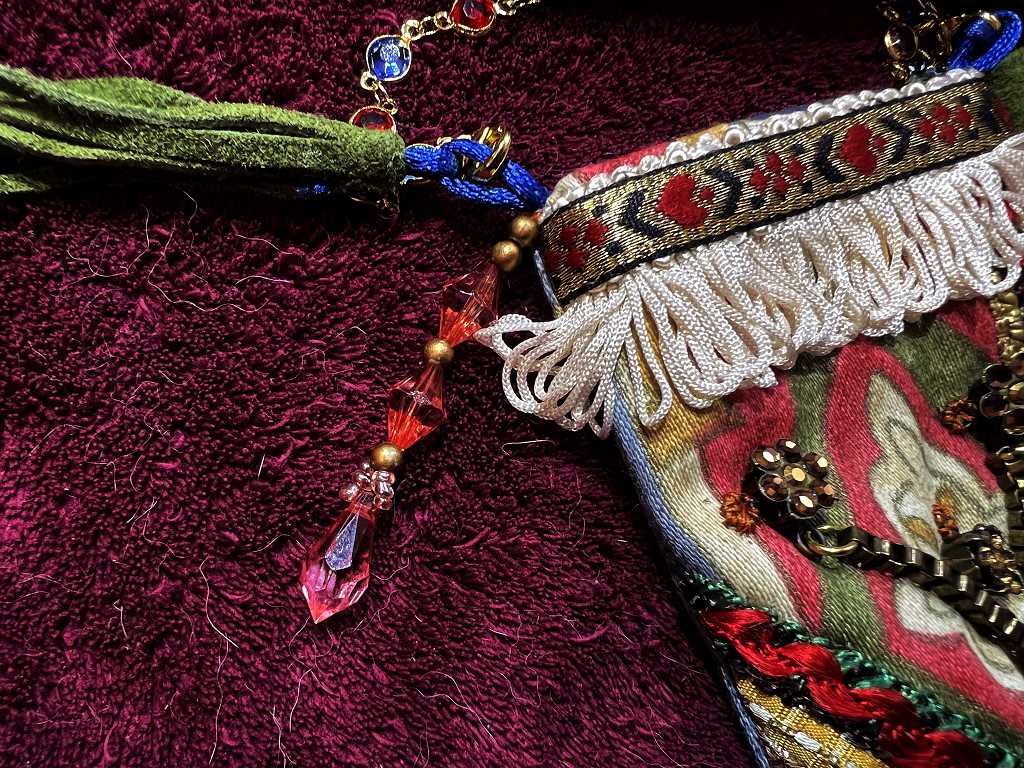
The attachment for the handle/strap and tassel
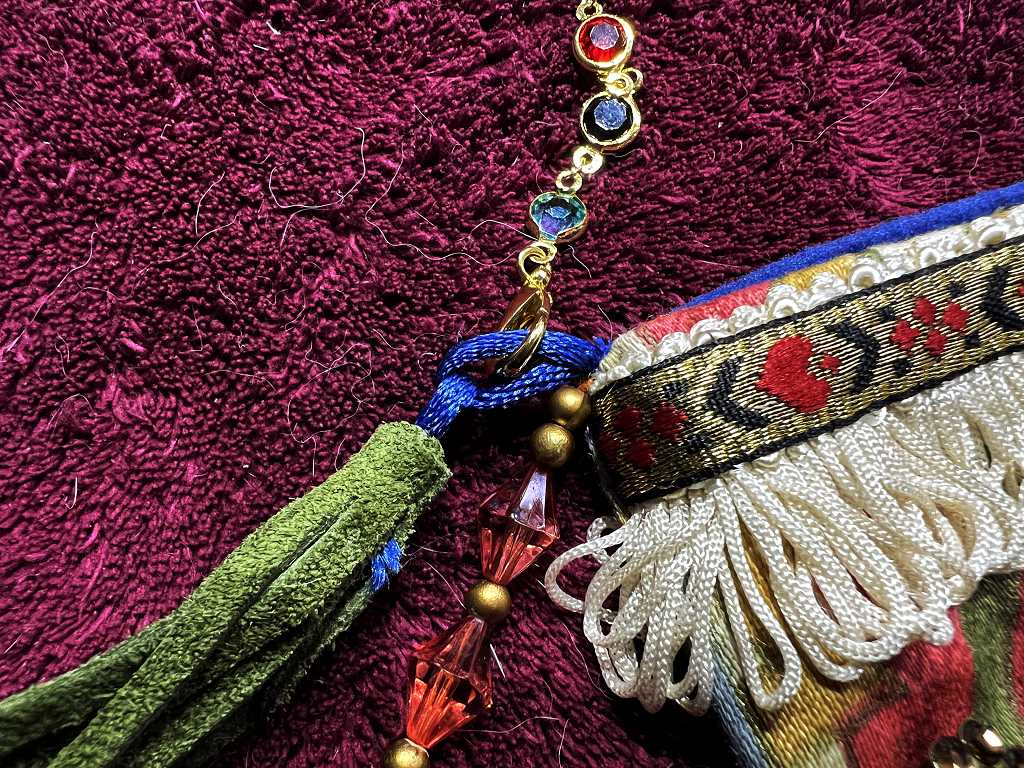
When I assembled the bag, I inserted a short length of silky cord from my stash, so that it was incorporated in the side seam. I made two identical loops, one for each side of the baggie.
The side tassels
As I mentioned in a previous post, you can make little leather tassels from irregularly-shaped fragments. I cut the pieces into fringes and then rolled them up quite tightly, with the shorter fringes on the outside. Fortunately this leather is very soft and can be sewn with a normal needle, but it’s still quite tough to sew. Once the tassels were rolled, they were stitched in place so they could not unravel, and using a large tapestry needle (which was quite difficult to thread!) I brought a length of the blue cord up the centre of the tassel, created a loop and brought the end back down through the tassel, and tied the ends together. This was quite difficult, especially on the way down as the space was even more restricted because of the presence of the first end of the cord. It would probably have been a lot easier to wrap the tassel around the cord rather than trying to attach the cords after the event.
Once the loops of the cord were in place, I added a very small amount of glue (Collall Multi-Purpose adhesive) to the top and bottom of the uncut part of the tassel, and trimmed the ends of the cord off short. They shouldn’t come off anyway, but the glue makes them that much more secure.
I also used the beads from a piece of beaded trim from my stash, to make additional embellishments for the sides of the baggie. These two pieces of trim are sewn into circles and I think they were probably curtain tie-backs. The beaded dangles are too far apart for the trim to be used on such a small project, so I removed two of them and restrung them onto my project, reducing the length a little.
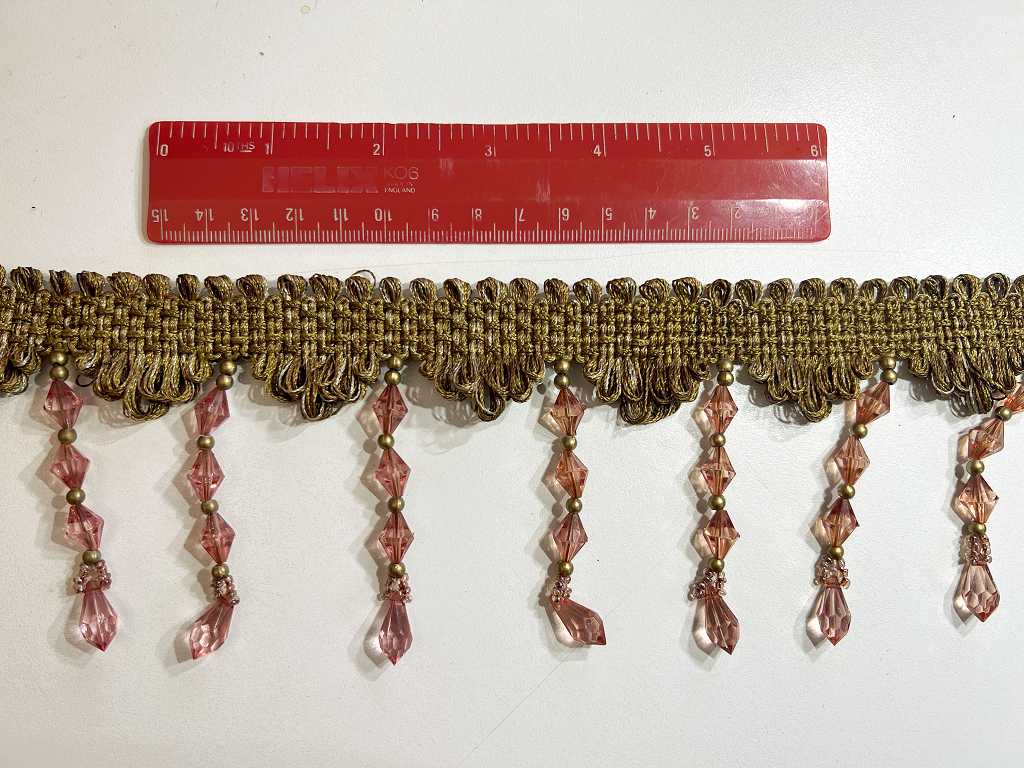
A closer look at the front of the baggie. I wish the bling showed up better! It is very sparkly.
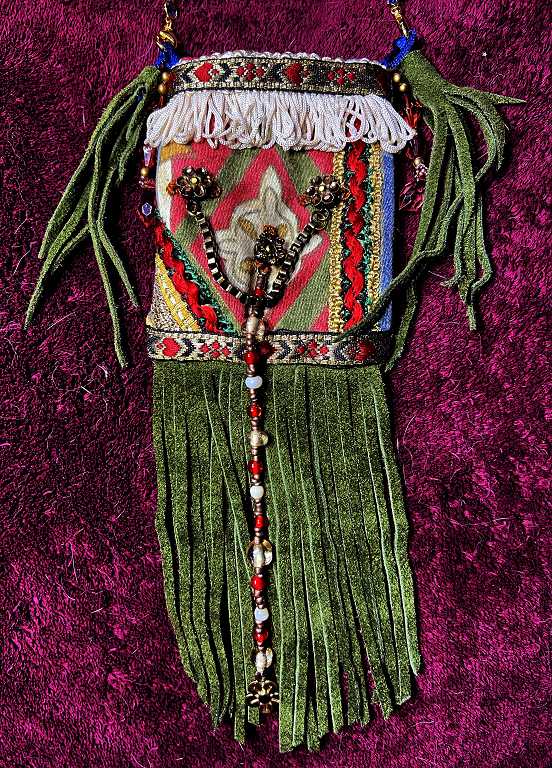
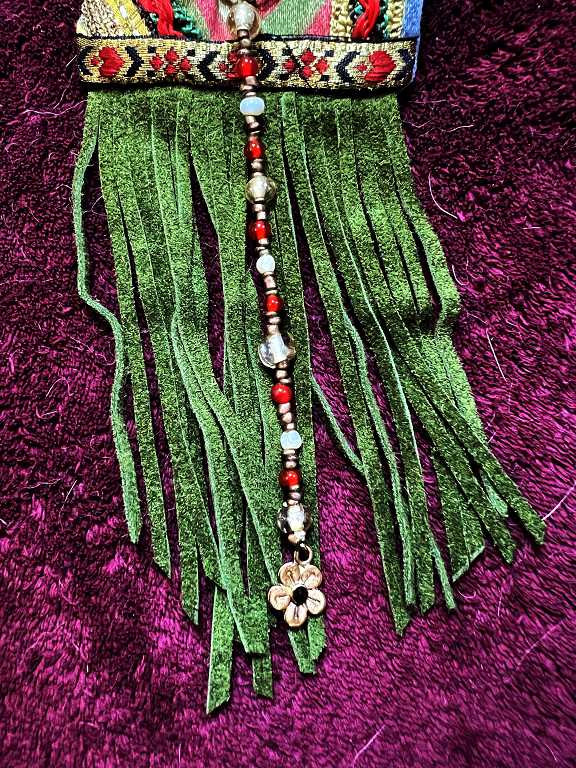
There is more Indian braid across the bottom of the baggie. The green leather fringe is incorporated into the bottom seam of the baggie. I did this by placing it upside down on the right side of the front fabric piece and stitching across to hold it in place, and then I placed the back of the baggie on top (right sides together) and stitched the seam. When folded right way out, the fringe hung down from the bottom, with its top edge hidden inside the bag.
The length of the leather fringe, showing the beaded dangle with its little flower charm on the end.
The top of the baggie, showing the dark blue velveteen lining. This was cut from a small scrap in my stash – source unknown. It may have been a fabric sample – these are very useful for small projects like this. Some shops will let you have, or sell you, old fabric sample books which are discontinued. Furnishing fabric is good as it’s quite robust, but some of it can be a bit too thick for very small bags. There’s nothing to stop you piecing it together for a bigger bag, though, for a real upcycled Boho look!
Finally, the back of the baggie. You can see that I have centred the diamond motif.

This Bonnie Baggie, the first of the small neck purses, has come out really well and I’m pleased with the result. I am also very pleased to have had the idea of using eyeglass cords for handles, especially the ones that come equipped with ready-made fastenings! Interchangeable handles? Why not?
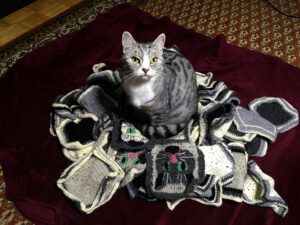
Looking at all those close-up photos, I am horrified how much cat hair is all over my dark red blanket!!
My old Bonnie Baggies
As promised, I have now dug out the small bags I made in the past, and photographed them.
Brown leather pouch
I made this donkey’s years ago – I think before I got married, so it’s probably 40 years old!! It was made from a larger piece of very soft dark brown leather from my leather offcuts stash.
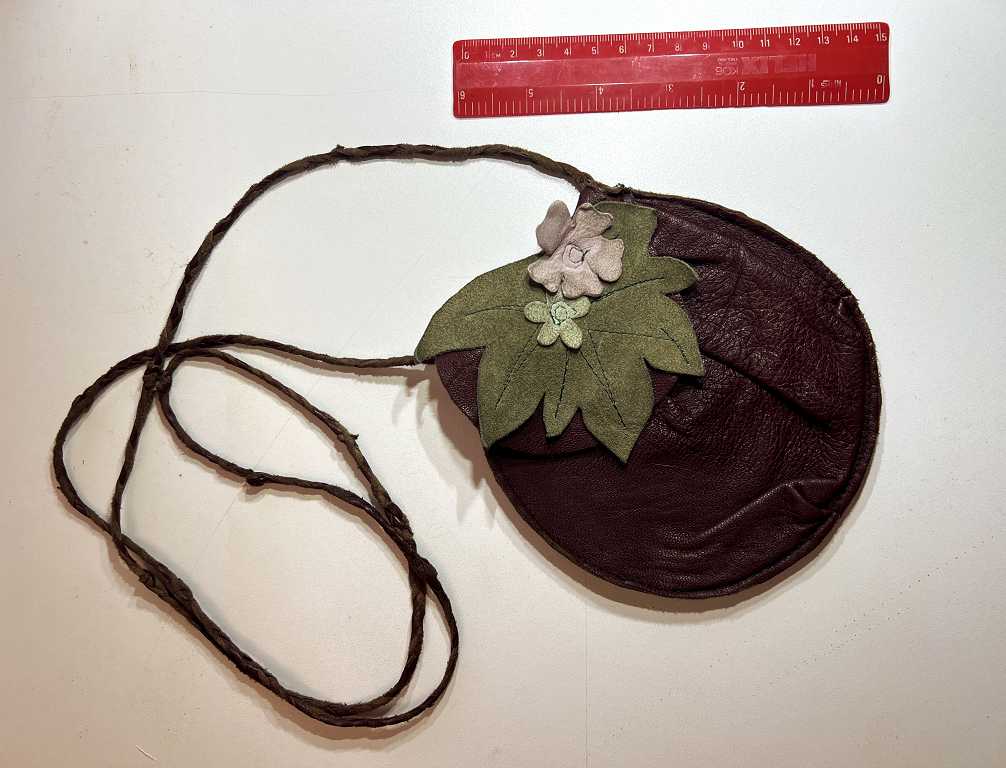
The front is cut slightly larger than the back, and the seam is pleated a little, to provide more space inside the pouch. The edge is bound with another piece of leather, and the handle is made from thin strips of leather plaited together. The pouch is unlined.
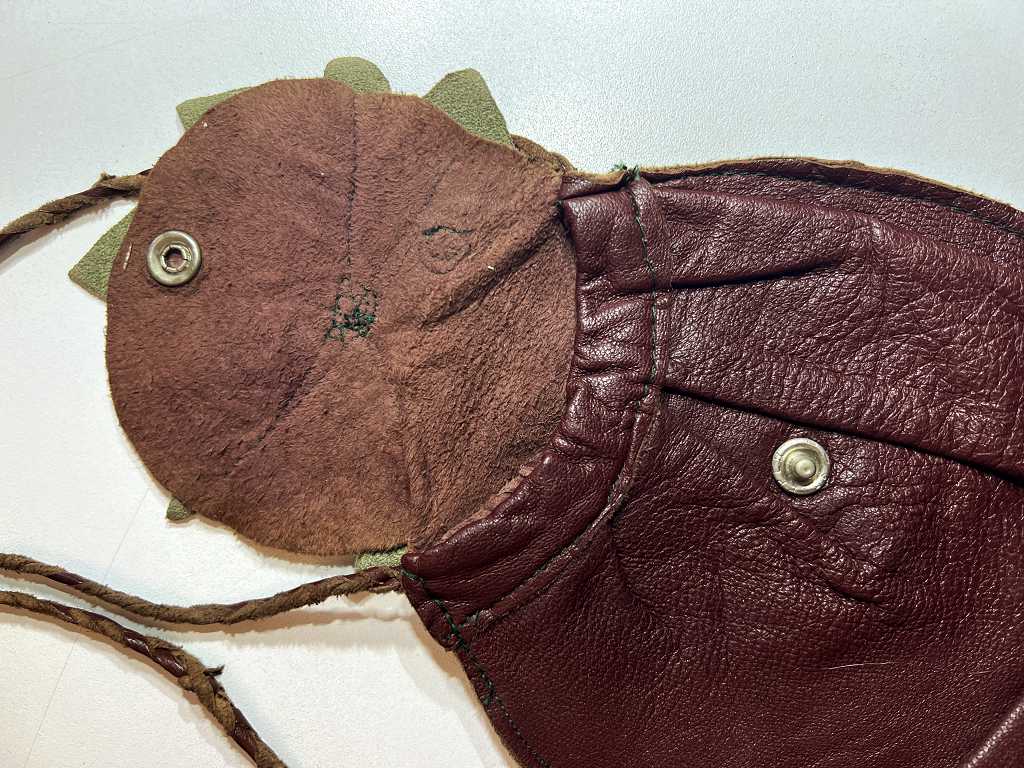
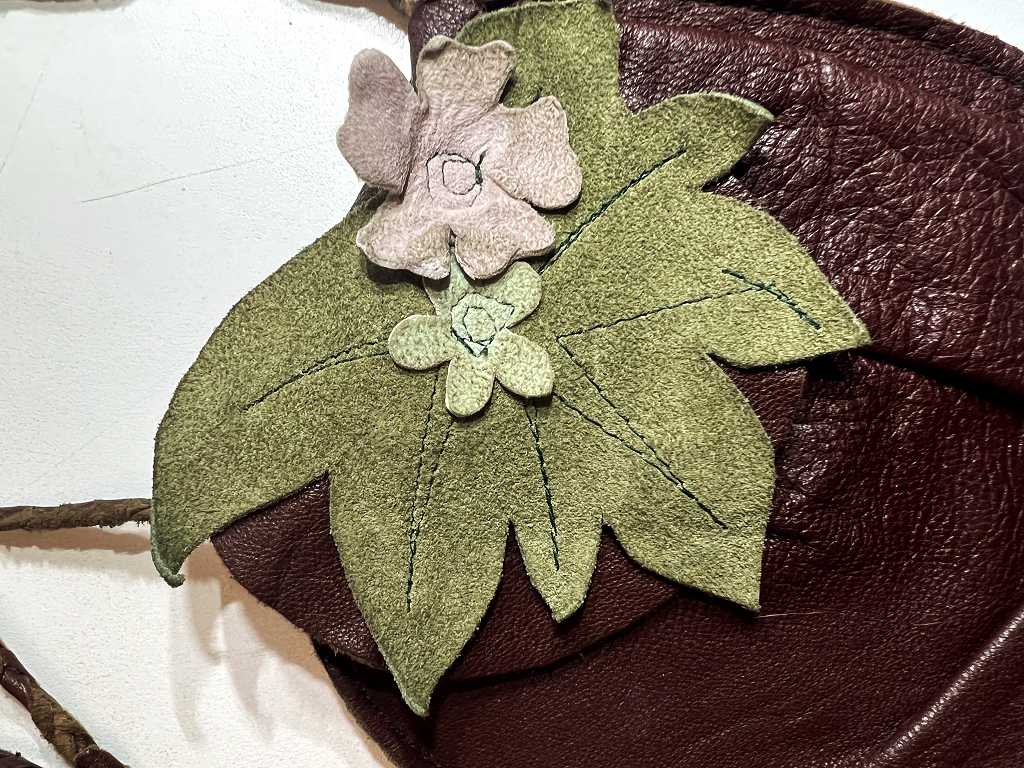
It has a simple floral applique motif cut from coloured leather scraps, sewn on by machine, and it has a snap closure which I never found it necessary to use as the flap stays closed. The handle/strap is long enough for the pouch to be a cross-body pouch.
Embroidered Russian neck purse
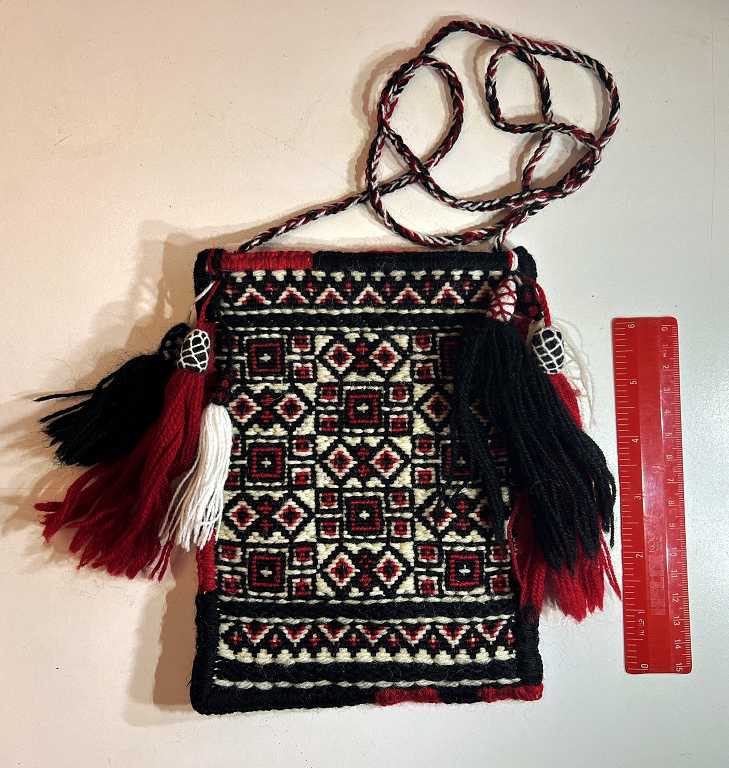
When we were living in Plymouth in the early years of our marriage, I belonged to the Westcountry Embroiderers, a group which met monthly for alternating workshop days, and dayschools taught by visiting professionals. Since we had quite a large house, I volunteered to put the speakers up overnight, which was tremendous fun as I had lots of one-to-one conversation and inspiration from each one! One lady came to teach us pattern darning, an embroidery technique popular in Eastern Europe. She had been awarded a Churchill scholarship to travel in Russia and Eastern Europe to study their creative arts, and especially their embroidery, and she was kind enough to give me a Russian book full of graphed pattern designs and quite a lot of text (all in Russian!). Most of the graph patterns were pretty badly printed, with the colours not matching up with the graph grid, so whenever I have used any of the patterns I have always redrawn them onto my own graph paper.
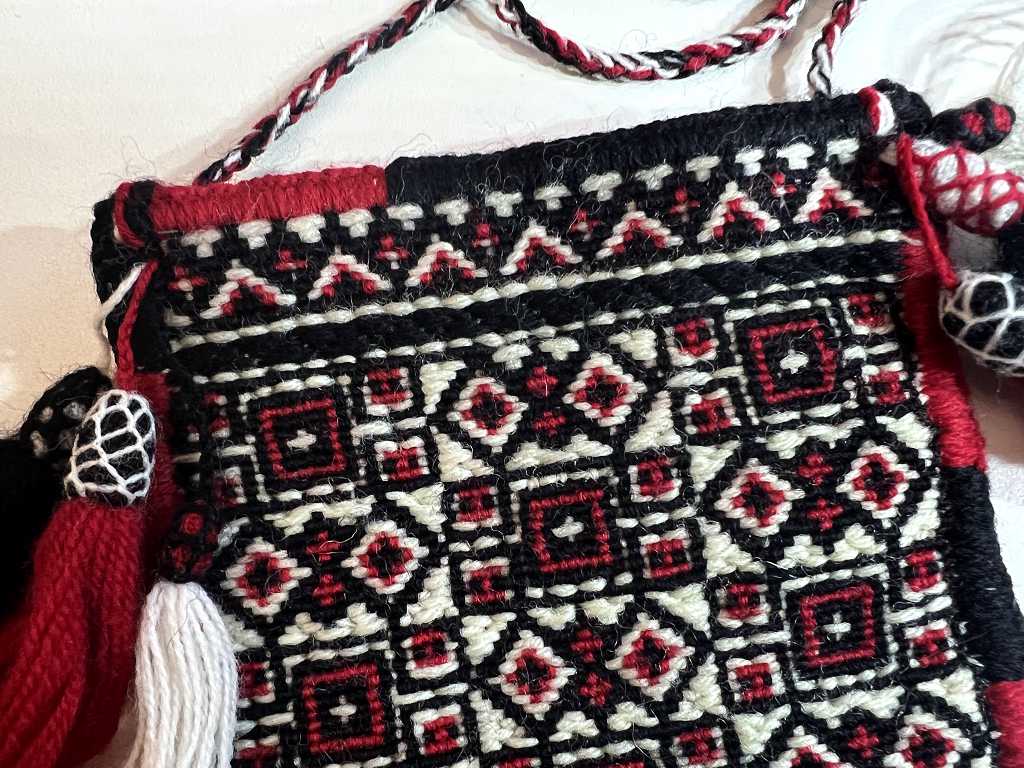
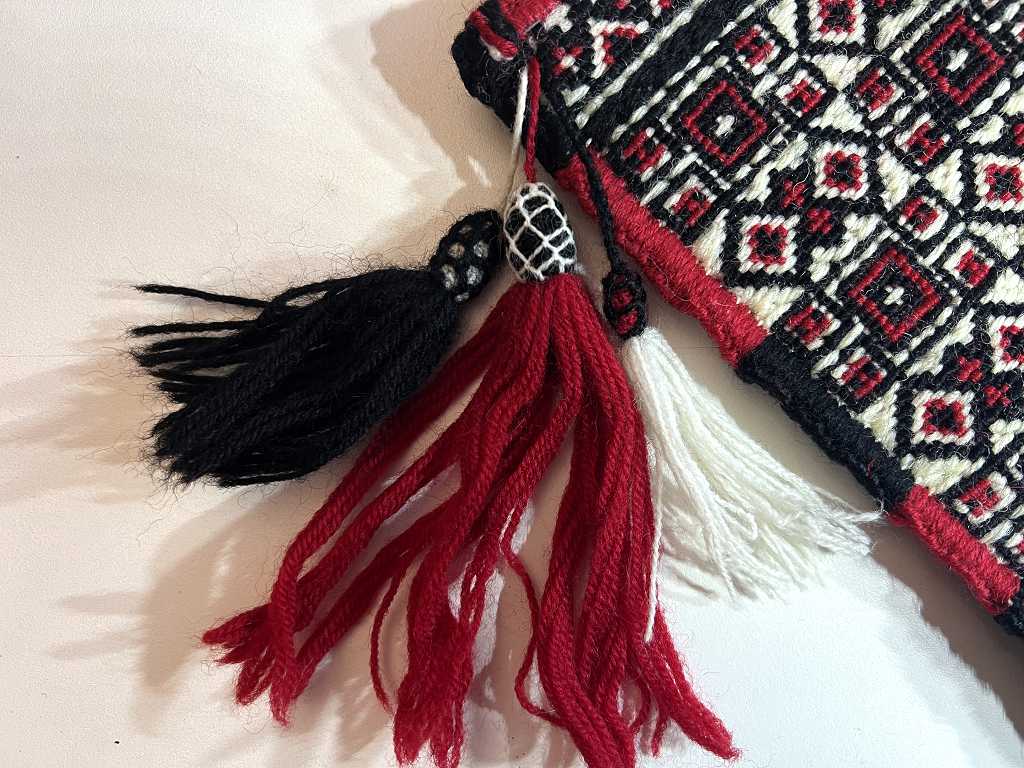
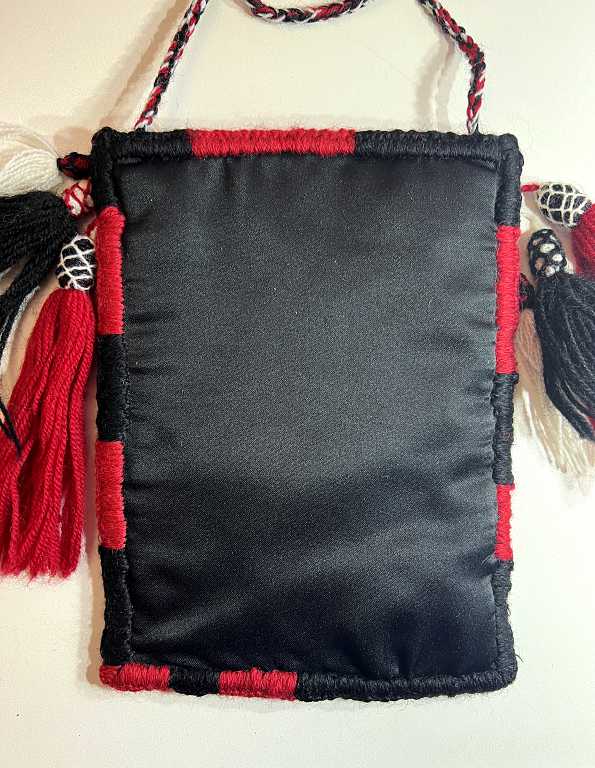
The pattern for this neck purse was taken from that book and I worked it in wool on canvas in three simple colours of black, white and red, and added my own DIY tassels with detached buttonhole stitch embellishments, and a plaited neck strap.
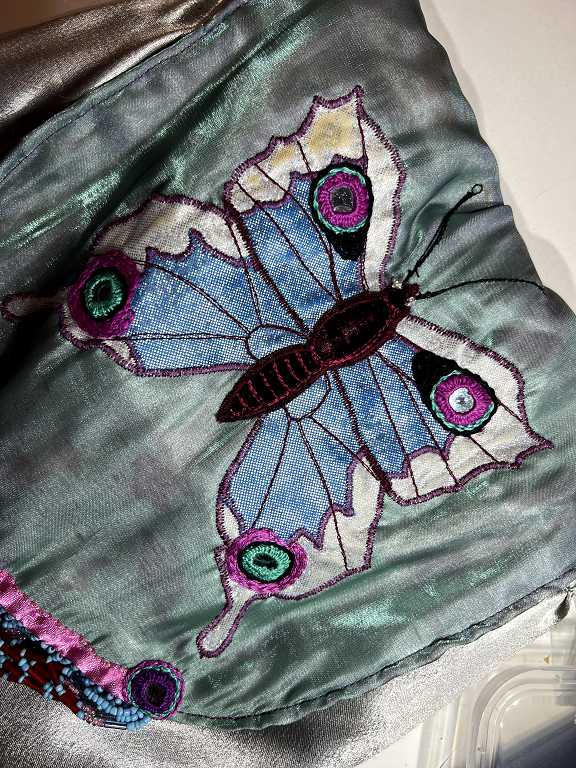
Satin butterfly baggie
This is another cross-body pouch which I made to go with an outfit I made for a family wedding. The outfit consisted of baggy trousers and a long overlap top made from silver-grey satin, accompanied by a large floaty organza kimono with a big applique butterfly on the back, made from velvet, metallic fabrics and shi-sha mirror work. I made the baggie from left-over scraps of these fabrics.
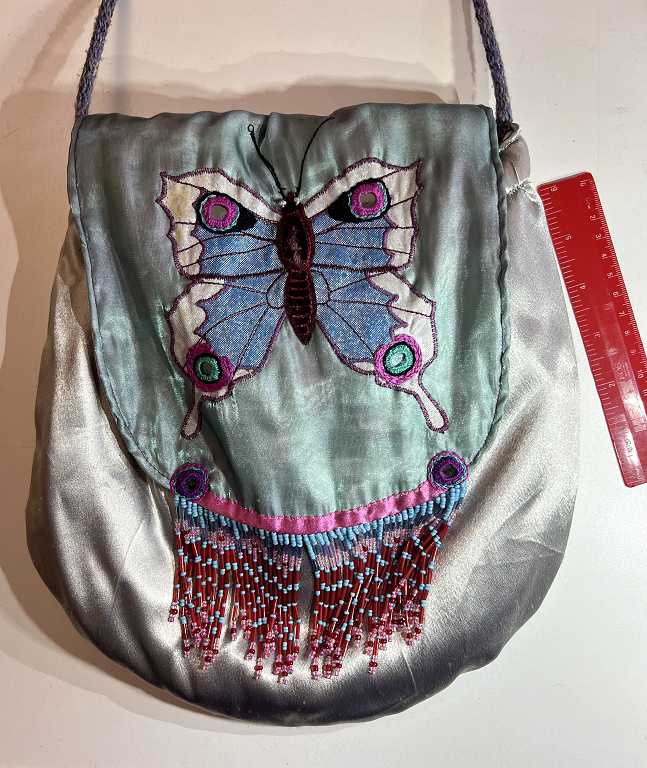
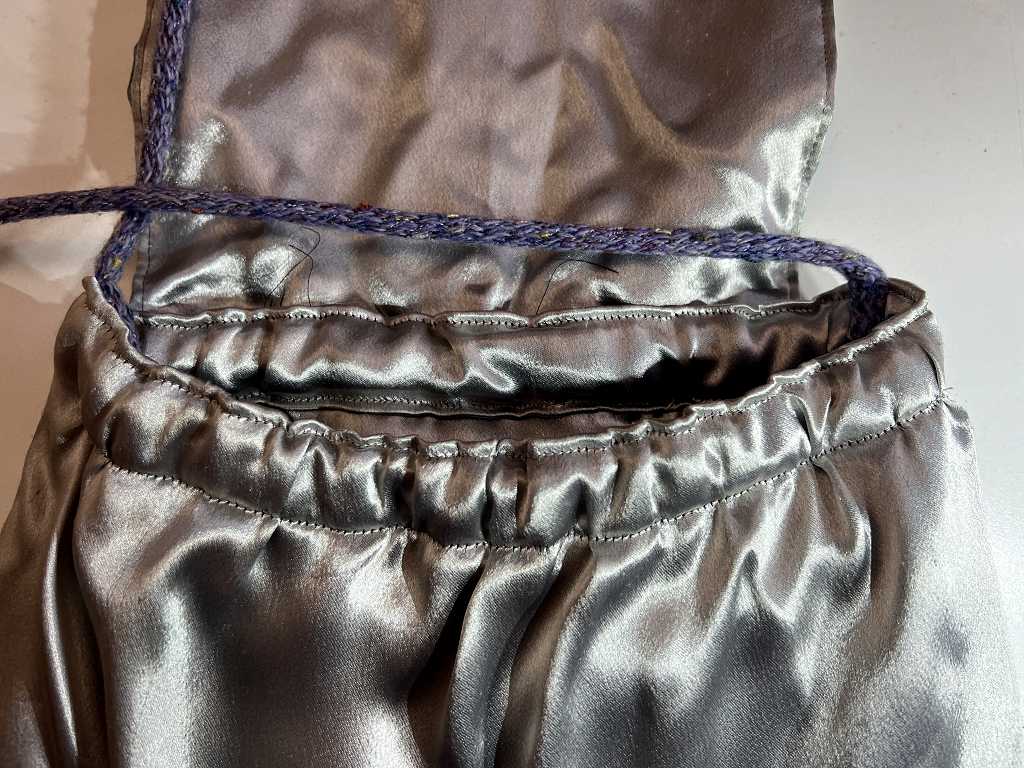
I threaded some elastic through the top of the bag to gather it in somewhat, but not enough to prevent access to the inside.
I later made a three-sided pinch-box from the same fabrics, overlaying the organza over the satin.
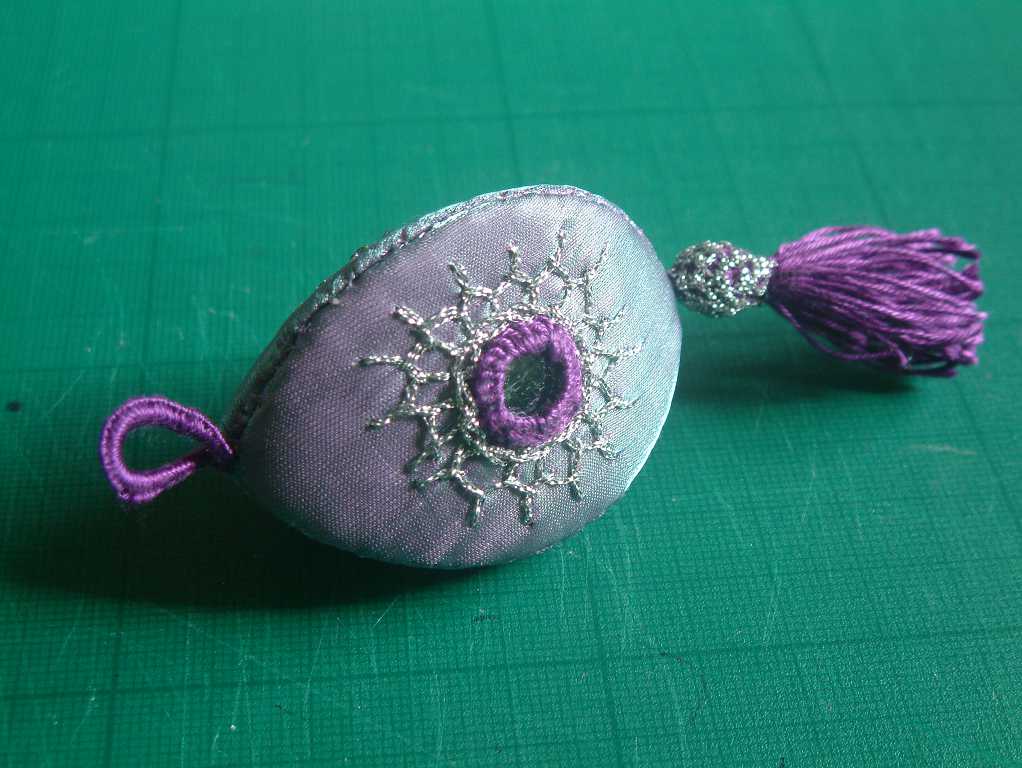

I’ve made a lot of these little pinch boxes over the years, based on cereal box card and covered with a variety of fabrics, with small focal points of embroidery. You sew two of the three sides together and the shape holds the box closed. To open it, you simply pinch the ends together. They make fun Christmas tree decorations if you celebrate in that way – you can put a little candy inside, or some other little gift. I made some with a little bell suspended inside from the top. I made a red and green one to hold my guitar picks, and on a music summer school once, a fellow guitarist was fascinated by this, and asked me to make him one! That year I was not resident on the course but travelling home each evening, so I spent my remaining waking hours stitching away at this and got it made just in time to give it to him on the final day!
A bit of a trip down memory lane! I haven’t made any little bags for so many years, and it’s nice to be doing it again. I think I can also feel my embroidery juices starting to flow again, thinking about all this!
These are all stunning yet again Shoshi, love them, such beautiful colours and the back of the first one is so beautiful too, and what a great way to use your cords and beads. These phone bags are very popular nowadays, you should put them up on Etsy or somewhere like that, they’re wonderful.