A false start
Following on from a previous blog post where I described my original plan for storing my spray inks, I have now had a major rethink about this.
I bought a revolving spice rack from Amazon, thinking I could adapt it to hold my spray ink bottles, but the holes for the spice jars were much too large, and I would have to reduce them somehow.
![]()
I found that a toilet roll core would fit exactly, but it wasn’t very attractive or durable. My next thought was to get a bottle cutter and remove the tops of the glass spice jars, which after all were designed to fit in the holes in the rack. As they stood, the necks were too narrow for the spray bottles. I therefore bought a cheap bottle cutter, also from Amazon. This was described as being capable of cutting a smaller diameter than the jars I had, so I thought this would work. Here is the Amazon photo of it.
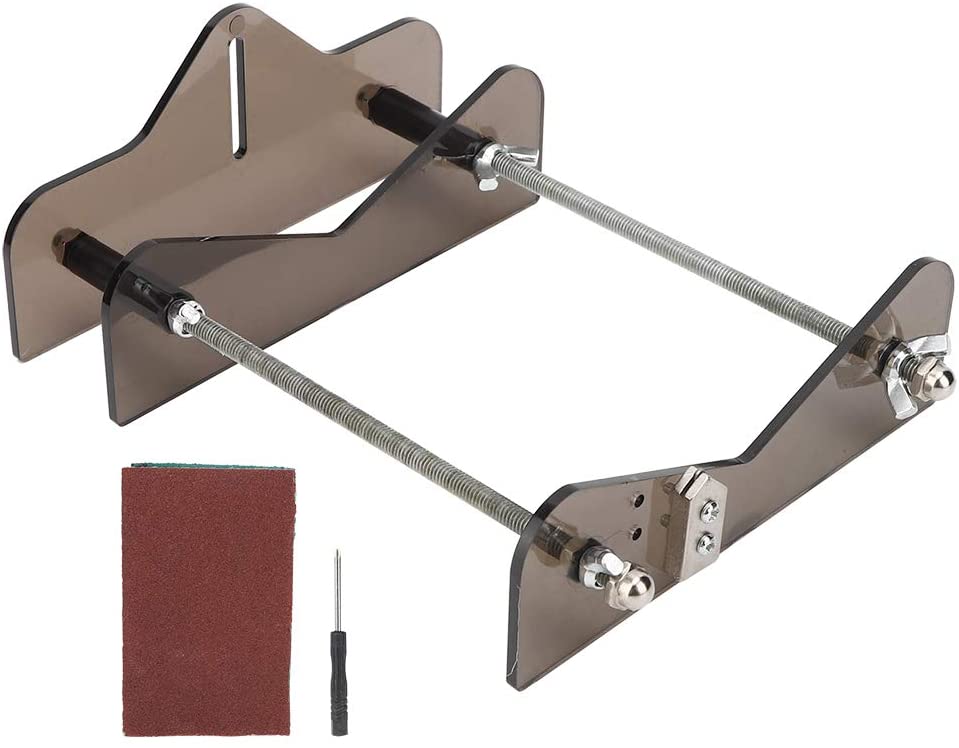
I spent a whole evening trying to assemble the thing. The instructions were pretty poor, and while it was fairly obvious how to put the main body of the unit together, attaching the blade housing was a different matter. There were two positions – the outer one (with the housing vertical) for larger bottles, and the inner one (illustrated here, for smaller bottles) with two positions, one vertical, and the other with the blade at an angle, pointing towards the centre of the unit. I tried every possible permutation, and in every case, the housing itself stuck up above the plate, which meant that when you put the bottle or jar in the unit, it would not lie straight in the V-shaped plates, thus making it quite impossible to produce a straight cut. Also, one of the long screws was bent. The whole thing had the appearance of having been used, and not “brand new” as stated. I had intended practising cutting some old spice jars before embarking on the ones that came with the revolving spice rack, but I couldn’t make any headway at all. This was a very cheap piece of equipment (compared with others on Amazon of a similar design) so I suppose you get what you pay for, but this was total rubbish and quite unusable!
In the end, I went to bed with the thought that this was all a humungous waste of time and effort, and it simply wasn’t going to work. When the spice rack arrived, I did have misgivings about it because it was very large, and the holes were quite widely spaced, so even if I had been able to adapt it, I should only have been able to store 20 bottles in it. I would have required further spice racks, and all this would add to the expense, and also take up a great deal of space.
It was then that I decided to return both the spice rack and the bottle cutter to Amazon for a refund. (They are always very good about this – I printed the required labels and my hubby took the parcels to the collection point this morning, and by this afternoon, my refunds were already done!)
I had to find a more efficient and space-saving method of storing these spray bottles.
Back to the drawing board
I went back to my original idea of buying some plastic tubing and somehow mounting this onto a central core which would be attached to a revolving base. I found some suitable transparent plastic tubing on Ebay which didn’t come in very long lengths, and again I spent some considerable time working on a drawing to determine the most efficient use of the material, which wasn’t actually that cheap. My hubby came in and I showed him what I’d been doing. He suggested I used plastic piping from the hardware store which is used for water pipes and drainage, and which is very cheap. I said that water pipes were much too narrow, but he said this tubing comes in many different diameters. He produced a short offcut of some white piping that he had, and it was an exact fit.
I had originally hoped to make something with transparent tubing so that the labels of the bottles would be visible, and I didn’t really want opaque white. He said it came in different colours – he thought there was a translucent colourless one, and it also came in black.
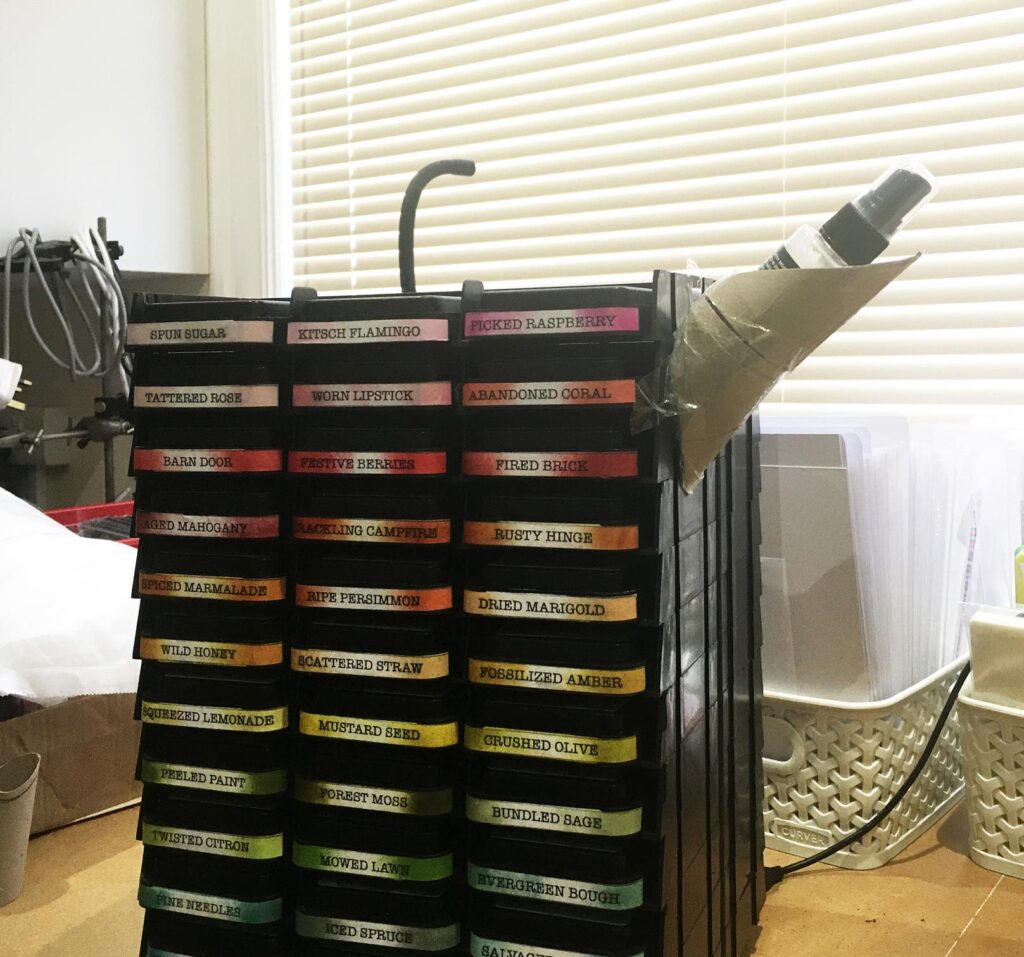
I went back to thinking about my new ink pad storage system, which I wrote about here. At the time, I thought I ought to be using the blank sides of this revolving unit for something but couldn’t think what.

Now, I thought that I could glue black tubes onto it and store the spray inks on the same unit as the ink pads! Brainwave! Here’s a mock-up with the now very tatty toilet roll core that I’d been experimenting with while looking at the clear tubing on Ebay.
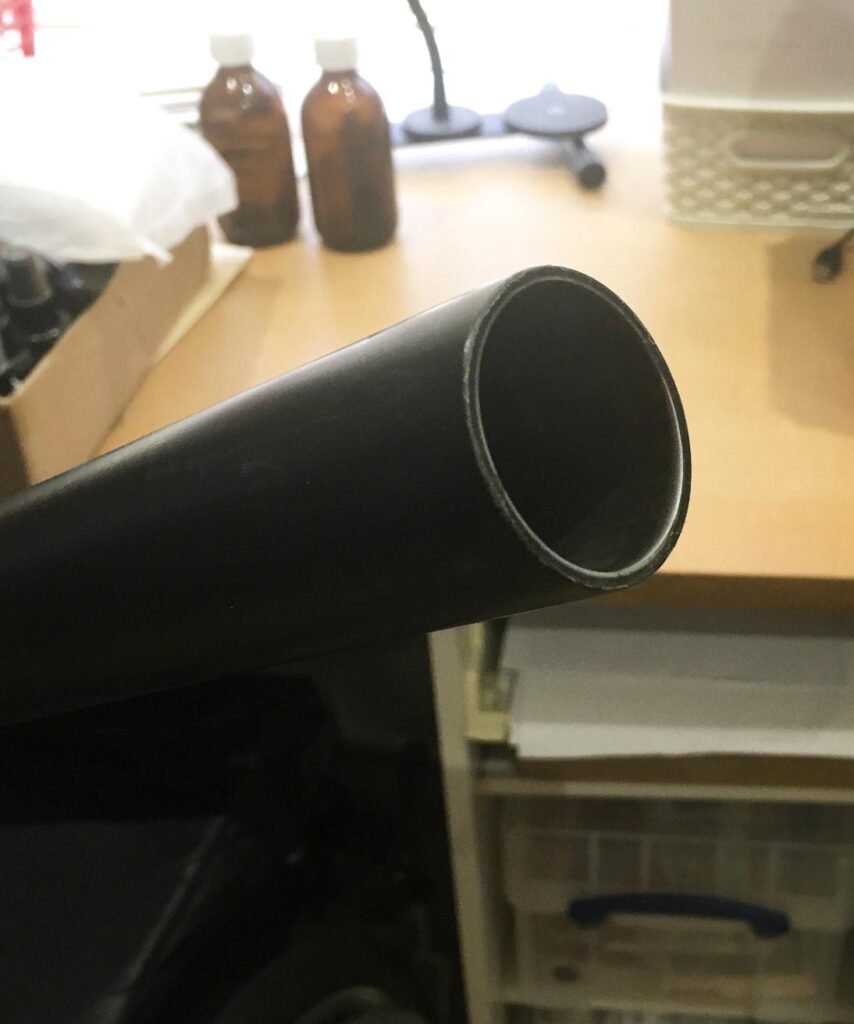
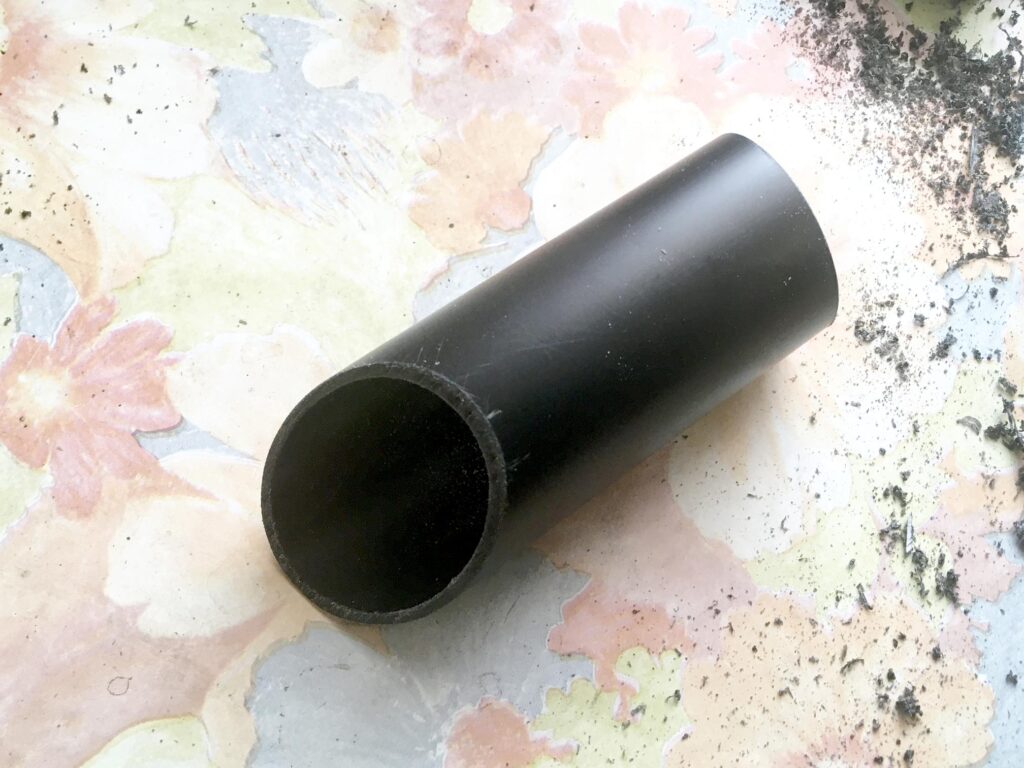
My hubby popped down to B&Q just down the road (he also wanted something for himself) and came back with this nice long piece of black pipe. He said it also came in a piece twice the length if I wanted it, but it wouldn’t fit in the car!
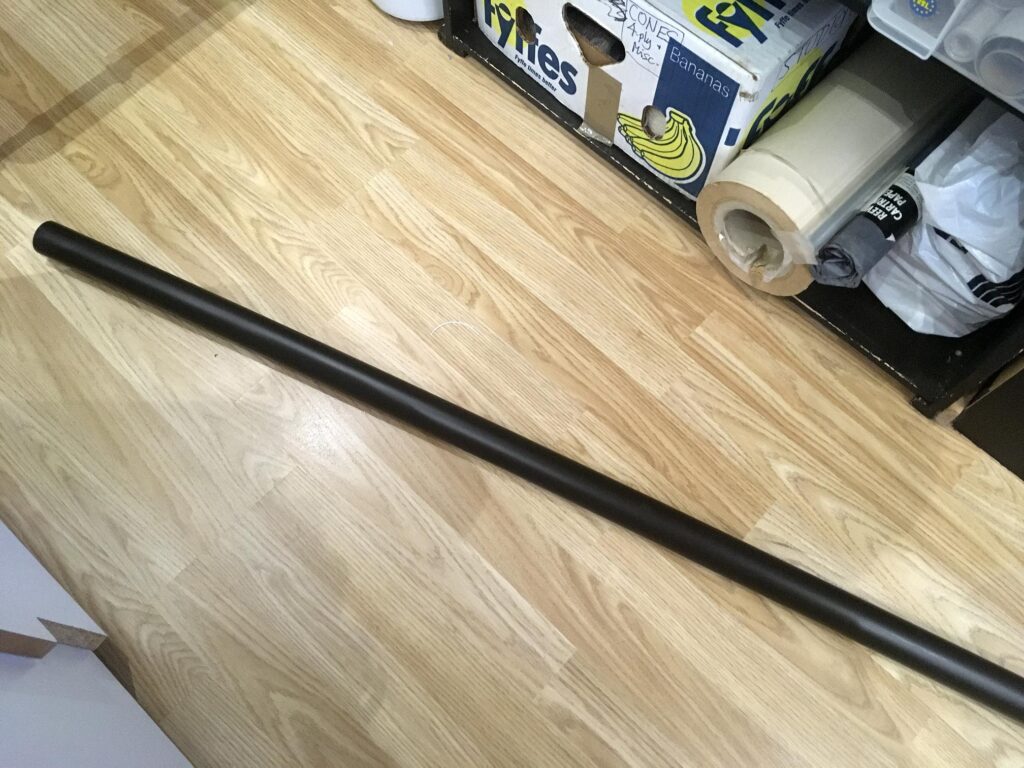
This is the end of it. You can see that it has some thickness to it so it should be good and strong, and also have enough surface to glue onto the revolving unit.
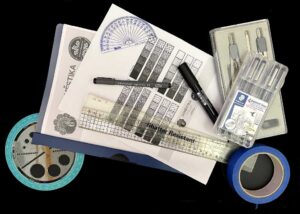
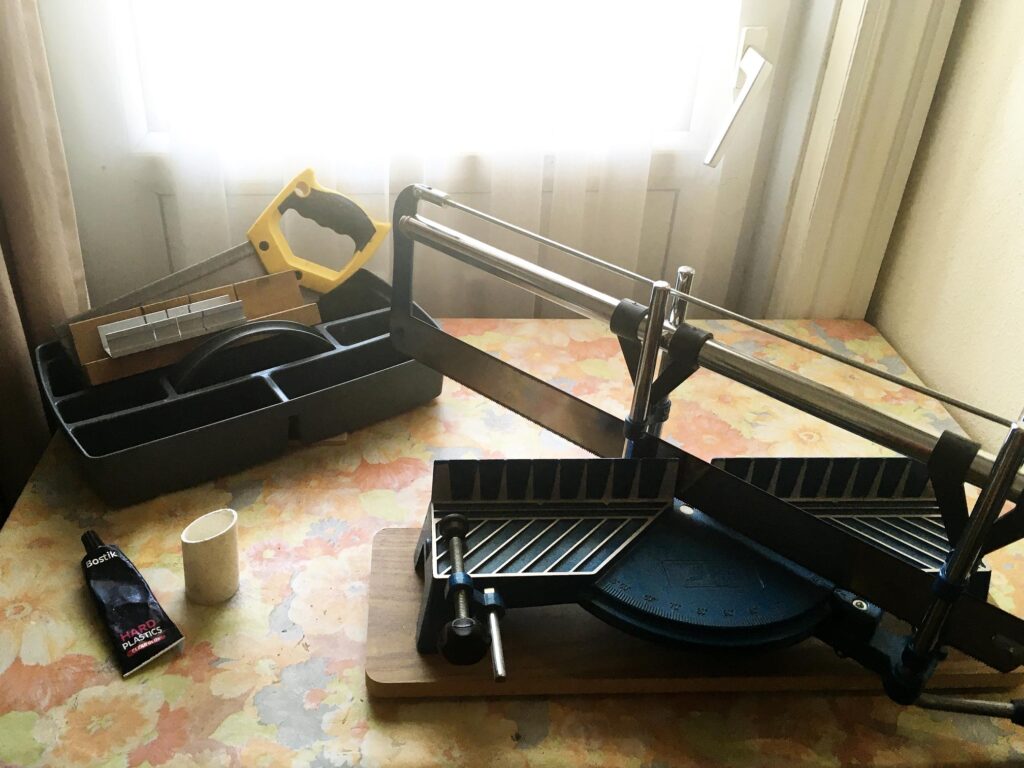
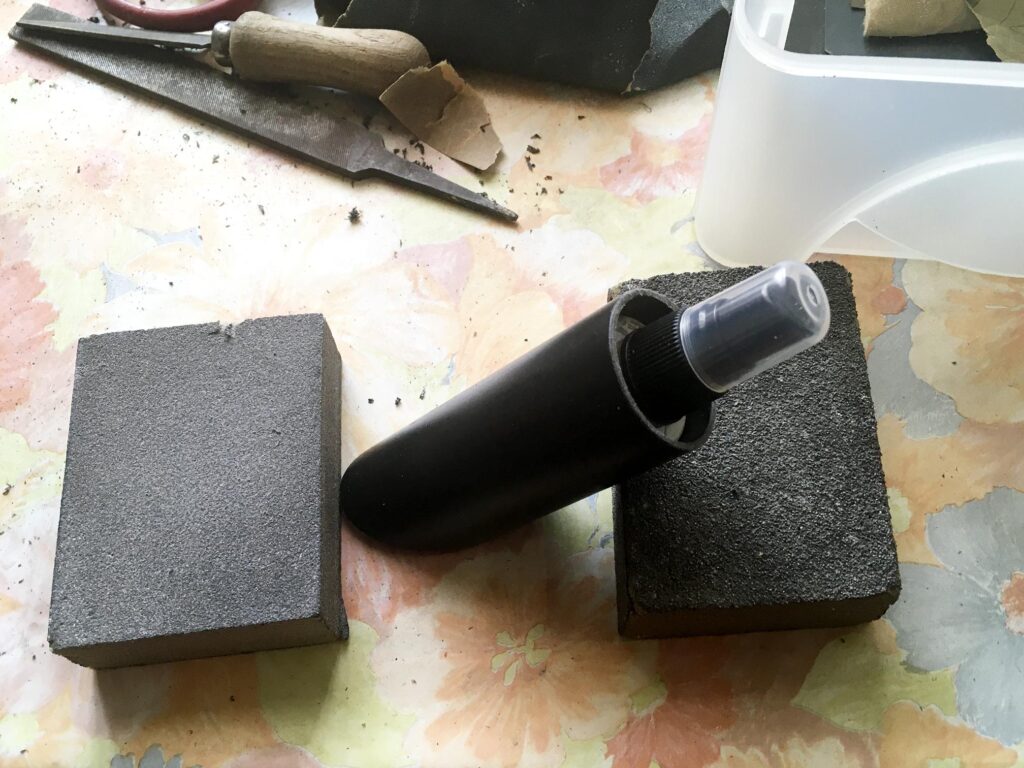
He brought me a selection of tools from the garage, so that I wouldn’t have to rummage up there while he was out today. The large blue contraption in the foreground is a mitre jig that I bought many years ago when I thought I would be doing all my hubby’s picture framing for him. I did a couple of his watercolours but it proved a pretty arduous task that required quite a bit of skill, so I abandoned it. My hubby had the tool in the garage and thought it would help me, and he was right. You can set the angle of the saw to any degree from an arc of 180 degrees, so it was easy to alternate between 45 degrees and 90 degrees. To the left of it, you can see the small offcut of white pipe that he showed me yesterday (it looks oval, but that’s only because I edited the photo to straighten it up), and he also brought me in another tube of plastic glue.
After a couple of false starts when the cuts didn’t come out where I expected, I was soon producing them OK. My original thought was that I would alternate the cuts – after I had cut a 45-degree angle cut, I would then cut a 90-degree one, then another 45-degree one at the correct length from the previous cut, and so on, thus wasting no pipe, but this proved extremely difficult to do, to get them exactly the same length. I wasted a couple that came out too short. I decided to cut a fresh 45-degree angle from each resulting right-angle cut, wasting a wedge-shaped section each time, but in the long run this would probably waste less than if I kept getting it wrong, and it was a lot easier to do. This piping is petty cheap so it didn’t really matter if there was a bit of waste. I was still able to get a substantial number of tubes from this length.
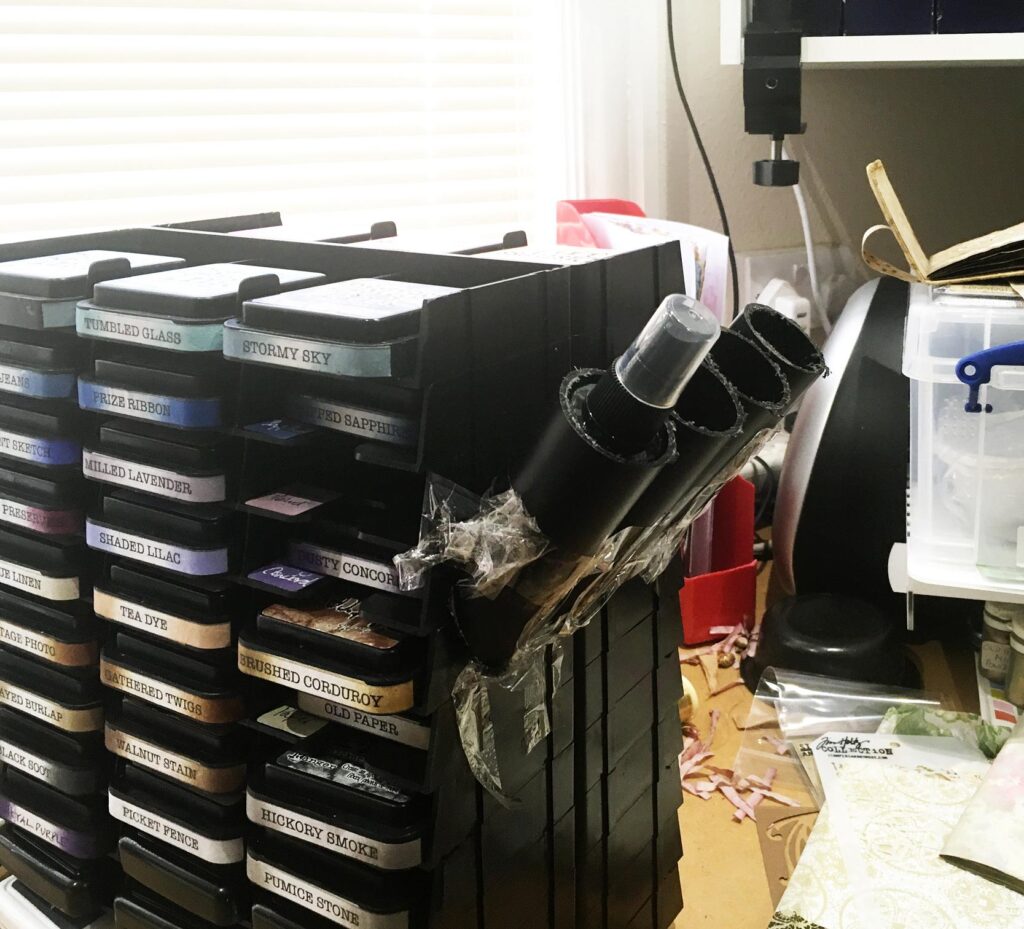
From this first pipe, I managed to get 16 tubes, each with a 45-degree angle cut at one end, and a straight cut at the other end. I taped four of them together and taped them to the ink pad unit. This mock-up is pretty messy because it was hard to get the tubes to sit nicely while I taped them, but you get the idea!
I plan to make one row of four tubes, followed by a row of three that fit in the spaces between the tubes in the previous row. I shall begin by assembling the first row of four, which will be glued to the unit, and then glueing on the next row of three, using the previous row as a guide, and so on, until I have completed the block of tubes glued to the revolving unit. This way I should be able to create an efficient use of space. Here is the first batch, standing on their flat ends, in interlocking rows. They are pretty rough round the edges from the saw, but that was soon to be remedied. The tube with the white mark is the first one I did, which I am using to check that the others are coming out the correct size.
![]()
Filing and sanding the ends of the tubes. Any frayed edges were snipped off with scissors first, and then I began to smooth them, first with the files, and then with the sandpaper.
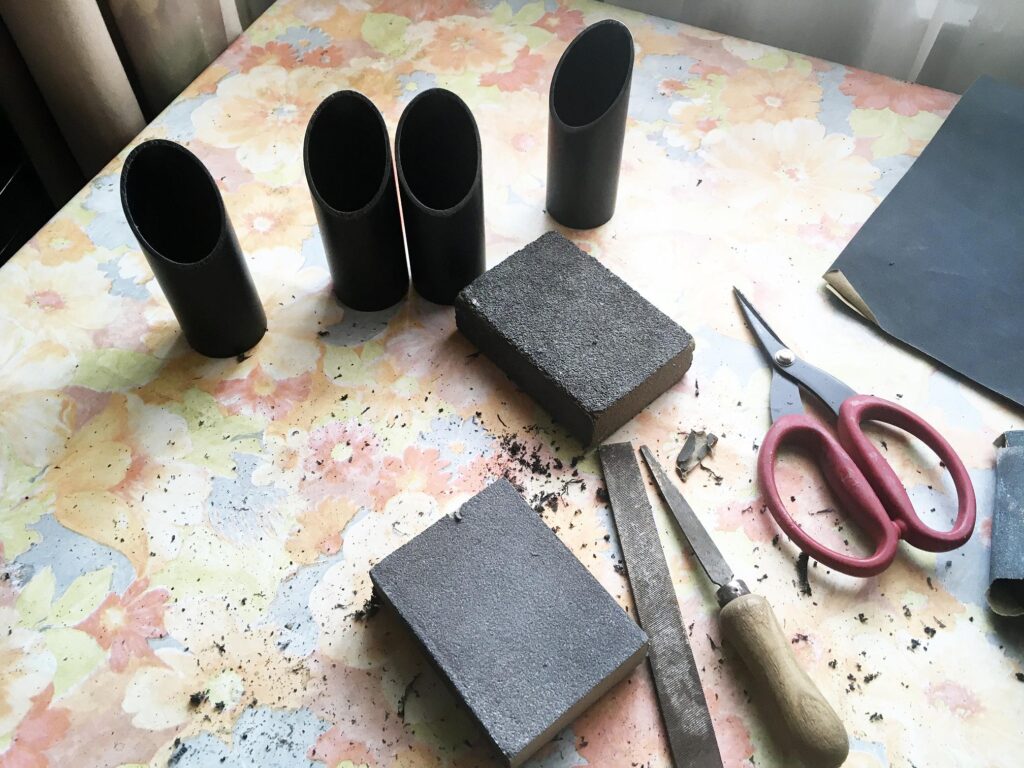
A completed tube.
Here is one of the tubes with a spray bottle in it, propped up so that it is resting on its 45-degree angle base.
My hubby is bringing another two pipes back with him when he returns home this evening.
This is going pretty well so far! After a major false start, I think it is going to be the ideal solution. The bore of the pipe is exactly the right size for the bottles – there is no friction; they just drop in, and they are not too loose. Not only will all the inks, both pads and sprays, be on a single revolving unit, but this system is modular, and expandable. Much as we all love Tim Holtz, he is extremely naughty, keeping on introducing new colours that we simply HAVE to have, and any storage system that is finite is simply not going to work, for me at least. The ink pad storage system is fantastic, because you buy packs of separate trays that you can attach together how you like. With my configuration, all I need to do is expand upwards, and with the new tube system for the sprays, the same applies. I shall get many more bottles on this than I would have had on the spice rack. With the tubes being black as well, the whole thing will look integrated and quite smart, particularly as the tubes are long enough not to show anything of the bottles but the black lids. I have got some small circular labels to stick on the tops, which will be coloured with the respective colour, and some sort of additional code to indicate if the spray is an Oxide. I shall probably do what I did with the ink pad storage, and add the same removable square labels with the name of each colour, and stick these inside the tubes, so that the bottles will always go back in the same place, arranged according to colour. When the collection expands, it will be easy to move the labels to a new position.
All being well, and allowing for other things I need to do, and limited reserves of energy (the sawing is quite hard work!), this project should be finished in the next couple of days.