DIVIDE AND RULE – ISLAMIC ART
No – that isn’t a political statement – it’s an art project using some exciting new drawing equipment!
Divide and Rule
Some time ago I came across a YouTube short, showing an exciting collection of specialist drawing materials. I was intrigued, and visited the site, “Divide and Rule.” This is a very clever play on words! This small business produces precision drawing tools in two varieties, “Original,” made from MDF and “Technical” made from transparent grey acrylic. I absolutely loved the appearance of the “Original” range but for my purposes I knew that the “Technical” ones would be more practical as they are transparent, and would be great on the light panel. The only drawback was that the whole collection was metric and not Imperial. I contacted the owner and asked if an Imperial range was available and he replied that it was not, at this stage, but he would be prepared to make up a custom collection for me with inches and eighths if I wanted, at virtually no extra cost. I was delighted with his response, and ordered several pieces from the range which I thought would be useful in the studio.
Unboxing
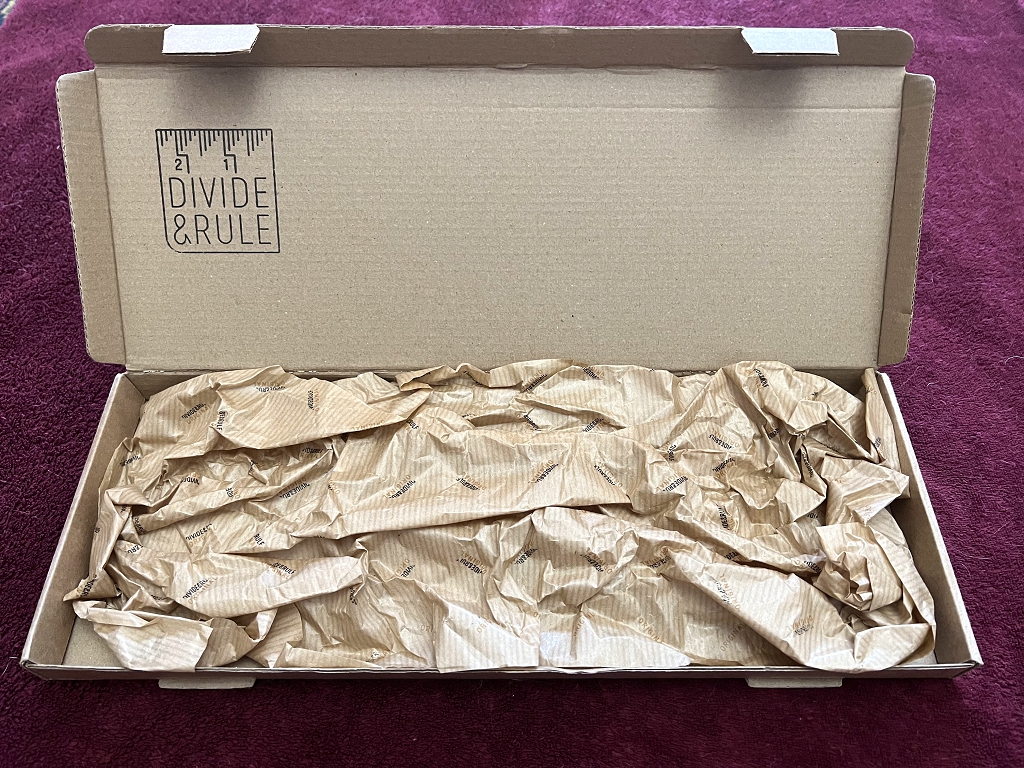
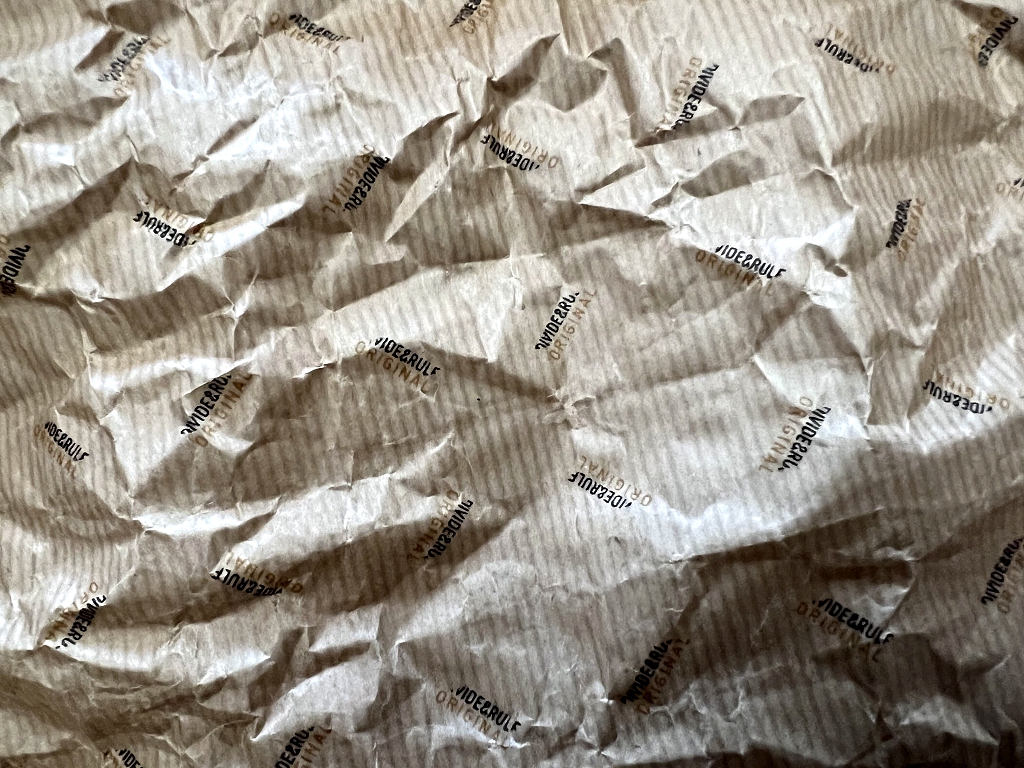
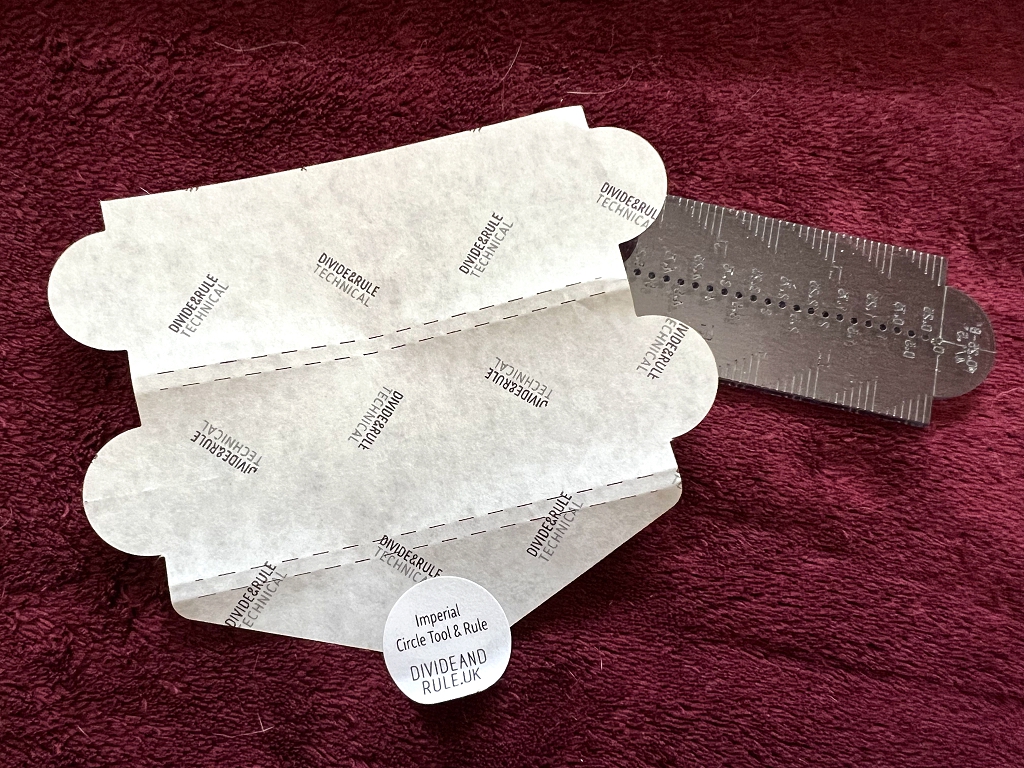
I was as delighted with the packaging as I was with the contents. Each piece was individually wrapped in specially designed paper, and they were nestled in the box with brown paper with the firm’s logo printed on it. I saved all the packaging for further use, including even the sticky tape!!
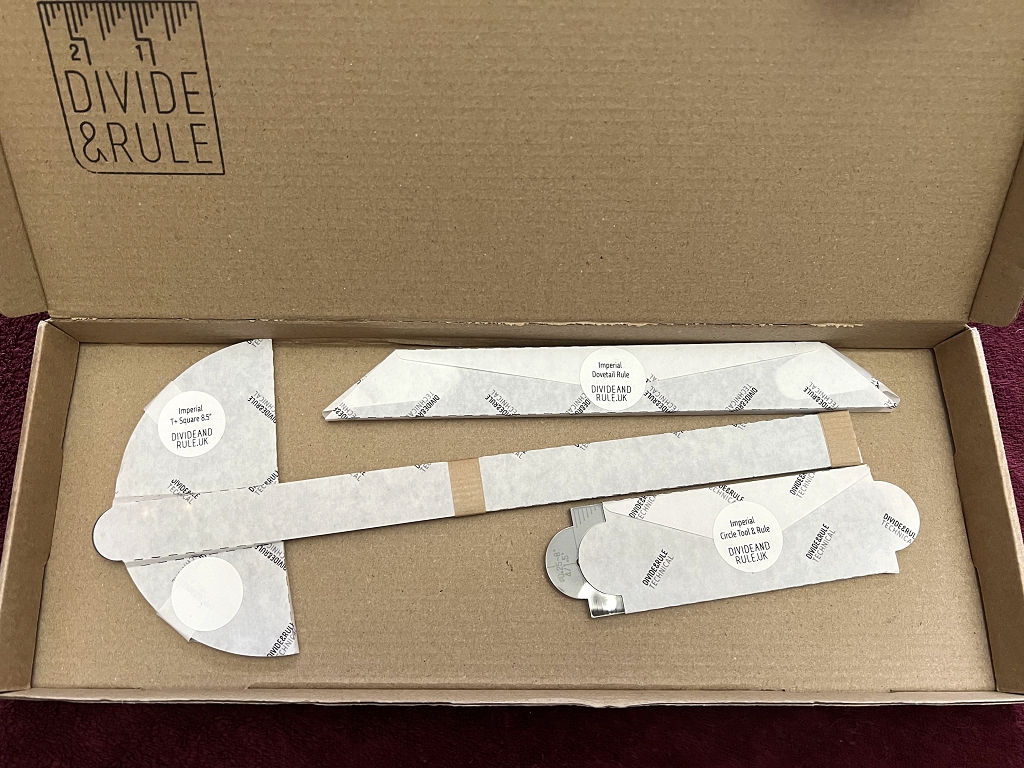
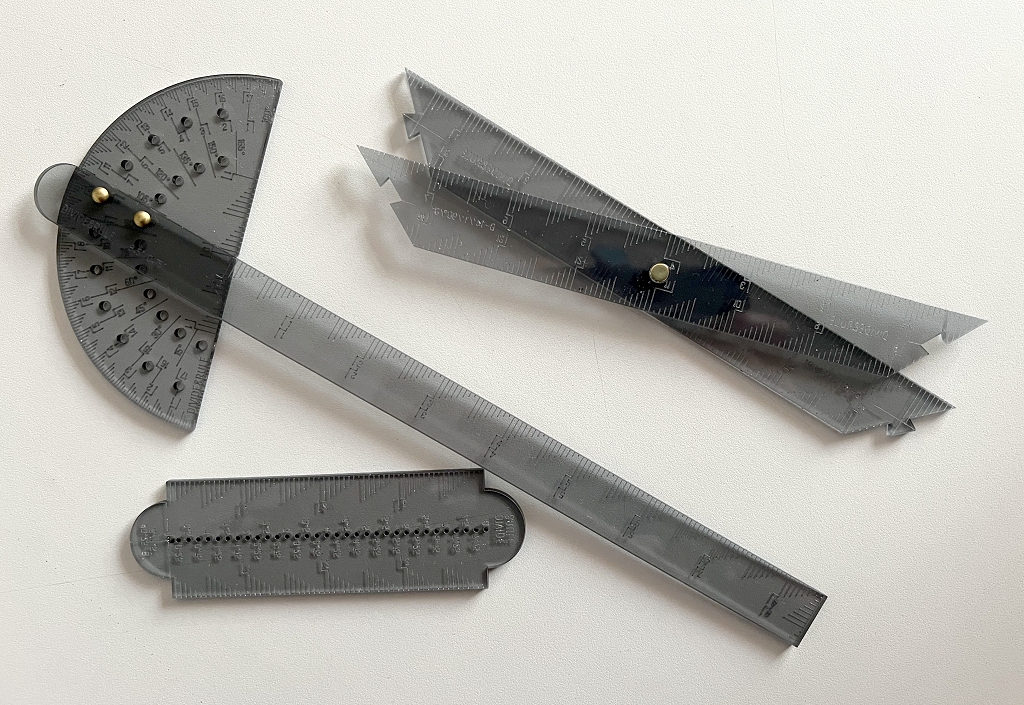
The items
Many of the pieces are customisable. The stud attachments are quite stiff to engage but there is absolutely no wobble, and the pieces are not going to fall apart in use, and there are also magnets.
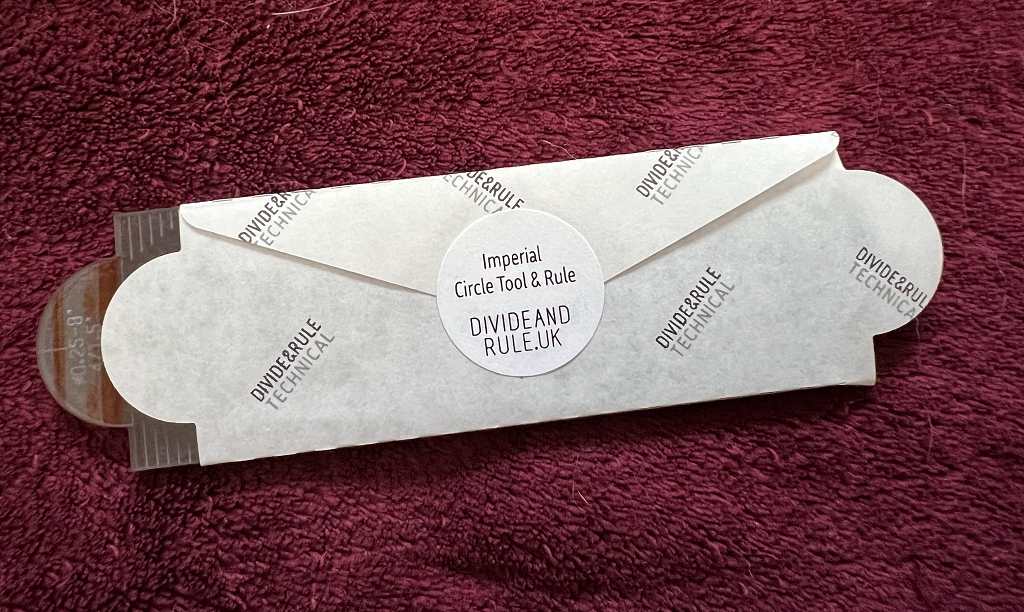
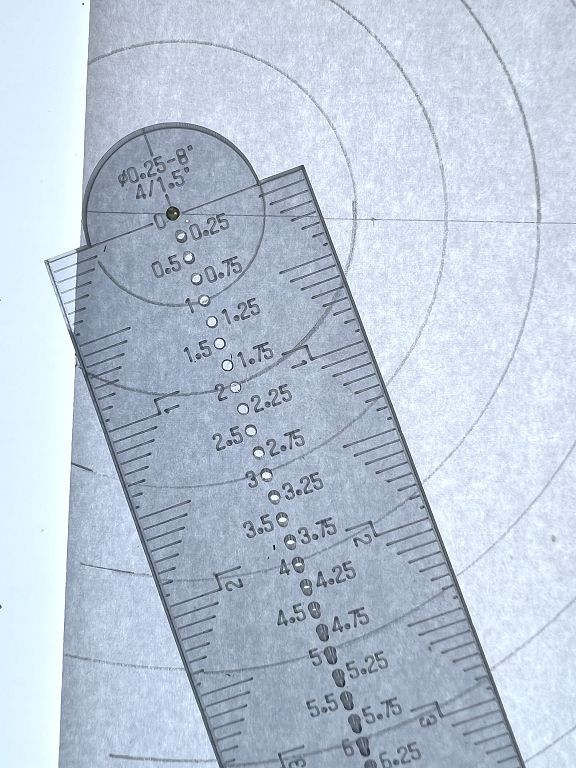
Circle Tool and Rule
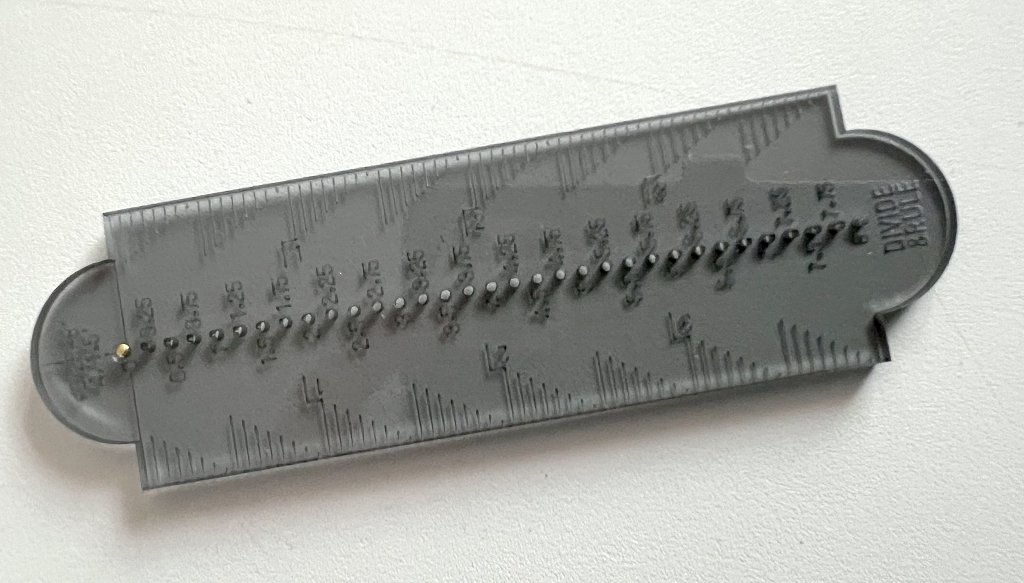
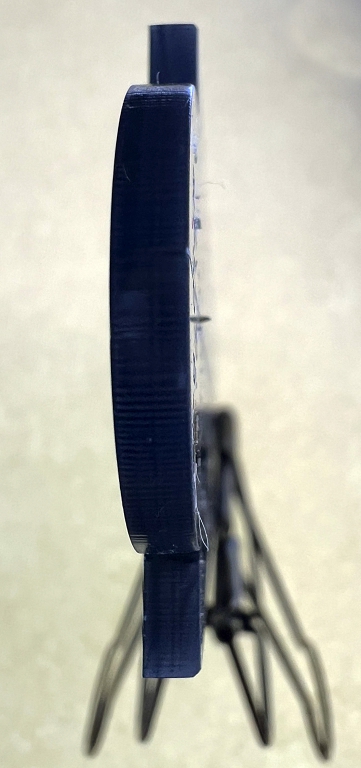
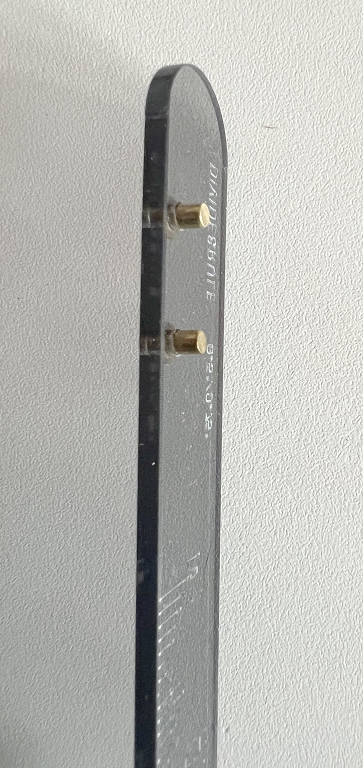
So far this has to be my favourite tool. It can be used as a short ruler, and also as a compass for drawing circles, and the ends are also two semi-circles for drawing around. At one end is a small stud which anchors the tool on the paper (best on a cutting mat or similar surface) and you insert your pen or pencil in the hole of your choice, and draw the circle. The stud is tiny. I tried to photograph it, propping up the tool with a metal clip, but it was very hard to get the camera to focus on the stud!
The great advantage of this is that while it makes a hole, the hole doesn’t get larger in use as it would with a normal compass. Drawing concentric circles (which is the reason for getting this tool) rapidly enlarges the hole with the compass point, so succeeding circles become less accurate. This tool is also very much easier to use than a compass. I shall still use my compass for larger circles, and also if I need to draw circles for which there is no hole on this tool, but for most things this is going to be my instrument of choice from now on.
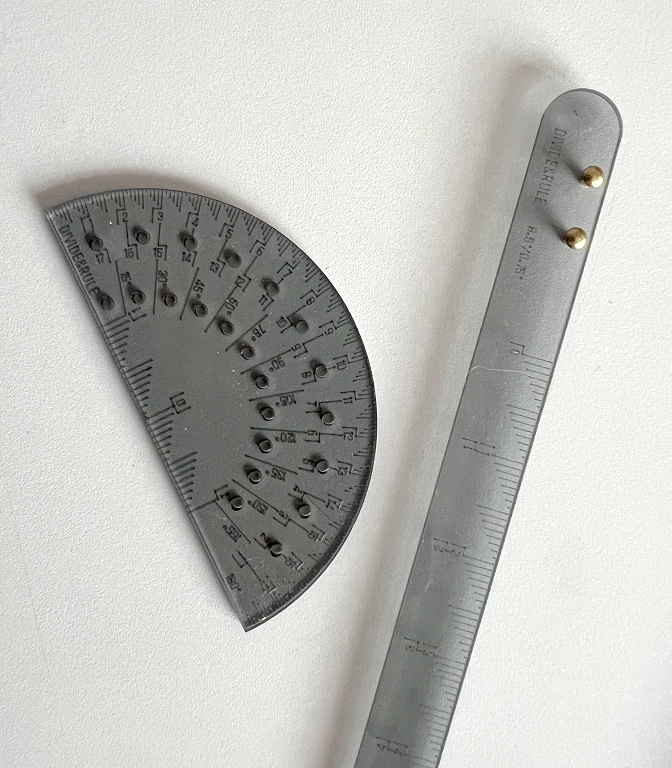
Dovetail Rule
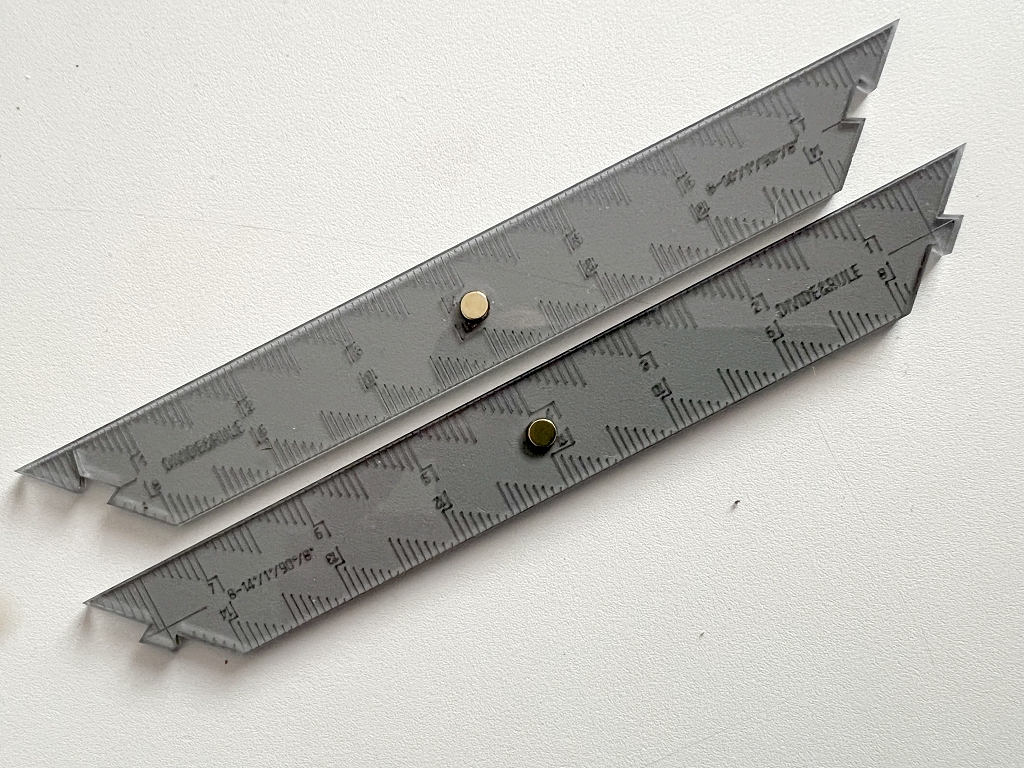
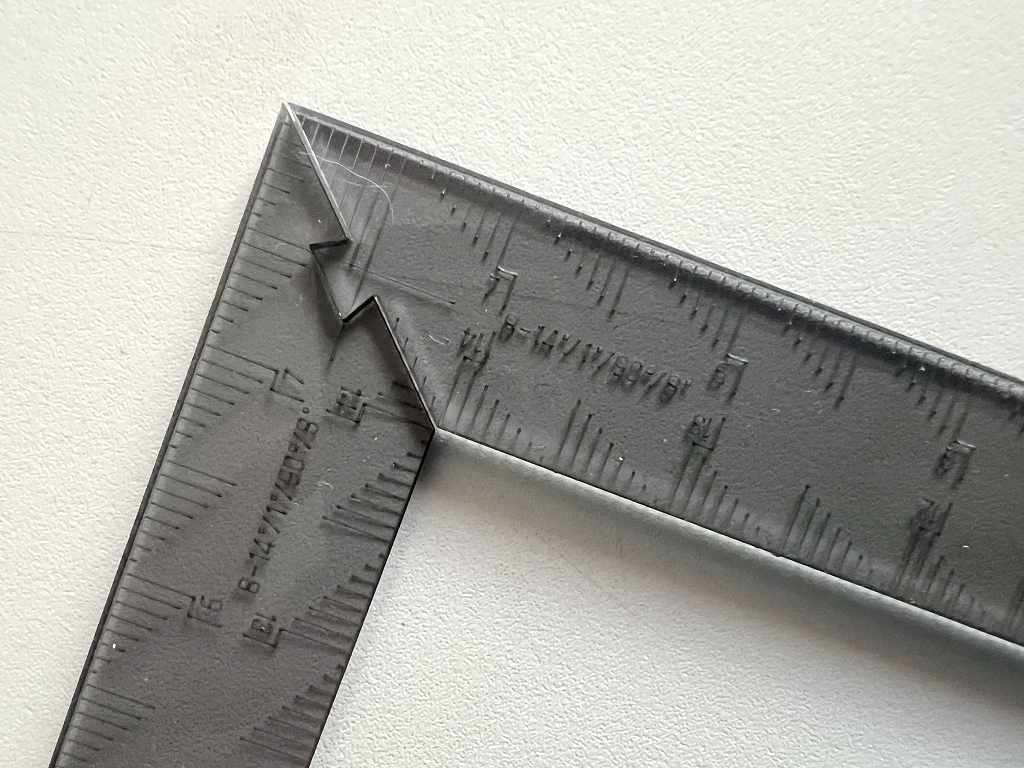
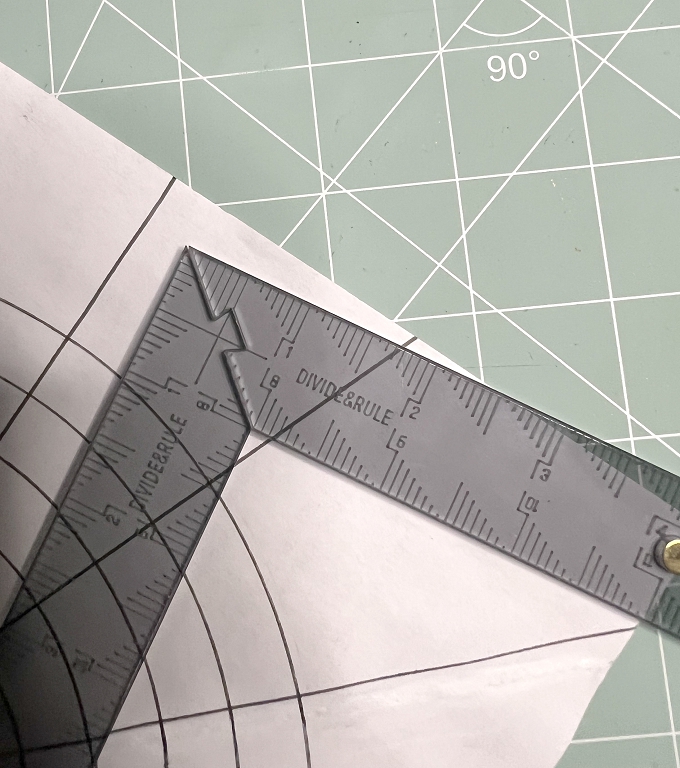
The two halves of this tool can be attached to one another in the centre with the magnetised stud. You can rotate the pieces to whatever angle you want. Alternatively, you can attach them to one another with the dovetails on the end to form a perfect right angle.
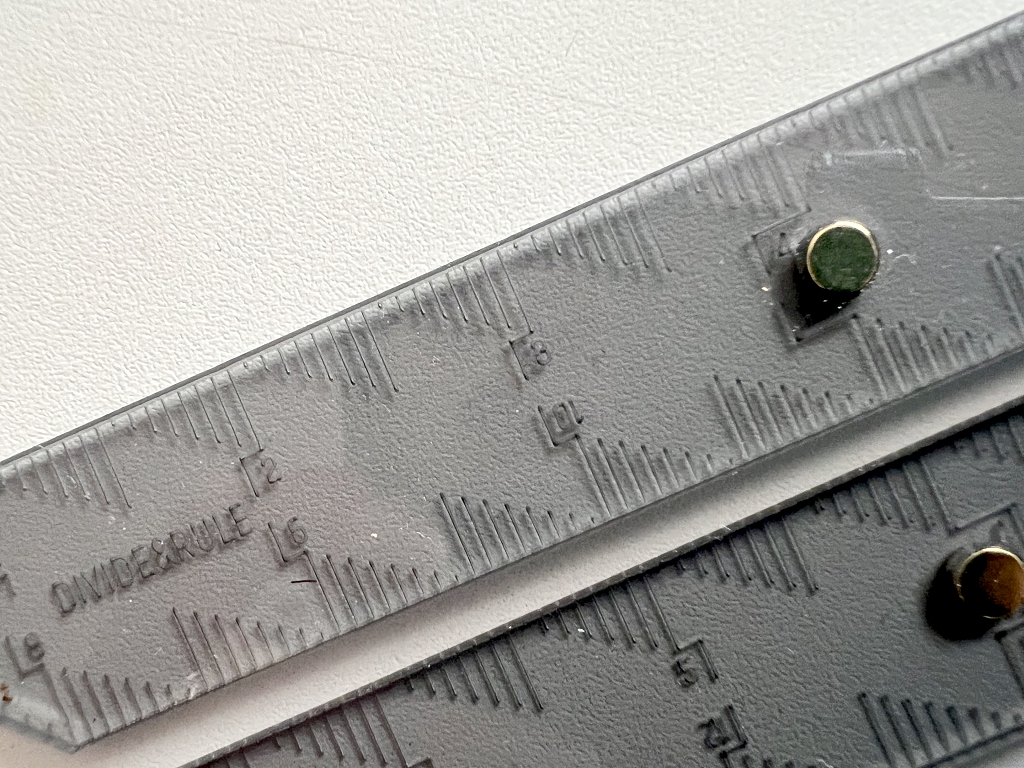
You can see that the inch divisions are staggered. This makes them easier to read.
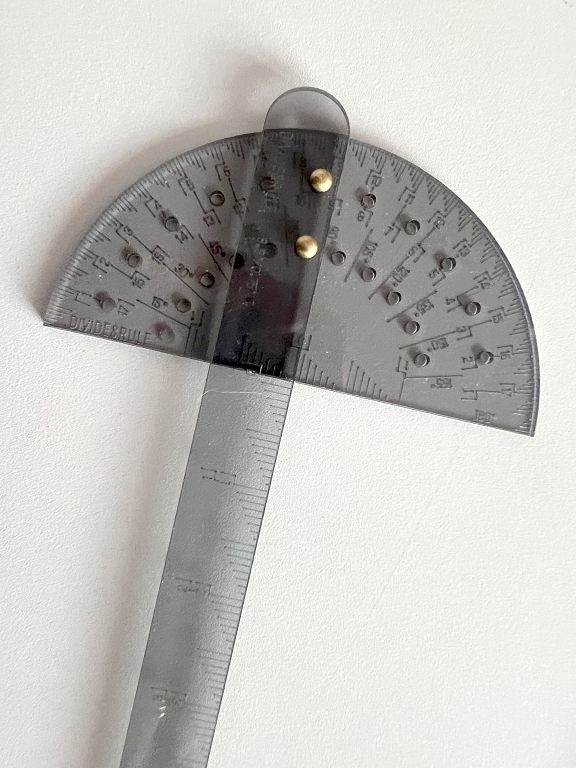
T+ Square
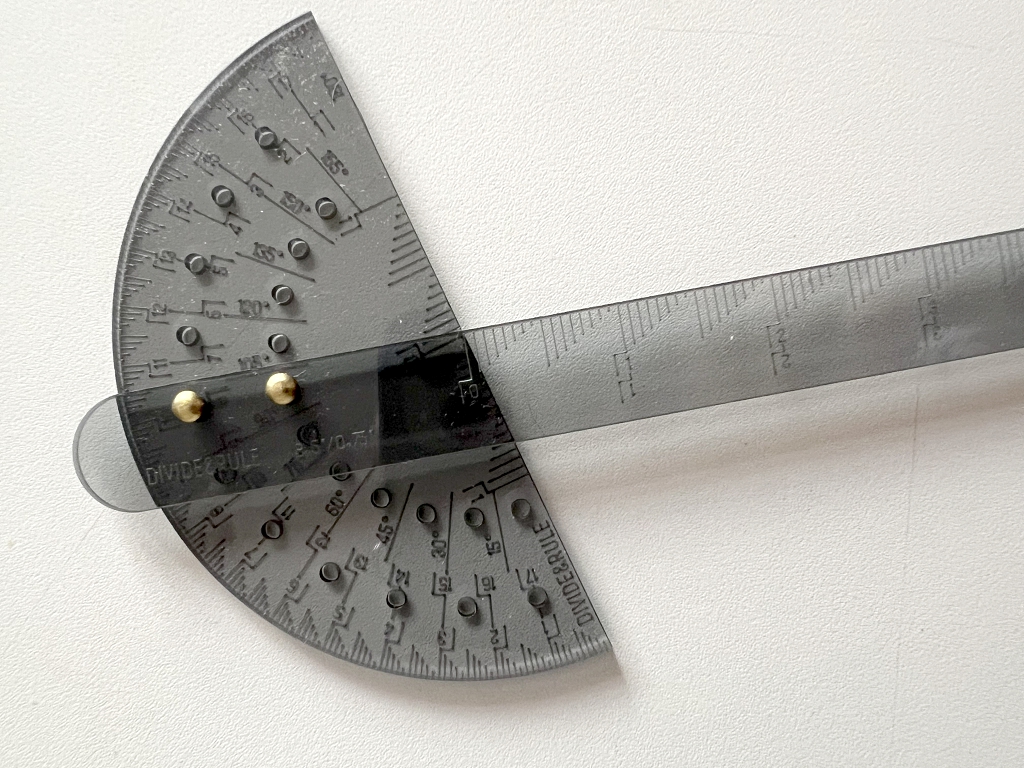
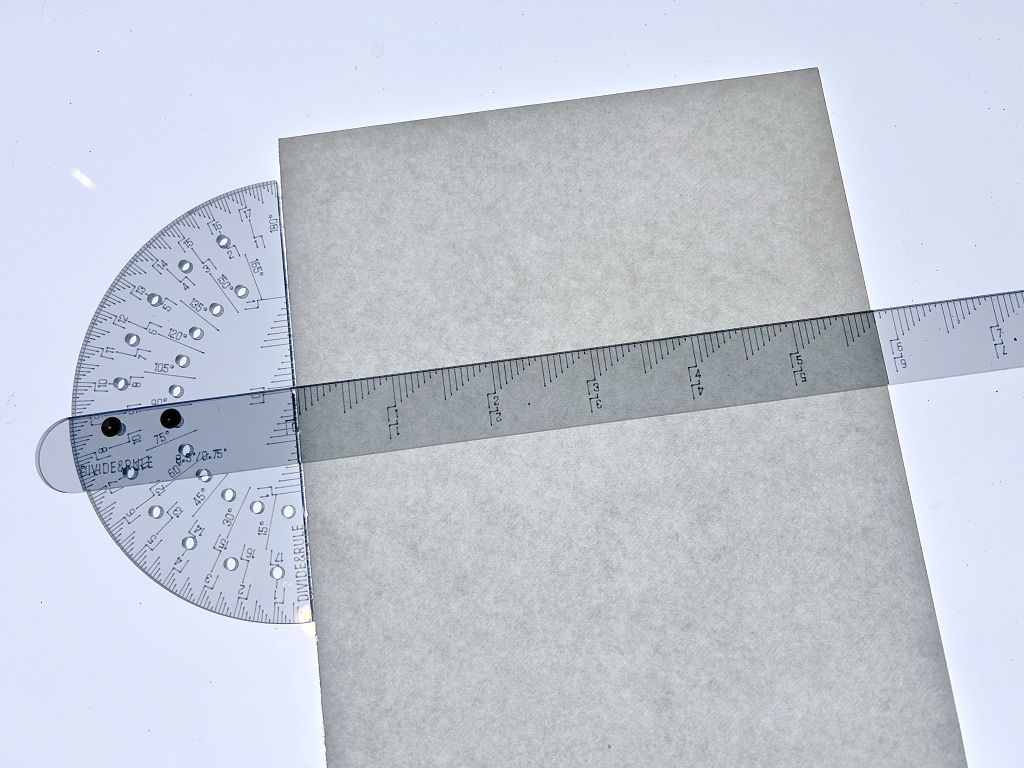
Another really clever tool. The tightly fitting studs anchor the protractor to the ruler in a range of different positions. Set at 90 degrees, you can line the flat side of the protractor against the edge of your page, and using the scale along this flat edge, you can draw perfectly parallel lines at the correct spacing. This will be ideal for calligraphy layouts. Set at a different angle, you could draw the slanting lines as guides for the slope of copper plate calligraphy.
The pieces can also be used separately, of course, as a standard protractor and ruler. Another nice semi-circle on the end to draw round!
Islamic Art album
Seeing the tools in action as I begin this project.
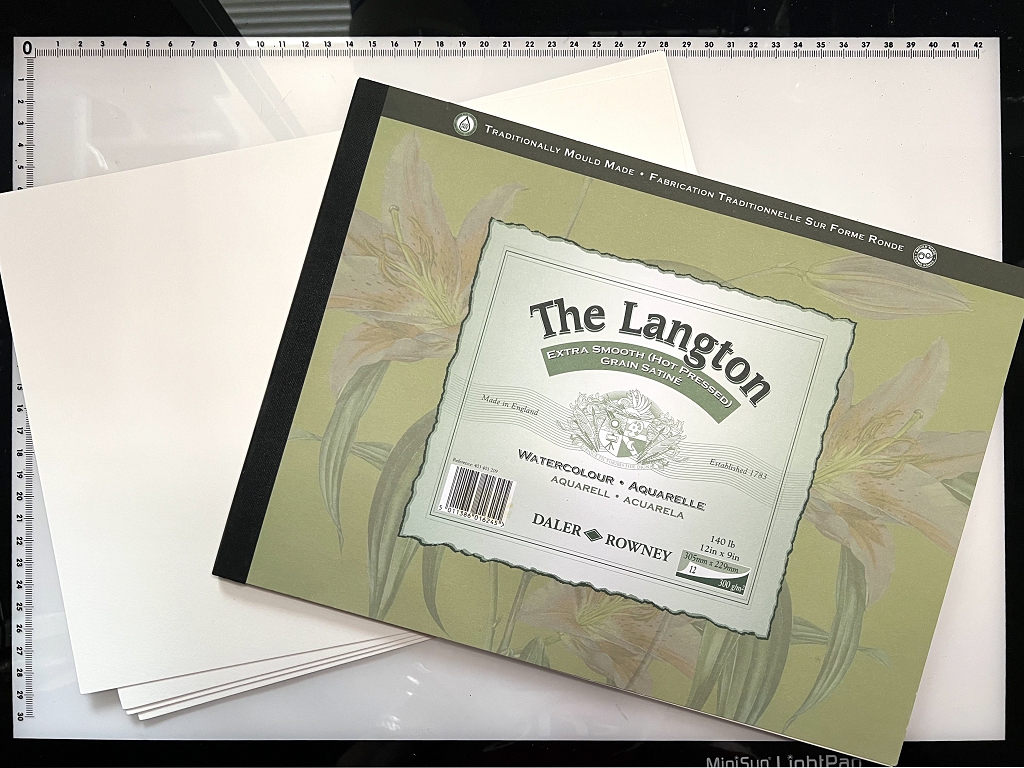
The album will not be large. I am using 12 x 9-inch hot pressed watercolour paper folded in half to form the signature(s) – not sure if I shall make one or two signatures yet.
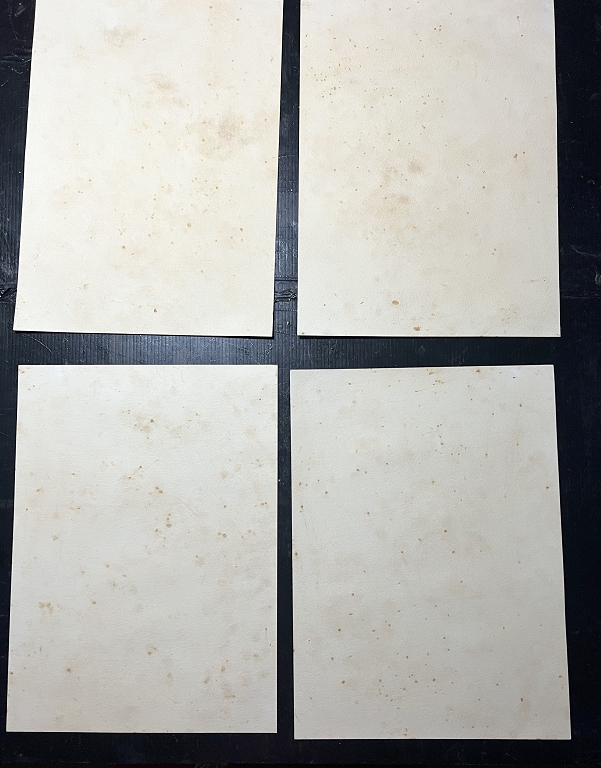
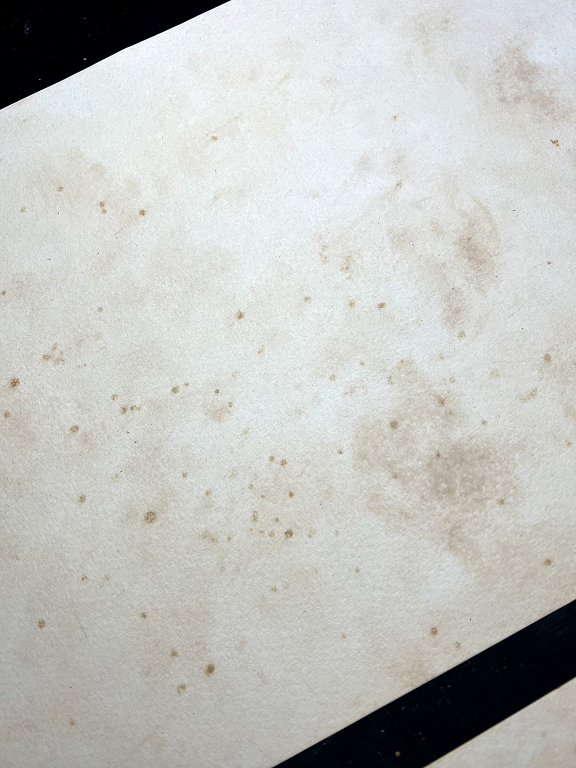
I do not want the stark white of the paper so I tea-dyed the sheets. I sprayed them on both sides with tea in a spray bottle, and while the tea was still wet, I sprinkled on some instant coffee granules. They instantly turned very dark, so I immediately blotted them off with kitchen paper and sprayed more tea as required, until I got the finish I wanted – an aged-looking paper with the characteristic “foxing” that so often appears with time on vintage papers. Once they were dry, I subjected them to the heavy books treatment overnight and then they were ready for use.
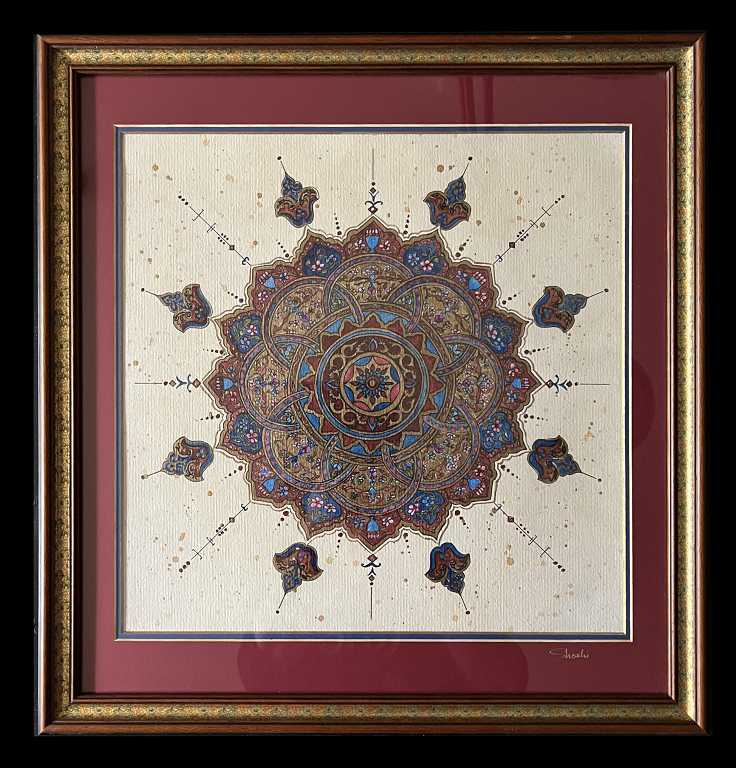
I used this technique for the shamsa I drew last year:
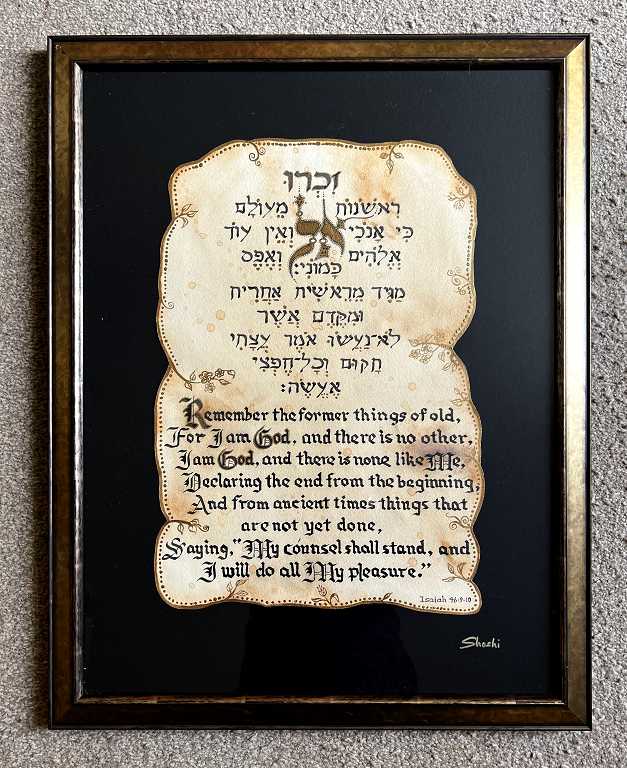
and also for the combined Hebrew and English blackletter calligraphy piece I made. To this one I added further shading and embellishment, and cut it into an irregular shape to resemble old parchment.
I may use this treatment on the pages of my little Islamic Art album as well; I think it would be interesting to have irregular pages in the book.
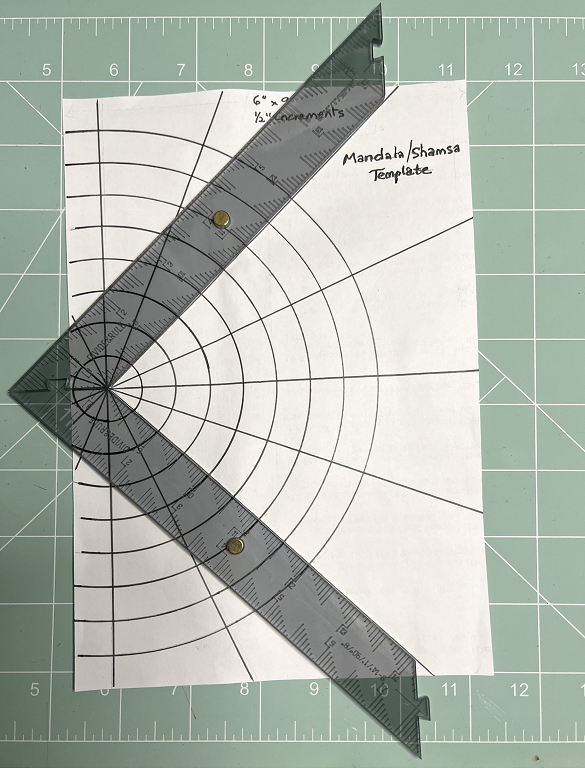
Shamsa template
Using the Divide and Rule tools to make the shamsa template
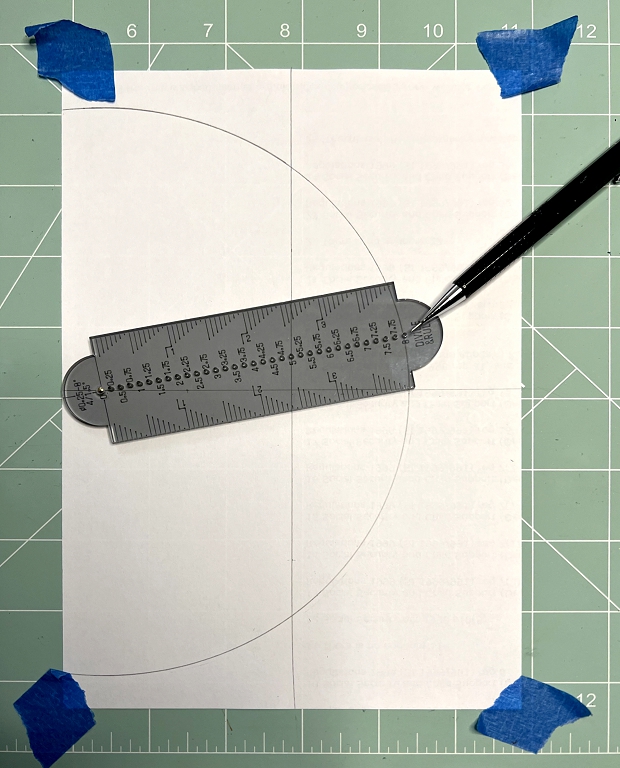
Drawing the radiating lines.
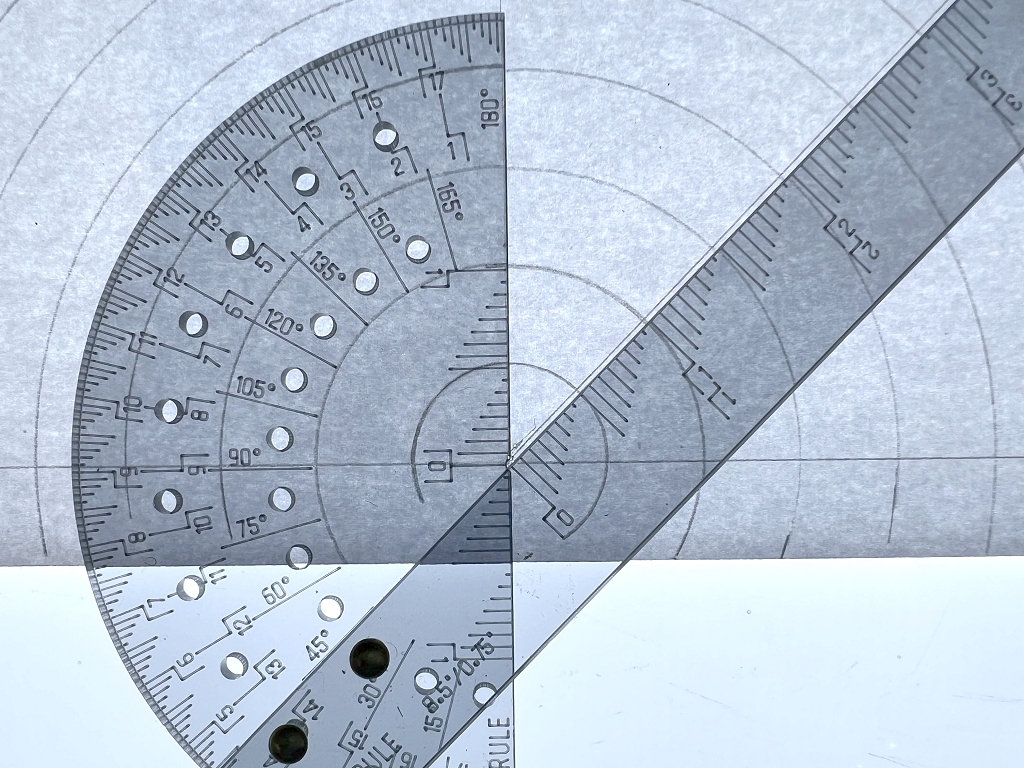
Right angles.
Shamsa drawing
“Shamsa” is the Arabic word for “little sun.” These traditional circular designs usually have radiating decorative lines and can be highly ornate, often embellished with gold. For this first page of my book, I am drawing half a shamsa which will occupy most of the page. To draw a full circle, it would be too small and I would not be able to add the embellishments I want.
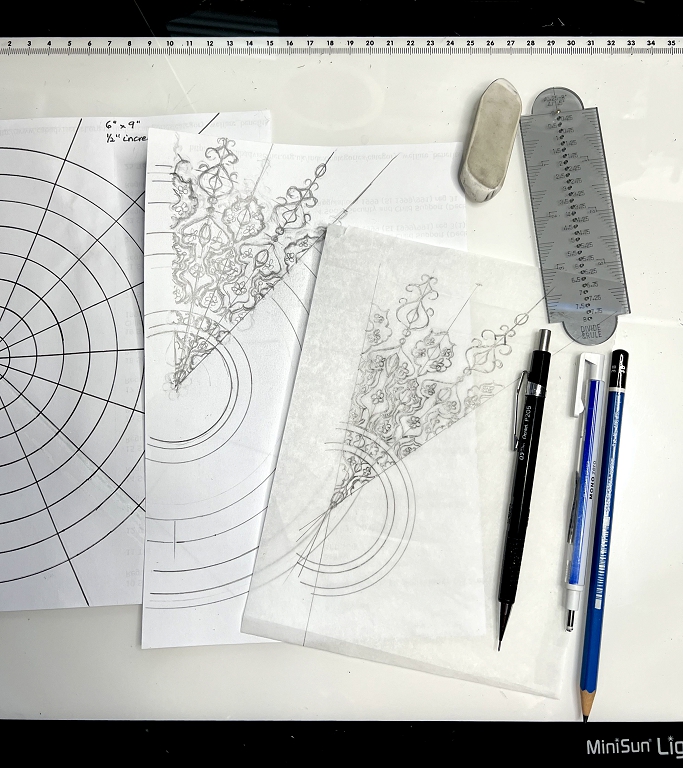
After making the template, which is just a series of concentric circles at half-inch increments, and radiating lines to create an eight-section design, the next step was to use it to draw a design. I used a piece of scrap paper for this, laying it over the template on the light panel.
You really only need to draw one pattern repeat, but I thought it was easier to draw two sections so I could see what I was doing, and how the final result would appear. You can see that I have added further circles on the drawing, in addition to the ones on the template which you can see showing through the drawing paper.
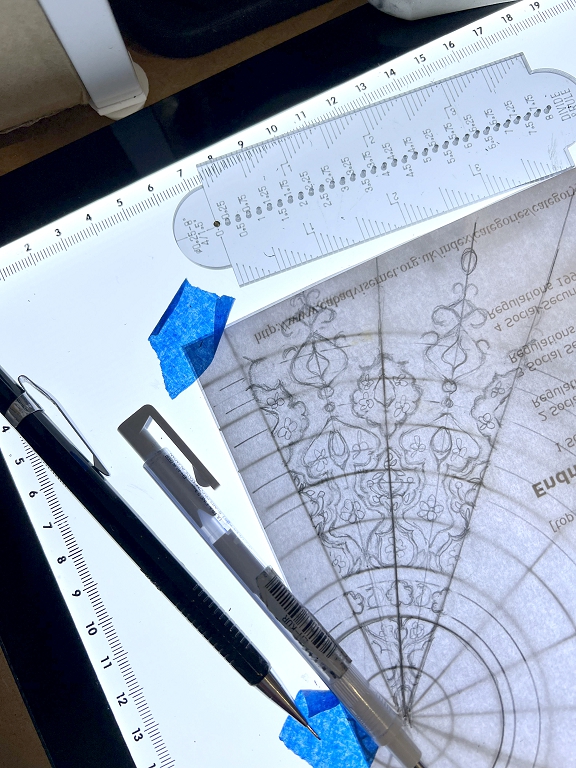
Tracing the design
The design is traced onto tracing paper. It’s been a while since I did one of these, and I forgot the technique, which meant I had to trace it more times than I should have done! You are supposed to trace only one section, then fold the tracing paper so you can see the design through it, and trace it again. When you unfold it you have it doubled. You repeat the process so that you get first a quarter, then a half of the design, and so on, until the circle is complete. You can burnish it to transfer the design if you draw it with a soft pencil but I found going over the lines with the pencil worked better in this case. I attached the papers with painter’s tape so that I could lift the tracing paper periodically to make sure I hadn’t missed any bits (which of course I had). Easy to fold it back into the exact position and do the missing bits.
![]()
The initial transfer is usually a bit of a mess, and I have found that if I just leave the pencil marks and work on it from that, the pencil will smudge and the design will start to get lost, and the result is a smudgy dirty mess and impossible to work from! I therefore go over the whole thing with a fine permanent archival grey marker pen and then rub out the pencil lines. This looks like pencil, it is a nice consistent fine line, and being grey, it will get covered by the painting in due course. The only parts I did in black pen were the sun rays.
This is the finished result, ready for painting.
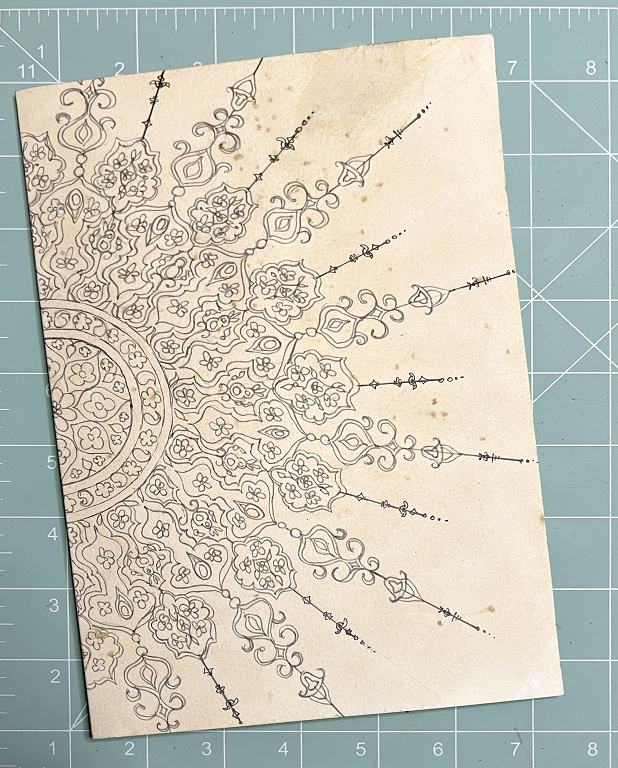
Some of the edges may be lost if I trim it down to an irregular shape. The fold is on the left and of course will not be cut.
Other pages in the book will have different examples of Islamic art – some Arabesque lozenge-shaped motifs and probably some geometric designs as well. I am deliberately keeping this fairly small or it would take me an age to complete! It will be bound in a worn vintage style and I hope the whole effect will be of a rich treasure with plenty of colour and gold.
Conclusion
The Divide and Rule tools have proved invaluable for this work. I know they will be equally useful for mandala drawing, which largely works on the same principle as shamsa drawing, working in concentric circles from the centre outwards.
Wow – what a beautiful set of tools, and as you say so beautifully packaged – a work of art in itself. What stunning results from using such seemingly simple shaped tools! It would be too complicated for my brain, you are so clever! ….a Spirograph is about as complex as I can get ha ha! Beautiful artwork with this amazing piece of kit! Well done.