DOUBLE TRI-FOLD JUNK MAIL FOLIO PART 7 – DECORATING THE SECOND FOLIO
I have now completed the decoration of the inside of the second folio of this project.
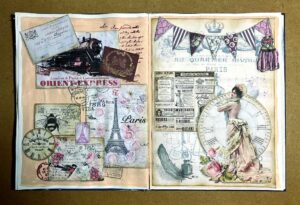
I am continuing the vintage theme, with red as the focal colour, but in this case with the addition of a little bit of green to co-ordinate with the background paper. As I mentioned before, I was keen not to cover this paper entirely with decoration, as I liked the design of the lace impression in the vegetable-dyed paper which continues across all three panels. Some of the decoration is therefore removable.
The second panel
I had to make a pocket at the bottom of this panel, to cover up the brad which serves as the closure for the Checkatrade brochure on the back of the folio. I covered the basic black card background with a scrap of inked paper – I can’t remember how I did this but I know it ended up in my “failures” folder! Most of the failures look awful as a whole sheet, but cut up, they make ideal collage elements and elevate themselves above my original condemnation of them, which is why they tend to have long prison sentences in my stash, rather than summary executions.
The scrap of paper wasn’t big enough to cover the whole pocket so I added a bit of corrugated cardboard which I rubbed over a black ink pad to emphasise the corrugations. Then I added a few labels to embellish it.
Large tag
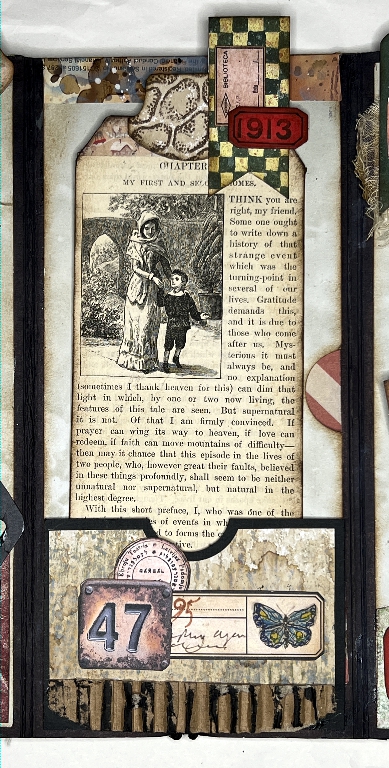
This pocket holds a large double-sided tag.There is a small strip of washi tape across the top, to which I have added a small whale tail tab and one of my new banner tabs and a couple of labels.
This is the back of the tag.
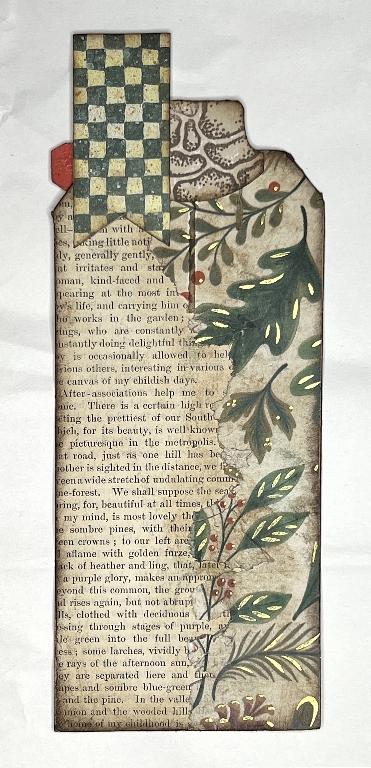
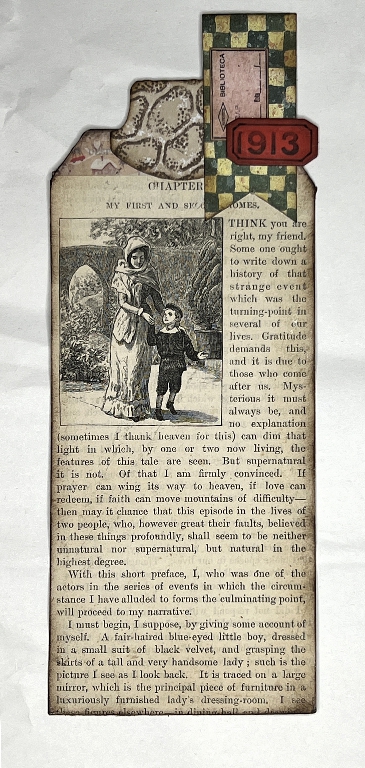
The main papers on this tag are taken from an antique book my hubby gave me some time ago. To avoid going into detail about the book in this post, I have uploaded a separate one, so if you are interested in seeing more details about this treasure, please see “Part 6” of this series.
I have chosen a book page with text and an engraved illustration. On the back, I have torn a piece of green and gold gift-wrap paper and distressed this with sanding and ink.
The tab on top of the tag sticks up above the top of the folio and adds to the interest when the folio is closed.
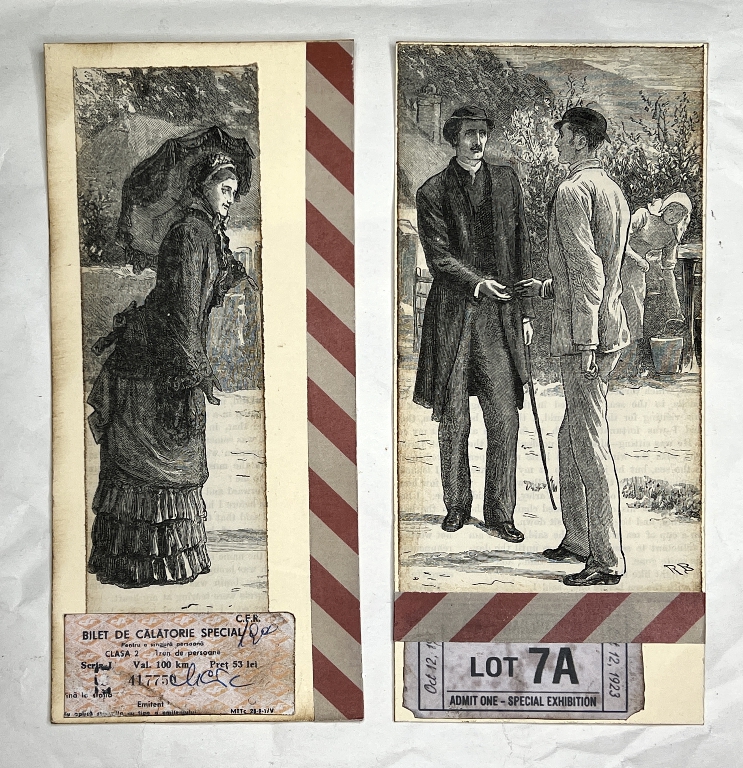
Like the first panel of the first folio, this panel of the second folio also has a full-sized pocket. I made an insertion for this, again using an illustration from the antique book. The cream-coloured card I made the piece from was rather thin and flimsy, so I took two pieces and glued them back to back after decorating them.
The pictures were cut from a single image. I added some of my DIY washi tape to each side, together with a ticket. Here are the two pieces before I stuck them together.
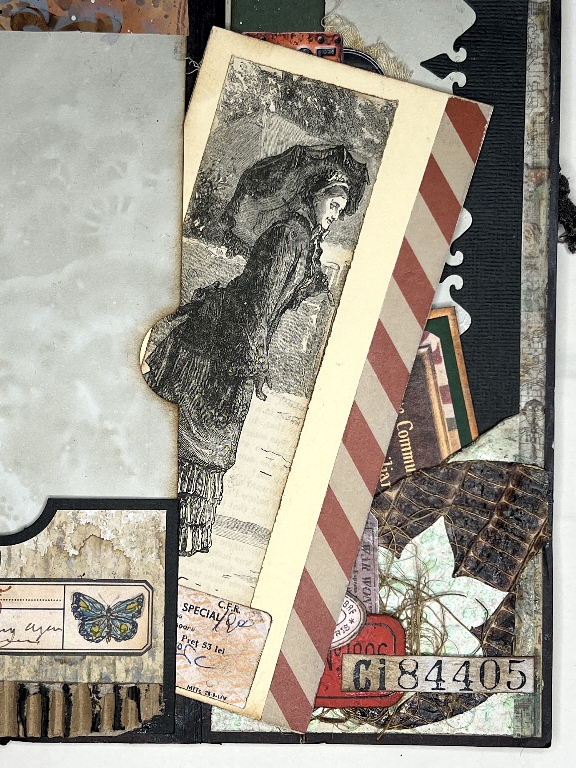
The red washi tape on the top side shows through the finger notch in the panel. The next photo shows how the insertion fits into the pocket.
Background paper
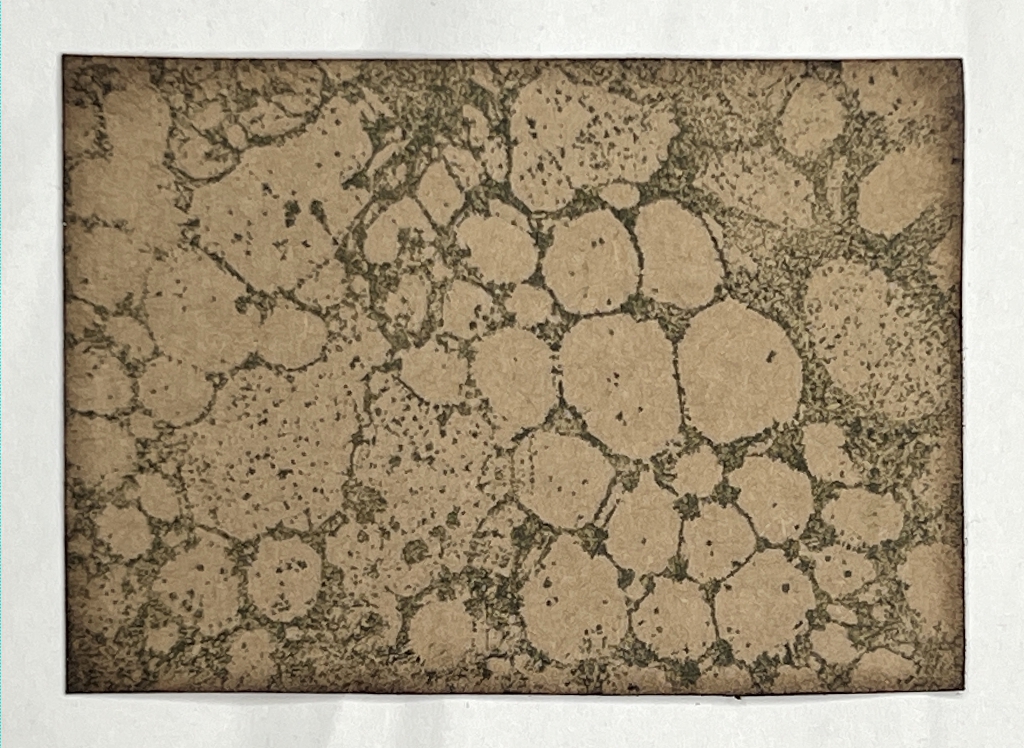
Here is the spread of all three panels, with tags and insertions removed, so that you can see the pattern of the background paper.
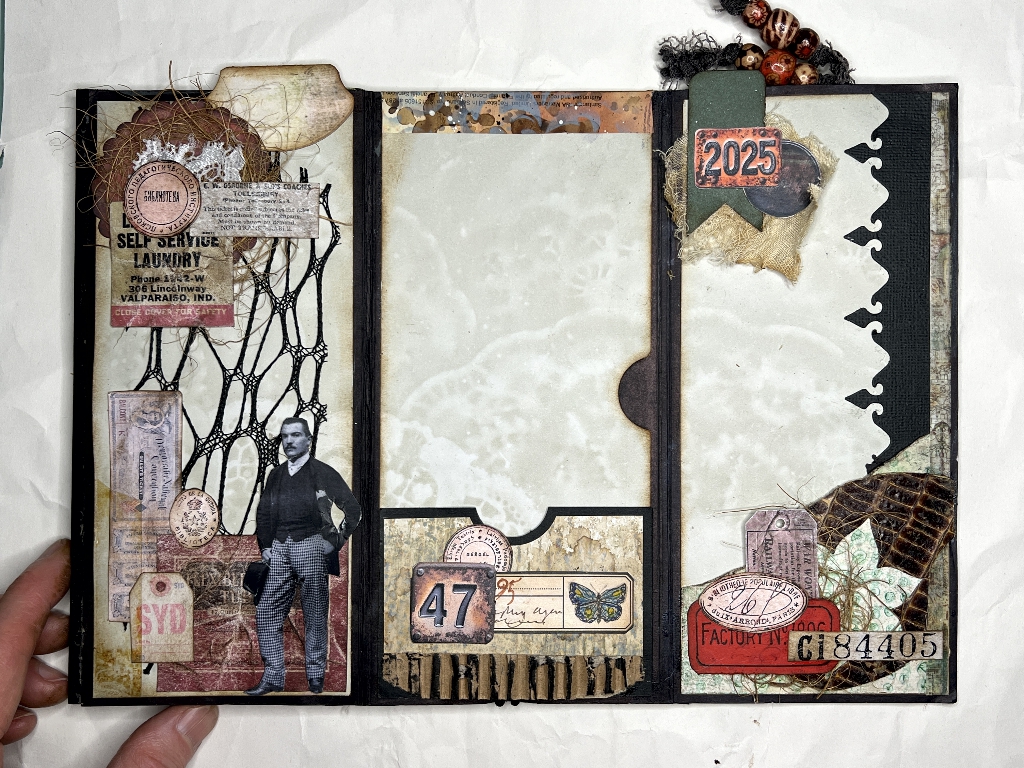
The third panel
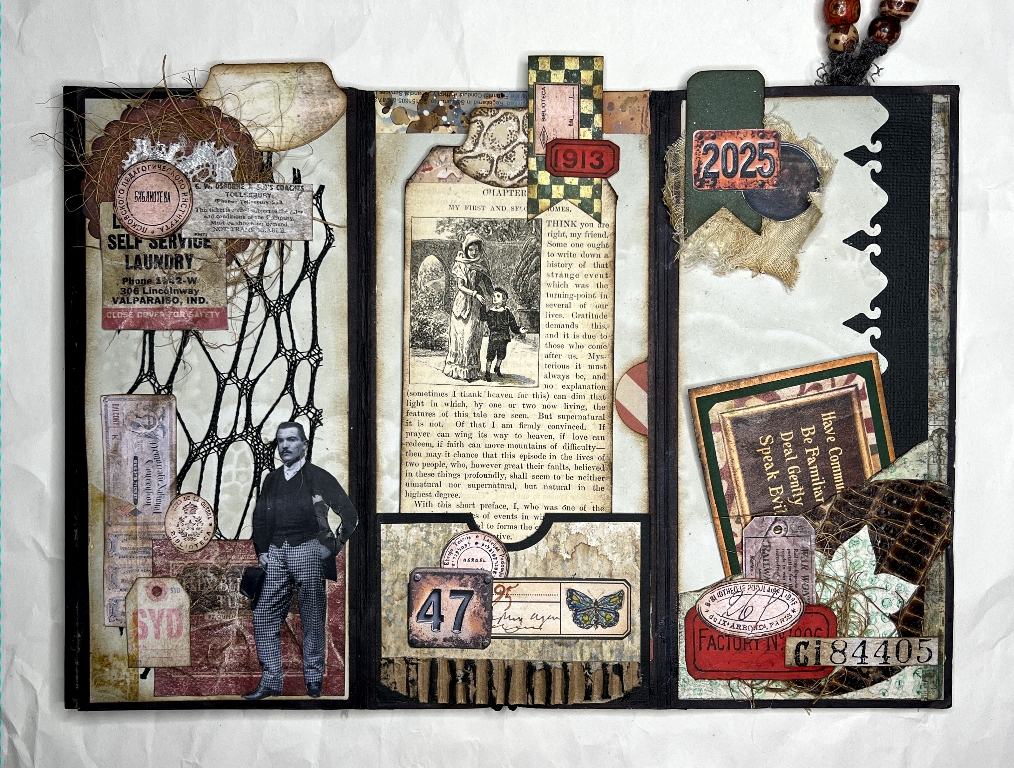
For this session I have had a good old rummage in my scraps folder. This is a poly-wallet absolutely stuffed with offcuts and bits and pieces (nothing gets thrown out – everything can be useful!) and I discovered some real treasures, some of them years old. I did a border die-cut from black card for some project or other in the past and the negative space part went into the scraps folder and has re-emerged as the border down the right-hand side of this panel, along with some washi tape.
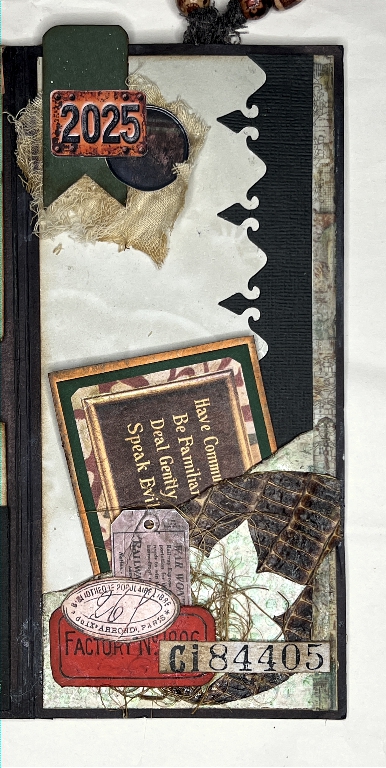
Top decoration
For the decoration in the top left-hand corner, I took a scrap of fabric and some scrim which had been tea-dyed, and glued them down, sandwiched between the layers of the green banner tab which I then glued down. I added a couple of Luise Heinzl’s faux metal embellishments. This tab also sticks up above the top of the folio for added interest.

Bottom decoration
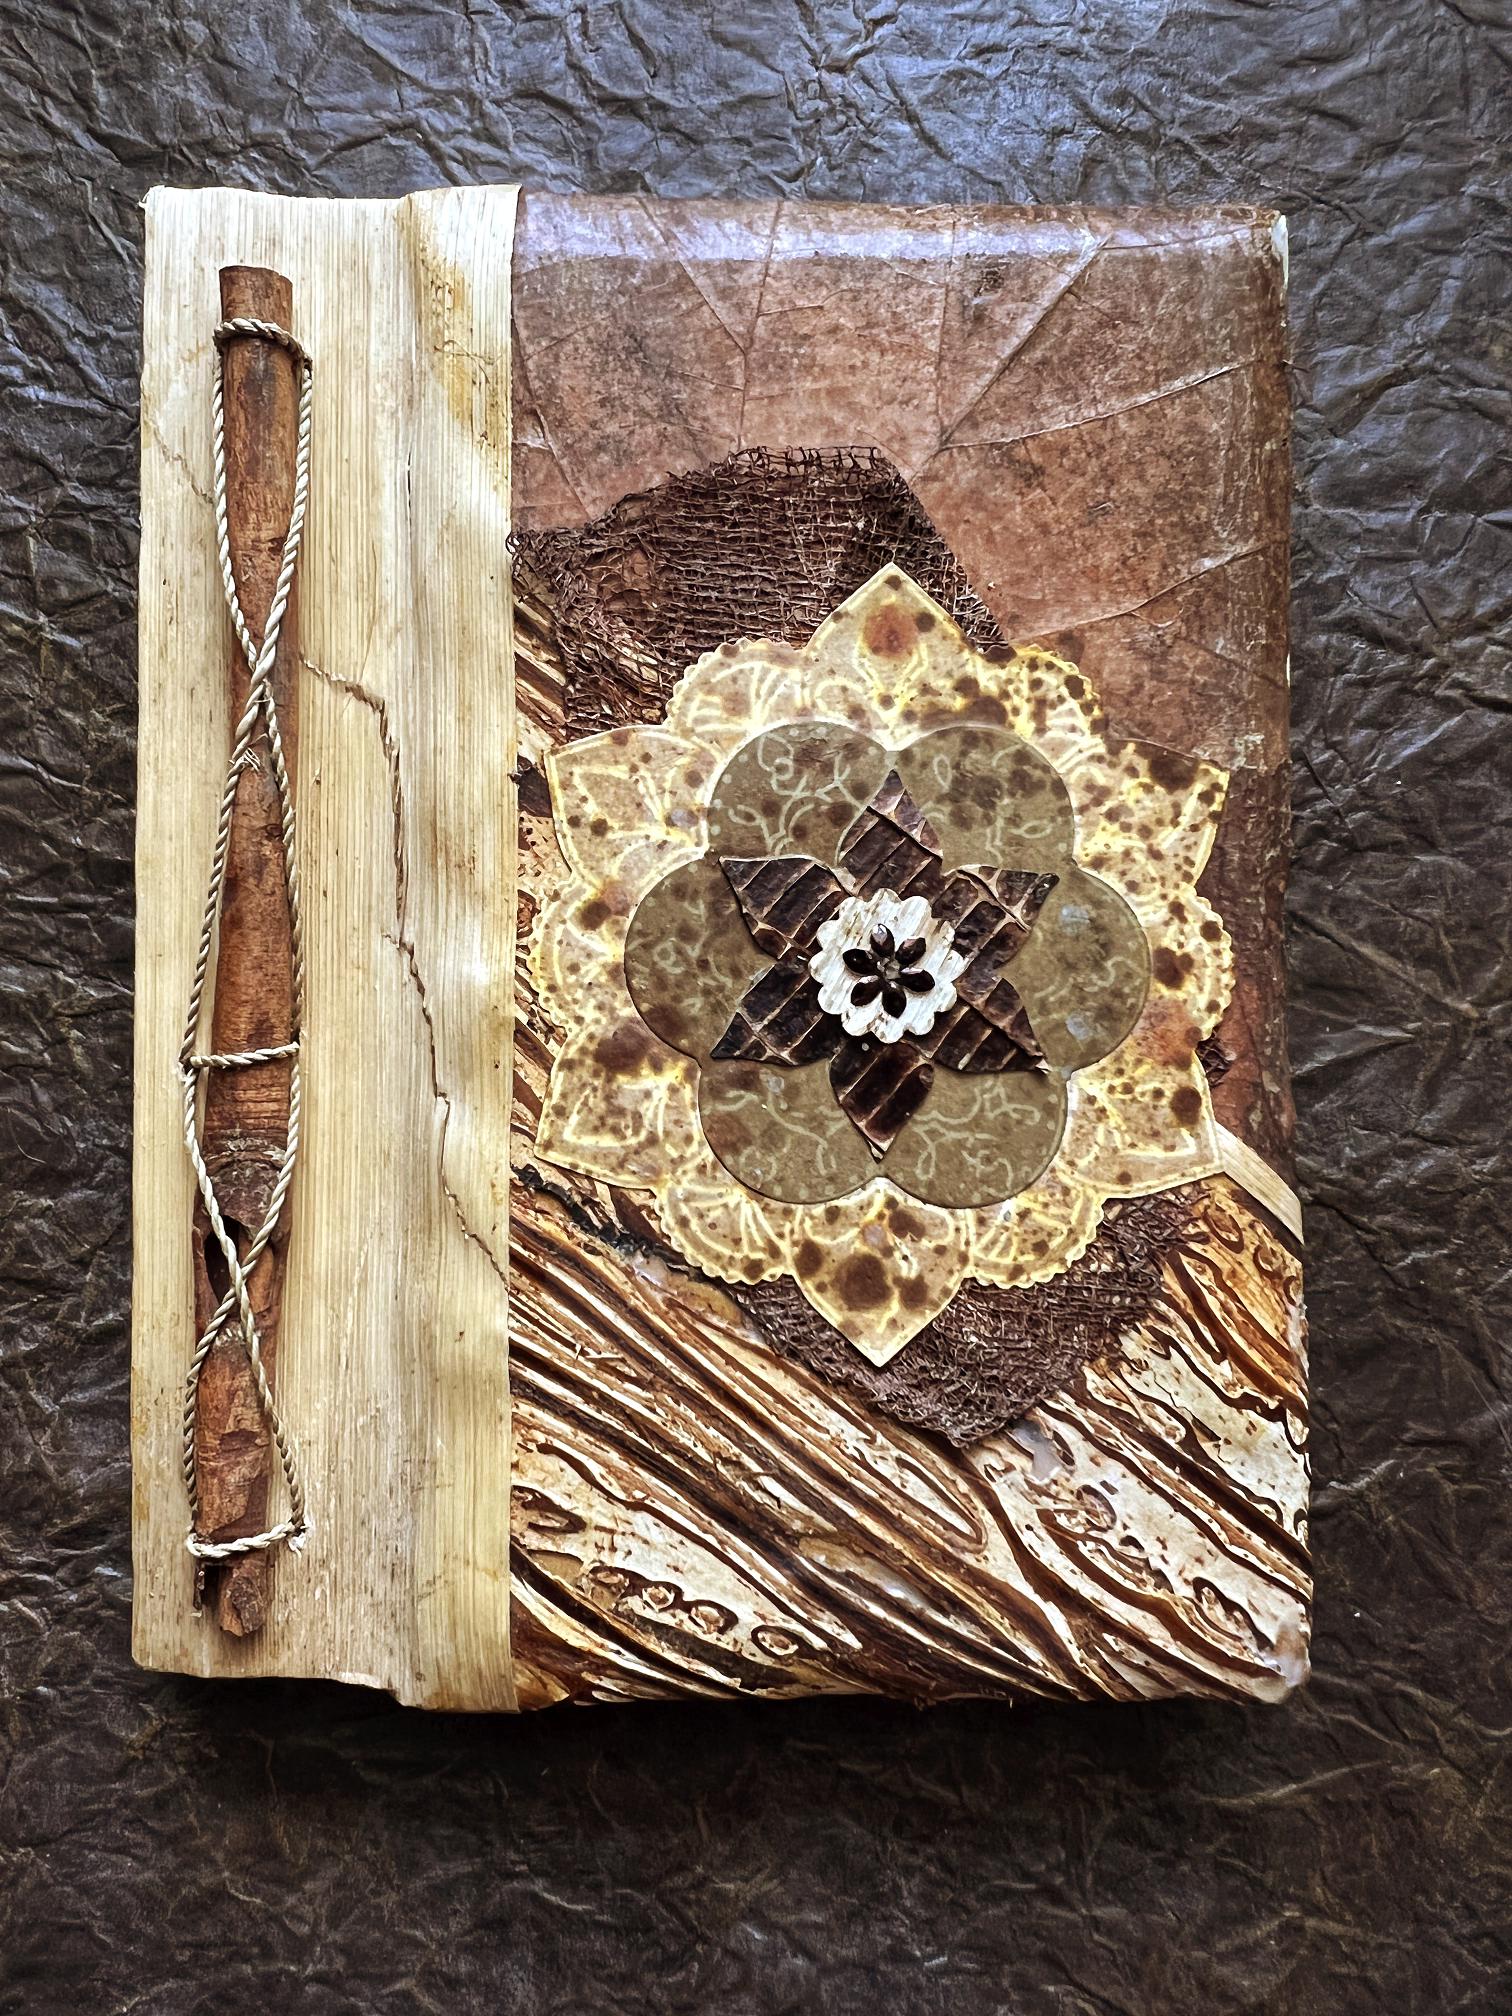
I had already created a tuck spot from a scrap of green card from my stash. Digging around in the scraps folder, I found this brown piece which is made of some sort of organic material – a thick leaf, or bark or something. Years ago my hubby bought me a hand-made book which he’d picked up at a sale somewhere, and I altered and rebound it as my “Organic Journal” full of mixed media art on its hand-made paper pages. On the front it originally had a yin-yang symbol.

Since I wasn’t into that, I took it off and made a new embellishment. This included a flower which I cut from part of this yin-yang, and the negative piece went into the scrap folder.
I managed to piece it together so that the flower is now a negative space, showing the green of the tuck spot underneath.

I stuck down some more coconut fibre and added a cluster of labels.
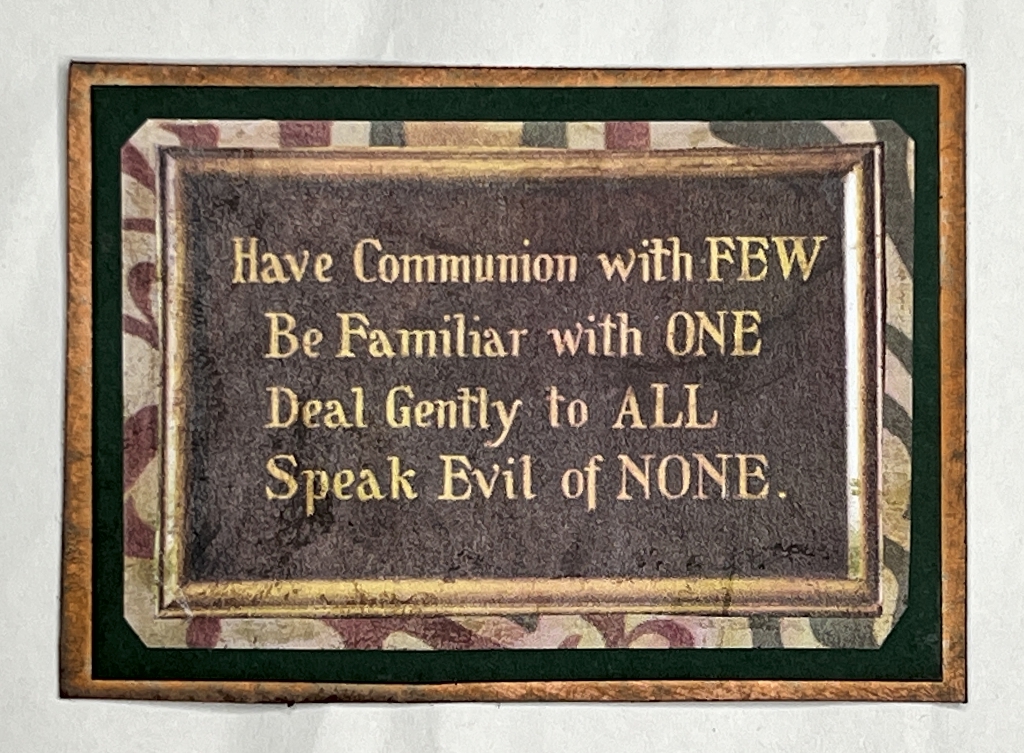
Tuck spot insertion
To go in the tuck spot, I made a small insertion. I have a box of pictures and other bits and pieces, from magazines and greetings cards etc., for collaging, and I found a magazine page with an interesting wallpaper and some pictures hanging on the wall. I cut out this little piece of text and matted and layered it onto some different pieces of scrap.
The back was just plain brown card, so I stamped this with dark green ink.
This completes the decoration of the inside of the second folio.
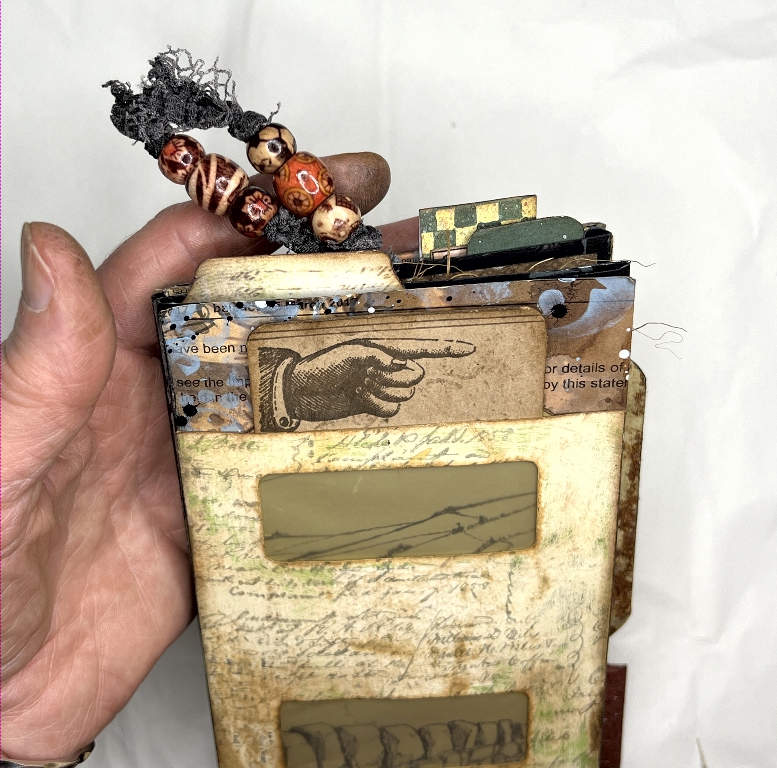
Fun on top
When the folio is closed, there is now quite a bit going on at the top edge, with the beads on the first big tag, and several page tabs, lined up so they all show. The longer tabs along the outer edge of the folio may end up having dangles attached once the rest of the work is completed. (Note the inky fingers.)
I was originally going to put a large tag in the pocket I created between the two folios, but by mistake I stuck a tab over this and closed it!! The whole project is becoming quite a chunky monkey and the spine edge where the two folios are glued together is being forced apart. The whole thing is secure and won’t fall apart, but I may add something on the spine just in case. It is actually lying fairly flat even with all the additions as a result of this slight opening of the spine, and I may not need to add a closure at all, after the magnets have failed to work because of all the layers. As always with projects like this, I am making it up as I go along!