DOUBLE TRI-FOLD JUNK MAIL FOLIO PART 8 – DECORATING THE CHECKATRADE FLIER
Change of plan
My original plan was to introduce some fun interactive elements into this late add-on to the folio. However, over two afternoons, I spent many hours trying to perfect these elements, without success. I found video instructions online showing how to make them, but they used basic shapes, and when I tried to make them using my more complex butterflies, they would not work. It was really frustrating. In the end I abandoned the attempt, and decided to continue with basic collage. It was better in the end because the pop-ups would have introduced too much bulk into the project.
The flip-up
The Checkatrade flier is stuck to the back of the main folio with a hinge at the top, so that it flips up.
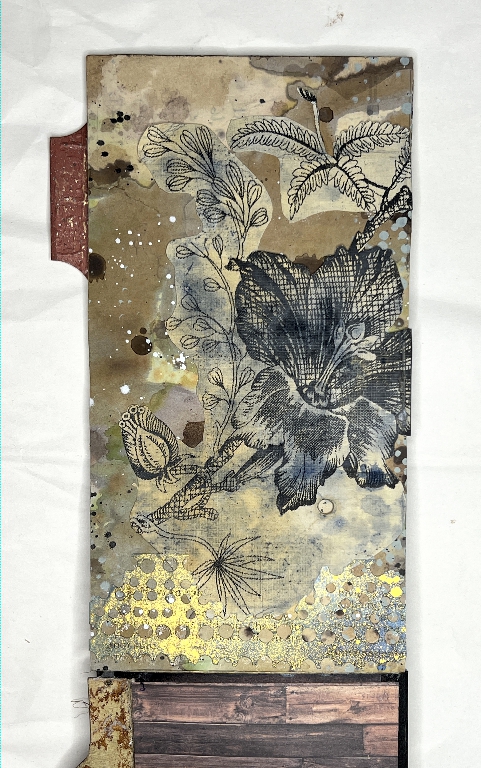
Some time ago I cut up a paper gift bag to use the floral images on it, and I recently tea-dyed some of them, and added some Payne’s Grey water to them. (This is water with a small amount of acrylic paint mixed in.)
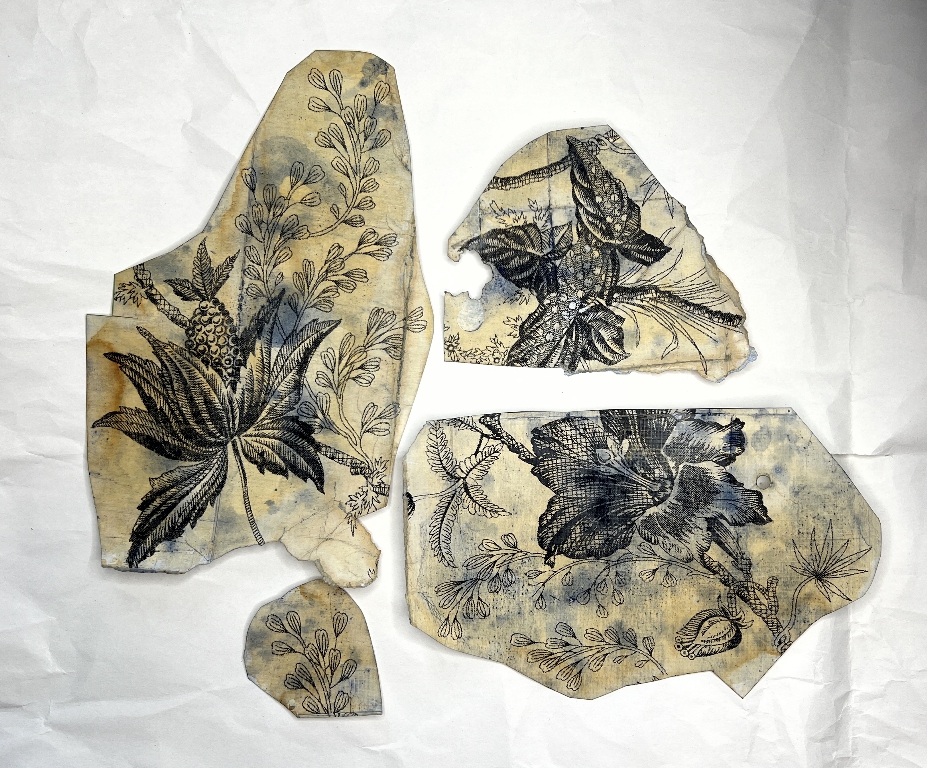
I fussy-cut one of them out.
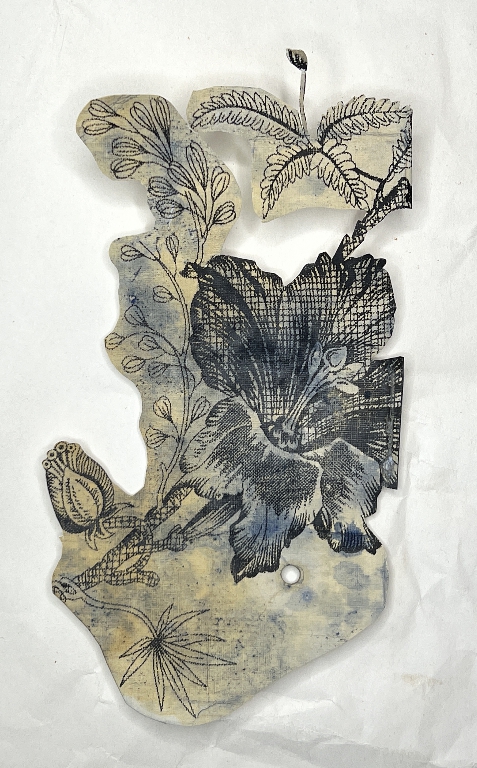
I stuck it down onto the underside of the Checkatrade flier and also added a scrap of my punched medication leaflet at the bottom, which had been sprayed with gold.
The side flip-out
When the Checkatrade flier is flipped down again, it opens out from the side into four panels visible on the inside, and two on the outside (because of the way it is constructed).
The inside of the flip-out
When fully opened, this is how the Checkatrade flier now looks.
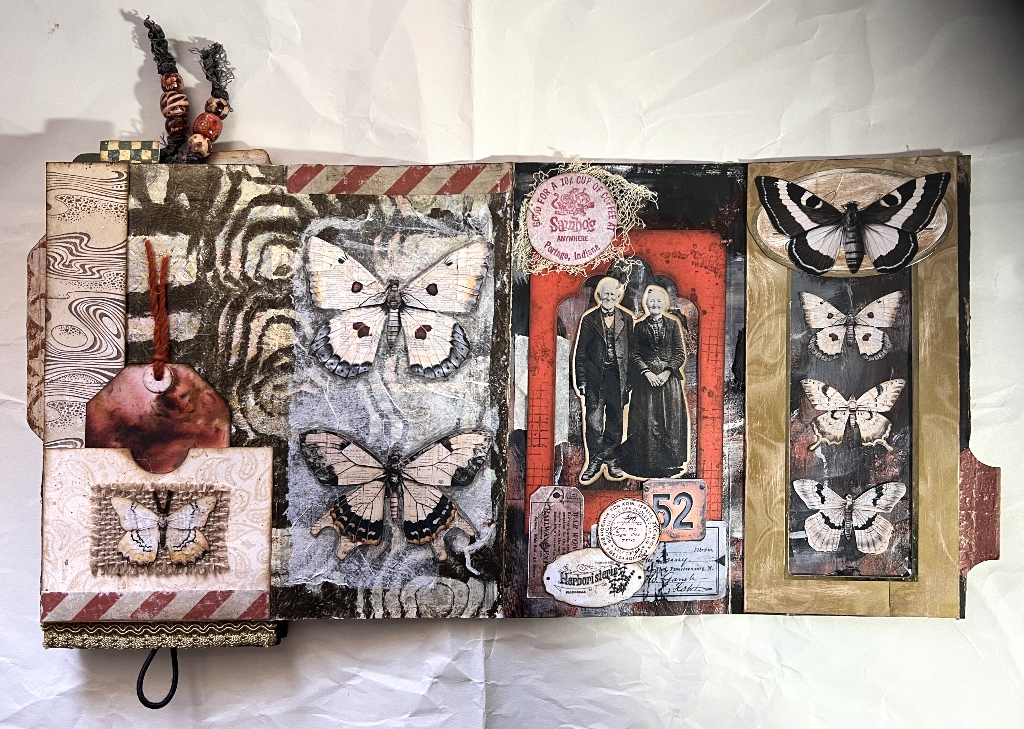
At the bottom of the left-hand panel you can see the loop of elastic which closes this flip-out – the back of this panel is the back of the whole folio. Again, it’s much easier to see how this works on a video rather than by verbal description, and I shall be making a video once the project is completed.
The right-hand panel
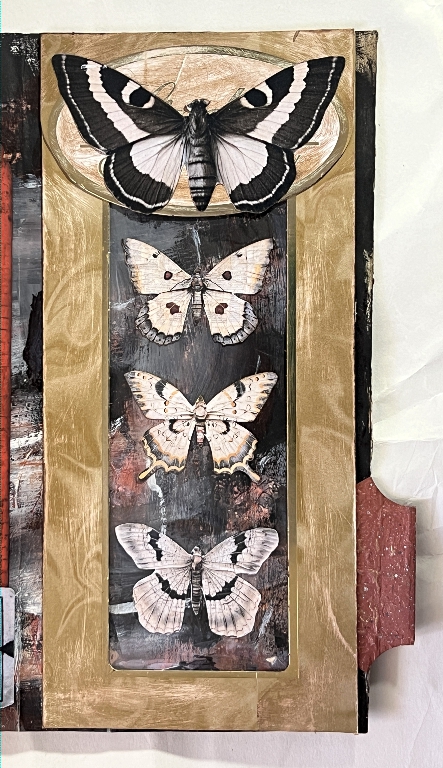
I have a packet of frames in my stash. These are cut from greetings cards and various packaging items. The one I used for this was larger, and had originally contained a Lindt chocolate Easter bunny which my hubby had given me. You can just see some of the script in the oval at the top, now covered with a butterfly. I distressed it all (trying as much as possible to avoid the gold edgings) by sanding and inking it, and then cut it down and remade it so it would fit on the panel. If you look closely at the bottom, towards the right, you can see one of the joins. I shaved off quite a bit of the cardboard from the back to reduce the thickness of this overlap and it’s pretty much invisible now. I cut the oval out and used it to cover the top.
I stuck the butterflies down onto the background paper (one of my scratch papers) and lined the back of the frame with some cellophane cut from the transparent bag that came round a card or art product or something – I save this plastic as it can be useful for this sort of thing. I took the photo in natural light so there is no reflection, but the effect is much better in real life as it looks like a proper transparent window.
The centre-right panel
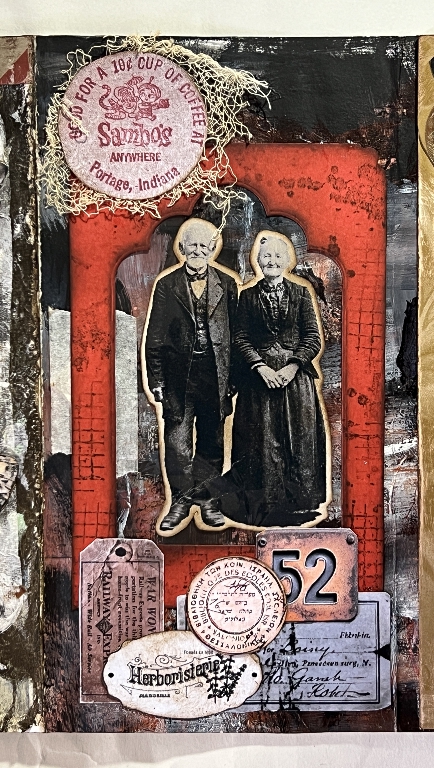
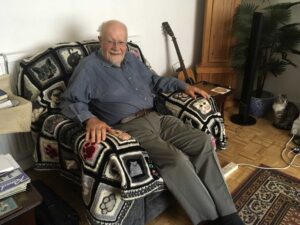
I repeated the frame process with this panel. The red frame was the negative space left after I’d die-cut a tag at some point. I dulled down the colour with some ink, and then added some random background stamping on it for texture. The elderly couple are behind the transparent plastic. I then added the rest of the collage elements.
The centre-left panel
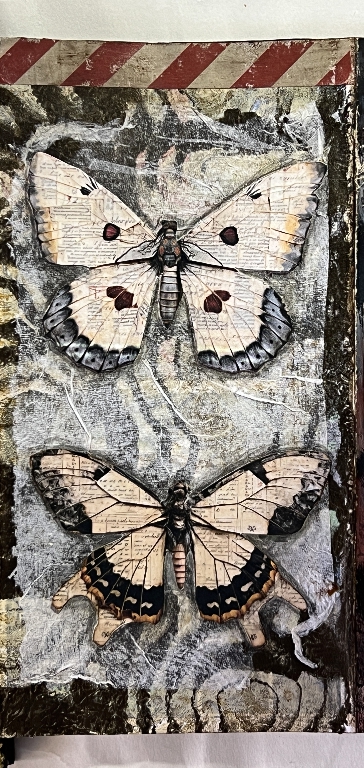
This was relatively simple, with two large butterflies collaged over the background paper, which was one of my “failed” gel prints using my wood graining tool. The butterflies didn’t show up much, so I laid down a piece of tissue with some matte medium. This was an underneath layer from a napkin after I’d split the plies – when using the top layer with the image you don’t want the other layers from underneath. They go in my stash and can be used for this kind of project. Once it was dry, the tissue became more translucent, showing the pattern of the background paper underneath, but allowing the butterflies to stand out more. I did go around them with a black watercolour pencil for more emphasis, and blended this out with a water brush.
The left-hand panel
The background paper continues over onto this panel. It has definitely graduated from “failure” status to something I really like now!
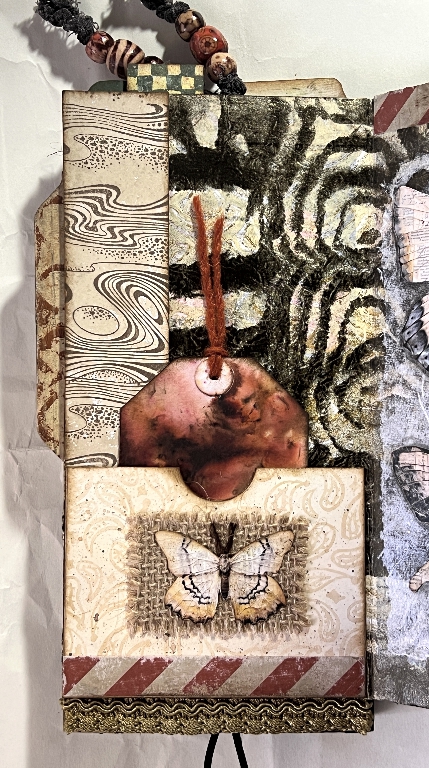
Down the left-hand side is one of my stamped strips of tea-dyed paper, and there is a pocket at the bottom made from some printed scrapbooking paper. This paper didn’t reach the bottom of the pocket so I covered the gap with some of my DIY washi tape, duly distressed with sanding. I embellished the pocket with a small fragment of burlap and another butterfly stuck down. I used a bit of the frayed burlap rubbed over a dark brown ink pad to create the butterfly antennae.
The whole Checkatrade flier is shorter than the Wighton folio, so I filled the gap at the bottom with a strip of fabric trim from my stash. Again, you can see the loop of elastic hanging down underneath, which forms the closure.
The tag
From my tags box I pulled out a spare tag which was left over from another project. I used the front as-is, as the colour was right and I like the design. I topped it with a piece of red jute twine.
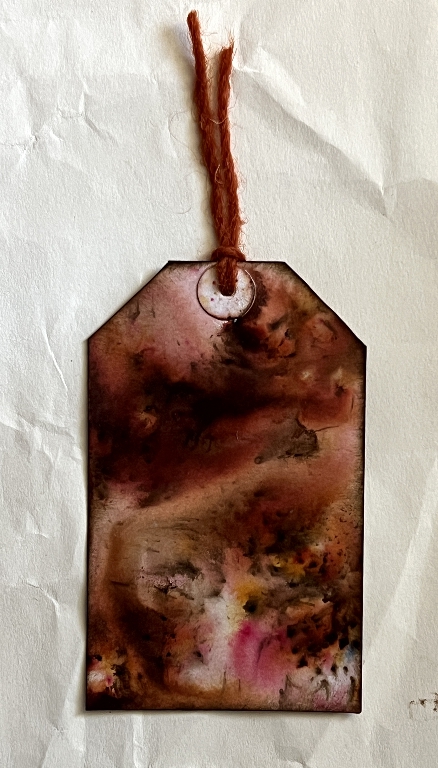
The back was plain, but a bit stained with ink around the edges. I added more inking, and then stamped with a vintage text stamp in red.
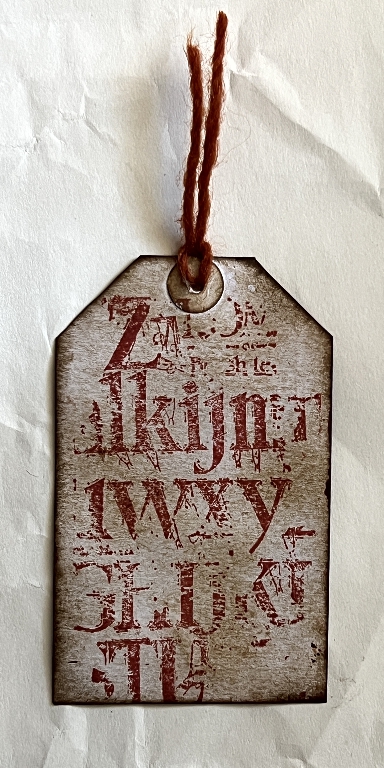
I really like how this came out, and couldn’t make up my mind which side I preferred. Ultimately this had to be the back, because the other side looked better in the pocket, contributing to the look of the whole.
The outside of the flip-out
With the way this is constructed the assembled with the main folio, when you open it out, you only see two decorated panels and the back cover of the folio.
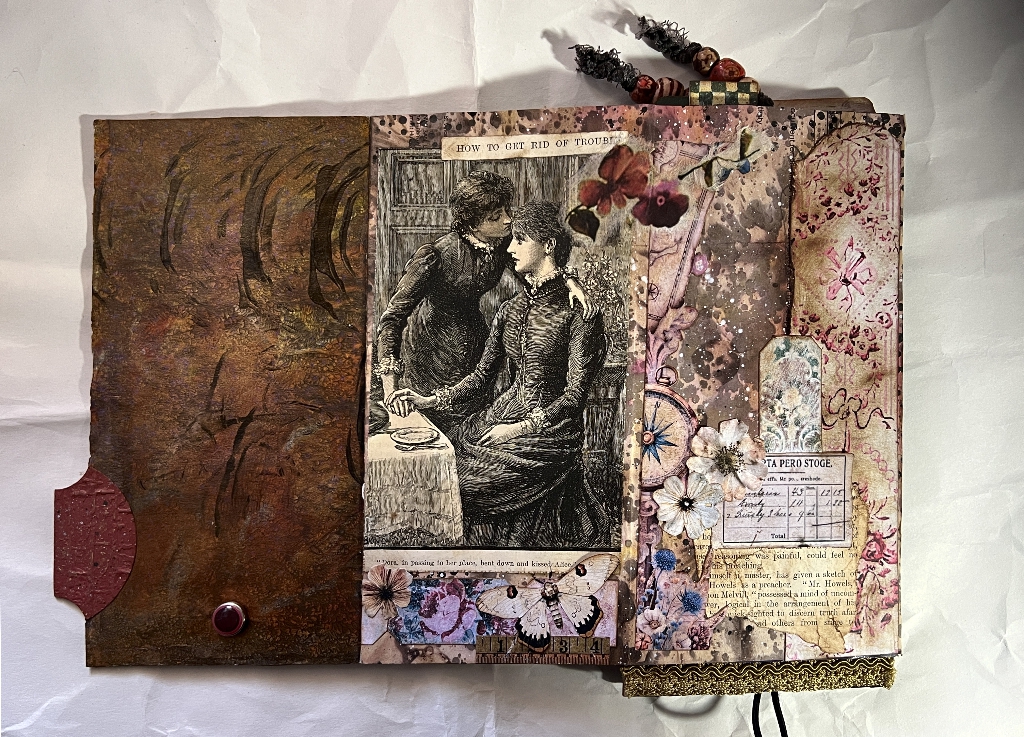
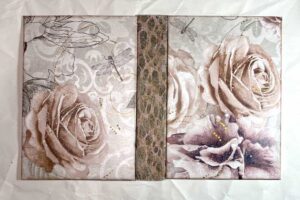
Here are the two panels a bit closer.
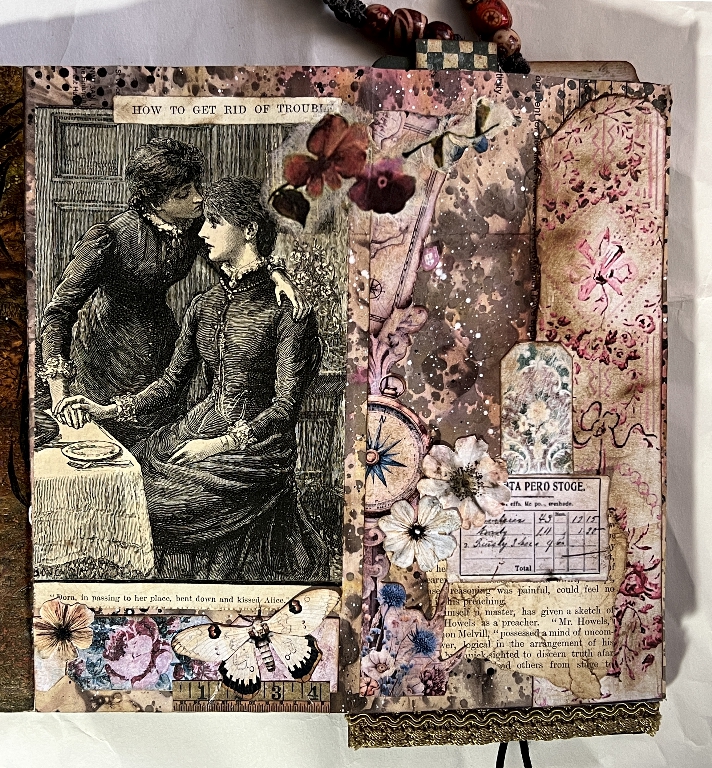
Again, the same paper is used for the background of both panels, but not a lot is still showing. This was one of my mixed media papers done on a bank letter. The colour is predominantly pink, but also mixed with brown, and there is a lot of collage.
The right-hand panel
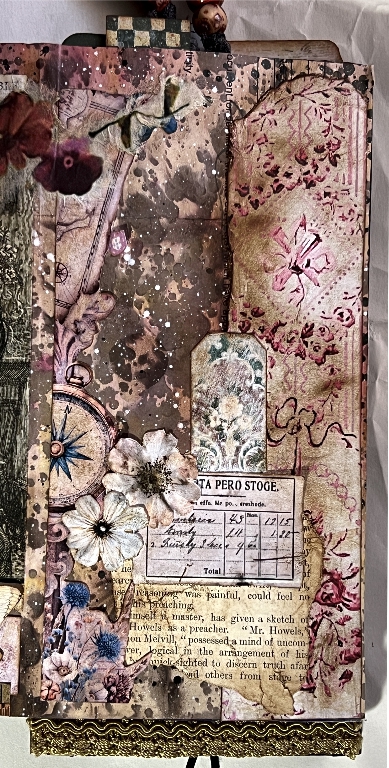
There is a scrap of collage running down the left side of this panel, which was cut from a journaling page I printed out from someone I’ve been following. I recently unsubscribed from her because her style isn’t really to my taste but I still have a lot of her freebies saved, and this was part of one, with the compass and bits of map. It all blends in so you can’t see much of it now. On the right is a piece I printed out for one of my tissue box folios which was not the right size, but into the stash it went, and it didn’t remain there for long! I have some pink floral tickets that I printed out from The Graphics Fairy Premium Membership site and one of these is sticking up above the label. The book page is from “The Quiver” antique book that I recently posted about. It is a fragment from the very damaged part at the beginning of the book and I used the edge as it was. I added some collaged flowers, and the red flowers at the top, which continue onto the other panel, are cut from some rice paper and stuck down with matte medium.
The left-hand panel
The focal image was also taken from “The Quiver,” a very charming engraving. The title of the story it illustrated was “How to Get Rid of Trouble” which amused me, and I just had to add this page-top title! Just kiss and make up with your sister/friend and trouble vanishes!
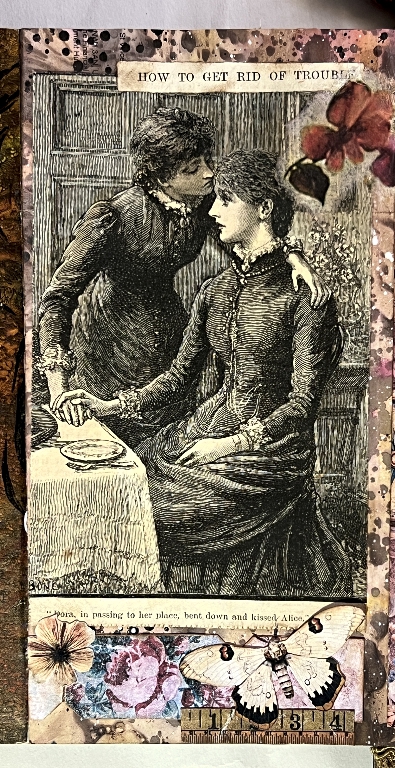
I added a bit of brown inking to this image so that it co-ordinated better with the whole, and added plenty more collage, and some more of the floral tickets, and the inevitable butterfly. You can see the other half of the rice paper flower at top-right.
Conclusion
This Checkatrade flier has come out completely differently from what I originally intended! I was going to have film strips and interactive stuff – pop-ups and such, but it was not to be. These projects have a mind of their own and one just has to go with the flow. I am hoping to incorporate those other elements into future projects, so keep watching this space!
All that remains now is the decorate the cover and decide what to do, if anything, about a closure, and add a few finishing touches like eyelets and dangles. We’re nearly there! I’d hoped to have completed this today but had problems with the computer and had to re-install my photo editor. “How to get rid of trouble…”