Is it reasonable for one person to have soooo much fun?
I am finding gel printing and collage, and freeing up my style, the most creative stuff I have ever done, and it’s so liberating. I can’t get enough of it!
Pierced paper
I began today’s session in the studio by following an idea by Robyn McClendon to create an interesting textured paper.
She had taken some paper and folded it into a long narrow concertina and then punched holes in it. When she unfolded it she had a large piece covered with holes, which could be laid over something else which would then show through. I had it in mind to try this.
Yesterday I had a parcel delivered, containing my monthly stoma supplies. One of the products comes in a fairly flat plastic box and the instruction leaflet is folded into a narrow strip which fits in the box, like the leaflets that come in packs of medication. I usually just throw these away as I know how to use the product, but as I was unpacking them, Robyn’s idea sprang to mind. Here was some paper already folded in the way I wanted, which was free, saved from going in the bin, and had the added advantage of having printing on it which would add to the texture!
The more mixed media art I do, the more my eye is becoming attuned to things in the non-art world that could be pressed into service to create pattern, texture etc.
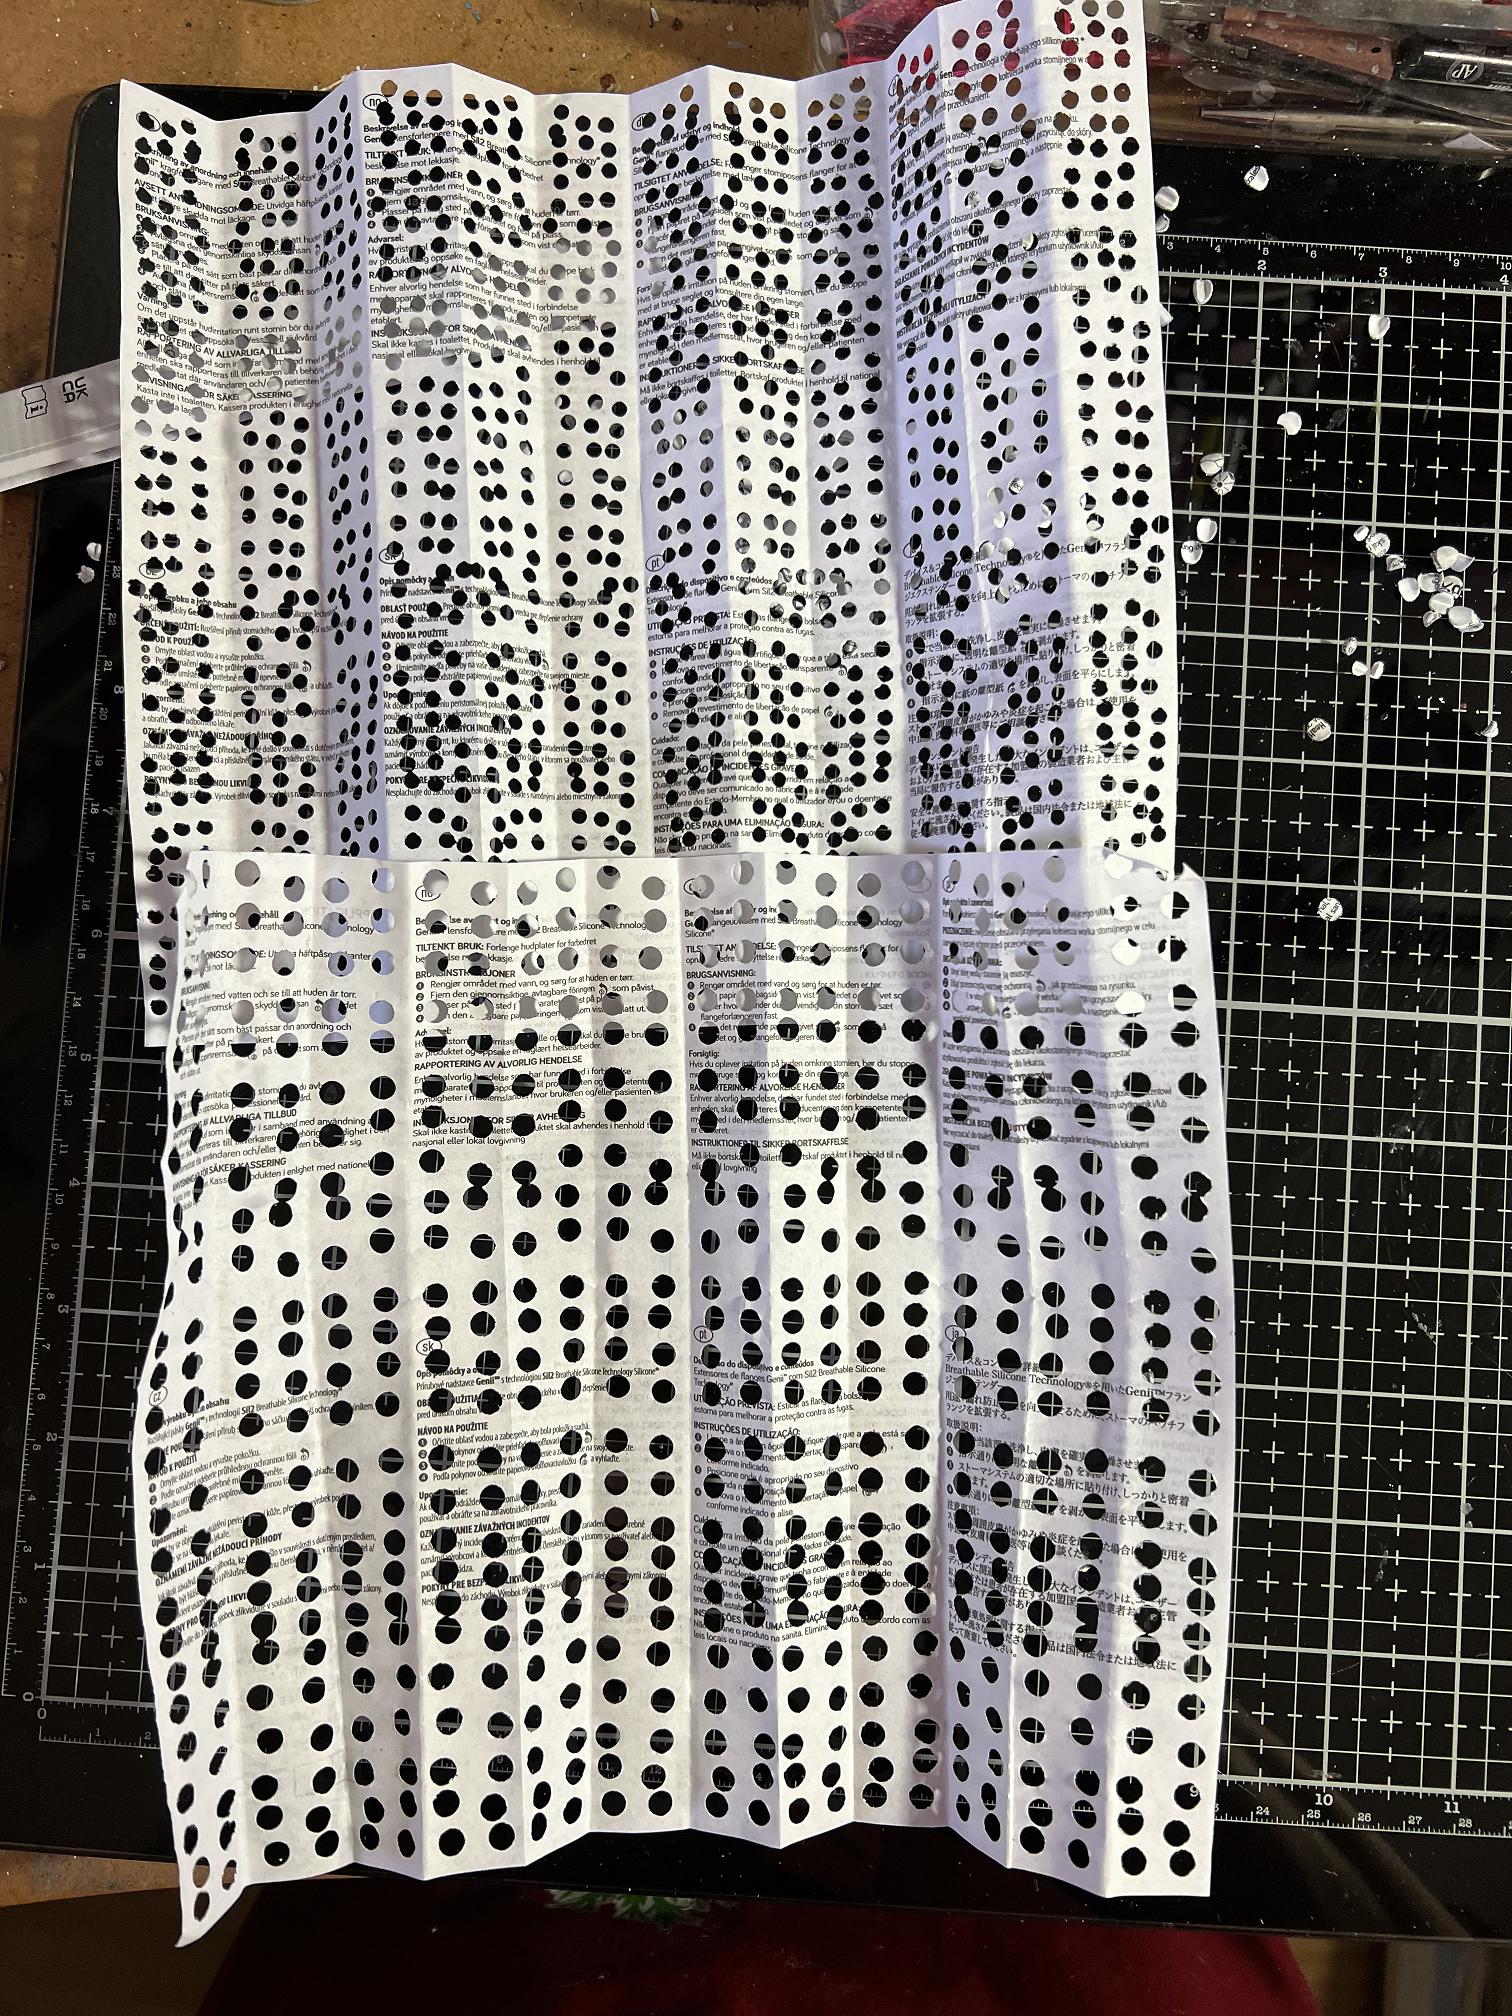
Here is the project, mid-session. I used my Cropadile to create holes of two different sizes. That tool will cut through anything and several layers of folded paper are no obstacle.
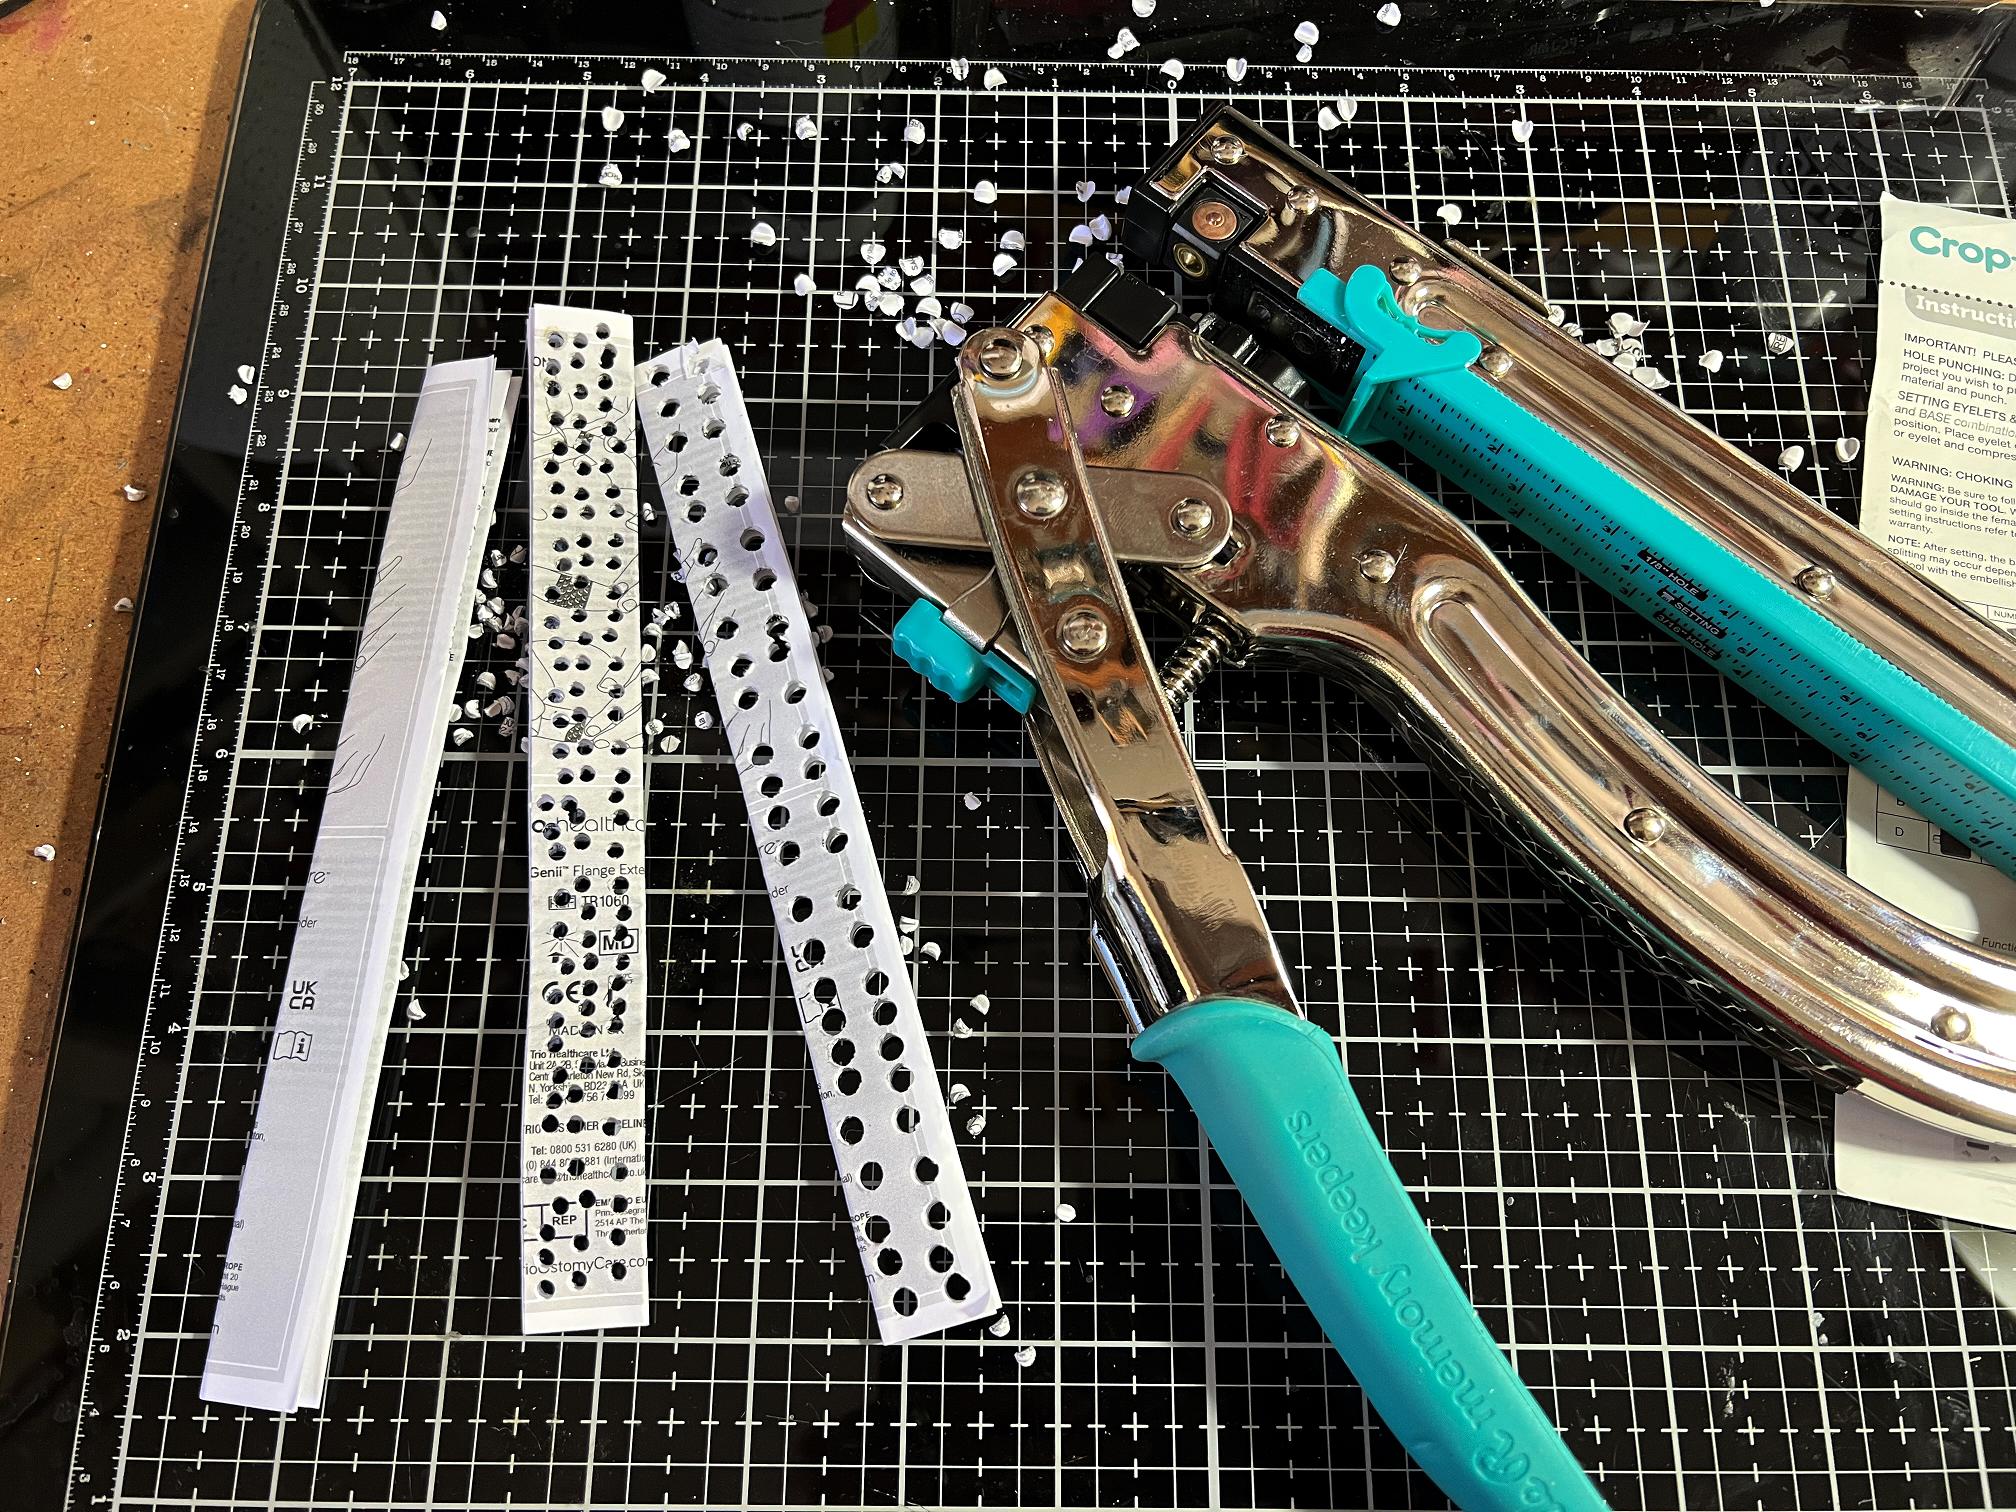
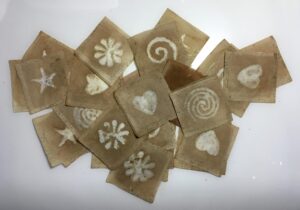
At this stage I have done the first two – the first with the larger holes and the second with the smaller ones.
The papers unfolded after piercing.
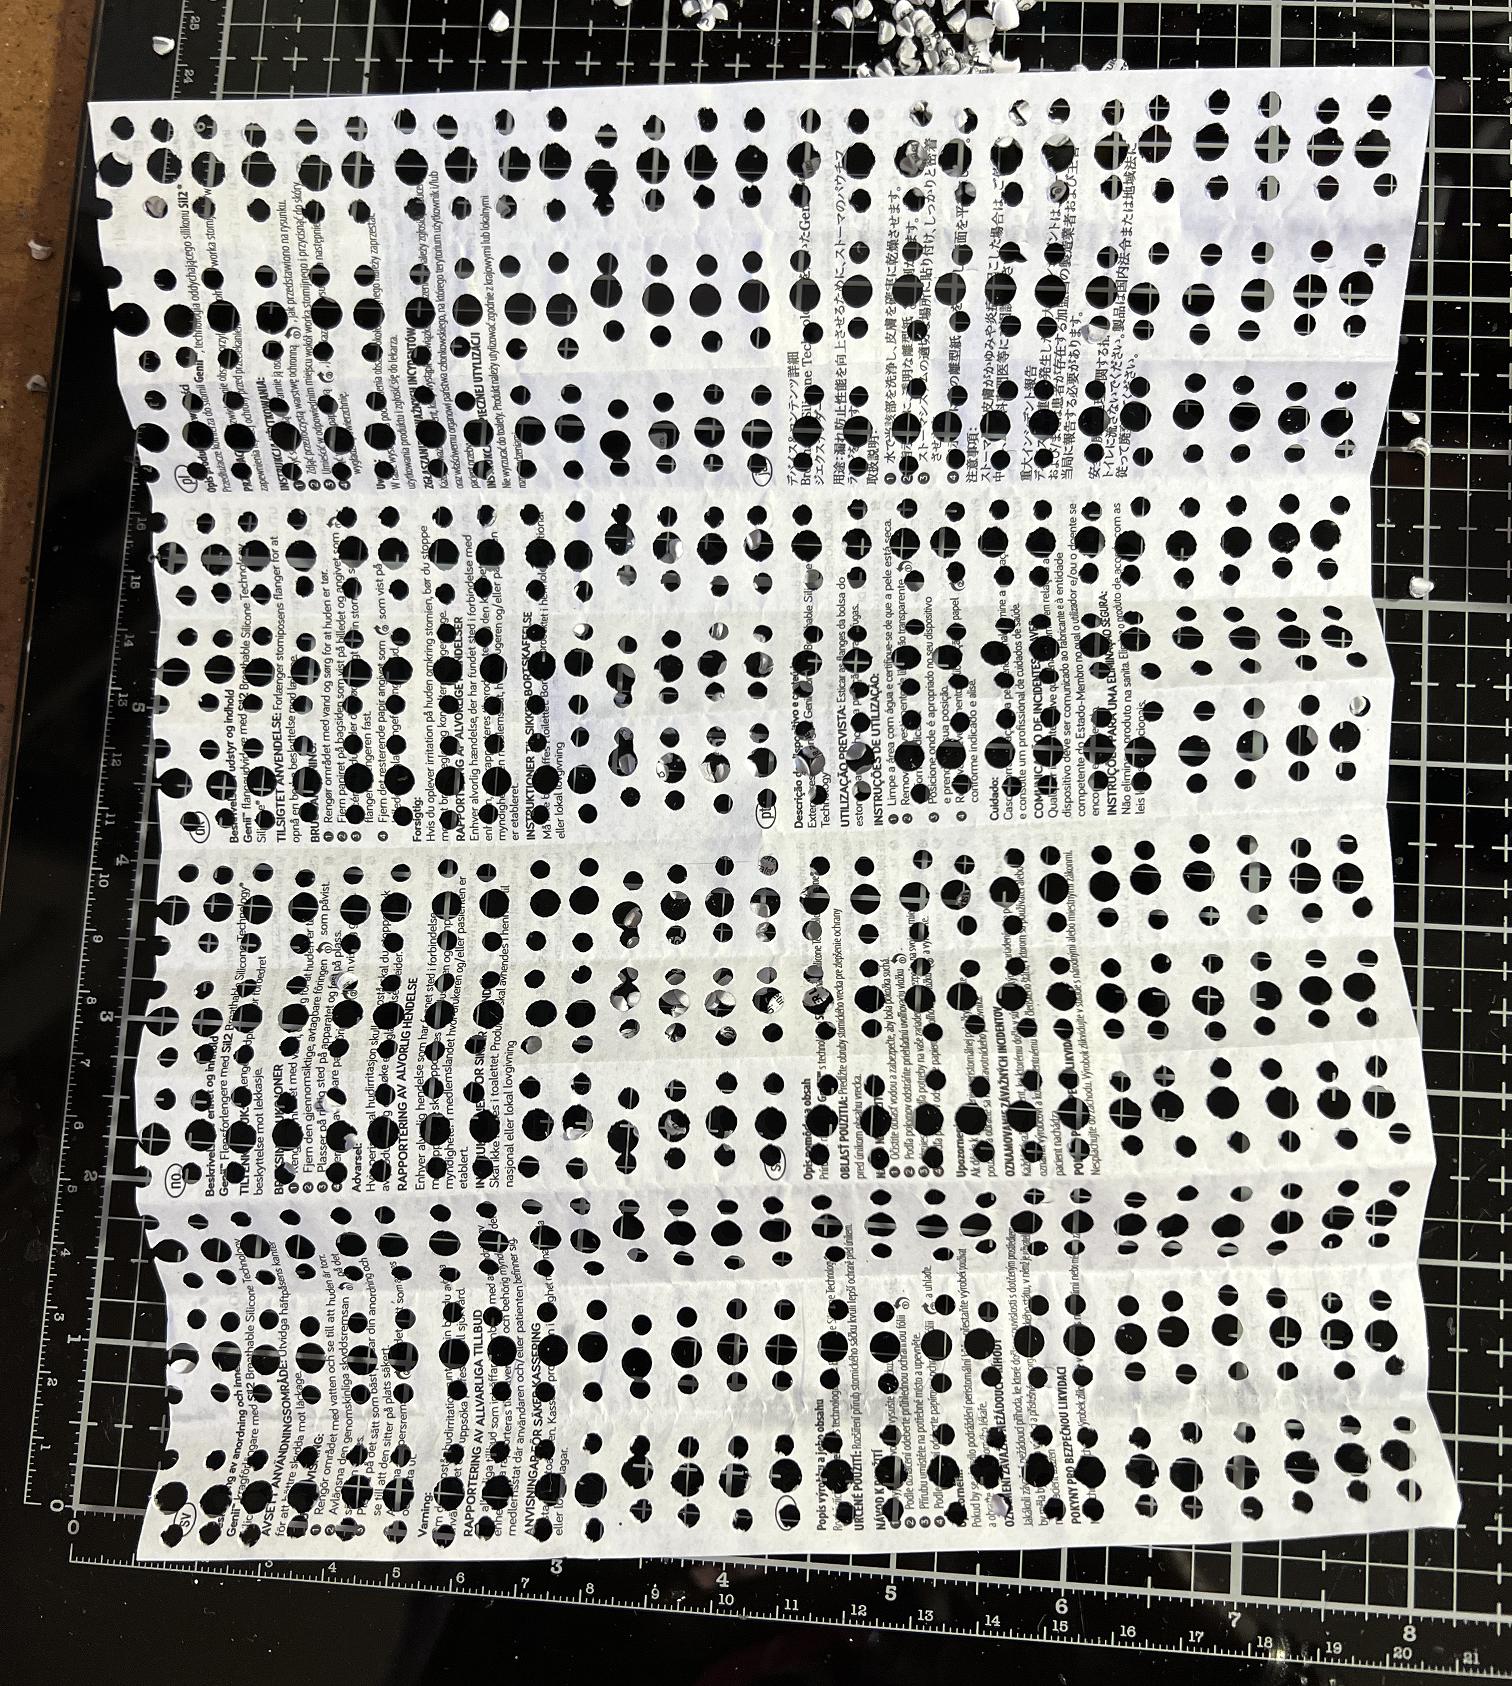
For the third piece, I used a combination of large and small holes.
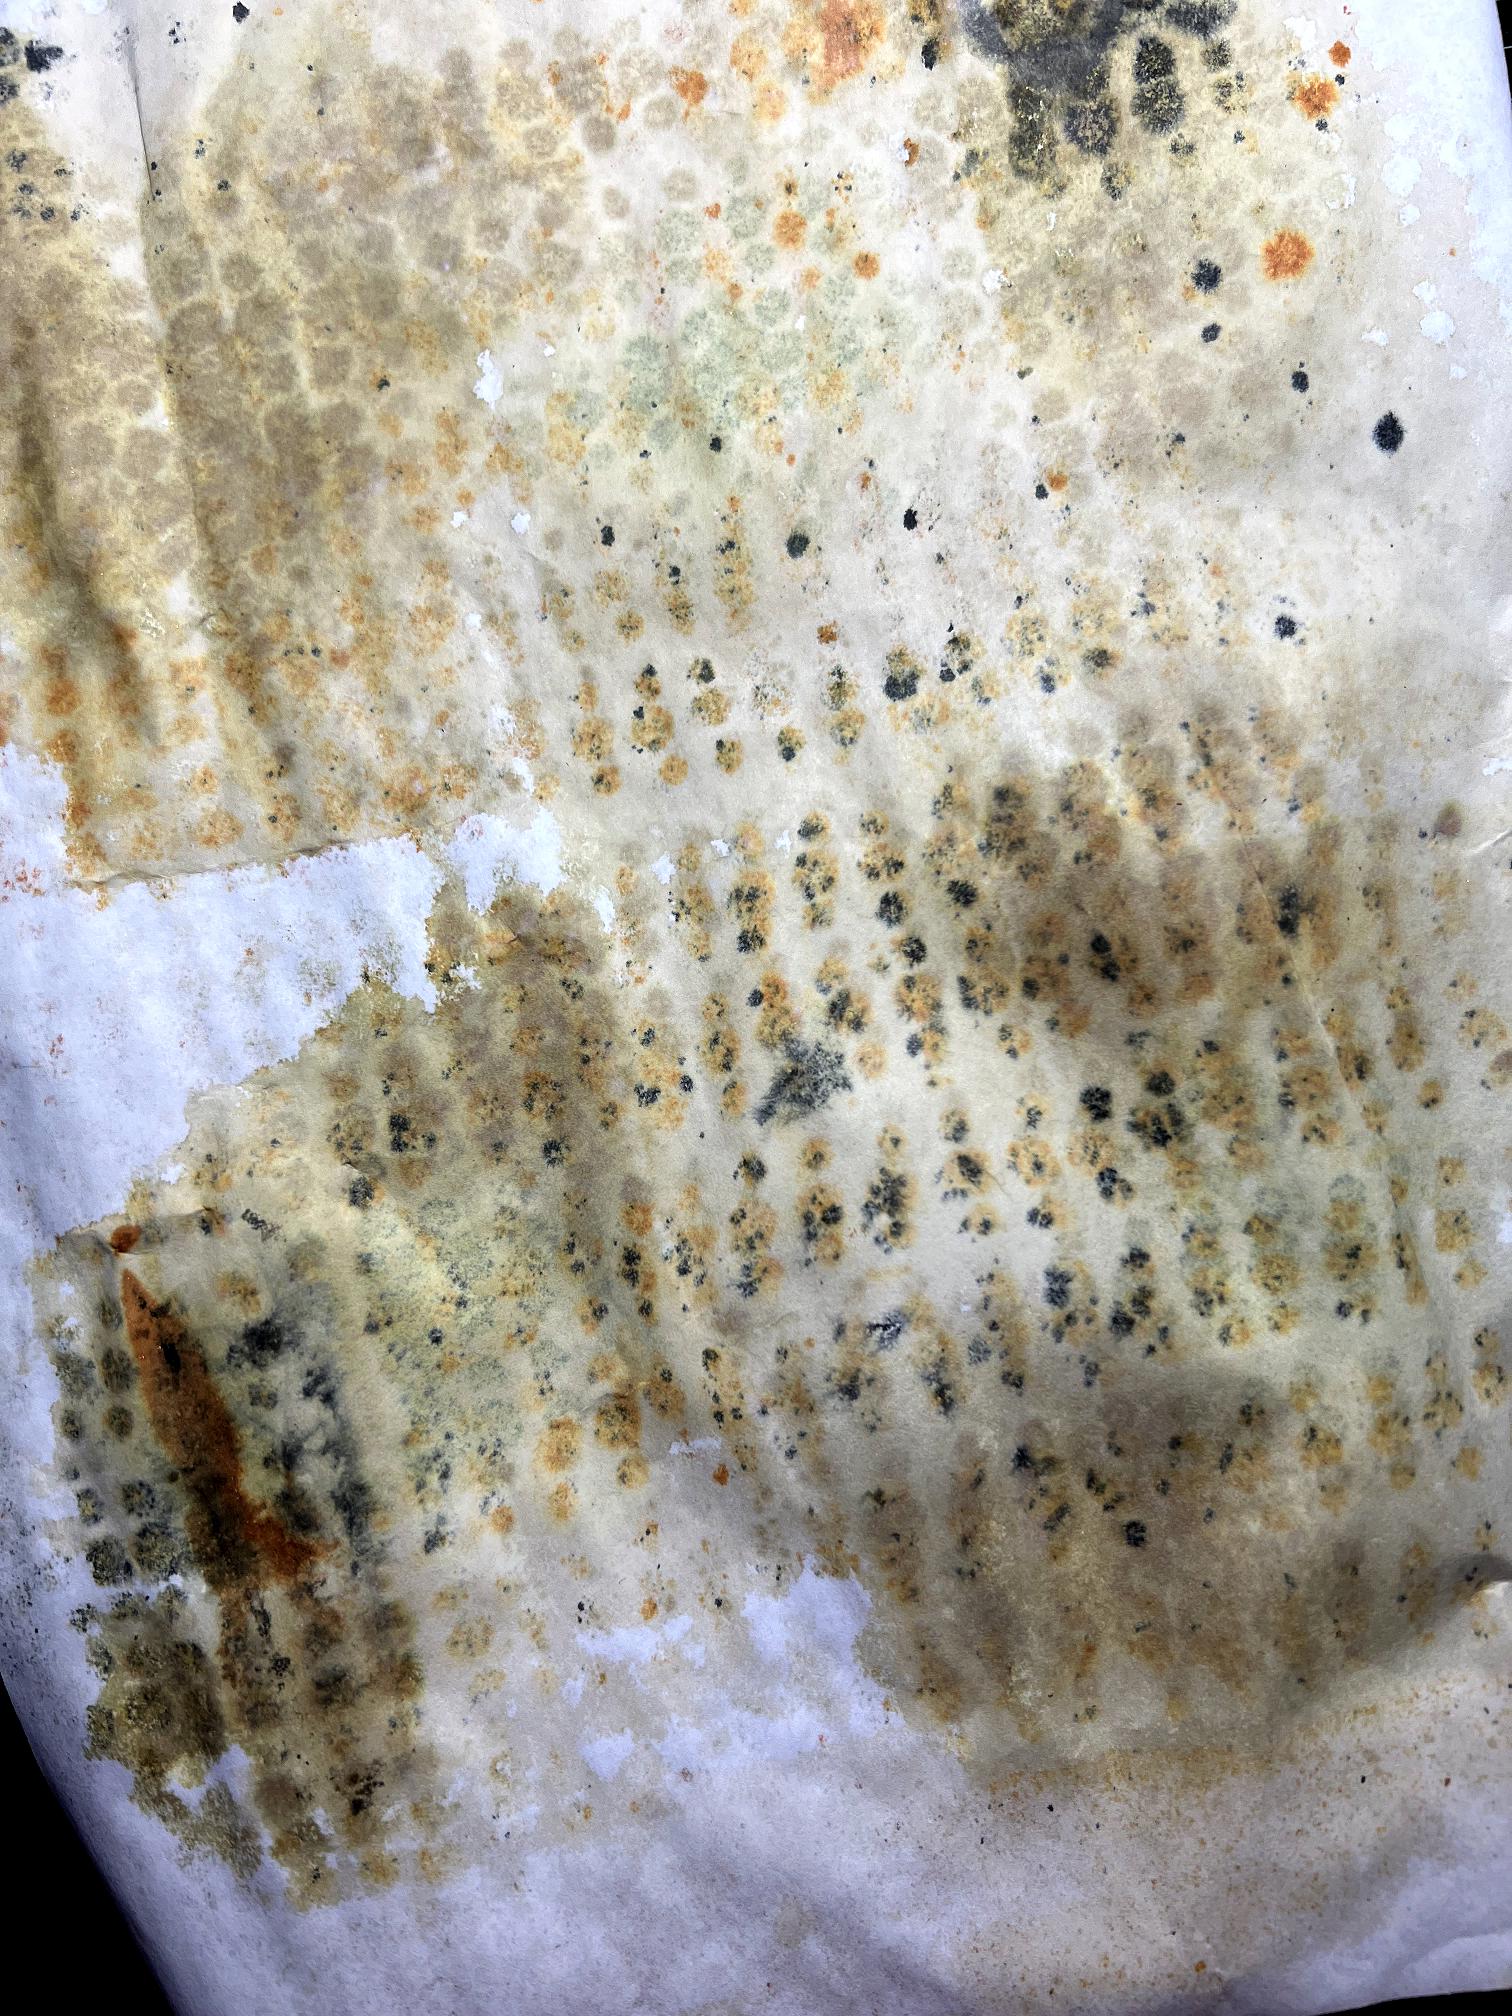
I took this sheet and sprayed it with coffee and then with the spray inks you can see in the photo, spritzing with water to help the colours move.
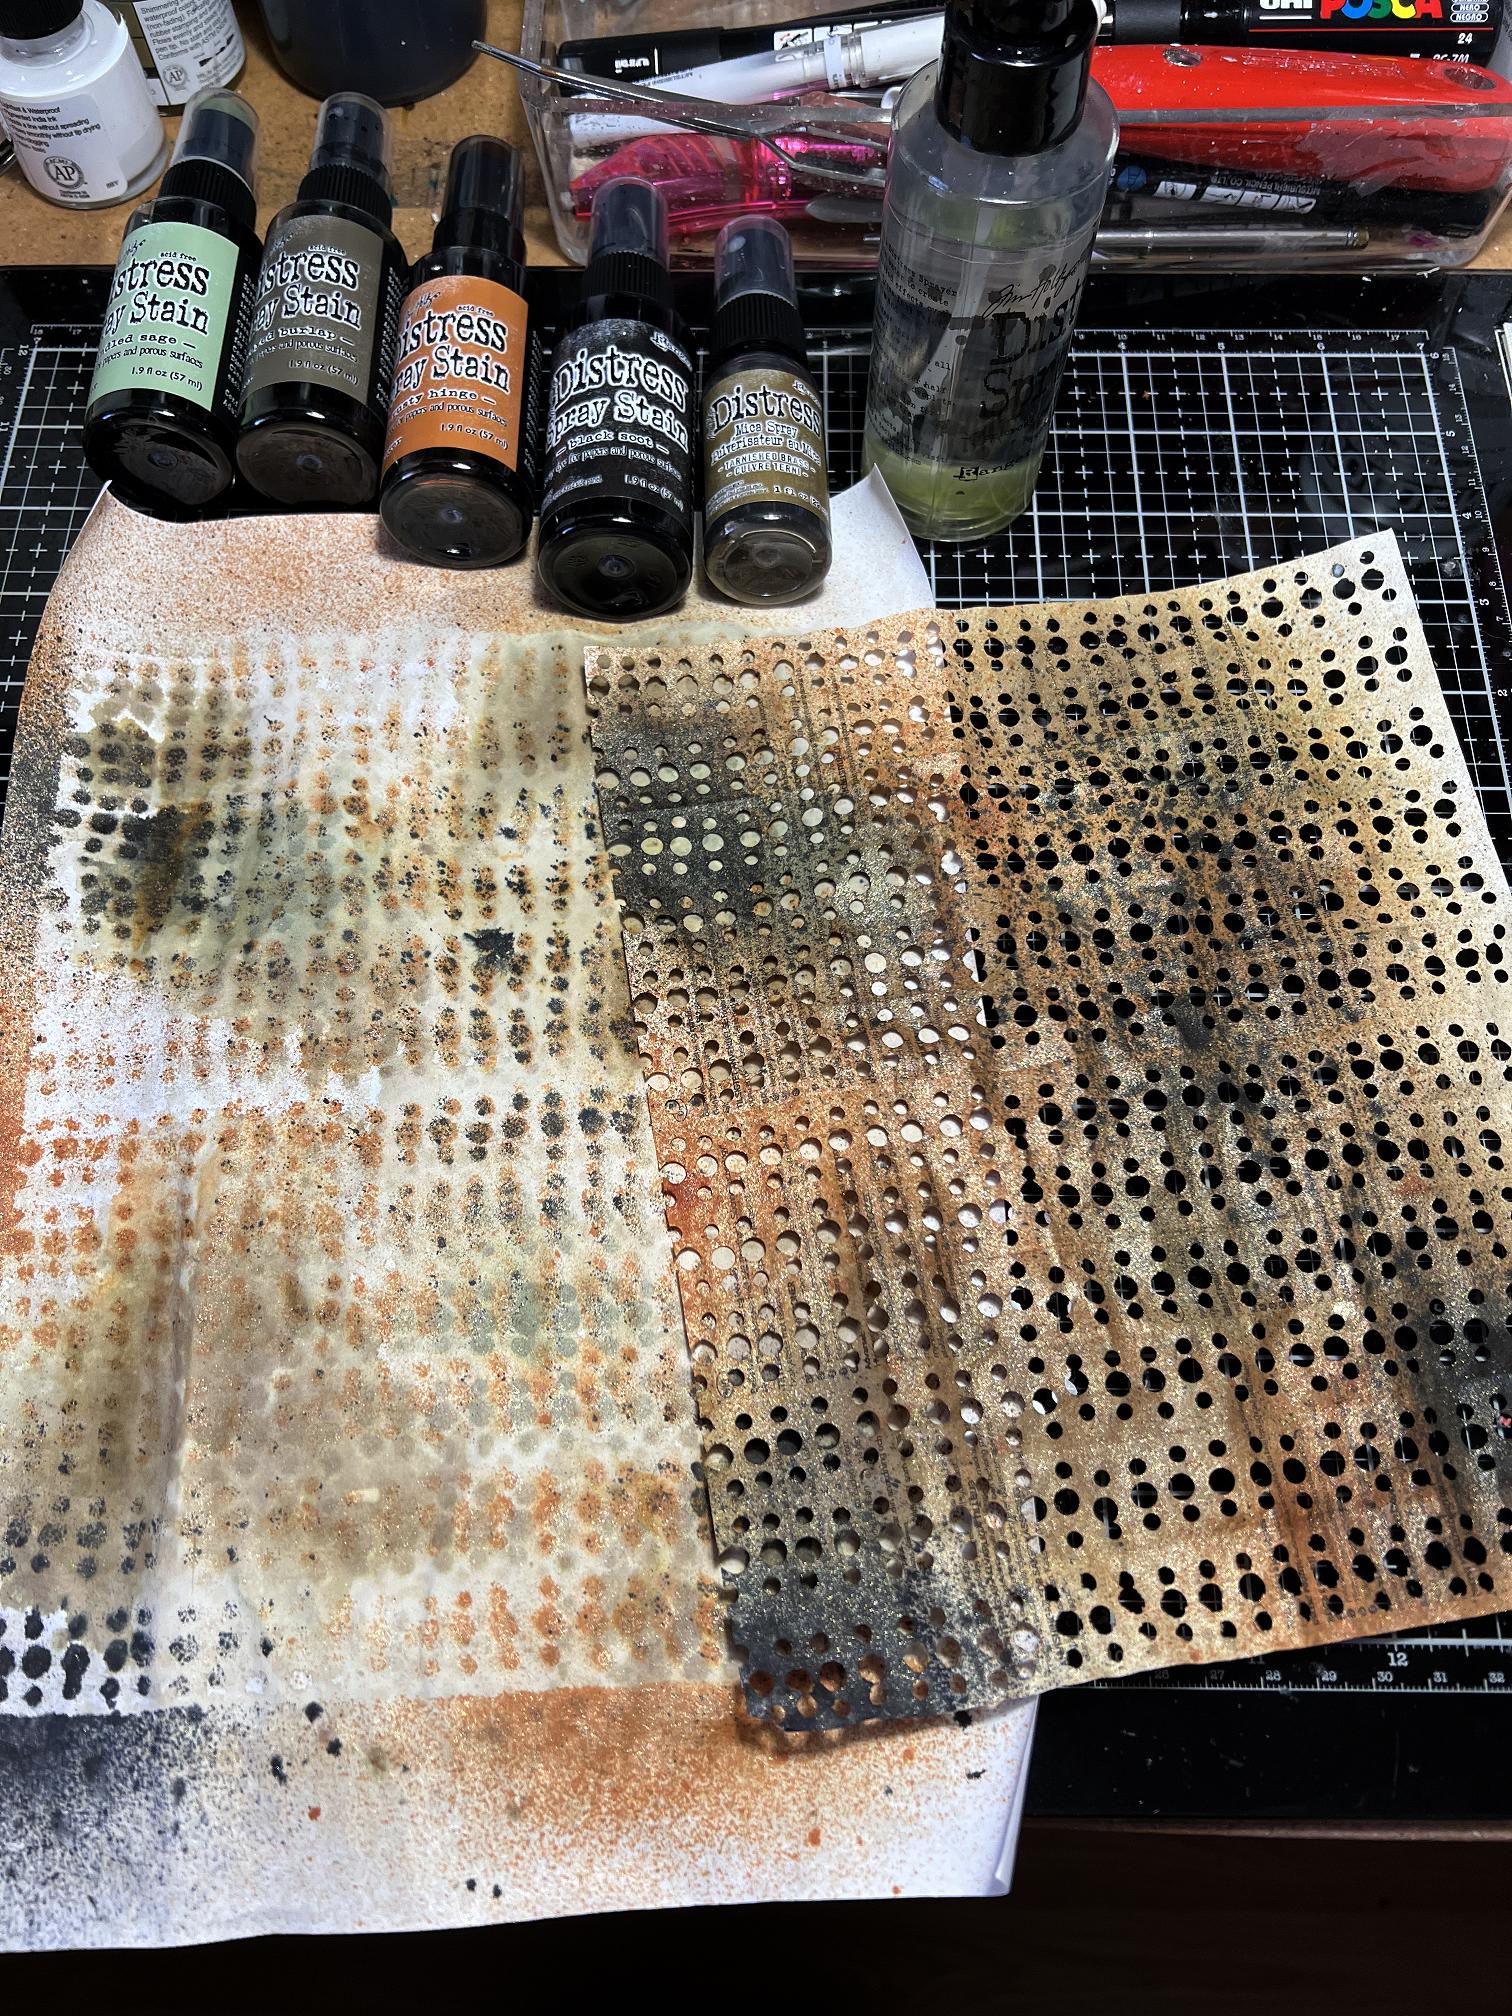
Underneath I put a piece of copy paper and you can see how this can also be used – just gorgeous!
A detail shot of the pierced paper. I like how the pattern is regular, but also not regular!
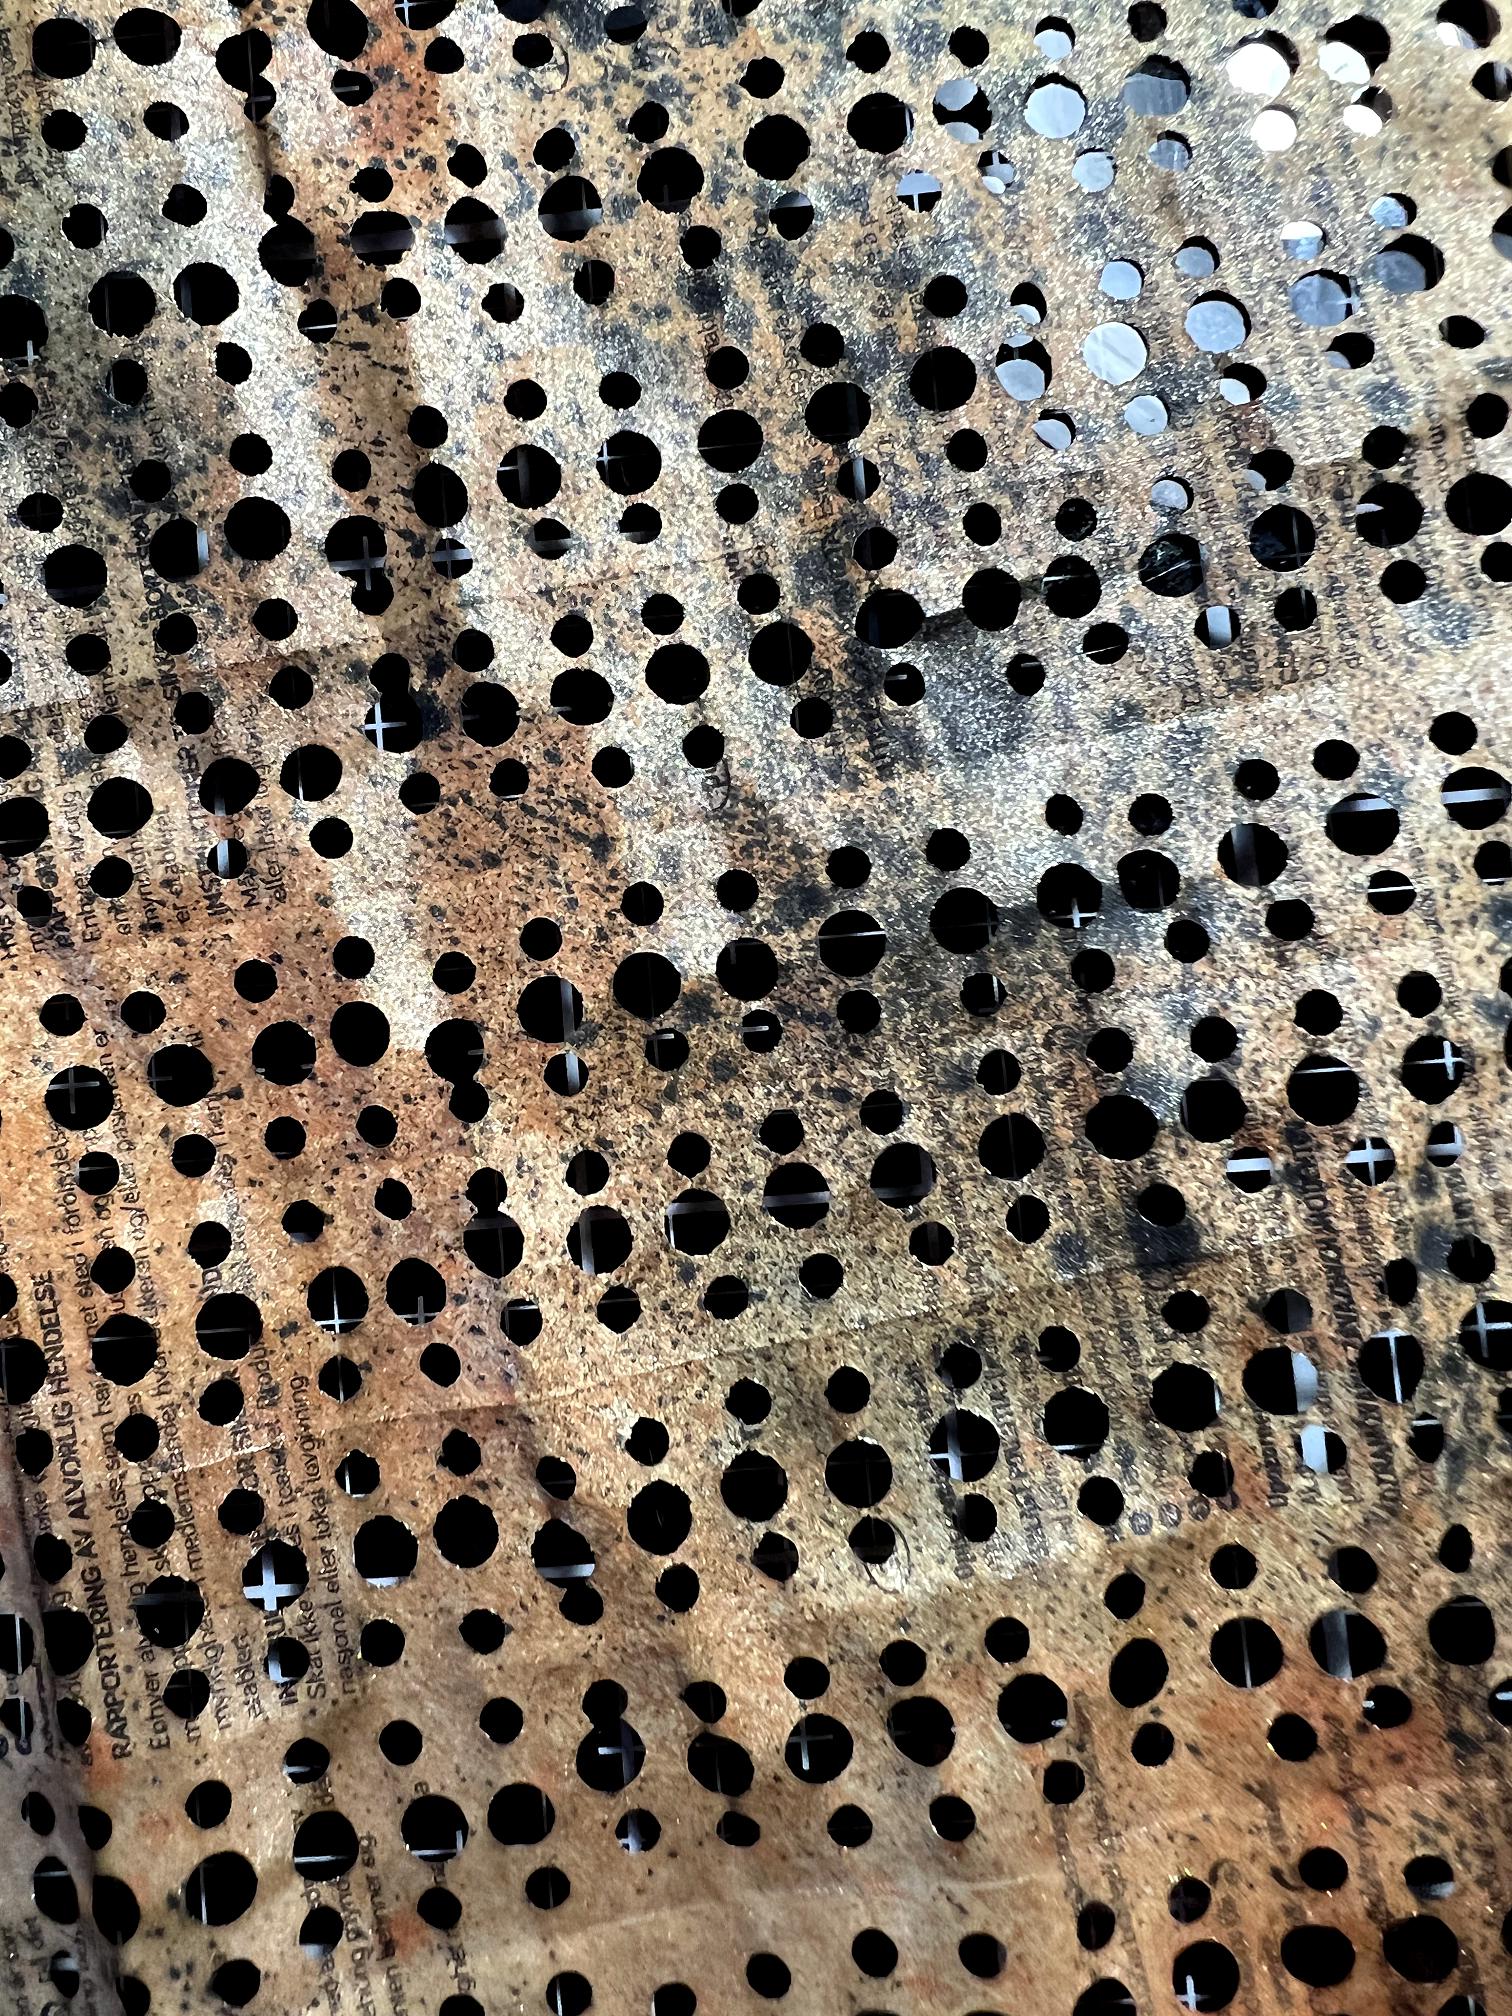
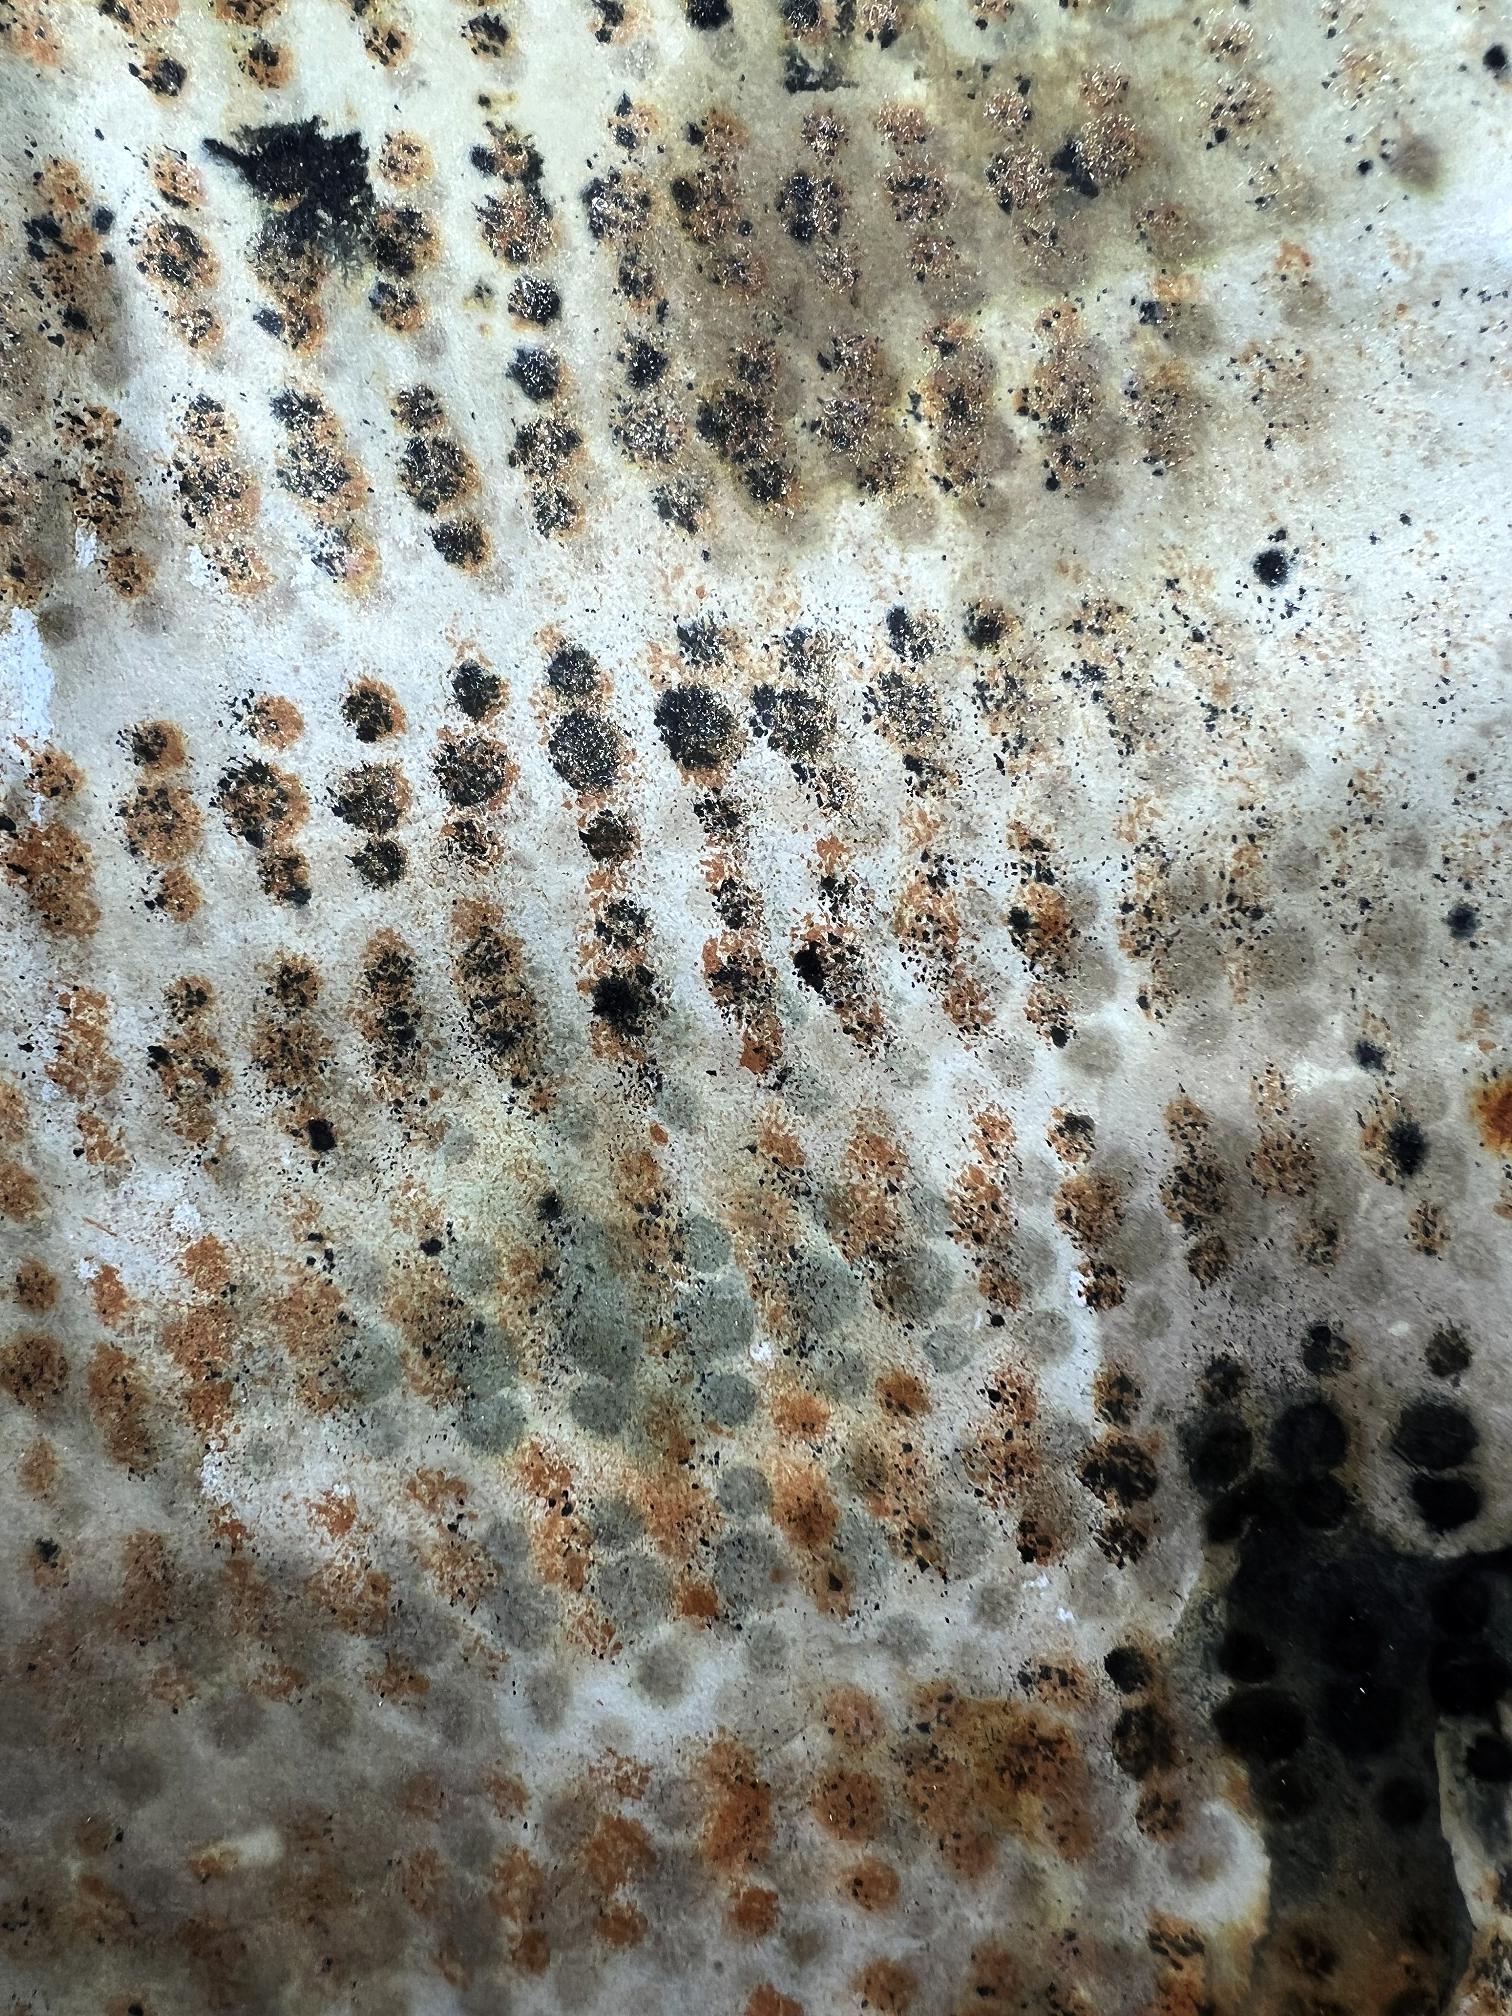
The backing sheet…
and a detail. Where the overlying paper has moved, it has created a shadow effect, making it look 3D. Cool!
I used a piece of crumpled tissue paper to mop up. It started to tear, unfortunately. I’ve always done this with either kitchen paper or a baby wipe in the past. I am going to try it with calligraphy paper which is stronger than tissue. Whatever paper I use, I always keep it and build on it until it is ready for use in projects.
Gel printing with iridescents
As you will have gathered, I am being inspired (heavily influenced?) by Robyn McClendon at the moment! A while back I saw a video where she was singing the praises of some new Arteza iridescent and metallic paints. I bought the boxed set of small tubes of the metallics:
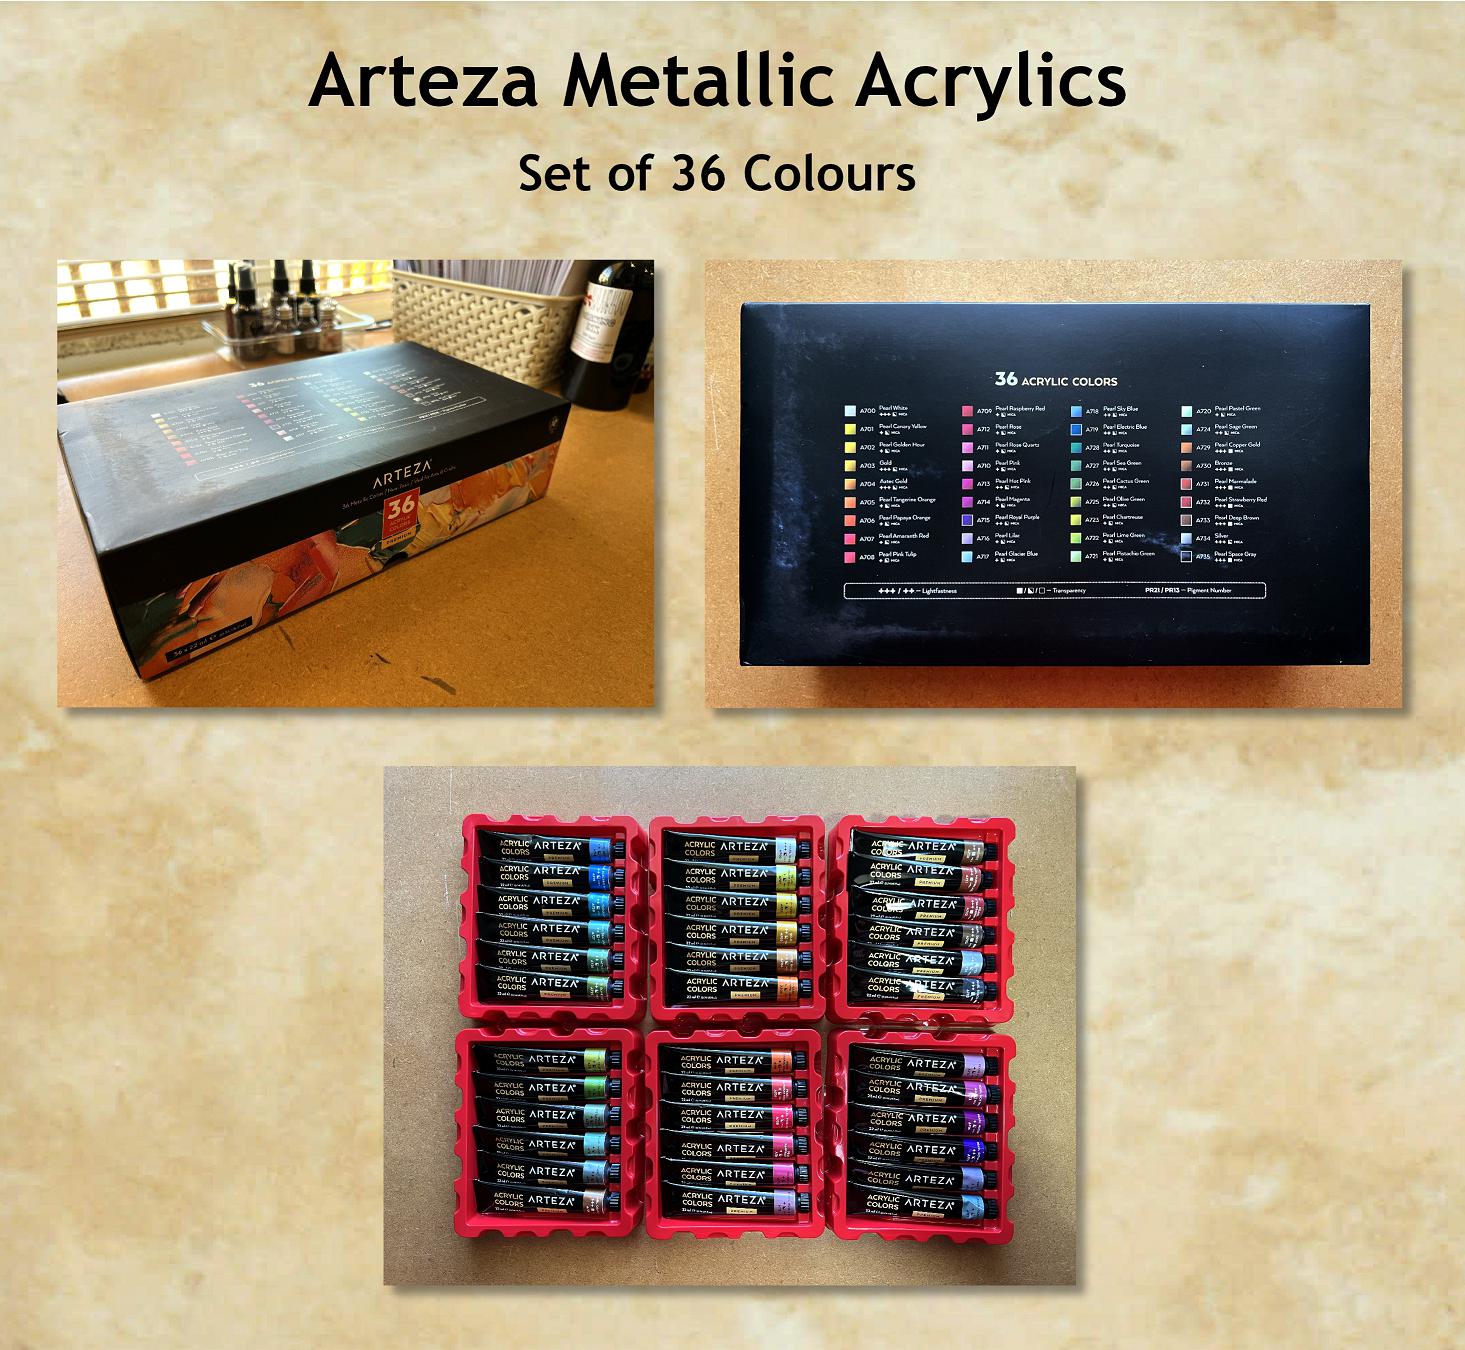
which I haven’t tried yet, and also their Playful Pink, Pearl Banana Yellow and Fancy Black. For today’s project I have used the latter two colours which are stunning together.
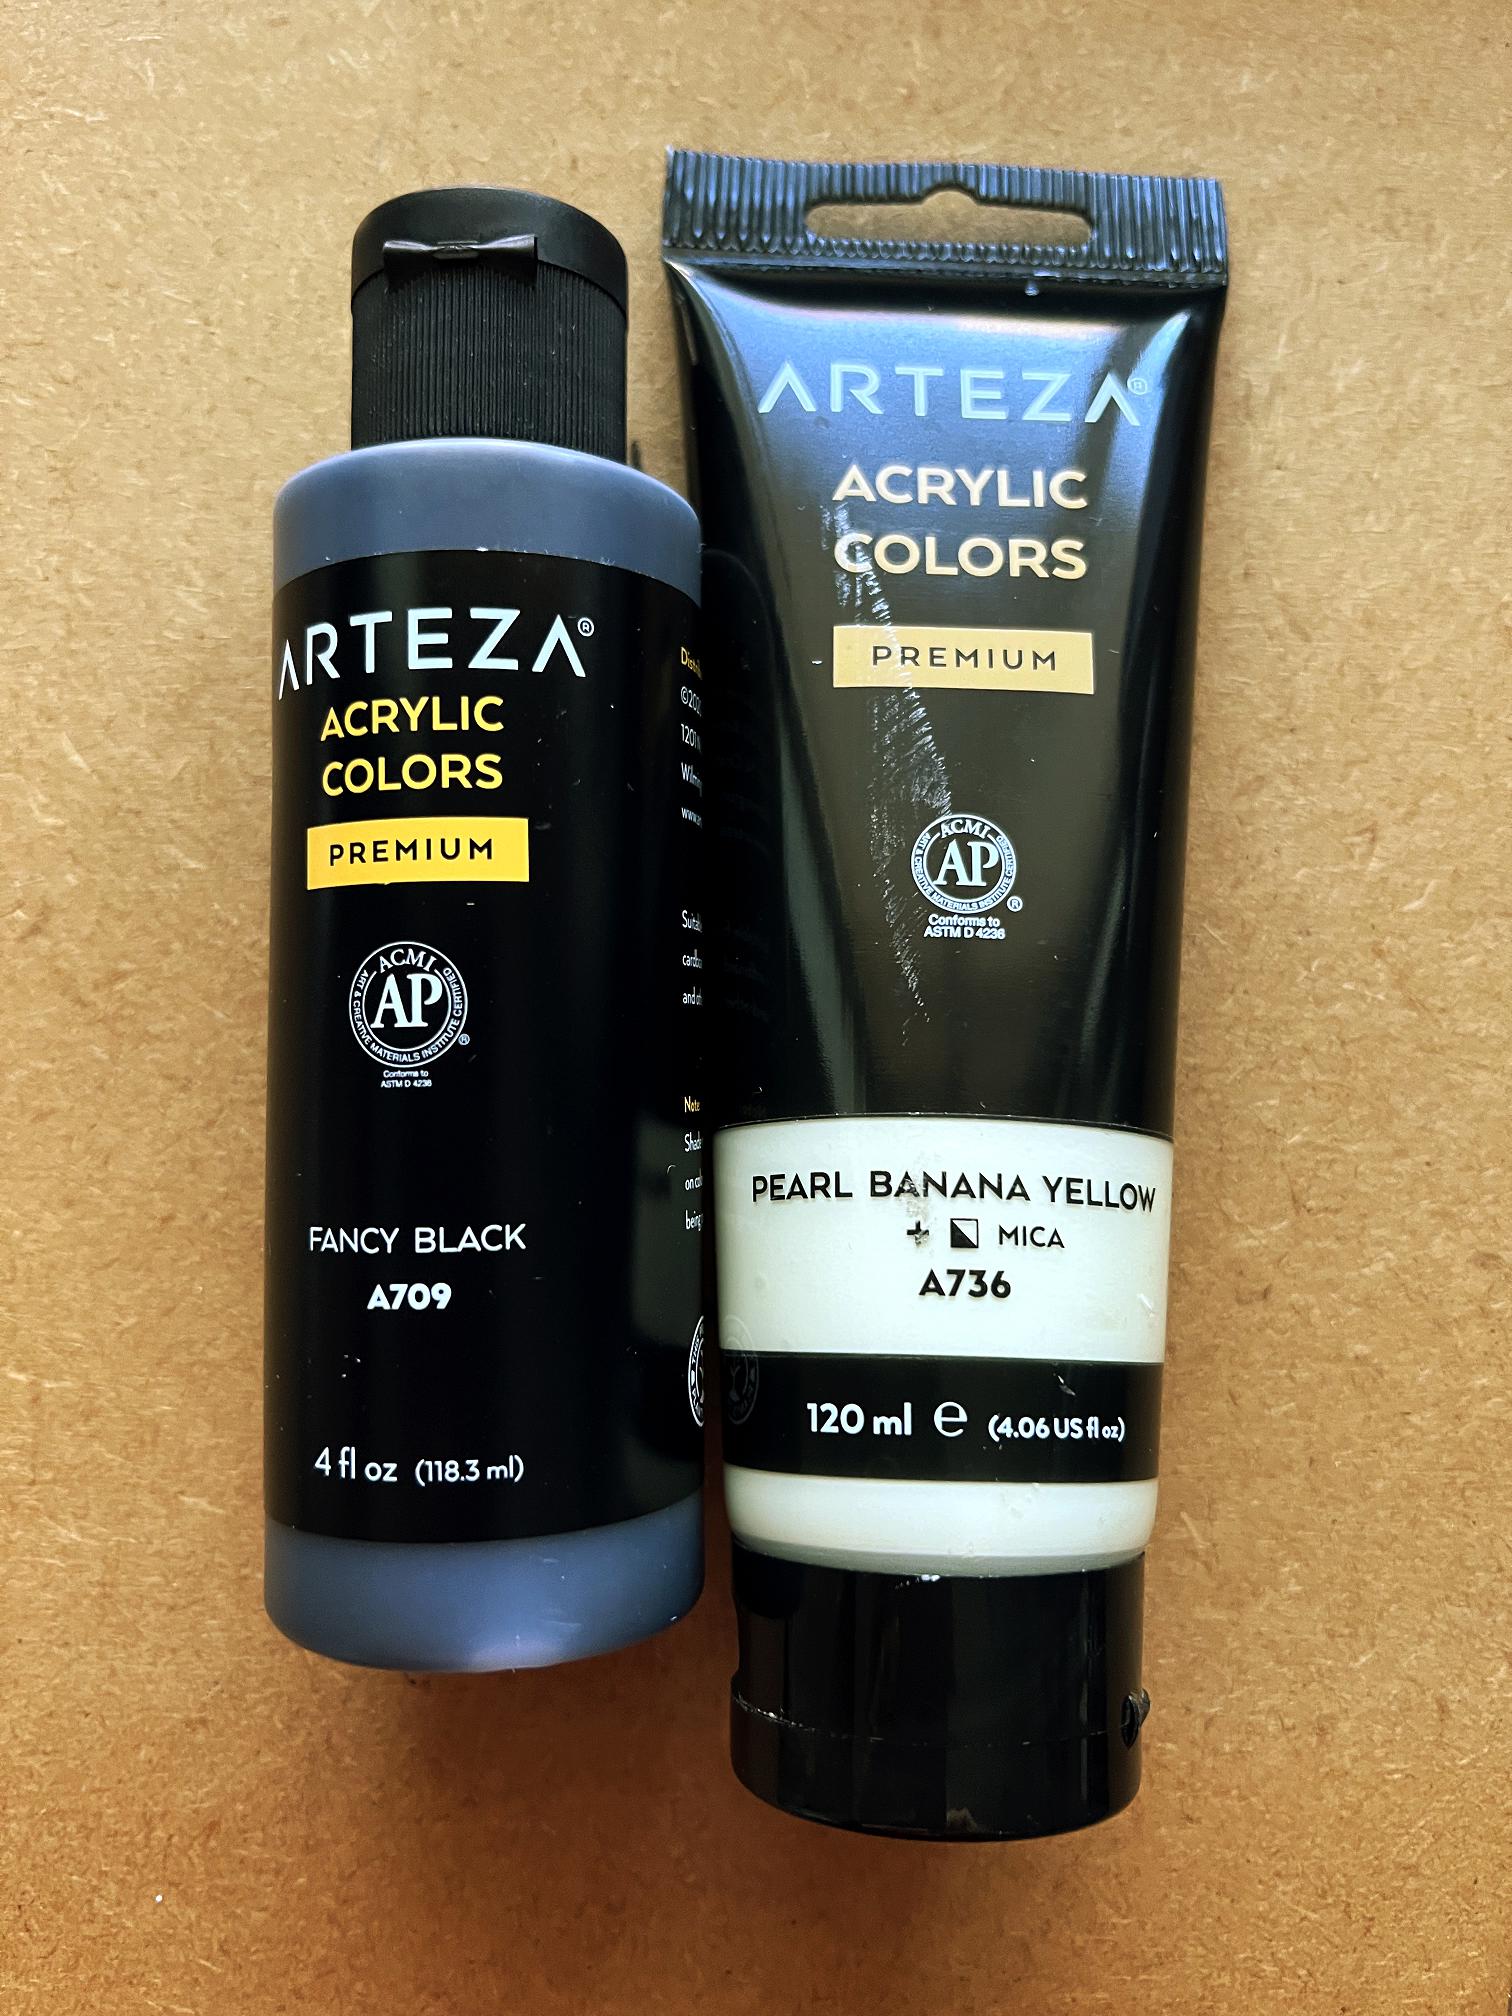
Both are iridescent. The Pearl Banana Yellow is a gorgeous cream colour (very warm) and the Fancy Black has definite brown tones to it, especially when thinly spread. They complement each other perfectly. I’ll call them black and cream for the rest of this post.
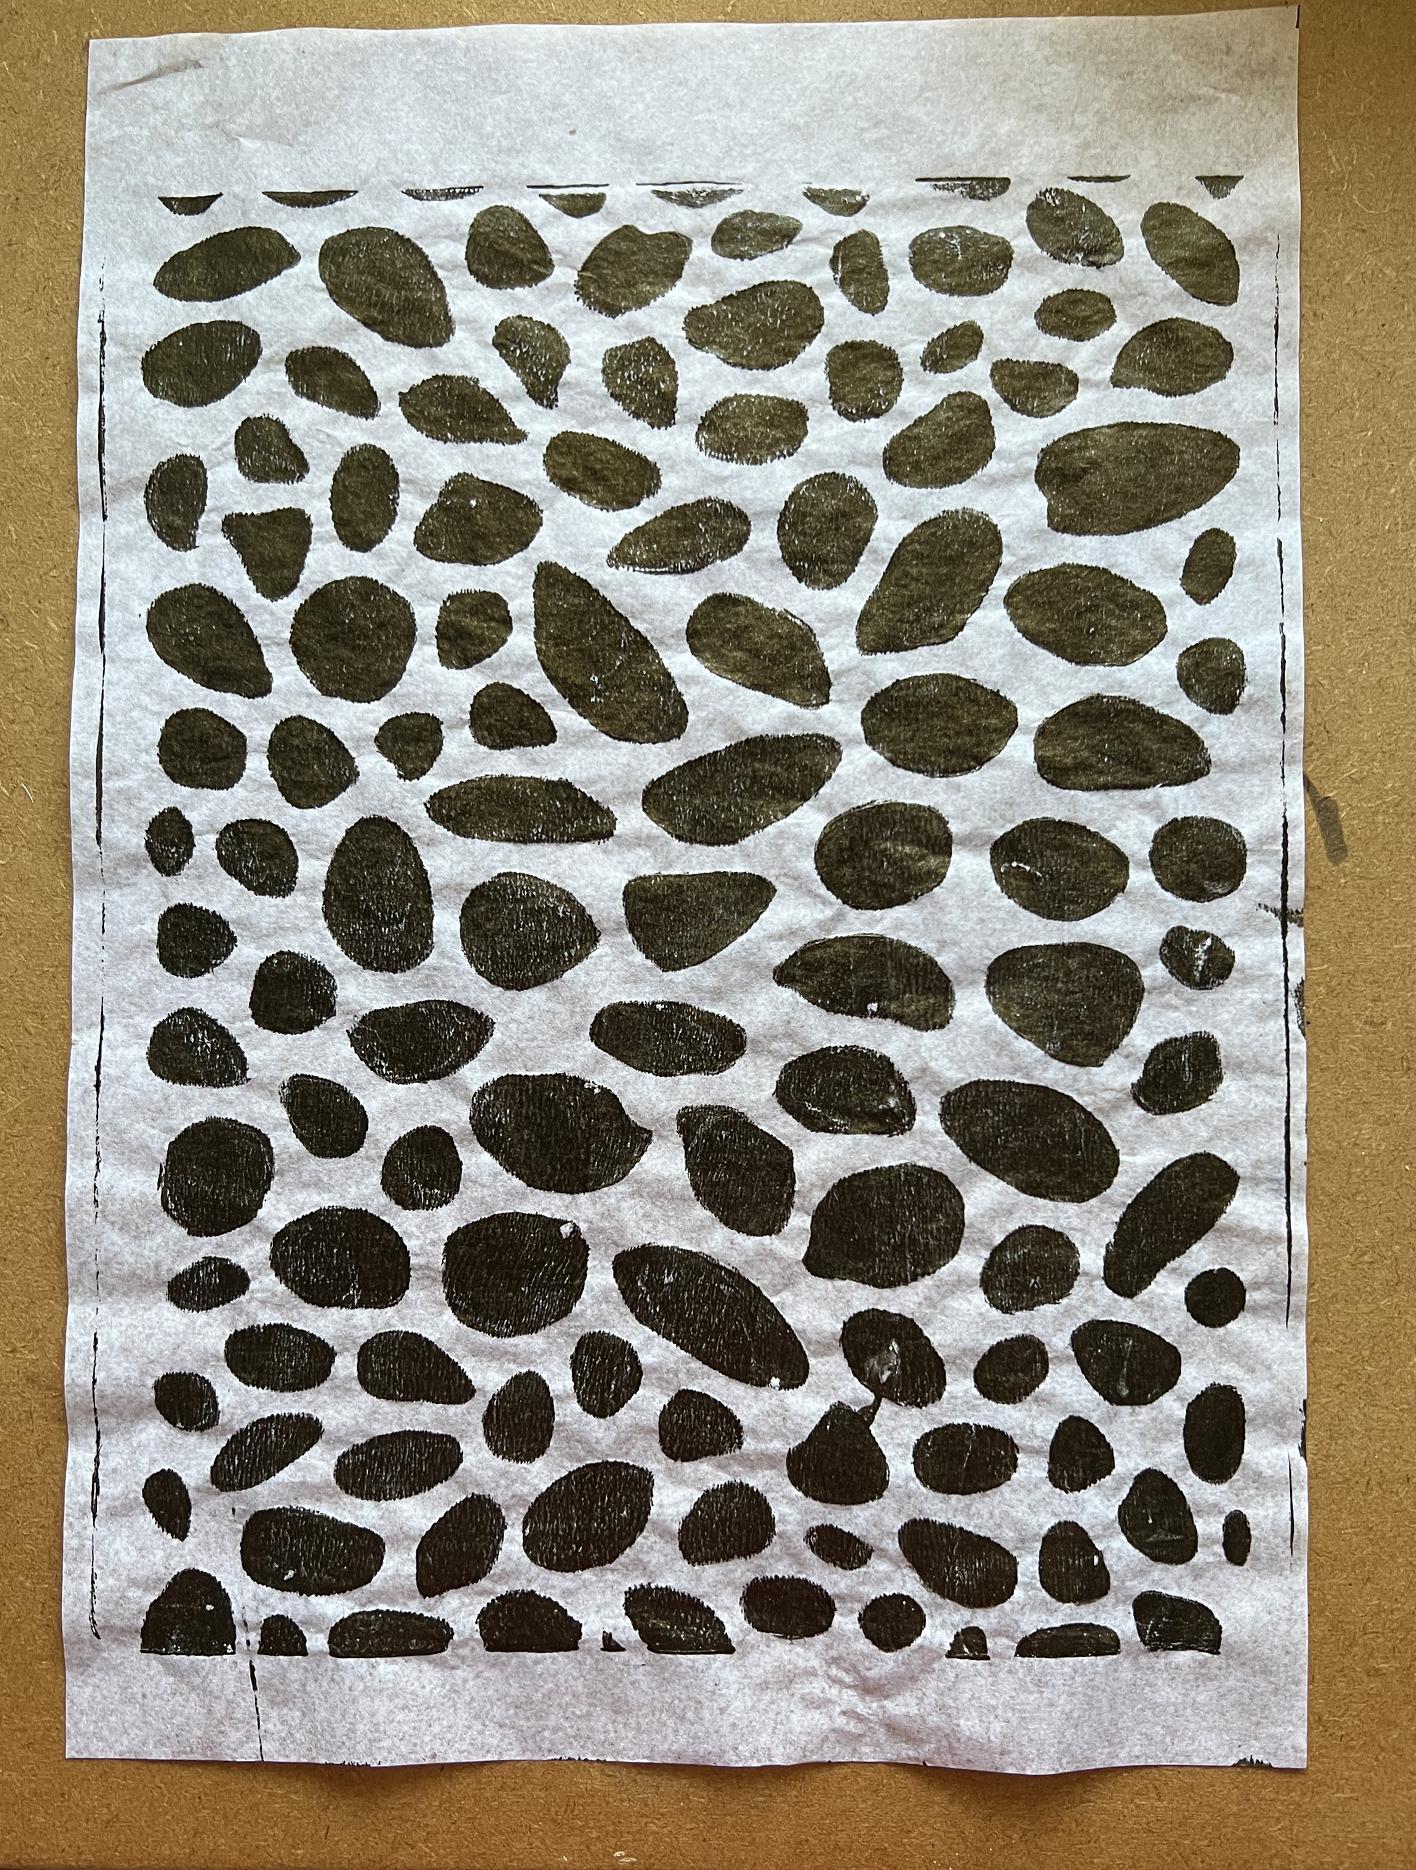
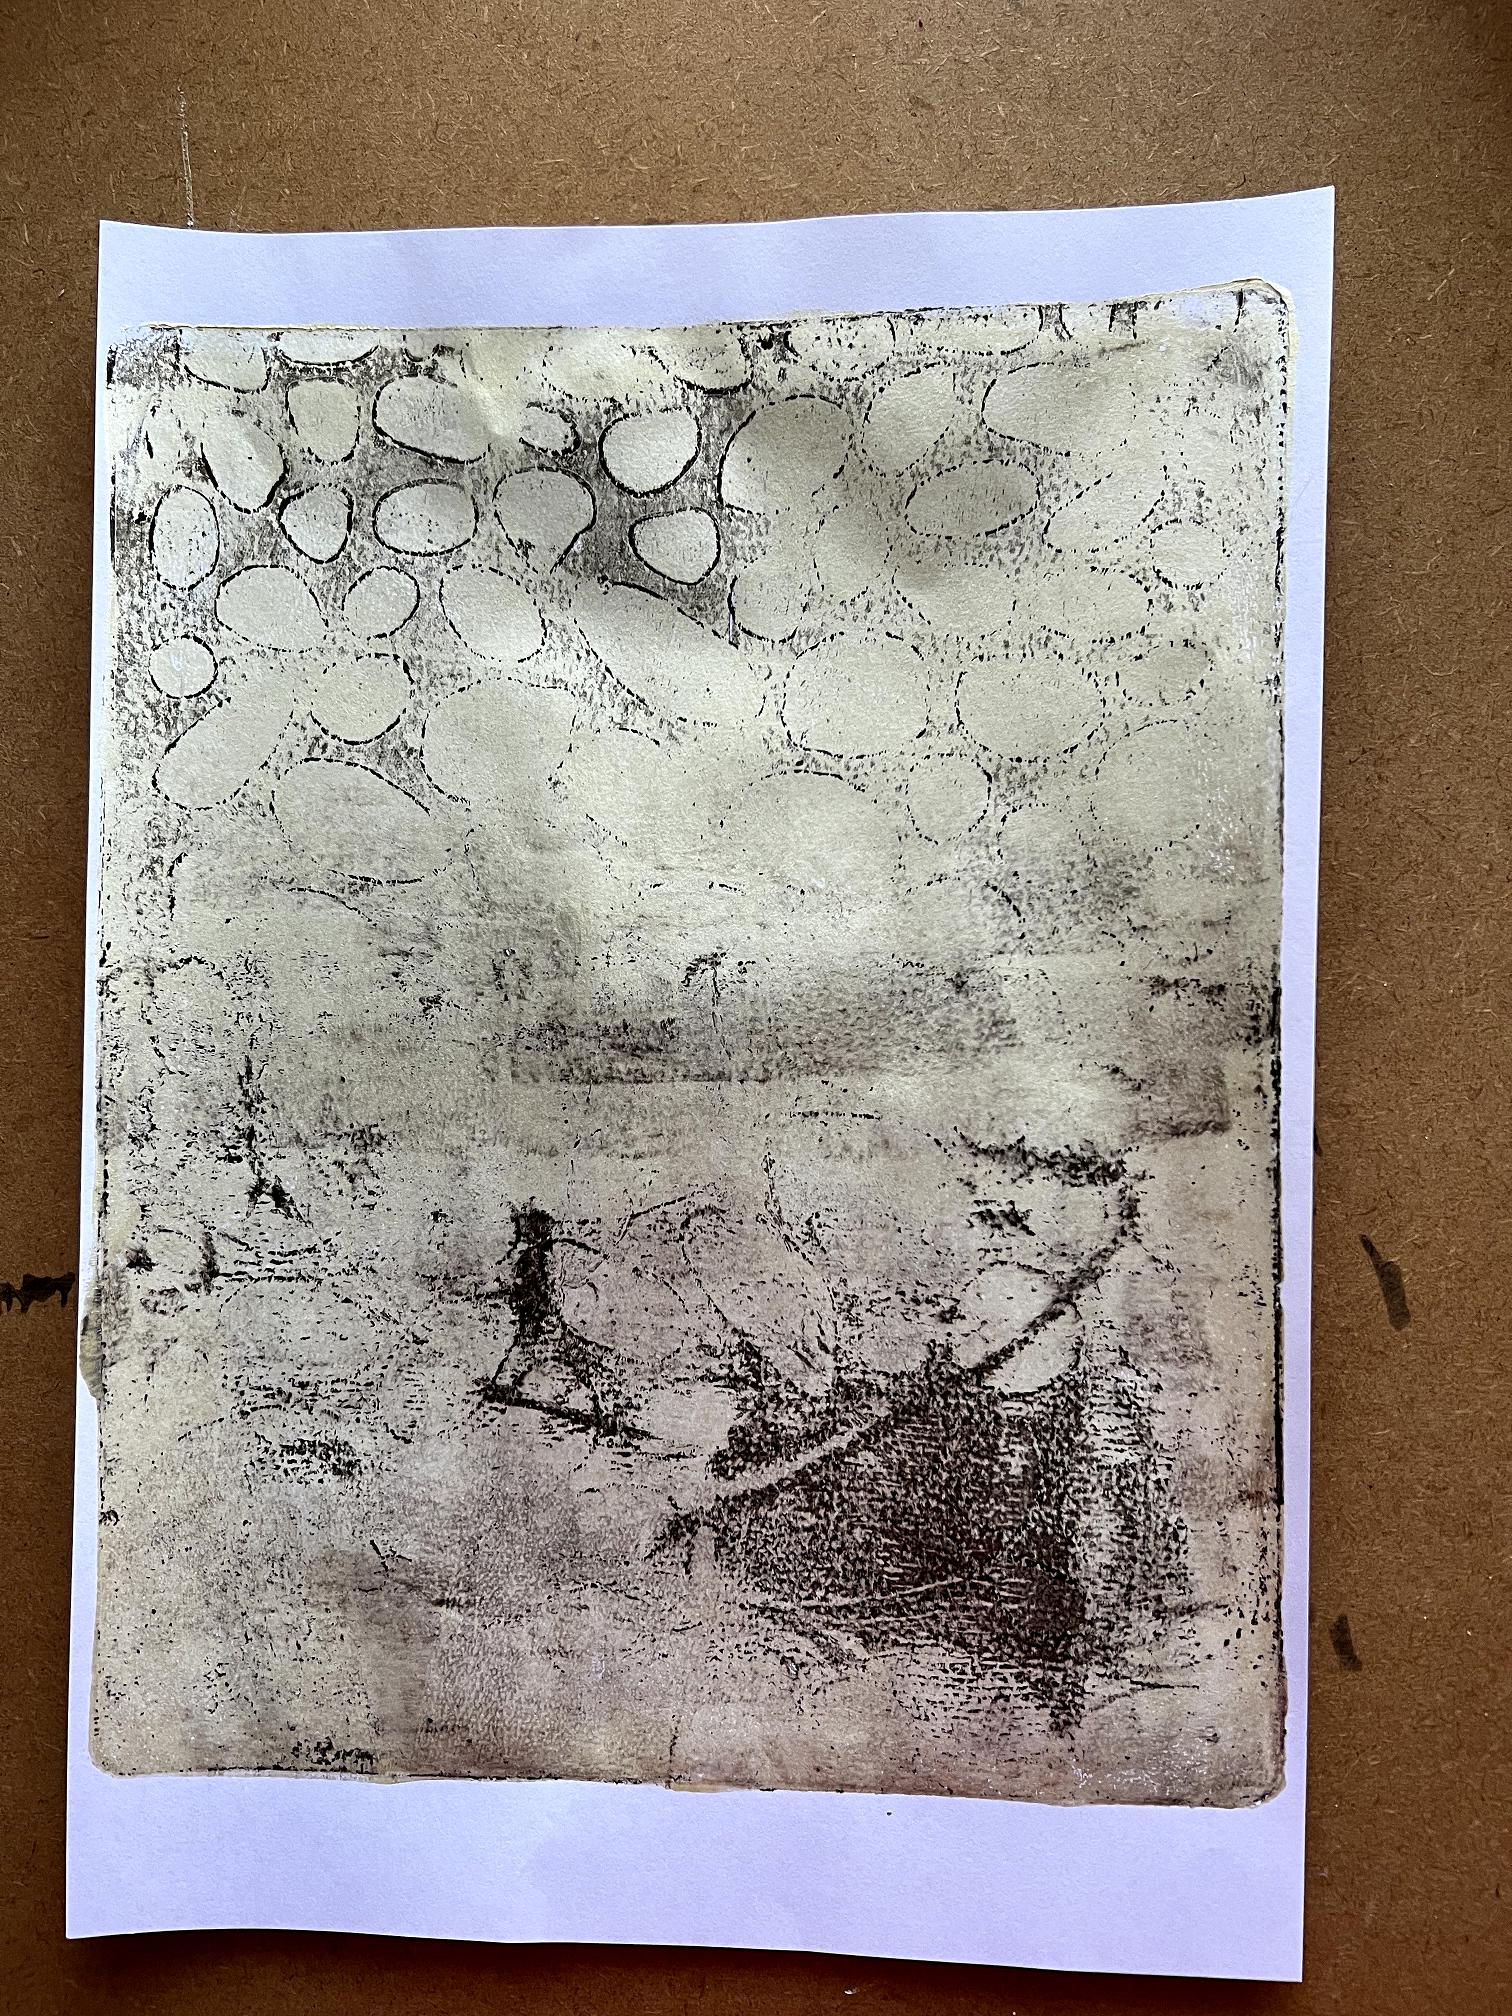
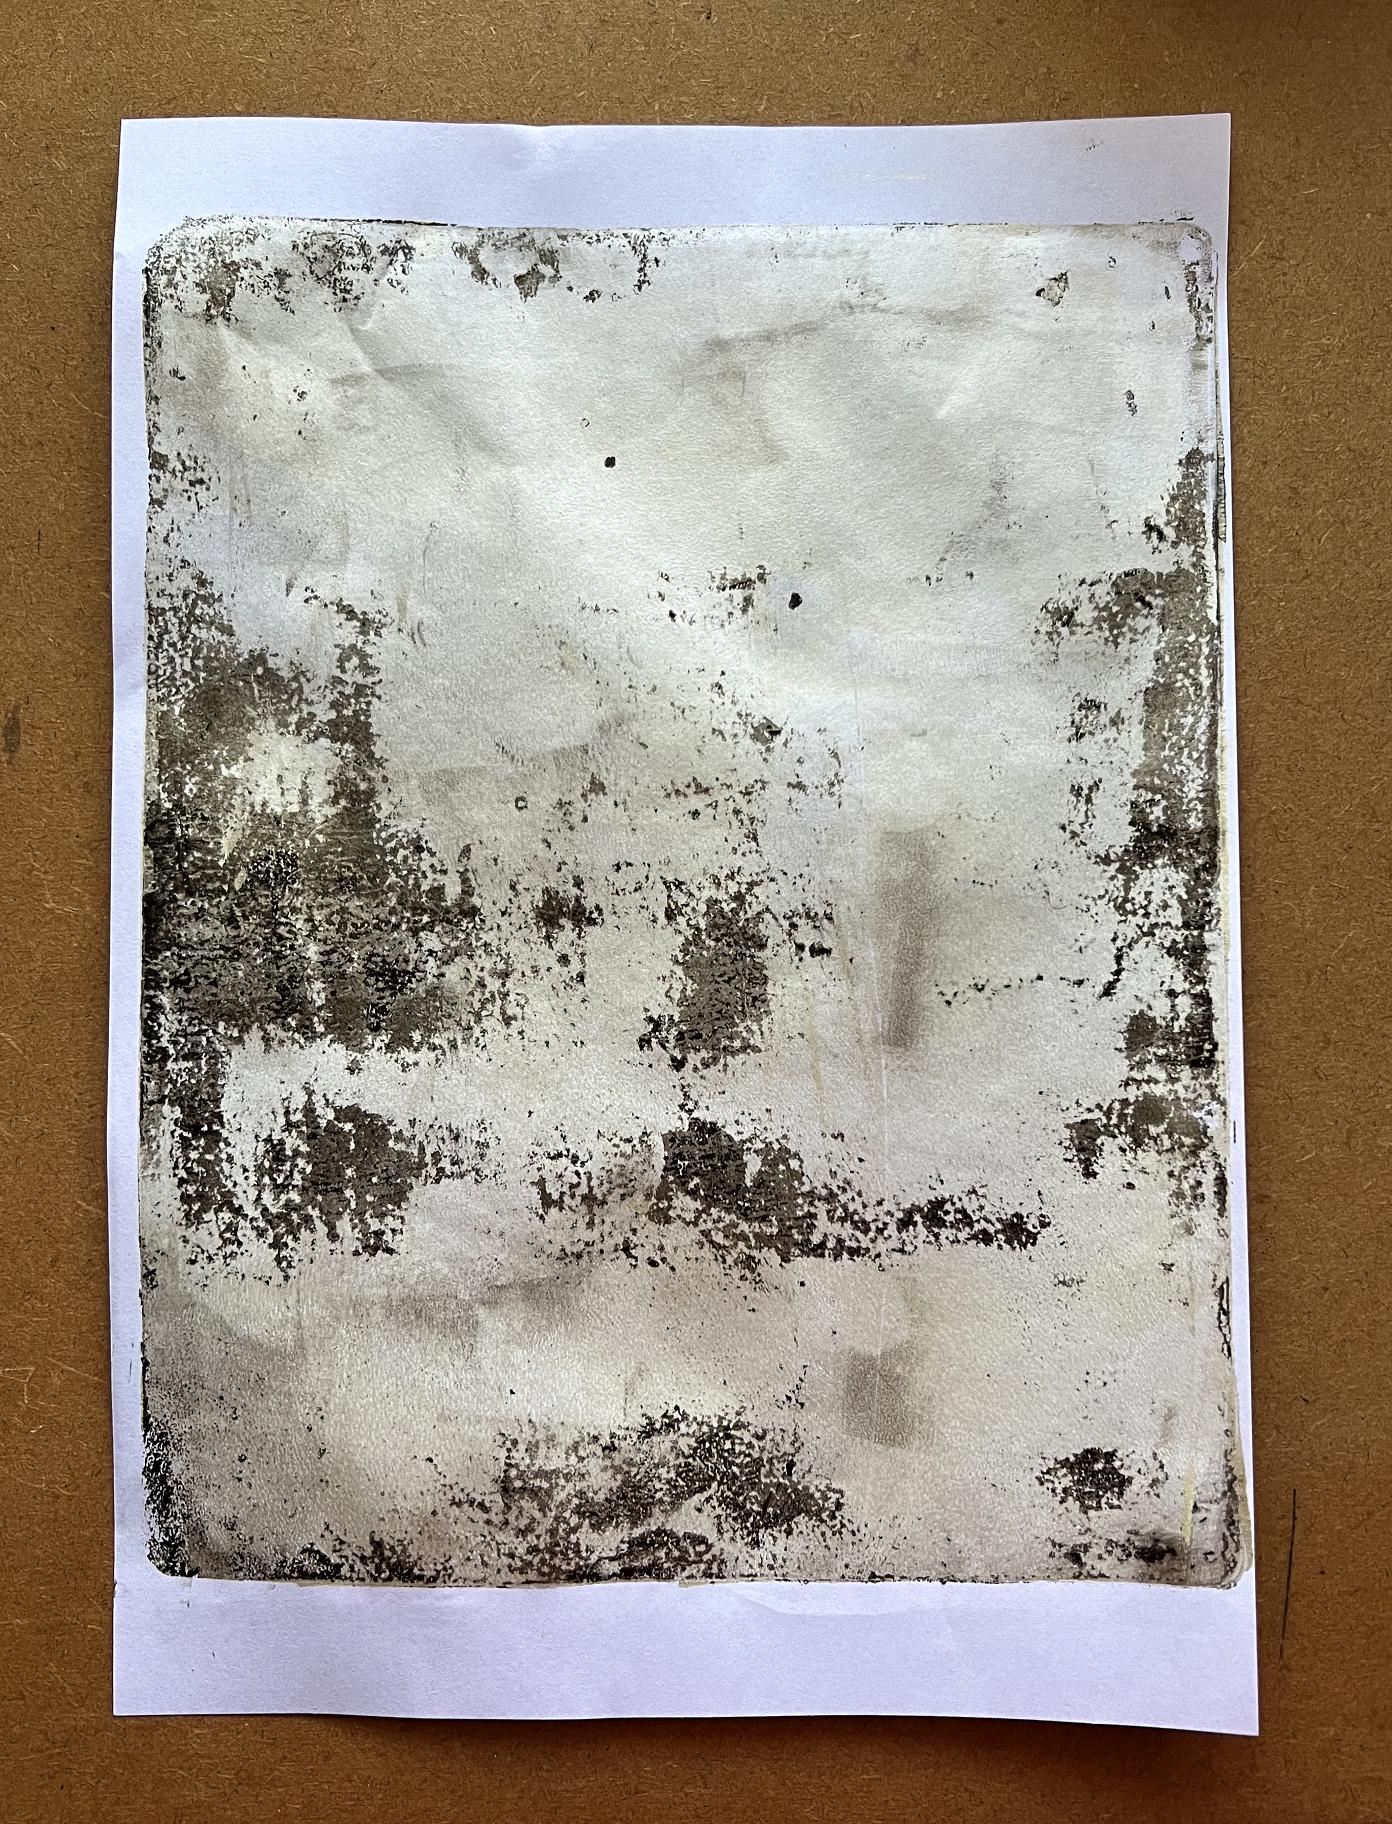
Today I used a couple of my new stencils which I hadn’t used before. The first was my Pebbles stencil. This first pull was from laying the stencil onto the gel plate which had been covered completely with the black. I used the tissue paper to remove the colour from the holes in the stencil.
I overlaid the remaining paint with an ombre effect of black and cream and pulled a print with tissue paper. Total disaster! The whole thing ripped. I can probably use some of it.
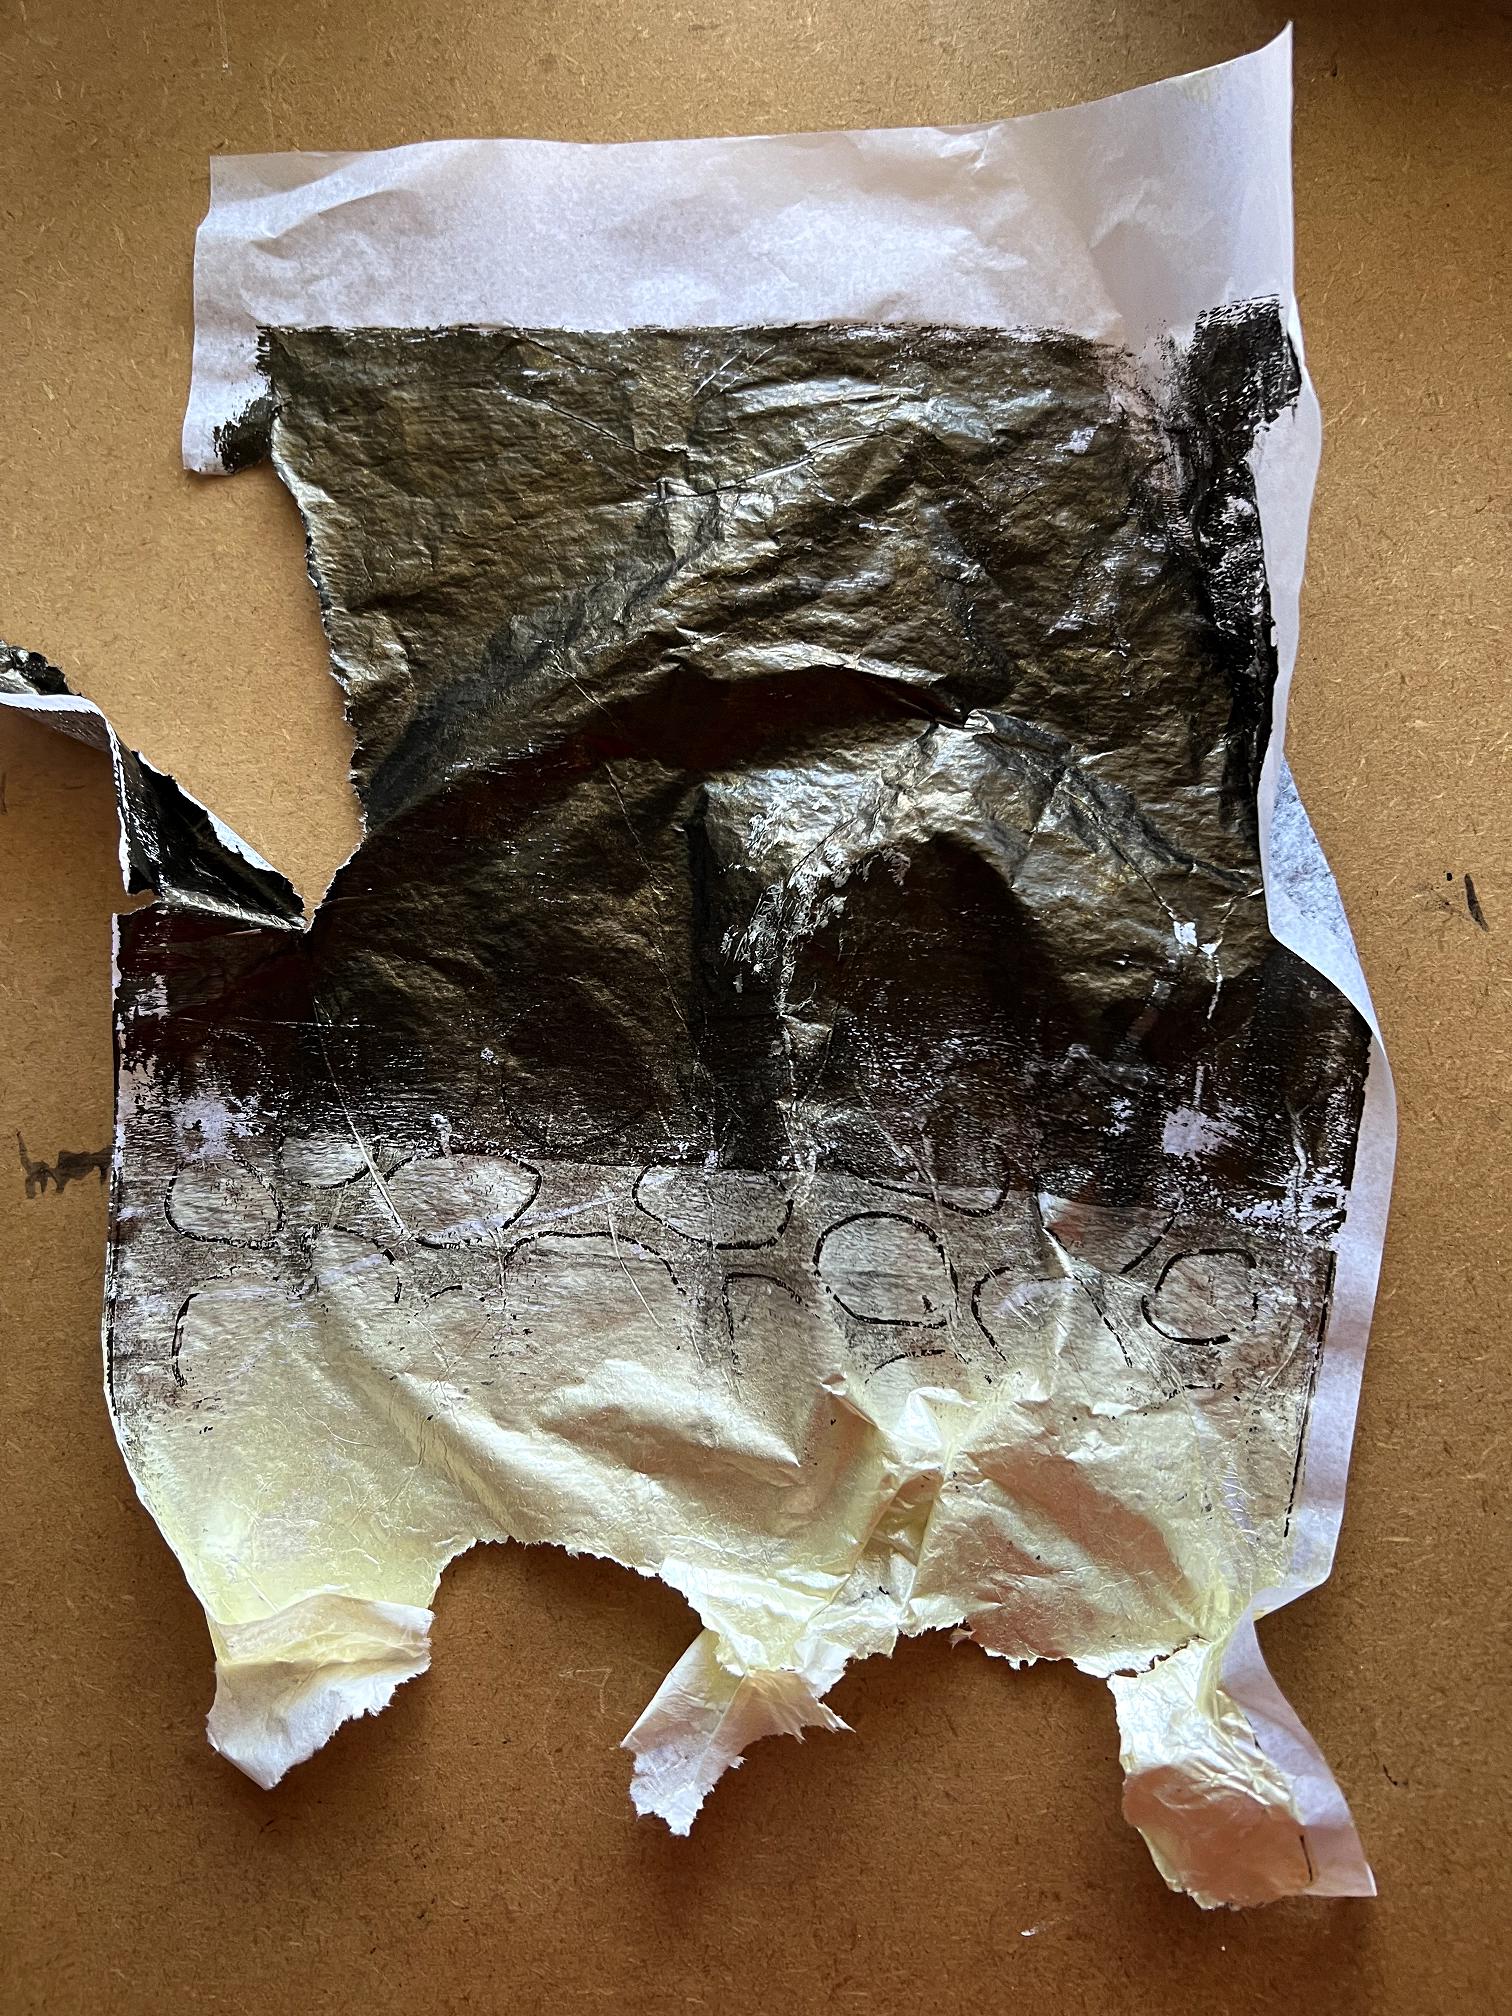
I love the pebbles patern at the junction of the two colours.
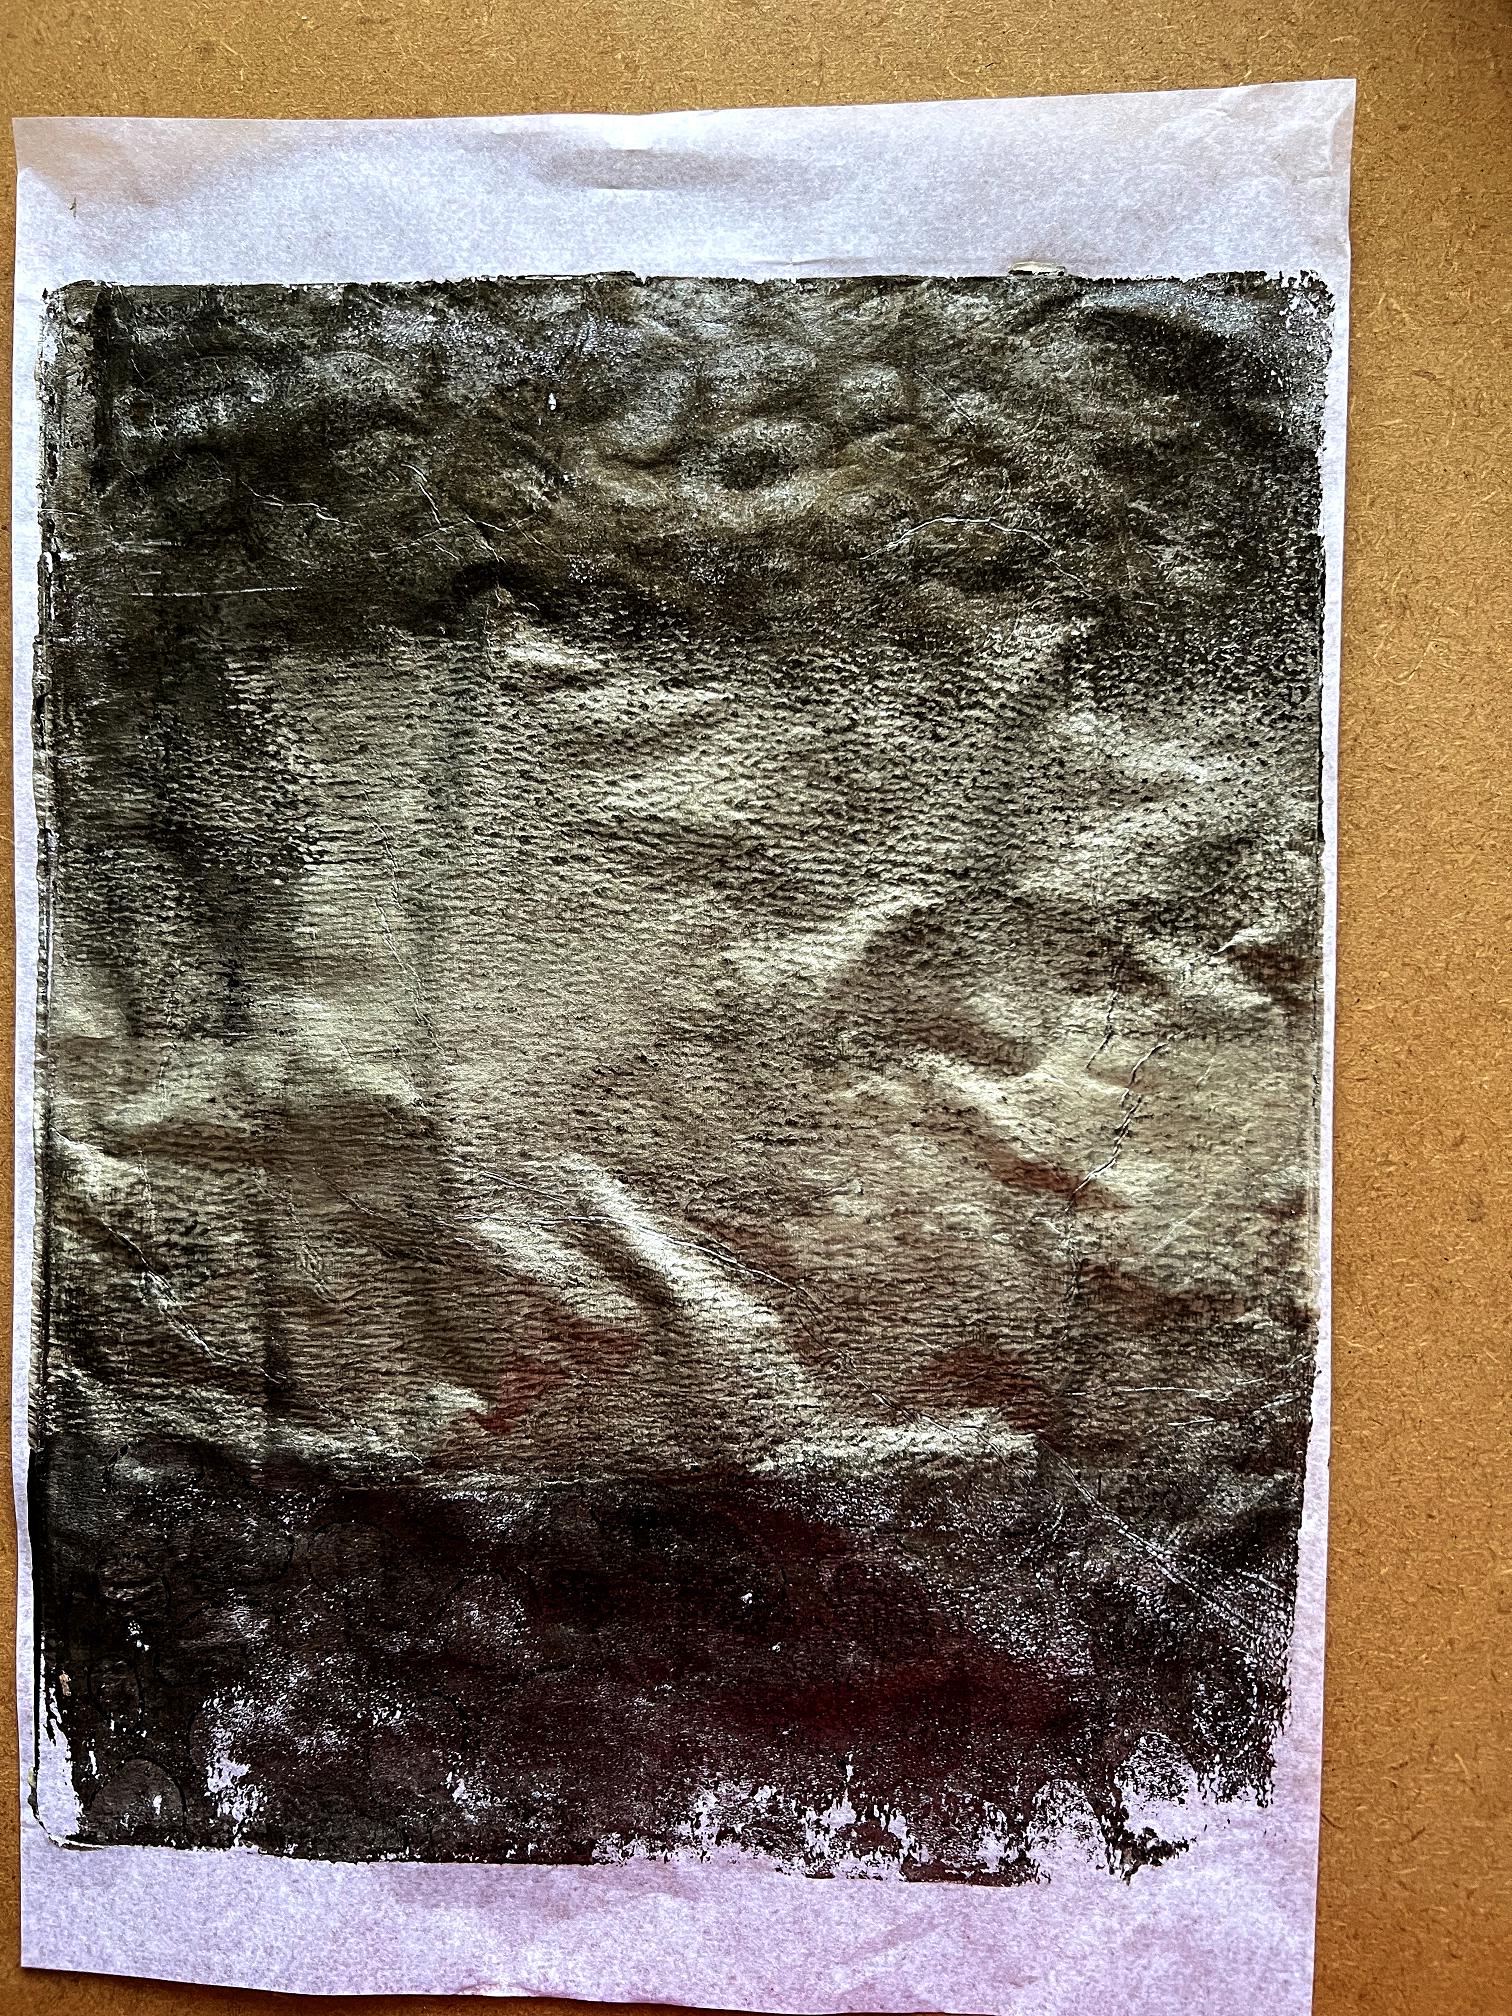
Brayering on more cream and black (without over-cleaning the brayer) and pulling a fairly plain backgound. You can just see the pebble outlines on the upper half.
Another attempt with the stencil, this time using the cream. You can see how iridescent this paint is.

Ghost print. I love this one! Very subtle.
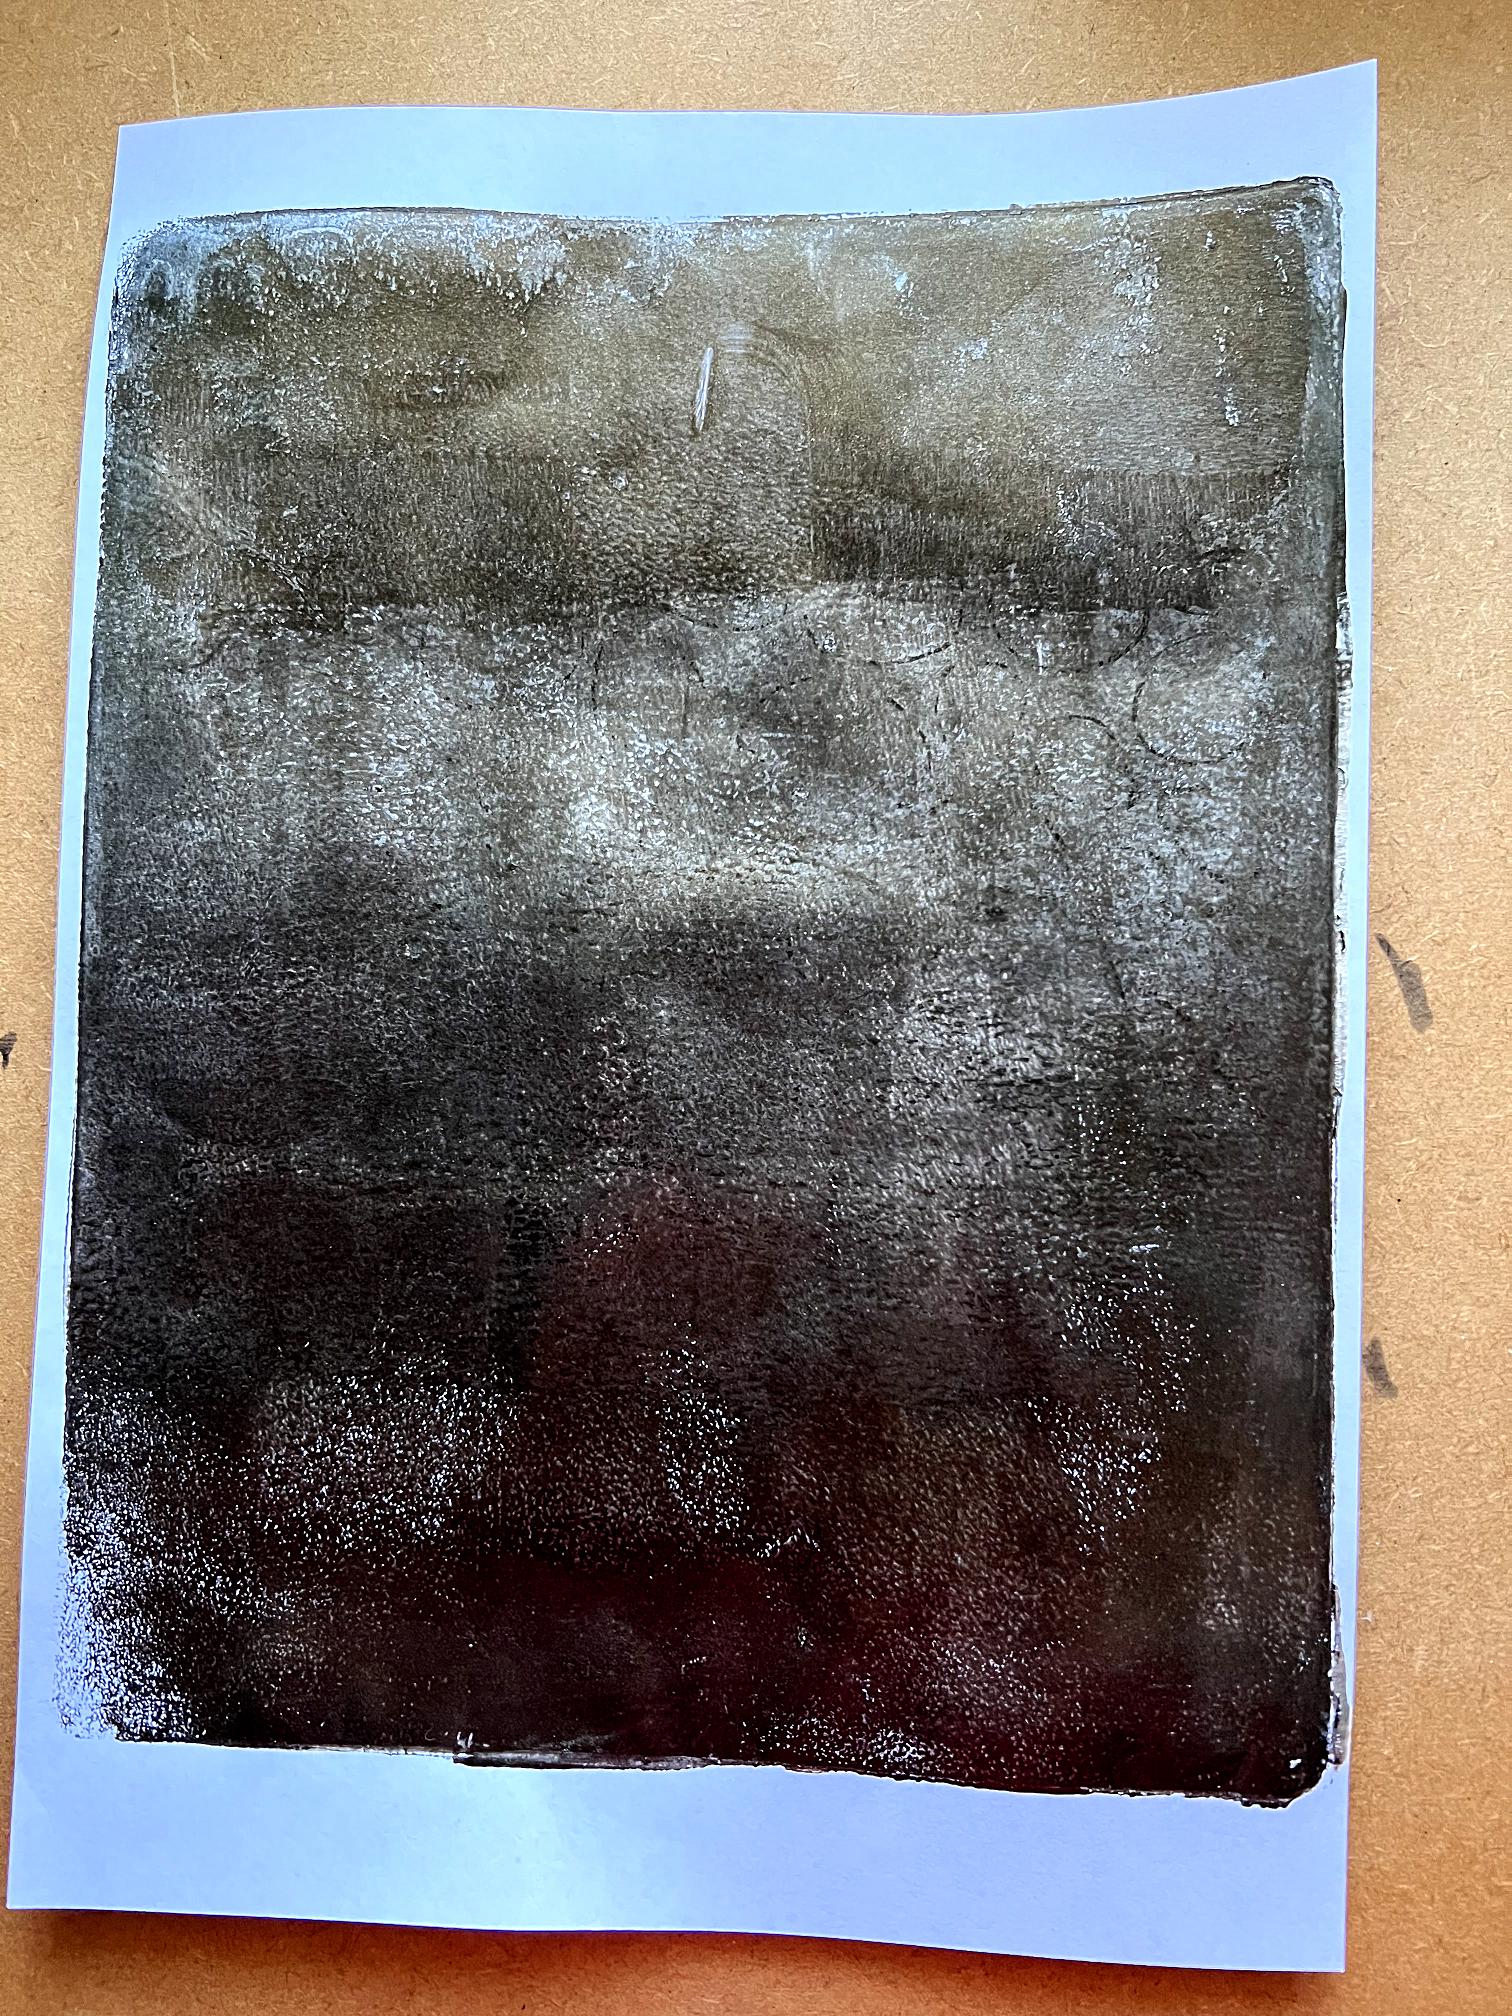
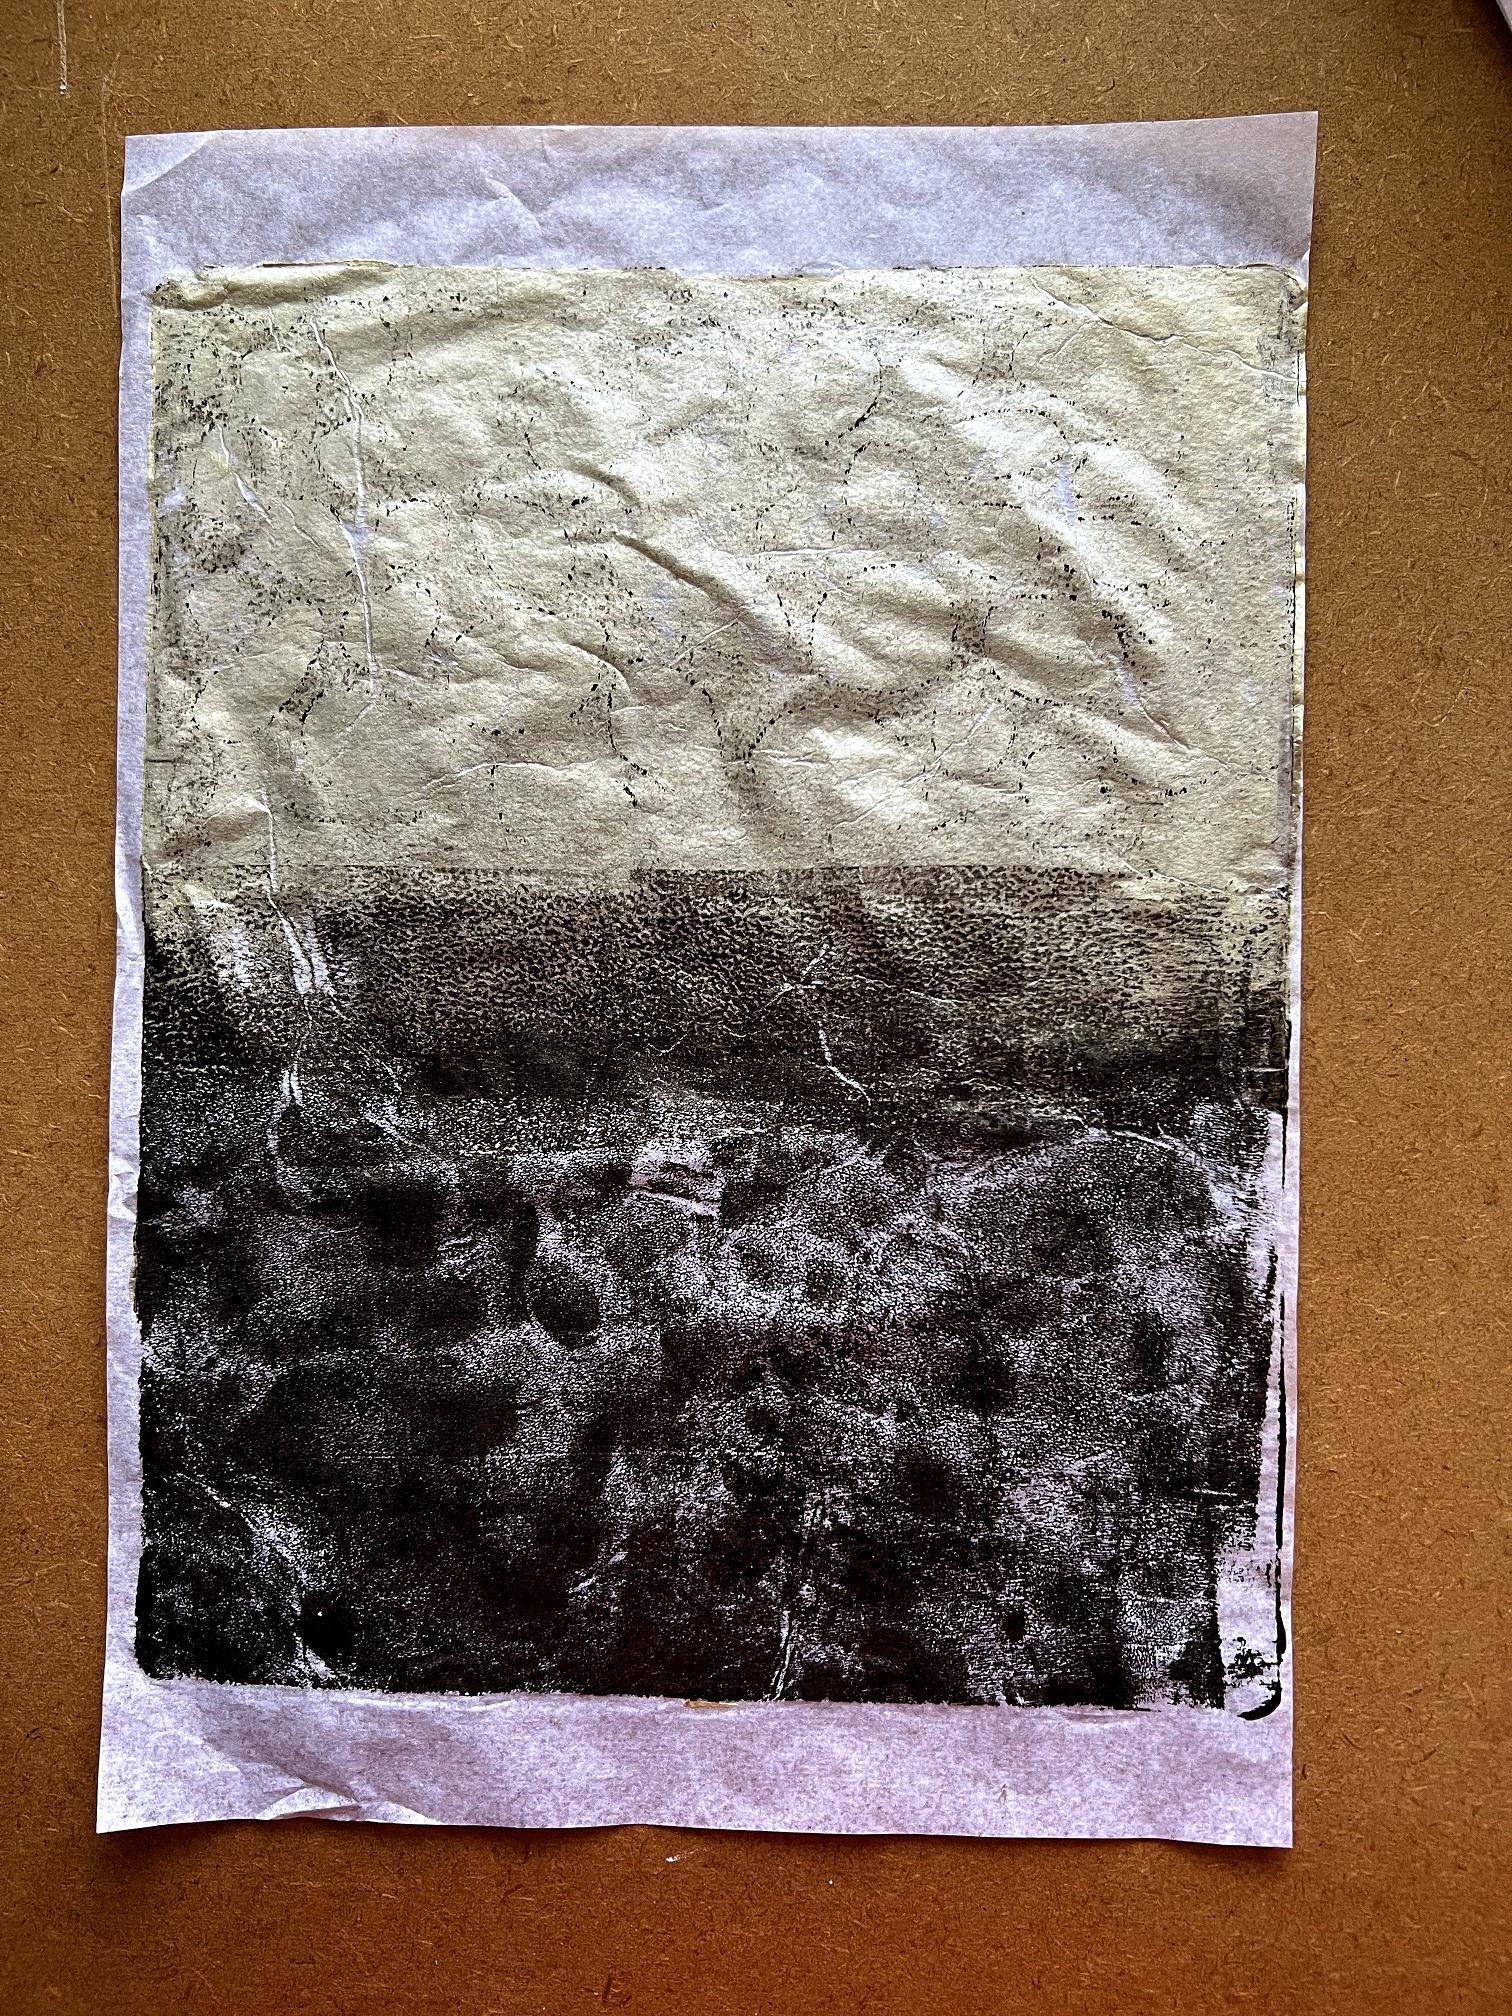
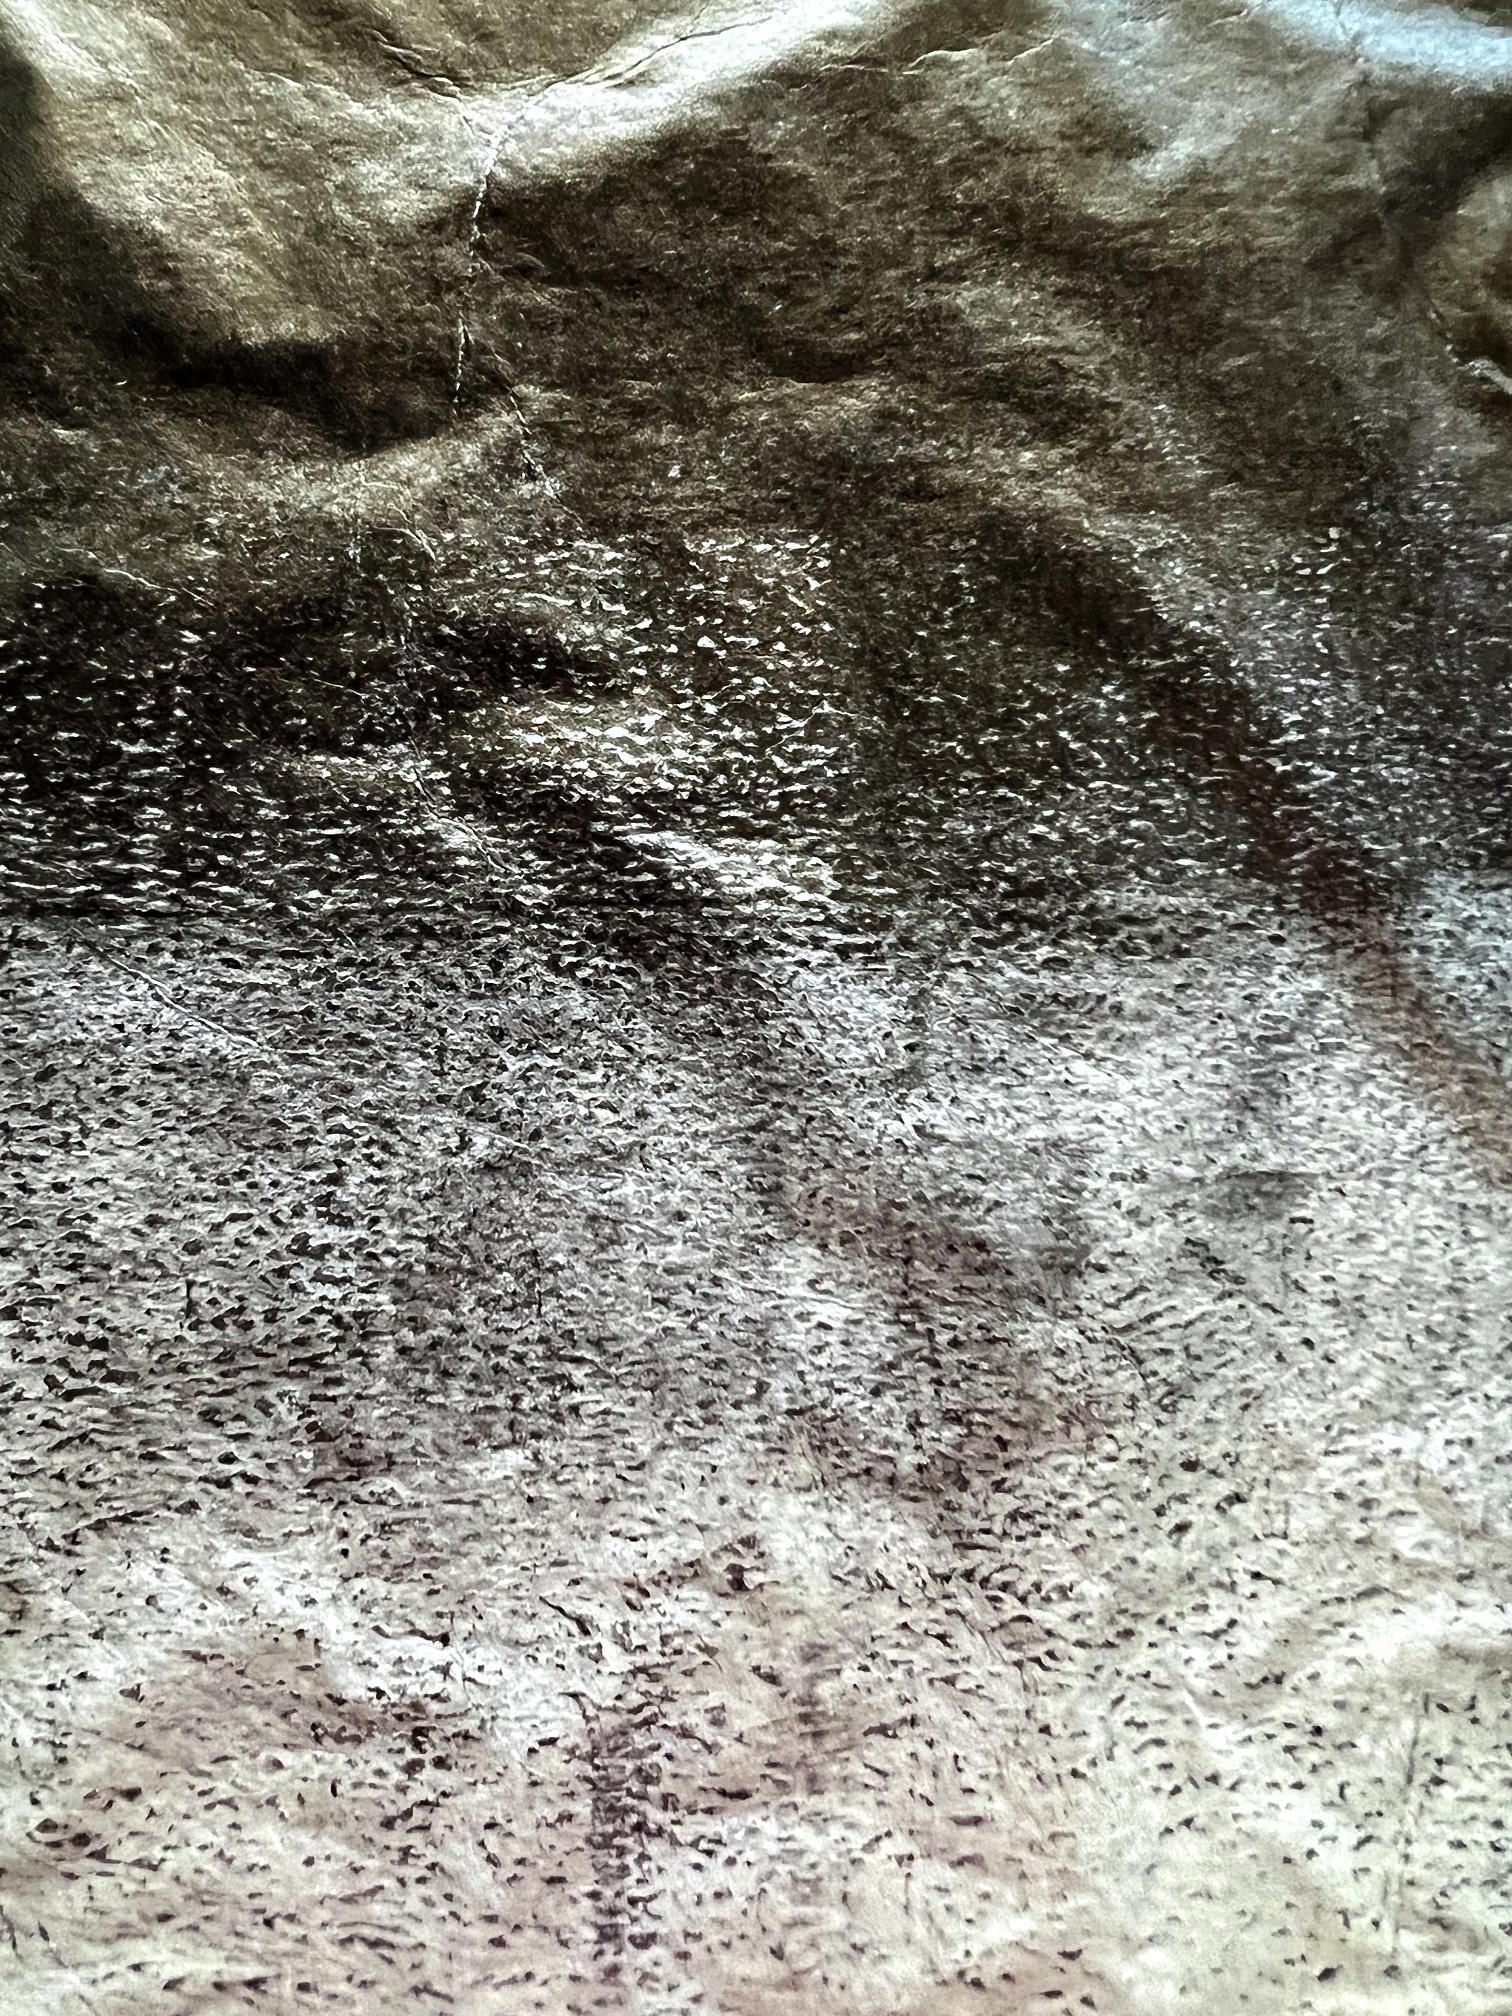
Another ombre background with the cream across the centre. Again, the brayer was inadequately cleaned after using the black, but I like the effect. This ombre technique gives a somewhat granular appearance at the overlap of the colours which I love.
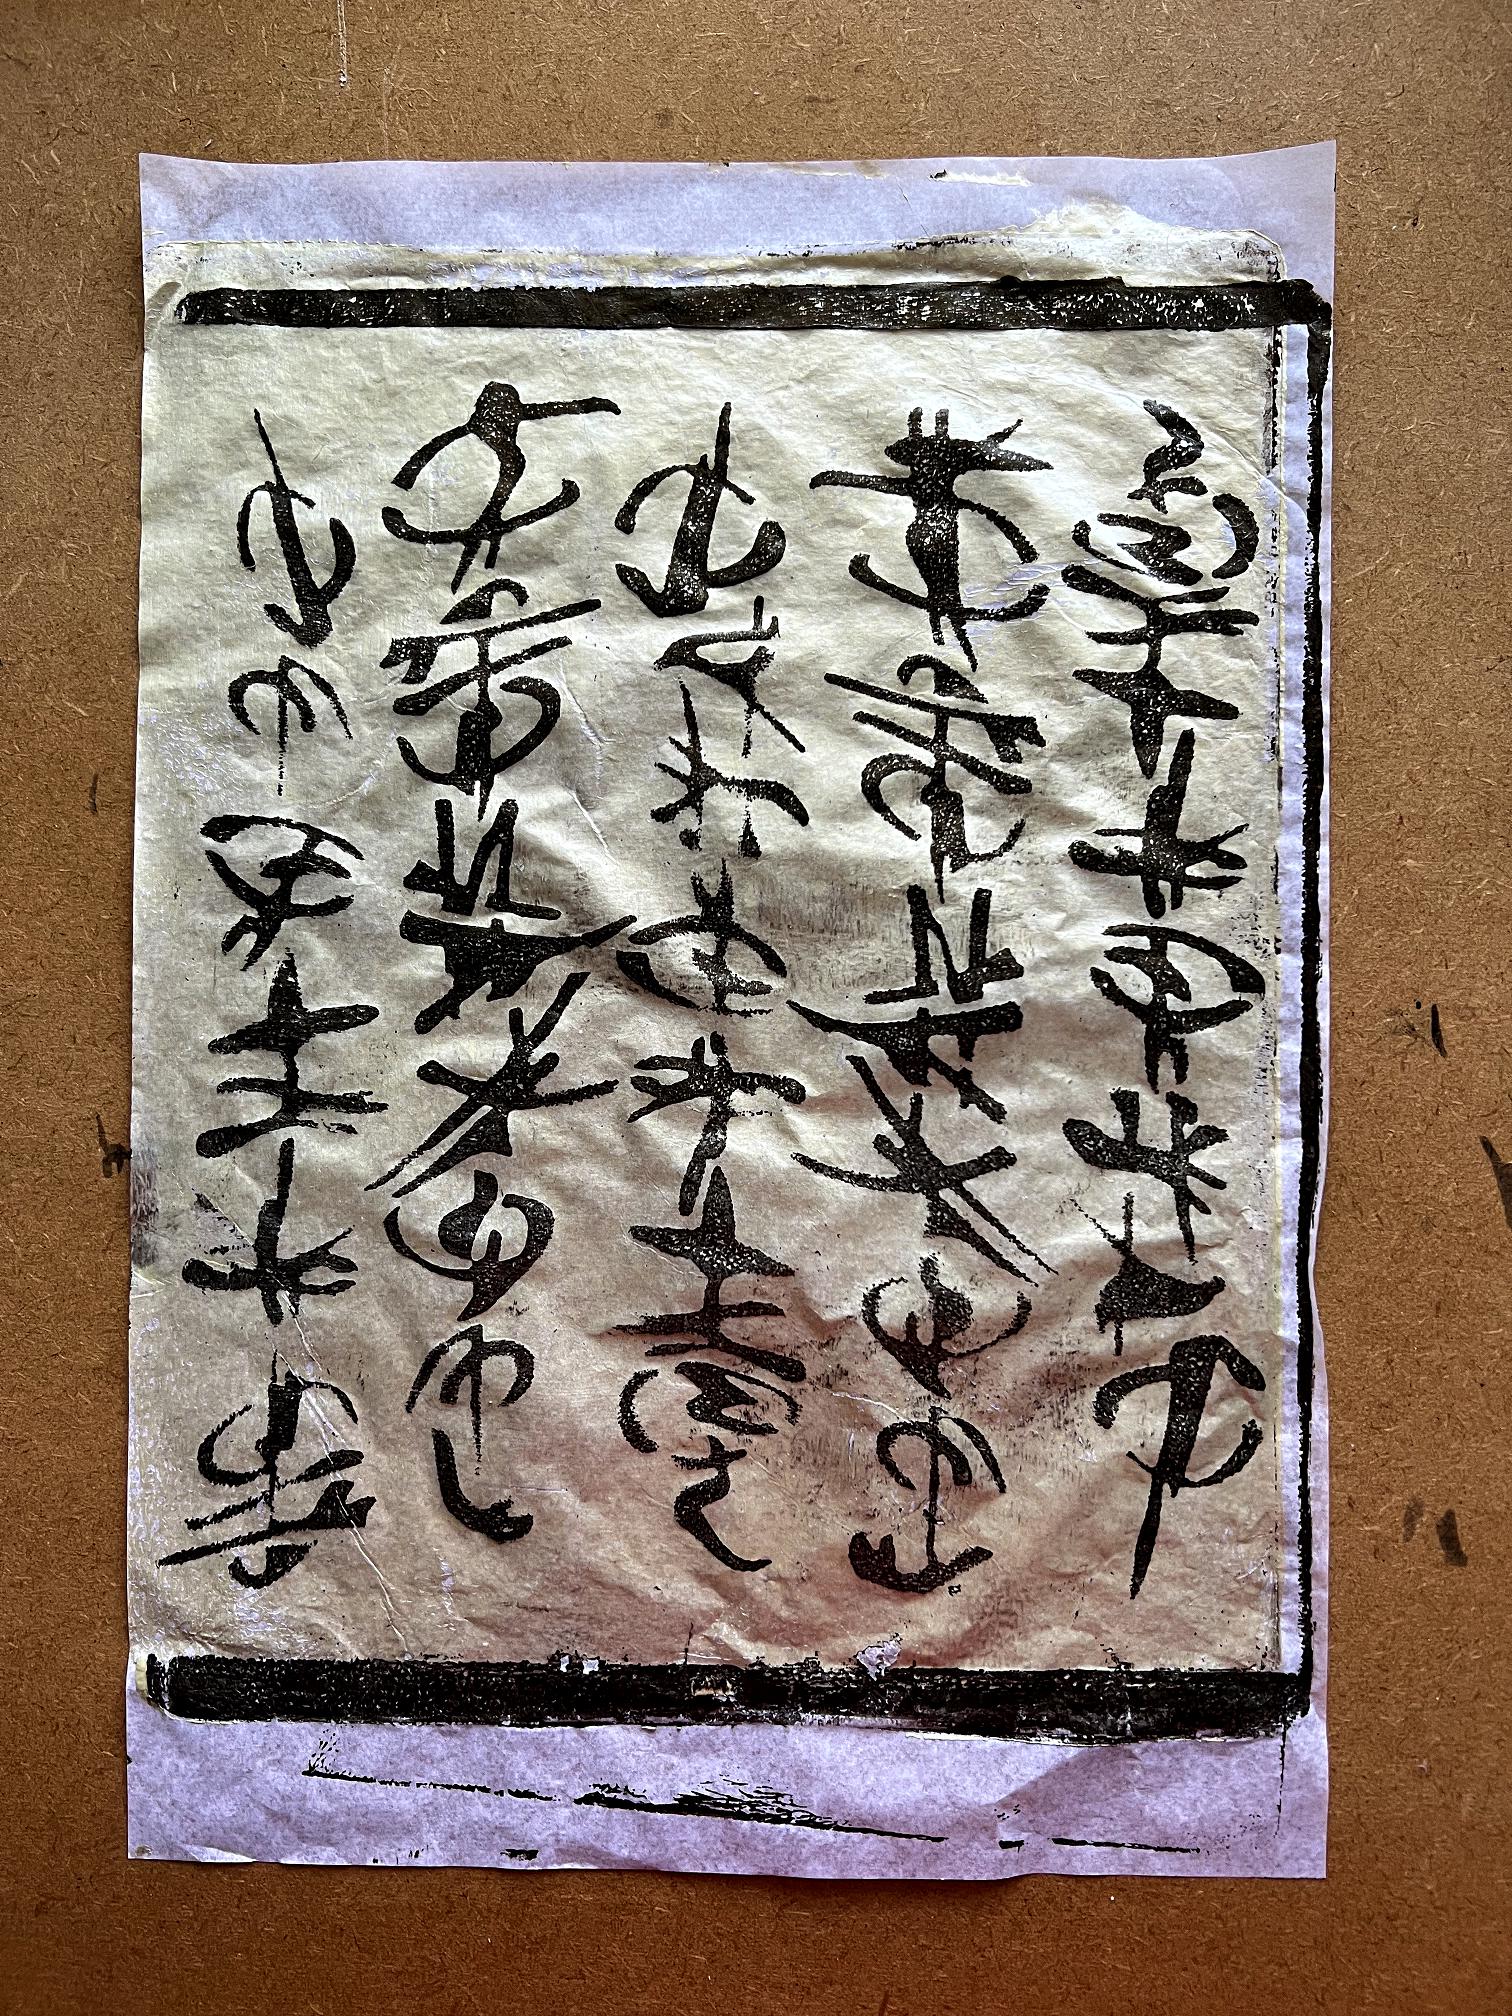
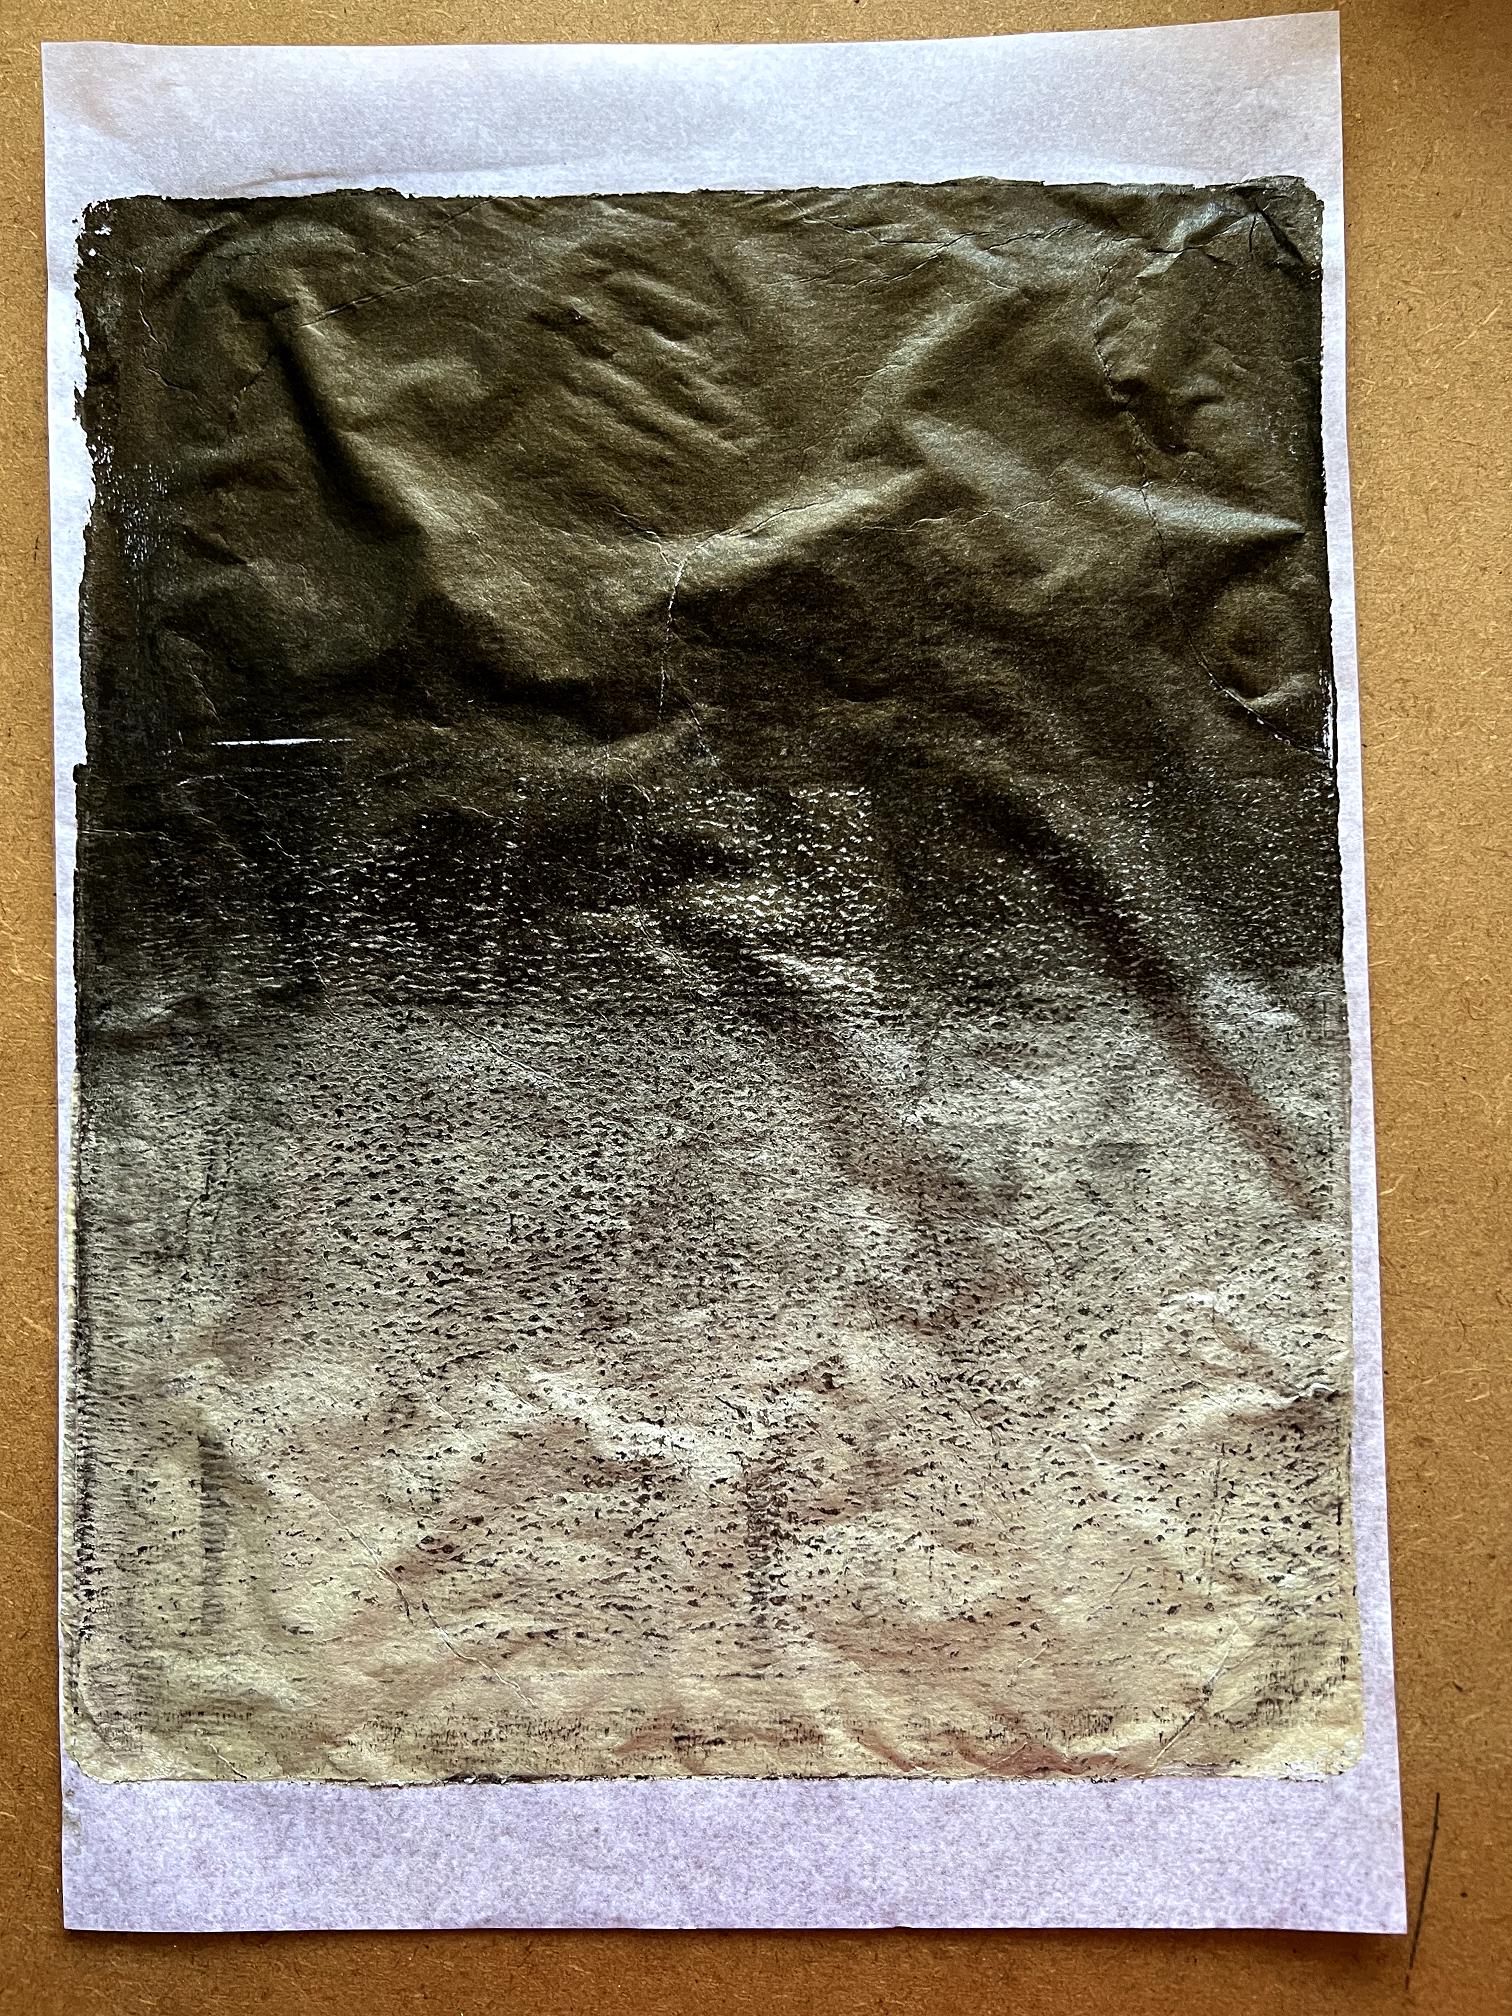
This has to be my favourite print of the day. I used my first Oriental Script stencil for the first time and love how it came out, using the same technique as before – black all over the plate, stencil, then tissue to pick up the paint through the holes.
Another ombre to pick up the remaining script, which unfortunately doesn’t show.
Another ombre background.
Detail of the granular effect at the overlap.
The final pull, using cream and printer paper, to clean off the plate. This one is yummy!
Organic Journal – Intuitive Collage 3
I actually did the gel printing session after I had started working on this page. I had to leave it to dry, and was able to come back to it once I’d finished with the gel printing.
Selecting the papers.
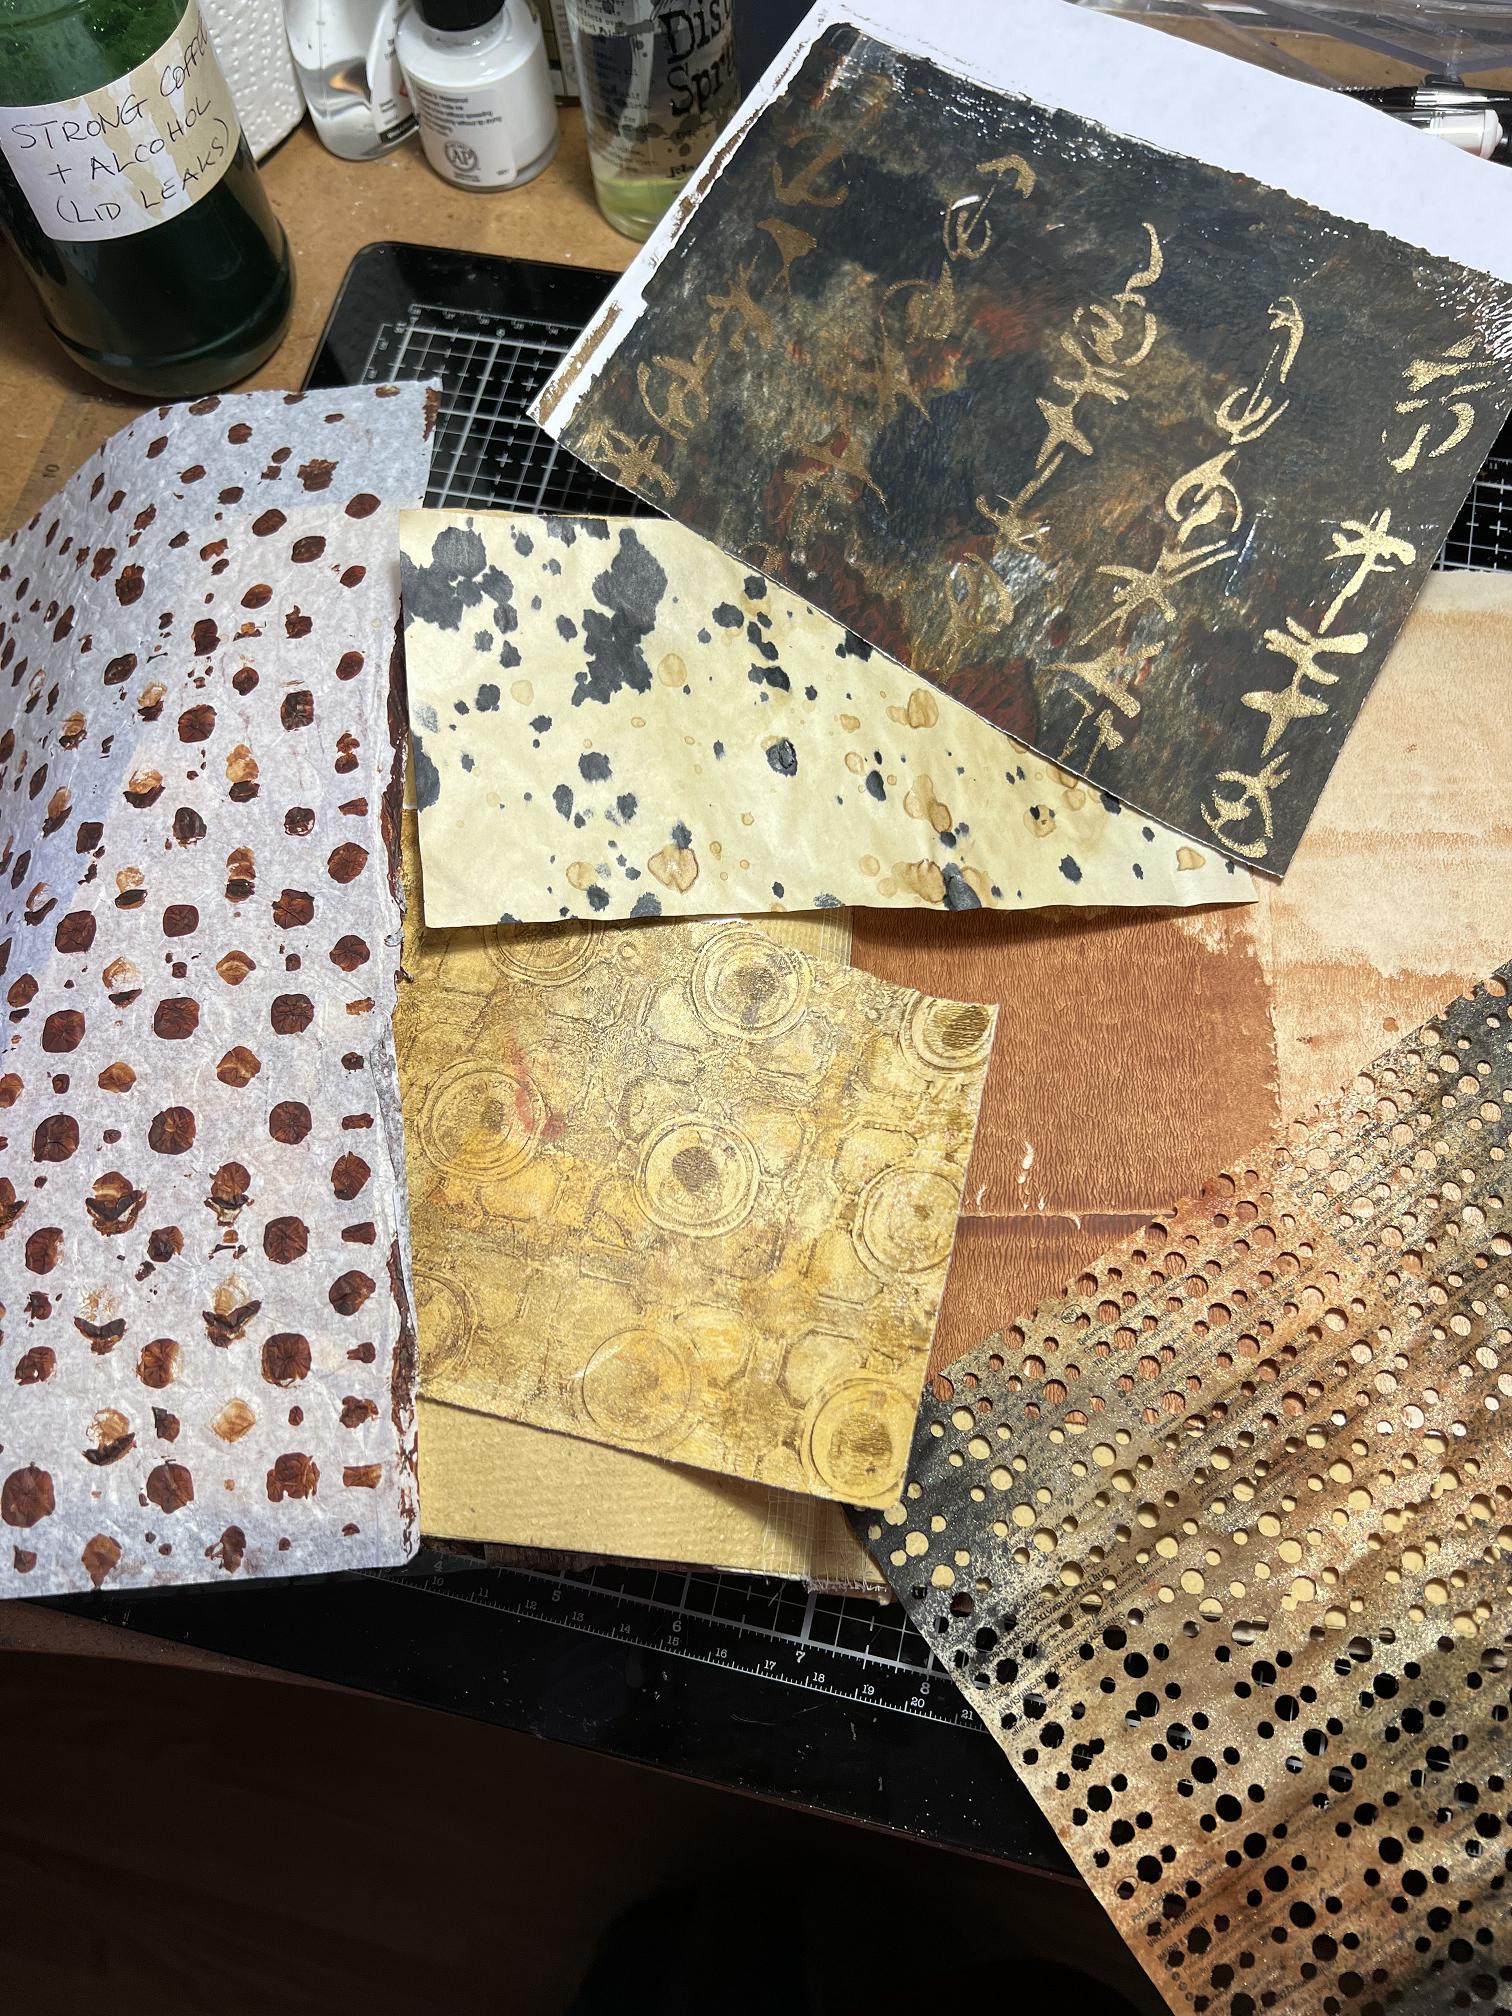
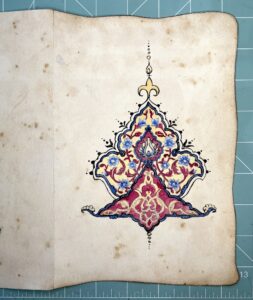
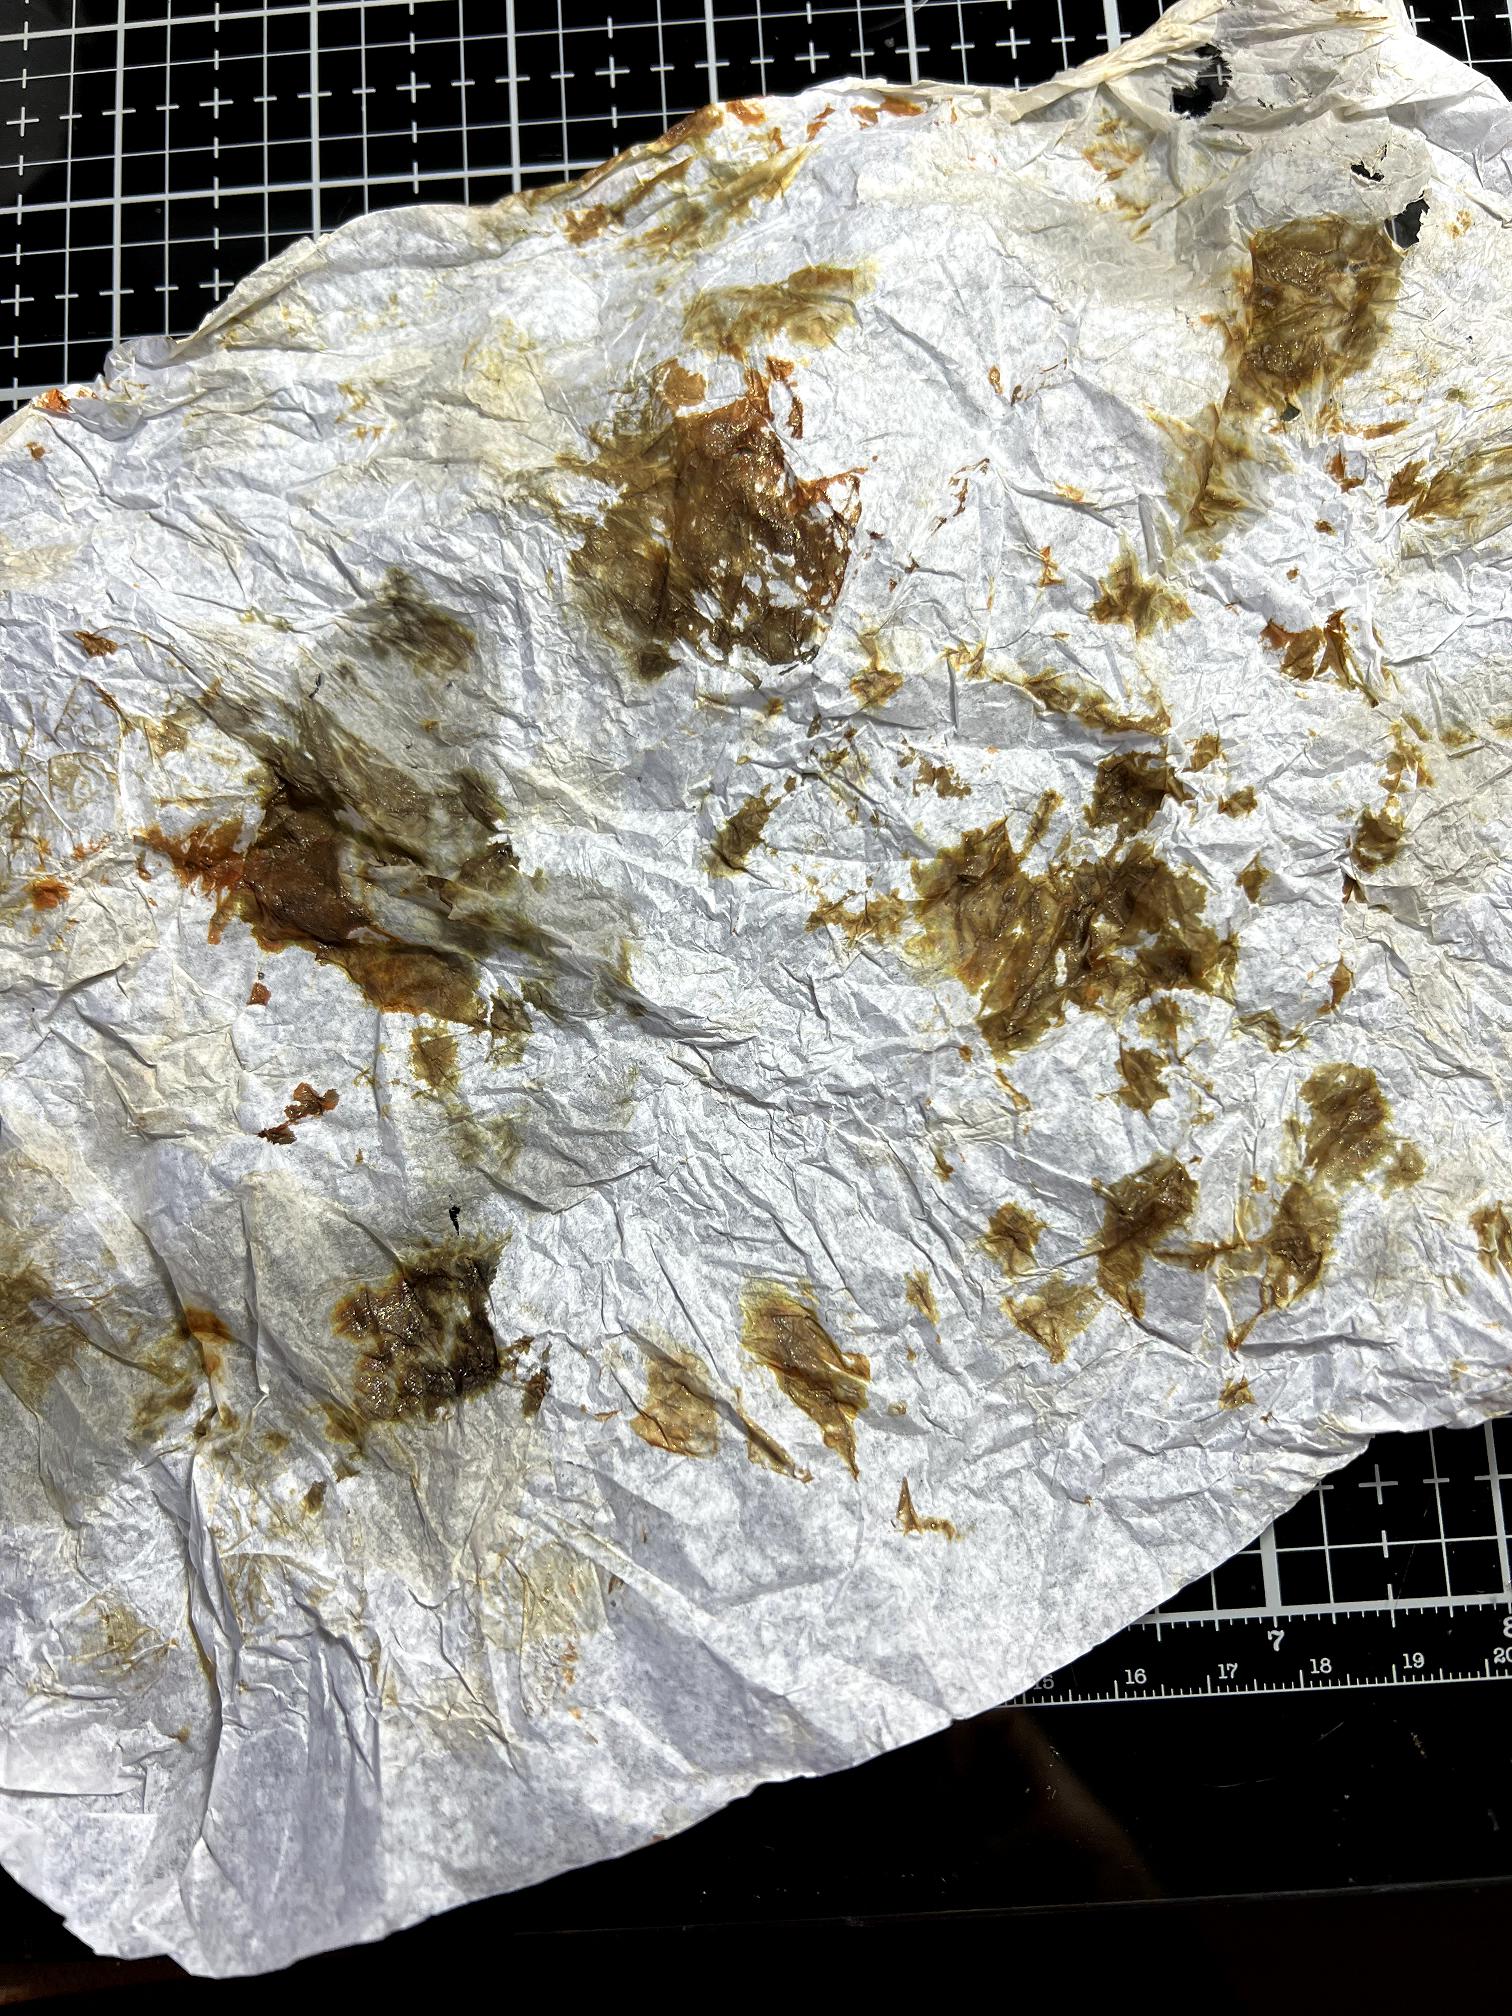
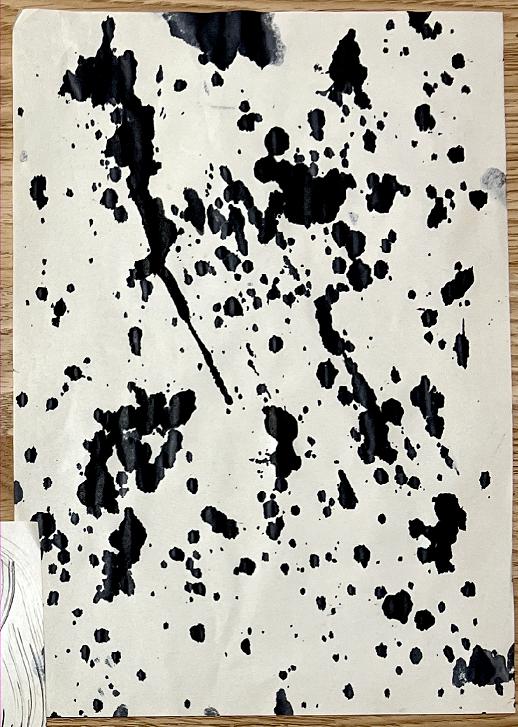
Of course, I had to use some of the new pierced paper! The dark piece at the top with the gold scripting is getting used up fast. I must do some more gold stencilling on some of my other dark gel prints. Immediately under this is all that is left of the ink spattered piece of carrier sheet between the acetates in the pack I have got – this paper is creamy coloured, fairly flimsy and a bit shiny, and it takes ink just beautifully. This is what it looked like in its original state after I’d spattered it with ink:
I have used it elsewhere in the Organic Journal. This time I wanted it coffee stained, so I sprayed it with coffee and then spattered some of the stronger coffee over it to add more texture. I shall definitely be making more of this. What I shall do when I run out of these carrier sheets, I don’t know – I’ve no idea what sort of paper it is.
In the “selecting the papers” photo, underneath this and to the right is a gorgeous piece that happened by accident – I used the paper to clean off the brayer and just loved the effect. On top of it and to the left is a piece of bathmat gel printing, and on the left, a piece of tissue that I used to remove paint from the holes in one of my sink mats placed over the gel plate covered with brown paint. The pierced paper is, of course, at bottom right.
I also ended up using a piece of this:
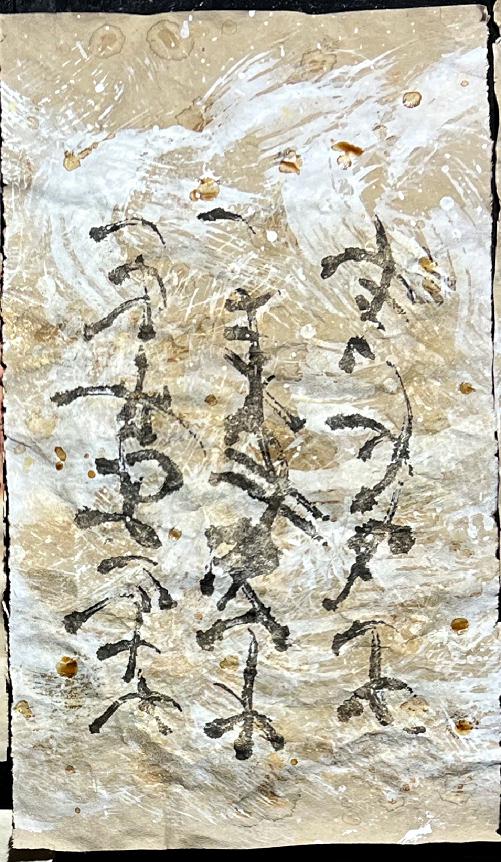
I ceated this during a mark making session a few weeks ago. It is Amazon packaging paper with white acrylic paint using a silicone pastry brush, intuitive scripting, and coffee staining. It is crinkly and delicious!
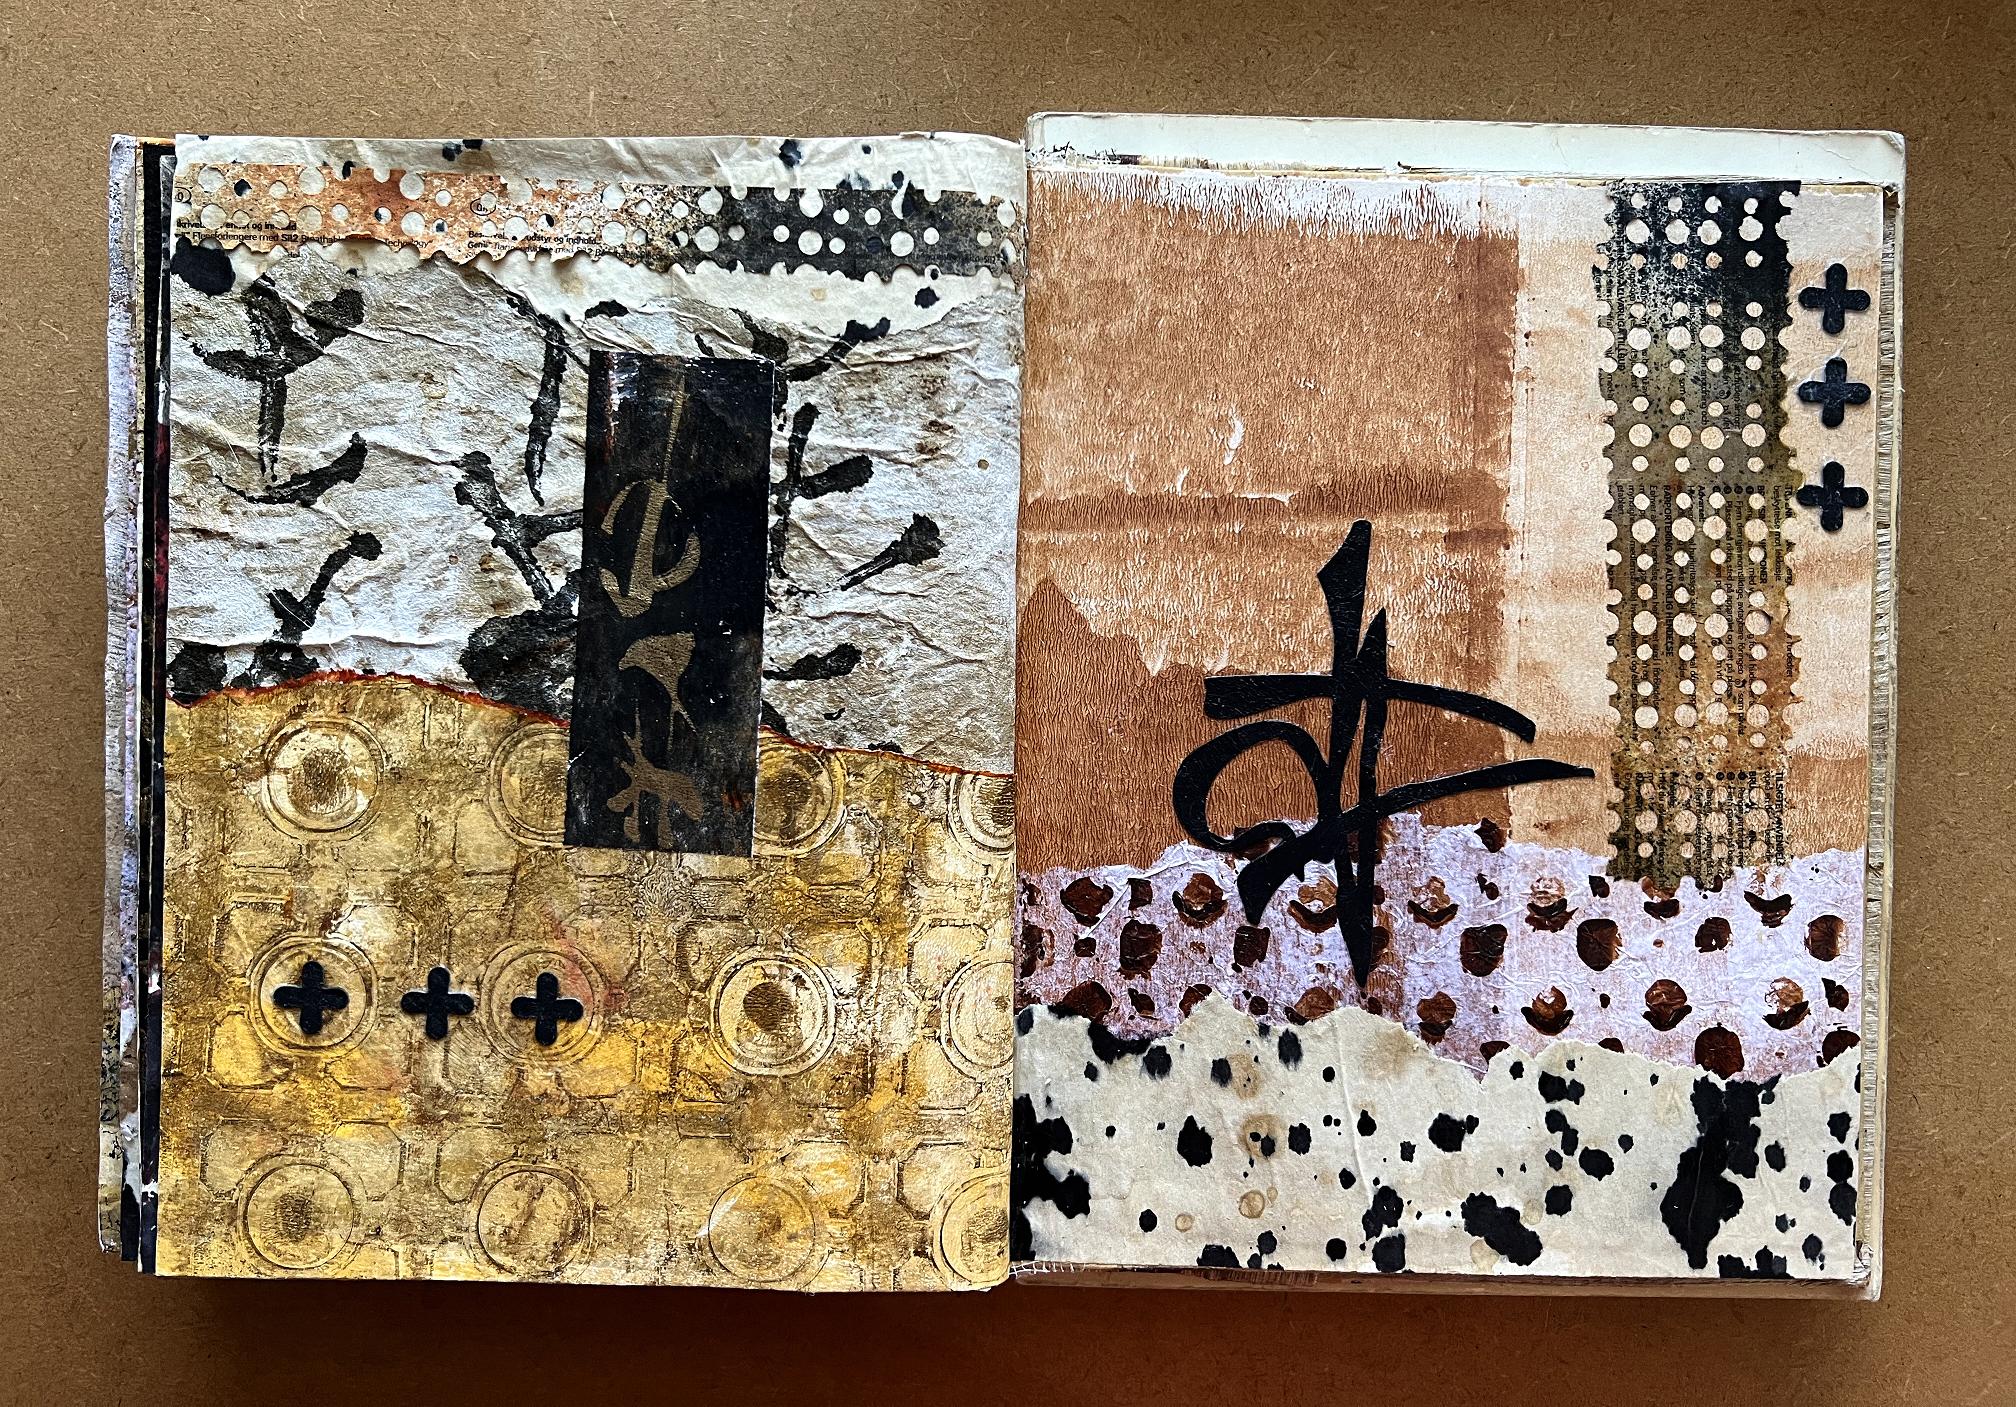
Here is a mock-up of the spread. You can see that I have used the ink spattered and coffee-stained carrier paper on both pages, and also strips of the pierced paper. I love how you can tear along the perforations of this, like postage stamps. It gives a gorgeous organic edge. You can see the brown brayer-cleaning paper on the right page.
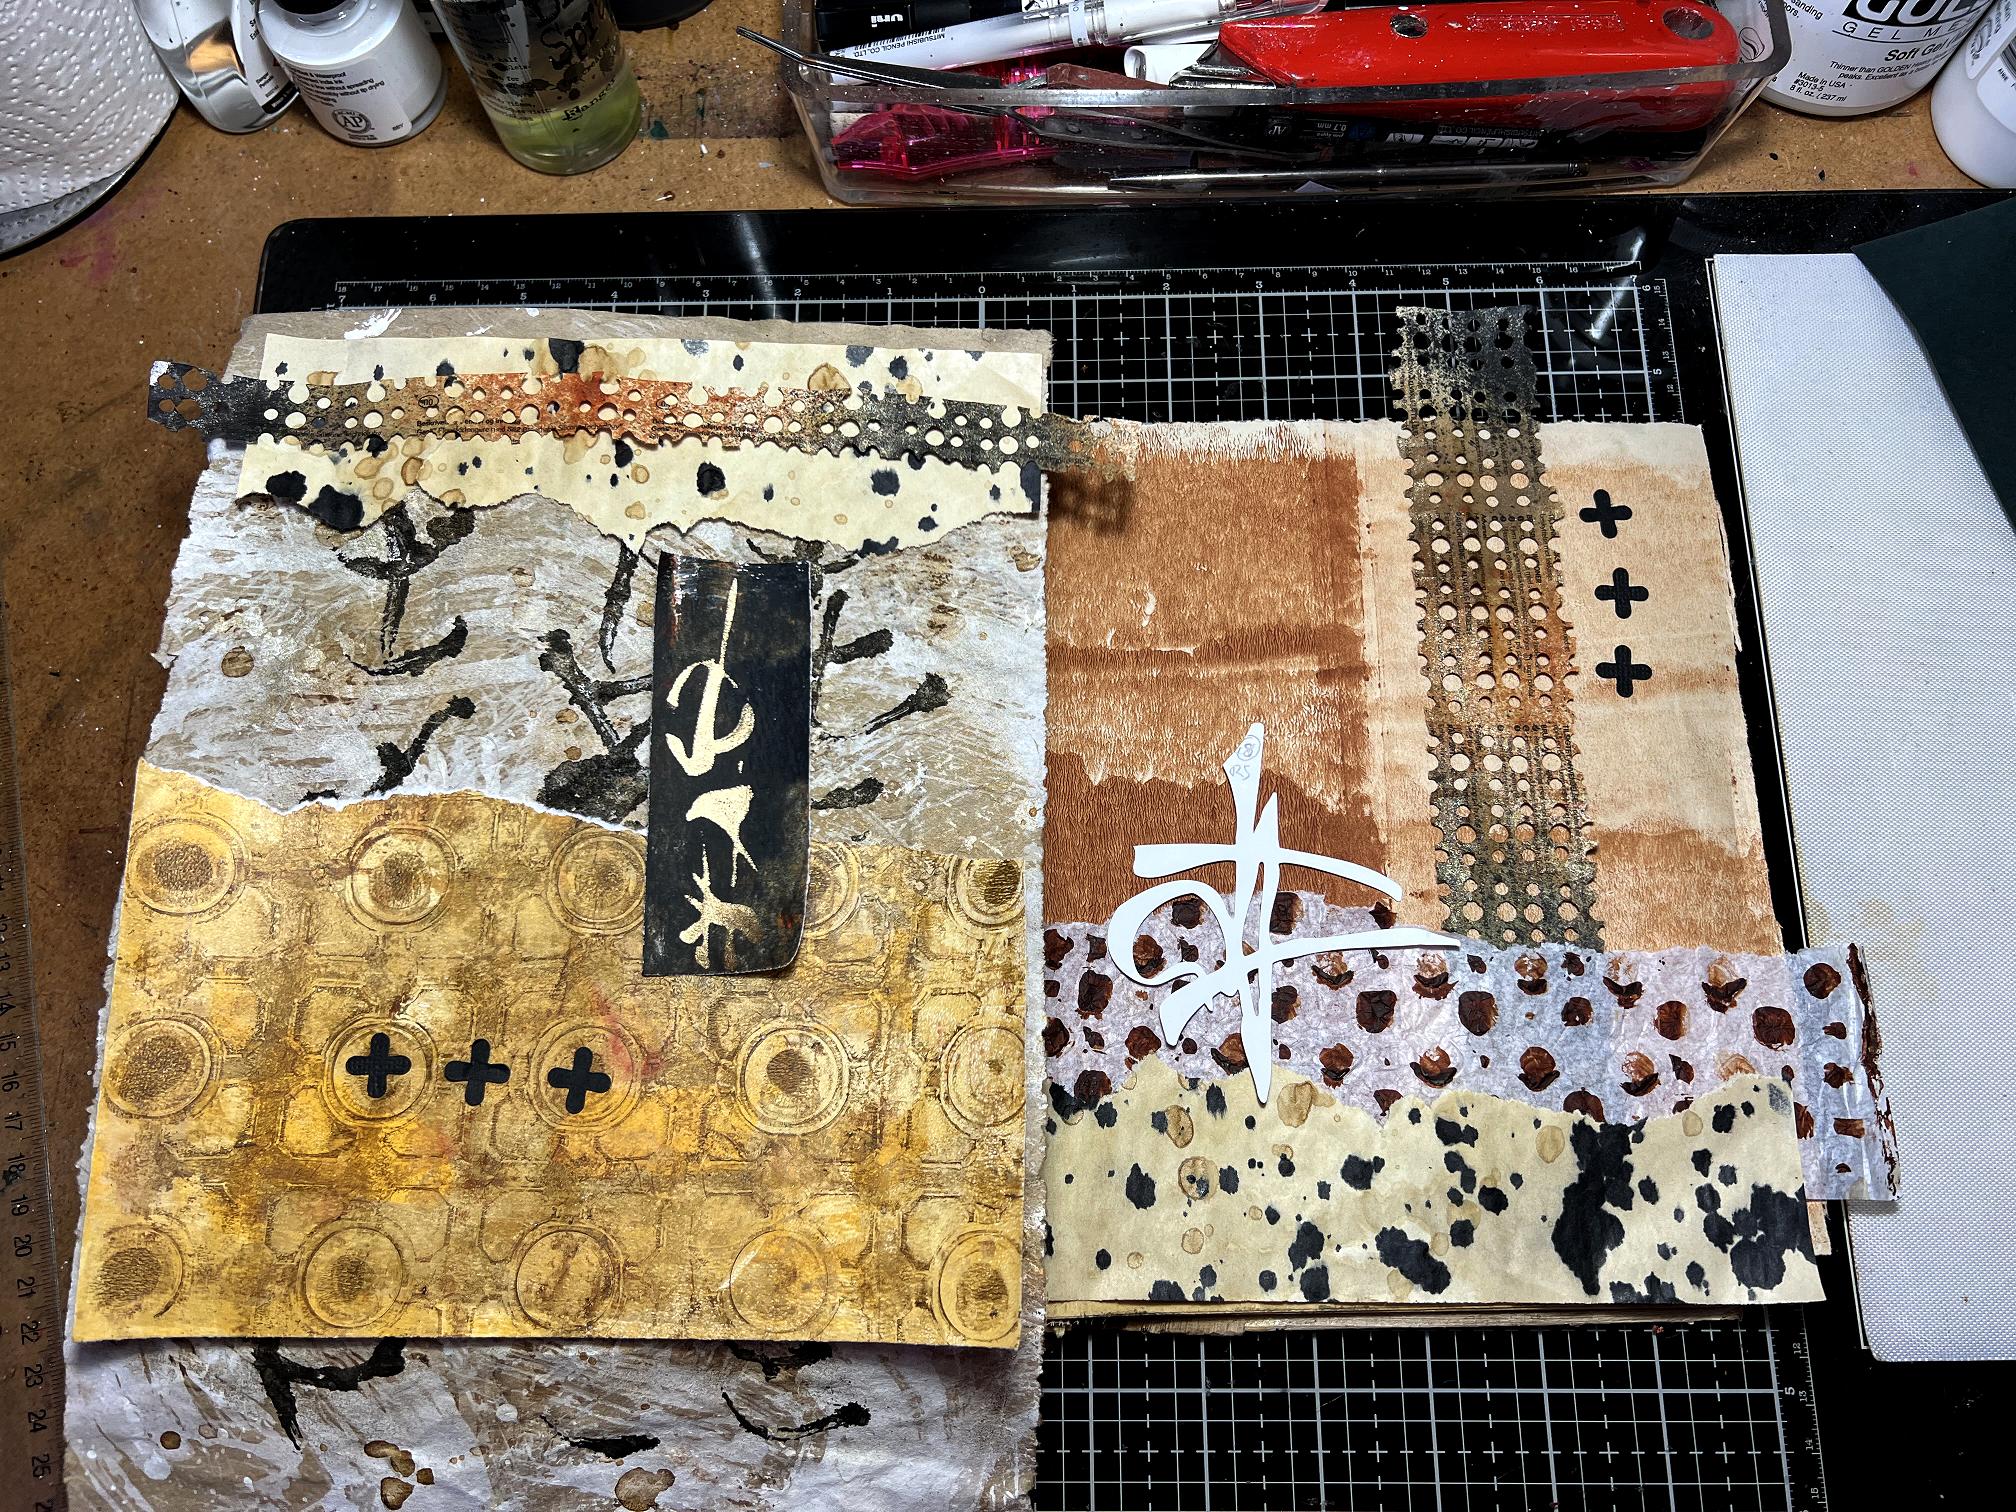
The little black crosses were cut from black cardstock when I was testing my small Gothic cross stencil. I saved these little pieces from the stencil test cuts in small baggies to use in projects. The white Oriental character was the same – test cutting one of my script masks. I painted it black for this project.
I didn’t like the white torn edge along the top of the bathmat gel print on the left-hand page so I painted this with some Golden quinacridone nickel azo gold which is a gorgeous rich-coloured translucent paint.
Glueing everything in place.
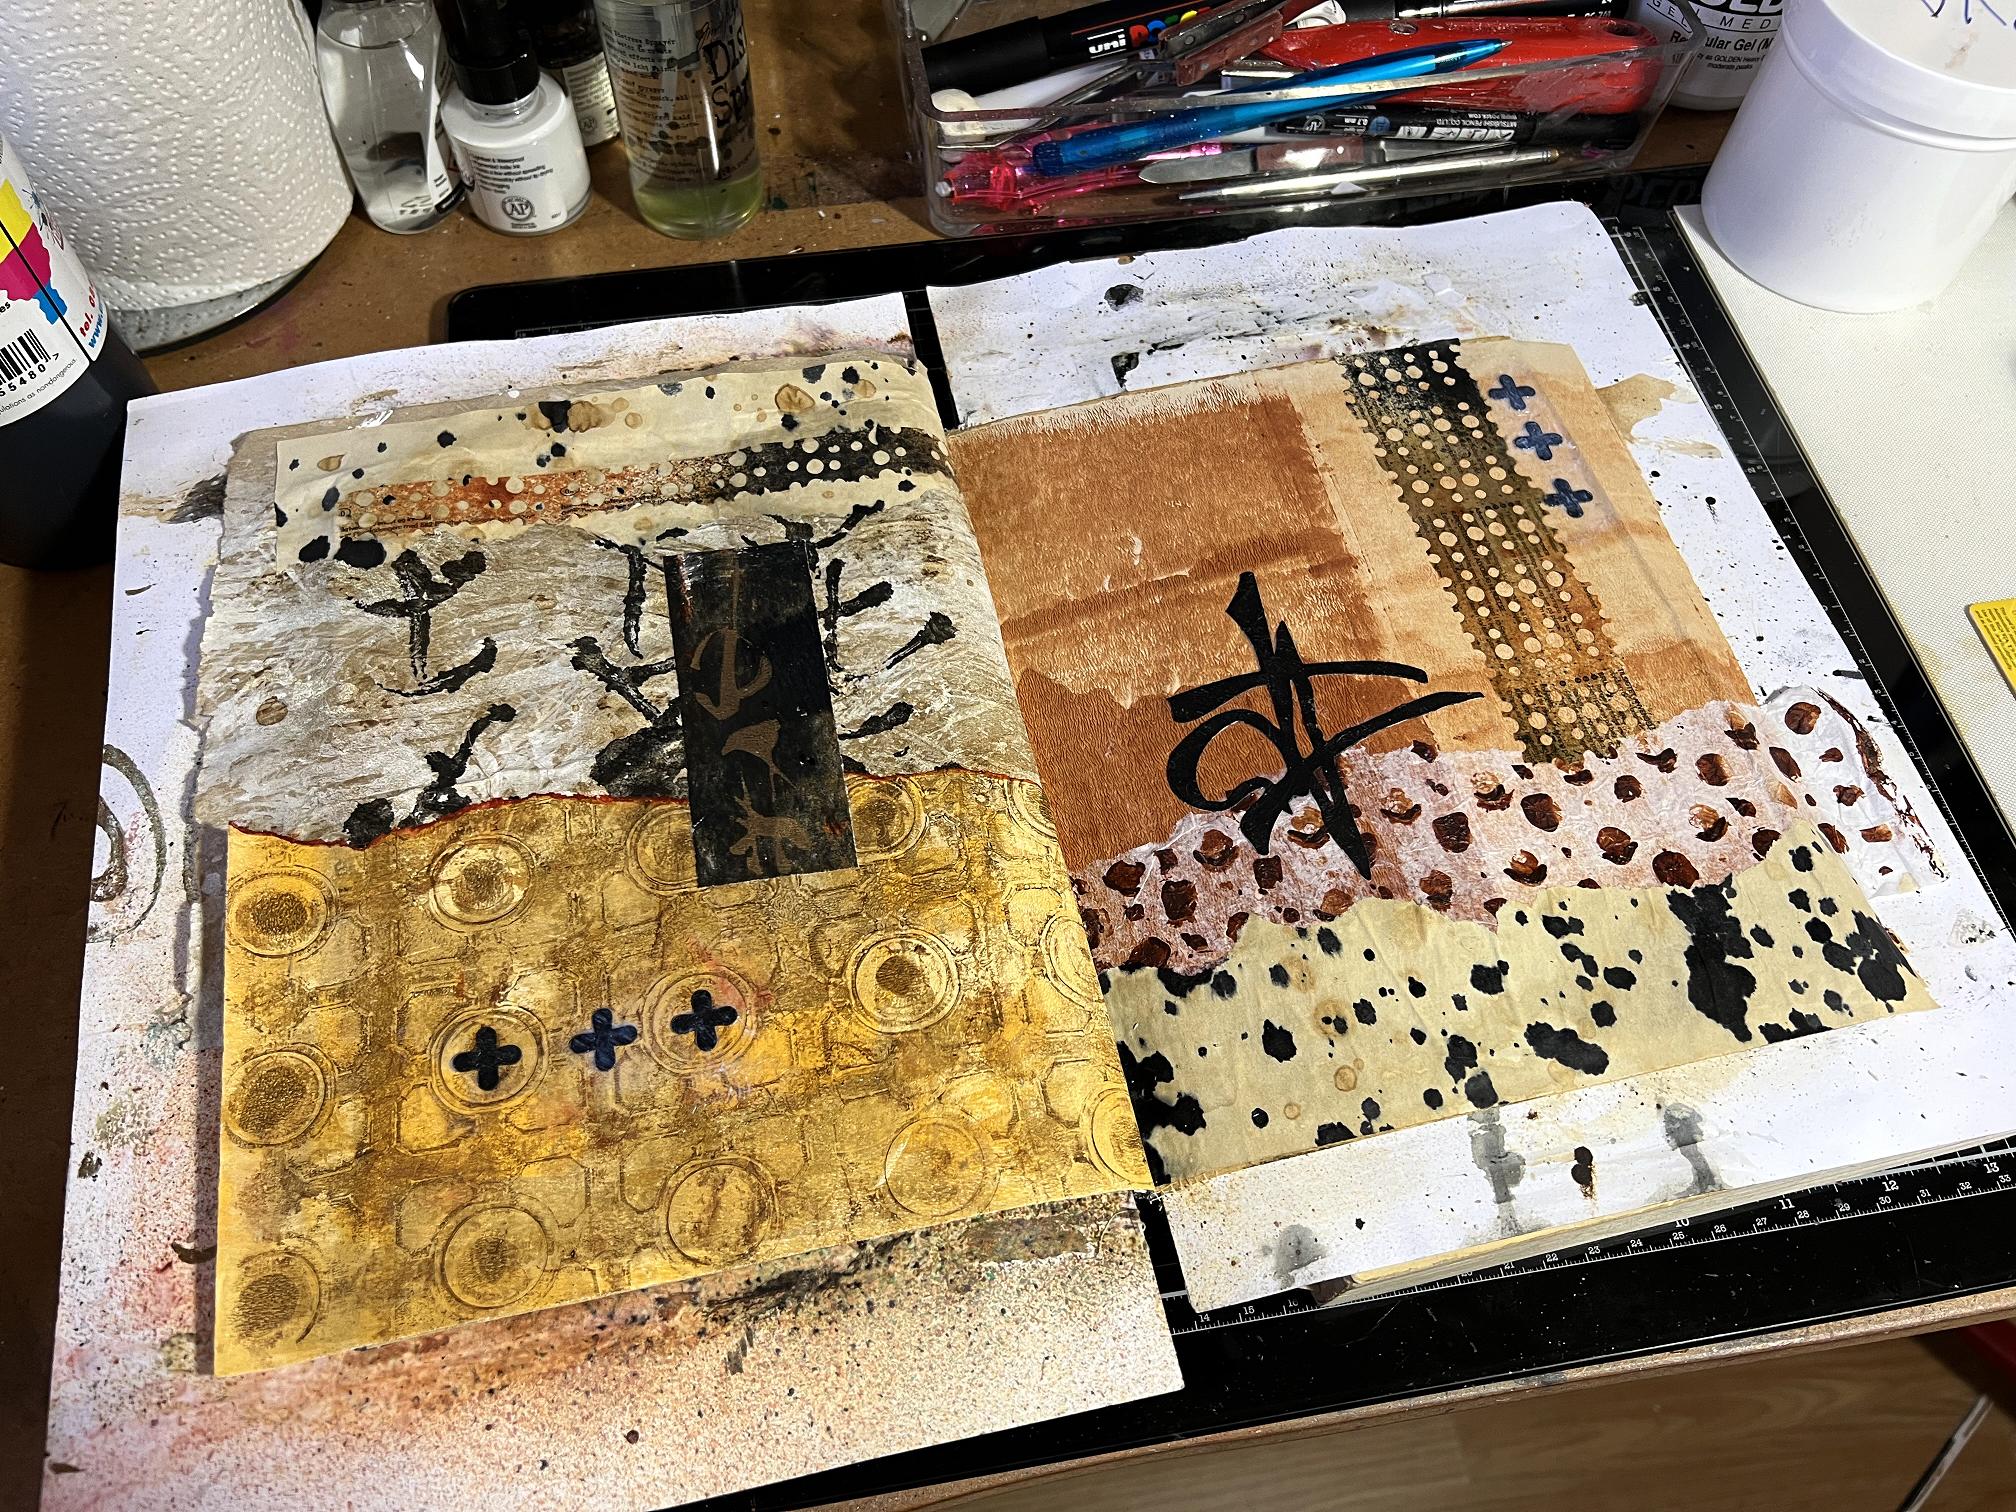
Finally, the completed spread.
Yoga mat
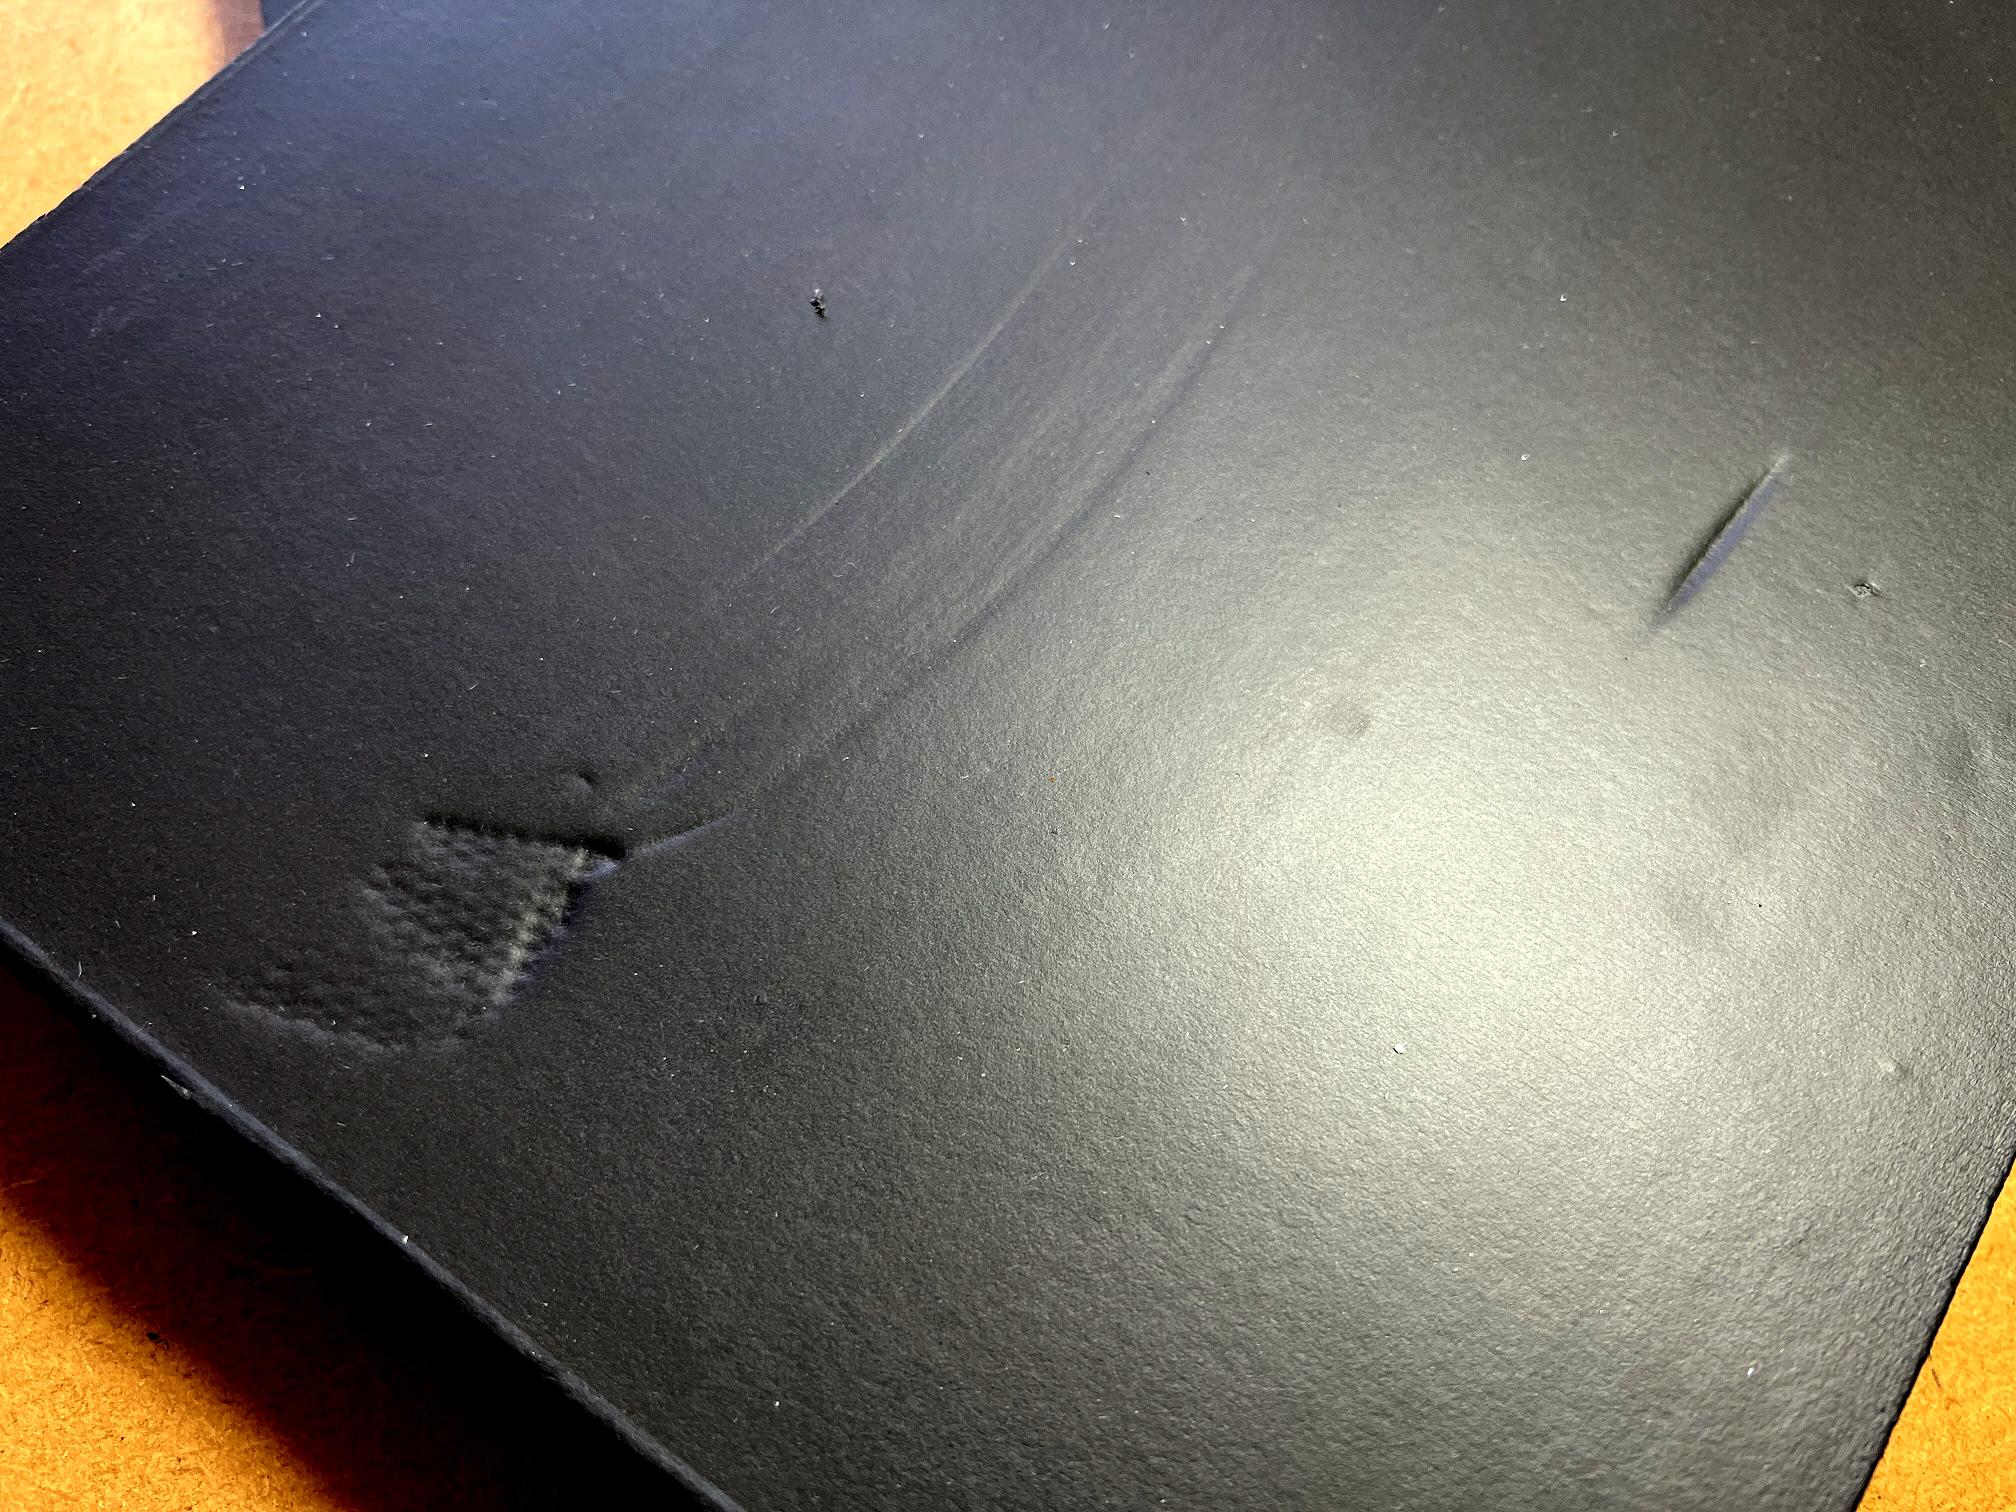
I really must get around to doing a post about my DIY foam stamps! I had such fun making these and they will be featuring in futue posts. To back them, I bought a thick black yoga mat from Amazon. It is 2 cm thick, and ridged on the back, but the front is smooth. It came rolled up with an elastic carrying handle.
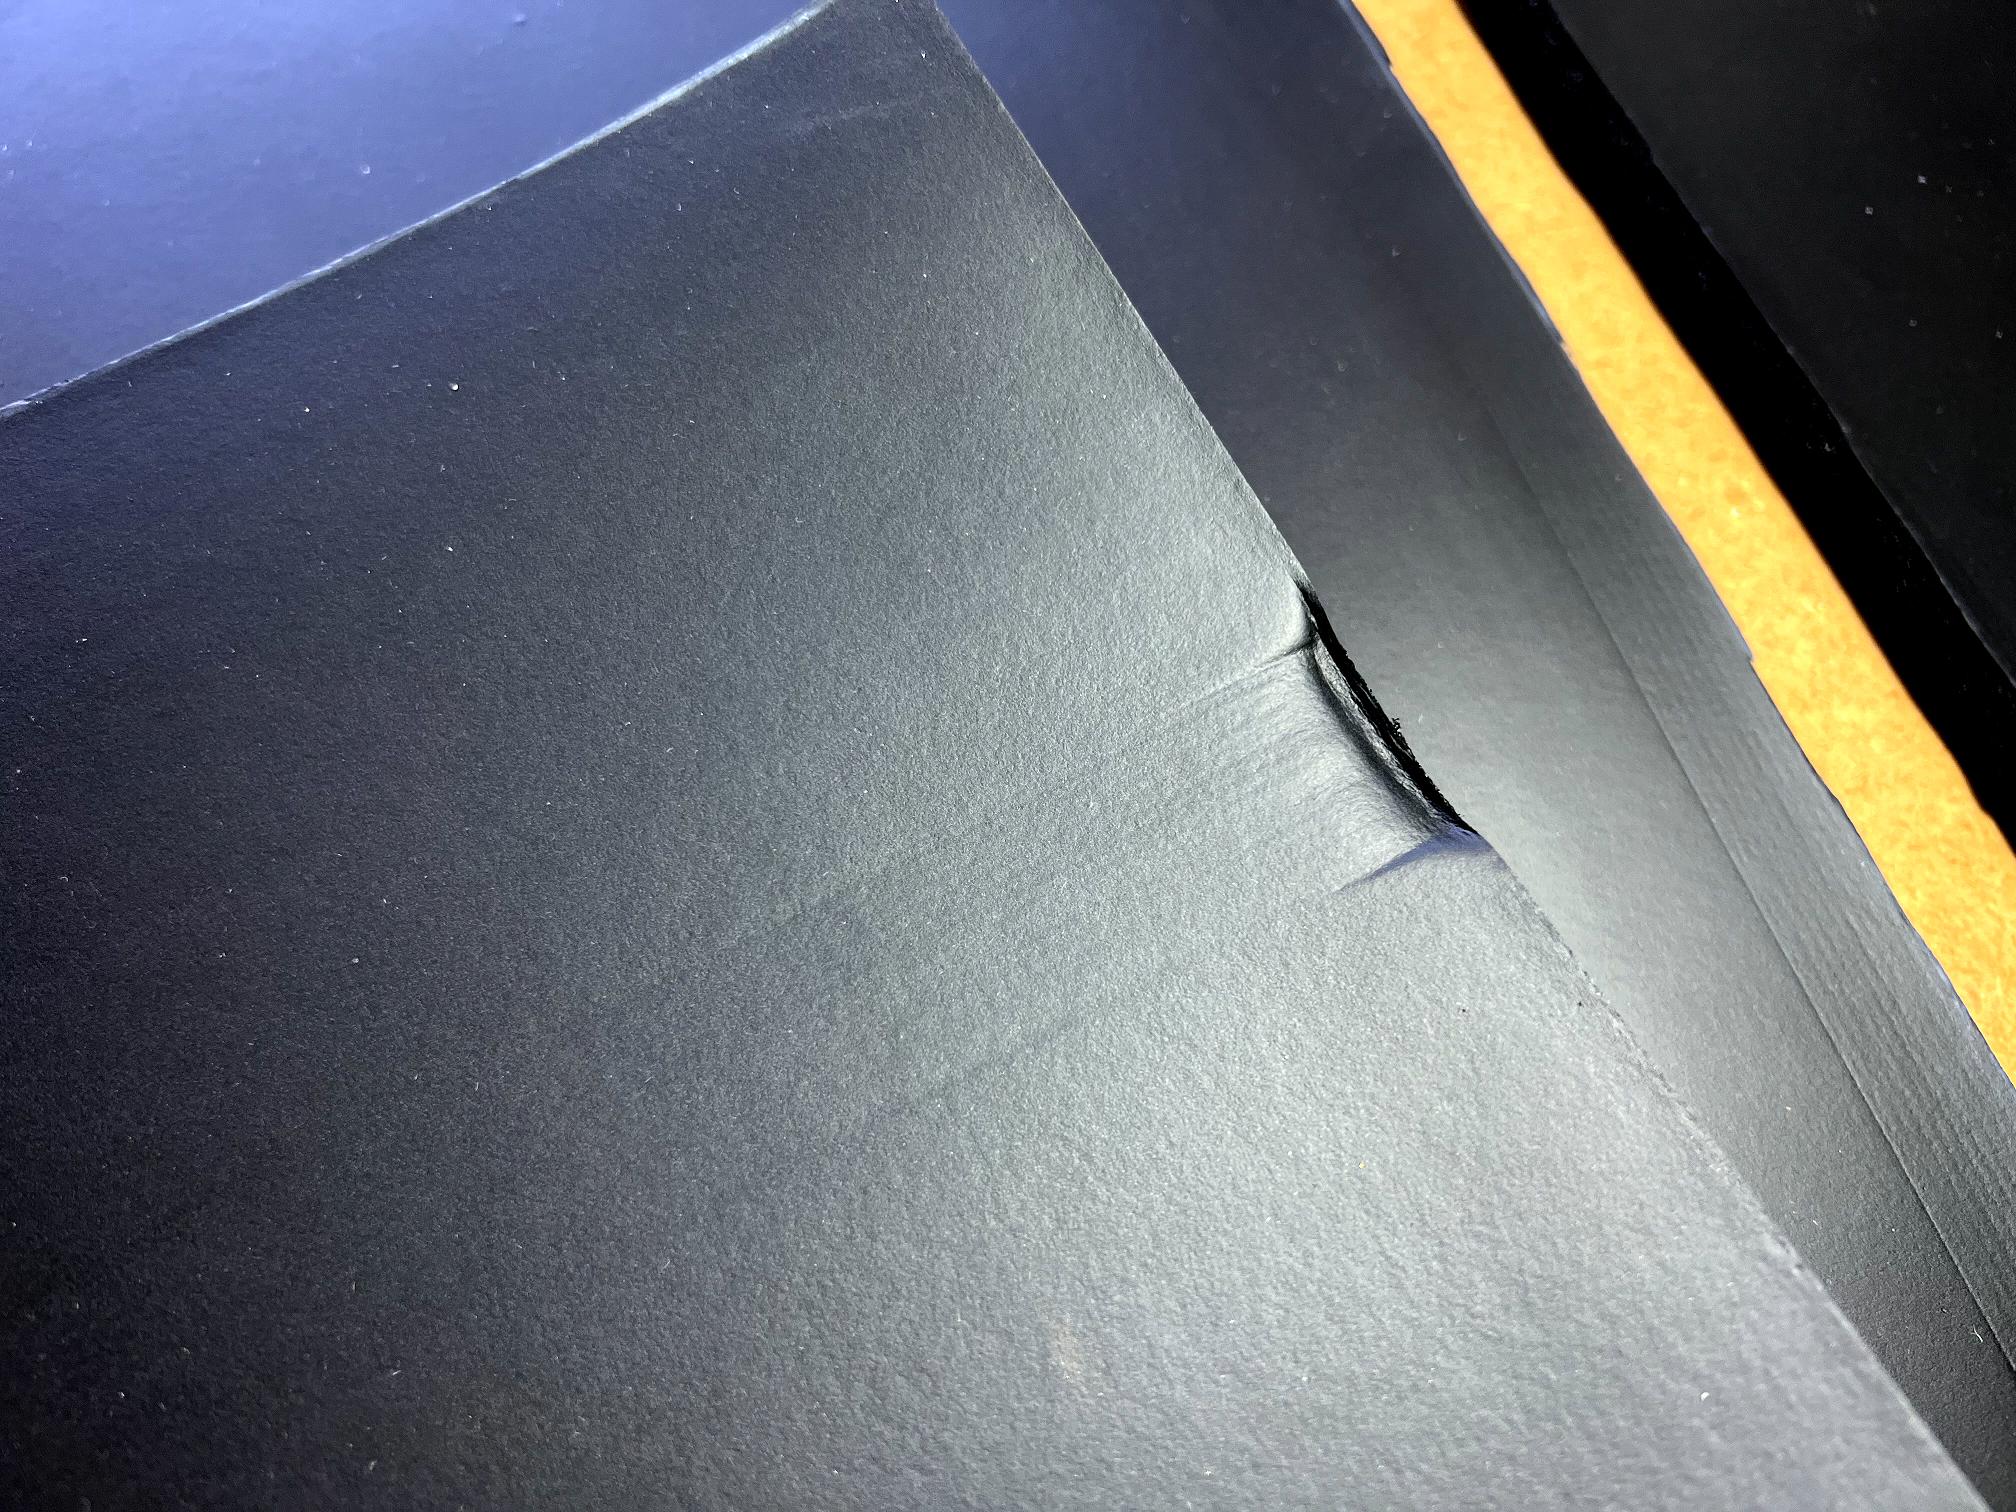
Watching YouTube the other day I came across a printer who mentioned that she’d got a blog post about using a yoga mat as a gel plate – something I want to follow up on, not least because I could do with a second plate and if this works, it will save me investing in another real one! This afternoon I cut two pieces 12 x 10 inches from the mat, with a smaller piece remaining.

Unfortunately there are indentations on these pieces, being towards the end of the mat, where the elastic carrying strap has pressed into the foam. I am hoping these indentations will disappear in time. I tried to remove them by warming them gently with my heat tool but it had no effect.
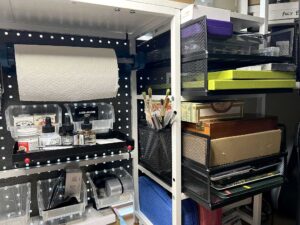
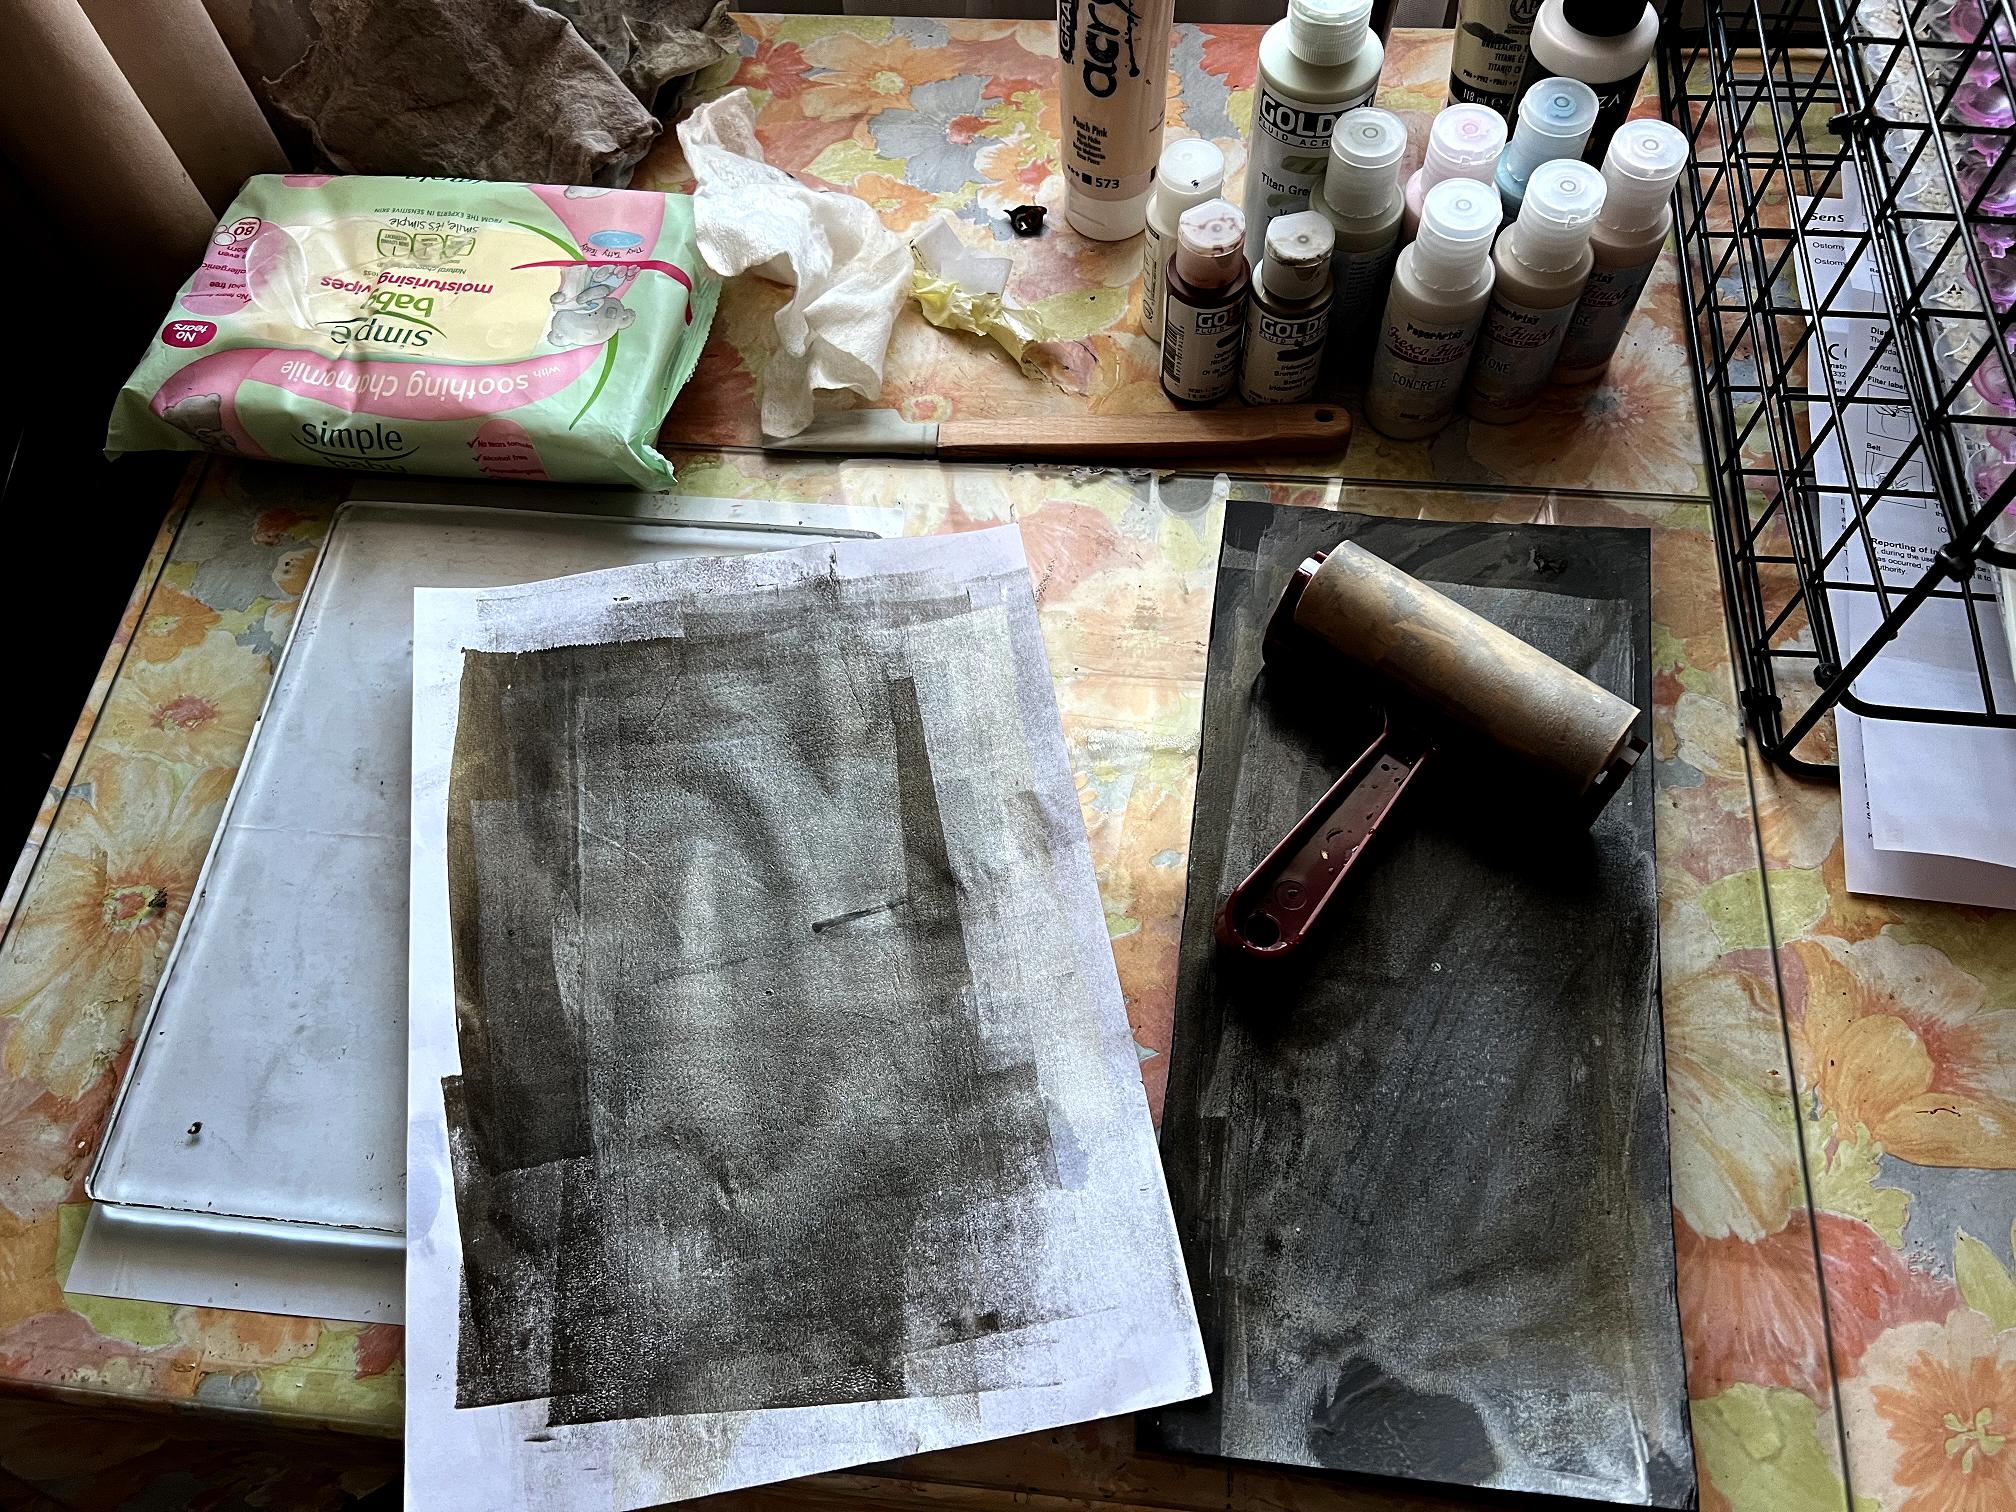
In the meantime, for today’s gel printing session, I used the smaller offcut beside the gel plate to clean off the brayer and print off the ink on scrap printer paper. Here’s the gel printing table at the end of the session.
Here again is my finished Organic Journal page.
Altogether a very fruitful afternoon’s work, and just sooo much fun!