Shoshi is going to need rehab!
I can well understand why people say that gel printing is addictive. I can’t remember when I had so much fun in my studio as I had this afternoon, trying out my new stencils with the gel plate. There is something incredibly satisfying about brayering the paint onto the plate, and the soft cool sensation as you press the paper down, and then the anticipation and excitement as you pull the print, not knowing what is going to be revealed. The act of pulling is, in itself, immensely satisfying as you feel the resisting tug of the stickiness of the paint on the plate. The whole tactile experience of gel printing is way better than popping bubble wrap on the satisfaction scale!
Why didn’t I get round to doing this years ago? It has been in the back of my mind for so long, and last year I took the first step, buying a small, cheap gel press, but the results were so disappointing that after the first attempt, I put it away and didn’t give it another thought, apart from the thought that perhaps gel printing wasn’t for me.
Watching the wonderful Froyle on YouTube woke me out of my torpor and I decided to go for it. She is so enthusiastic, and her results are so stunning. I read a review on Amazon where someone said that like me, she had bought a cheap one and had been very disappointed, but since buying this decent one, she hadn’t looked back. That finally convinced me.
I am using the cheap one for applying paint to the brayer and for cleaning off excess paint. Side by side, you can see and feel the difference – the cheap one is really thin, and it feels hard and unyielding. The good one is a decent size, so I can print on A4 paper. It is several times as thick, and it feels mega squishy! Just gorgeous.
Backgrounds
I began by creating a series of backgrounds, with fairly light colours, onto which I could apply further layers through stencils etc. I am keeping the colour palette fairly limited at present, with my new unbleached titanium (a gorgeous cream), browns, yellow ochre, and gold and bronze, with some black, because I am planning on using the papers in my Organic Journal which I am filling with these colours to match its beautiful organic cover with leaves and bark.
Froyle, and other artists, are all singing the praises of Golden iridescent bronze fine, so I invested in a bottle – this stuff is expensive! – but my goodness it’s worth it in spades. It is utterly gorgeous. The photos simply don’t do it justice. I also bought a bottle of Golden quinacridone nickel azo gold which is a translucent reddish colour, and also utterly gorgeous – also on the recommendation of Froyle and other artists. I had to buy another tube of yellow ochre (cheap variety) because my old one had completely dried up, and I got some alizarin crimson as well. I have a fairly good selection of other acrylic paints of different brands, so I am now well set up.
Here are some of the backgrounds I pulled today. The rest already have additional layers on them.
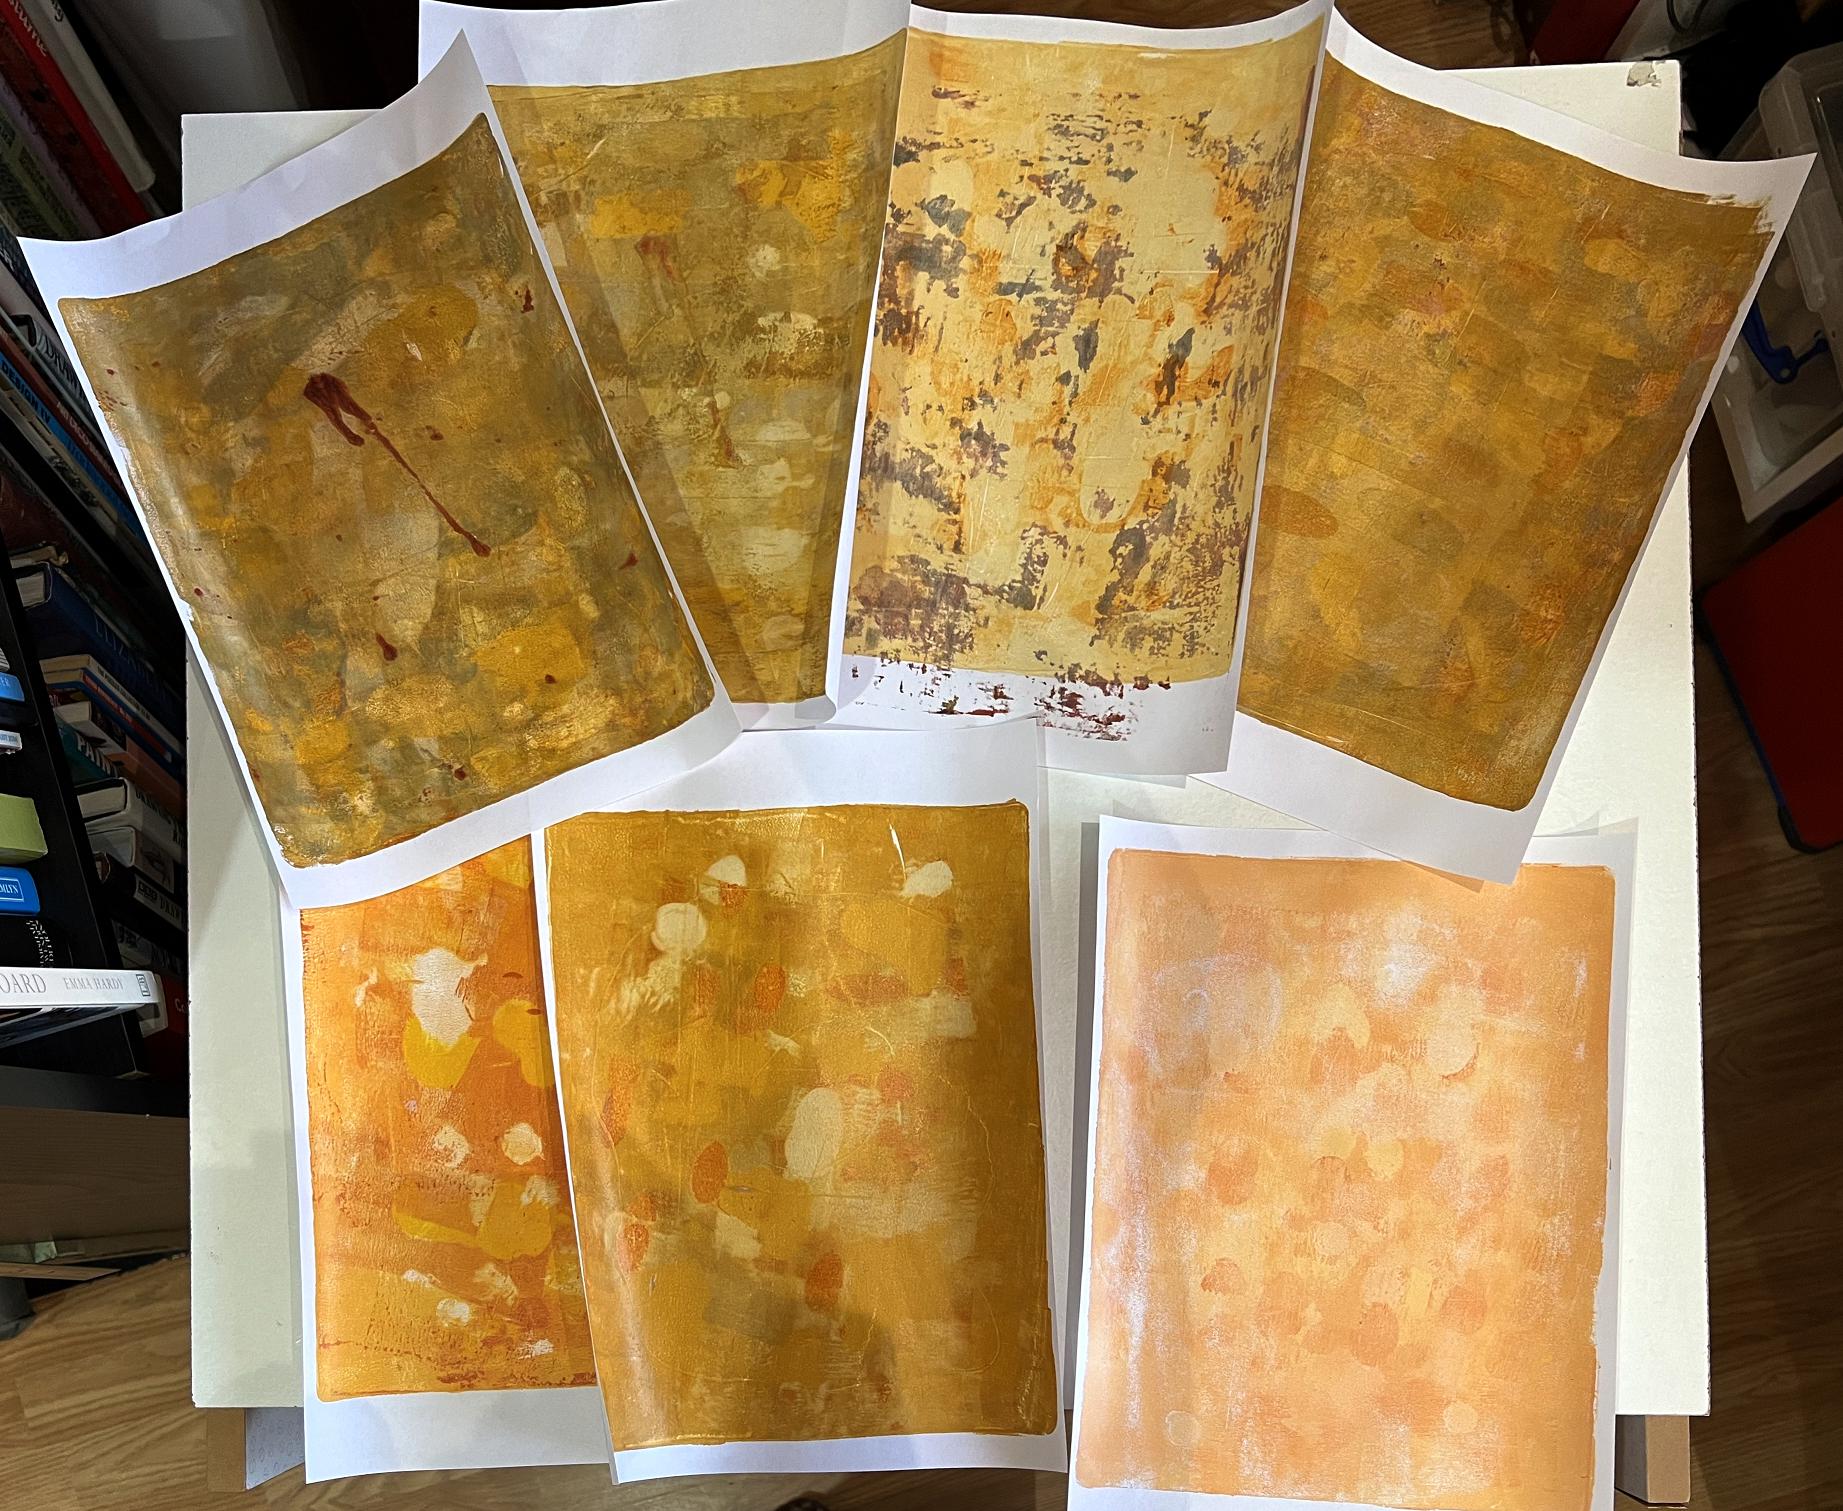

Quite a few of them have touches of the Golden iridescent bronze but it simply doesn’t show up on the photos. When blended with other colours, it gives them a subtle metallic sheen which is just fabulous. You only need a drop, so I think this expensive little bottle of paint is going to last me a long time!
Working with stencils
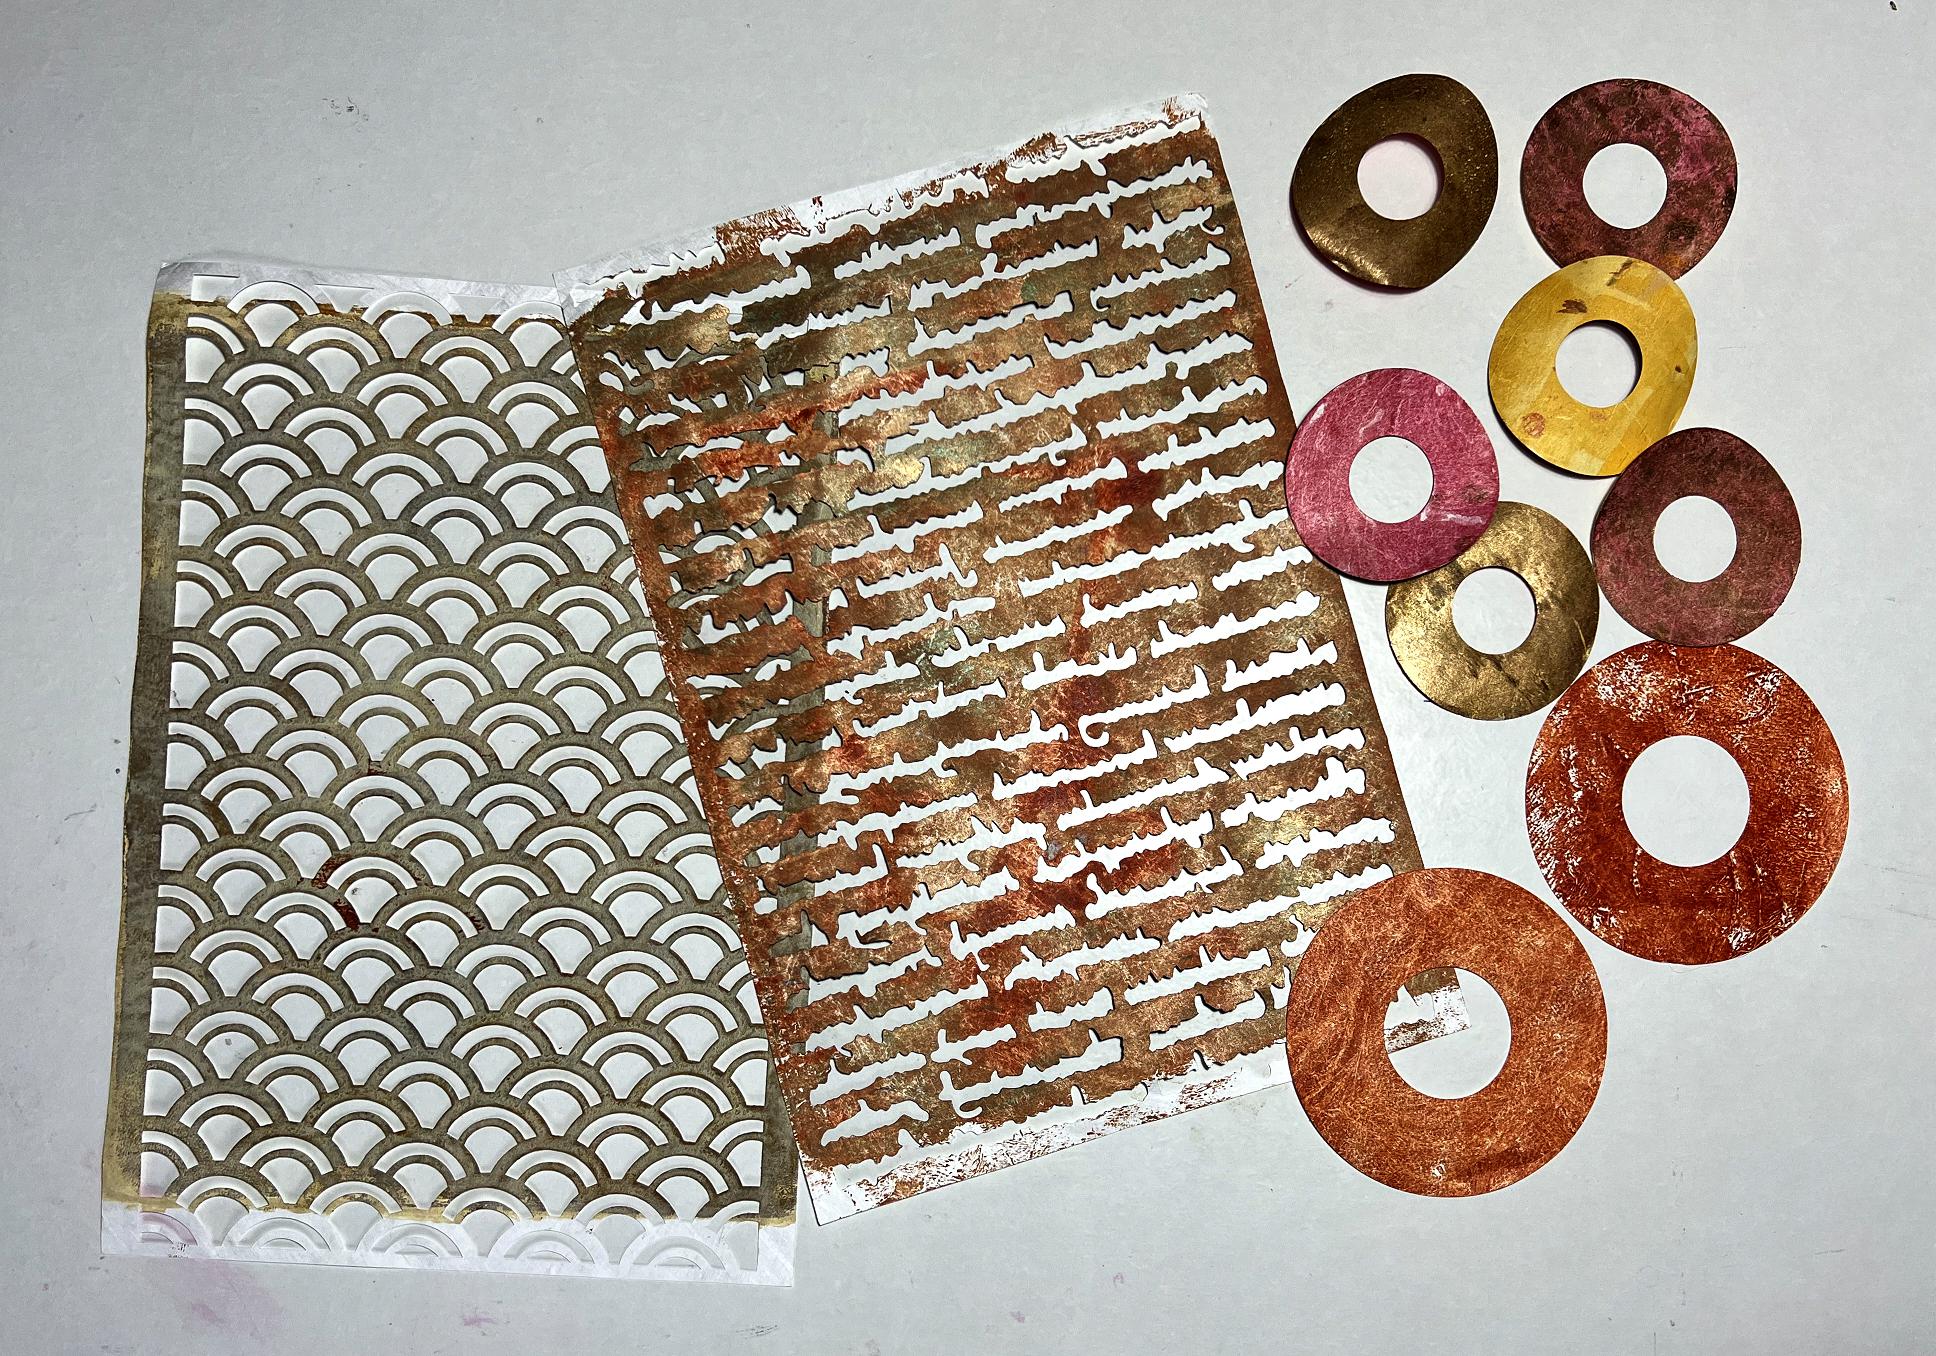
The first of my new stencils that I tried was the scallop one. On some of the following photos you can see a bit of the sheen of the bronze.
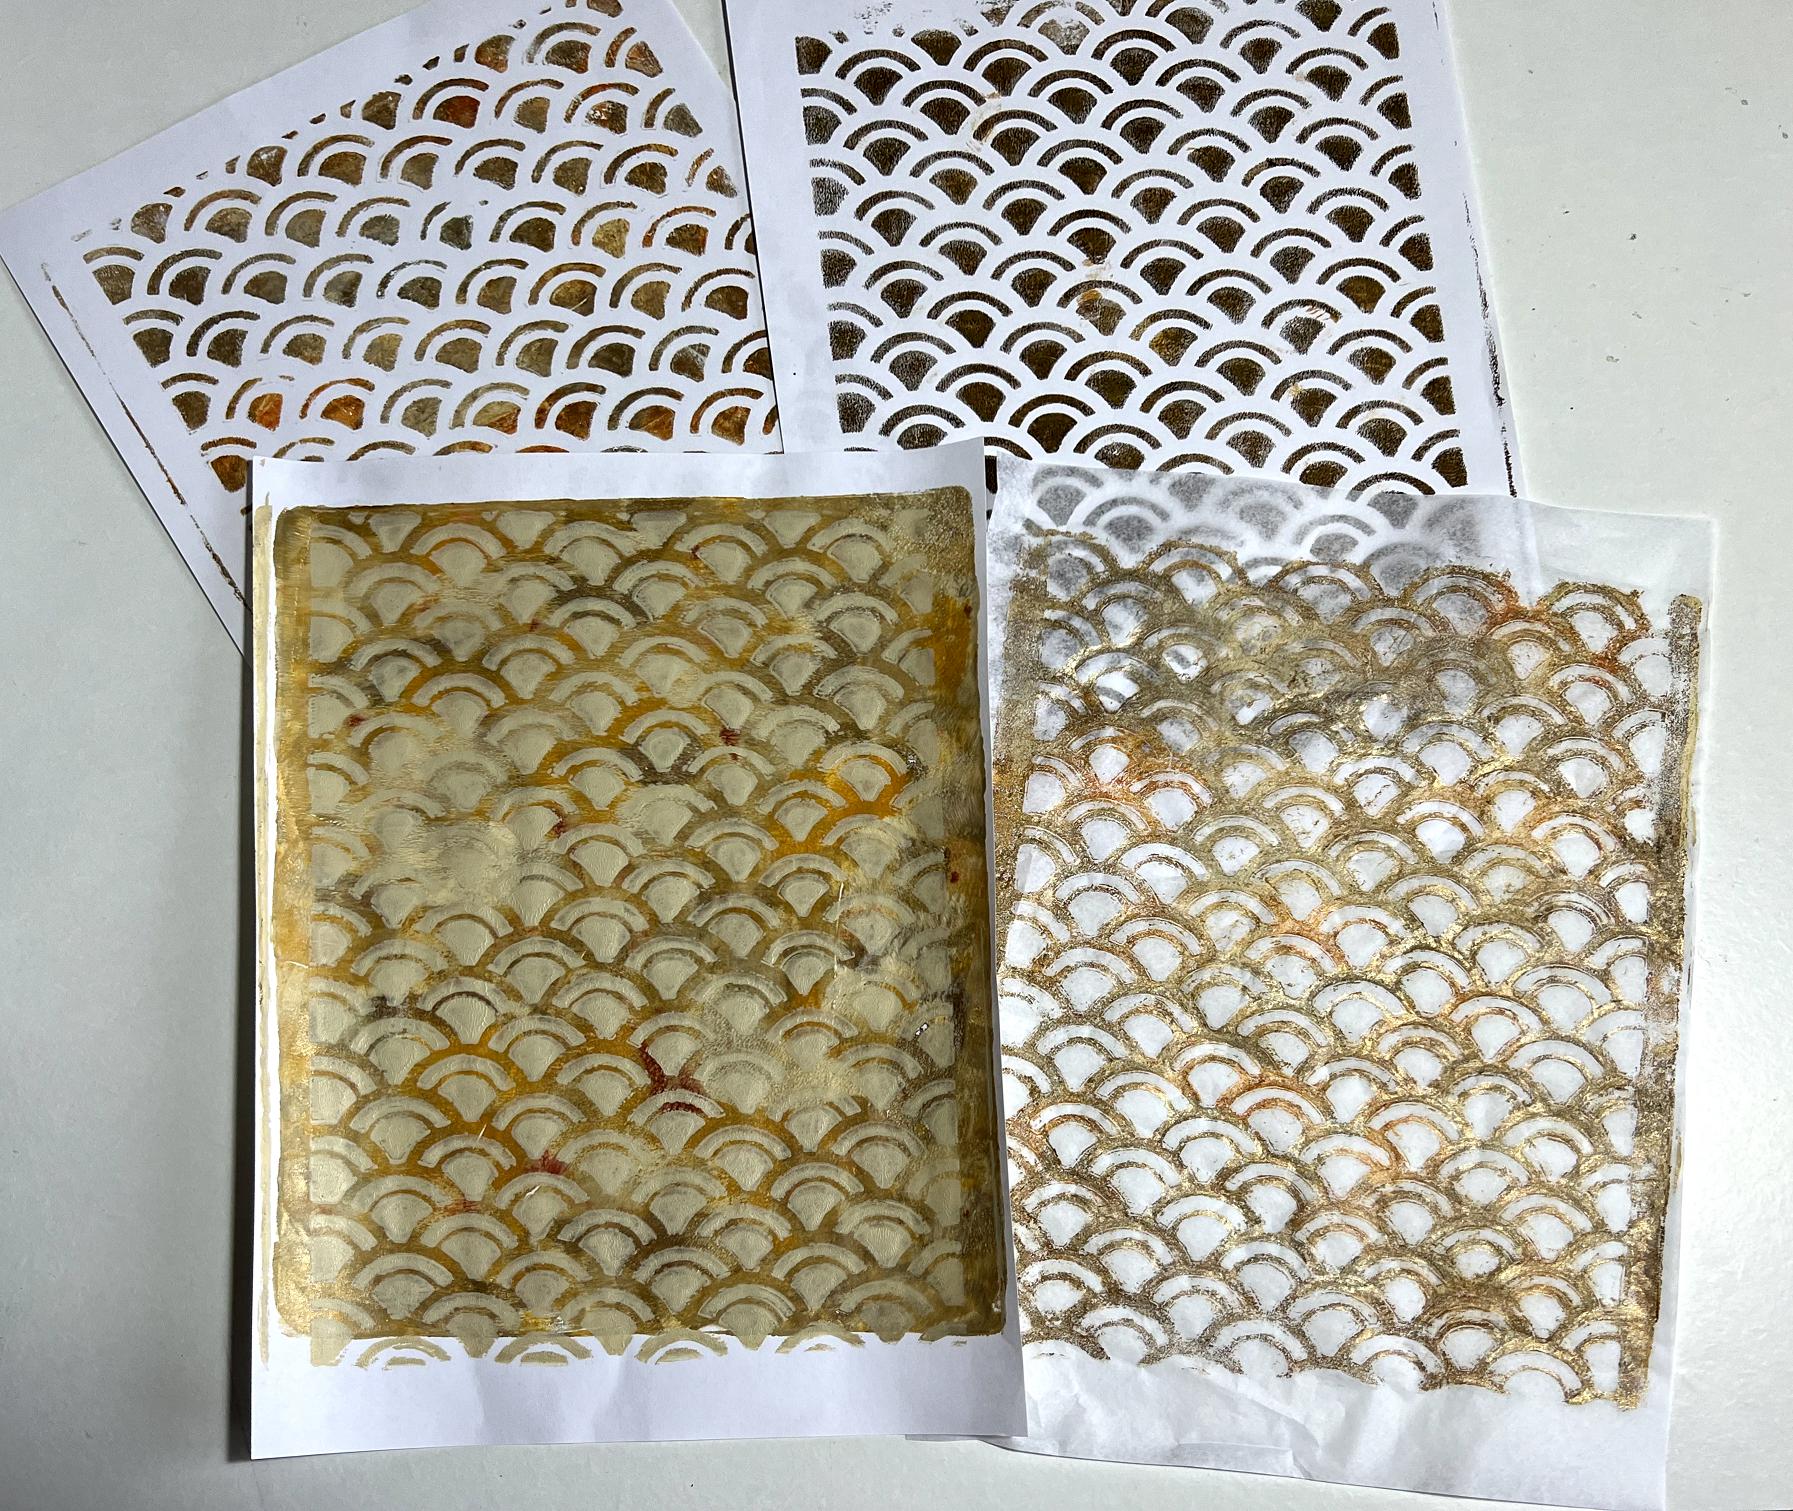
All these are ready for further applications of paint layers or spray inks etc.
Fix-a-Loo masks
I then moved on to trying out my Fix-a-Loo washer substitute masks. Please see my previous posts for details about these – this is Froyle’s idea. My Tyvek masks worked a treat. I particularly like the one at top right in the next photo – I printed this onto a background I made previously, using my honeycomb mask.
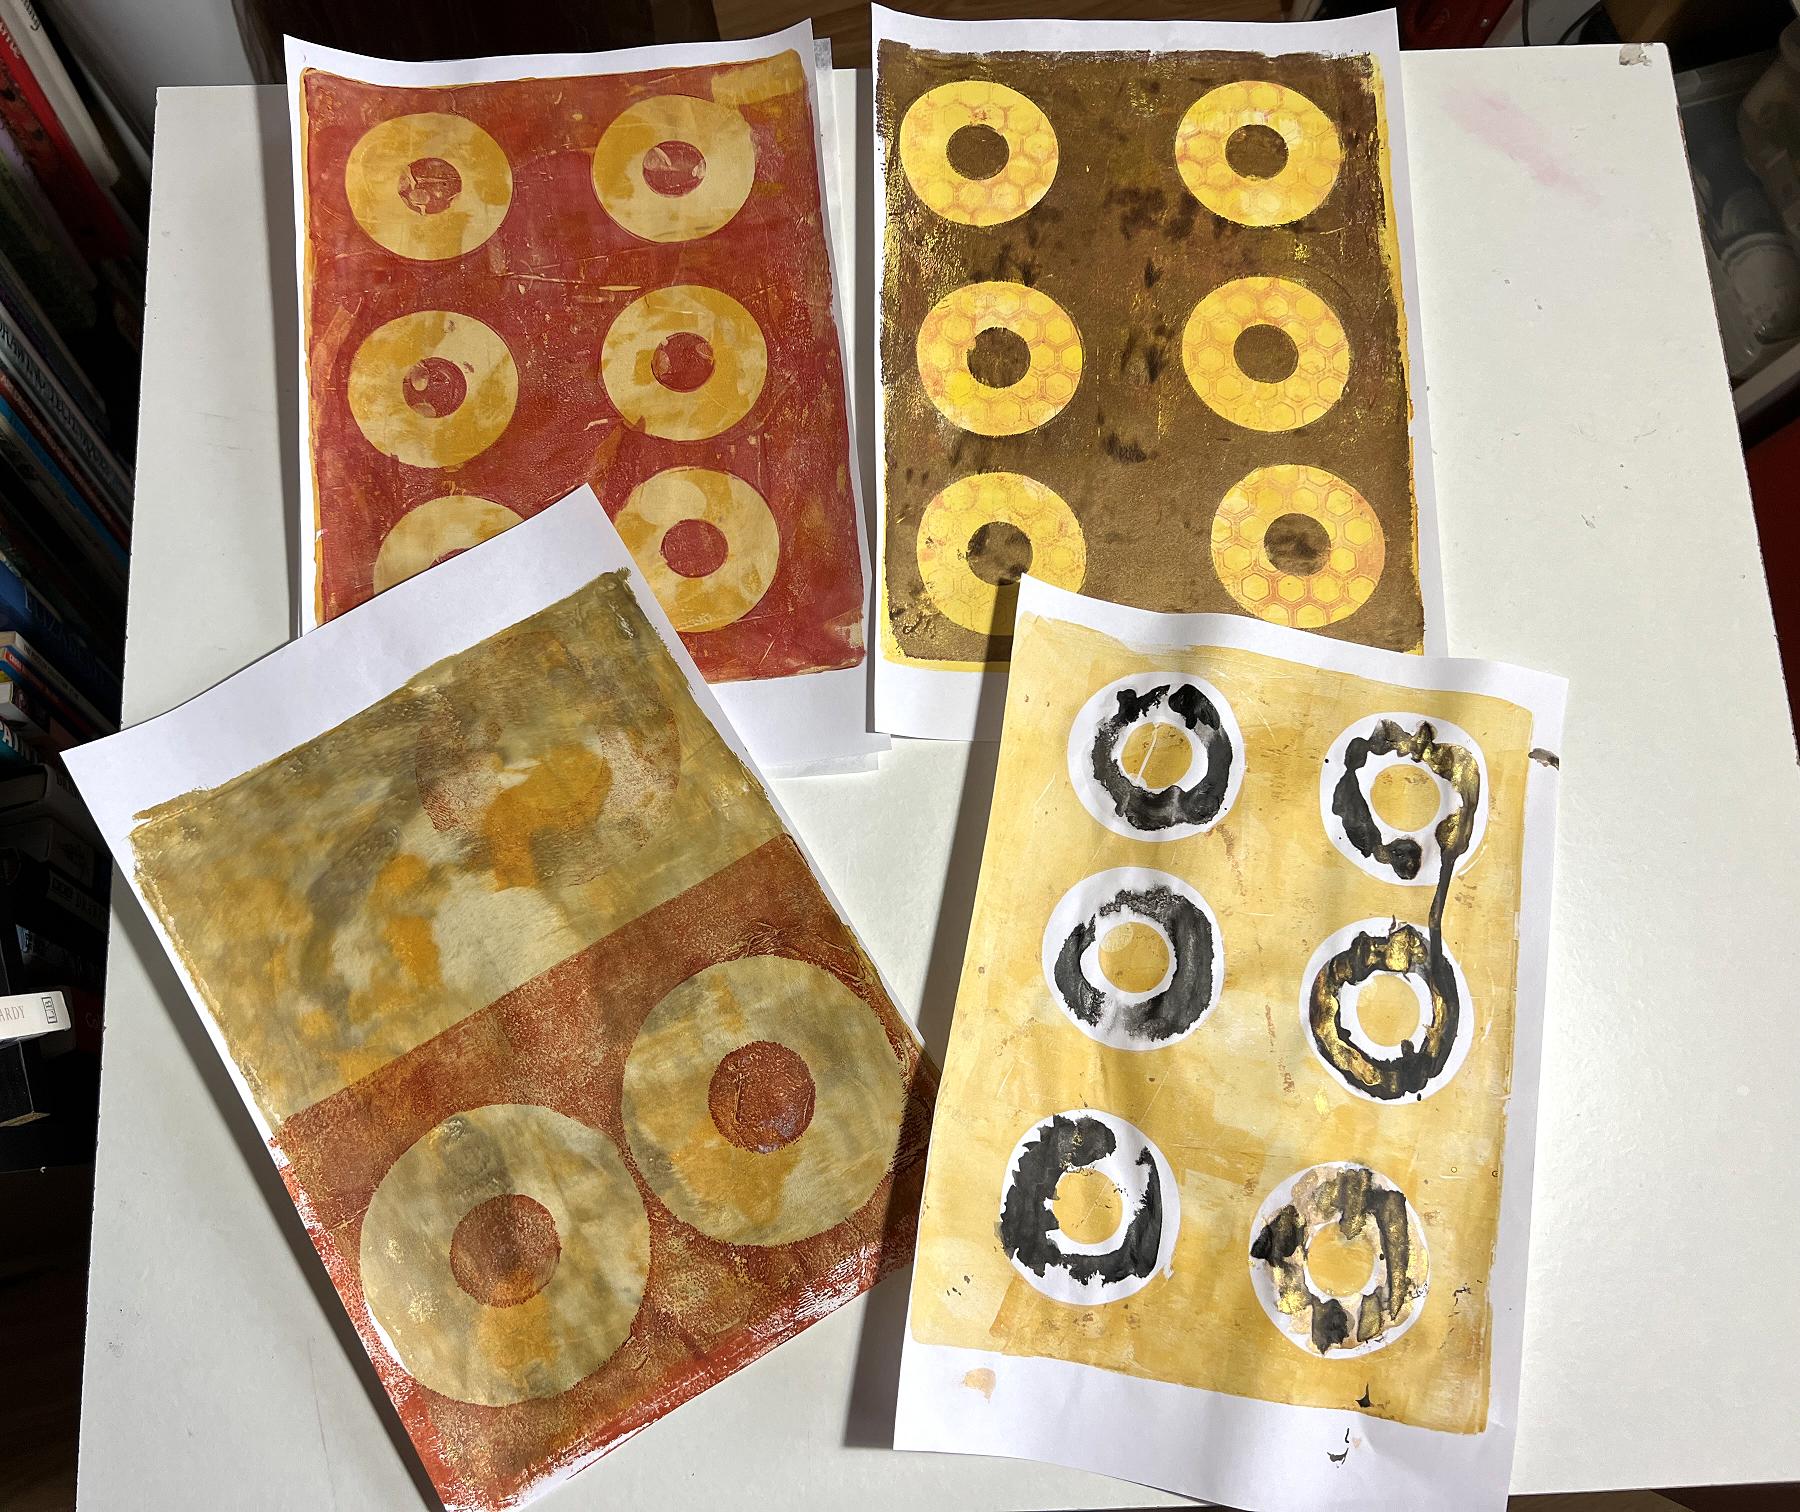
The one at bottom right was an idea of Froyle’s which didn’t come out quite as well as hers! Maybe with practice… Anyway, this was the first pull with the washers. She did hers with a darker colour which made more contrast which was better. Because it was printed on white paper, the circles came out white. Following her directions, I painted the white circles with water and dripped ink on and let it flow, with variable results! I used a mixture of black and gold Indian inks from Dr. Ph Martin. I think they will be usable.
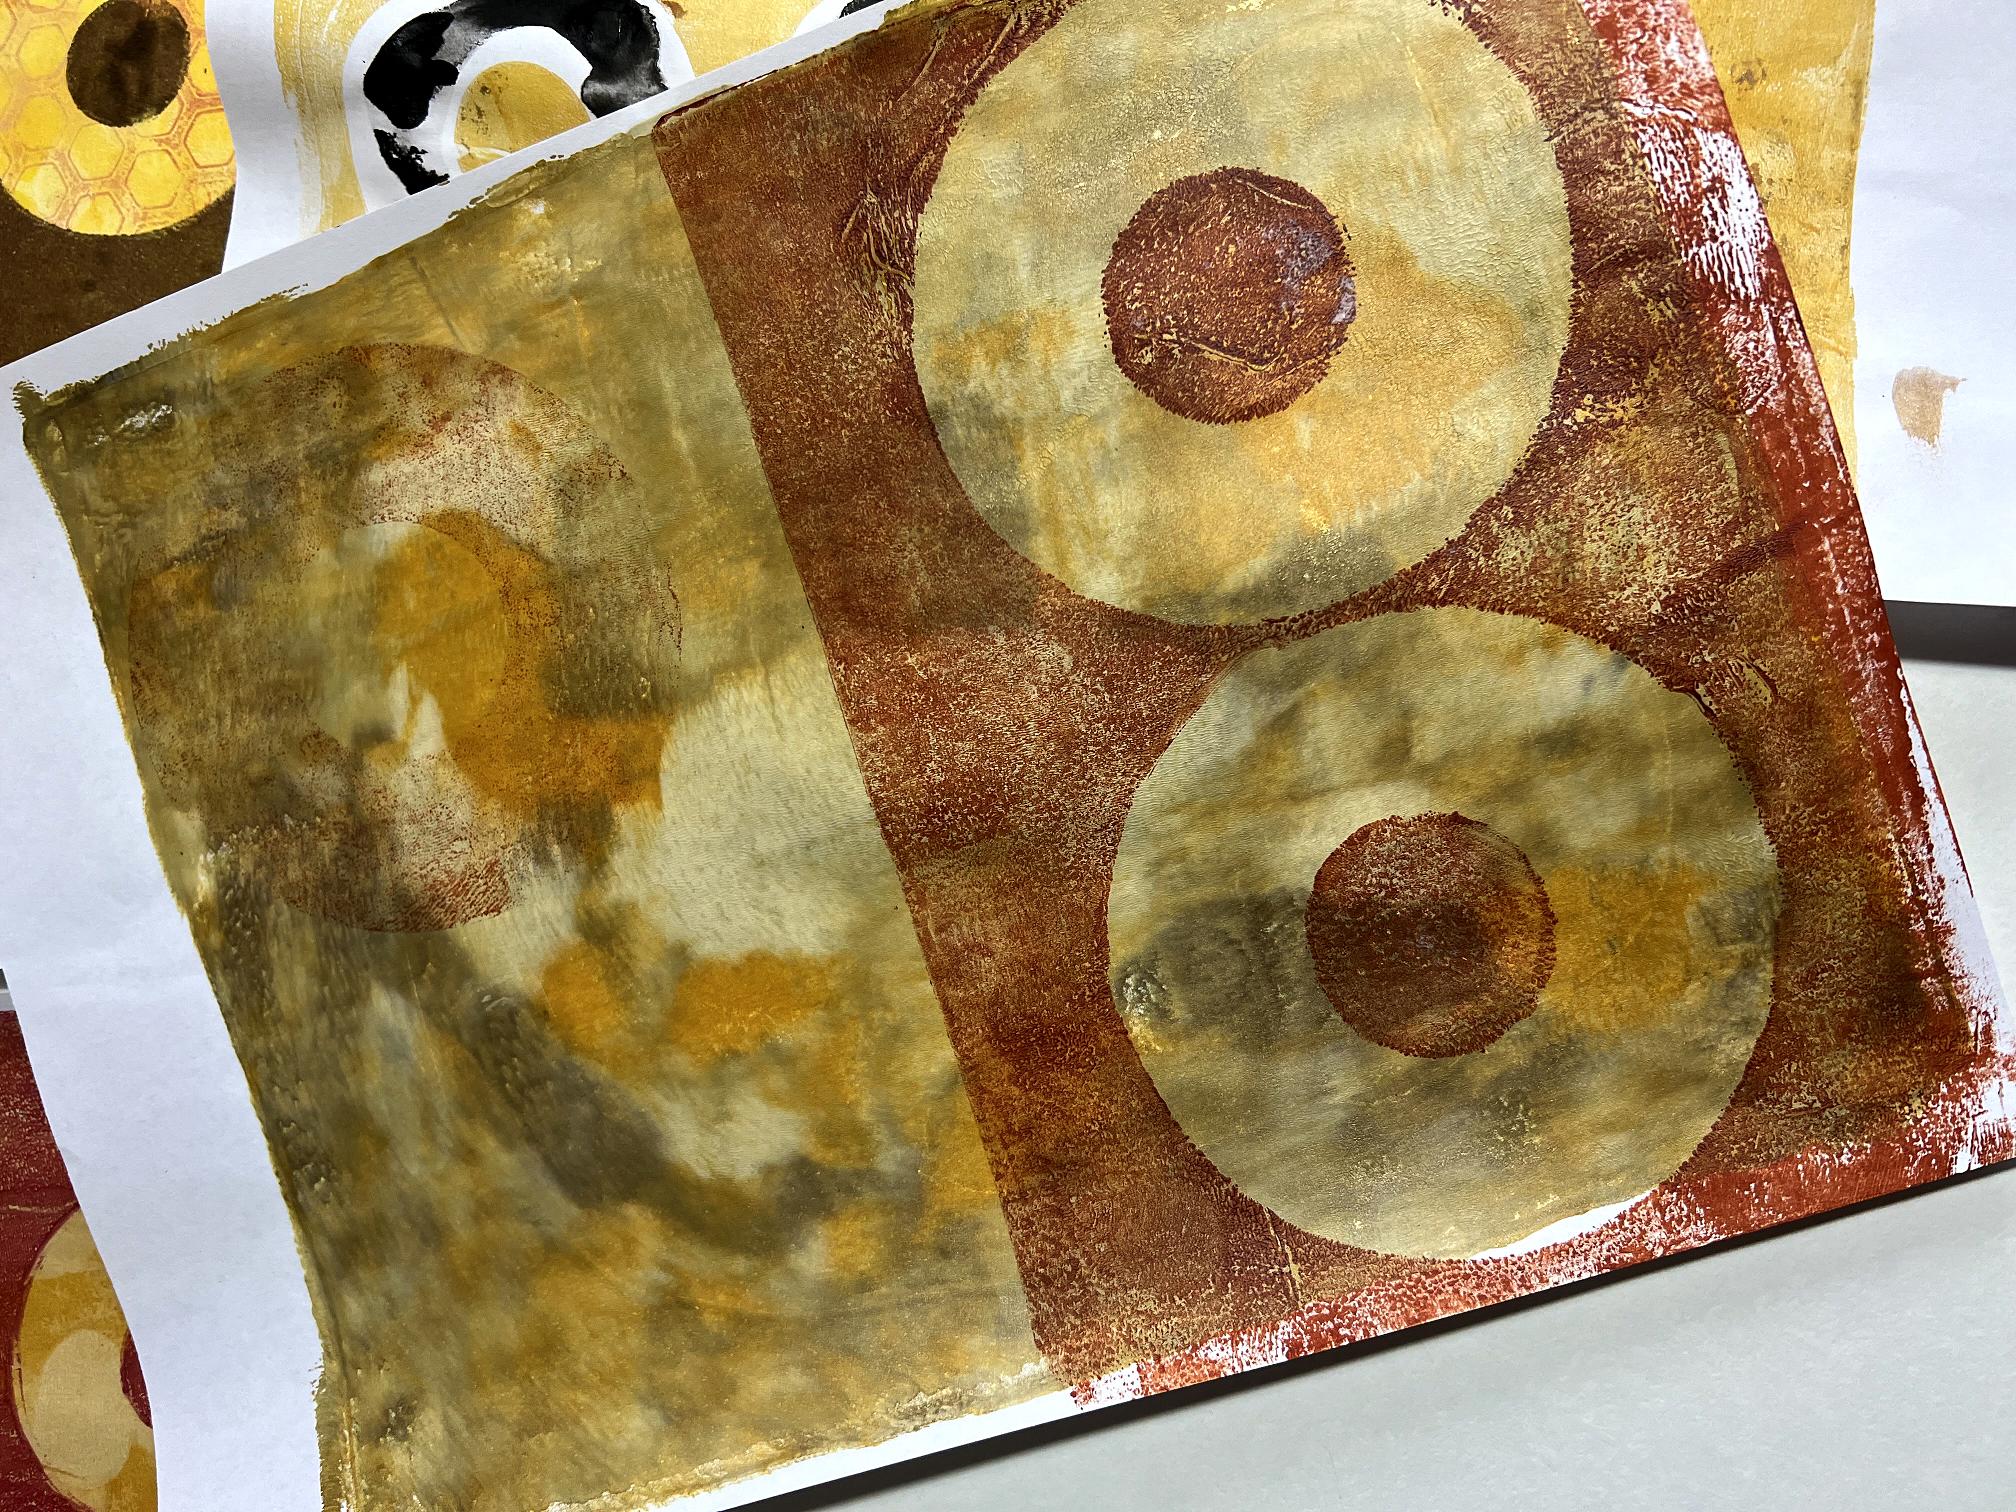
A detail shot of the one with the larger circle mask.
A grungy technique
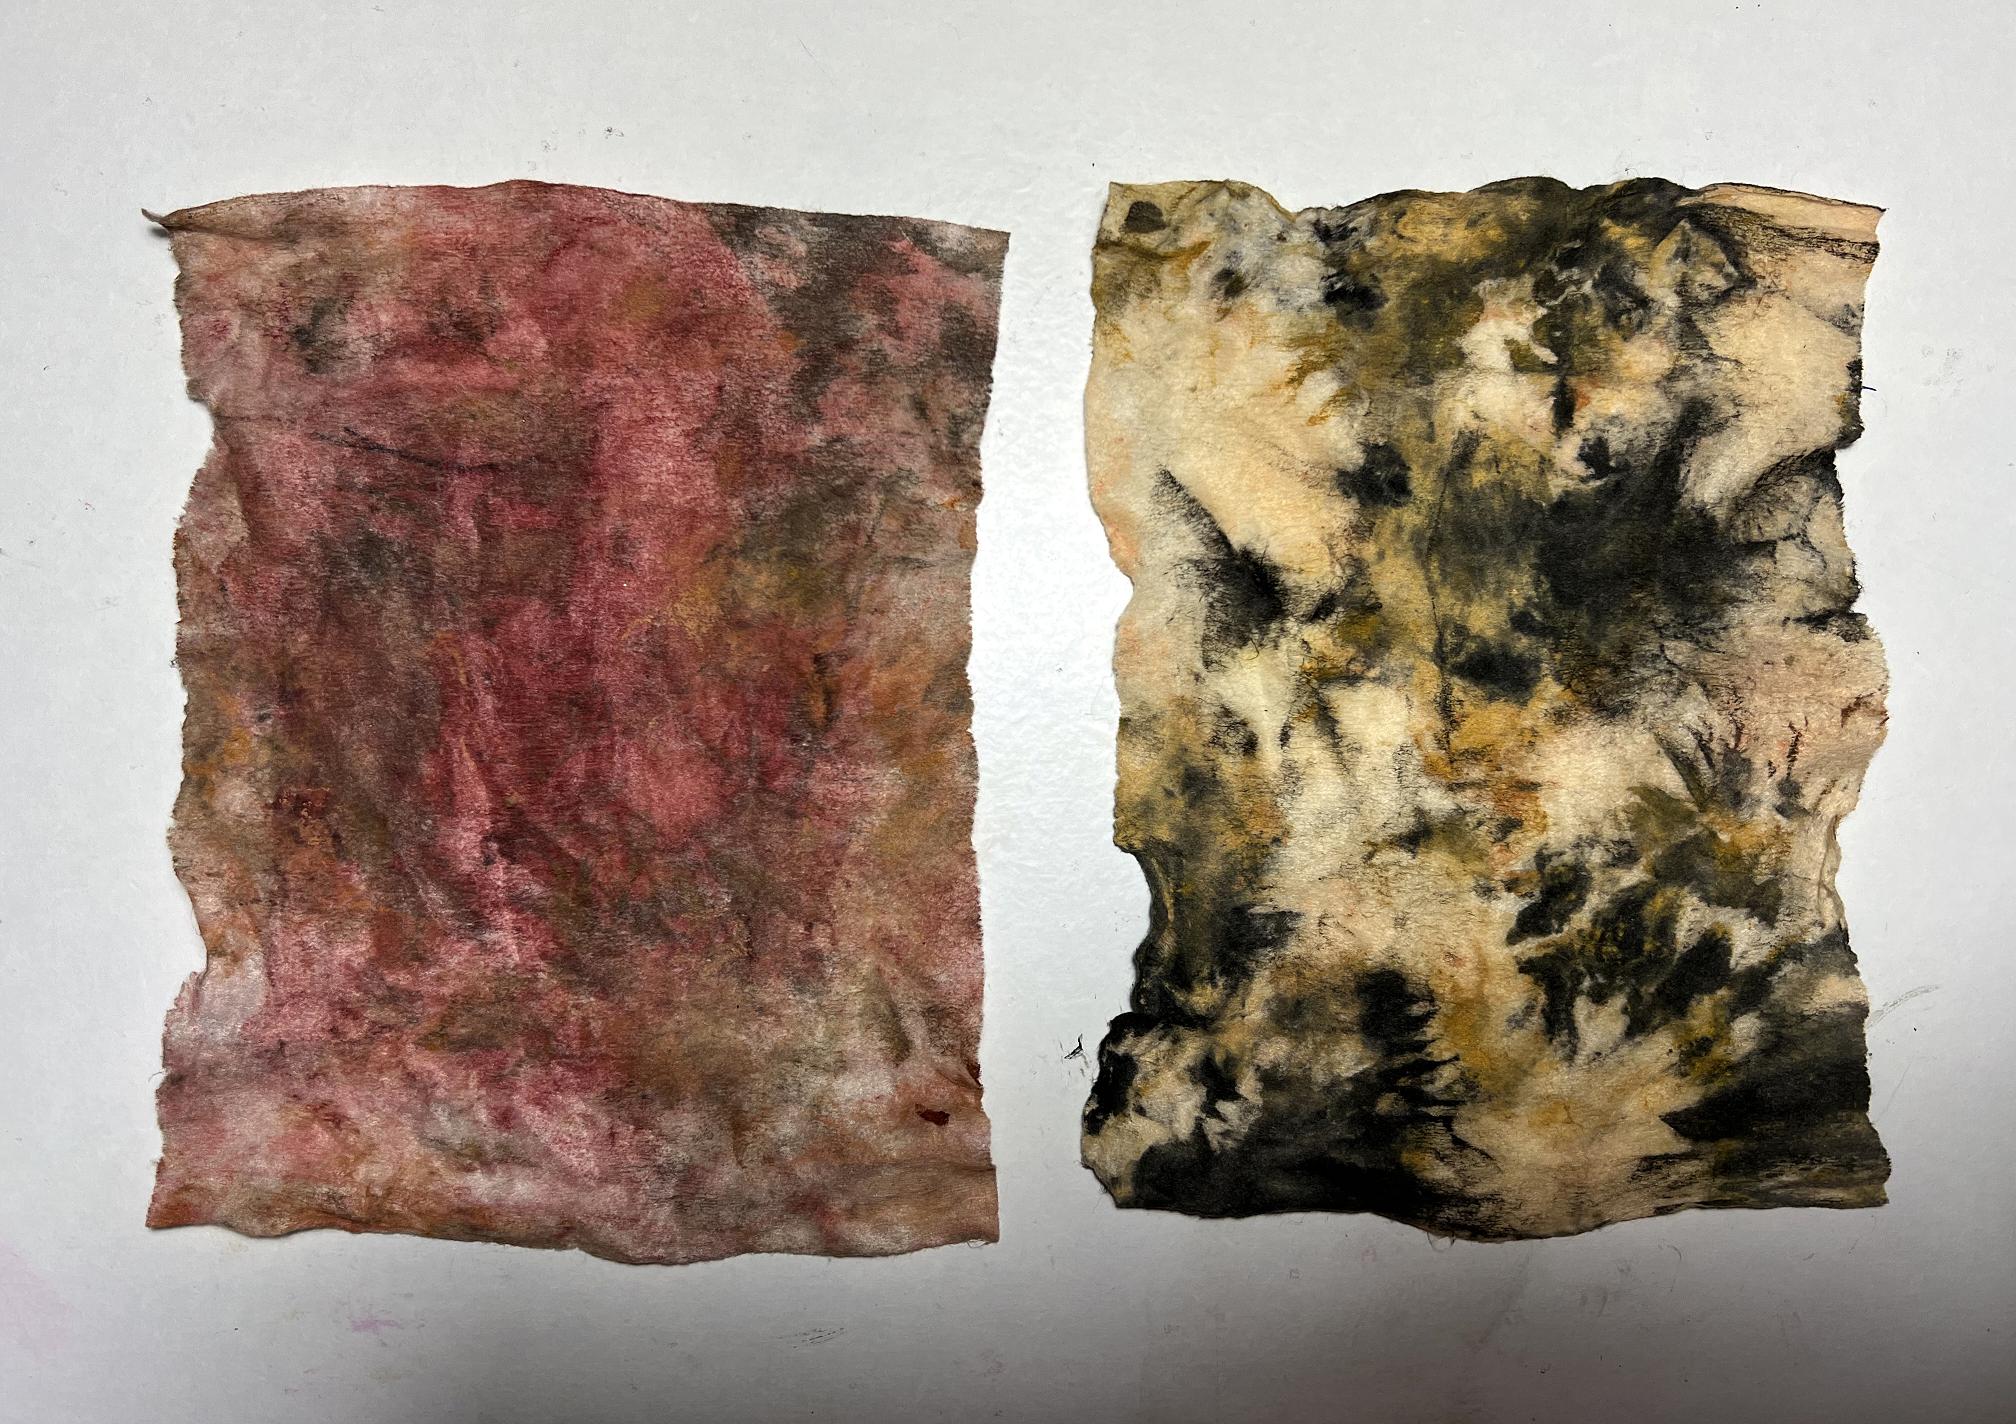
I then moved on to trying out my small script stencil. I followed the tutorial given by Karen Burchill on how to create grungy prints.
On the left is the initial print using the script stencil onto the plate completely covered with black, and on the right is the finished print. There is plenty of subtle bronze shimmer on this one.
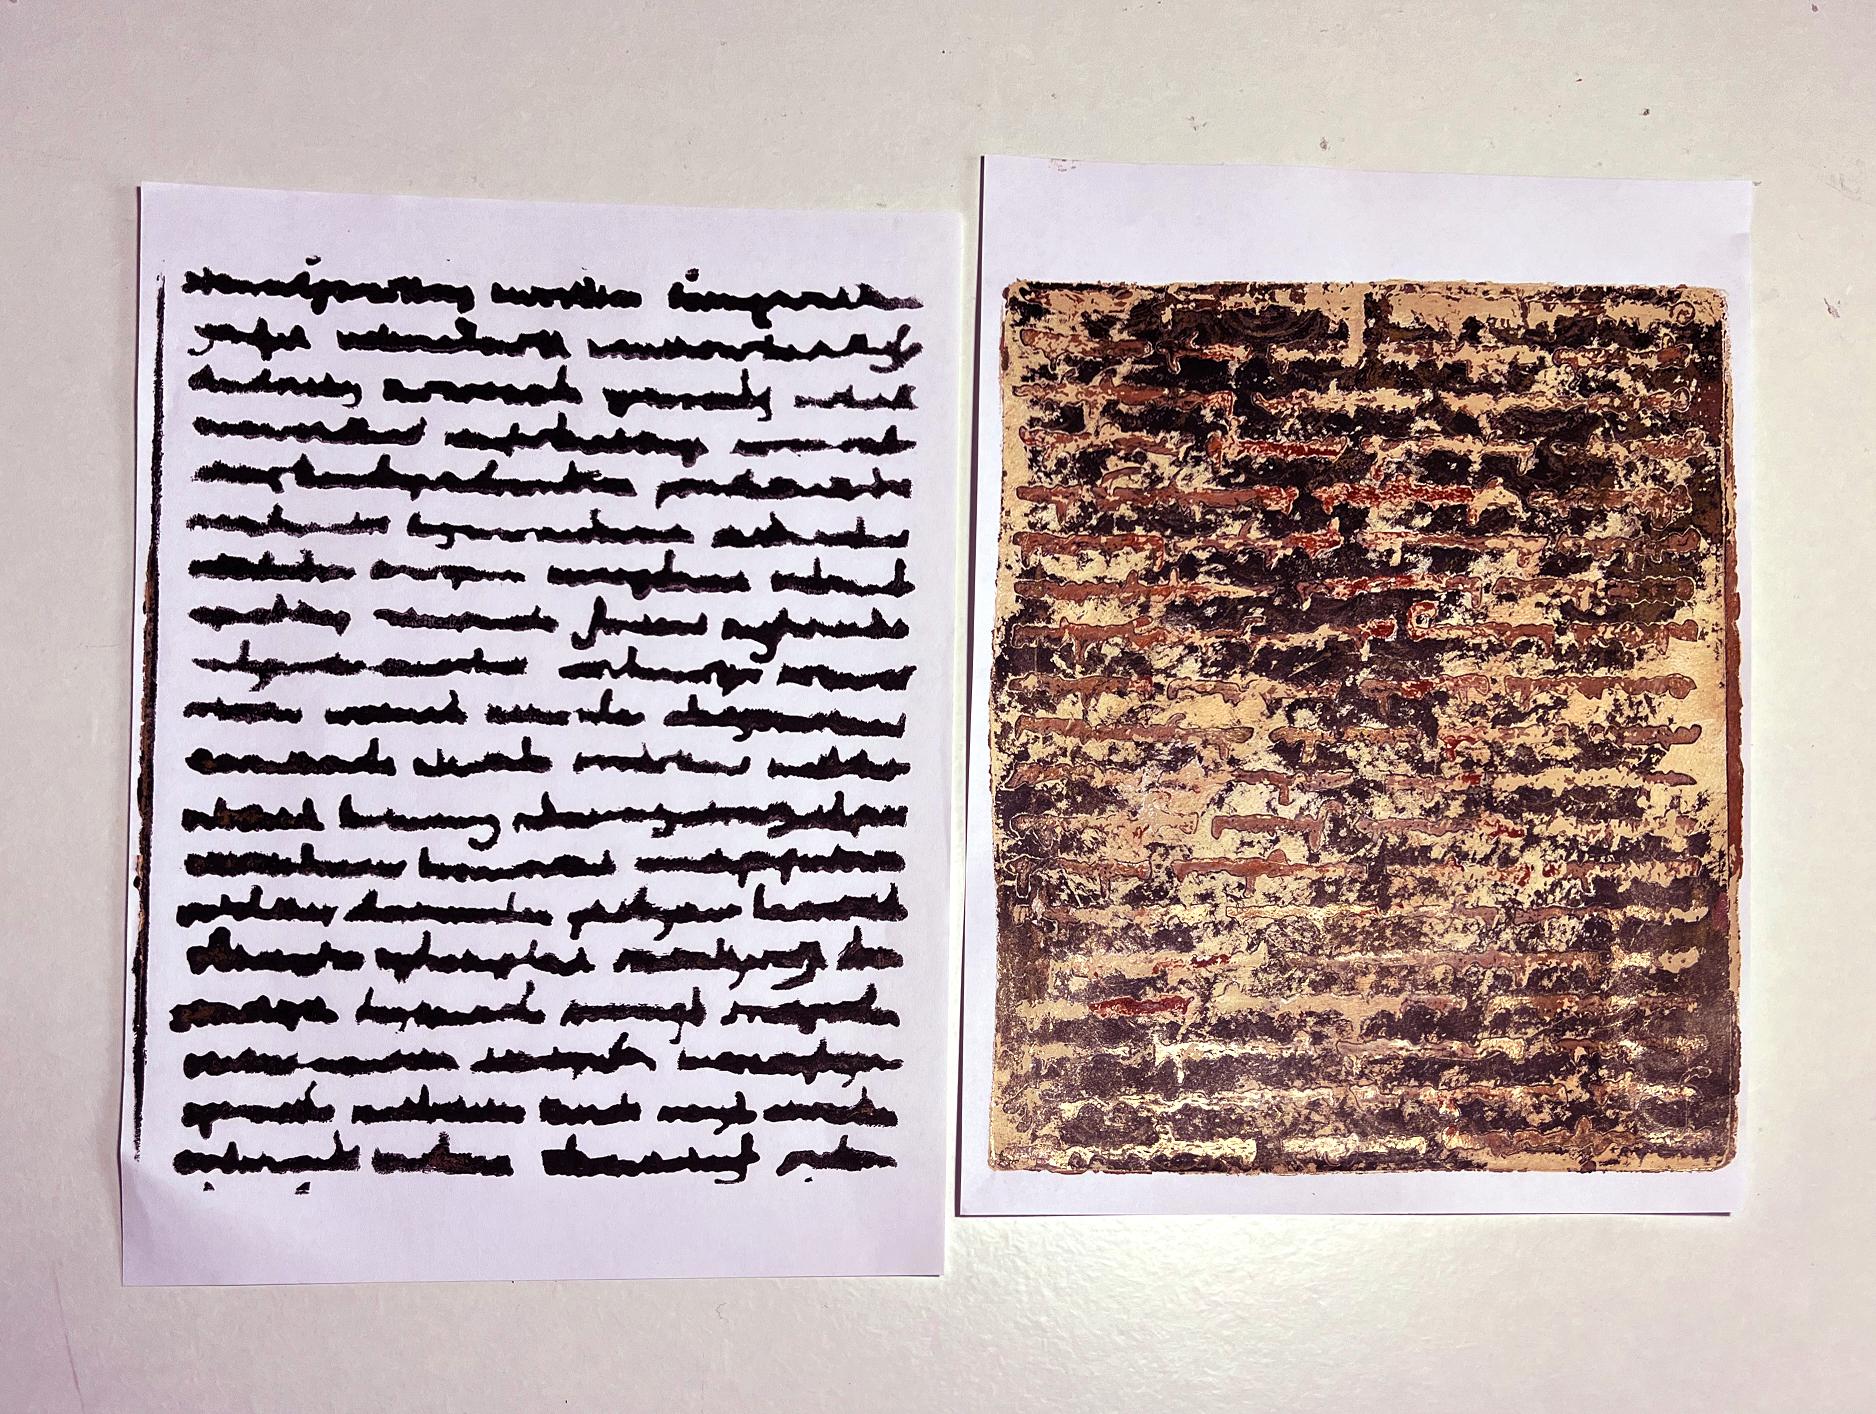
I am really delighted with how this turned out. The photo really doesn’t do it justice.
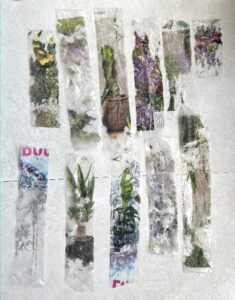
Ghost prints
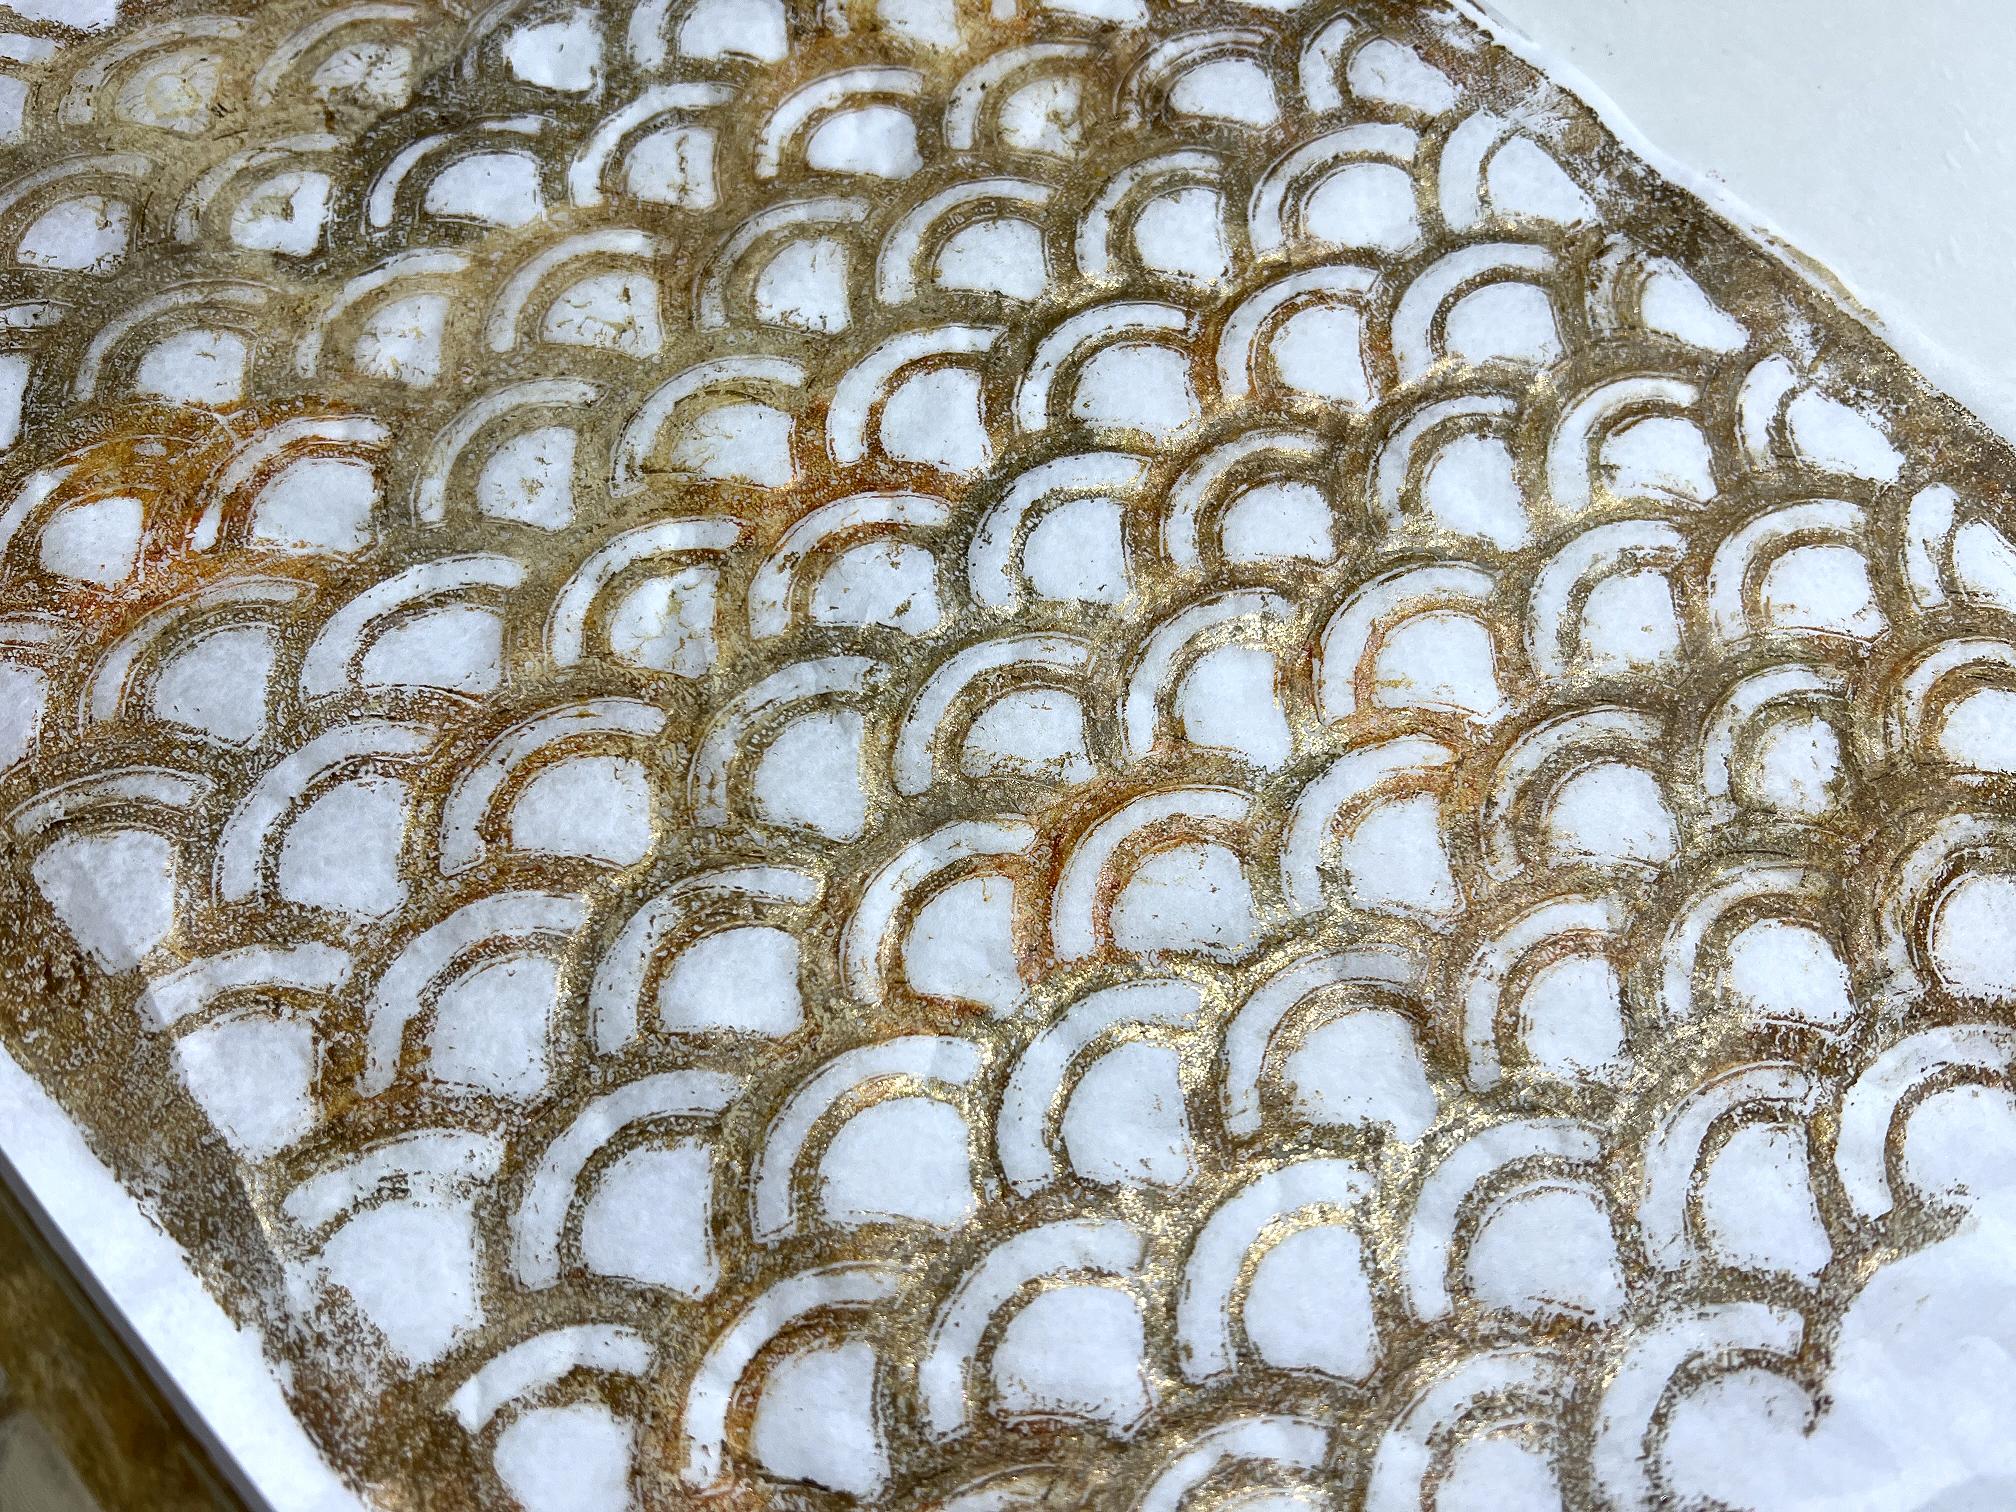
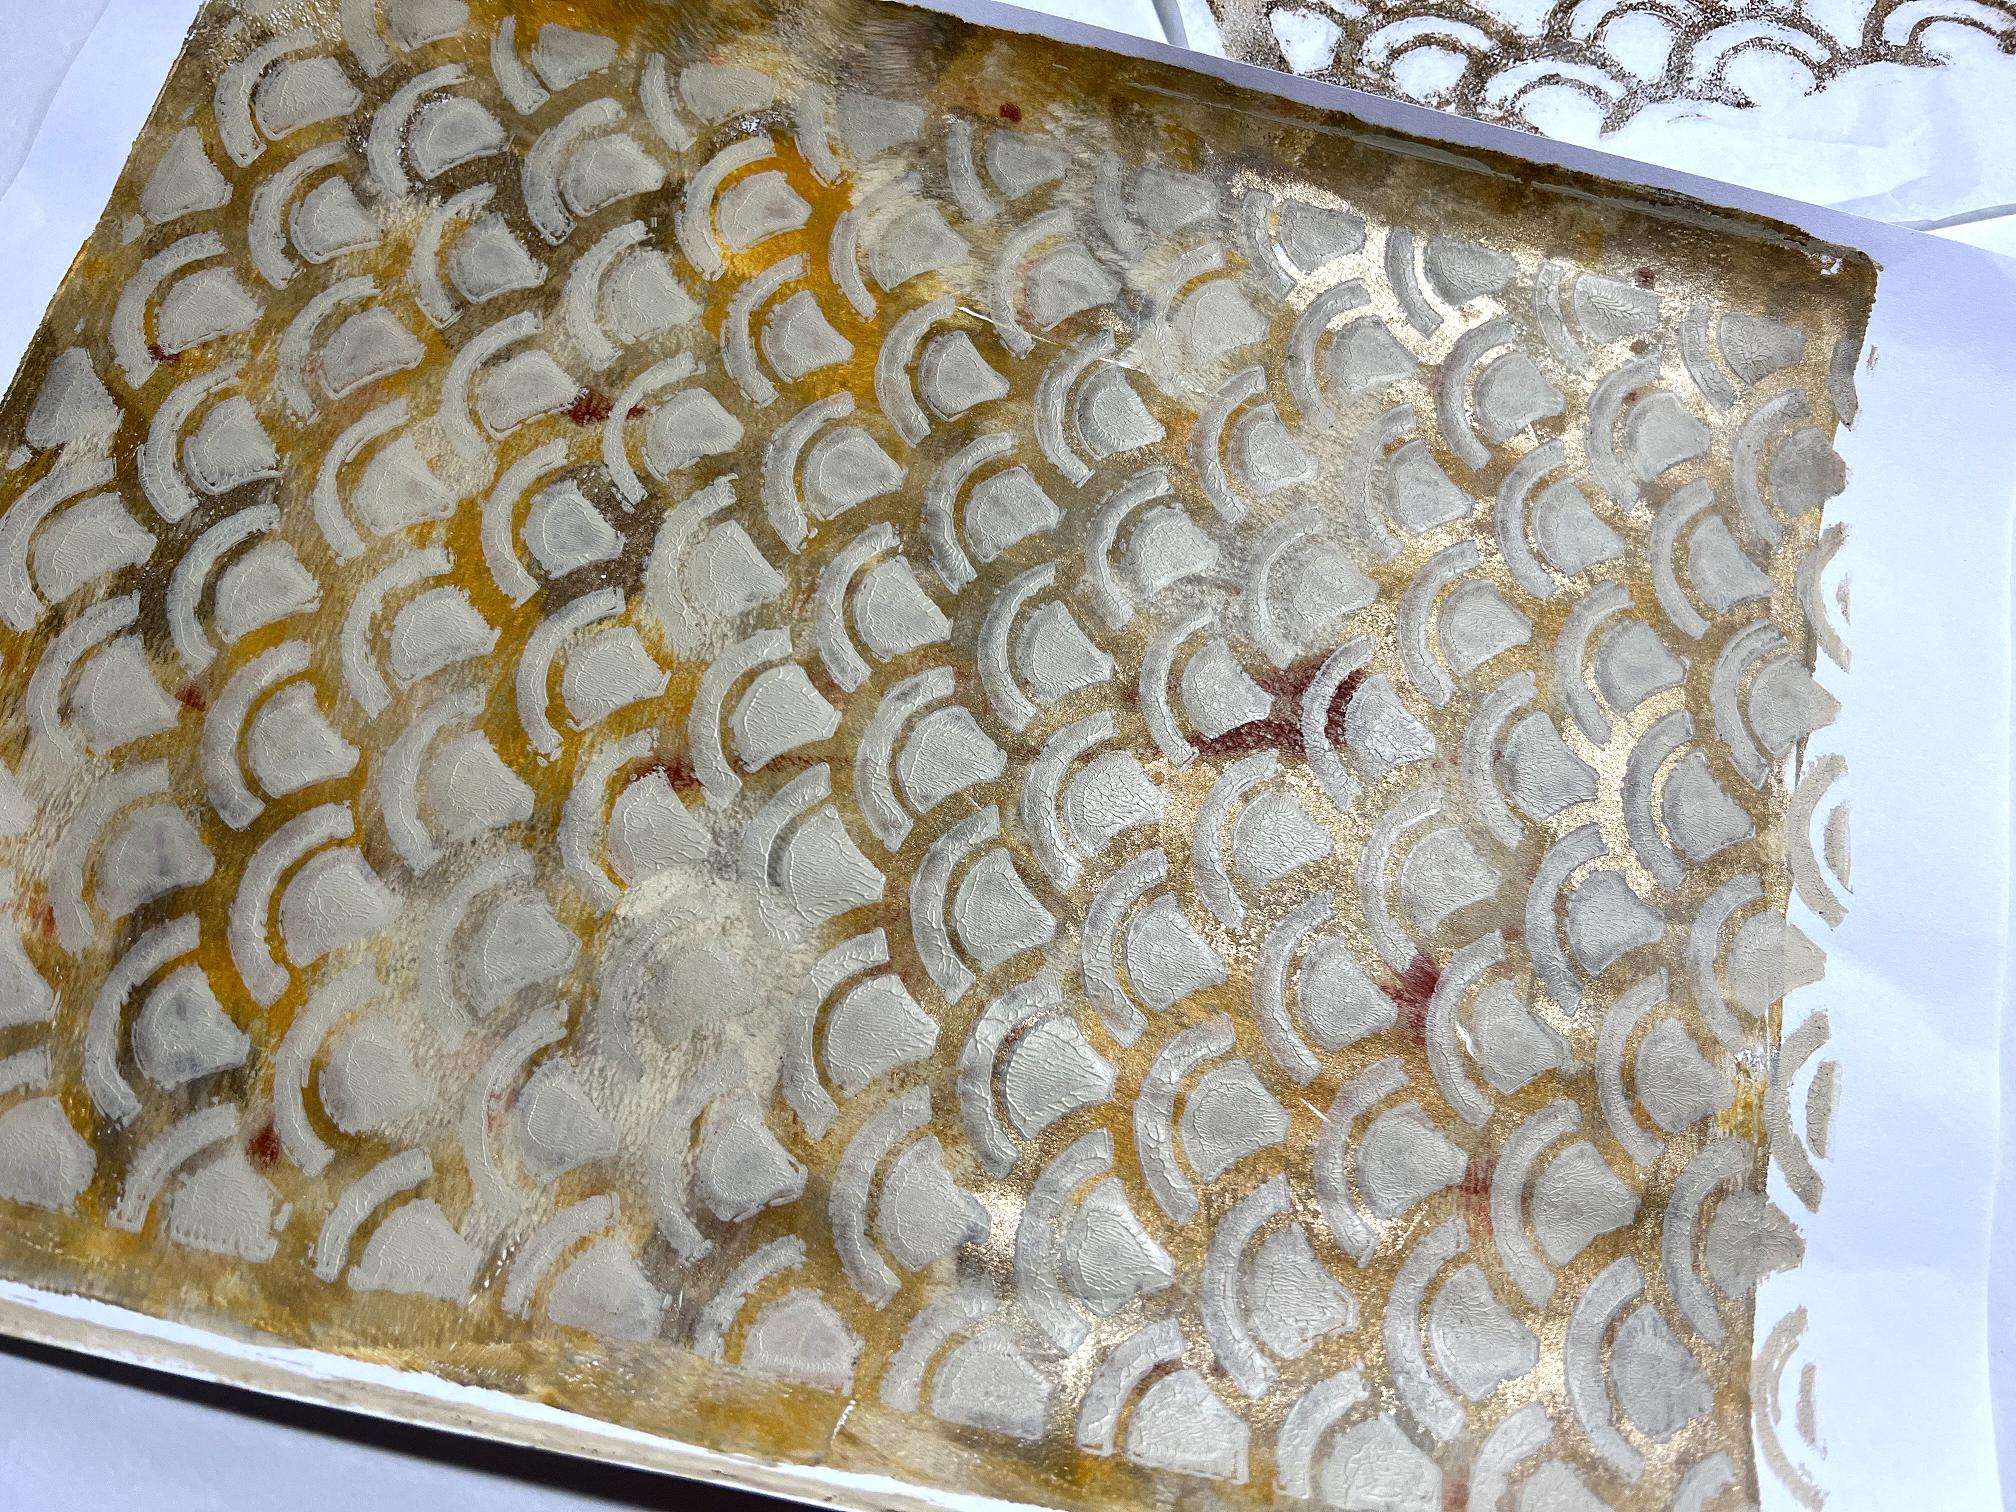
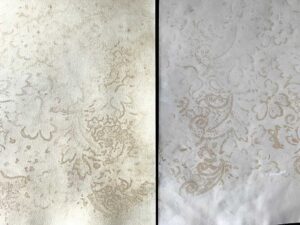
Here are the ghost prints I created today – those prints you pull after the main one, to lift off more paint from the plate. Lots of potential with these, for adding further layers.
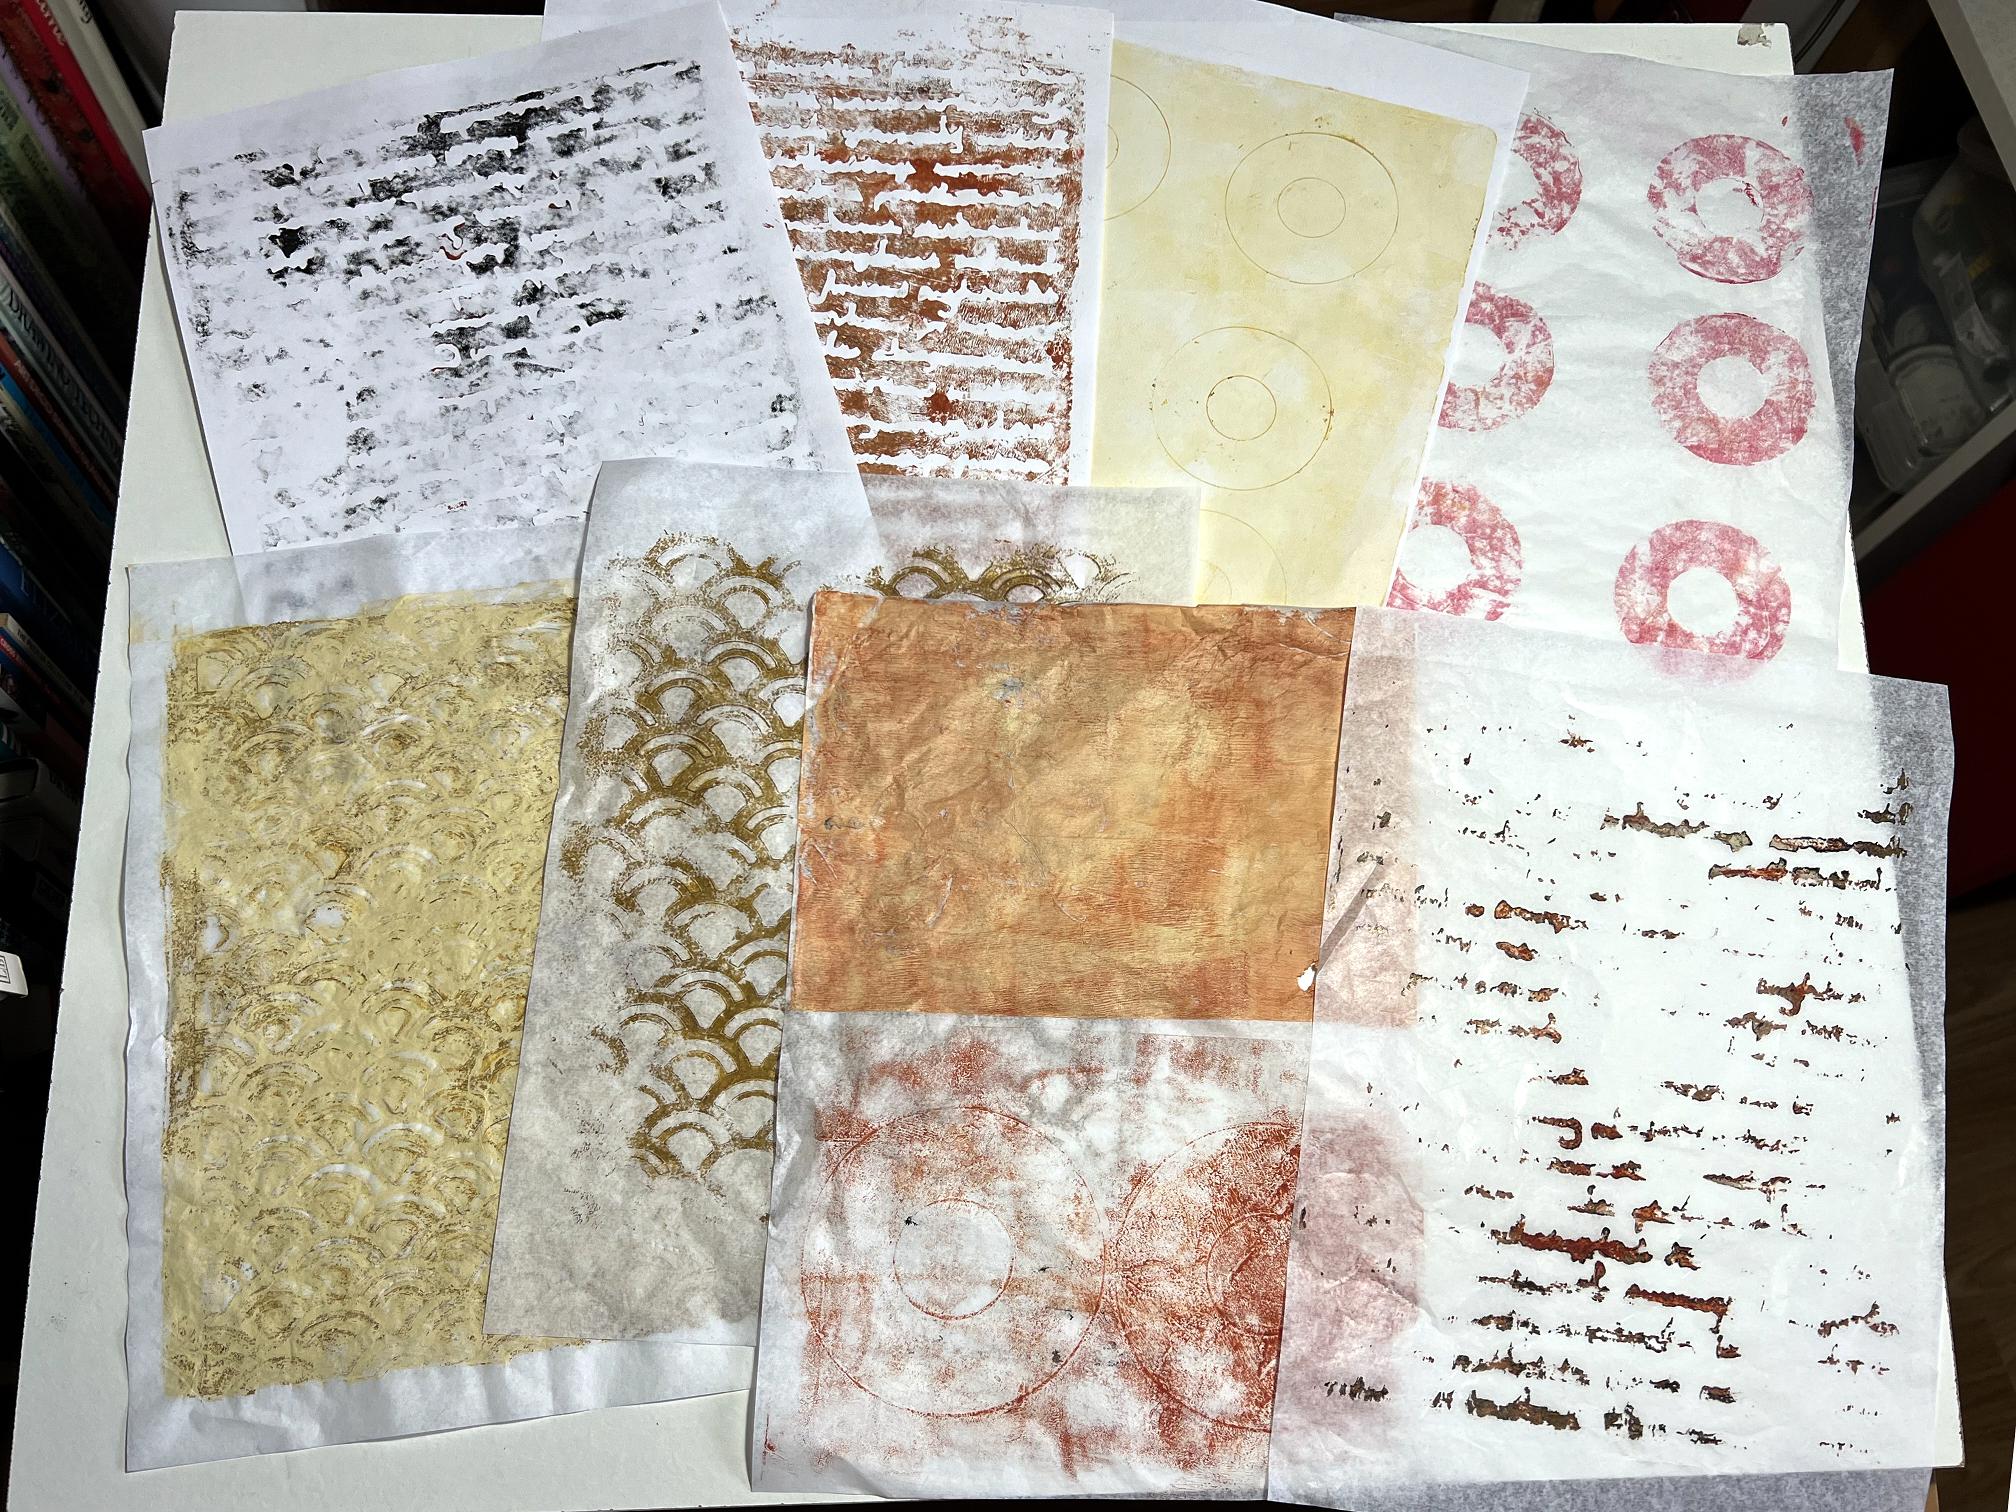
This was the first time I tried printing on white tissue paper, as recommended by Froyle. As she shows on many of her collage videos, when you apply these prints onto a page, where there is no paint, the tissue paper becomes transparent and merges into the background. You can get wonderfully subtle results using the translucency of this paper when creating layers.
Working with tissue paper is even more pleasurable than with printer paper! I just love the feel of it on the press, the smooth coolness of it to the hands, and it pulls off beautifully – it is a lot stronger than you might think. I also seems to lift the paint extremely well, so it is very good for ghost printing.
Stencils after use
Here are my stencils and masks at the end of today’s session. They are looking gorgeous and any one of them could be used as a collage element! I am not cleaning the paint off them. As the paint layers build up, they will make the Tyvek feel less flimsy. When the time comes that they no longer function well, or if the edges of the stencil cuts become less defined, I can always used them as collage elements and cut fresh stencils from the svg files on the computer.
You can see how gorgeous the Golden iridescent bronze is on some of these stencils.
Clean-up time
Finally, two baby wipes I’d used for cleaning up, now dried. Aren’t they simply delicious? I couldn’t possibly throw these away, but will definitely be using them in projects. They have a wonderfully soft texture, and I think they are going to feel like suede once they are adhered to a page.
Following the advice of several online artists, I have decided not to clean my plate after each session. Bits of paint residue will gradually build up, and get pulled with subsequent prints, adding to the texture. The plate has two sides, and I’ve decided to allow one to remain as-is at the end of the session, and the other side can be kept clean if I want cleaner, more defined prints.
I can’t wait to try my other stencils and masks. There is so much potential here. How could anyone have more fun than this? It is one of the most creative things I have ever tried.
Really different, and quite lovely. I was quite taken with the ghost prints xxx