IRIS SHUTTERS AND VOLVELLES
I love 3-D paper projects, pop-ups and mechanicals. I finally got around to cutting some pieces to make iris shutters for my Oriental-style album, and making a cutting file for a volvelle.
Iris Shutters
Some time ago I came across a cutting die to make iris shutters but it was very expensive, and with a die you are limited to cutting only one size. I didn’t bother to pursue the matter any further until recently, when I discovered various downloadable cutting files. After purchasing one (at no great expense), I found others which were free, but in the end I have settled on the purchased one as the mechanism looked better. Also, this particular one has five “leaves” and many of the others have only three; the more the better, as you get a smoother-looking result.
The paper iris shutter is based on the iris diaphragm shutter mechanism on cameras. It consists of a series of overlapping “leaves” which can be rotated to produce an aperture in the centre of various sizes.
This is the image which came with the purchased pattern I bought.

There is also a very short little video showing it in action:
The download came with cutting files in various formats. I opened the svg file in Inkscape and created two different sizes: a 3-inch and a 4-inch diameter iris, and exported these into the Sure Cuts A Lot (SCAL) software that the cutting machine can read.
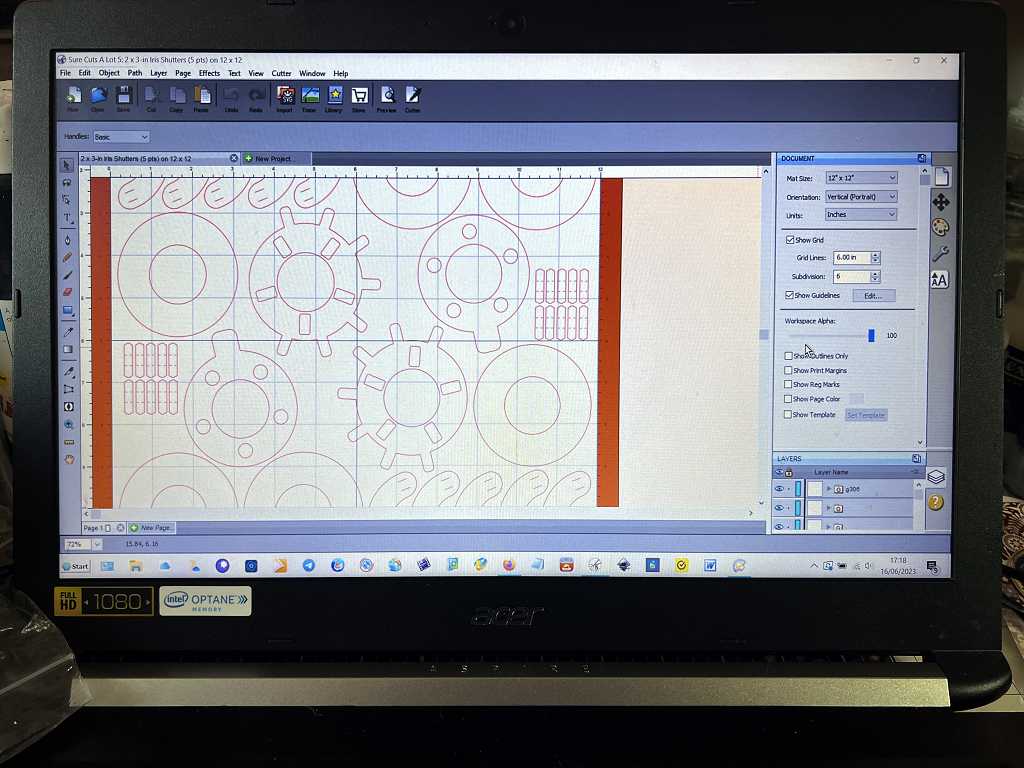
I managed to squeeze two of the smaller irises onto a single 12 x 12-inch sheet,and a single larger one onto the same size. I cut two of each size each from black and white 12 x 12-inch cardstock.
Here is one of the white sheets still on the cutting mat before I removed the pieces.
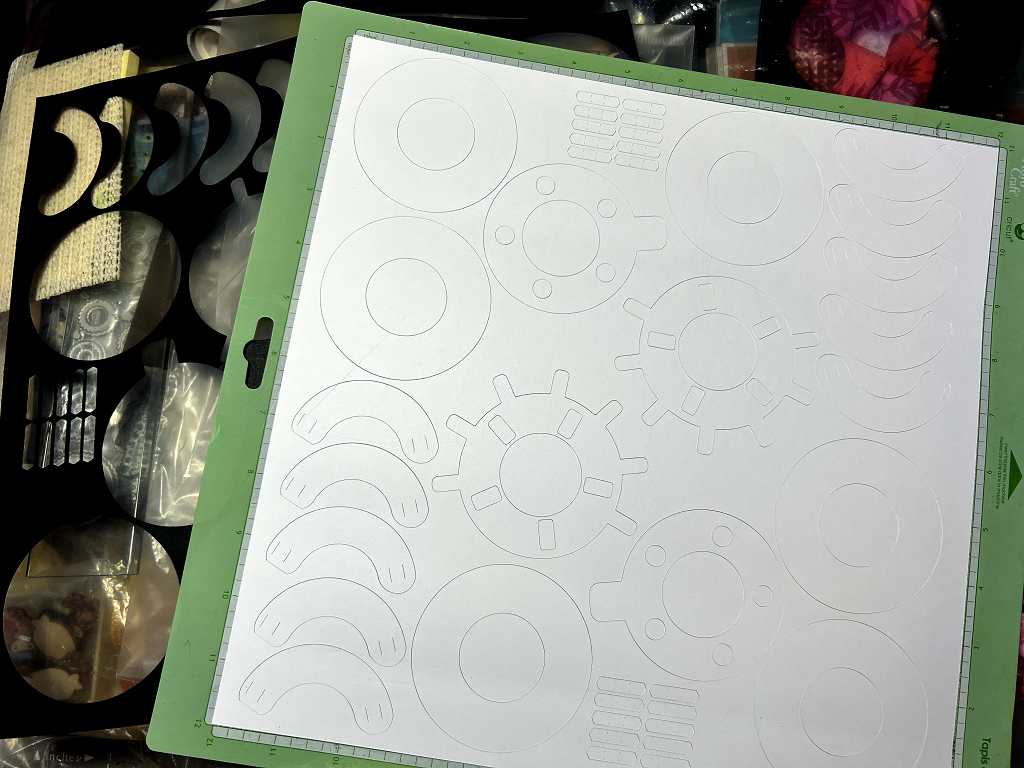
It’s a bit difficult to see the cut lines. It was a tight squeeze to get them all on, and I had to be very careful with my initial placing of the blade of the cutting machine so that it would cut within the confines of the card.
All the pieces cut, and stacked into individual piles.

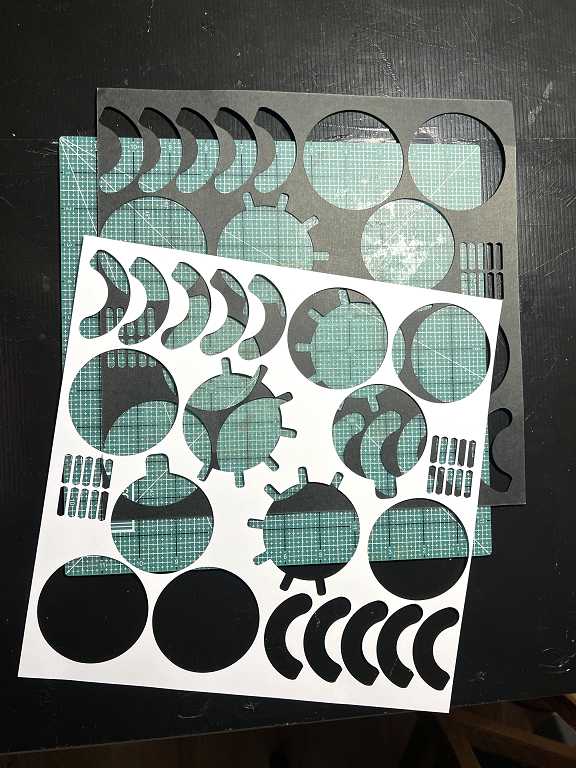
The negative spaces left on the cut card made a nice pattern and I thought I could overlap them and use them as stencils! Some interesting shapes.
Finally, the pieces for each iris shutter safely stored in individual baggies, ready for assembly and use.

I am proposing to use one on a page in my Oriental-style album. The pattern comes with a circular frame piece, but I may cut a circular hole in the sheet which I shall adhere to the page, and add an extension to the arm for working the mechanism so that it reaches the edge of the page.
This is the video showing how to construct the iris shutter.
Quite cool, eh?
I have to devise a means of adding a picture onto the leaves so that it looks more interesting on the page when closed. When opened, it will reveal a different picture underneath.
Volvelles
There is another rotating mechanism known as a volvelle. This is somewhat similar to the iris shutter in that it has one picture when closed, and reveals another when opened. It doesn’t open an aperture like the iris shutter, but the leaves on the upper layer simply rotate to reveal the image on the leaves on the layer underneath.
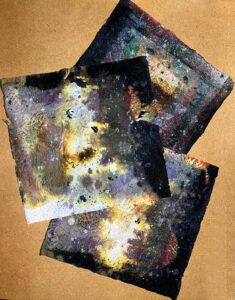
This is an image of the template that I downloaded.
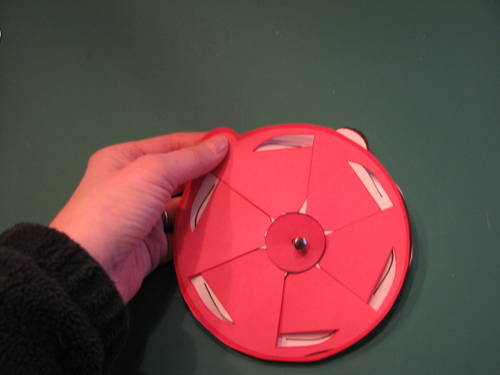
 Some images showing the volvelle in action. The first one shows the volvelle in the “closed” position.
Half-open:

and finally, fully open.
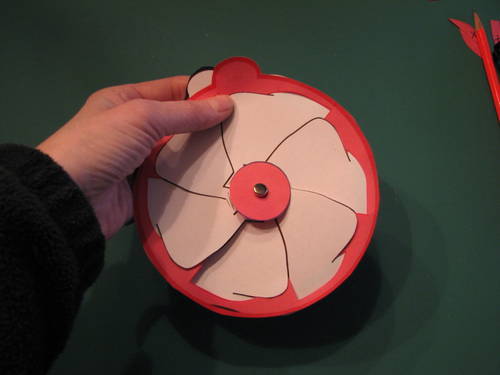
You can see that the original colour or image is transformed into another, different one.
I have had this volvelle pattern for years but have never made it yet. Today I made a couple of different sized versions in svg format. I made the handle of the mechanism longer, and also created a frame piece as I think the edge is a bit messy-looking. If this frame is adhered to the background just around the edge, it shouldn’t interfere with the operation of the mechanism.

For the cutting layout, I have placed the small central piece in the middle of the frame piece, just for neatness and to save card. It will also leave me with a nice circular piece of waste with a hole in the centre, which can be used in other projects.
Again, it may be possible to mount the volvelle under a piece of card with a circular hole in it to act as a frame. The mechanism arm can be extended if needed.
I know there is a method of “print and cut” on my cutting machine but in all the years I’ve had it, I have never attempted this! You have to print registration marks on the printed card, and line these up with the laser light on the machine. I’ve got instructions somewhere… It would be the best solution for getting the pictures onto the mechanism pieces, but failing that, I could always adhere an image to the cut piece and make the slits with an Exacto knife.
I haven’t cut these pieces yet.
Volvelle variation
There is a variation on this theme which people may be familiar with – it is a pair, or series of discs mounted in the centre which you rotate. The top disc has a hole or holes cut in it, and the bottom disc has pictures or text which are revealed through the holes in the top disc as it is turned. According to Wikipedia, “A volvelle or wheel chart is a type of slide chart, a paper construction with rotating parts. It is considered an early example of a paper analog computer. Volvelles have been produced to accommodate organization and calculation in many diverse subjects.”
Here’s a fun “adding machine” from the 1950s.
Another example of a volvelle is the astrolabe, an ancient instrument used for calculating the movement of the heavenly bodies.
These are a lot of fun! Plenty of potential for adding interactive interest in cards or albums.
Watch this space to see if my volvelle cutting file comes up to scratch, and whether I can create one picture that changes into another!