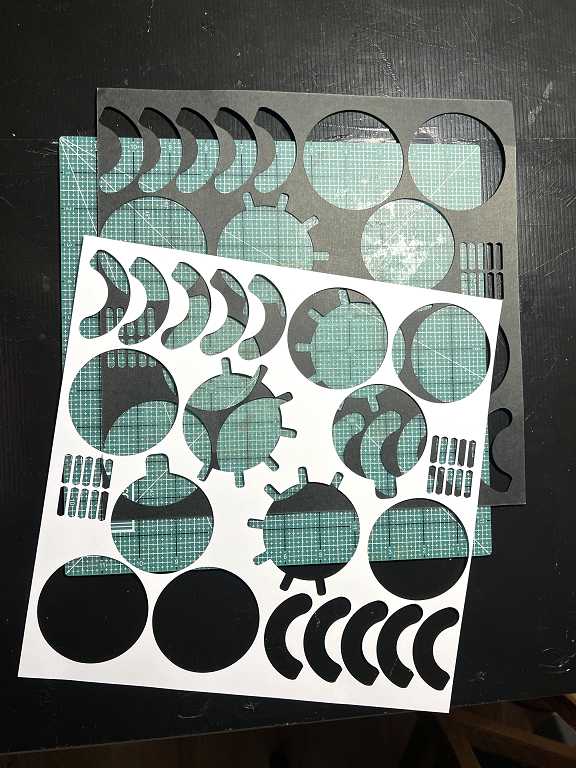
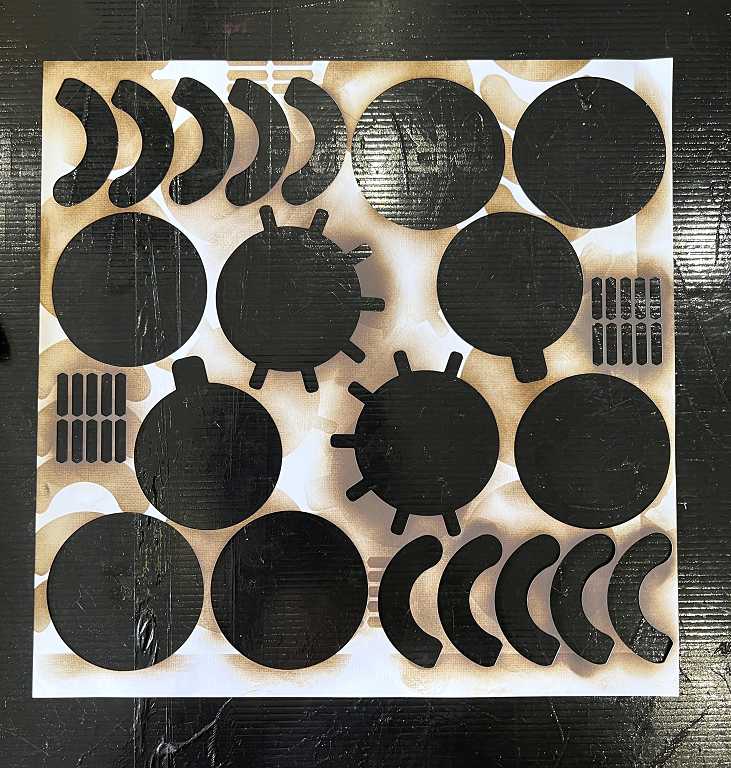
USING WEEDED PAPER FROM CUTTING MACHINE AS A STENCIL
After I had cut out the pieces to make several iris shutter mechanisms, I looked at the weeded sheets when I’d removed them from the cutting mat, and thought that they might make interesting stencils.
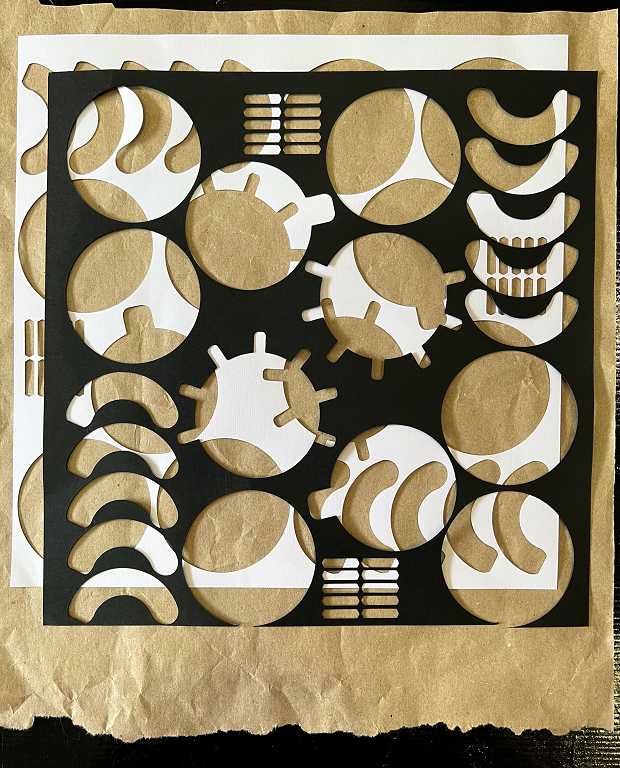
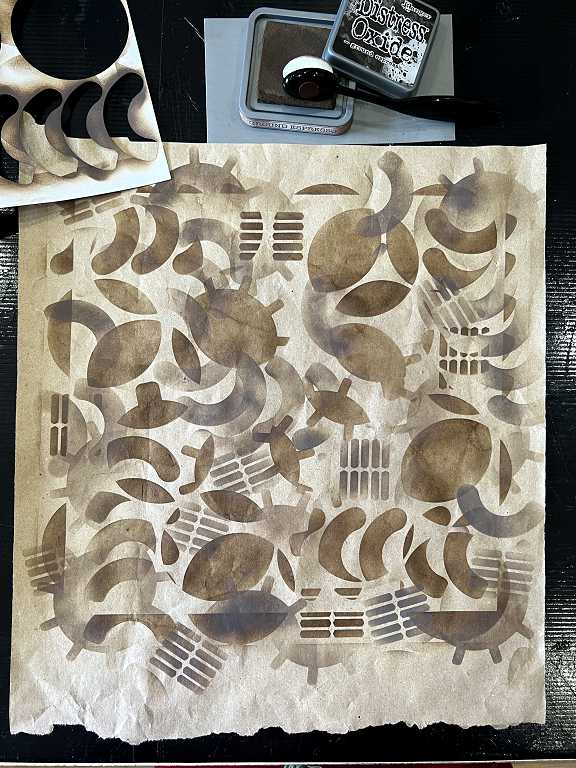
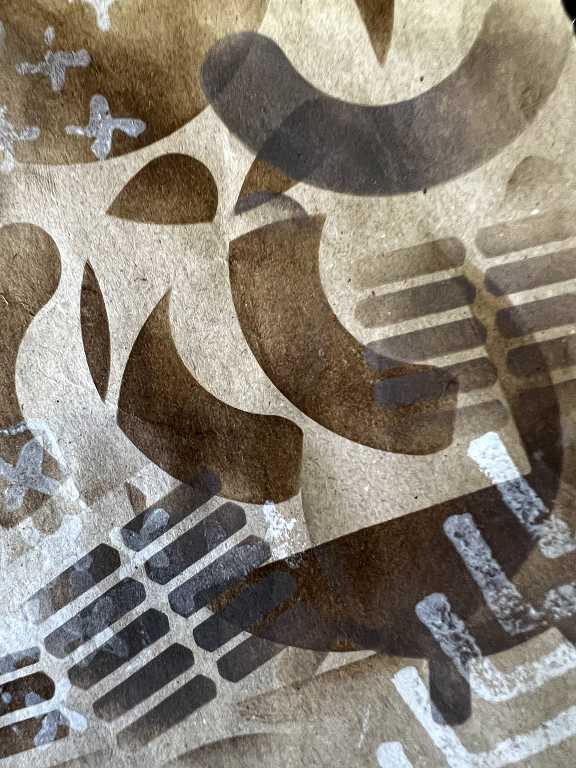
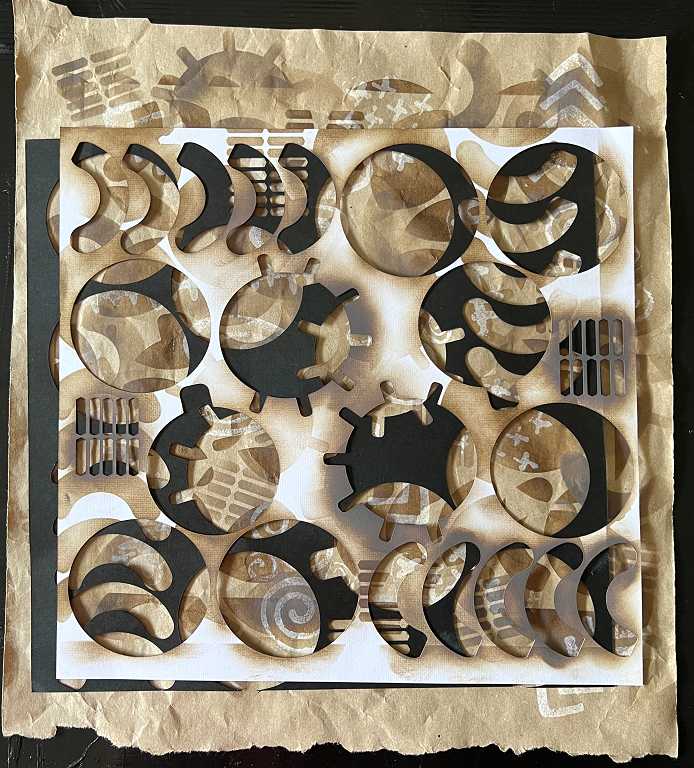
 I took a piece of Amazon packaging paper and laid the two sheets on top of it, taking care not to line them up with each other, so that interesting shapes would be generated, through which I could add some ink.
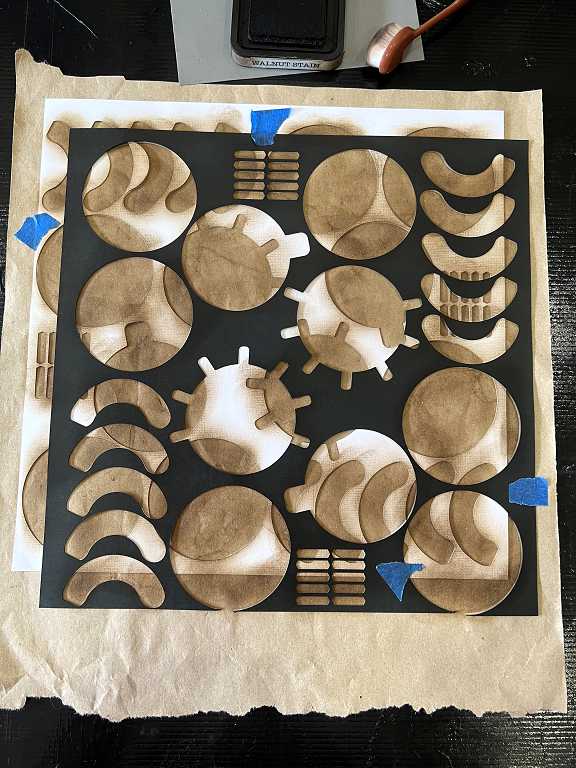
I taped the sheets in place, and proceeded to blend Walnut Stain Distress Ink through the holes, using a blending brush.
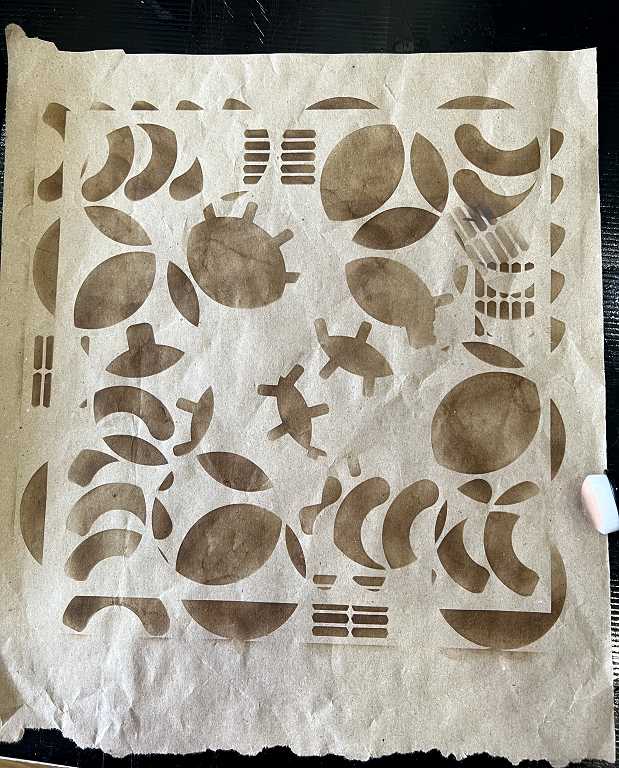
 When I removed the papers, there were indeed some quite interesting shapes!
However, further layers were needed as the holes were quite large, and spaced apart. I took my Ground Espresso Distress Oxide ink and added further stencilling, this time choosing where to apply the ink, and constantly moving the weeded paper around as I went, to get good coverage. The result was interesting.
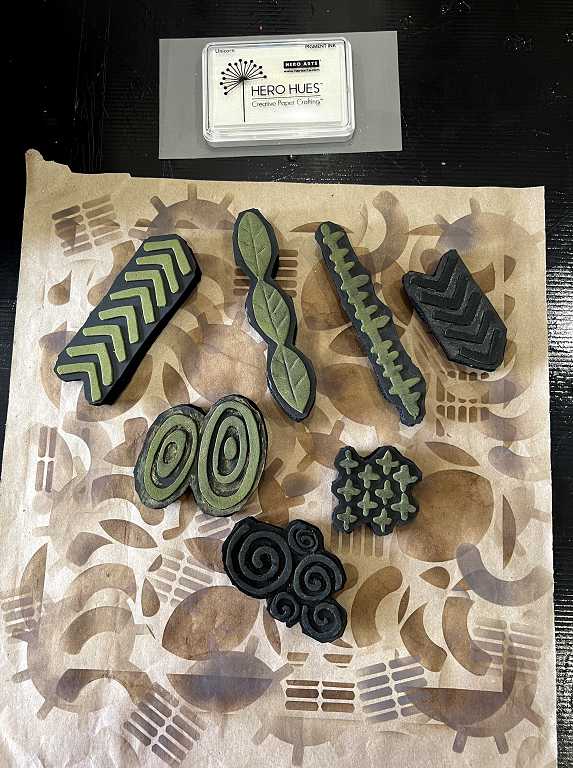
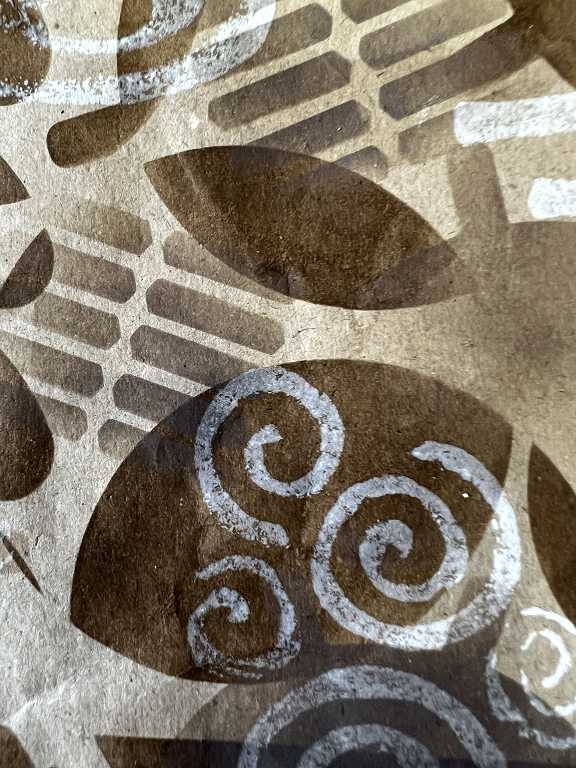
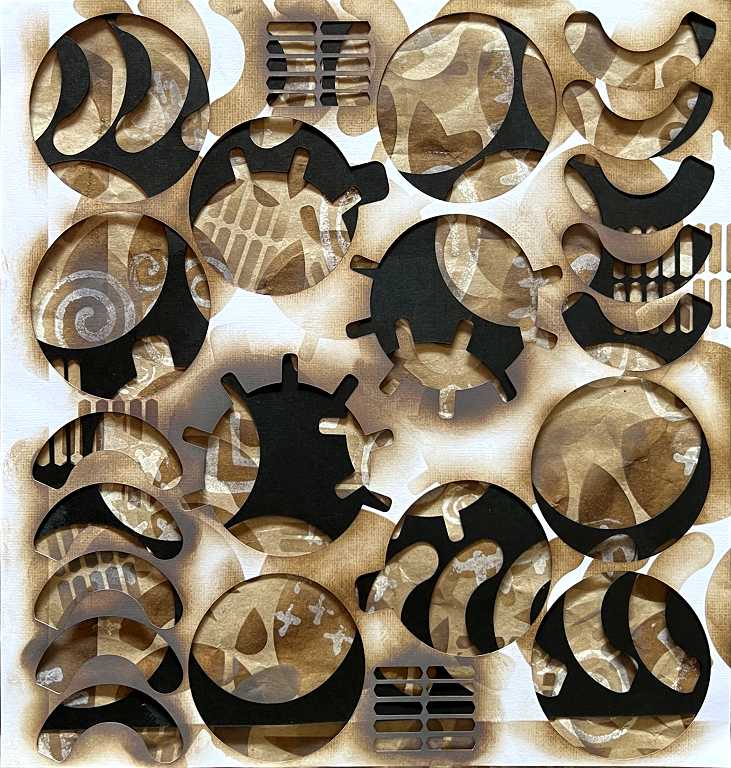
After this, I thought the addition of a little white stamping might add extra texture. I selected a few of my DIY foam stamps and chose a white ink pad.
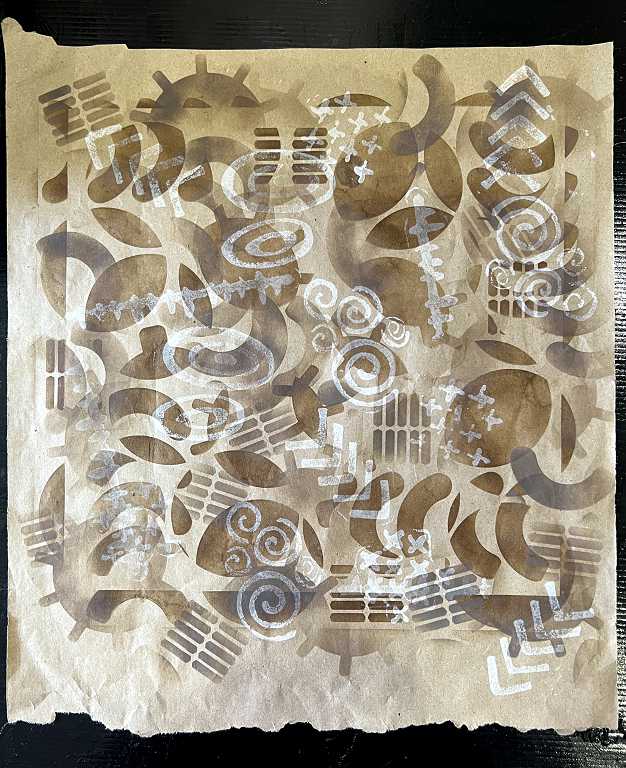 I am very pleased with this result. The white ink did fade a little as it dried, but the effect is subtle.
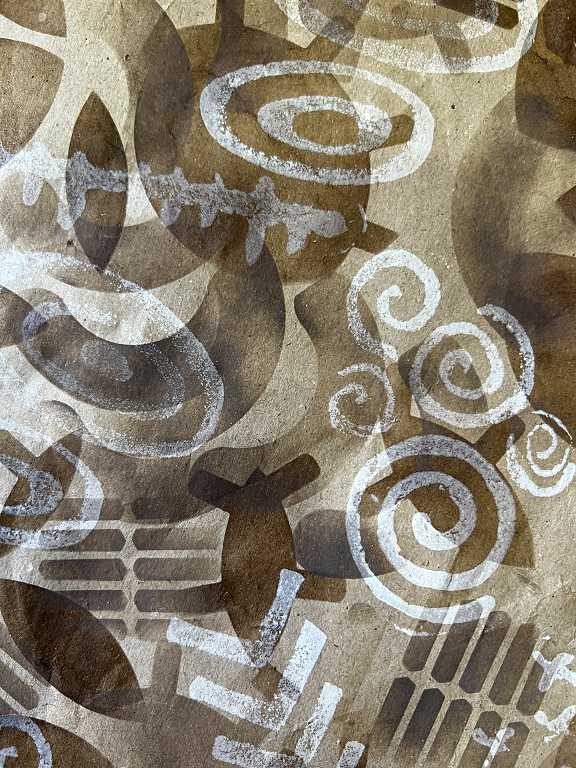
Here are some detail shots of different areas of the paper. I really like the effect of the white stamping which has a distressed look.
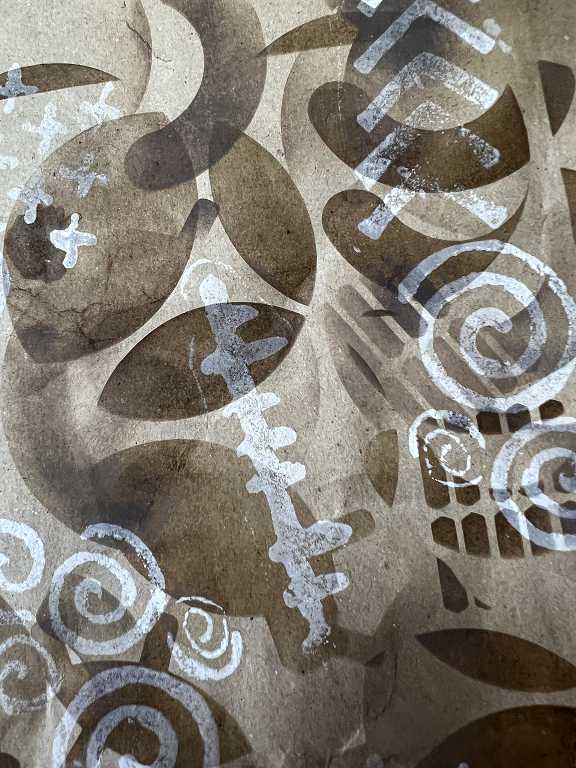
The black weeded sheet obviously doesn’t show up the ink, but the white piece is now quite interesting in its own right with the inking on it.
Perhaps I can use parts of this for collage, too.
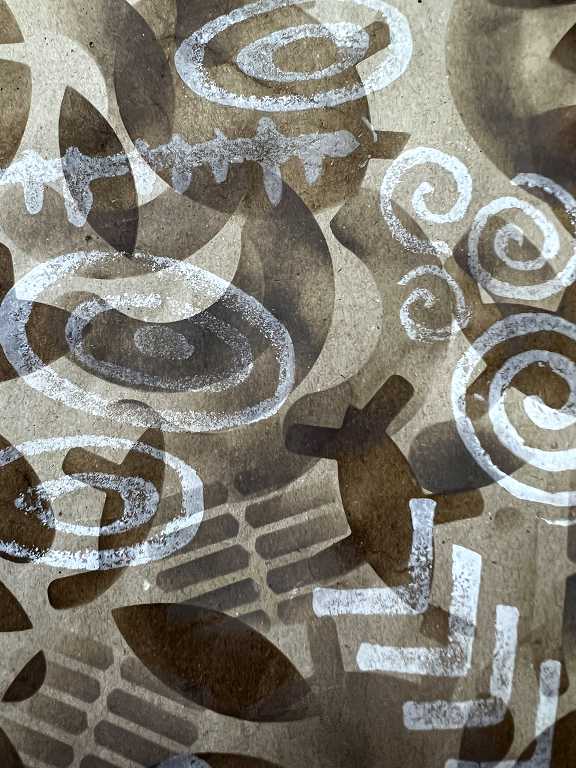
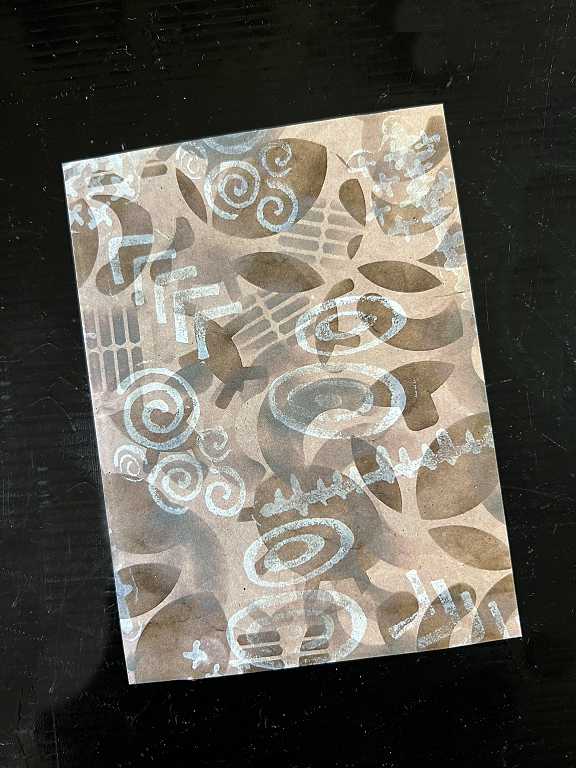
When I’d finished, I laid both weeded sheets back on top of the stencilled packaging paper and really liked the multi-layered effect! I thought it would be useful to take advantage of this rather interesting effect so that I could continue to use it in projects, and adapt it as necessary, so I photographed it.
All I needed to do to make this printable and useable was to digitally trim off the untidy border. This piece has a lovely 3-D effect.
I took the original stencilled and stamped piece of packaging paper and scanned it, and digitally trimmed it to save as a printable.
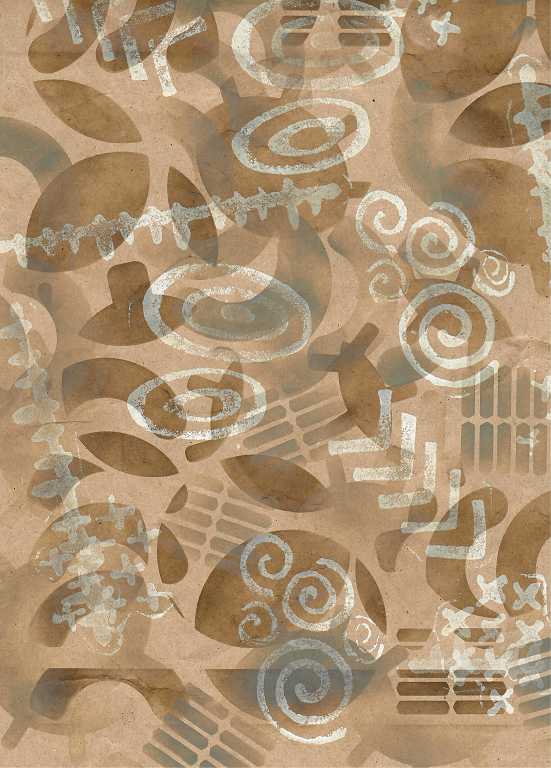
Printing it was fun because I discovered some interesting settings on my printer that I hadn’t known about before. I printed one at full A4 size, and then four small ones, to reduce the scale. This is the result.

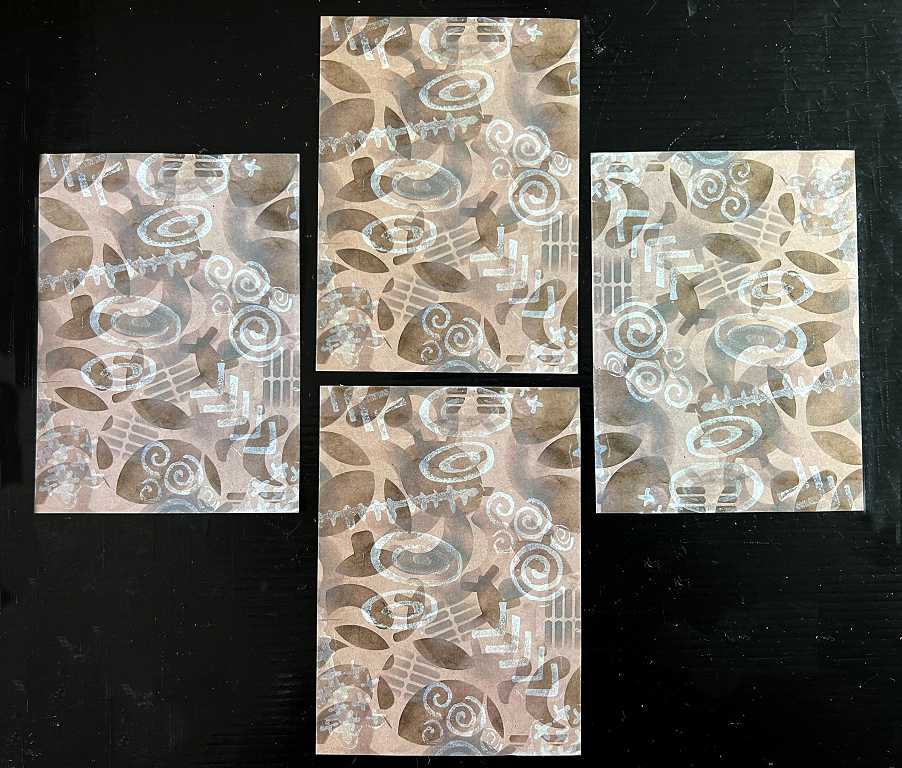
Now that this is digitised, I can alter the colour if I want, and the scale, etc. etc.
As you can see from this post, not a lot of waste goes on Chez Shosh!
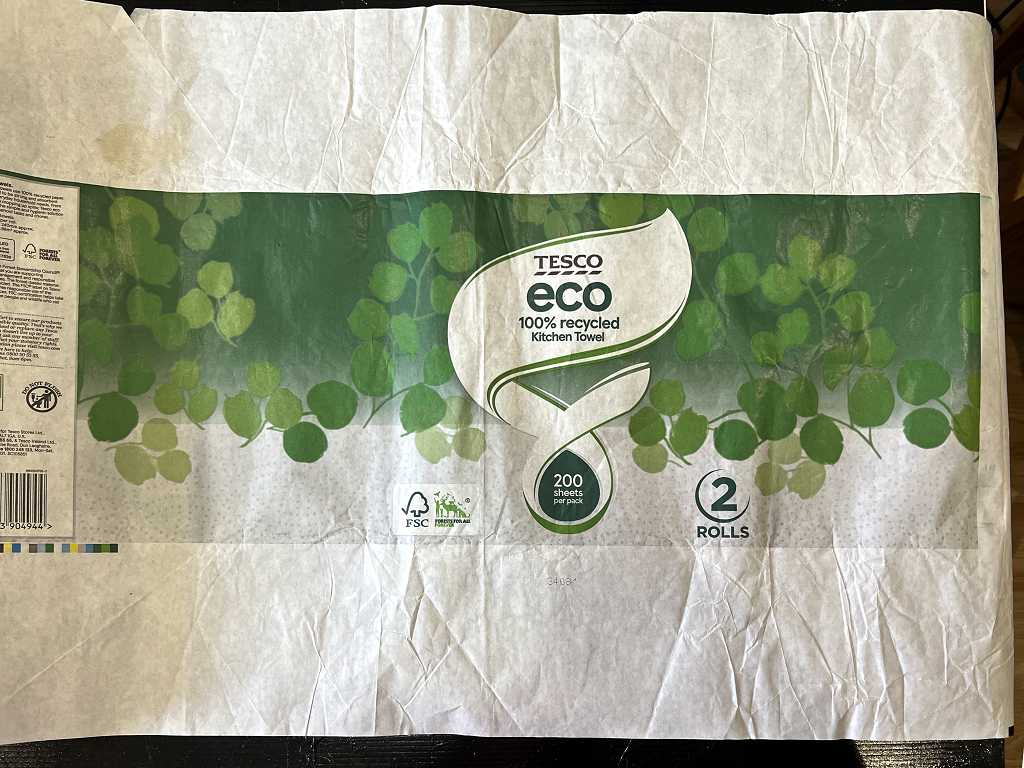
Talking of which, I saved the paper wrapping from some kitchen paper I bought some time ago. Unfortunately the supermarket has stopped supplying this “eco” brand – I loved the fact that it was wrapped in paper rather than plastic. The paper was so pretty that I kept it.
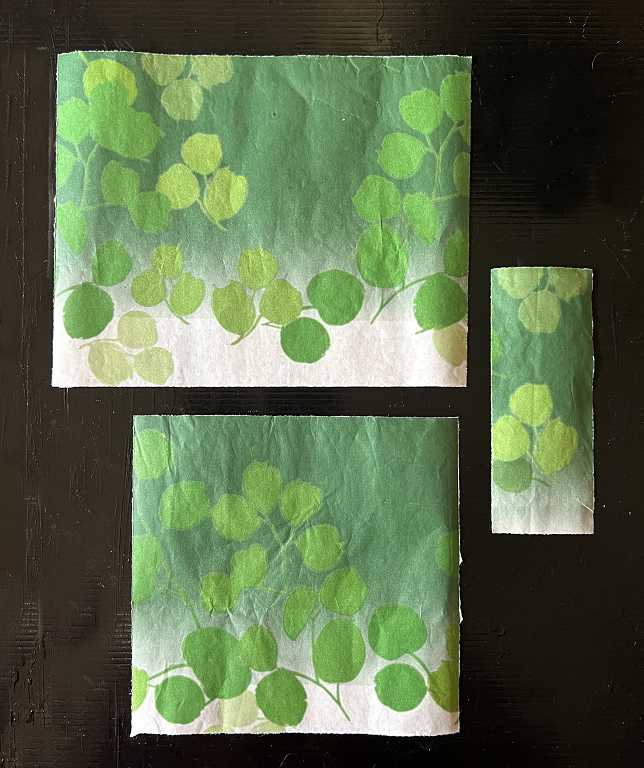
I trimmed off the pieces I wanted to keep, and they’ve gone in with the rest of my “interesting papers” for collage.
I really enjoy this kind of experimenting and simply “playing” in the studio with no particular end in view. However, it is a bit of a distraction when my conscience keeps pricking me about all the UFOs (UnFinished Objects) lurking in various parts of my studio and taking up space.
Fascinating!! ….what you can do with Amazon paper and loo roll paper! Amazing results, so unique and original. I love the abstract designs. Well done.