LASER PRINT TRANSFERS
Shoshi the Mad Scientist has gone into her laboratory again, wearing her white coat.
The transfer of printed images is something I have been keen to try for a while. I found an online tutorial and began to follow it, using some copyright-free vintage typewriter images I downloaded for my Typewriter Album.
Transfers onto glassine paper
I wanted to be able to transfer images to glassine paper and wasn’t sure if this would work. I began, using the matte side of the glassine paper. The instructions were as follows:
- Paint an even layer of matte medium onto your substrate.
- Place the printed image face down onto this medium and press well with your fingertips, eliminating air bubbles, and making sure the image was well adhered, for two minutes.
- Begin to peel back the paper which should come off fairly easily, if not in one piece. If any part of the image is coming away with the paper, press it back down, rub well and then attempt to remove again.
- Rub the surface gently with your finger, using small circular movements, to remove any paper residue. Keep the whole process dry – do not add water.
She did not say anything about the fact that the transfer would be a mirror image of the original printed picture. I reversed all my images so that the transfers would come out the right way around.
I followed her instructions and this was the result.
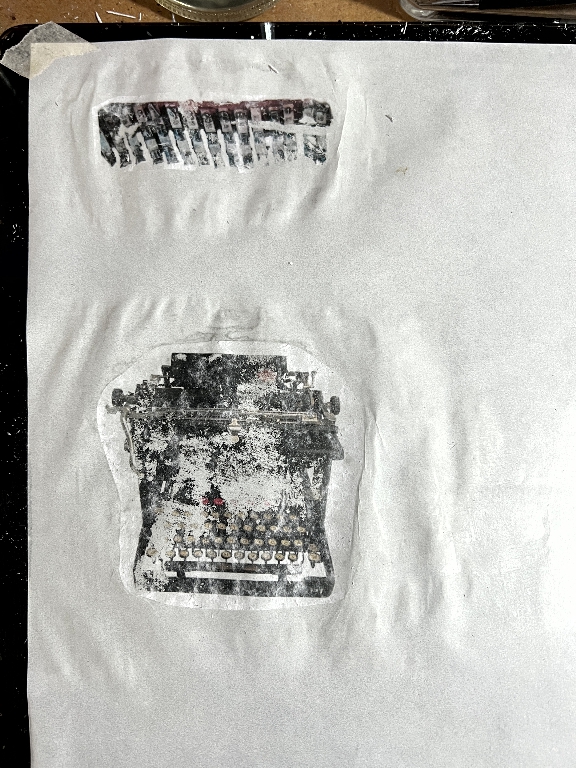
Not a resounding success!
Changing the scientific formula
I have read about printed image transfers in the past and they always say to use water. I couldn’t see why you shouldn’t in this case, so I tried again. Also, it seemed more sensible to add the matte medium to the front of the image and not to the substrate, so that you didn’t end up with a different surface treatment surrounding the image.
The result this time was a success. The next photo shows the rubbing process in action, using my finger dipped in water.
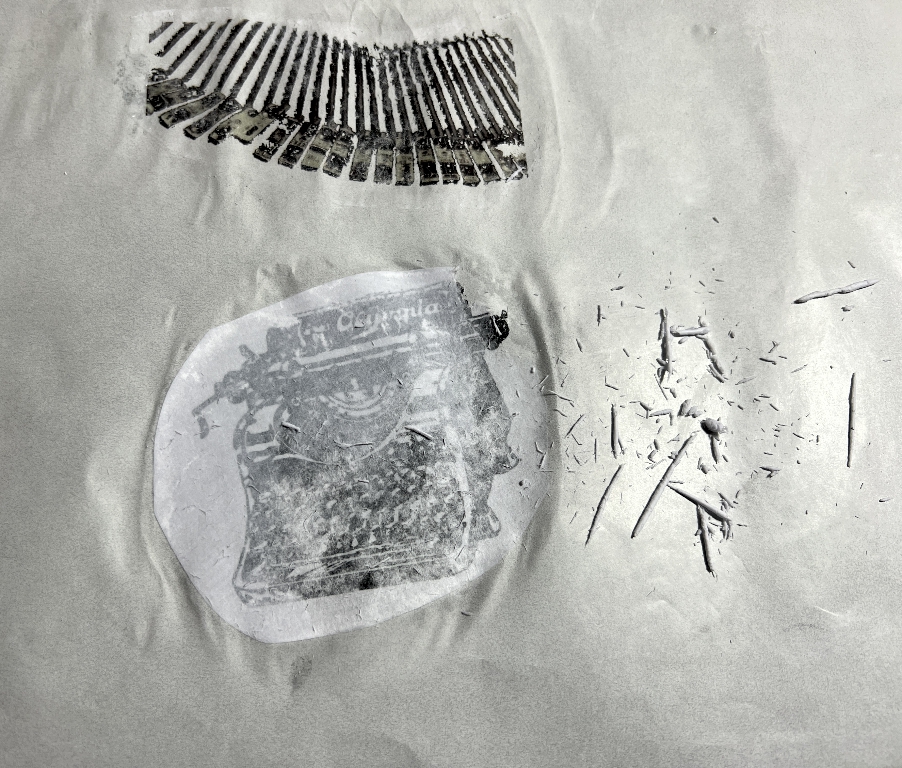
The finished result.
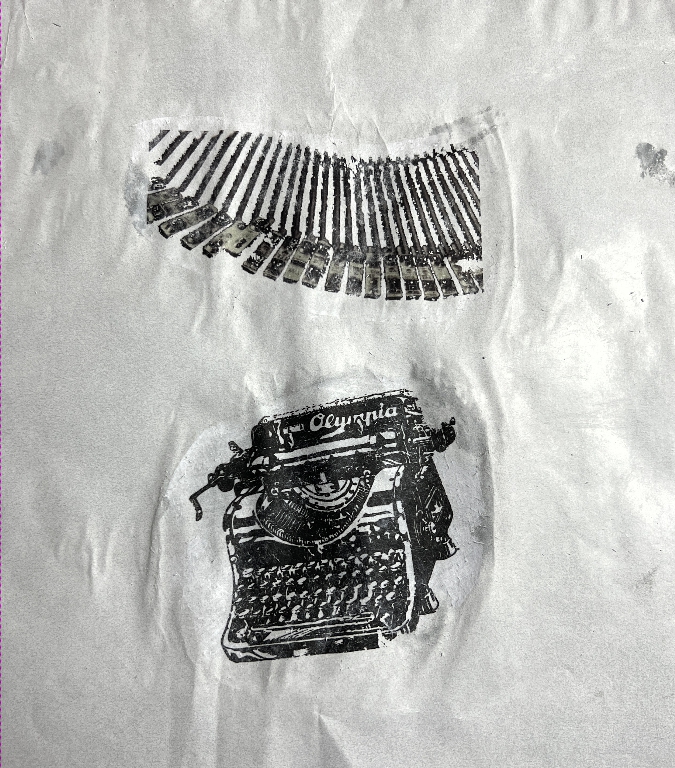
The paper did buckle a bit but I expected that. Glassine becomes quite crinkly when it has been wet. The only thing I did wrong with this was that I didn’t get the angle of the typewriter image correct, which made for some interesting diagonal cutting later on, and an incomplete sheet. This will be shown in the next Typewriter Image post.
Using the shiny side of the glassine
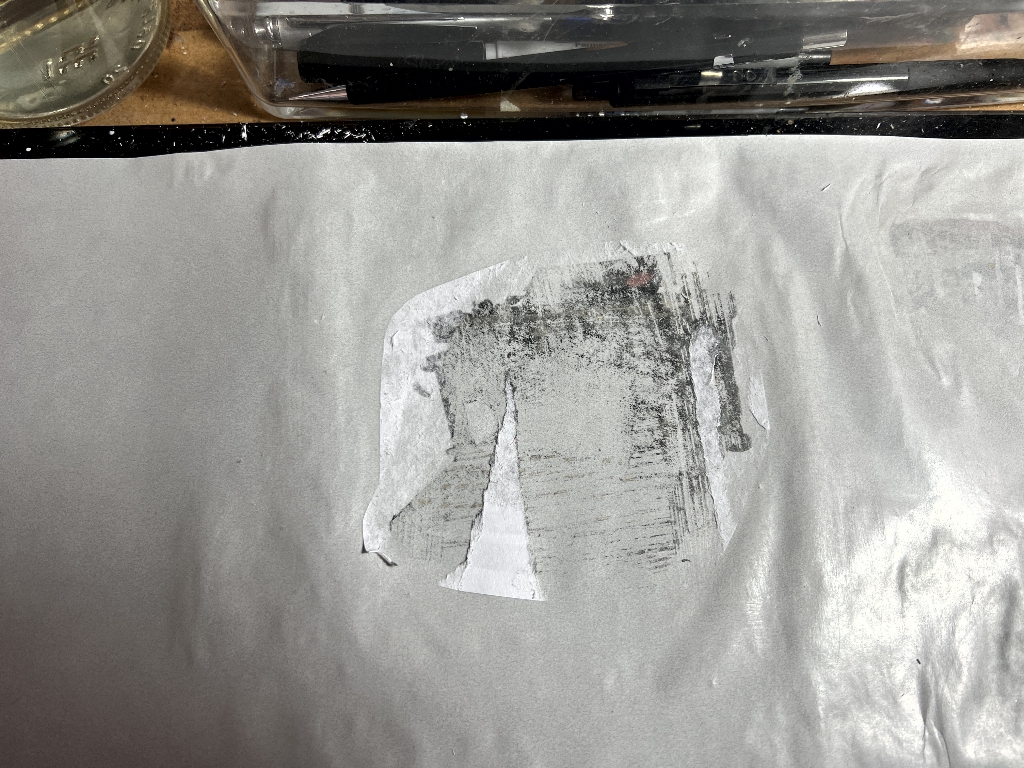
I thought I would try doing the image transfer on the shiny side of the glassine. This didn’t work at all! Epic fail. The paper pulled off with virtually all the laser toner still on it. None of it adhered to the glassine.
Transfers onto my album pages
Having had some practice, I decided it was time to take a risk and attempt a transfer on an actual page of my album. This is the back page of the first signature.
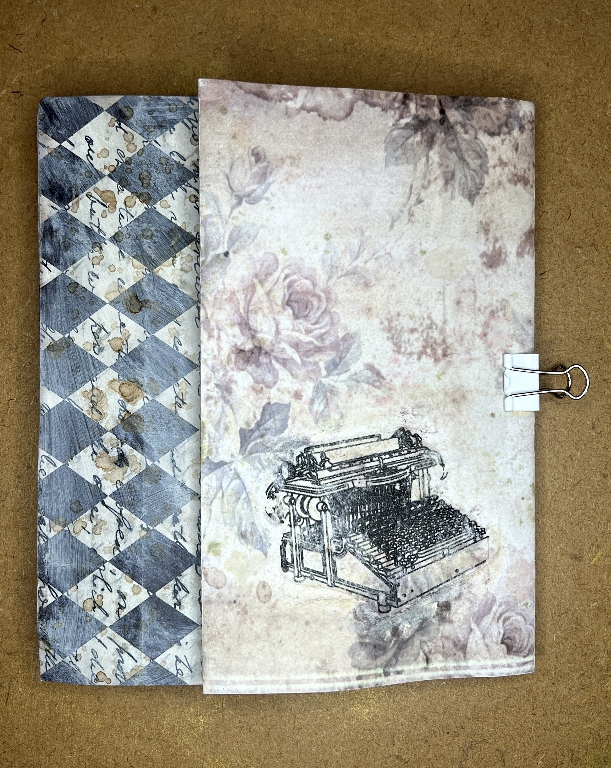
As you can see, it was very successful. (You can see the pale lines across the bottom of the page, caused by a fault in my old laser printer which finally broke down and was replaced.)
This is my second transfer onto an album page. There are one or two little bits missing in both images but I don’t mind that. This album is quite grungey anyway and it just adds texture.
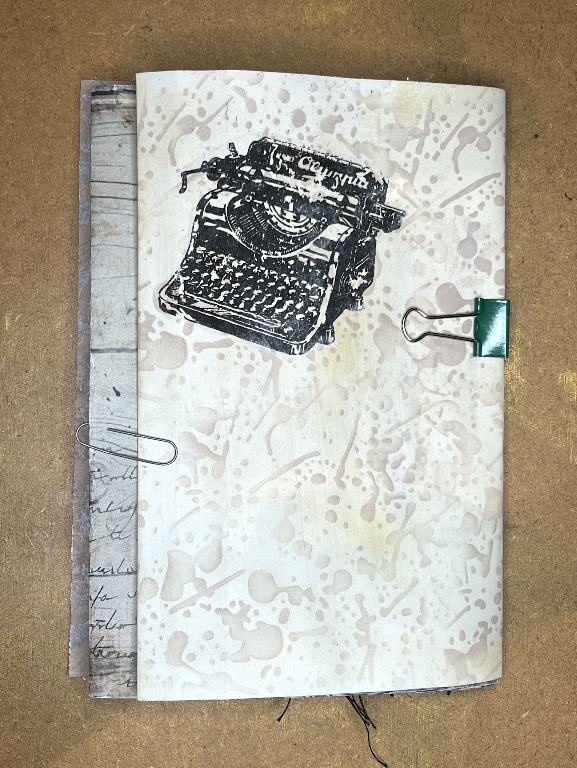
The successful glassine transfers again
Because my method of transferring onto the glassine worked so well, I decided to use the piece in the album, adding an extra page and a pocket to the final signature.
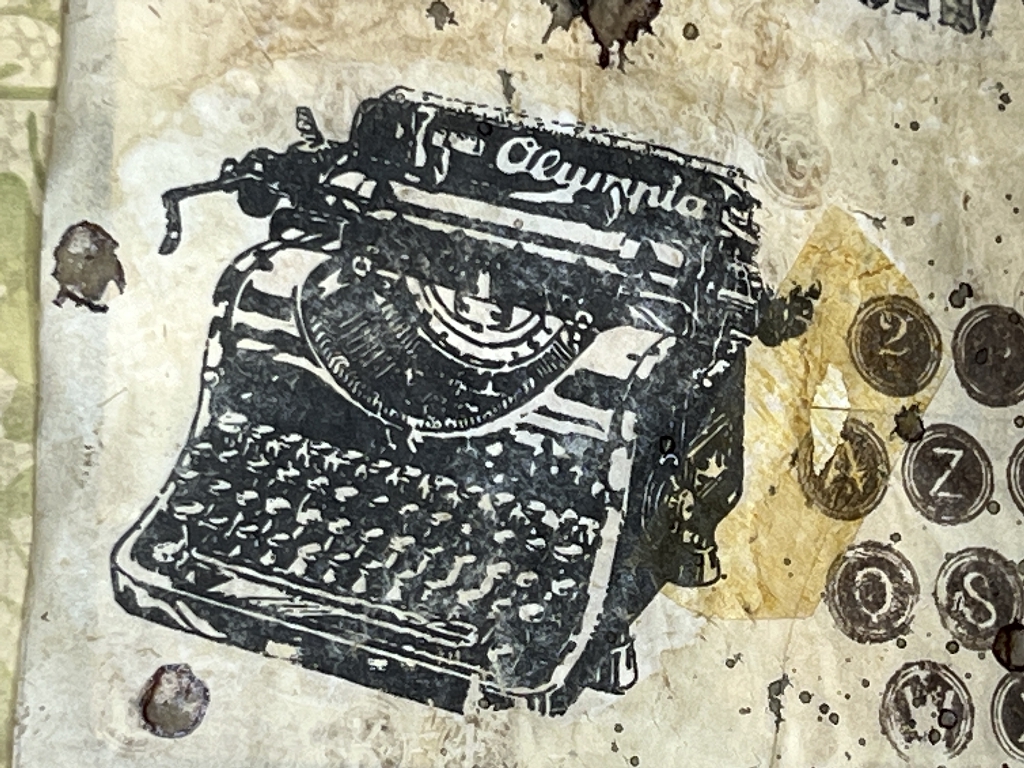
I knew that the image transfer would be permanent and would stand the addition of wet media so I went ahead with confidence. I sprayed coffee onto the glassine and when this was dry, I added some stamping. There was a small tear to the right of the typewriter and I made a feature of this, adding some of my DIY distressed tape (which is shiny in real life). There will be more about this piece in the next post about the Typewriter Album.
Conclusion
This method of transferring laser images using matte medium and a wet finger to remove the paper was extremely successful. It means that I can now transfer printed images to any substrate I choose, and it would probably work even on fabric. This opens up a whole new vista of possibilities. I am not sure whether you can print on glassine with a laser printer, or whether the heat would melt the plasticky surface. I have not yet been confident enough to attempt printing on very thin paper like tissue paper, although the printer did handle washi paper very well. Any paper I am concerned about can now receive images with the transfer method. You do not require any special or expensive paper to print the images; simple 80 gsm printer paper is fine – in fact the thinner the better because there is less paper to rub off.