NEW ART MATERIALS, USEFUL ART WEB LINKS, AND PAGES FROM MY SKETCHBOOK
New pencils and pens
We are shortly to embark on a new module in the online art course (ink pen and wash), and I’ve been collecting together some materials. While I already have quite a number of permanent black ink pens for drawing, I decided to get a new set, this time of Staedtler ones, which apparently last longer than other brands. I bought a set of six in one of their signature cases, of varying thicknesses. The Staedtler cases are so neat – the lid folds back and becomes a stand. I have one for my set of graphite pencils, and also one for my water-based fine-liners. I really like this brand – great quality German manufacture.
Having watched quite a few YouTube videos recently on ink drawing, I decided to give dip-pen drawing a whirl, so I ordered some of these, too. This is not something I have ever done, but you do get a different result from the marker pens. I bought a dual pack of handles and interchangeable nibs, and also a set of three ruling pens – these have two “nibs” that are adjustable with a screw. I have yet to try any of these, as they only arrived today. I recently watched Peter Draws on YouTube, an incredible doodle artist whom I have been following for several years, as I wanted some information about dip-pens and he often does reviews of different types of pen, and he was reviewing one of these ruling pens. He was given it by a retired engineer who had been using it for many years. Peter had not come across this kind of pen before and he was impressed with it, so I thought I’d give them a whirl too.
I have some Indian ink in the studio to use with these pens. This is an intense black. I have recently discovered Martin Lachmair, an Austrian artist on YouTube who draws with a dip pen and his work is exquisite, and he achieves some interesting effects – he draws very precise architecture combined with much softer-looking trees and achieves a very effective spatter effect by flicking the pen nib.
Finally, I purchased a set of mechanical pencils to hold 2 mm leads. There are three pencils in the set, and quite a good quantity of spare leads from 2H to 4B, and also two sets of coloured leads. They do not make the graphite leads softer than 4B because they would be too fragile. I am probably not going to use the hard ones as I have not yet had occasion to do so, and have always begun with HB and then gone darker for the shading, ending up with 8B for the darkest values. I have 3 individual 8B Staedtler graphite pencils on order from Ebay, and these will go in the case with my other Staedtler graphite pencils, after I remove the H ones.
I haven’t photographed the dip pens, and rather than photographing the mechanical pencils and the Staedtler drawing pen set, I thought I would draw them instead! This would serve two purposes: to have a record of what I bought and when, and also good drawing practice!
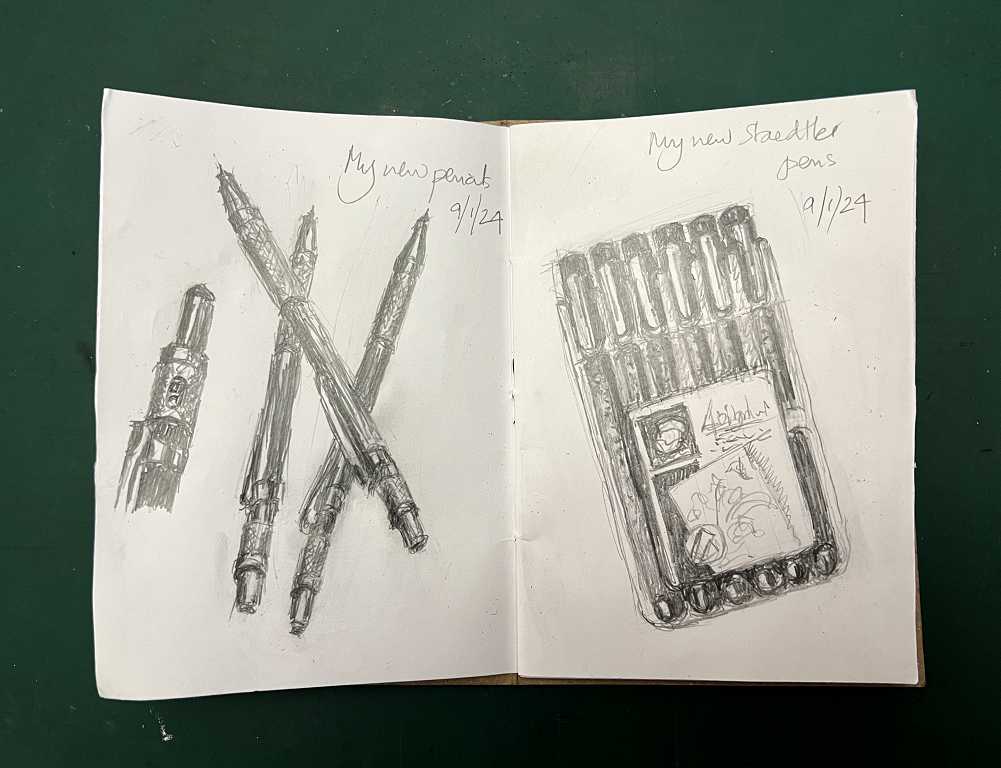
The mechanical pencils are black plastic with silver-coloured metal knurled grips on them. They feel heavy and good quality, and very comfortable to use. In the photo you can see I have done a close-up of the end of one of them. The knurled ring at the top rotates to expose the type of lead inside – they all came with 2B leads installed. If you change the lead, all you need to do is rotate the ring to indicate which lead is inside. Unfortunately the only choices are HB, 2B, and 2H, and as I am not using the 2H, I shall have to remember that when it says 2H, it means I have the 4B installed! As usual with this sort of pencil, you advance the lead by pressing the silver knob on the end, and to replace the lead, you press this and hold it, and you can easily slip the lead out and insert another one.
I used my normal Pentel writing mechanical pencil to begin these drawings (0.5 mm, probably HB but not specified), and then added the darker values with the new mechanical pencil (4B). The set also included another kneaded eraser (always useful) and 3 plastic erasers (not sure why one needs so many of those! – now in my stationery box in the studio), and a very neat little sharpener for the leads, which has two small holes and two minute little blades. You simply insert the lead and twist, like a normal sharpener. I think there is also a sharpener in the end of each pencil, if you pull out the silver knob on the top.
Other useful art links I have found
Drawing and Painting – the Virtual Instructor who has excellent instructional videos, especially on the really basic stuff for beginners, and getting us to think about the whole concept of art and how we do it.
Michele Webber, a British artist who also produces excellent instructional videos, working in many different media.
Paint Coach sends daily art instructions plus a short video when you sign up. I’ve been watching these in advance of our portraits module towards the end of the online art course. He’s got some really excellent material and breaks things down into simple steps.
Art Prof, run by Professor Clara Lieu, is an excellent YouTube channel and website. They have a wealth of free material as well as paid courses etc., and they do most entertaining livestreams which always have me in stitches as they have so much fun together with lots of laughter. Plenty of really good educational stuff, and great input from the livestream viewers, too. Unlike many artists, this group are in no way precious or pretentious, but absolutely down to earth, and they don’t take themselves too seriously!
Other sketchbook pages
The picture on the left was an impulse drawing, while watching Prof Clara Lieu of Art Prof – she has such an interesting face and she is always laughing. I don’t think this drawing really looks like her but it was fun having a go at sketching a portrait!
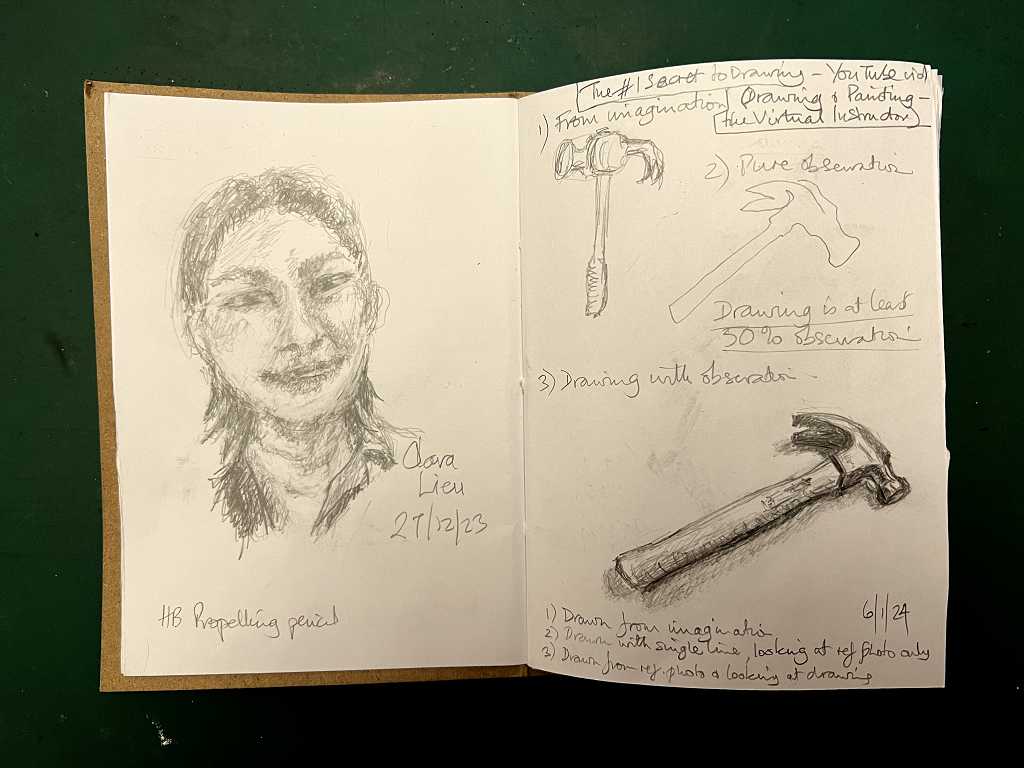
The drawing on the right was a prompt from the Virtual Instructor. It was a really fascinating exercise. He was talking about the influence of the left and right sides of the brain in art, and how we are educated to develop the left brain (involved in reasoning, logic etc.) at the expense of the more creative right brain. When we draw, we tend to allow the left brain to dictate what we think we are seeing, which generally results in a drawing which does not resemble the original. On the other hand, if the right brain is engaged, we draw what we actually do see – shape and form, and texture, and this results in a much more accurate result. The start of the exercise was to draw a hammer from the imagination. Mine didn’t really look much like a regular claw hammer but it’s been a while since I looked at one! The next part of the exercise was pure observationn – to draw a hammer from the reference photo, but while doing it, we were not allowed to look at our drawing on the paper, but only at the photograph. The final part was to draw from the reference but to look back and forth between this and the drawing. The end result was a hammer which was much better than my first one! The point of the exercise was to show that drawing is at least 50 percent observation – really looking at the subject and drawing what we actually see, rather than what we think it should look like.
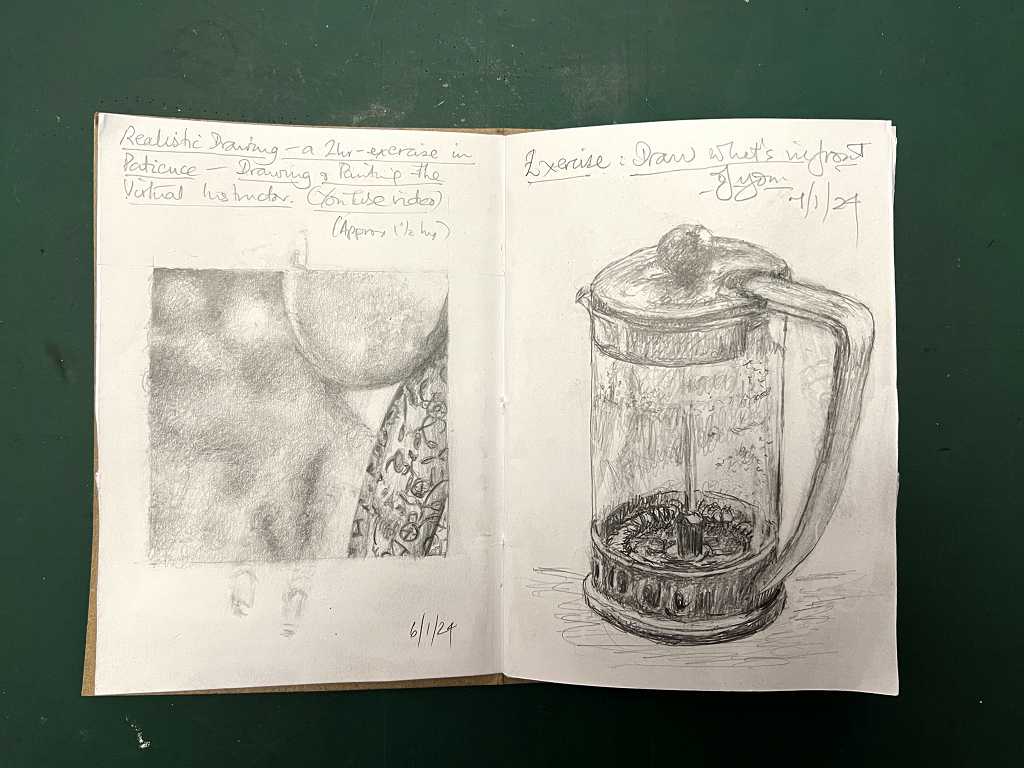
The drawing on the left was an exercise in patience. This video was from the Virtual Instructor, and I decided to give it a try. I completed this 3-inch square drawing in approximately 1 1/2 hours – half an hour shorter than the two hours he recommended. It was an interesting exercise because we did not know until the end what it actually represented – it was a tiny fragment of a much larger picture and I would never have guessed what it was!
The drawing on the right was a prompt from the Art Prof, who was giving a response to those who are struggling to think of something to draw in their sketchbooks – “Draw what is in front of you!” I had just finished my breakfast and decided to draw my empty coffee pot! I don’t think I did too badly, but I really struggled to get the angle of the handle correct, and I’m not entirely satisfied that I managed this in the end.
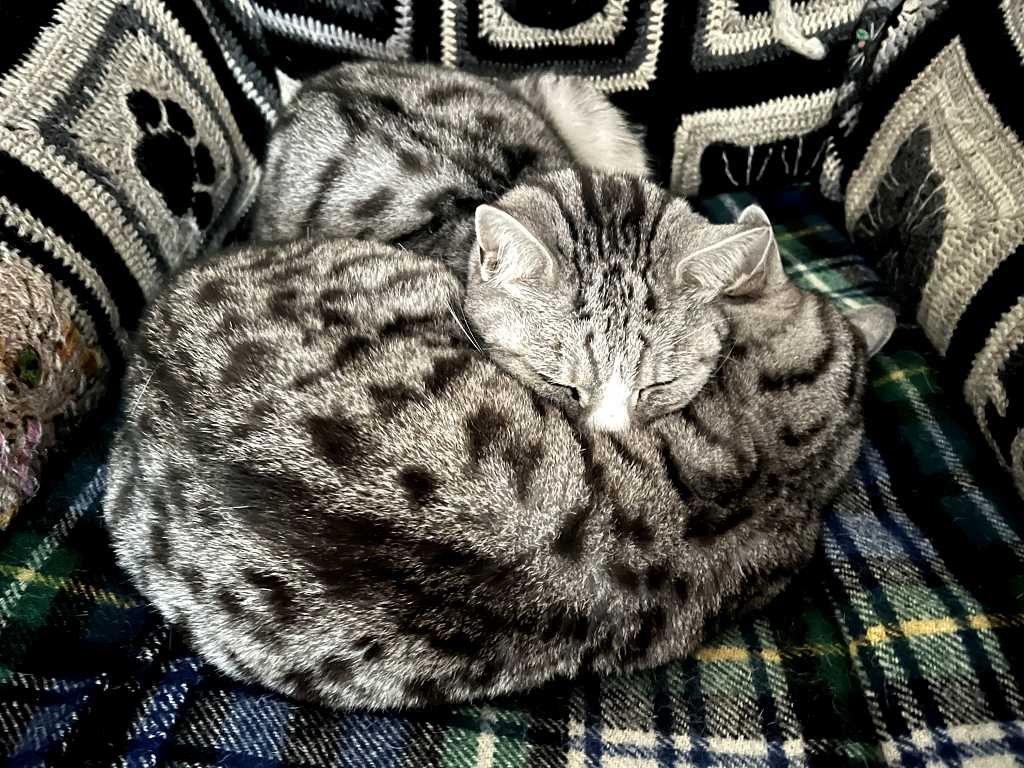
Kitties
Finally, a sweet picture of our two kitties snuggled up together in my hubby’s chair. Ruby has got her nose embedded in Lily’s fur, and I wonder how she can breathe!