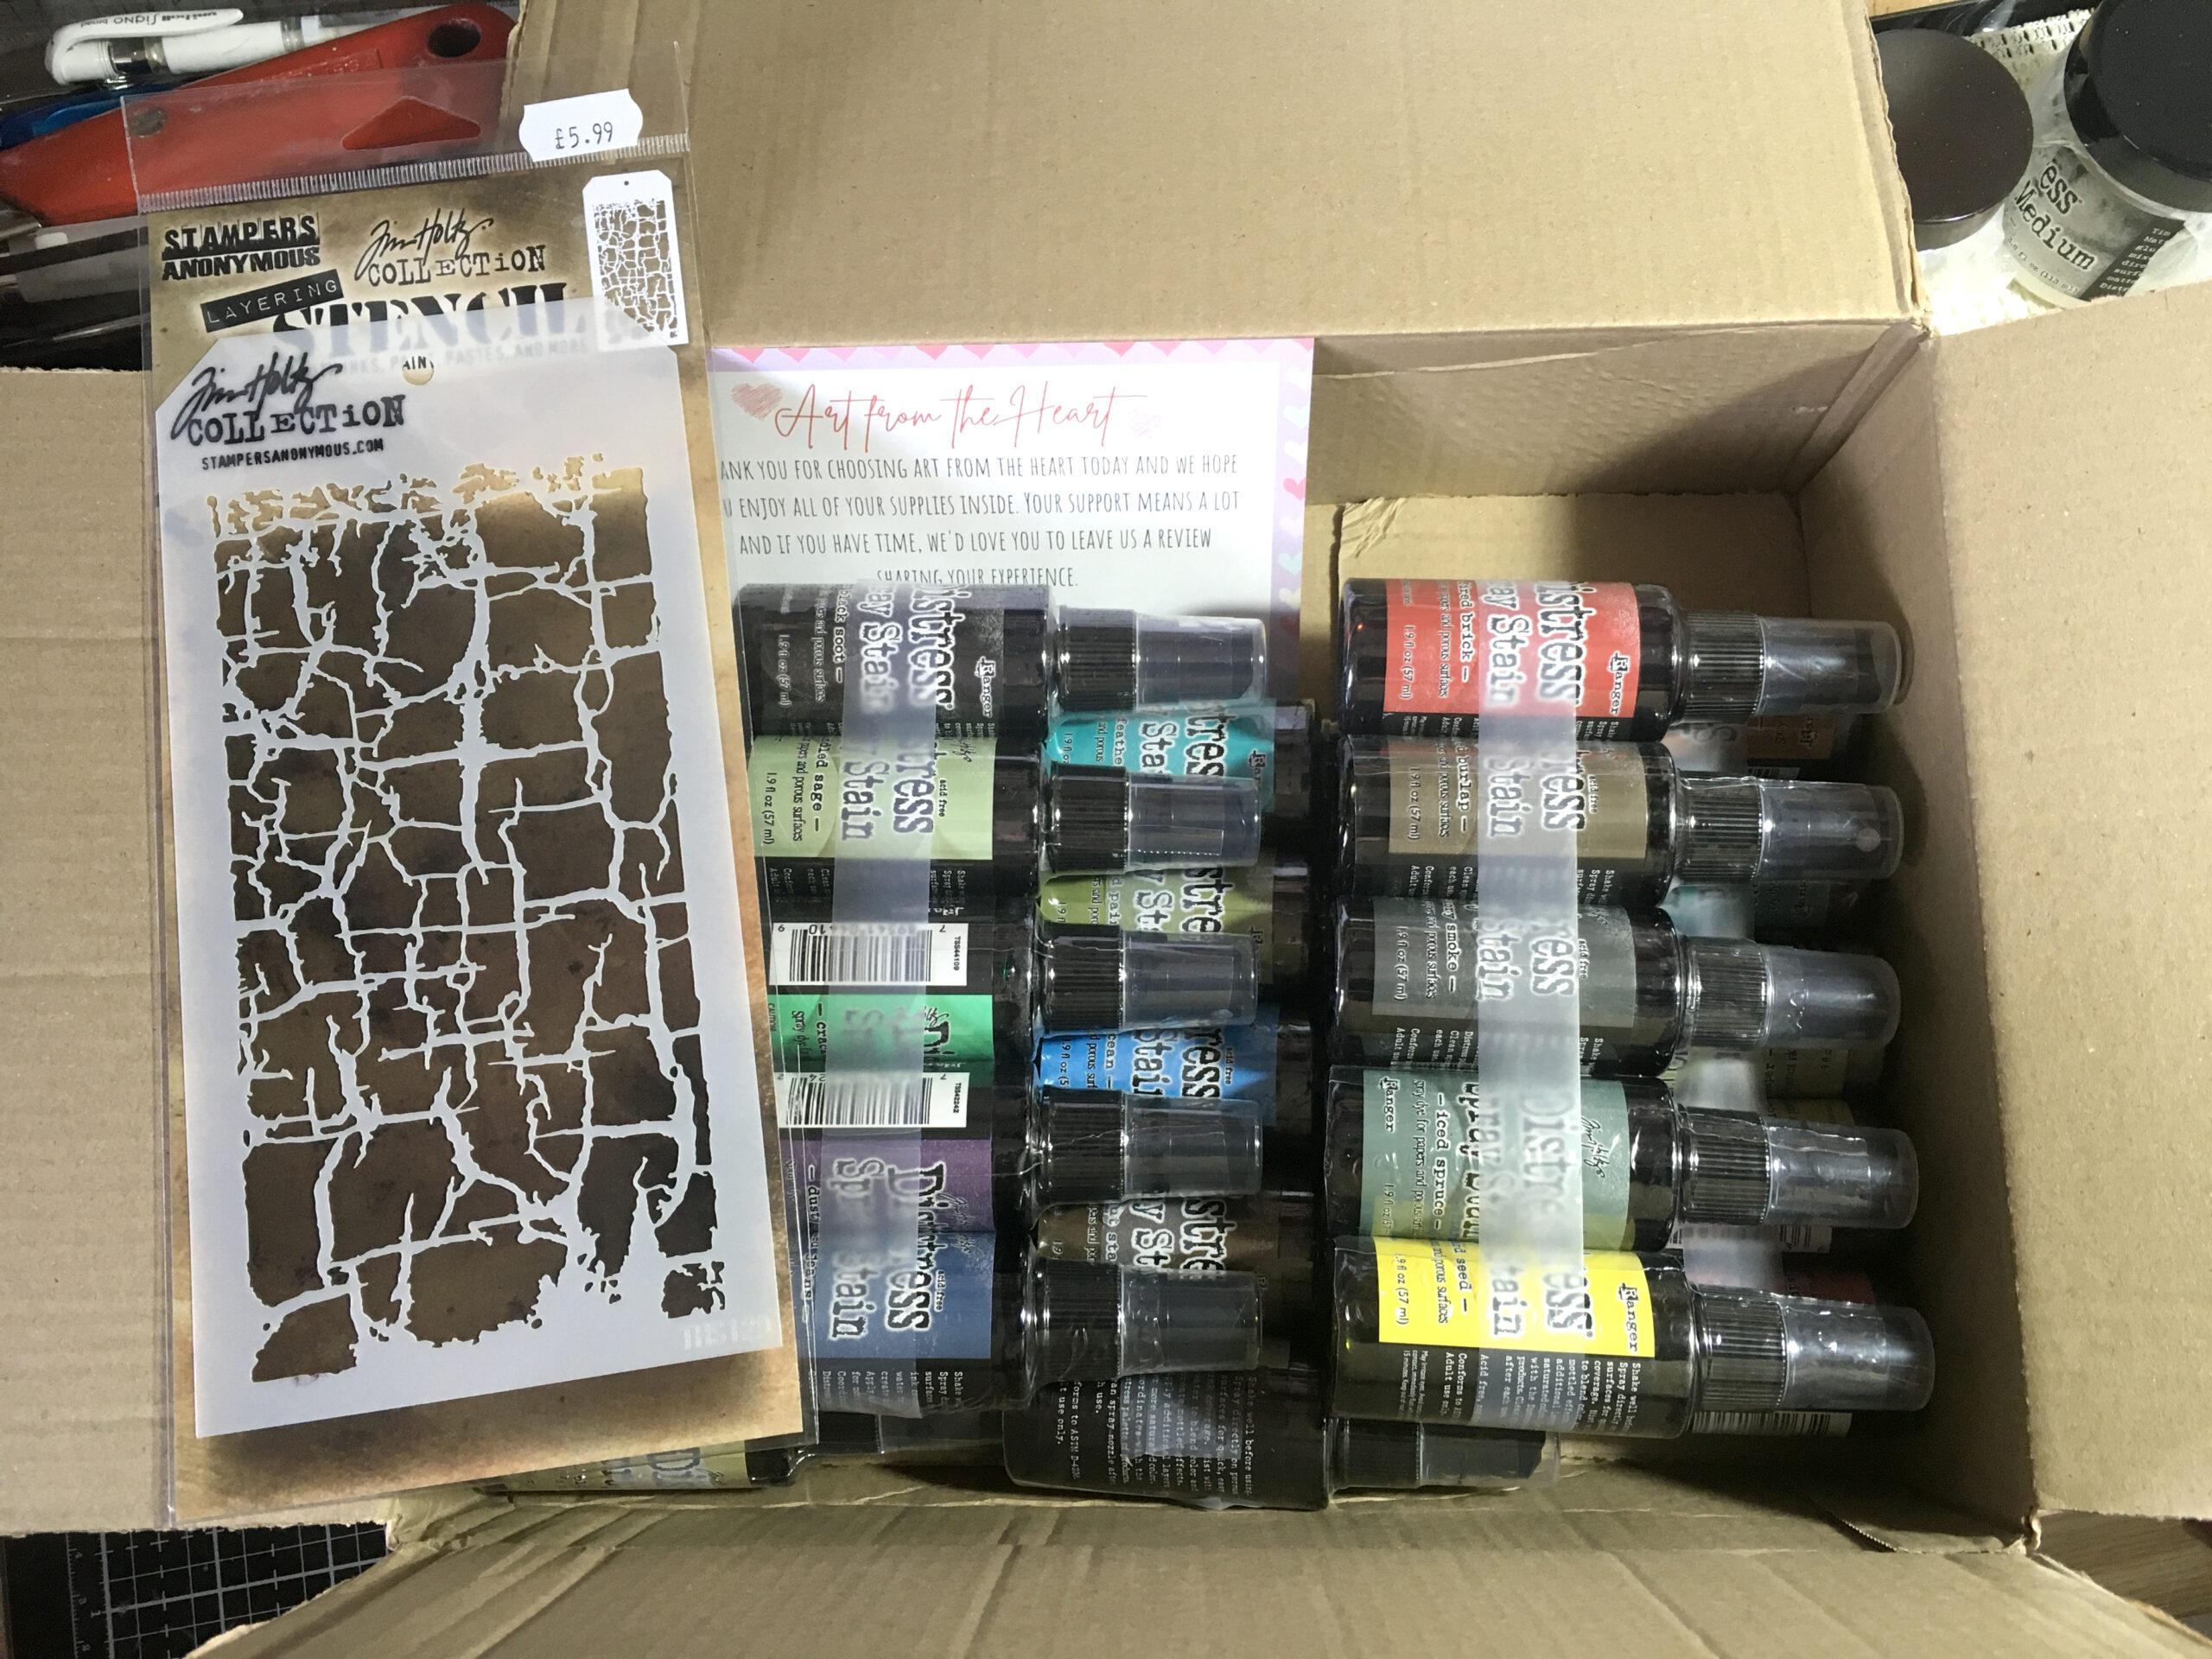
New Distress Spray Stains and Oxide Sprays
Today my parcel arrived, containing all the new Distress Spray Stains and Oxide Sprays that I ordered.
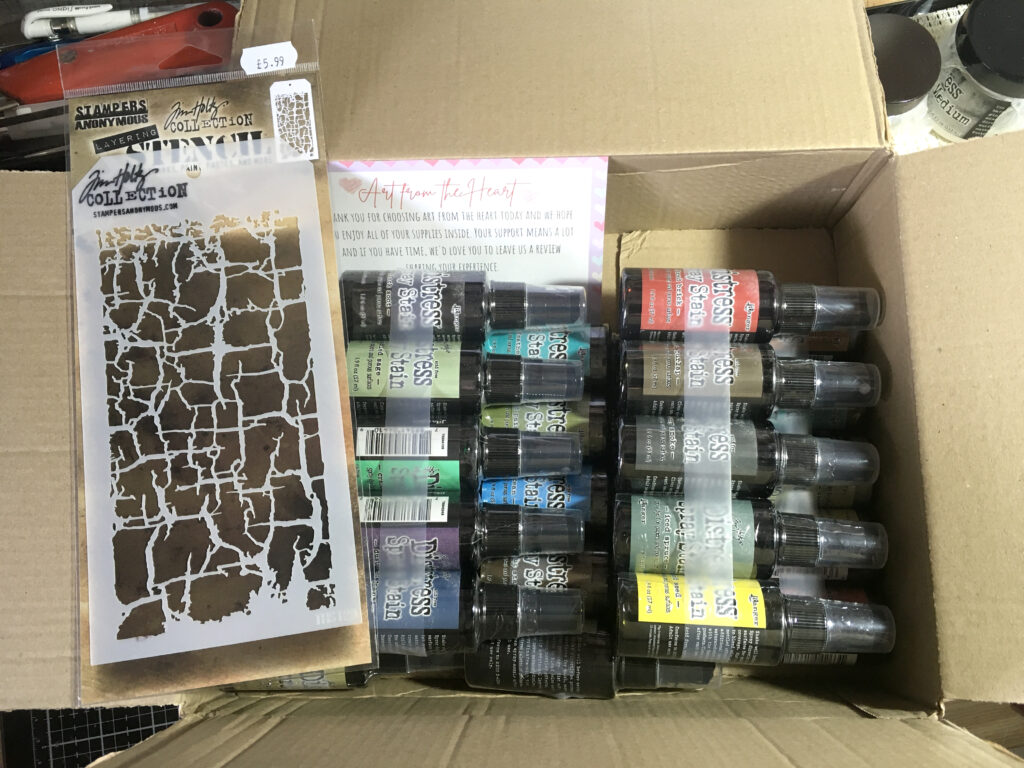
I also got another Tim Holtz stencil, “Decayed” which is fabulous. I saw him using it when he was doing his Distress Spray Stains demo recently. I already had one Distress Spray Stain (Speckled Egg) and a few Oxide sprays.
This is my collection of the original dauber top Distress Stains, on a wooden spice rack that I made for Mum many years ago.
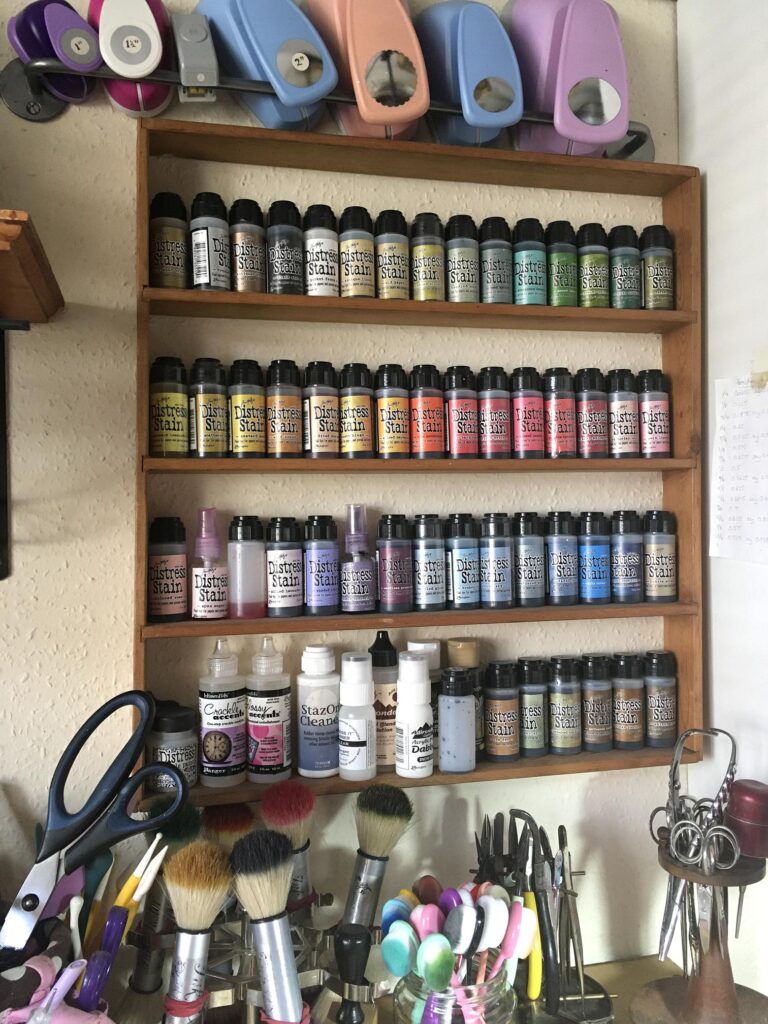
I never really got on with these. They always gave a very streaky result. They are OK for colouring flower petals and leaves etc., but for anything larger, I found them to be a big disappointment and rarely used them. I tried once or twice to transfer them to generic spray bottles but the results were awful – I couldn’t find a spray bottle with a fine enough misting spray and ended up with horrible blobs of ink everywhere. You can buy spare Ranger spray tops but for some reason they did not make them compatible with the dauber-topped bottles which is a real pain. In the end I decided the only thing to do was to replace the lot with the spray version, which is a much better and more versatile delivery system, and keep the others for small colouring work, smearing on the craft mat for watercolour use, and as refills for the spray bottles.
I wasn’t able to replace them all in one fell swoop but I’ve made a good start. I also ordered a few more of the Oxide sprays.
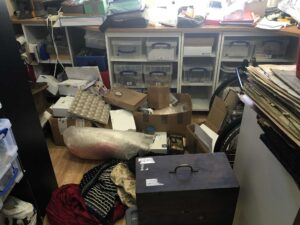
I then had to think about how I was going to store them. As with my ink pads, if I am going to use them, they must be accessible. The ink pad storage is an absolute dream – what I had been hoping for for many years, and I am delighted with it.
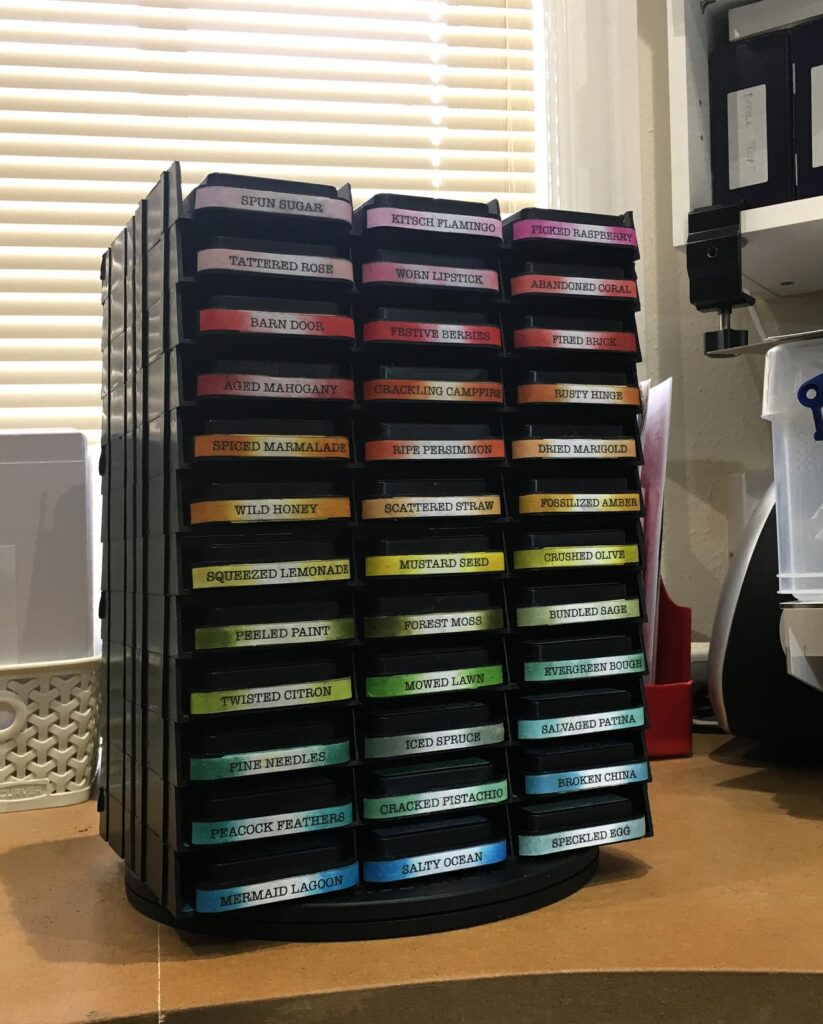
What I needed was something similar for the spray bottles – a free-standing vertical system on a revolving base. I spent ages looking, and couldn’t find anything. Then I found a system someone had adapted, using some little wall-mounted clips designed for spice jars. I didn’t want this system, but it caused me to think outside the box and start searching for a revolving system designed for spice jars. I eventually found what seems to be exactly the thing. I have ordered one on Amazon and when it arrives, I shall write about it.
The dauber-topped stains can probably stay where they are for now. I need to do a bit more studio rearranging and they may end up in a box.
A Gripping Tale – Media Grip
Also in the parcel with the inks was a roll of Tim Holtz’ Media Grip. I’d seen a video he made about this a little while ago and thought what a good idea it was. If anyone has his glass media mat, they will be familiar with the white non-stick craft mat that comes with it, designed to stick on the white part of the glass on the right-hand side. It has a tacky backing to stop it sliding around. Tim asked Tonic Studios to come up with something with this tacky surface on both sides, and Media Grip is the result.
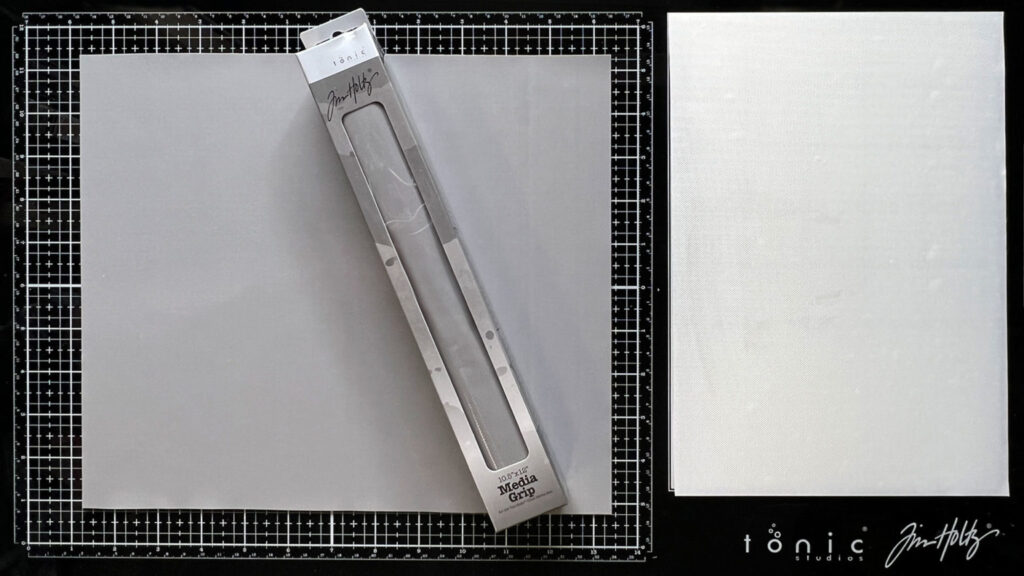
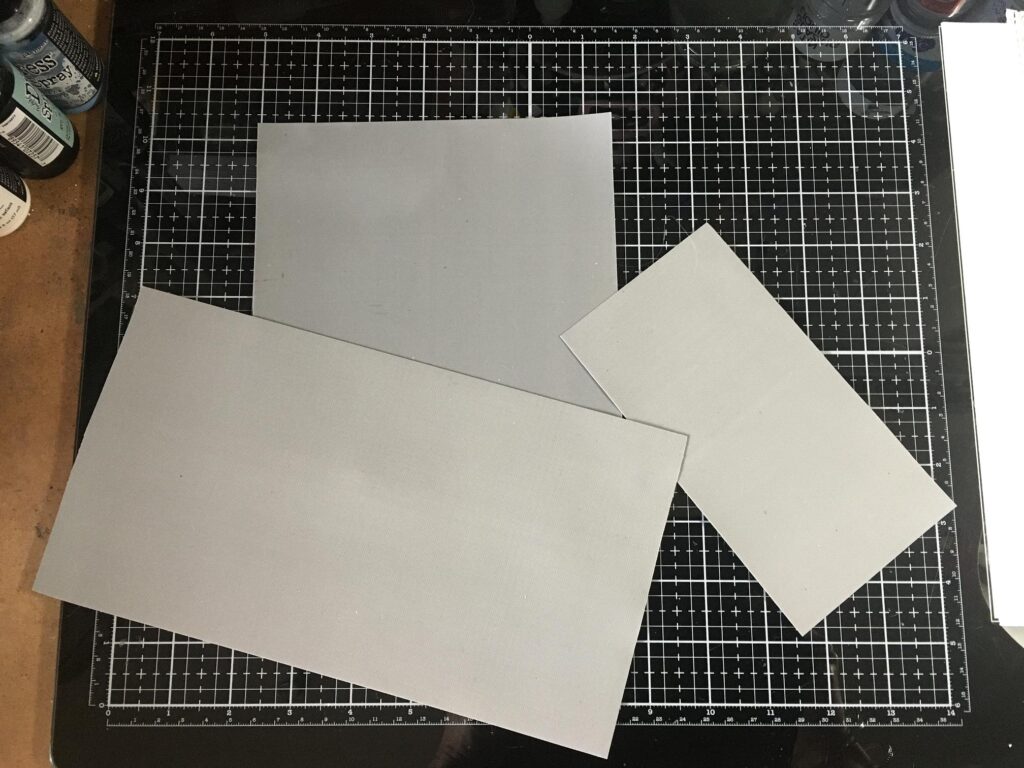
It says on the box that it is 12 x 10.5 inches in size. However, when I got mine out of the box, it wasn’t cut straight and was a parallelogram shape. In order to straighten it out, I lost the half-inch off the shorter side – not too much of a big deal but I do think they should take care over things like this! Tim recommends cutting up the sheet into smaller, more useful pieces and this is what I was doing.
On the video, and now on his website, are details of the templates he made for cutting up three sheets of Media Grip. I don’t need all of that, and decided that three pieces cut from a single sheet would be adequate for my needs. He explains his method of storing it on his video – when not in use, because it is tacky, it will get dust from the air stuck on it. It is very easy to wash off, but best to store it covered.
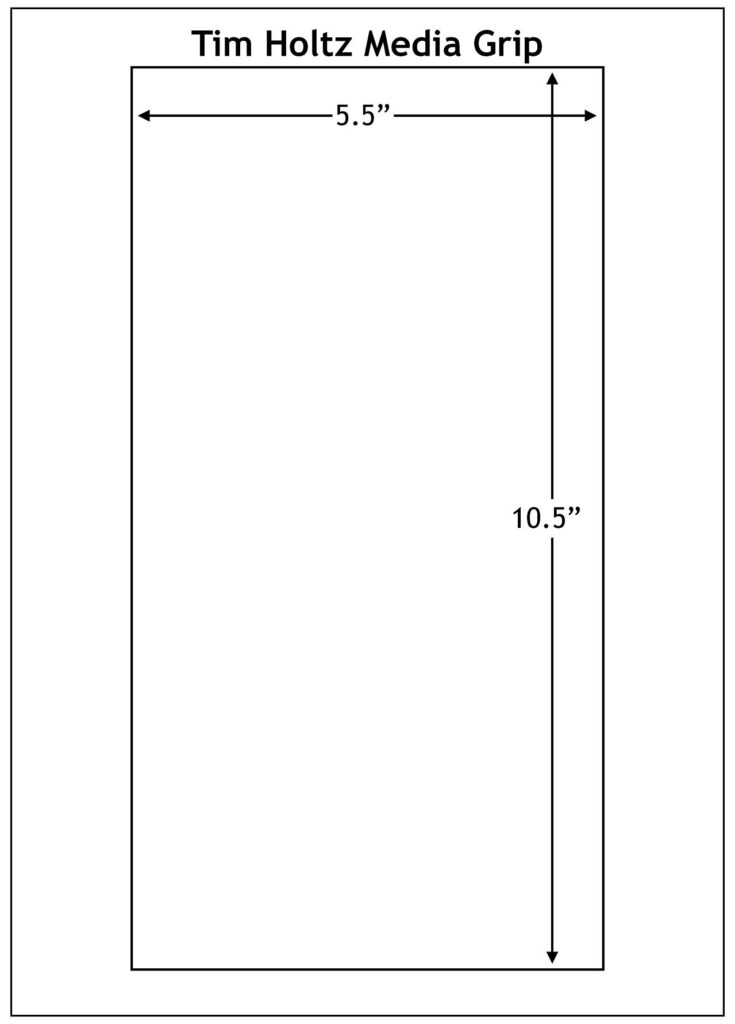
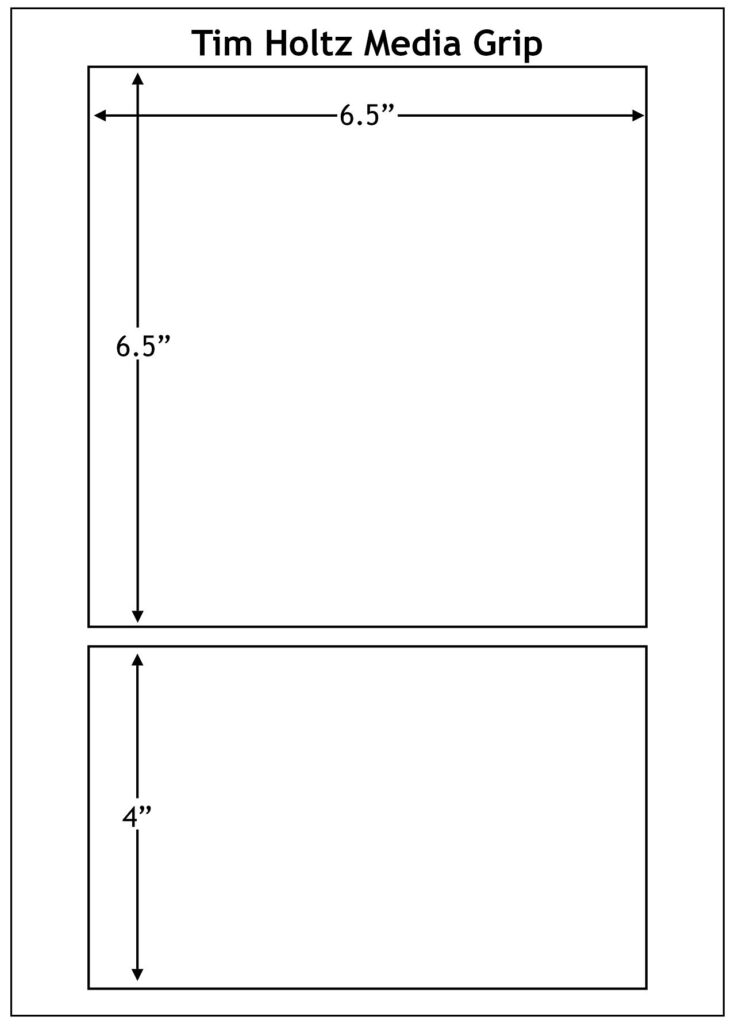
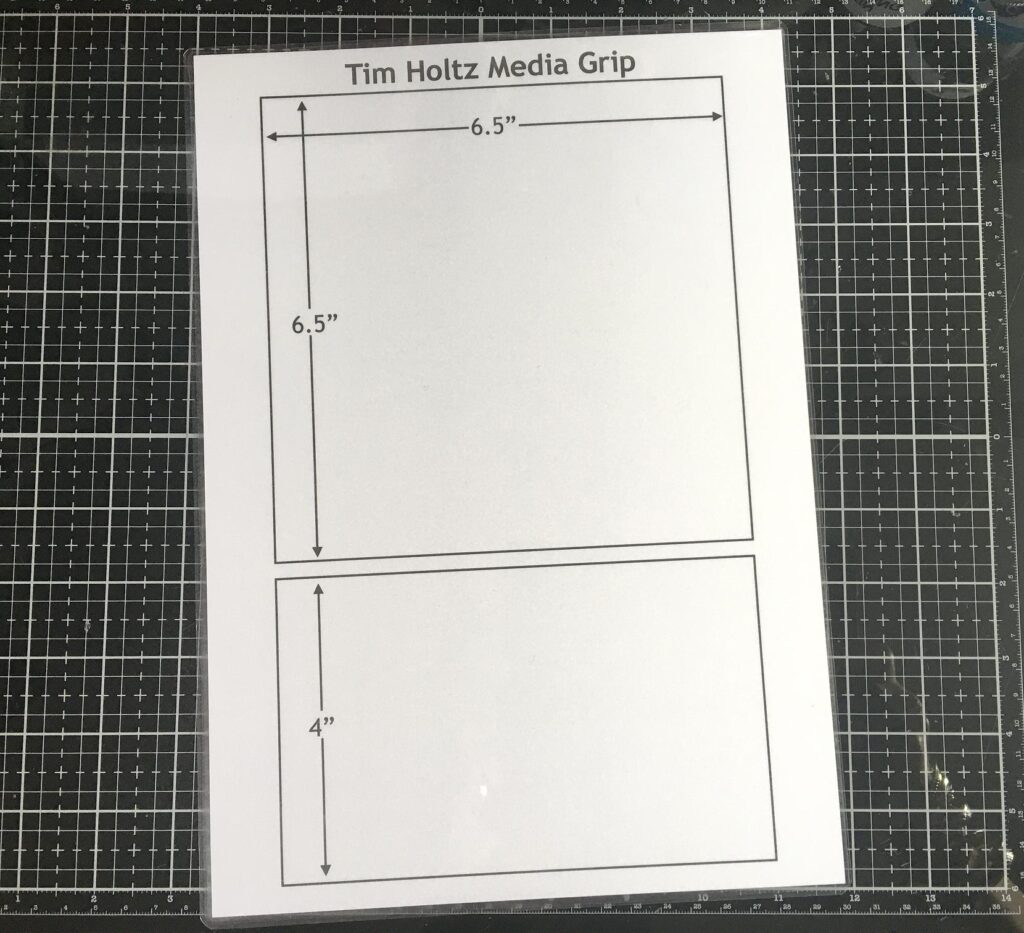
I designed a template for cutting my sheet:
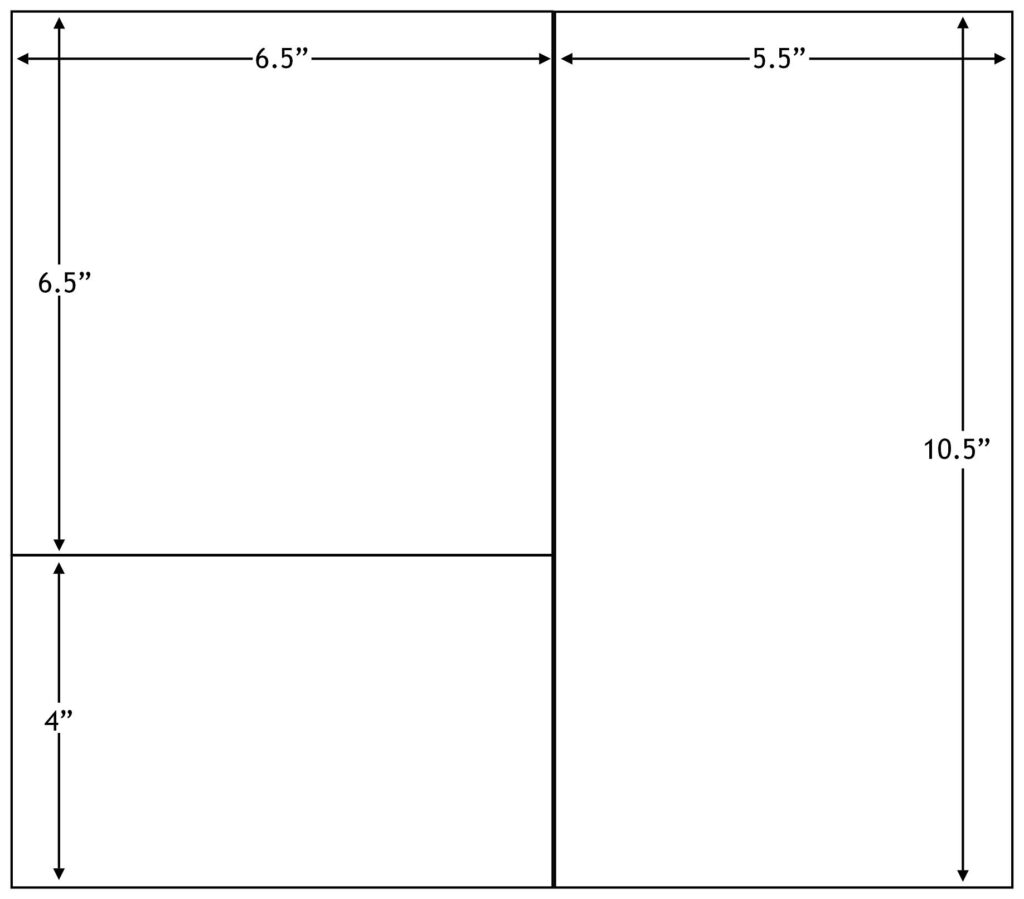
The long narrow piece on the right will be ideal for Tim Holtz stencils. The 6 1/2 in square piece is for inking card based and toppers, and the smallest piece is for putting ink pads on to stop them sliding around. However, all three pieces can be used for whatever I need at the time. It just makes it easier to handle, having it in smaller pieces.
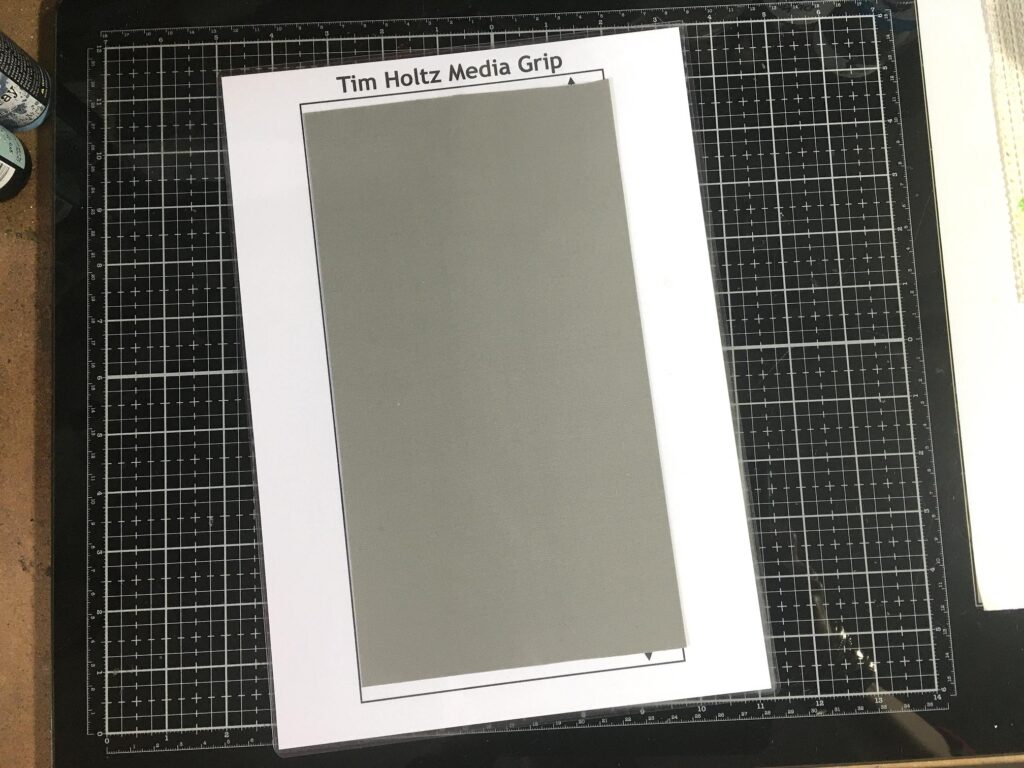
I also made my own version of his storage system. I printed a template on each side of a piece of A4 printer card and laminated it.
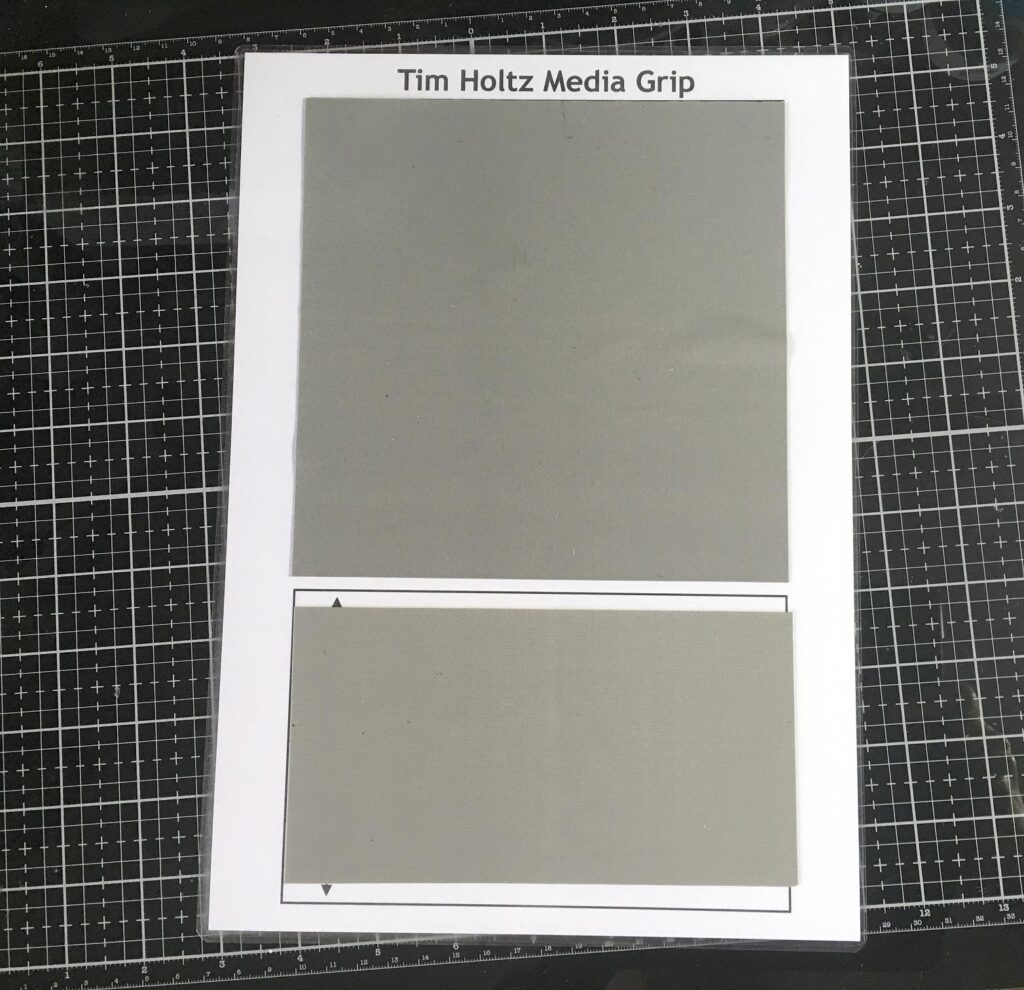
I can stick the Media Grip pieces on the shapes, and then the whole thing goes into a clear document sleeve which I have opened down the side.
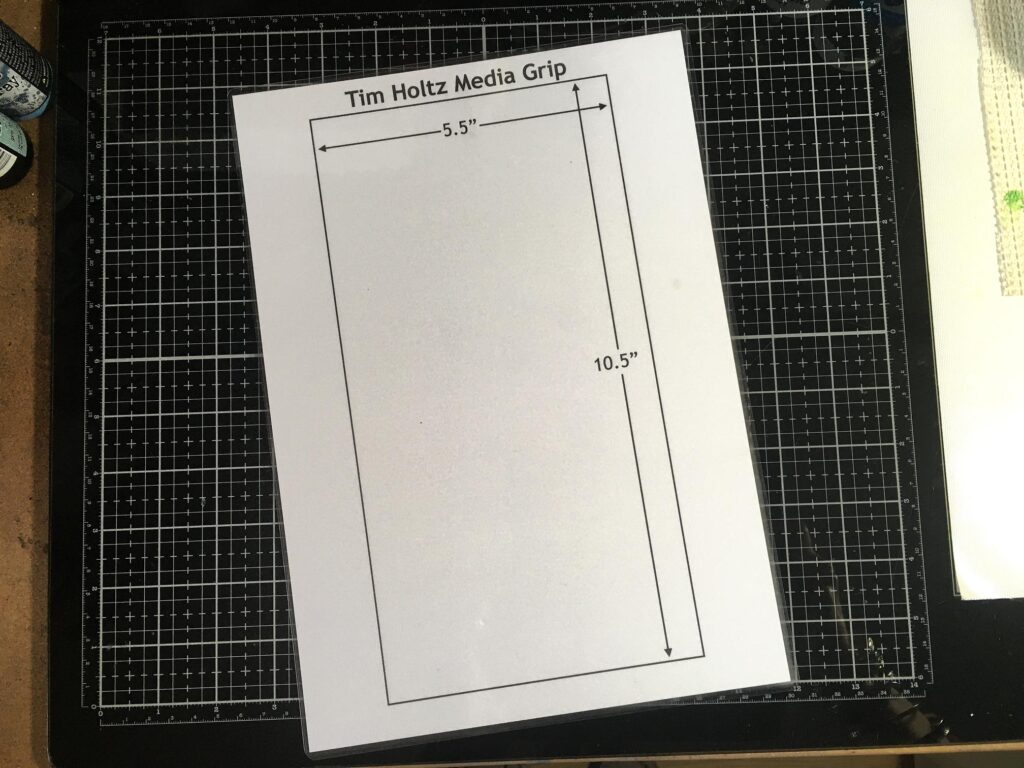
Of course, I made this before I discovered that it hadn’t been cut straight, so my resulting pieces are 1/2 in short. I wasn’t going to redo the whole thing for that, but it offends my sense of neatness!
Here it is in the document sleeve.
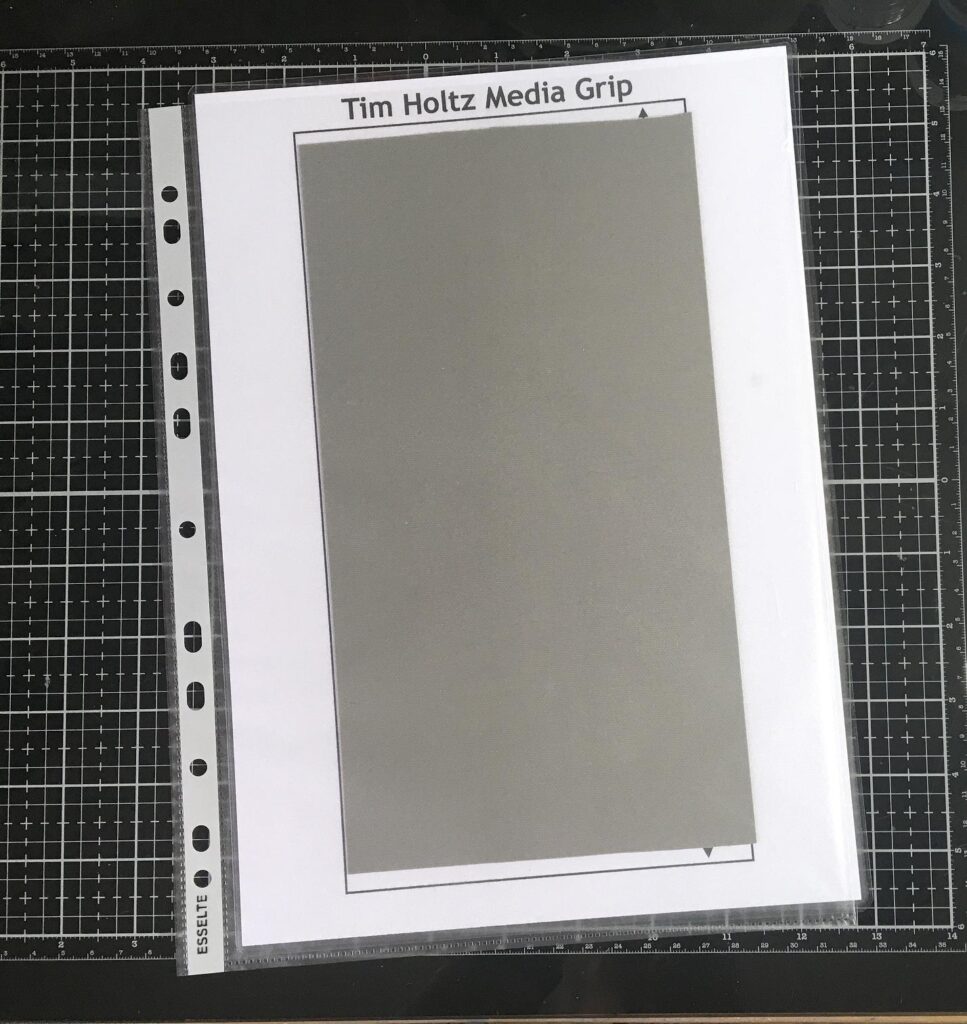
It is very easy to get in and out. I shall probably keep this in the ring binder with my stencils.
There are full details of this product, and how to use it, on Tim’s website where you will also find the video.
Tulips
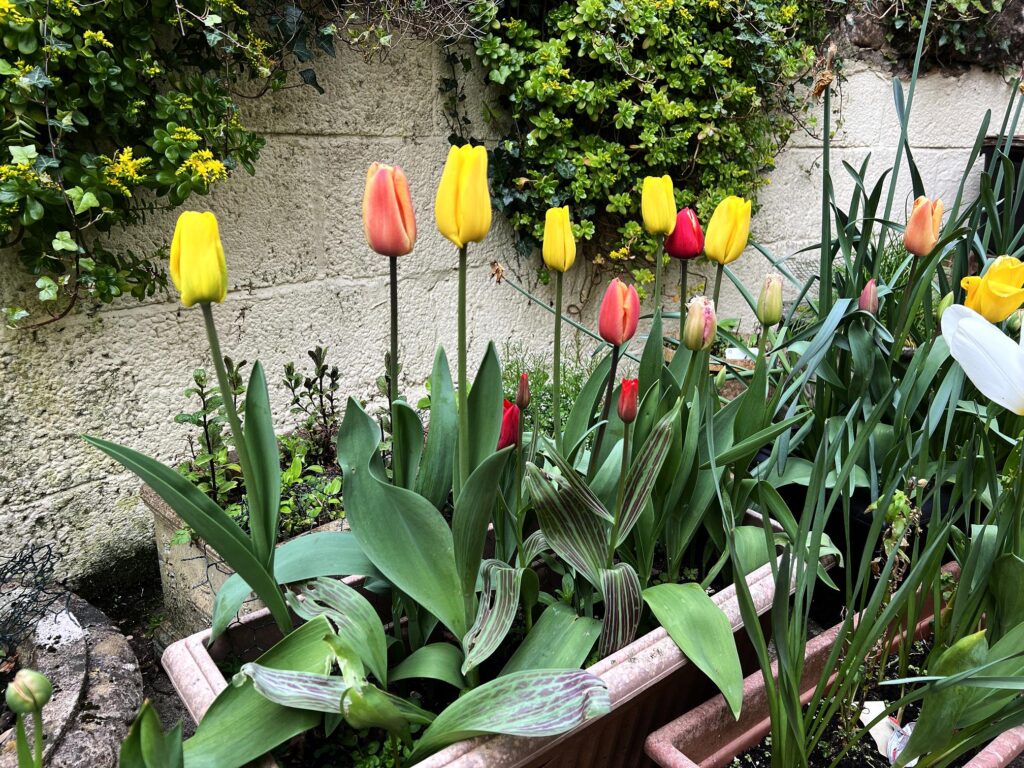
Our beautiful tulips are beginning to go over now, and before they did so, I was determined to get some close-up shots of individual flowers. This year it has been such a beautiful display, with so many different colours and varieties.
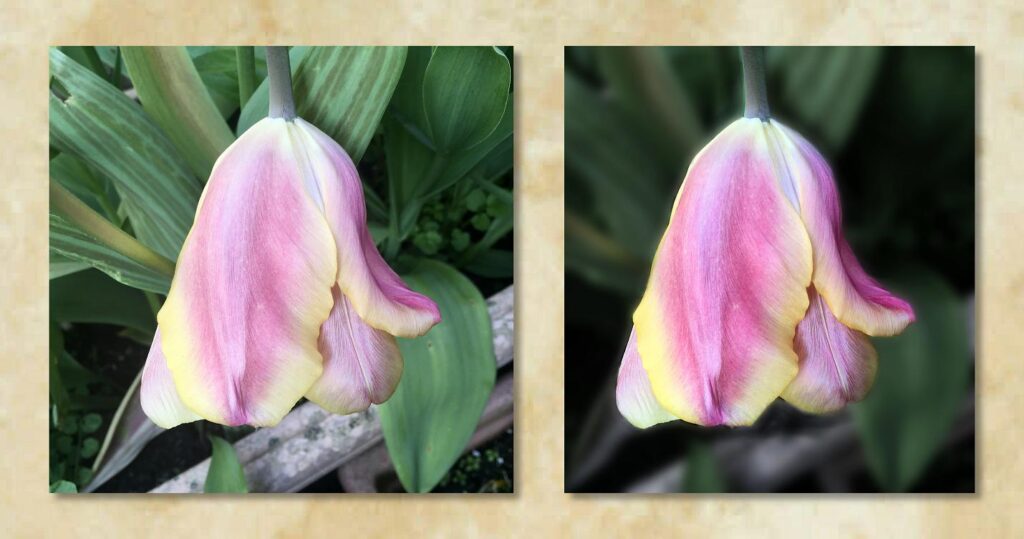
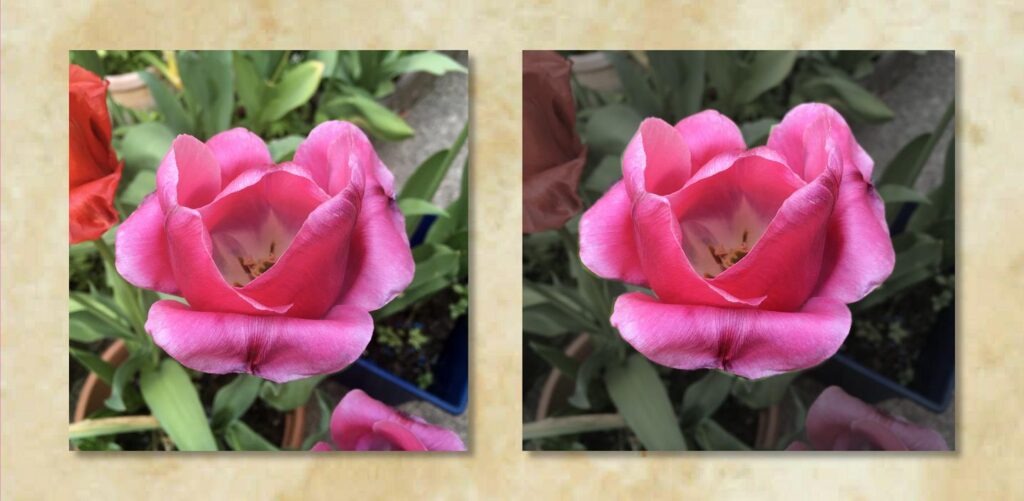
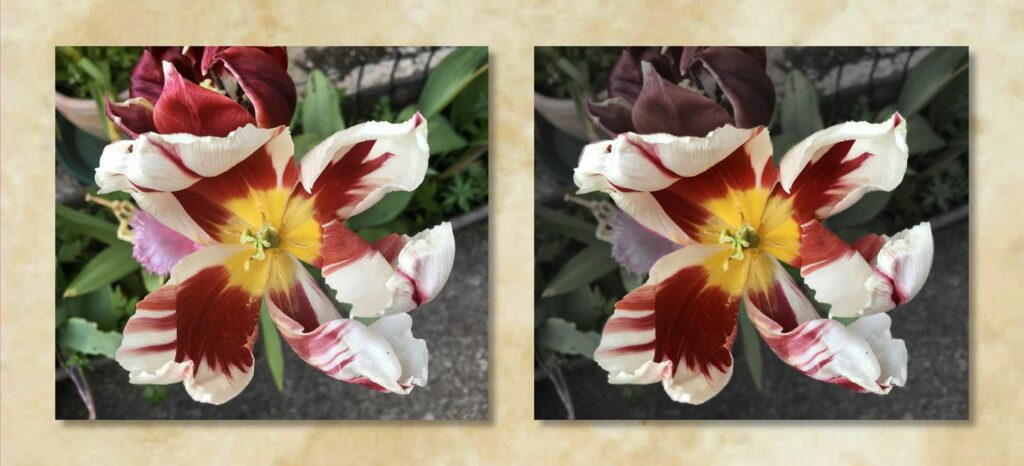
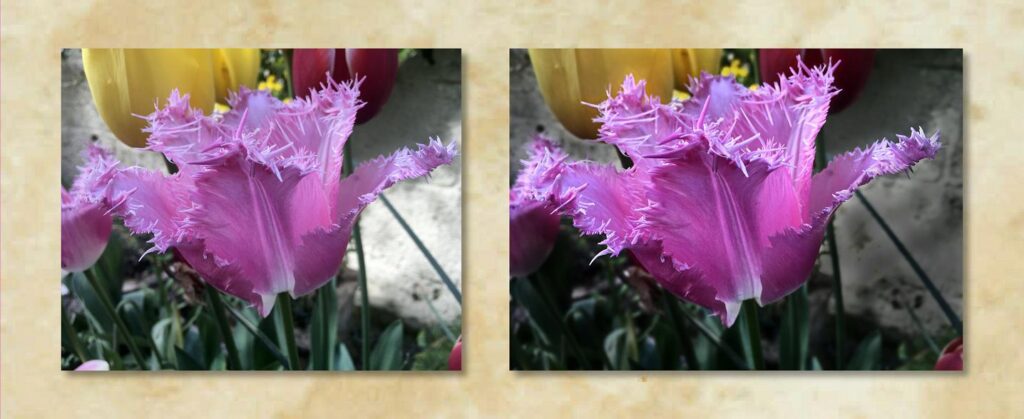
After photographing them, I edited them in my standard way, and then spent some time manipulating the photos to make the flowers stand out from the background. I did this with a combination of blurring, desaturating and darkening. The following photos show the normal edited version on the left, and the enhanced one on the right.
This tulip was drooping right over, but the petals were such gorgeous colours.
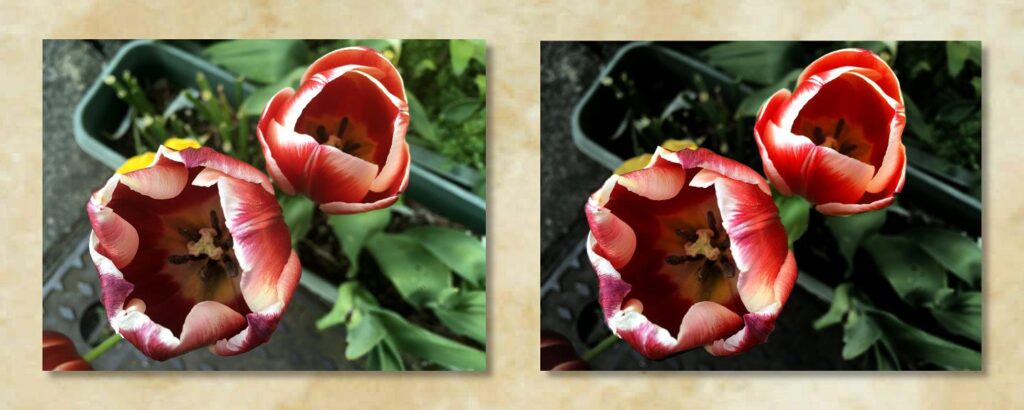
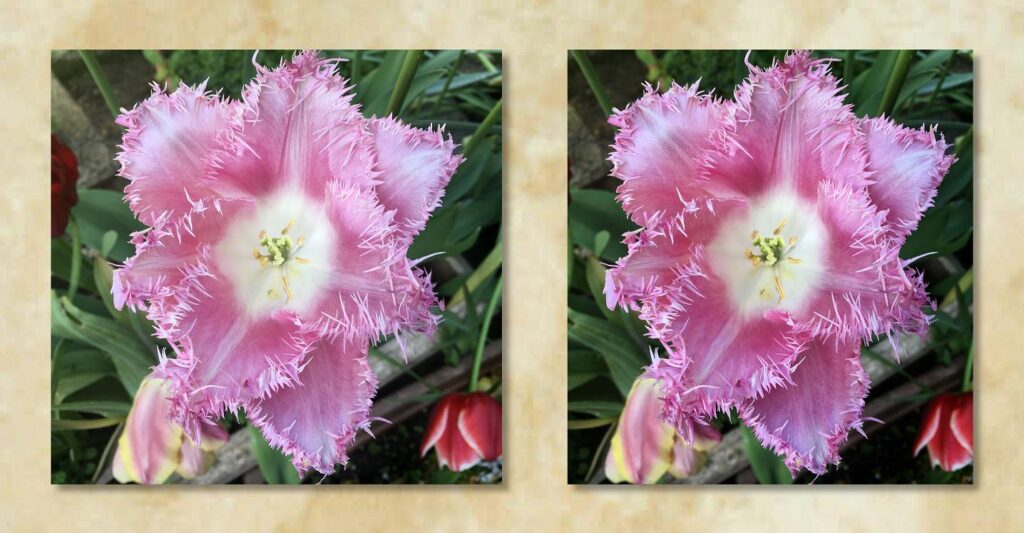
I love the sparky frazzly edges of these petals! They are actually quite soft, and not as prickly as they look.
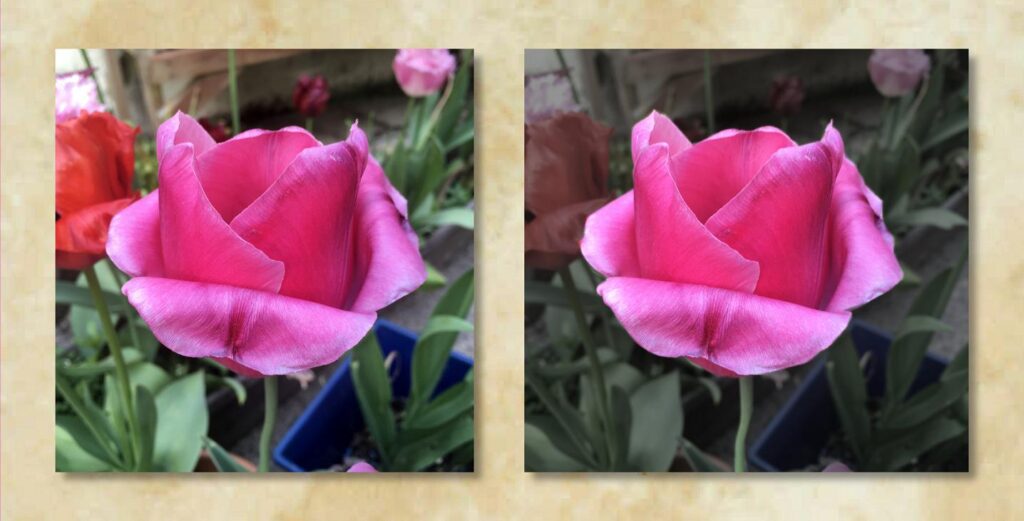
This one looks like a rose.
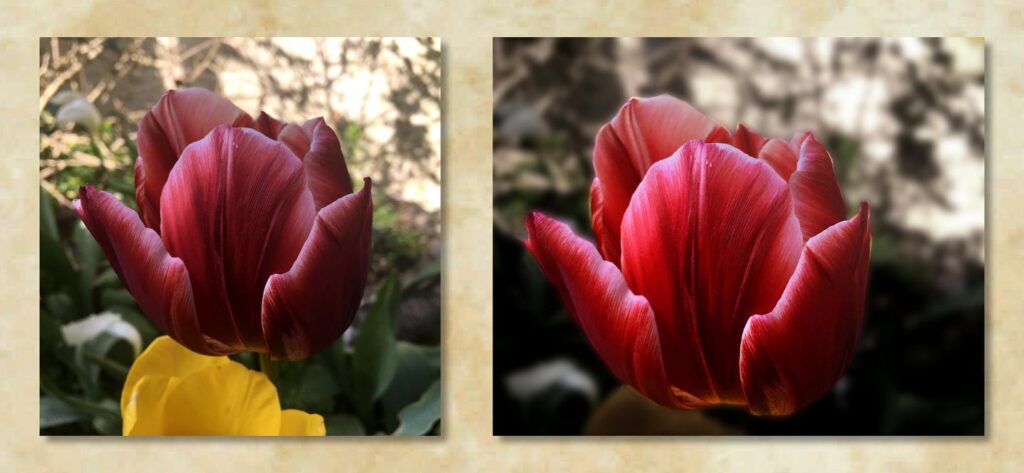
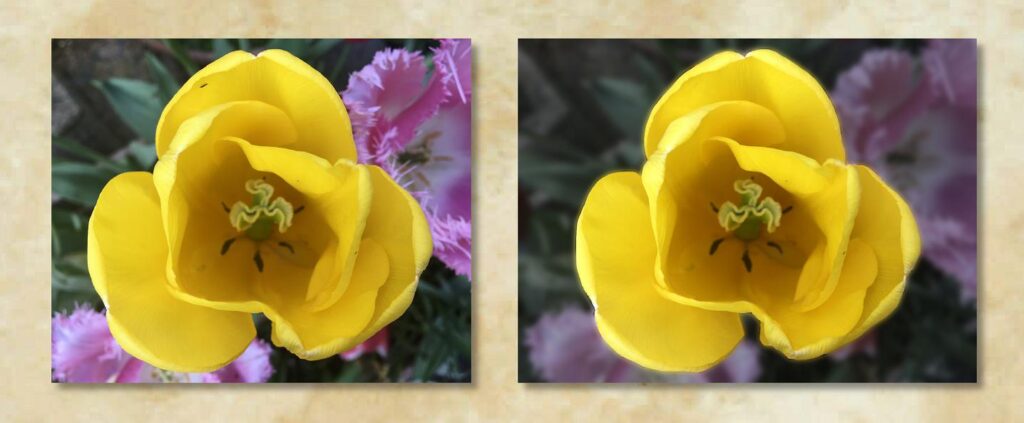
Dramatic stripes.
Another of those amazing spiky looking pink ones!

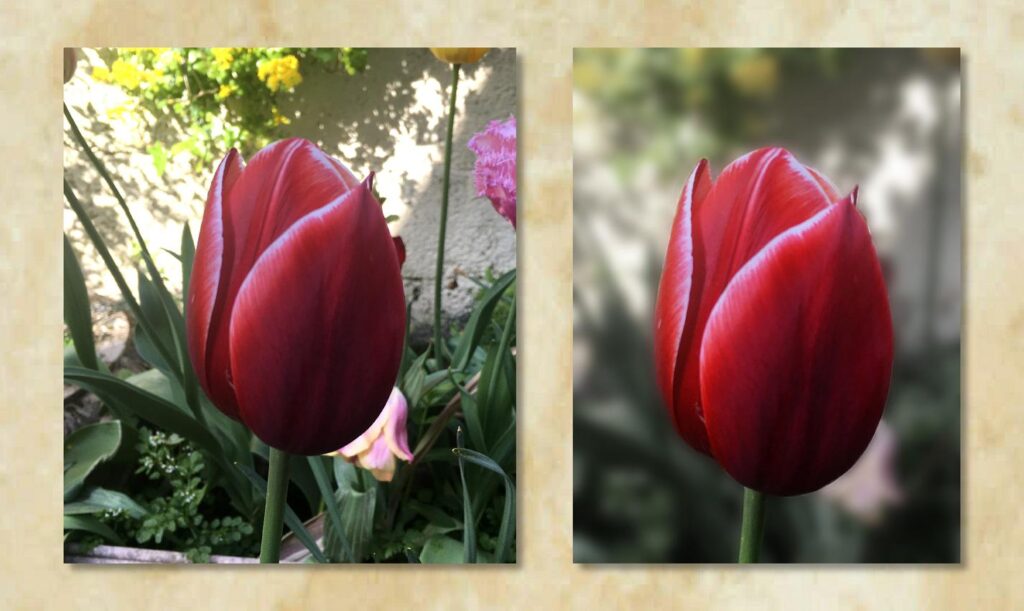
Looking at these amazing tulips, I can begin to understand the extraordinary mania that overtook the Dutch people in the seventeenth century when they fetched ridiculously high prices.