Drying the papers
It took over 24 hours for my faux rice papers to dry sufficiently to peel them off the plastic sheet. Following the instructions on the video where she suggests gently curling the very edge of each piece with the brush while the paper is still wet, it made it a lot easier to begin the peel. It was actually quite satisfying peeling them off!
The large piece of white tissue paper and the napkin were the first to be ready to be peeled off. The other two pieces (the silver tissue paper and the scrim) took a bit longer to dry.

The experiment actually worked a lot better than I thought it would. I have learnt a few things along the way and will certainly do it better next time, but all these pieces are useable.
Moving them onto a white surface which I thought would show them off better, let’s have a look at them one by one. The first is the large piece of white tissue paper. As I suspected, there is a darker band running down vertically just to the left of the centre, but it isn’t too bad. This was caused by the fold in the plastic sheeting (more about this plastic sheeting later). The repair just to the left of this, towards the bottom, is not at all obvious.
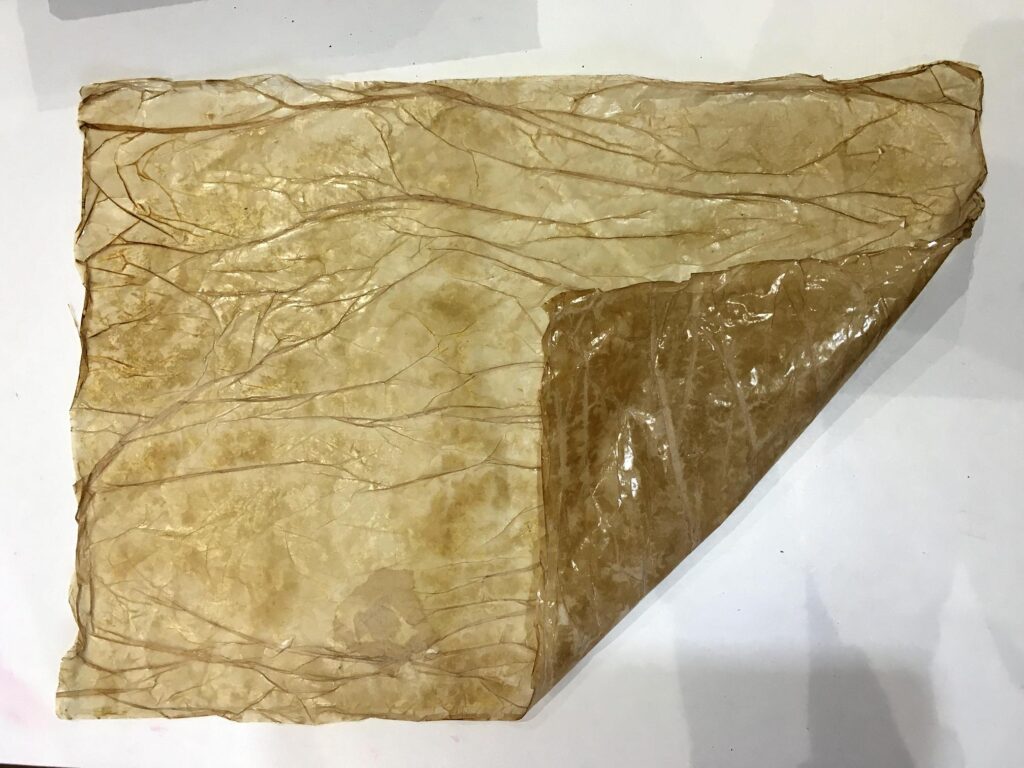
I have turned back one corner to show the reverse side that was in contact with the plastic sheeting. This is very shiny and smooth, and a darker colour.
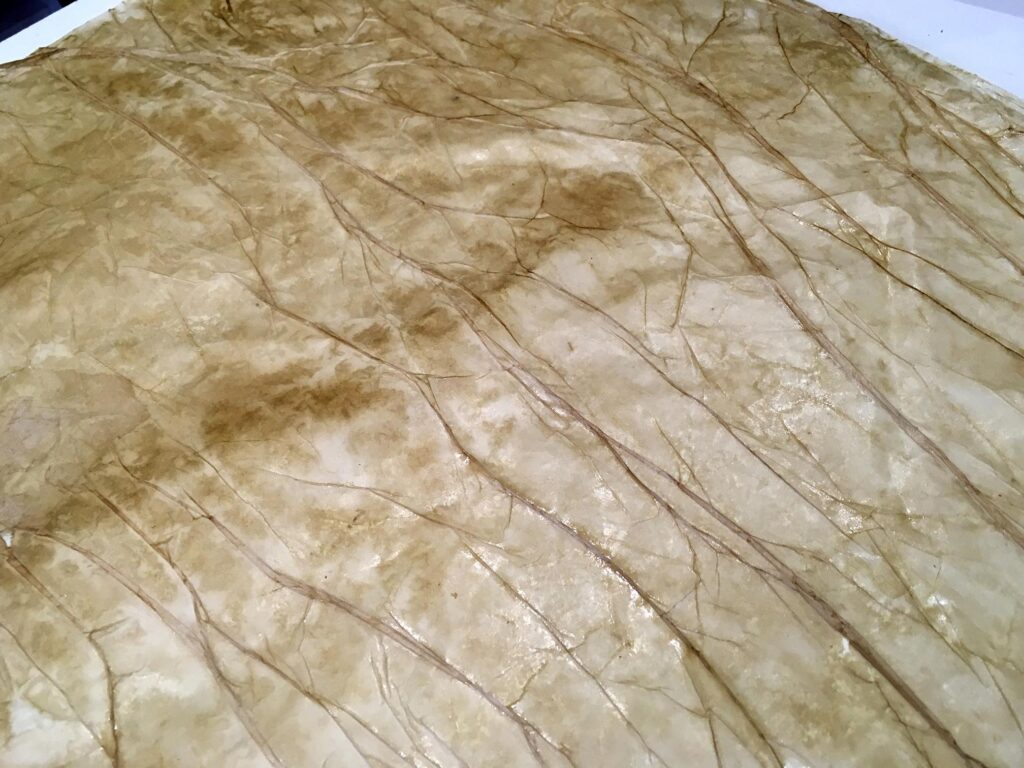
Here is a close-up of the darker streak.
Moving on now to the napkin, which I have photographed beside an untreated identical napkin to show the difference. Unfortunately the repair on this one is a lot more obvious. Again, I have turned back a corner to show the darker, shinier reverse side. The subtle design of circles on this napkin is not so obvious on the treated one, but I think it makes a nice textured background.
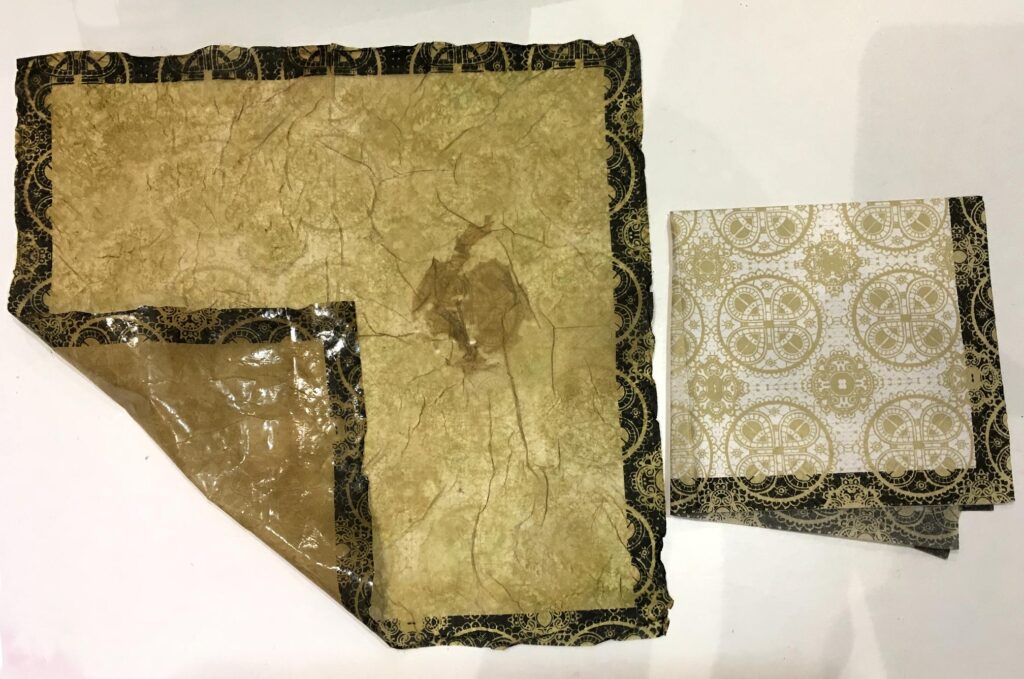
I wasn’t quite happy with the finish on this one – it still felt a bit too papery and fragile, so I have put it back on the table (this time direct onto the vinyl tablecloth without the plastic sheeting), and given it another coat of the glue solution and left it to dry.
Update: Mon. 2nd May: I peeled it off the vinyl tablecloth and it wasn’t as easy to remove as off the plastic sheet. It is improved with the second coat of glue solution (this time without the coffee). I have now cut the plastic sheet so it is one large piece rather than a bag.
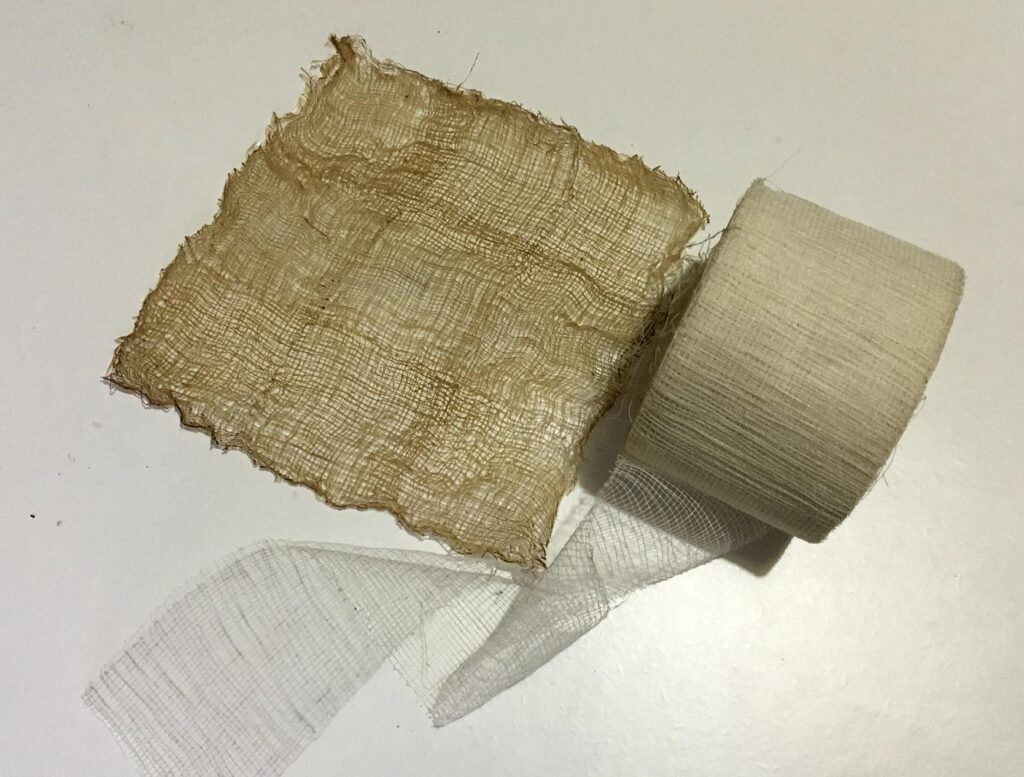
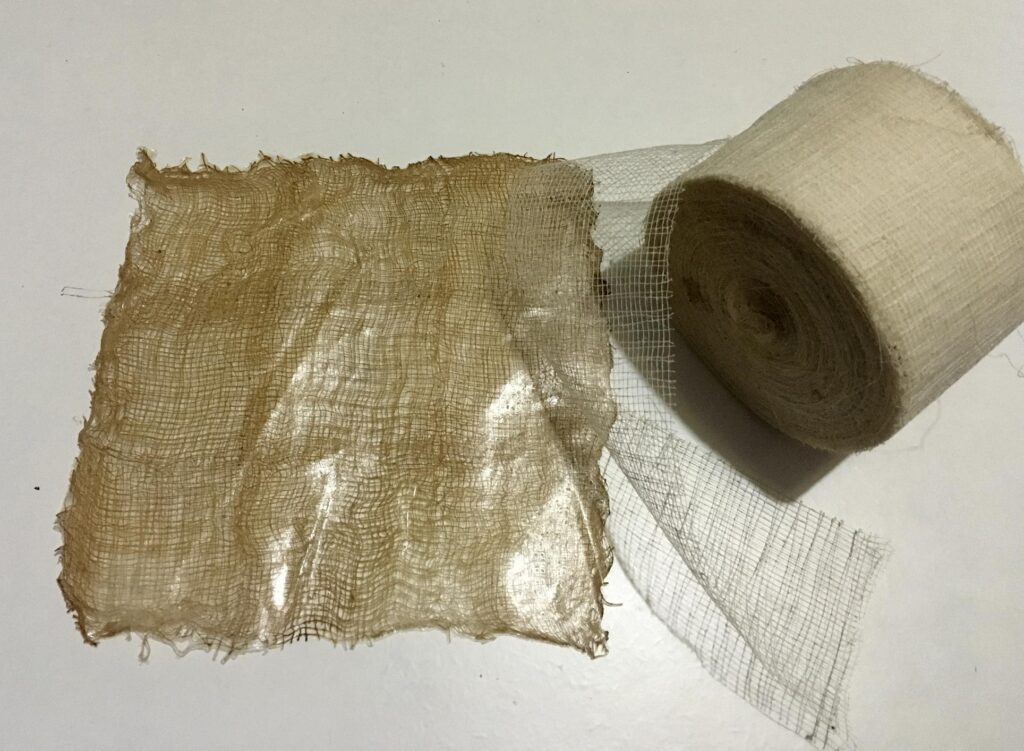
Next is the scrim piece, together with the roll of untreated scrim. I can’t remember where I got this but I’ve had it for many years – I think it may have come from a builder who was doing work on our house at the time – it is used by plasterers. There is masses on this roll and it’s a really fun material to use in mixed media art. On the treated piece, you can see where I have overlapped three strips one way, and then a further three strips at right angles. I don’t think it matters that it now has a chequerboard pattern! It might make a nice background onto which to apply teabags. You might get an interesting effect by layering the strips of scrim randomly.
This is the reverse side of the scrim sheet. Again, very shiny,.
Now for the silver tissue paper, seen here with the untreated piece. This is a bit hard to see properly because as usual, shiny and relective surfaces don’t photograph very well. The design on the treated tissue paper shows up a lot more than this in real life, and the additional photos do show it better.
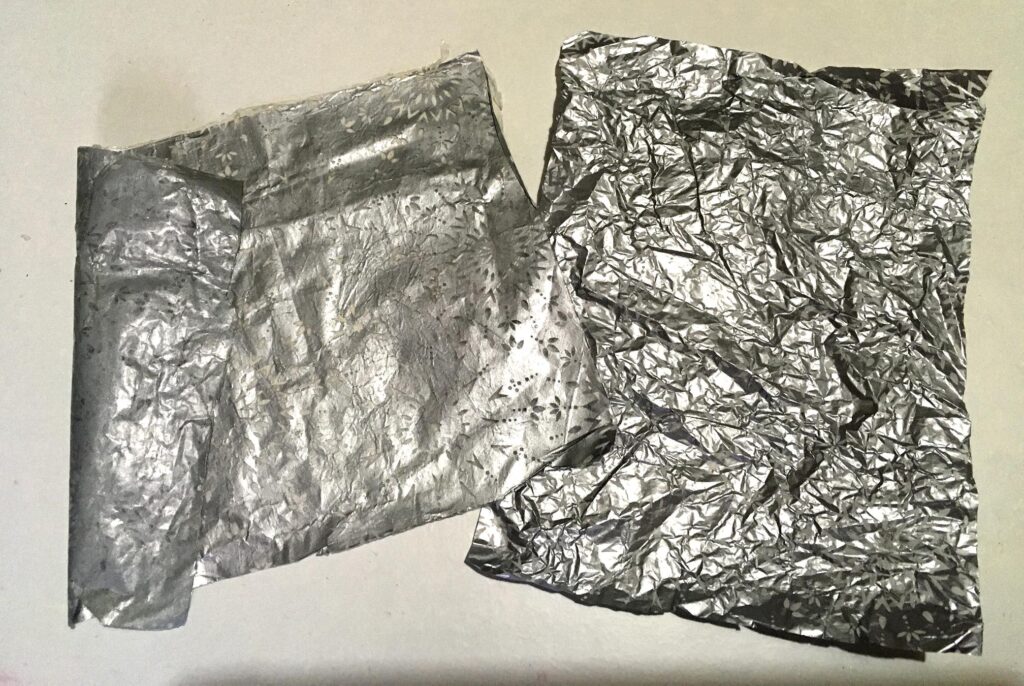
I was quite surprised how well this one turned out, given that the glue solution puddled badly on the shiny surface. With this technique, you begin by painting the glue solution onto your surface, and then place the piece down onto it face up (if there is a difference initially), and finally coating the top surface with the glue solution. If I do the other half, I might try placing it shiny side down – this might prevent the puddling of the glue, but it would come out very flat and shiny.
The piece does feel as if it is adequately covered, and it feels quite strong and robust.
The upper surface, which is shiny silver in real life. You can see the design quite clearly now – a lot more clearly than on the untreated piece. That piece is also badly creased, which also probably prevents the design from being more visible.
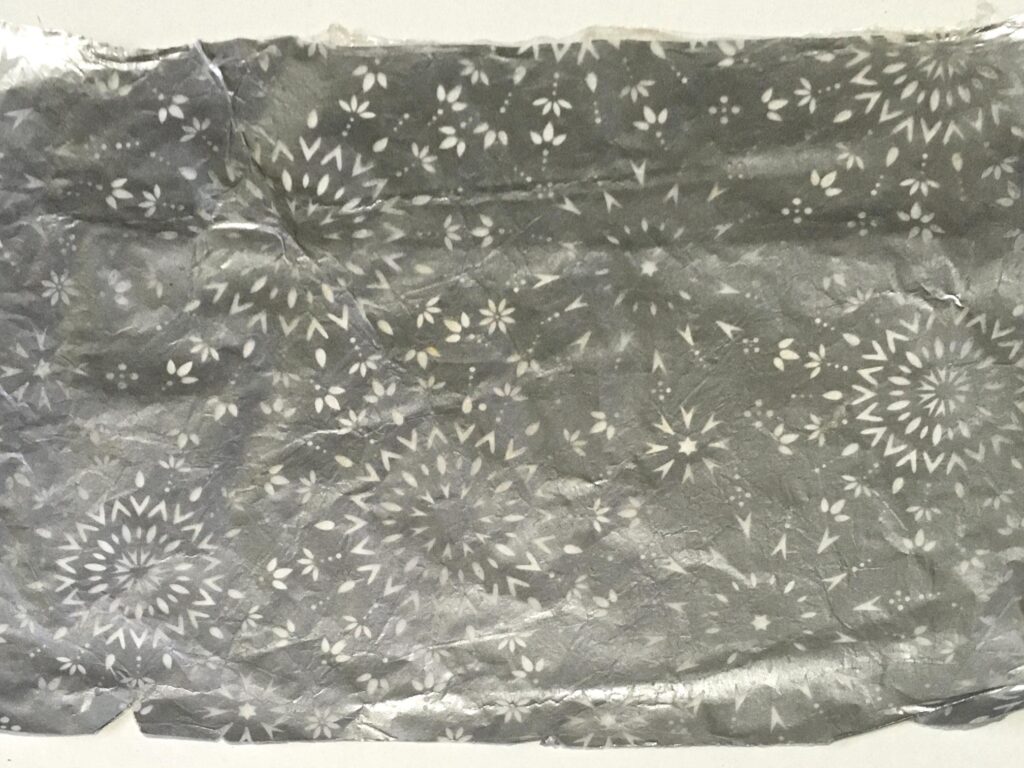
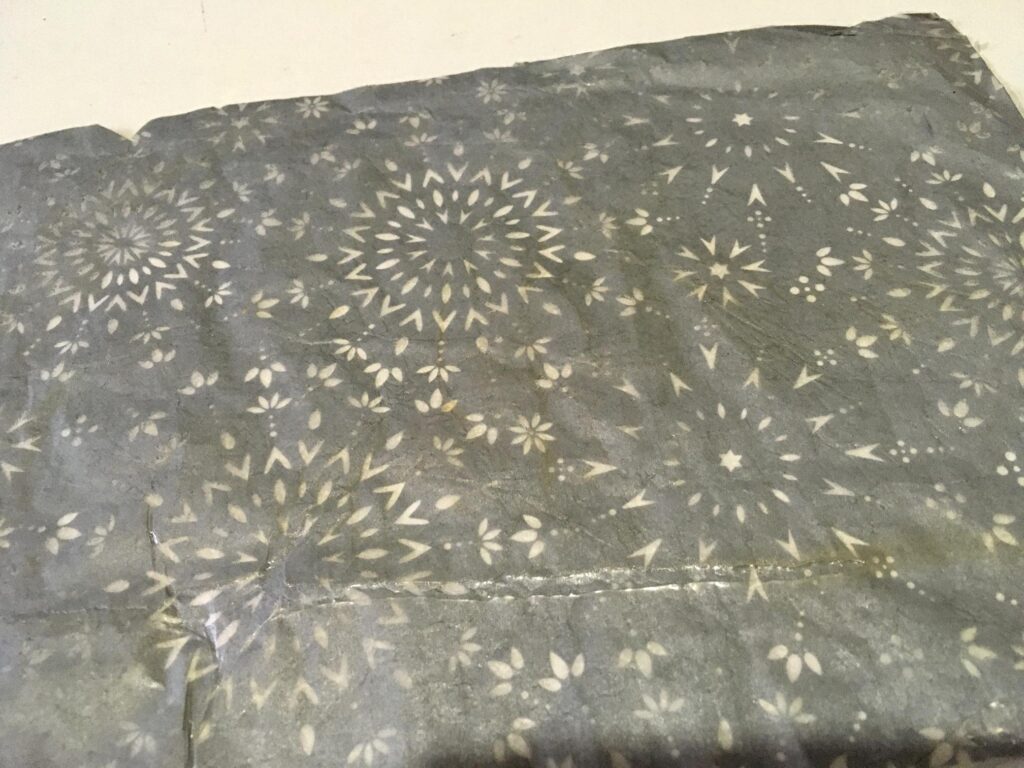
This is the underside of the treated silver tissue paper, which is a dull grey, with the pattern clearly visible. These photos don’t look very different, but in real life there is a significant difference, with the top surface being shiny silver.
This silver tissue paper came as packing in a parcel I received recently
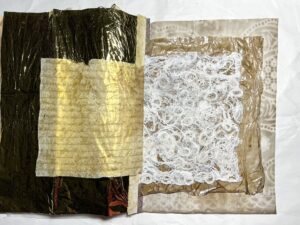
Finally, all four pieces together on the white surface. In this picture, you can at last see how shiny and silvery the silver tissue paper is, and how much the pattern shows up now it is treated.

I love the coffee-dyed colouring of all of these. The only one which had the glue solution without the coffee was the silver tissue paper.
I am definitely going to do some more of this. I also have some cereal box liners which I want to fuse – these make gorgeous glassine-like papers and you can put stuff between the layers. They are wrinkly and translucent and make a fabulous sound when you handle them. All these “hand-made papers” make interesting additions to journals as they add texture and a more interesting sensory experience when leafing through the album. I am looking forward to starting on my first junk journal in due course, for which I am collecting ephemera and different papers.
The plastic sheeting
The plastic sheeting which I laid down onto the table to do this work on is actually a very large bag made of quite thick plastic. It was originally the wrapping around a fouton we bought once (now long gone). It’s often useful to have a big, tough piece of plastic sheeting to protect a surface. Because this is a bag, even when it is unfolded completely, it is still double thickness. I didn’t unfold it completely and got ridges where the folds had been, and it was several layers thick on the table, so quite bumpy in places. Also, the bag is pierced in several places with air holes, and the glue solution seeped into these, so I had a job cleaning it all off the bag, which had to be turned inside out.
I am sure I shall never want to use this as a bag again, so I am intending cutting it so that it is one very large single sheet. I can always stick something over the air holes to prevent leakage of fluid through them. I think it will be more useful this way.
However, I am sure that these papers I’ve been working on would have fared just as well (if not better) on the vinyl tablecloth which is smooth and wrinkle-free. Having put the napkin back for another coat of glue solution, we shall see if it is just as easy to peal off as it was from the plastic sheet.
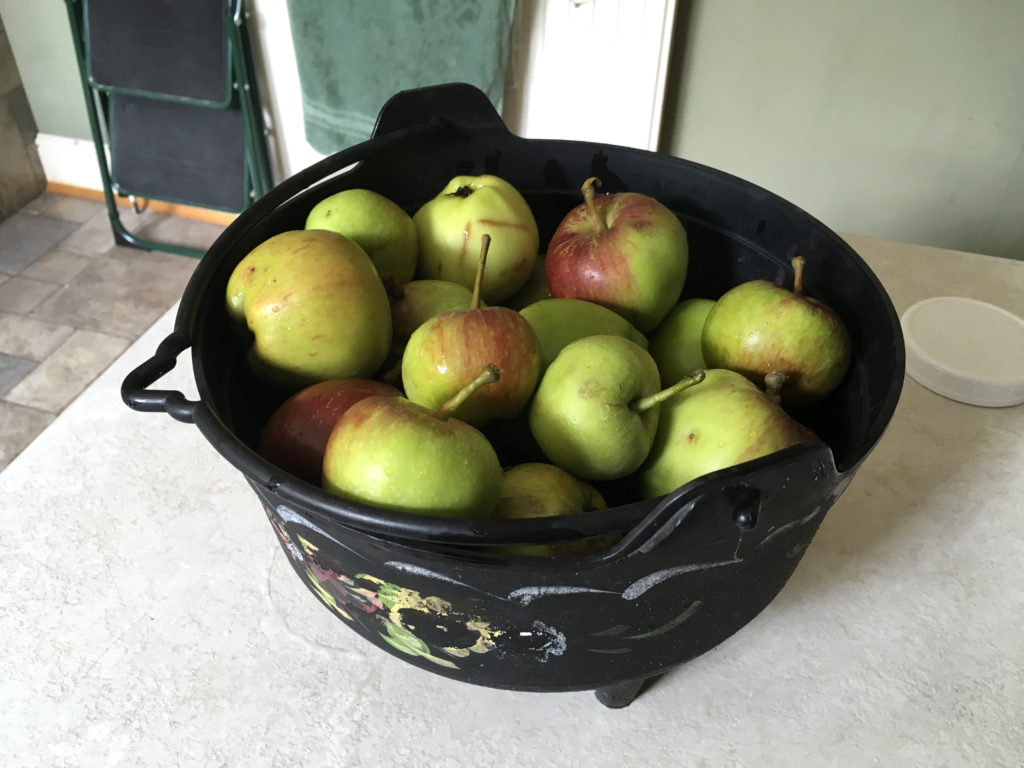
Bountiful blossom – the potentiality for apples applenty
Our apple tree is now a mass of blossom. If every flower turns into an apple, we may need to invest in a bigger freezer! It looks like a bumper crop this year.
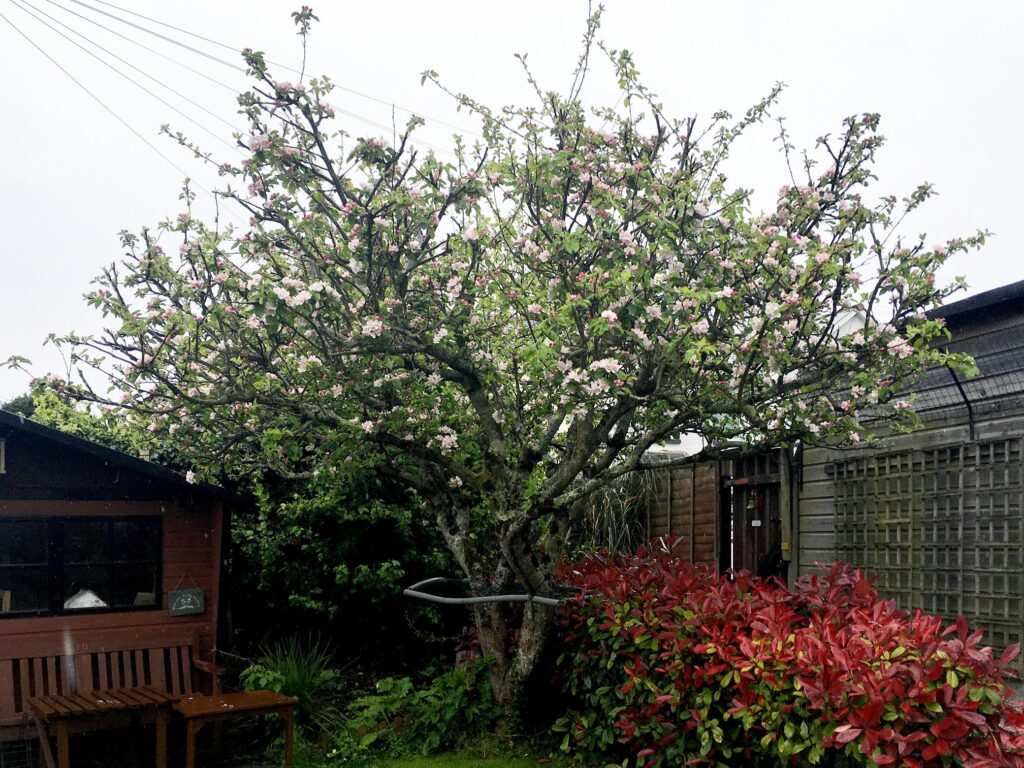
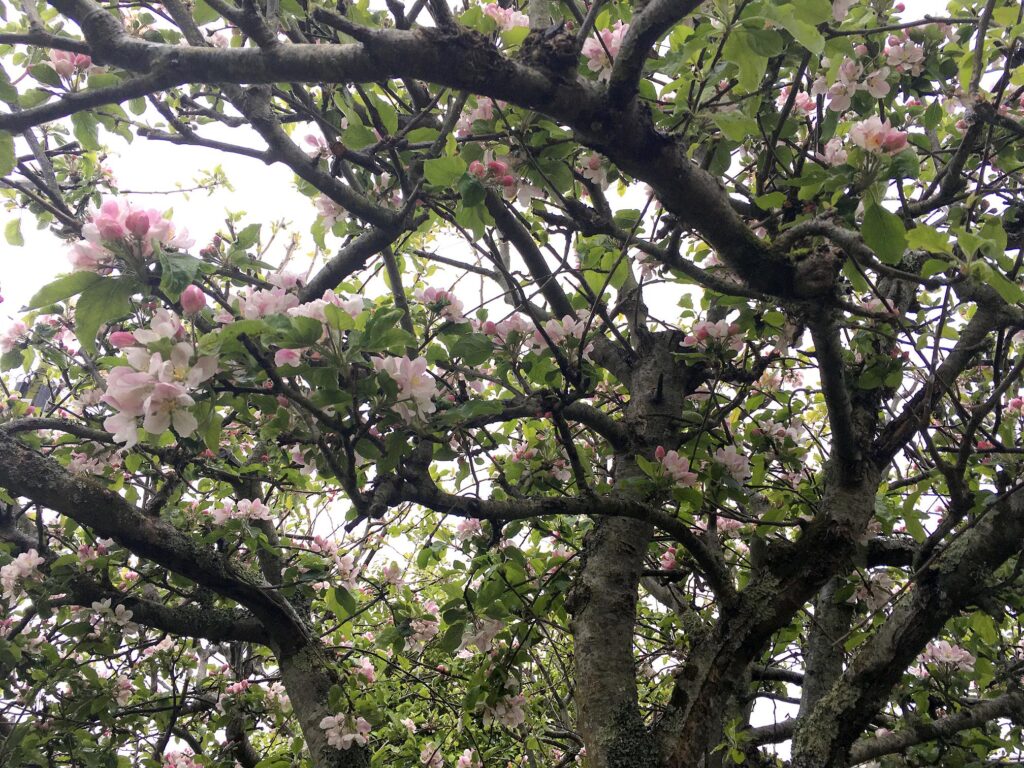
What a miracle it is, that these pretty pink flowers turn into ripe and rosy apples for us to enjoy.