Completing the second page
Today I completed the second page in the Organic Journal – more or less a revamp of page 1 which came out so completely different from what I’d planned, that I decided to make another attempt!
This page ended up different as well, but in a good way.
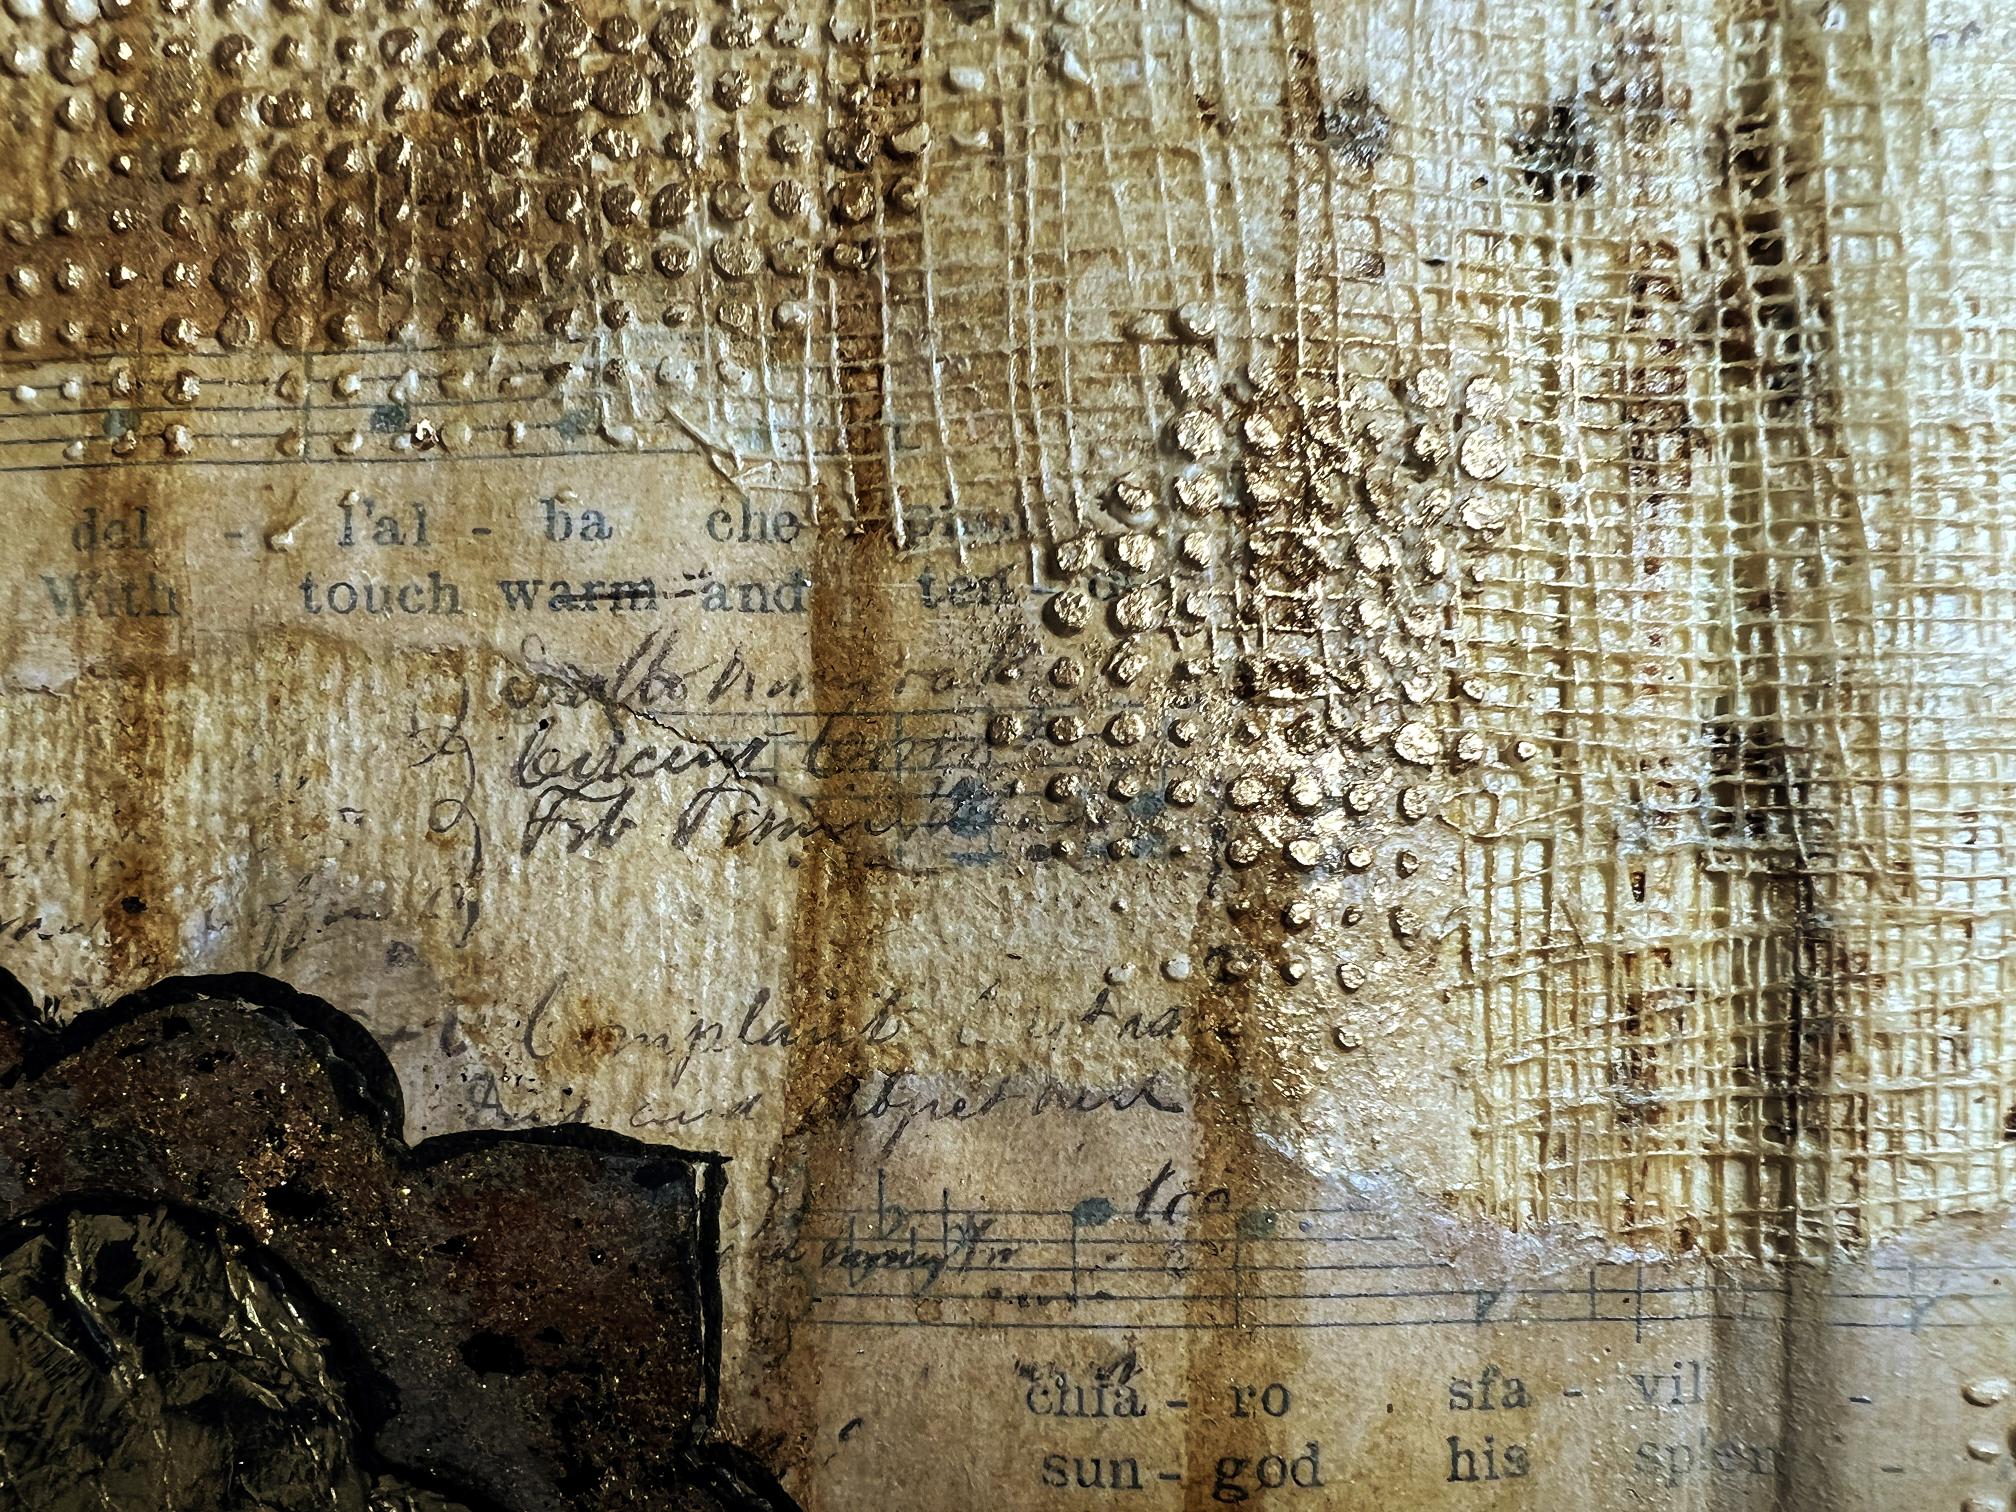
When I left it last night, I had just added coffee drips, which were still wet and too shiny-looking to photograph. This morning, when it was all dry, I again prepped some further pages by sticking a pair of pages together, and adding clear gesso to one – because I forgot I was going to use the Golden Acrylic Satin Glazing Liquid – and used this for the second one. It gives a much smoother finish, and seals the surface just as adequately.
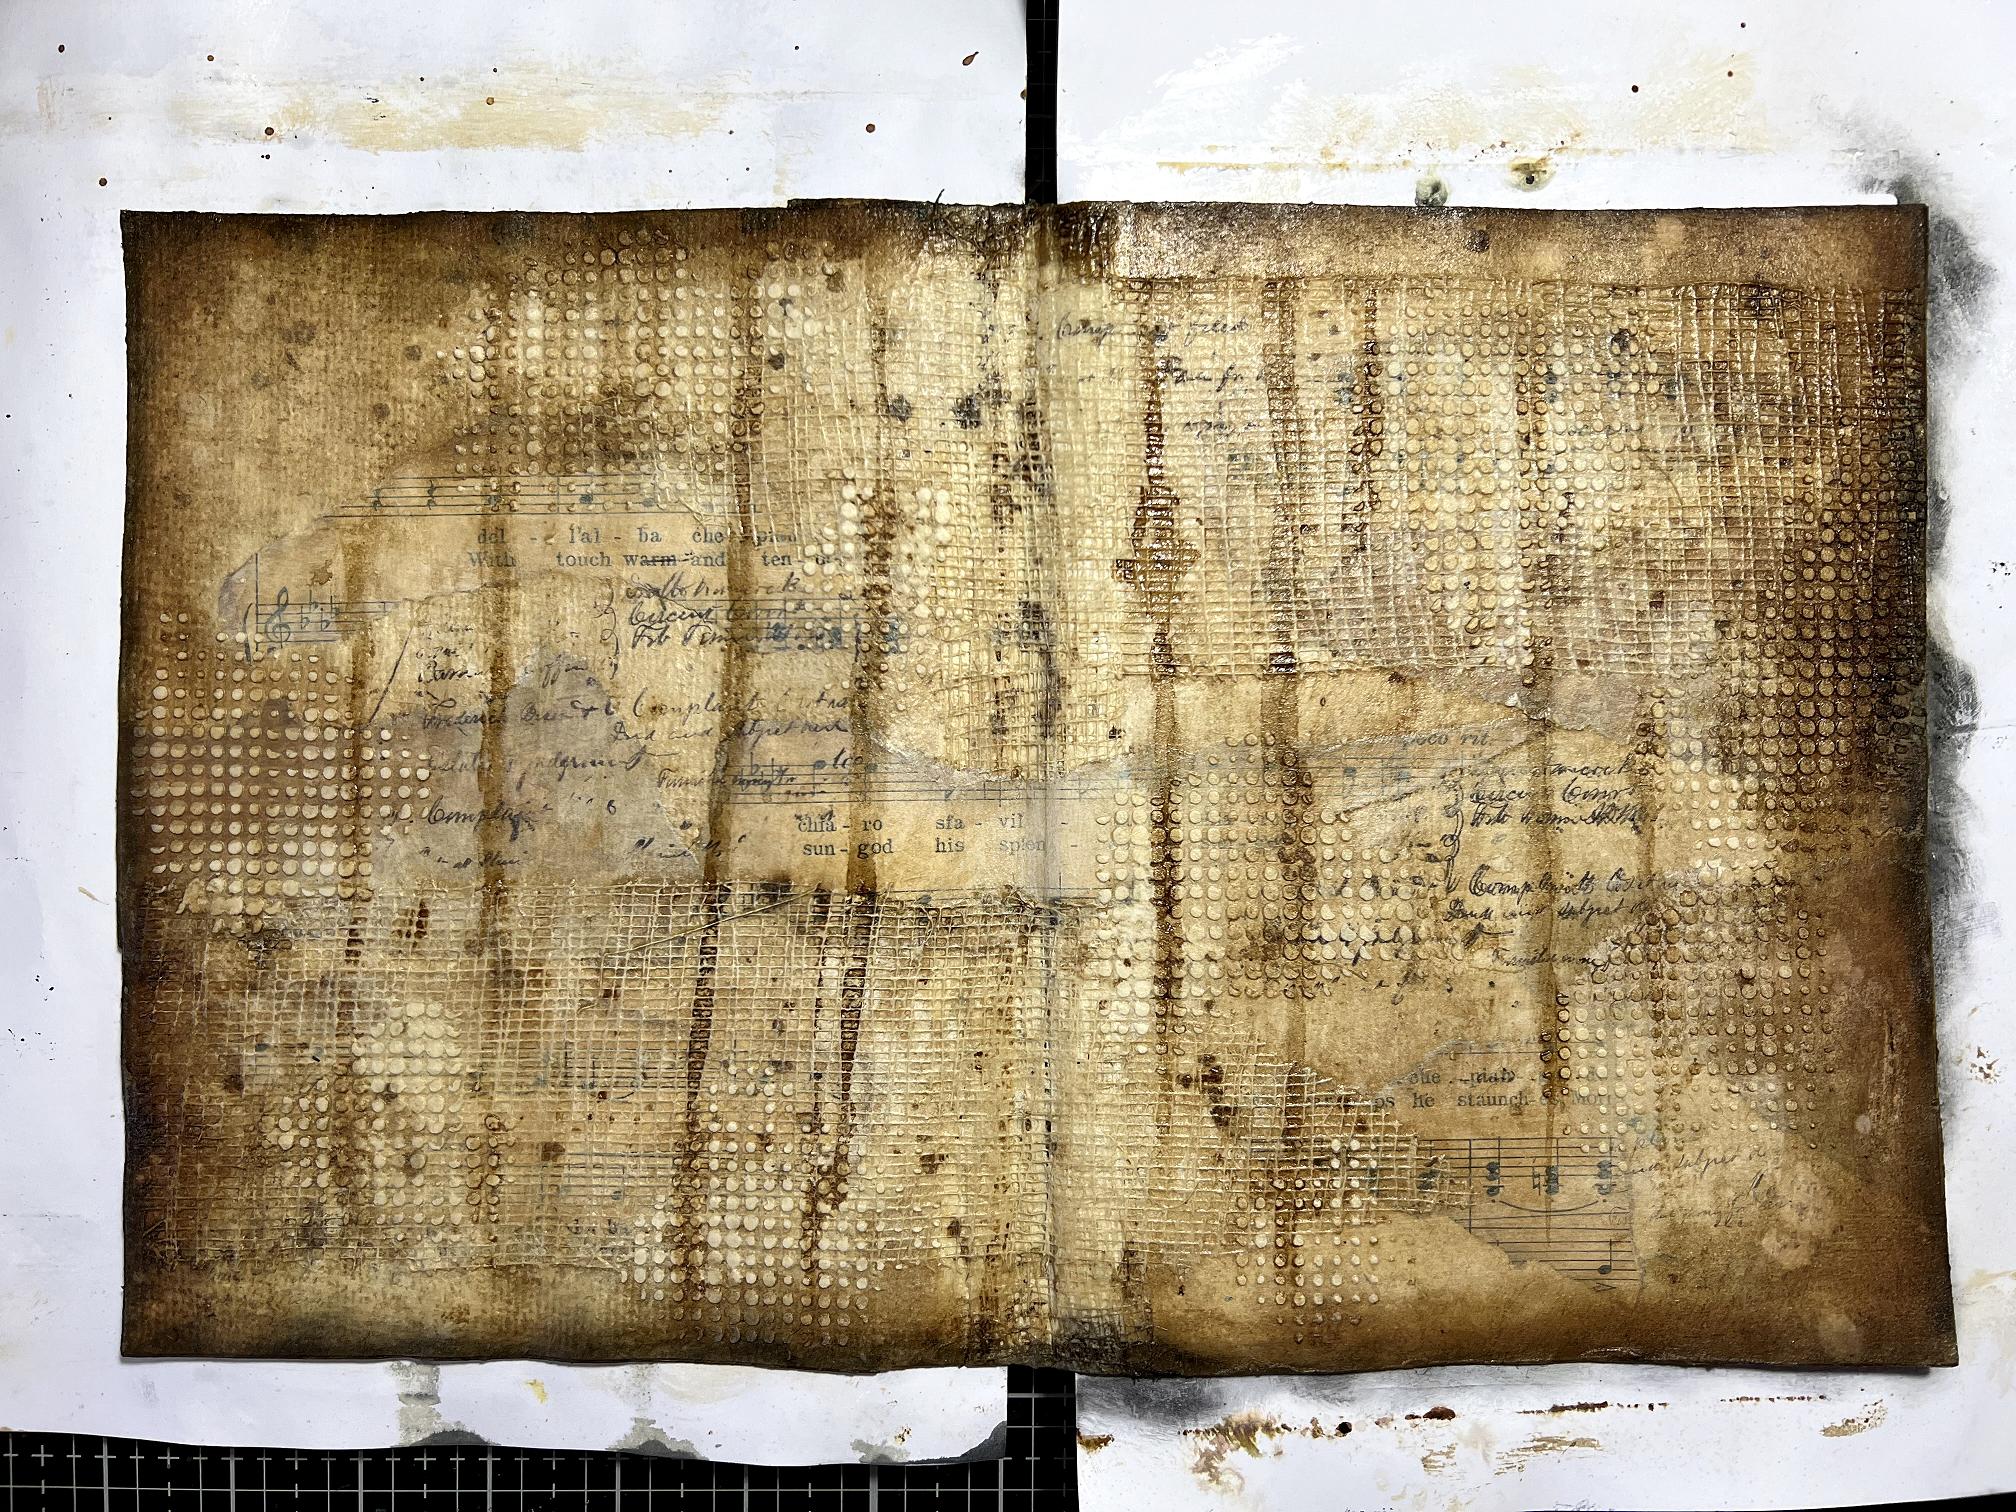
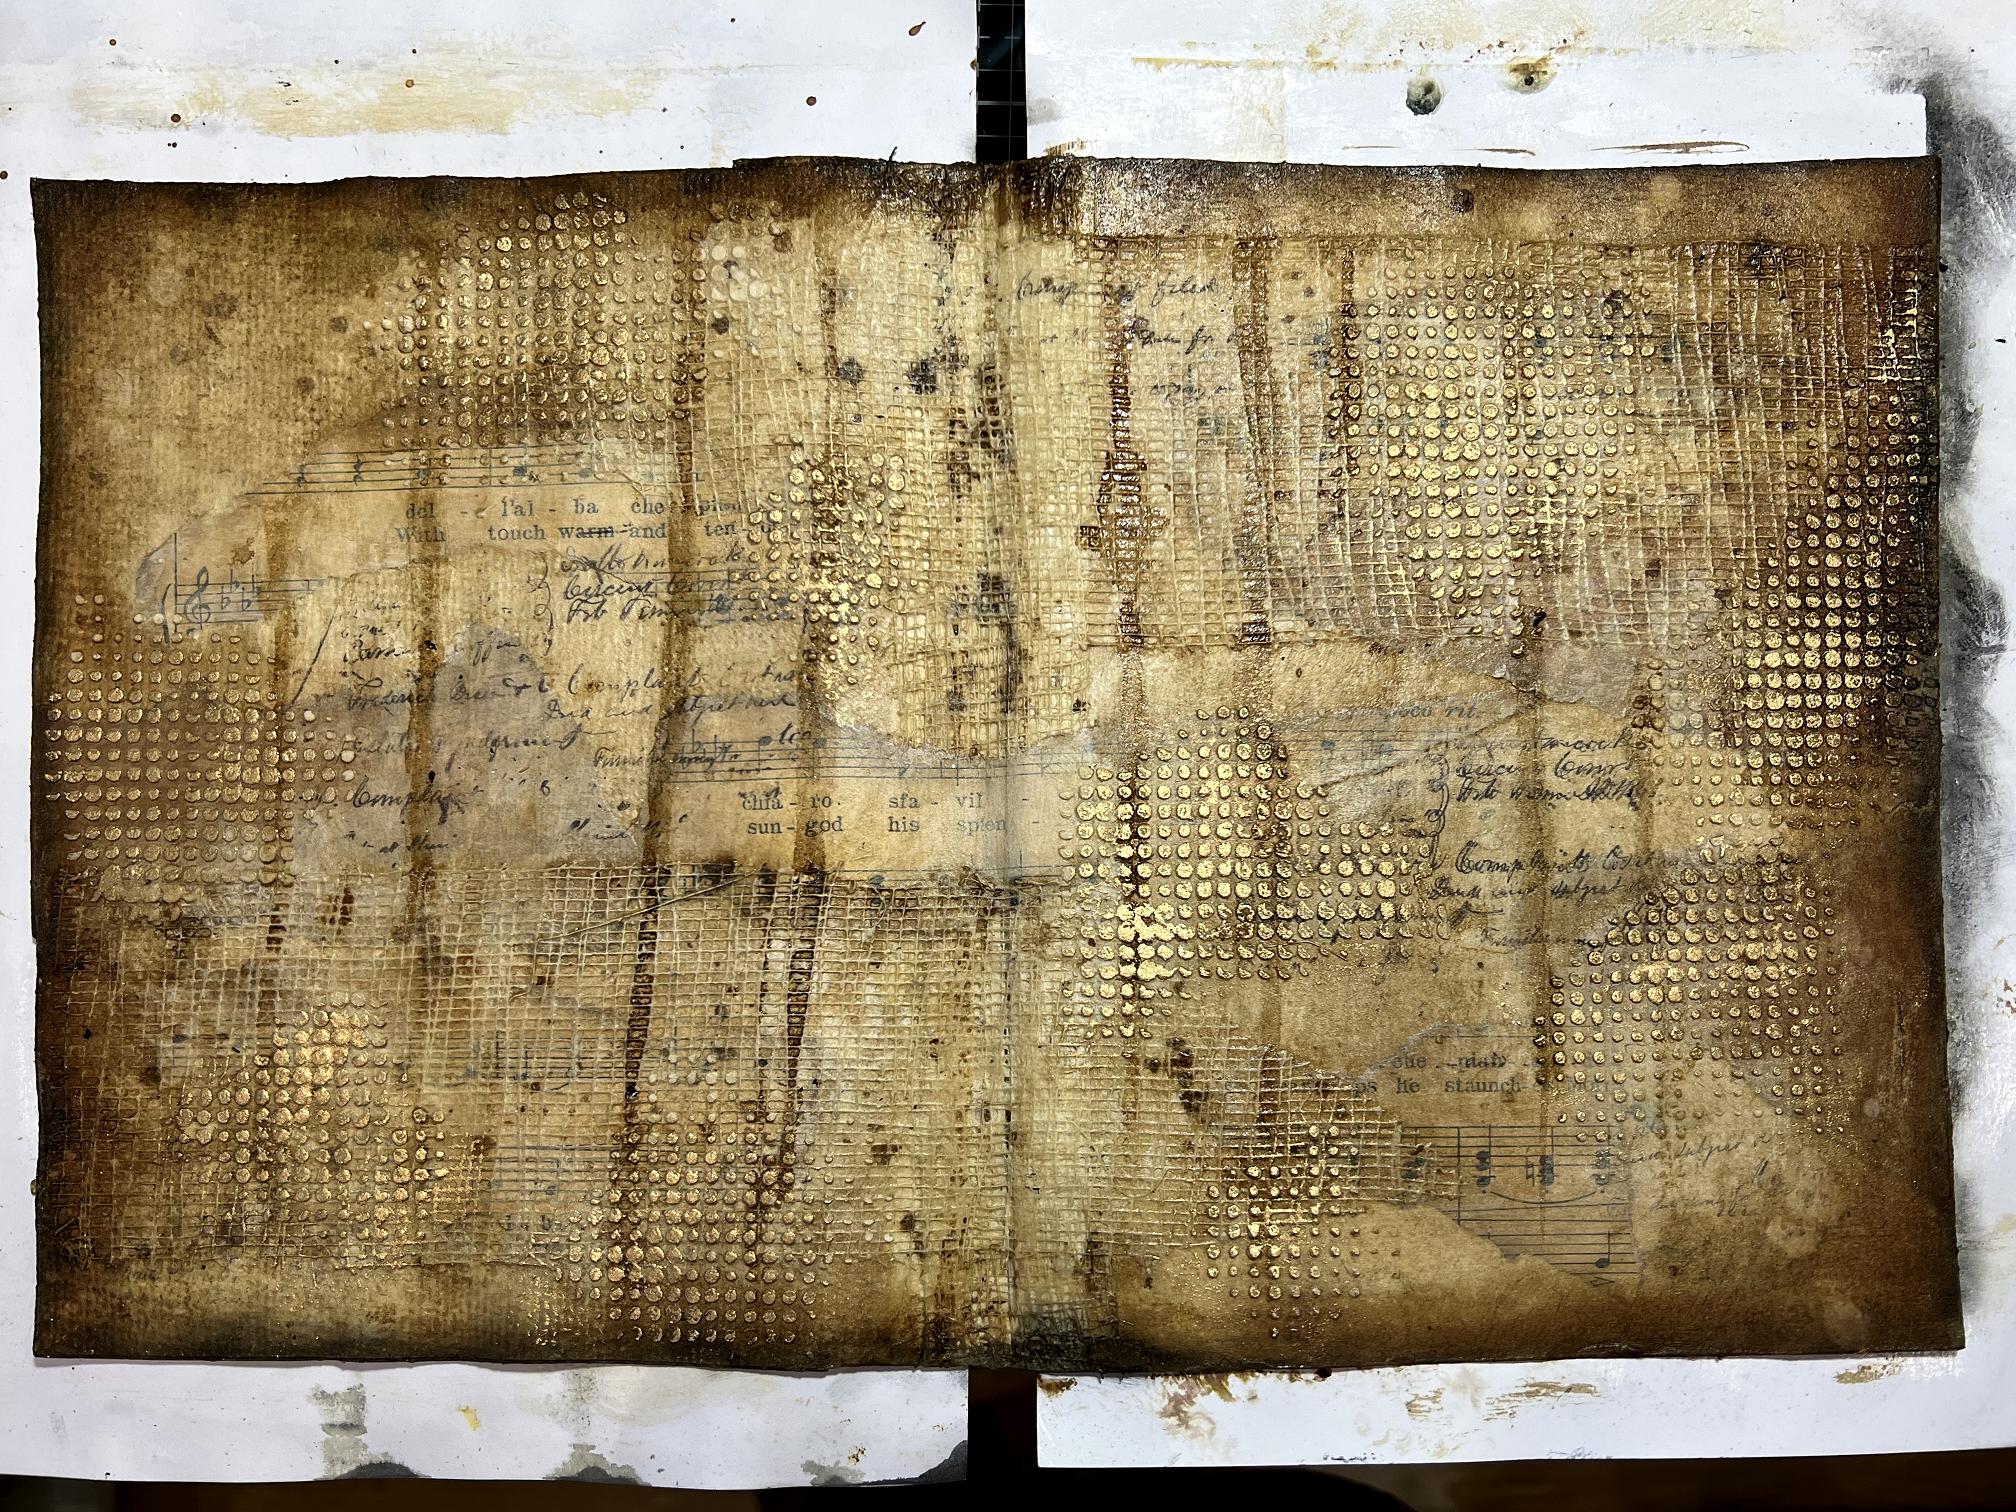
This is how my page looked when it was dry.

Later, I did paint in the gaps with more coffee, where the drips seem to have faded over certain papers.
I added some Walnut Stain Spray Stain with a brush around the edges to darken them, and then some Black Soot Distress Ink with a blending brush.
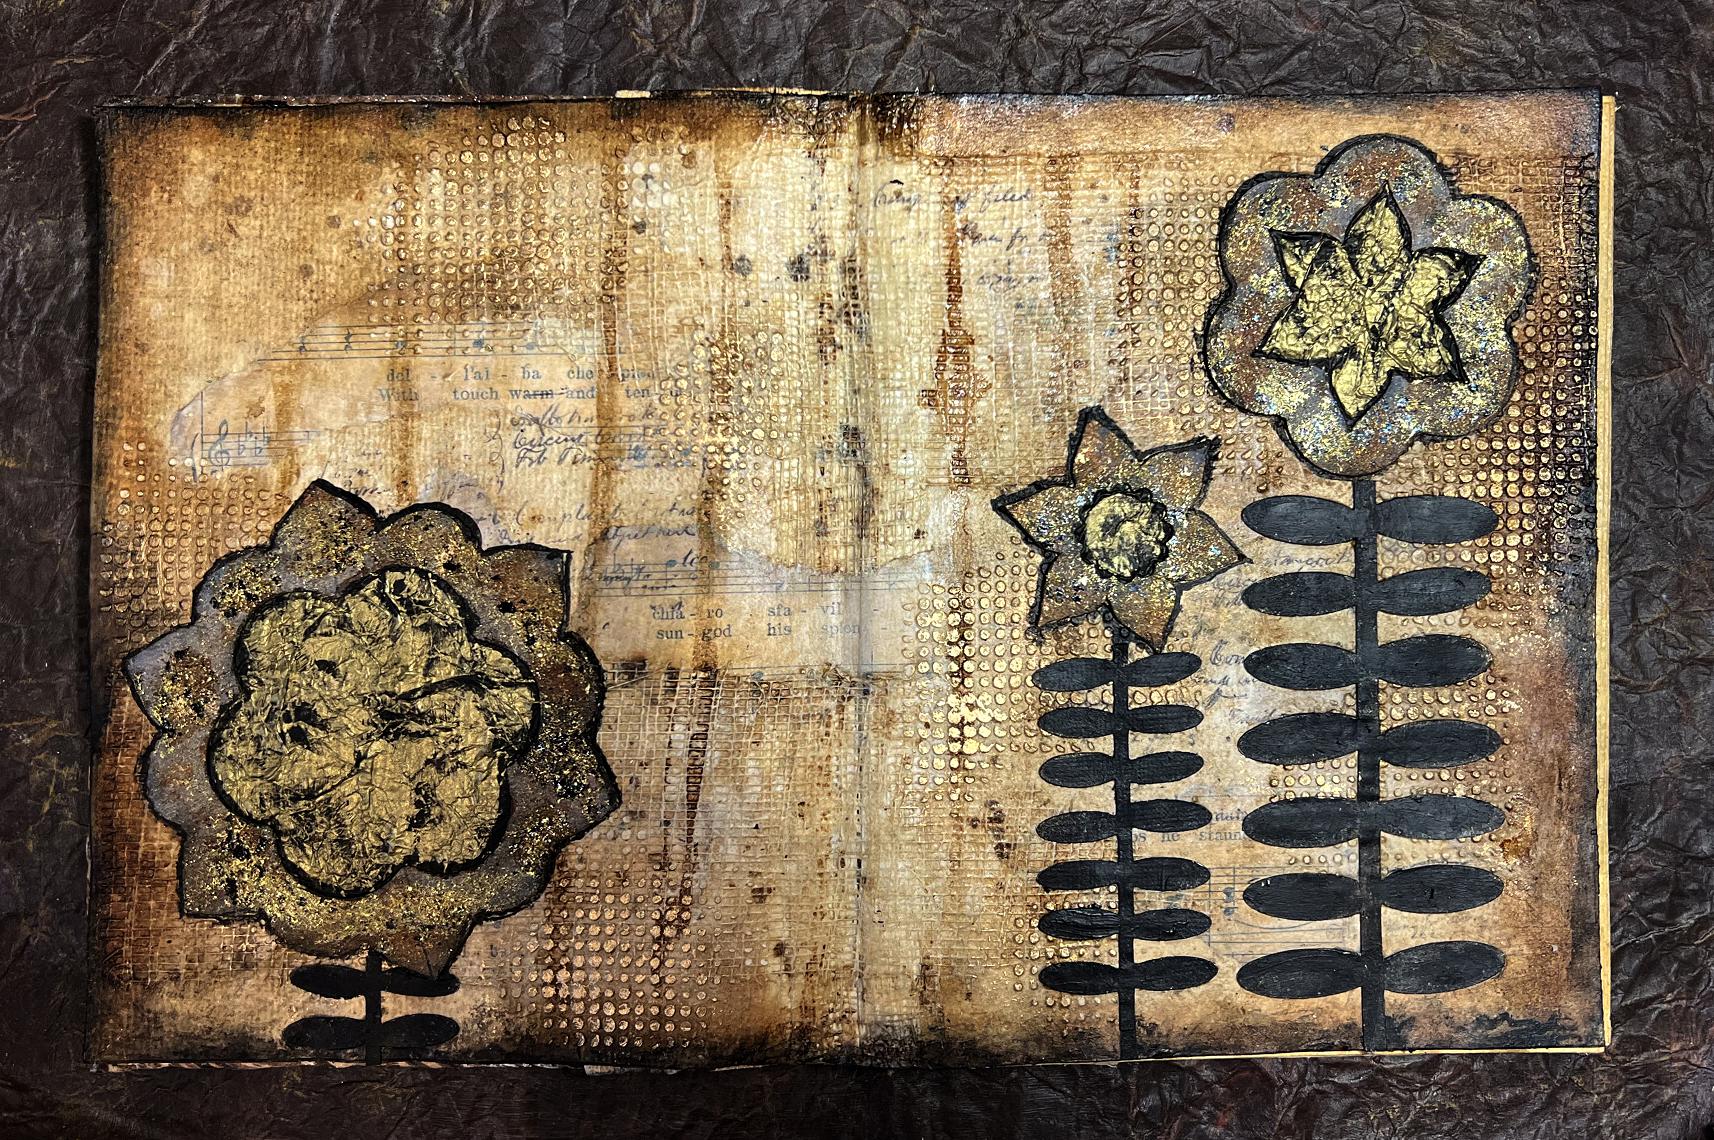
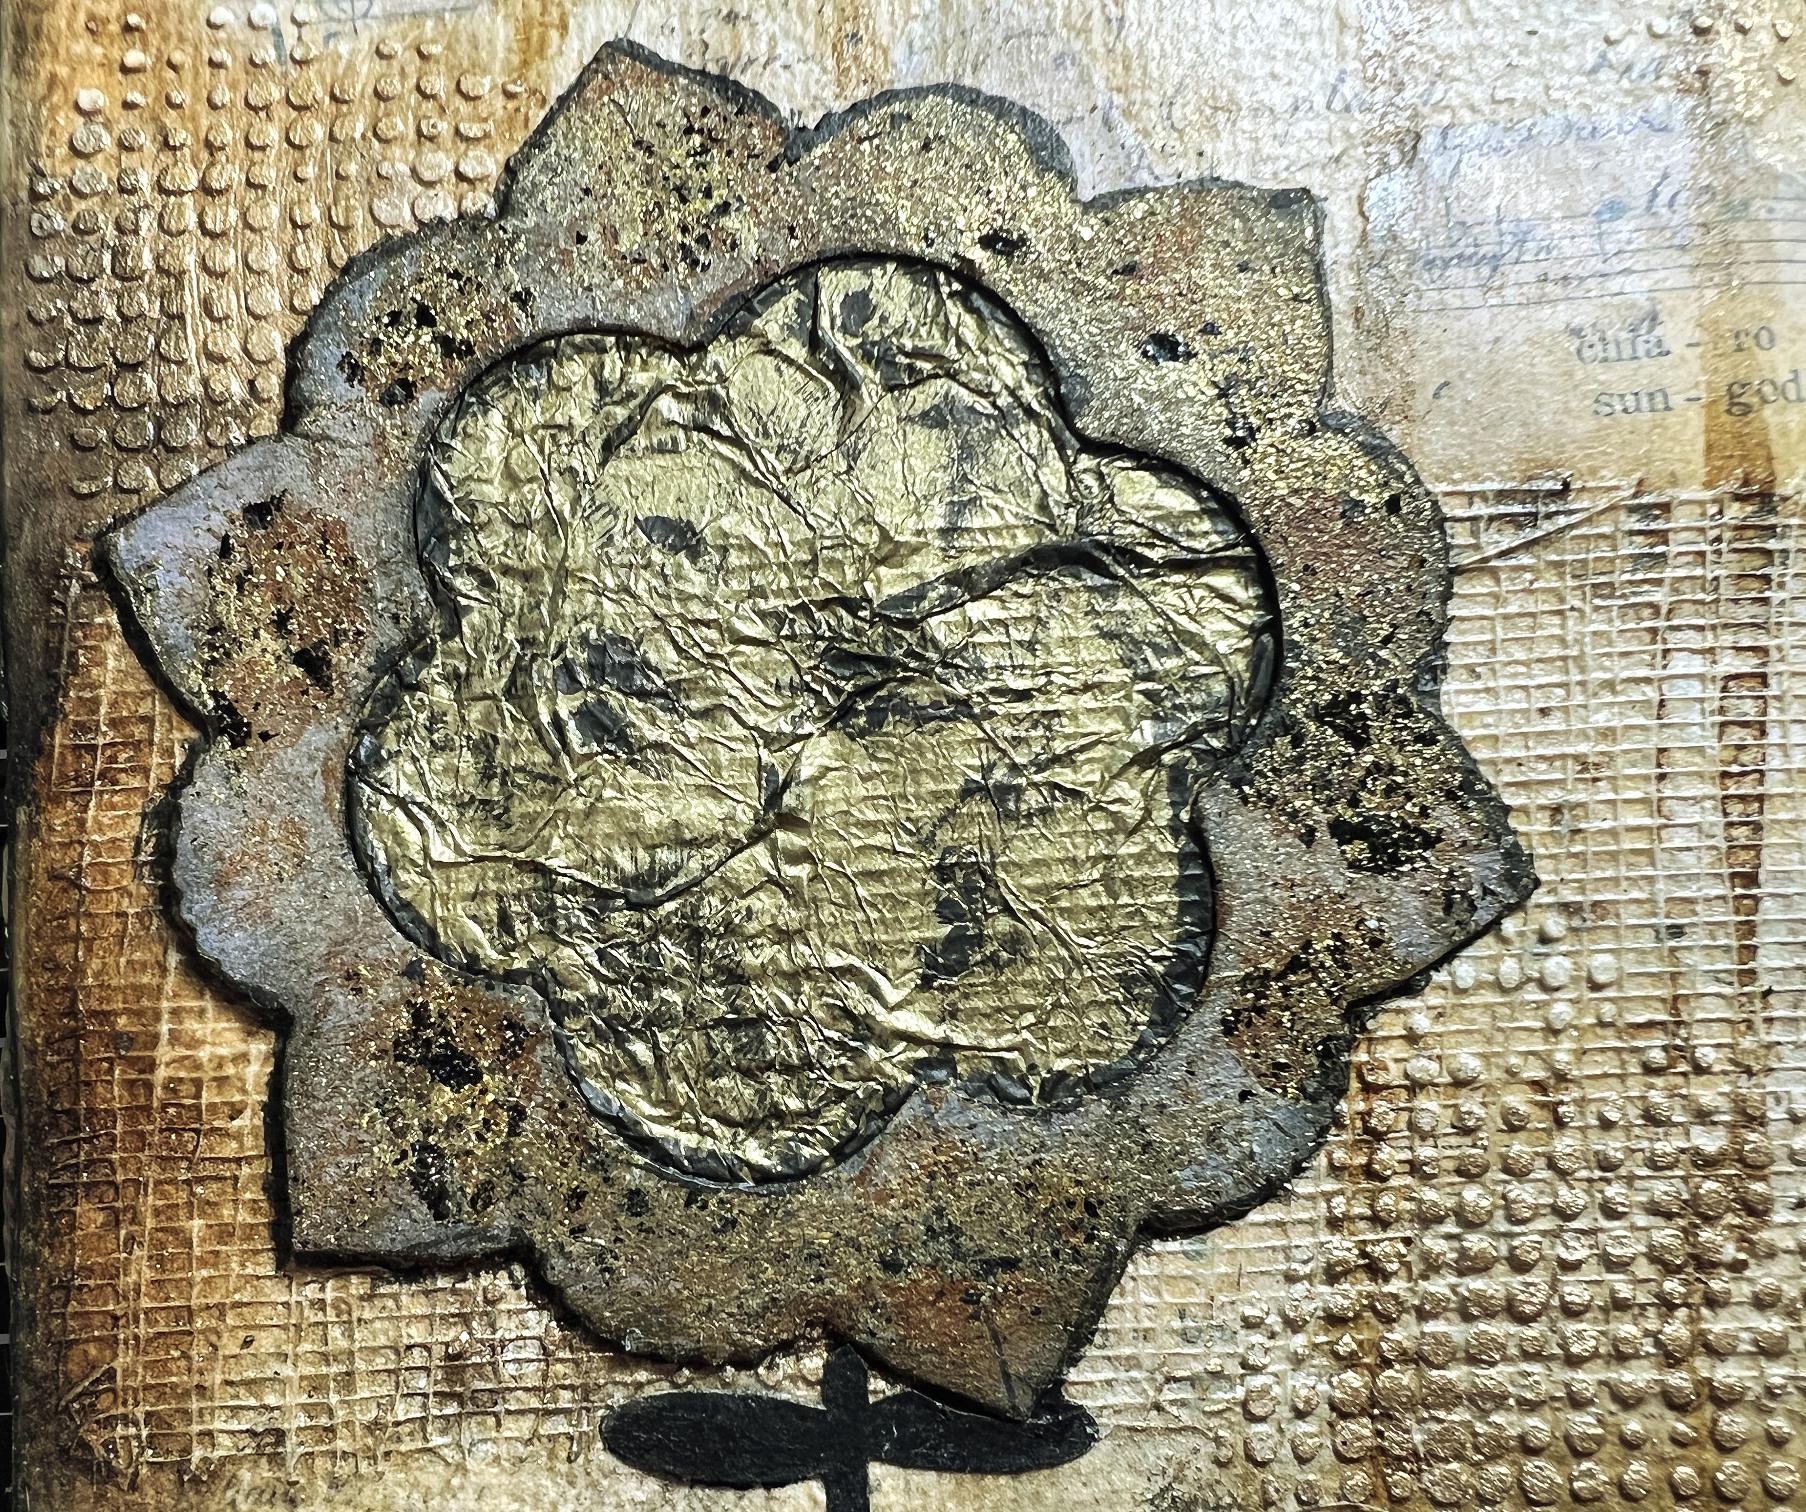
Once this was done, I was ready to think about a focal point. I had some test die cuts that I’d made when I first got the Catherine Pooler stamp and die set, and thought I could use these. I had drawn lines on them with a black pen but eventually these disappeared under the treatment to which I subjected them! This photo is a mock-up, showing more or less where they would be placed.
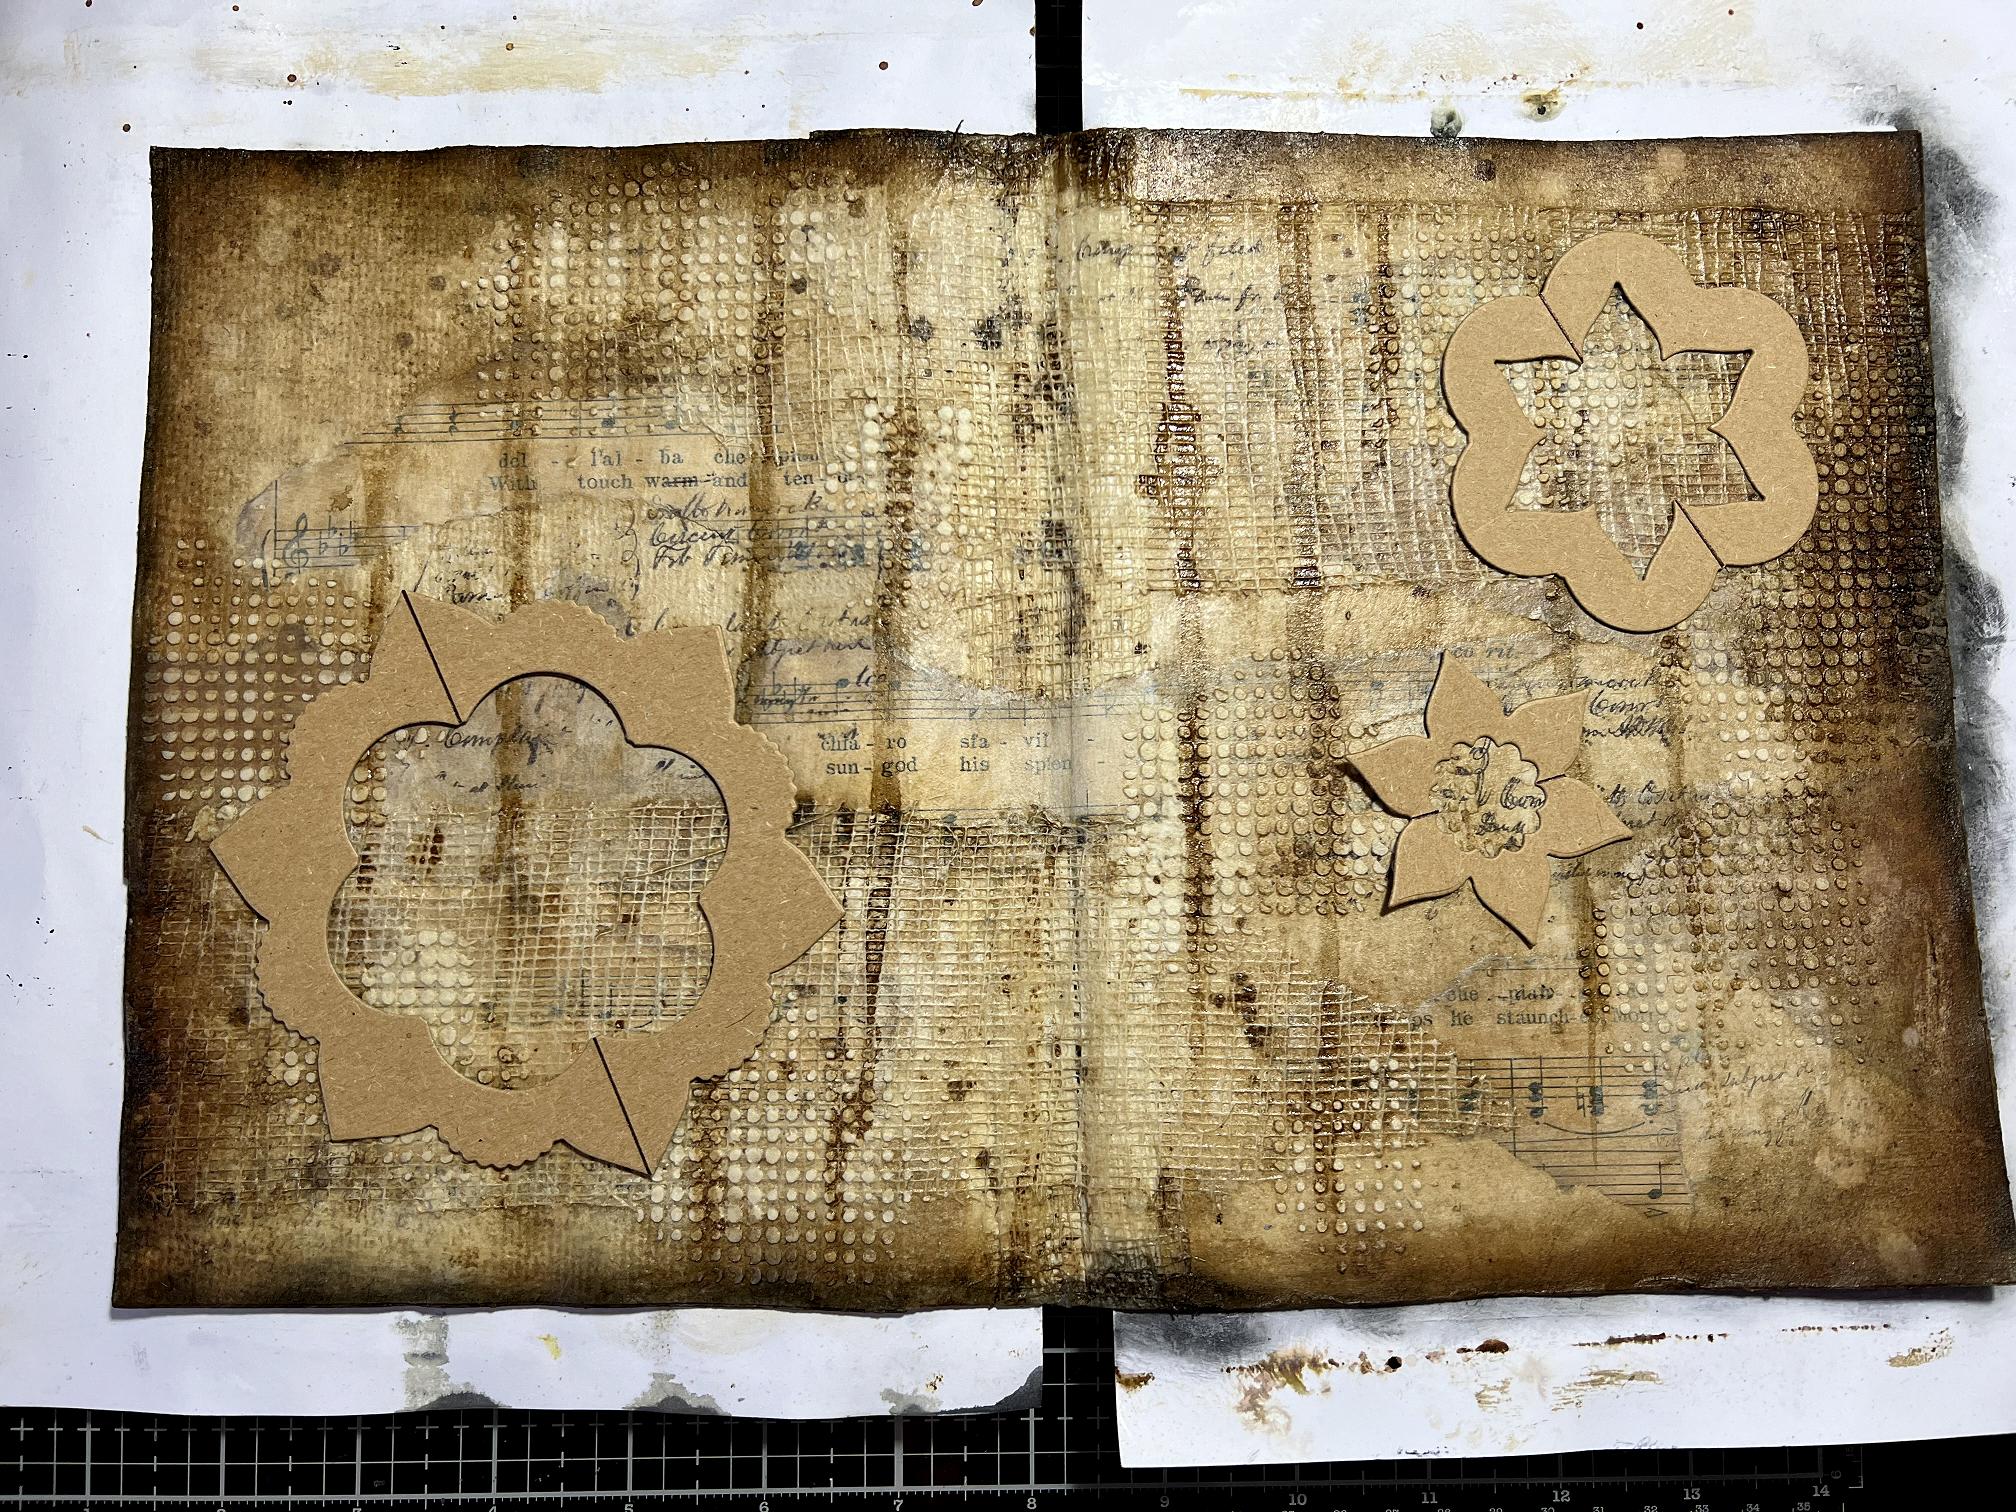
I spent a great deal of time messing about with different Distress Inks and Oxides, trying to get the effect I wanted on the die cuts, and tried spraying through a stencil as well. Most of this got covered up by the next stage so I really needn’t have bothered!
This is the box of my new Black Gold gilding flakes – in the photo they look really dull but in real life they are sensational!
I stippled on some gel medium with a stencil brush and then sprinkled on some gilding flakes. I found the best method turned out to be to dip the flower in the flakes that had fallen on the scratch paper. I used the little scrubby I’ve got for the purpose to remove the excess flakes, and then buffed them well with my fingers.
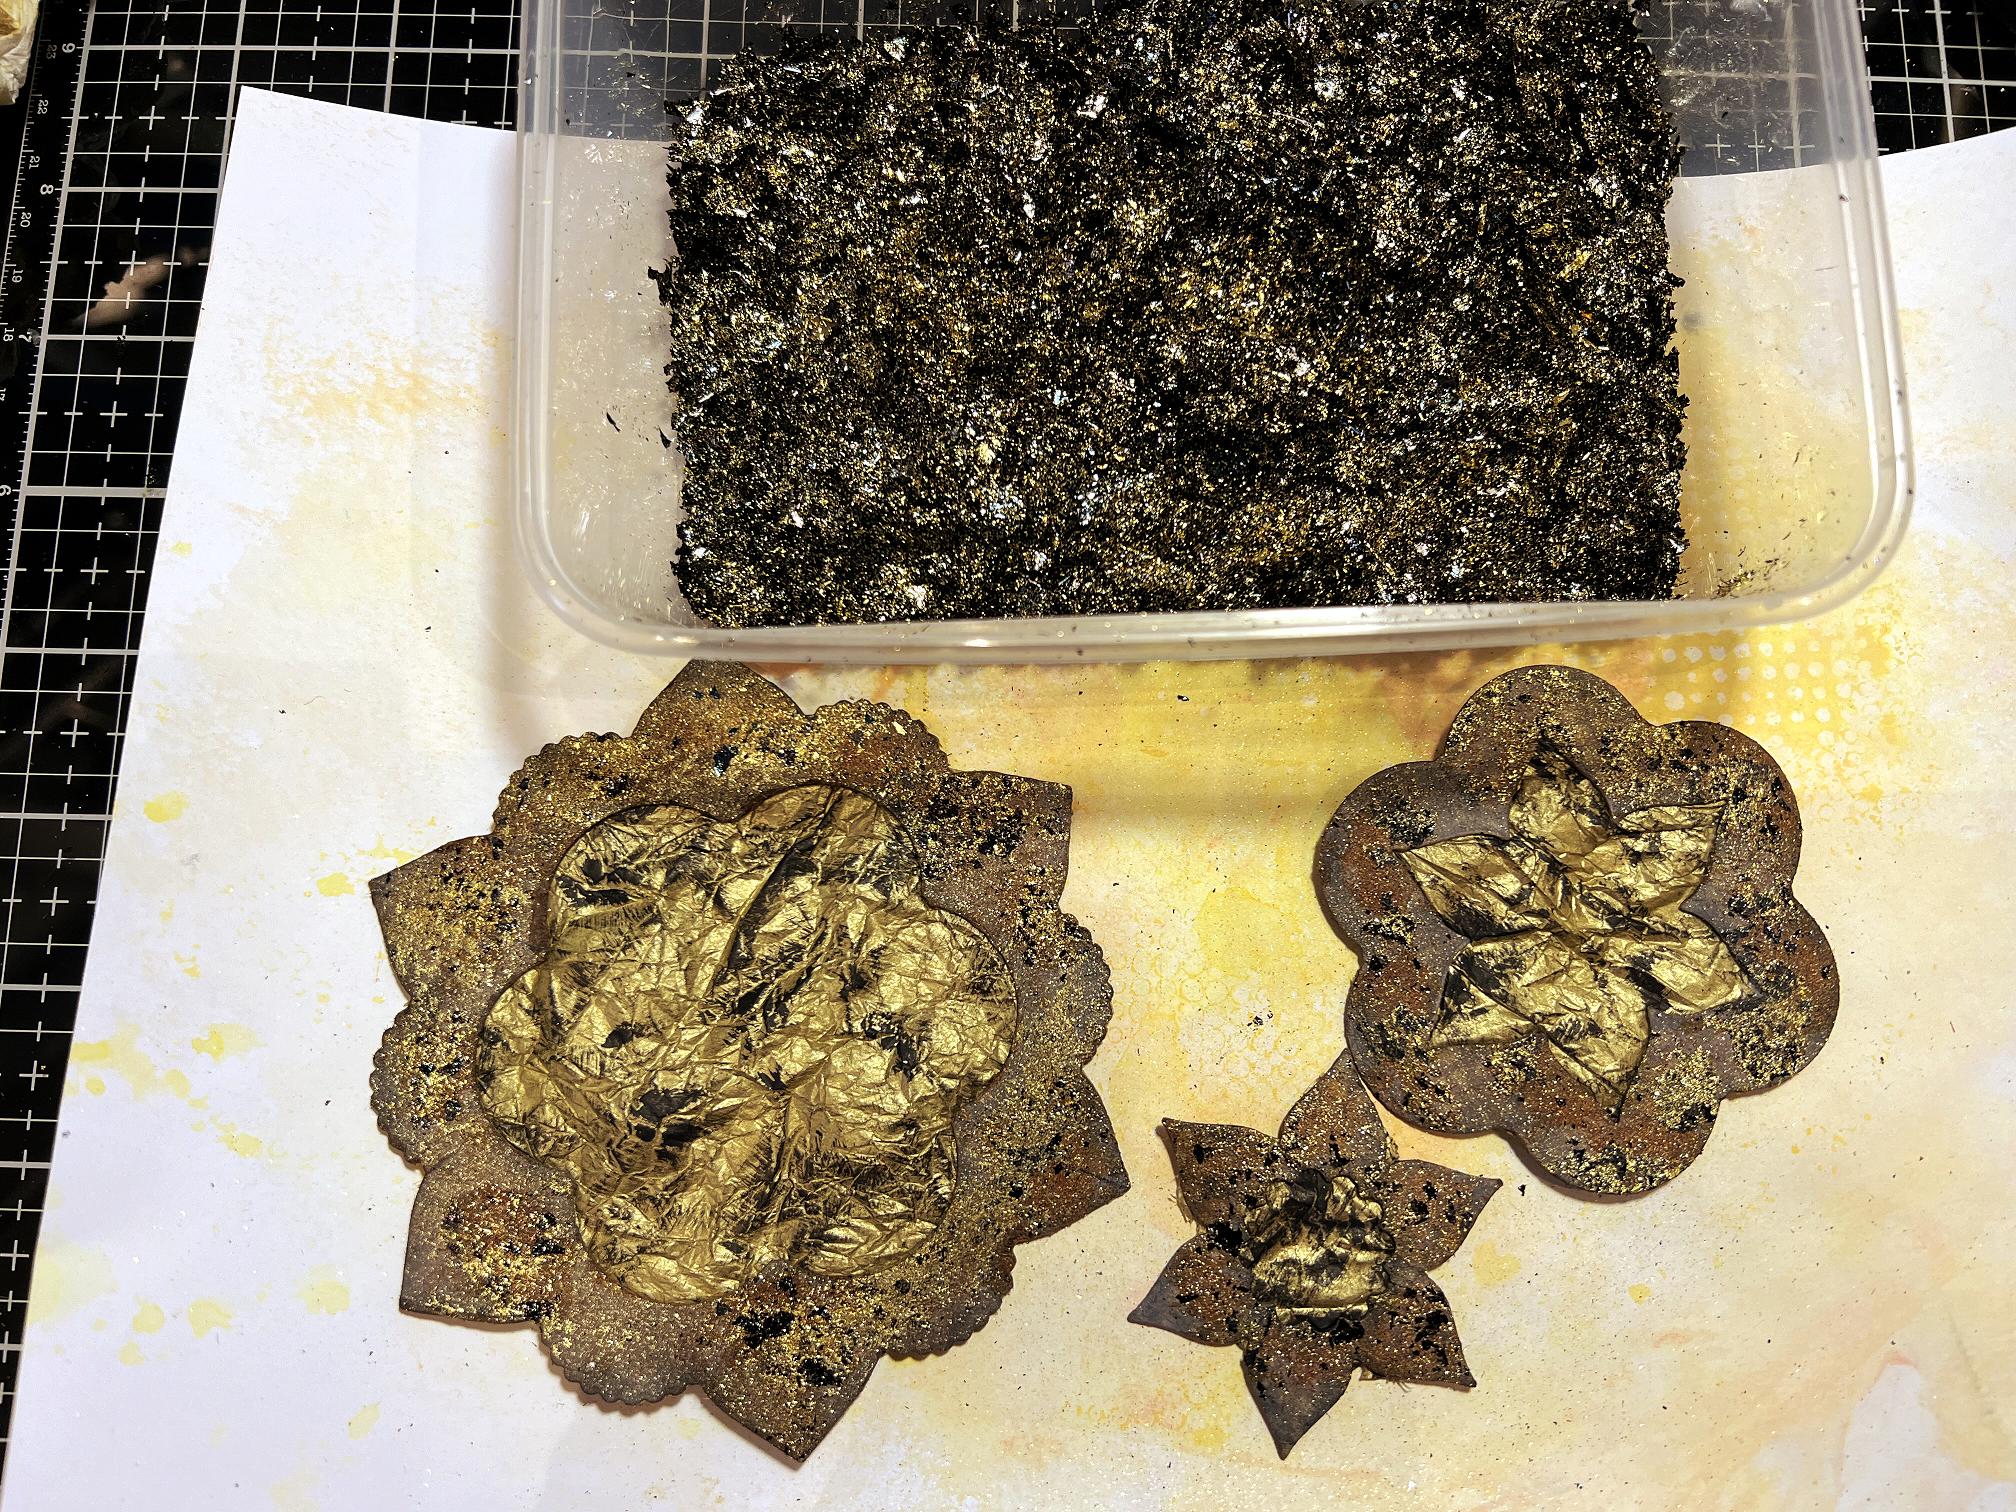
In my stash I found quite a large sheet of gold tissue paper that had been wrapped around a gift. It was badly ripped but there are large enough parts to be used for projects. I tore off several small pieces and screwed them up to give a nice creased texture, and then dry-brushed black acrylic paint lightly over the creases with a large fairly stiff brush. Once dry, I stuck them to the backs of the die cuts.
To give a bit more definition, I took a fine brush and outlined the inside cut of the flowers with black acrylic paint.
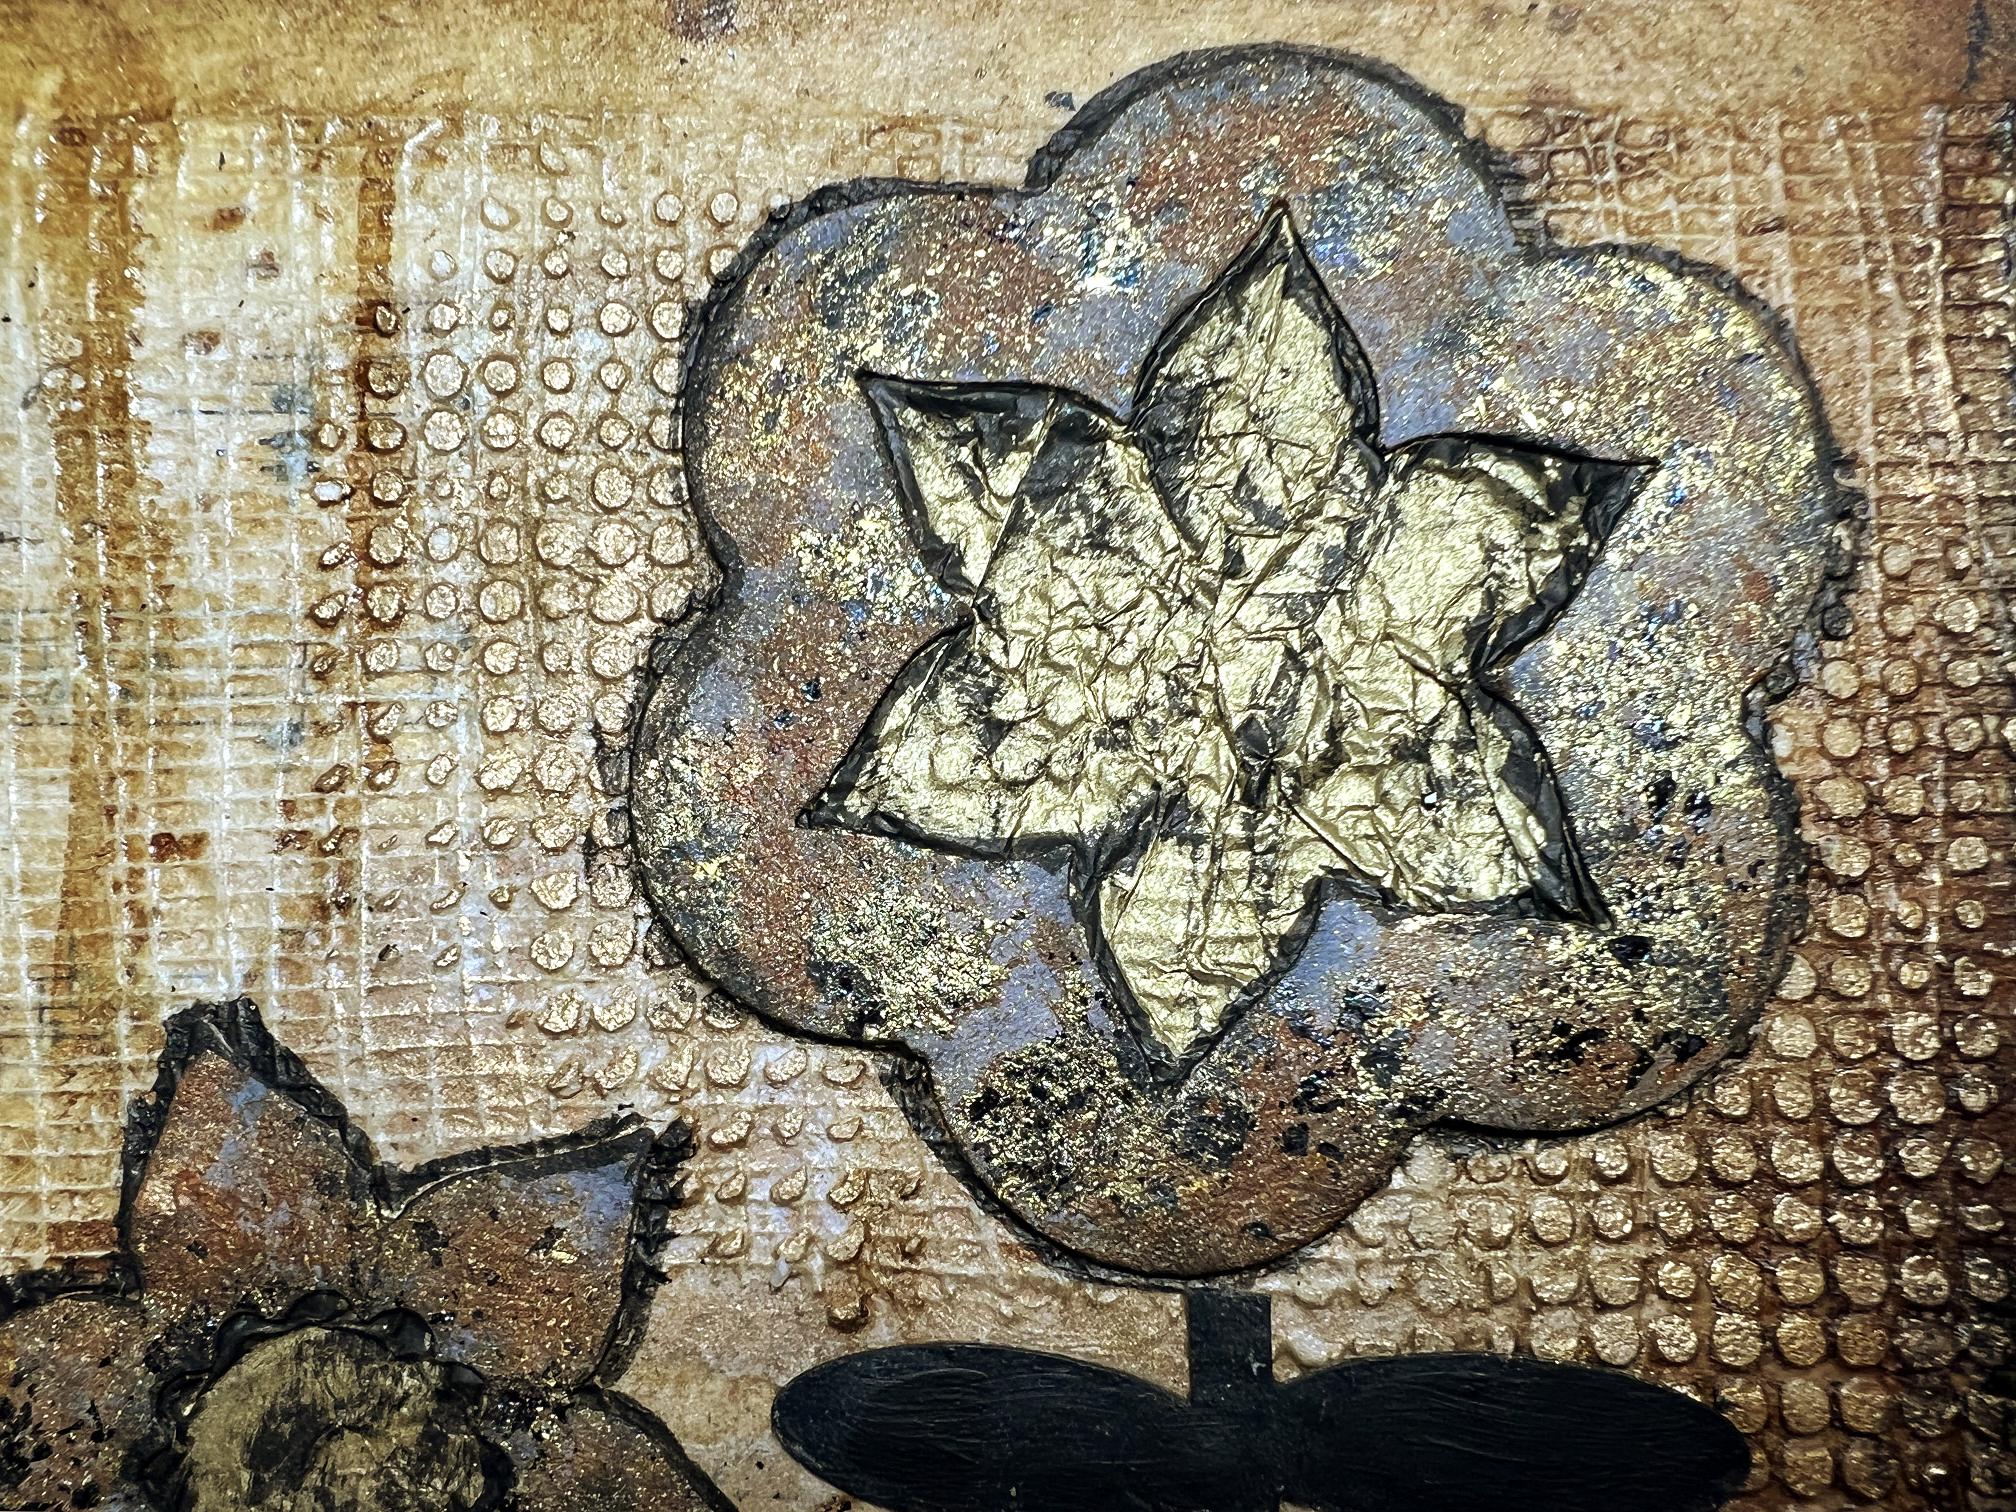
Before sticking them onto the page, I rubbed gilding wax over the stencilled moulding paste.
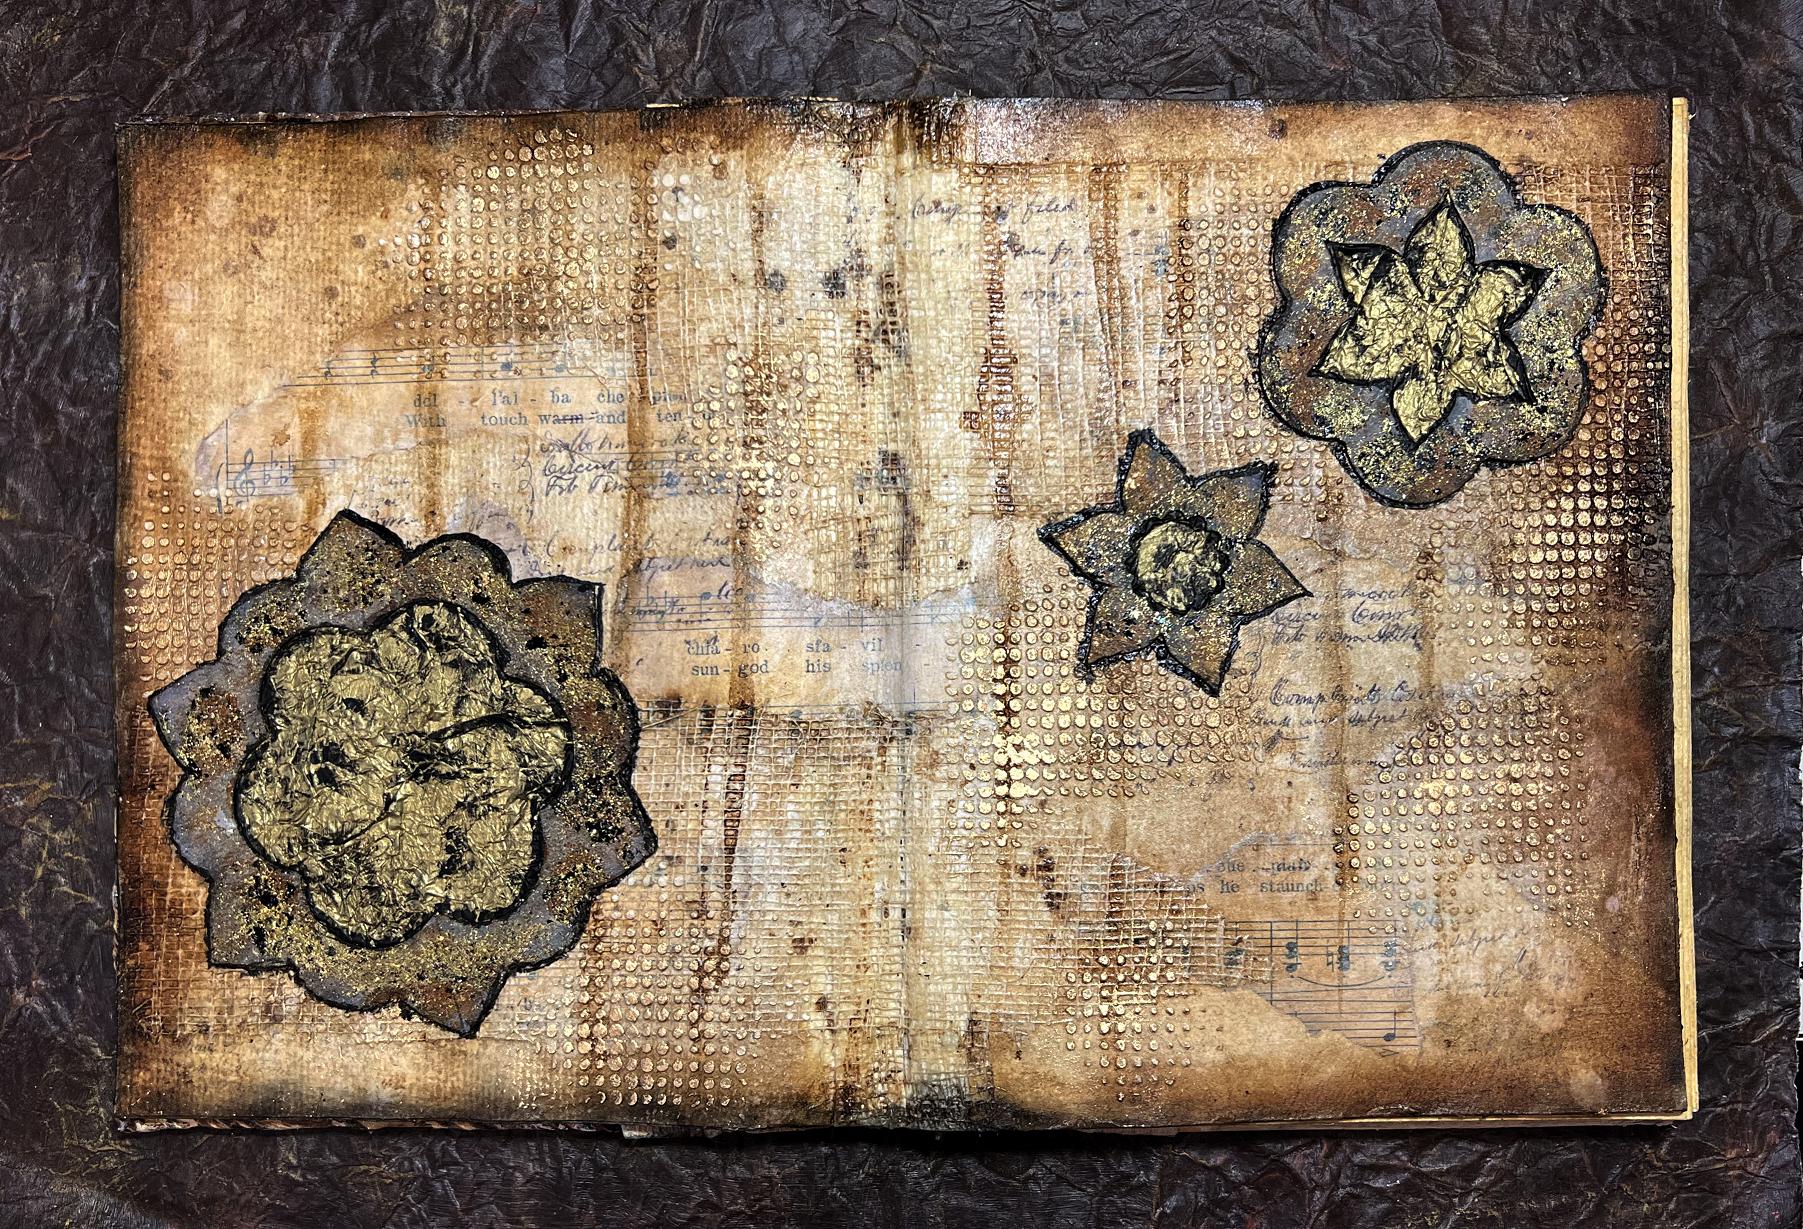
The flowers stuck down on the page. I outlined them with more black acrylic paint, using the same fine brush. At this point I thought I had finished the page, but there was definitely something missing.
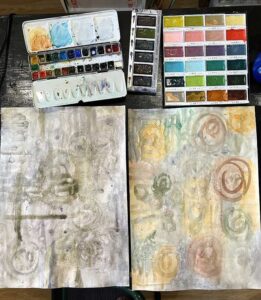
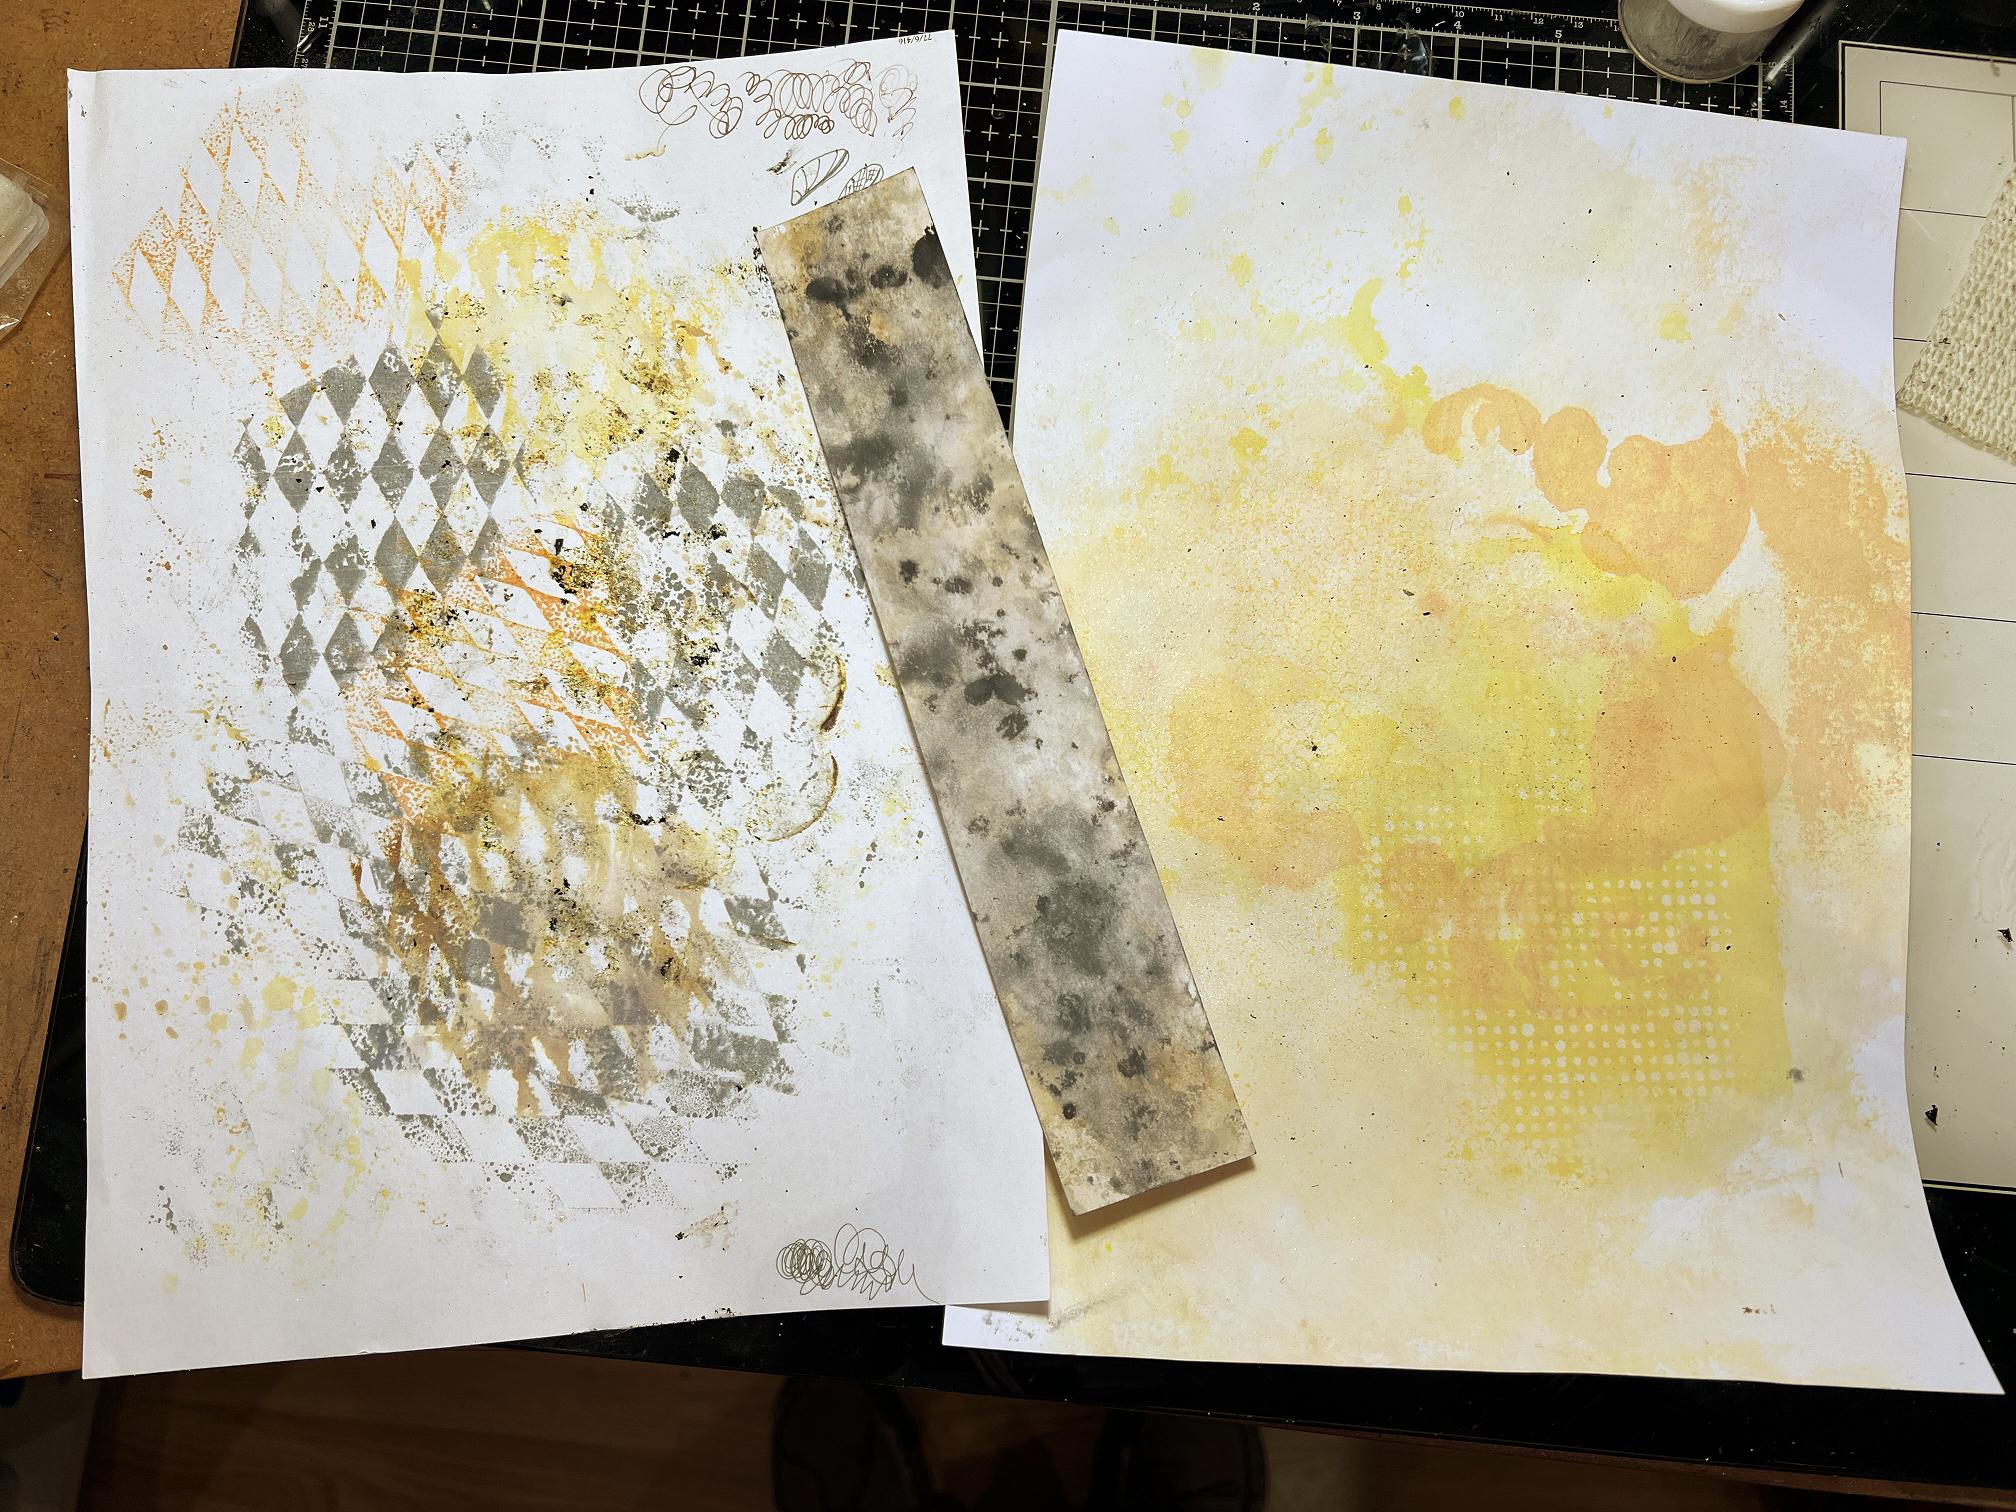
My scratch papers at what I thought was the end of the session. Plenty more to add to these (apart from the small one) to make them useable as collage pieces.
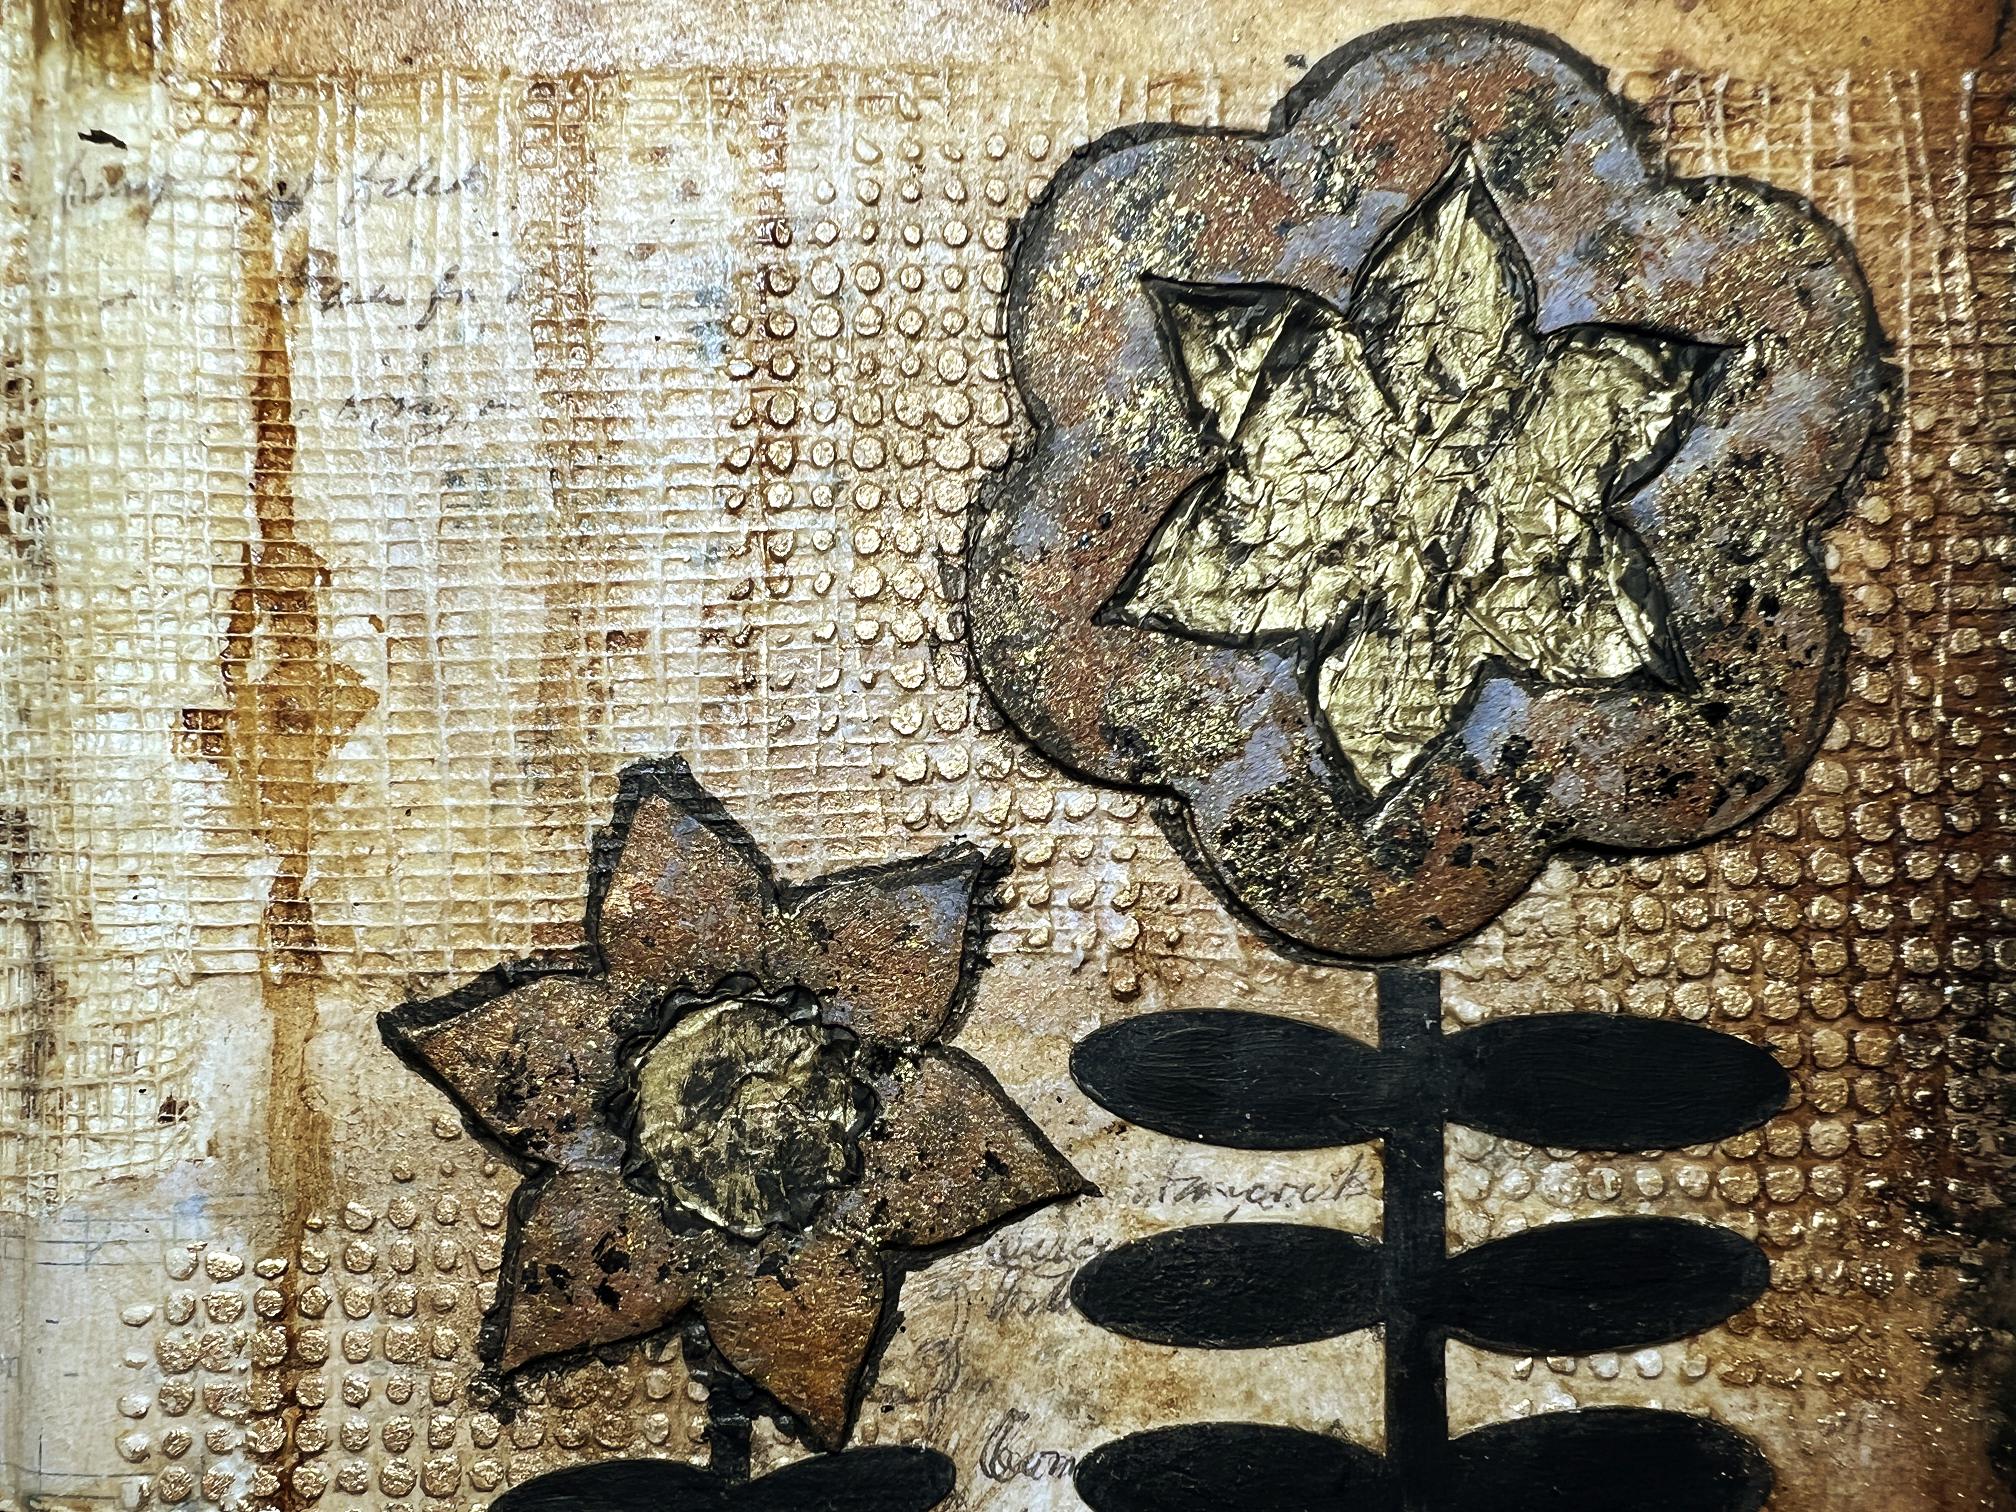
Back again after tea, and selecting some leaf stems I’d cut with my electronic cutting machine some time ago when I was organising my card-making supplies. I have several bags of these in different styles and sizes.

The finished page (finally!) with the leaves having been painted with black acrylic and stuck down. Any gaps were filled by painting with more black acrylic.
My scratch papers at the end of the session. They definitely need more work now!

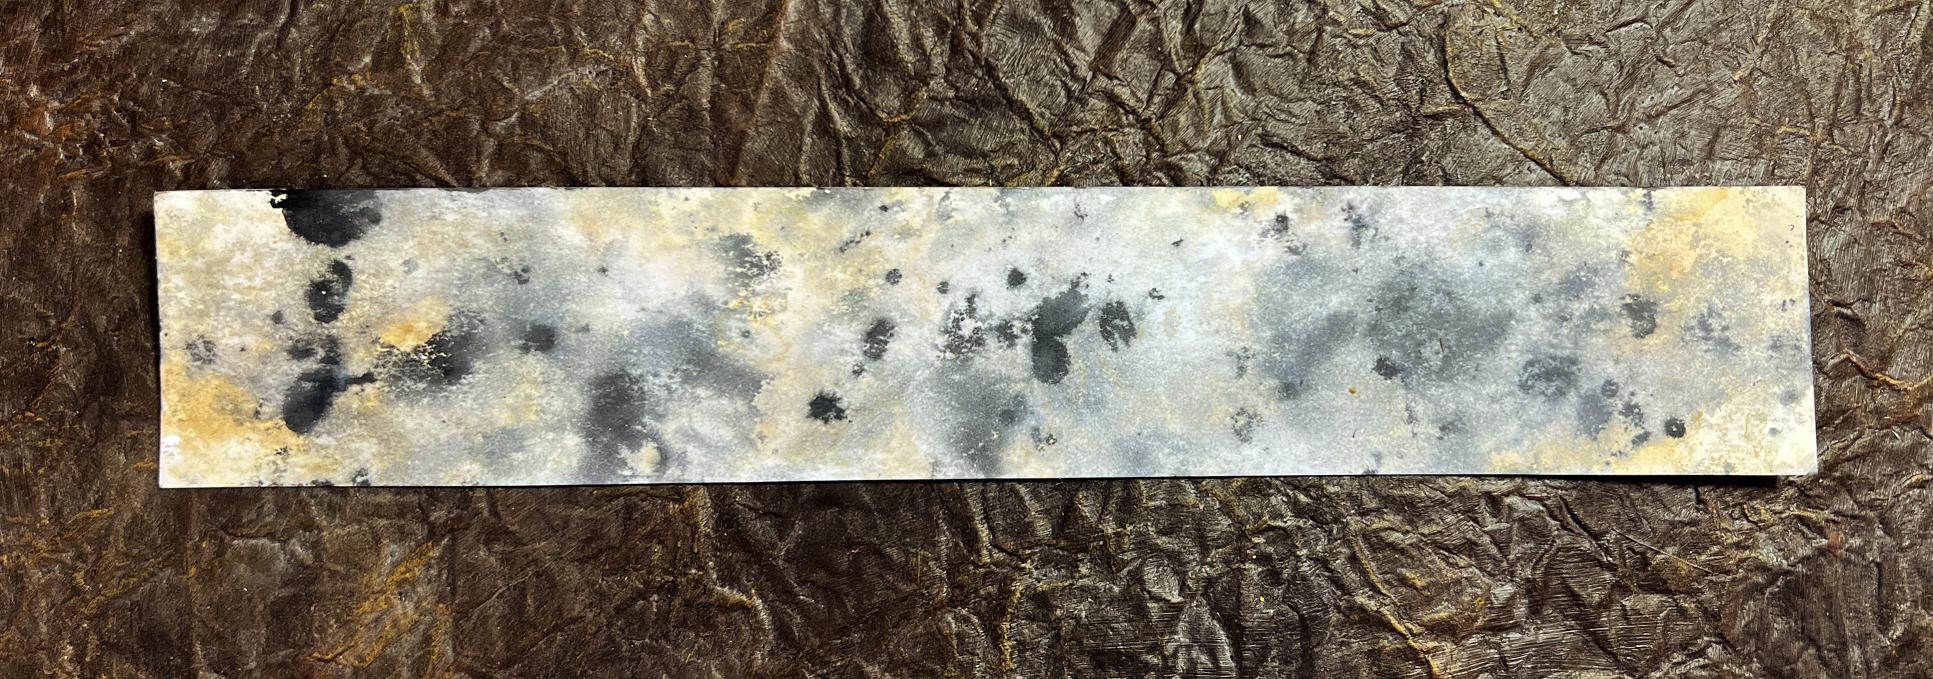
This is my favourite one. It is just two colours of ink, blotted up on a small strip of scrap white cardstock. This is definitely useable as a collage paper.
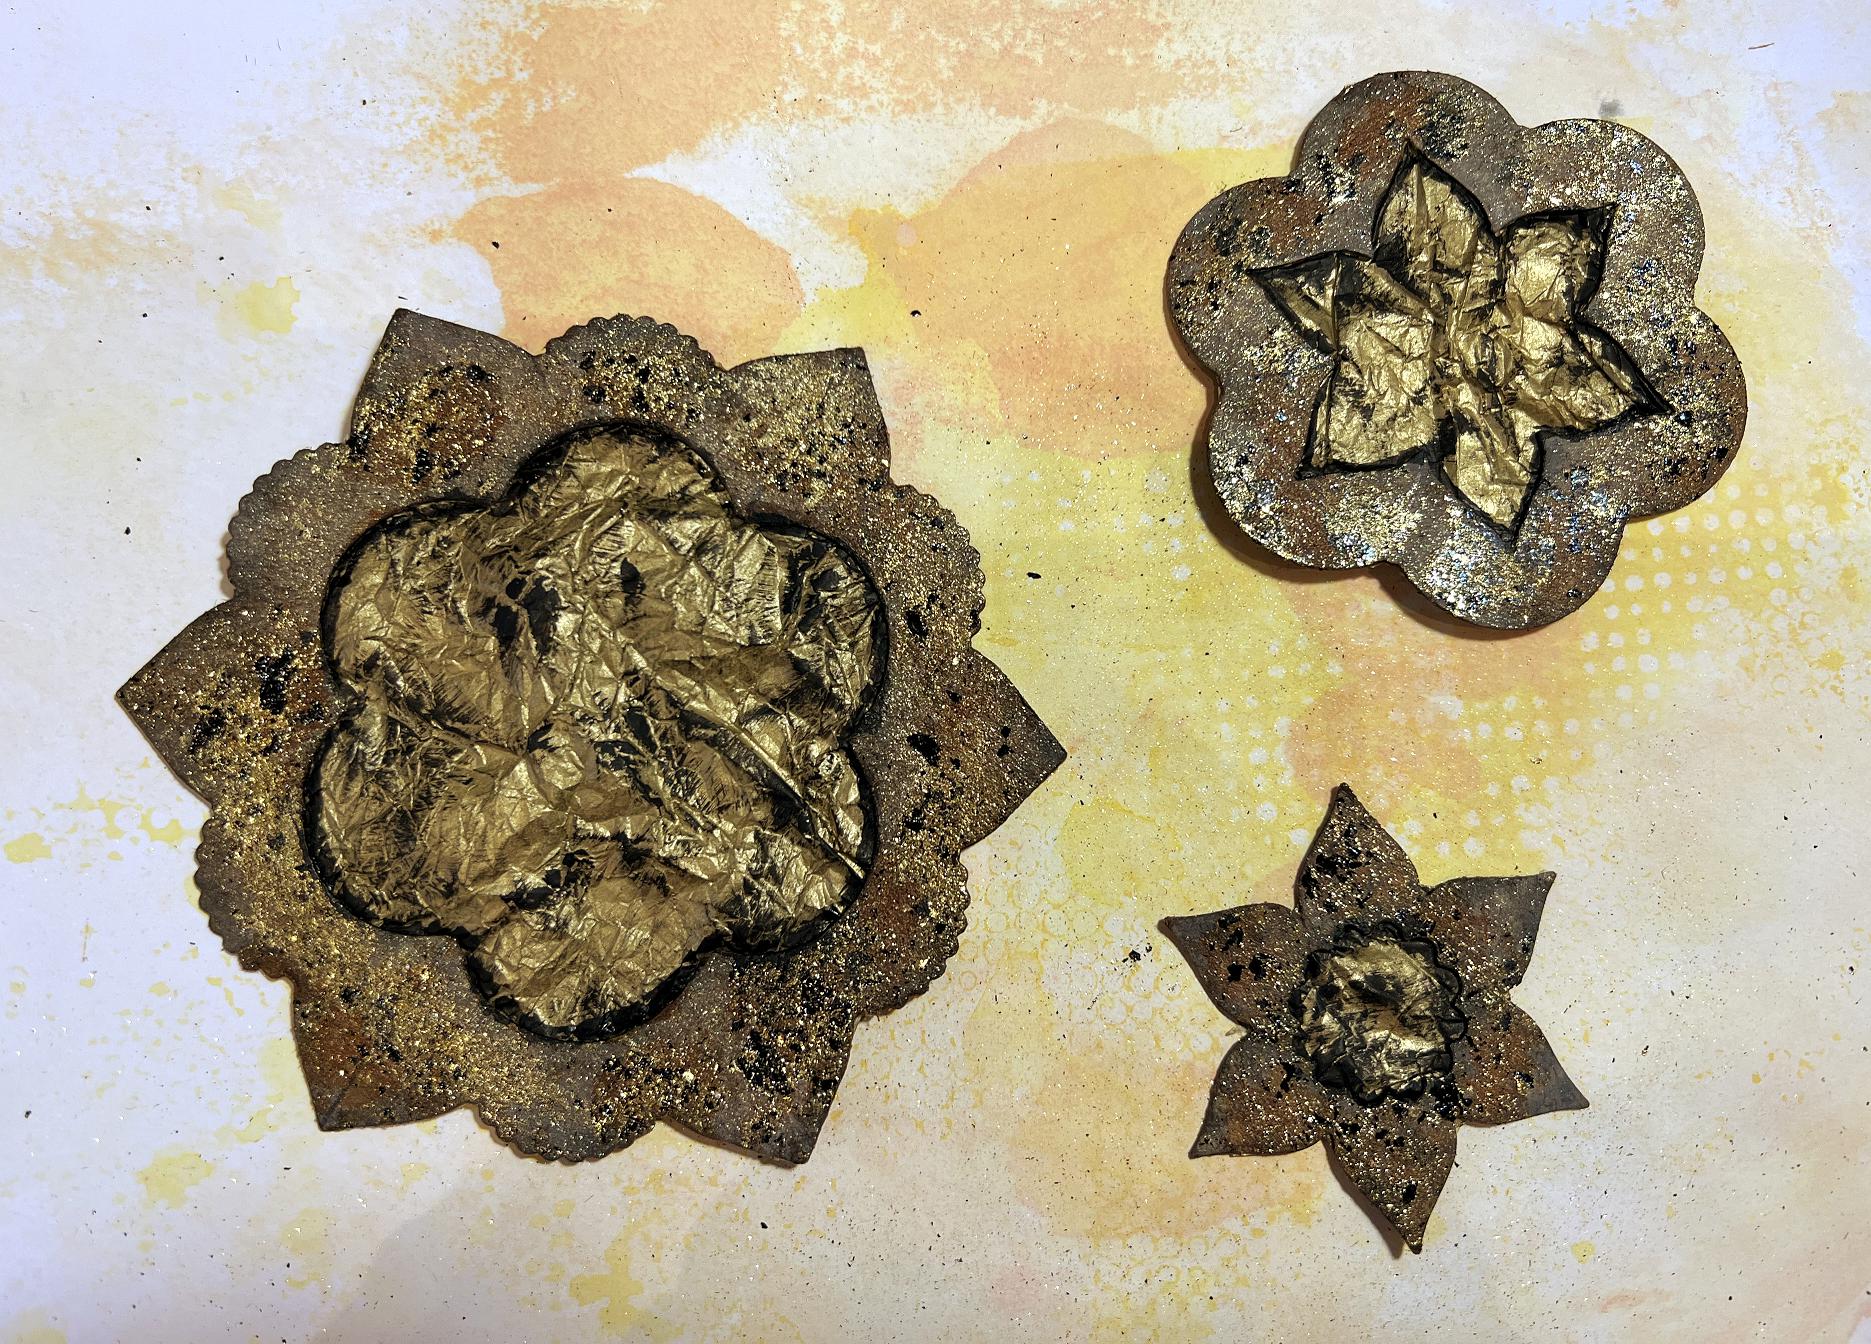
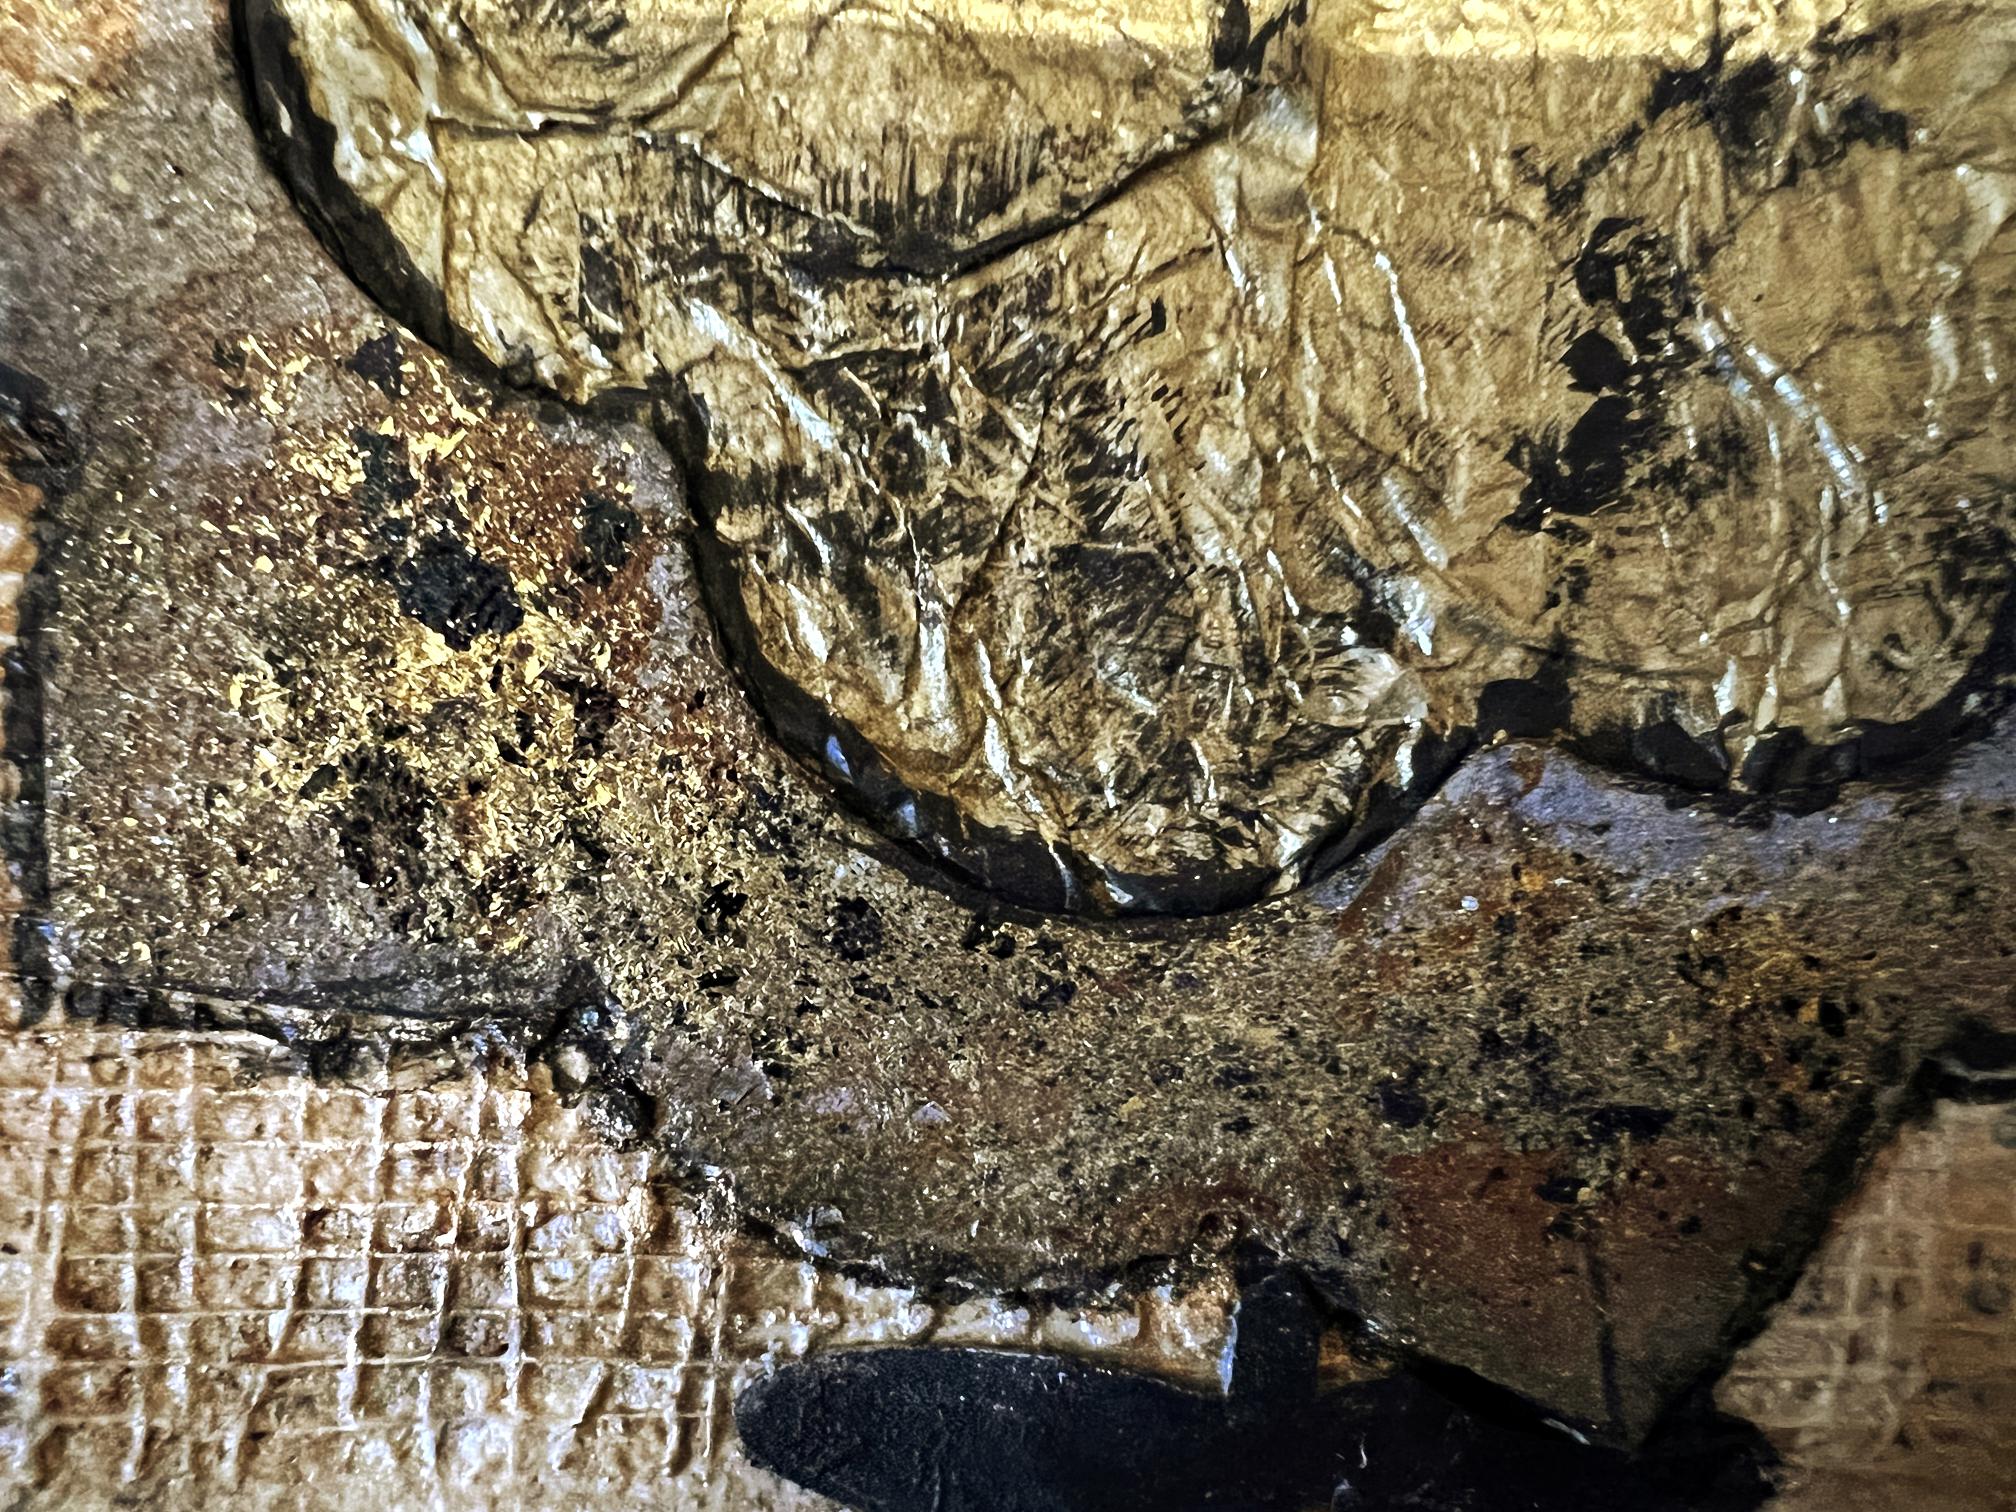
Some detail shots of the page. I wish the gilding flakes, the gold tissue paper and the gilding wax on the moulding paste showed up in all their full glory! They are really shimmery.
This has been an adventure! Really fun to do. I am looking forward to completing many more pages in this gorgeous Organic Journal.
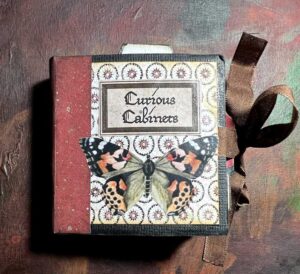
Washi tape
Would you believe it – until today I have never owned any washi tape? I think everyone else has it. I’ve never been that attracted by it, but recently I have seen some wider ones, and some much more interesting designs, and have seen people using them in a more artistic way, so I decided the time had come to launch myself into the World of Washi.
I found this fabulous set on Amazon last night. I had no idea they were going to come in such a fabulous box, with a design of antique maps.
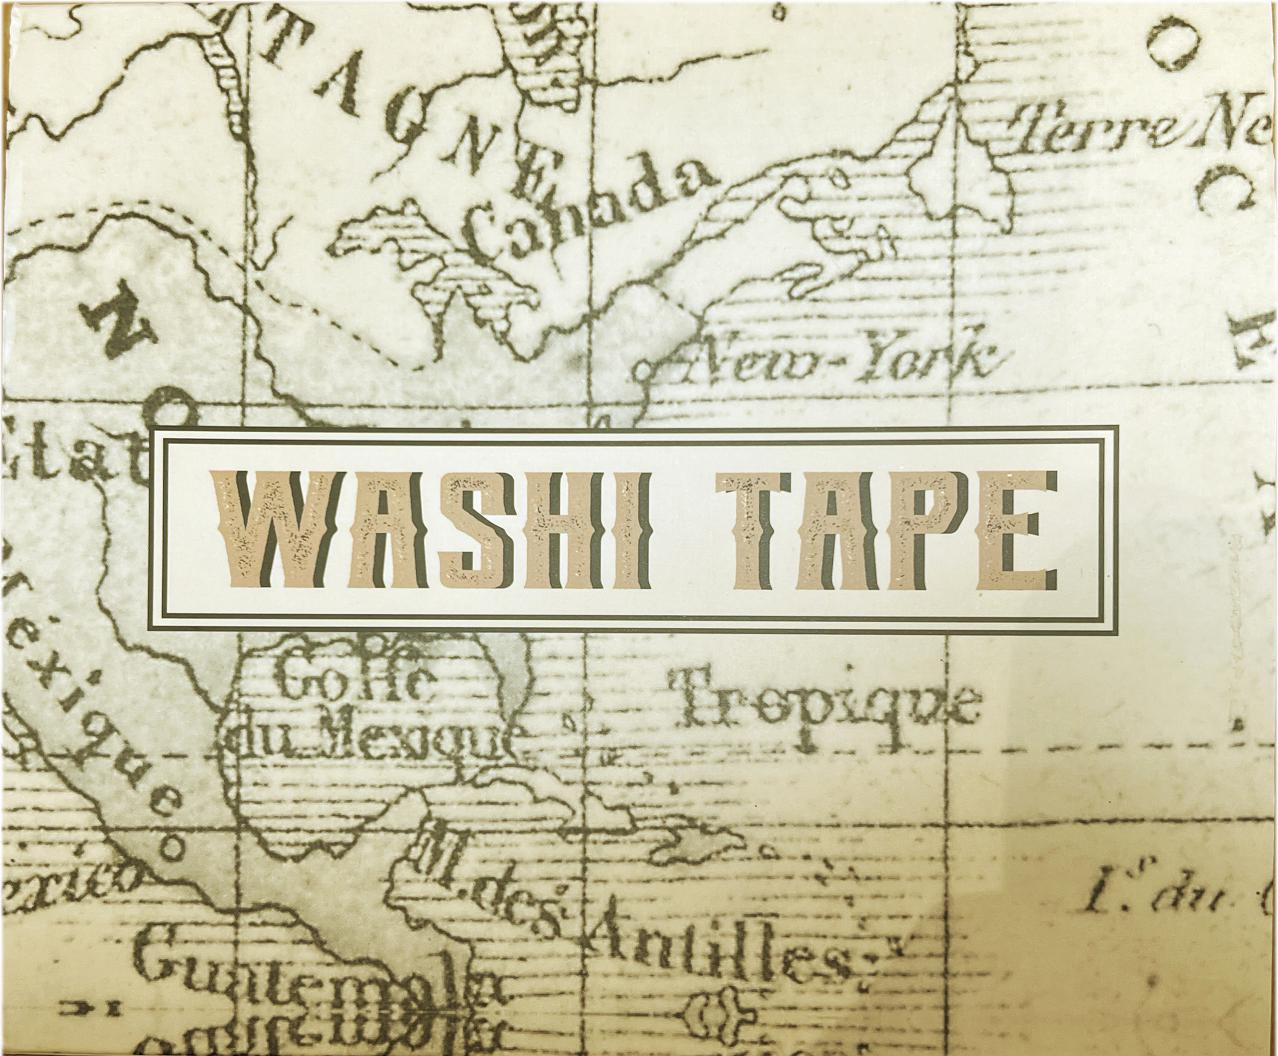
The box propped up so the front is visible.

Opening the box, I found the map part was a sleeve which slid off, revealing a box with sides constructed to make them look thick. This gave the whole thing a luxurious appearance. As my hubby said, “They didn’t have to do it like that,” but so worth the doing of it! It’s a real little treasure.
Just look at the gorgeous tapes inside.
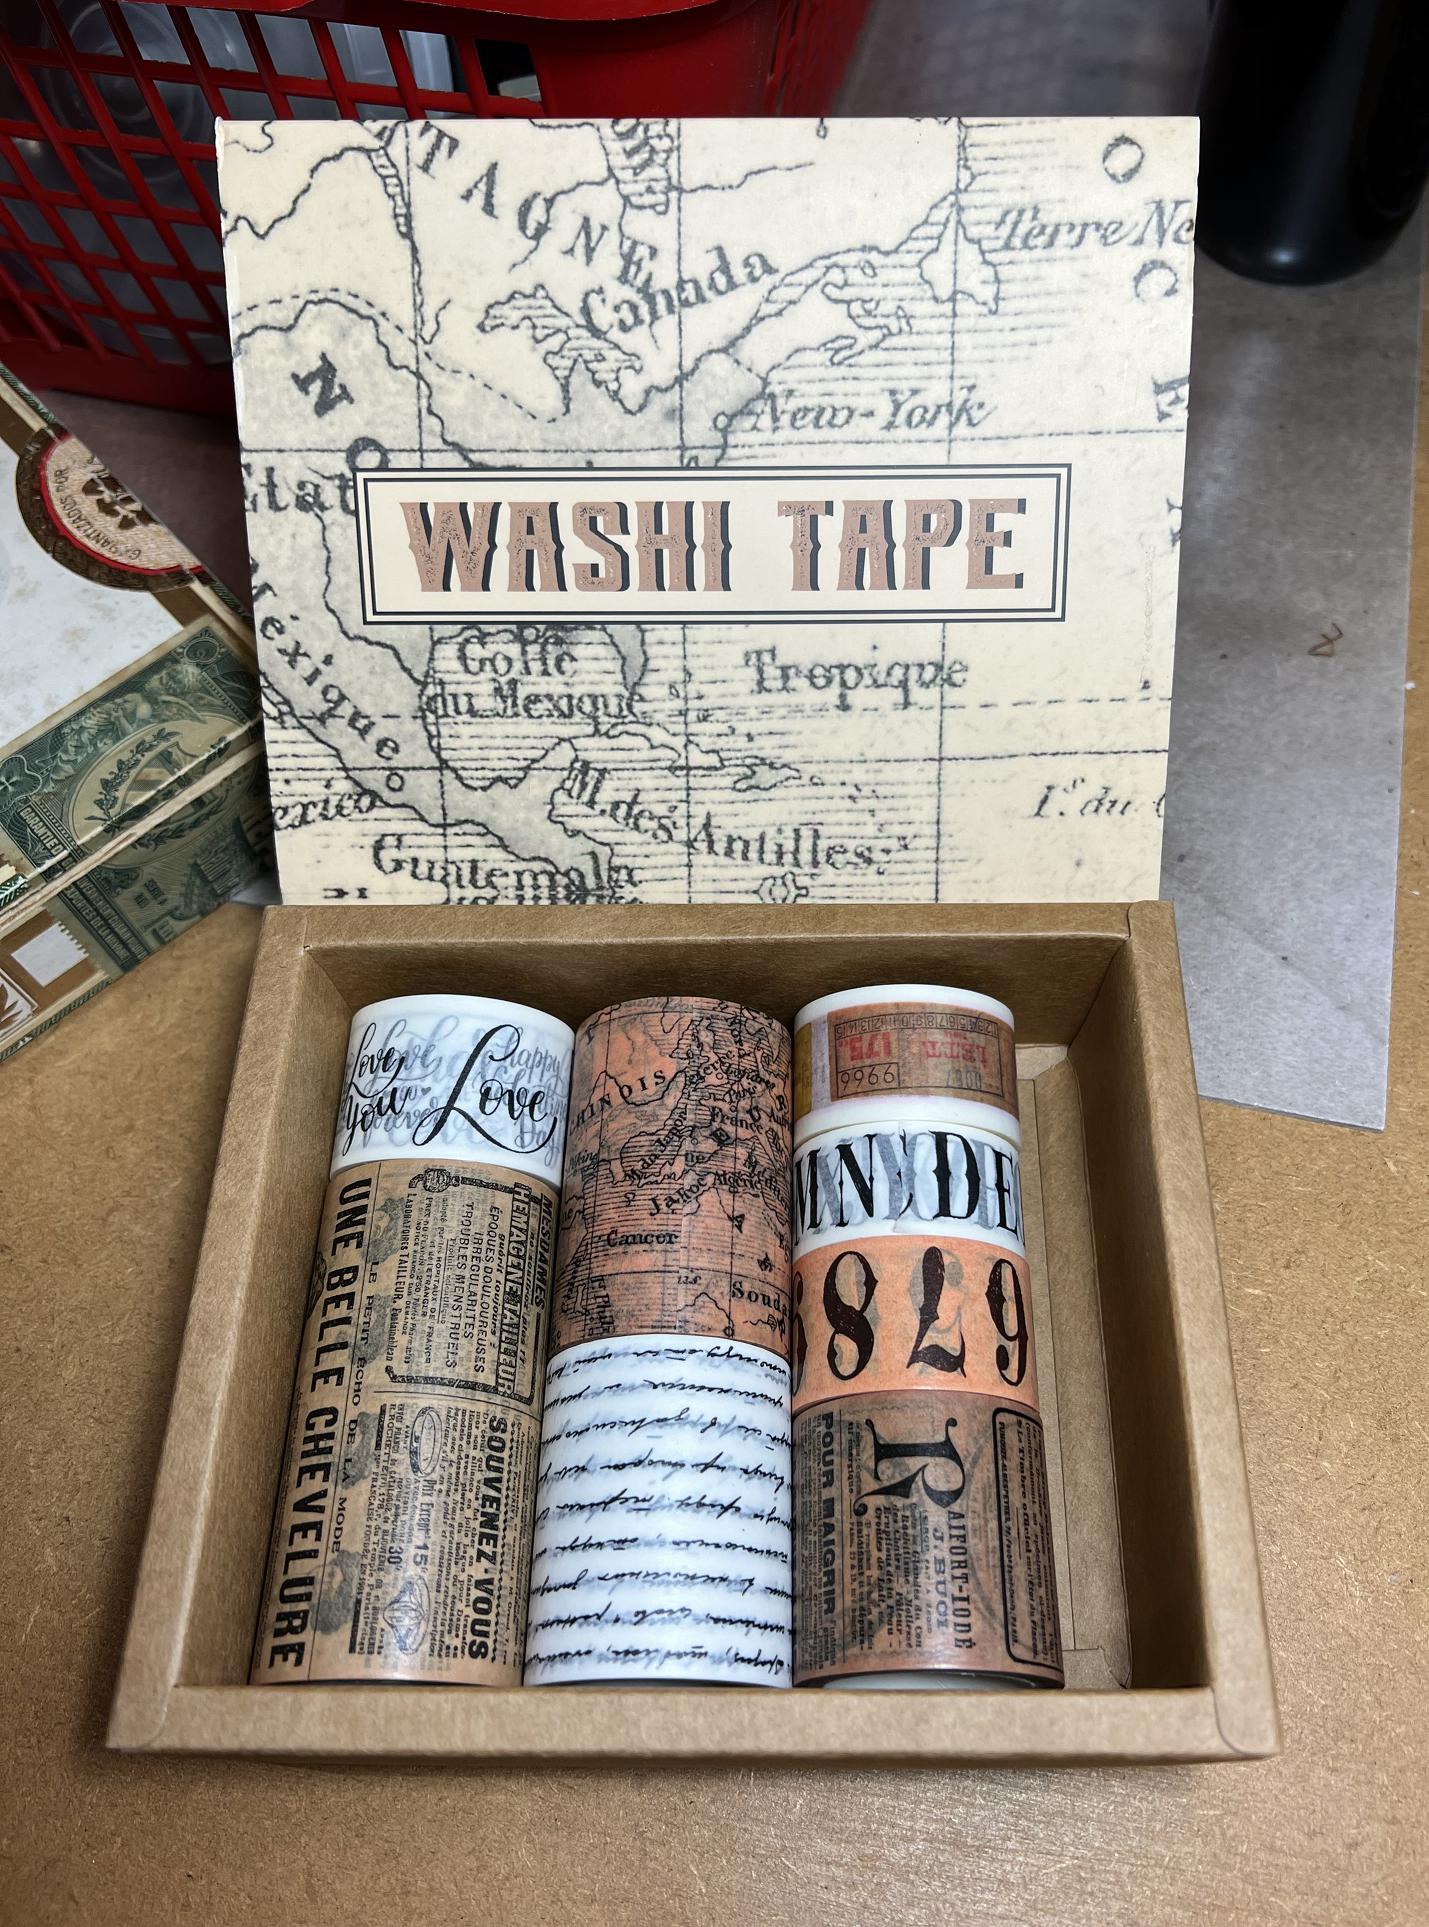
There are labels and tickets, numbers and letters, text and maps, and vintage images with French text. It was the colour scheme that attracted me first, being in a brown phase at the moment to go with the Organic Journal. These tapes are delicious! Some of them are definitely going to find their way into future pages in my journal.