RECYCLED PAPER-GLASSINE BAG ALBUM – THE BINDING AND FINAL FLIP-THROUGH
I’ve finished it! It was quite a sweat getting the final stages done, but I wanted to get it finished before Tuesday when I was meeting up with my friend who I was sure would want to see it. Nothing like a deadline to focus the mind!
The binding
I wanted this book to have a fairly flexible feel to it, as the pages were quite soft, even with the layers and embellishments. I decided on a wrap-around cover, created all in one piece, with a floating inner spine for the binding itself, to avoid having stitching showing on the outside, and also to enable the pages to lie flatter when the book was opened.
I debated whether it needed a title and a book plate, but in the end decided against this, partly because I couldn’t think of a name for it, and also, it was going to have a closure which would provide enough embellishment.
The paper for the cover
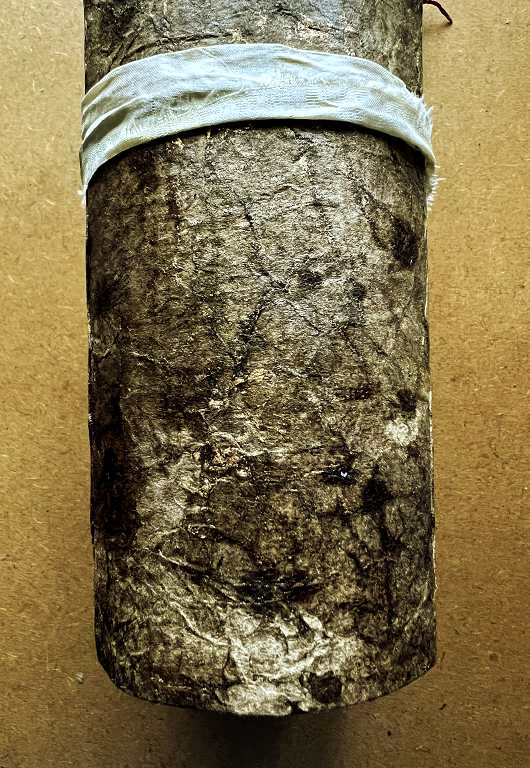
The nature of the book’s contents required something recycled, and also quite grungey and vintage looking, so I decided on Amazon packaging paper (the stuff we get oodles of, inside their boxes) wrapped around card cut from those Amazon envelopes we get smaller items delivered in.
While the packaging paper is brown (I tried coffee-dyeing it and because it was brown already, nothing showed, so that was a bit of a waste of time!), it is rather boring as-is, and required some treatment to age it and give it some textural interest.
When it was dry from the coffee-dyeing, I crumpled it up and opened it out several times until I was happy that it had good coverage of creases, and sprayed it with Walnut Stain Distress Stain, drying and crumpling it and re-spraying it several times until I was happy with it. I also gently passed the Walnut Stain Distress Ink pad over the raised creases to darken them, and spattered it with ink from the spray bottle, using the tube of the bottle’s nozzle. The final step was gently to apply some gilding wax to the raised creases, and I sealed it with a layer of acrylic wax applied with a brush, which also gives it a nice sheen once it is buffed up.
This photo shows the finished piece, together with a rolled-up piece of untreated Amazon packaging paper to show the difference.
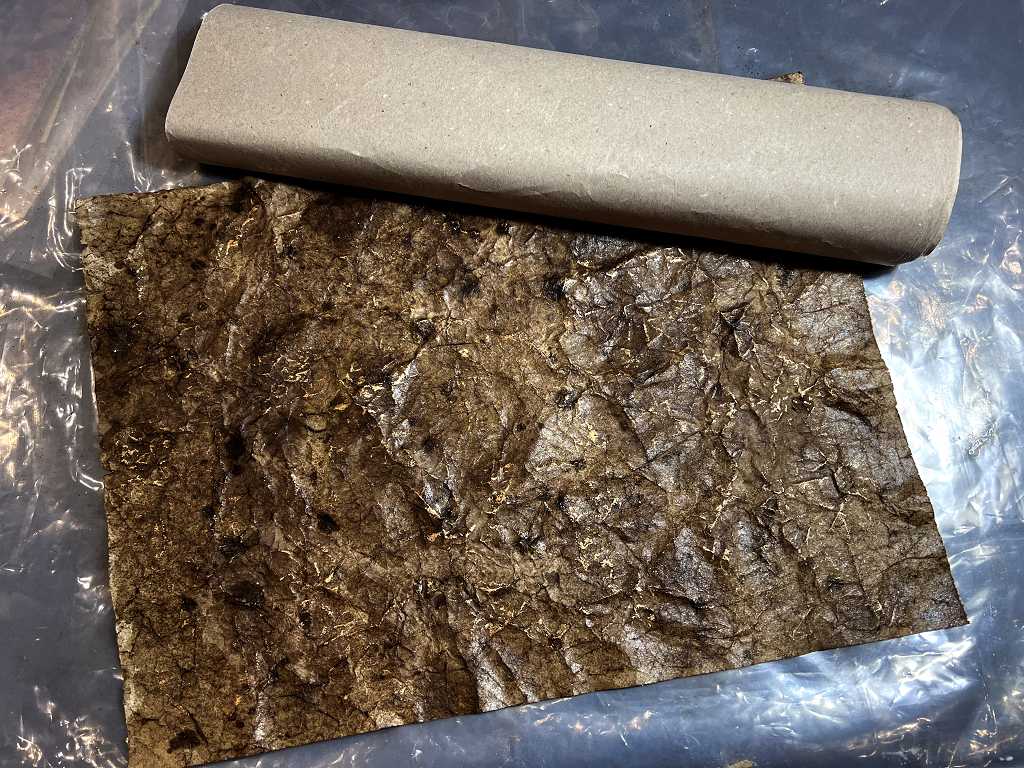
It now has the appearance of old leather, which is what I wanted.
The inside of the cover
I cut the wrap-around cover from the Amazon envelope card, and scored the central part with parallel score lines 1/8 inch apart, so that it would roll into a nice smooth curve.
I was so anxious that this book would not have that classic “alligator mouth” which I dislike so much – when the spine is not wide enough and the pages are too full of embellishments to enable the book to close properly – that I over-compensated and made the spine of the cover too big! In profile the book is wedge-shaped, which isn’t what I wanted, but it is too late to do anything about that now! Better that way than the alligator mouth, in any case.
Once I had formed the curve of the spine, I snipped off a tiny bit from each of the four corners so that the packaging paper would not rip when I covered it, and proceeded to cover it, glueing it down on all four sides on the inside.
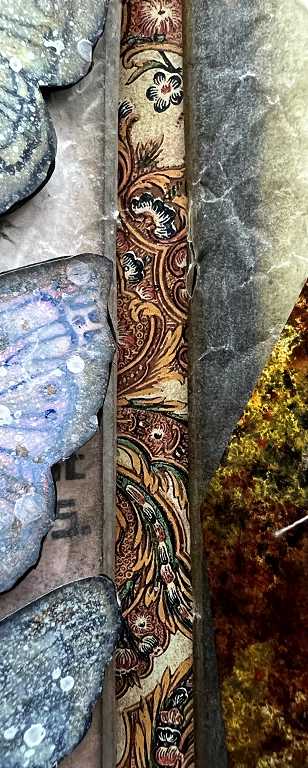
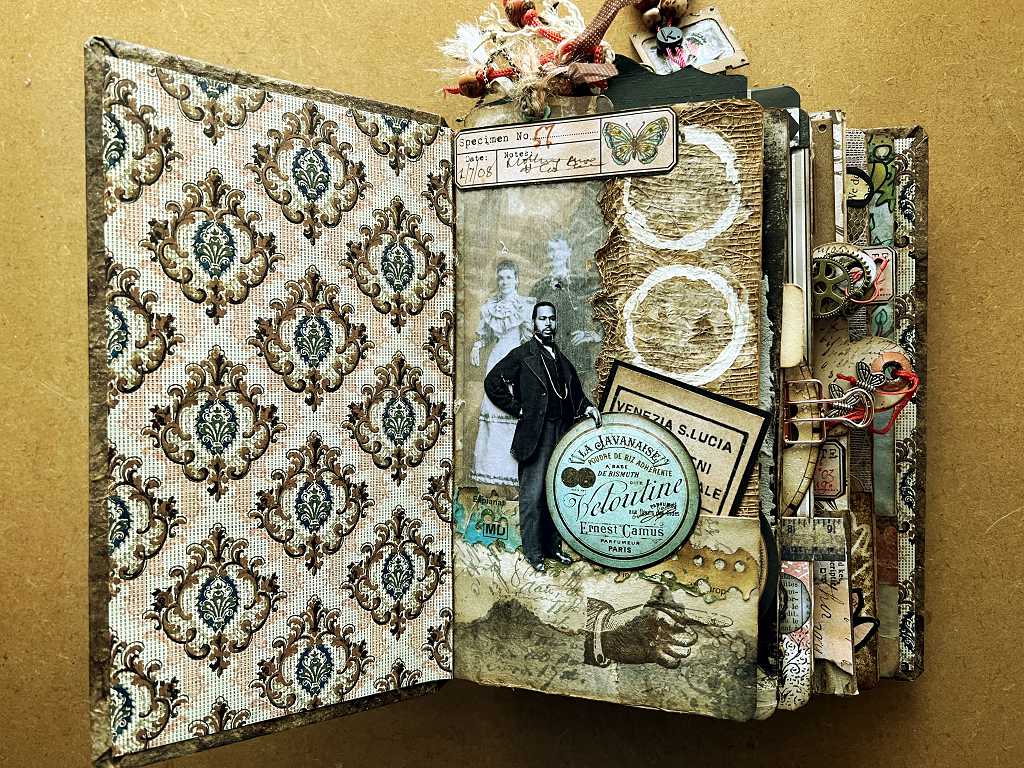
I cut a piece of thick white cardstock from my stash, the height of the pages, and the width of the finished spine plus some extra on either side, to form the floating spine. I covered this with a piece from the Graphics Fairy Premium Membership site from their “Fall Wallpapers” bundle, so that the spaces between the folios which would be visible as you turned the pages would be decorated. I folded the excess over the top and bottom to form a neat edge, and also added some ink to the white card beyond this so that no white would show once the book was complete.
When I made the book, I decided early on not to form multi-page signatures but to treat each folio as a single-page signature. There are six of these, and I stitched each one onto the floating spine using a three-hole pamphlet stitch binding and brown waxed thread. I made myself a template from scrap card to show me where to punch the holes in the floating binding and in each of the folios. I tied off the ends of the bindings in each case on the outside and trimmed them short and secured them with a little glue, so that they would be hidden inside the spine and not visible in the centrefold of each folio.
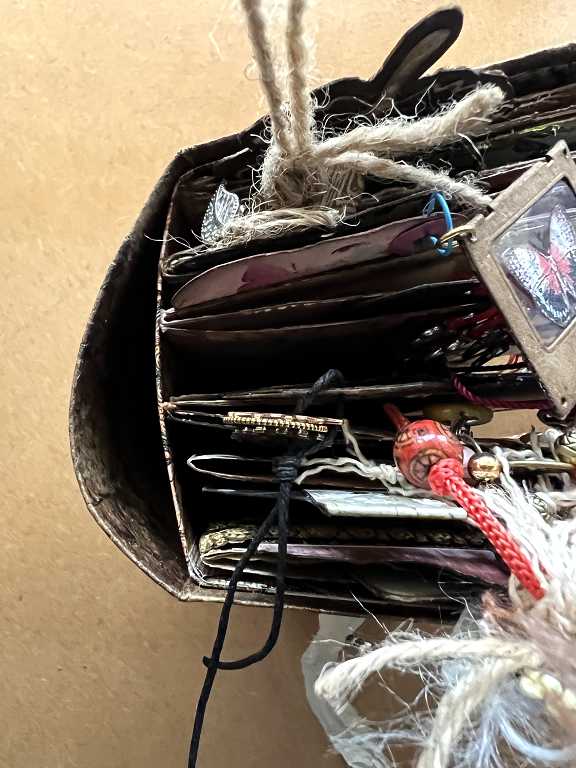
Once all the folios were bound onto the floating spine, I was able to glue this down onto the inside of the cover.
These are the papers I chose for the floating spine and the endpapers, both from the “Fall Wallpapers” bundle from the Graphics Fairy.
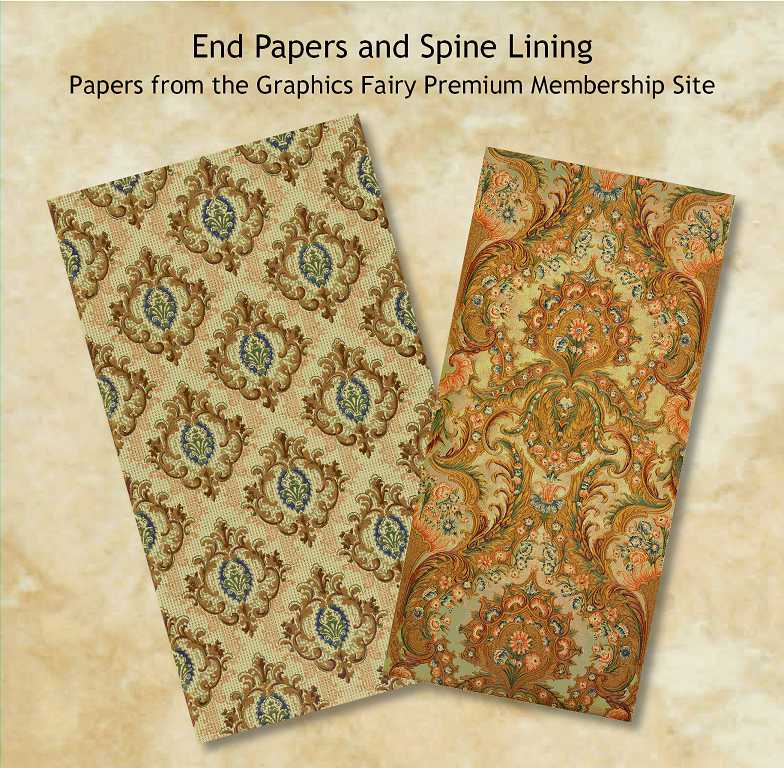
The colours are lovely and muted and vintage-looking, entirely in keeping with the theme of the book.
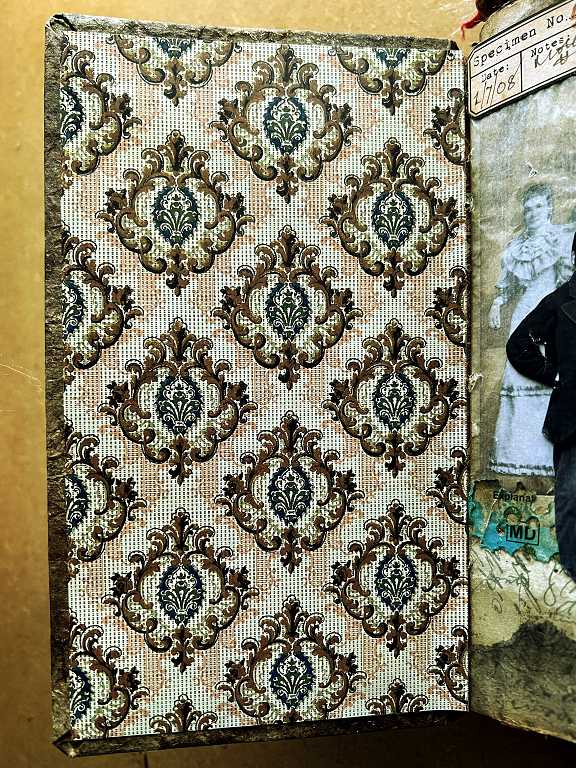
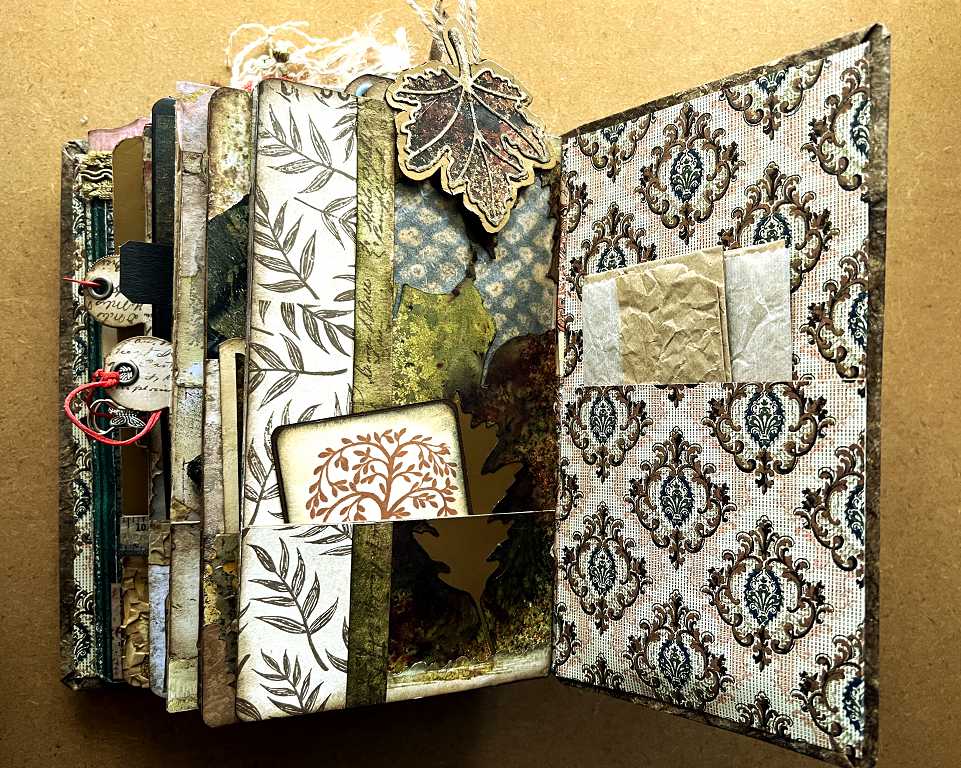
I printed out three copies of the endpapers so that I could form a pocket on the inside of the back cover, trimmed the pieces to size and glued them down. This is the inside of the front cover:
and this is the inside of the back cover.
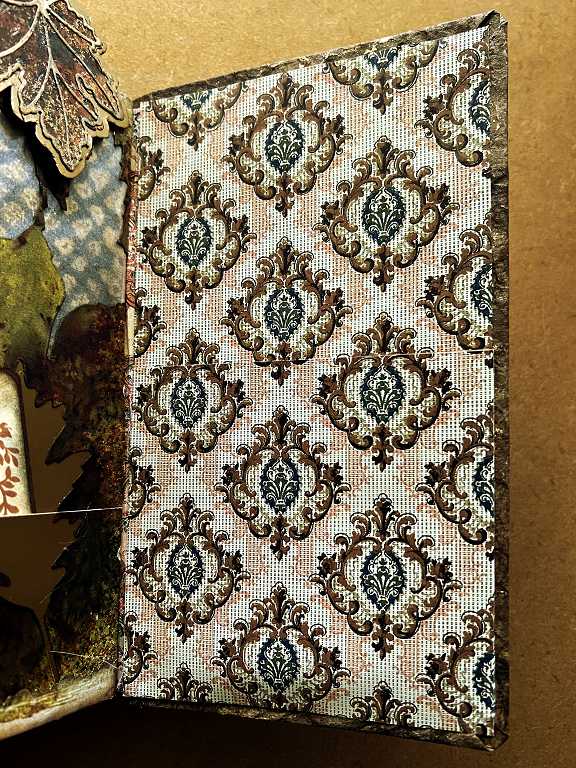
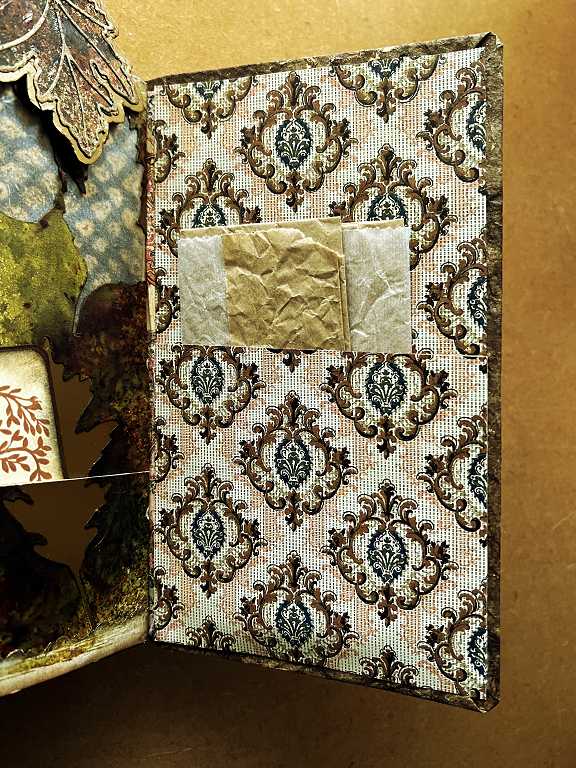
I took great care to line up the pattern of the pocket piece with the glued-down endpaper so that it would not be visible. If you look carefully at the above photo, you can just see it, about half way down the cover. I stuck a piece of scrap card towards the top of the back of this extra piece and turned the top over to form a stronger edge to the pocket.
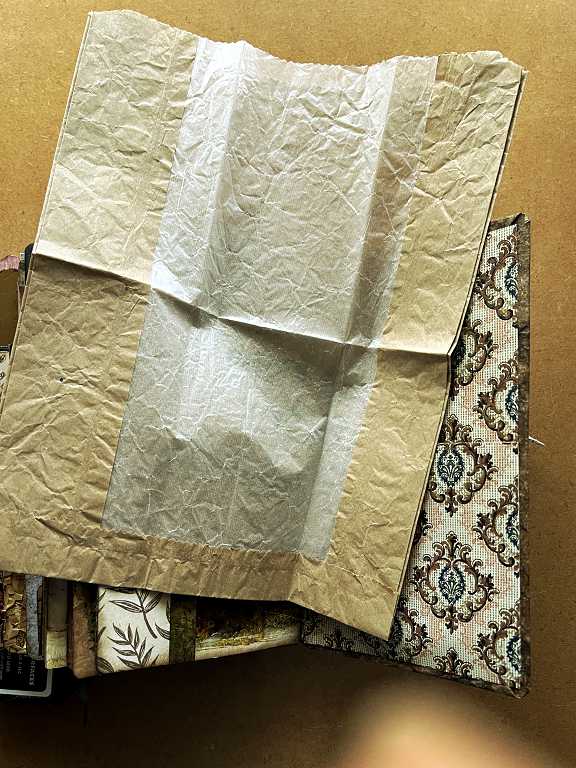
The purpose of this pocket was to insert one of the original bags, to show what was the inspiration and basis of this whole book.
The outside of the cover
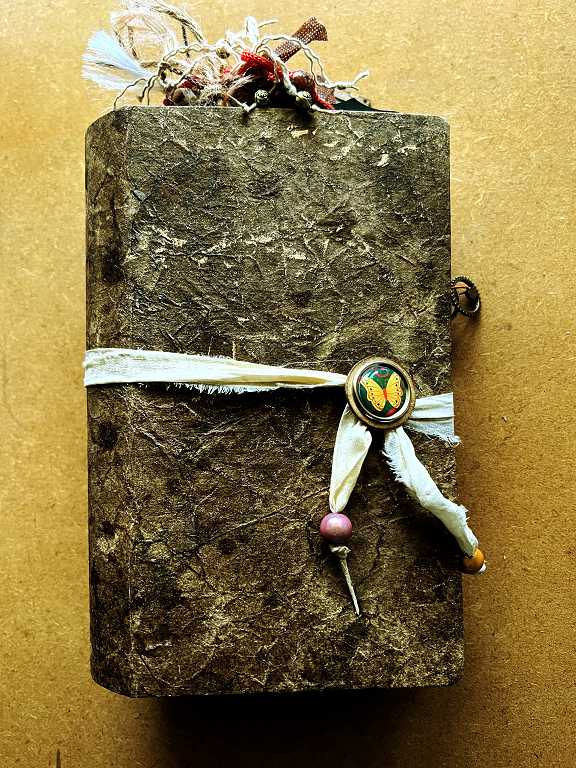
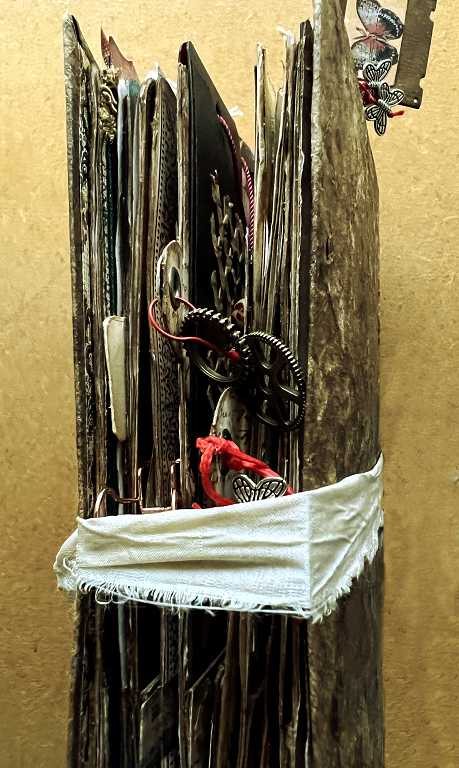
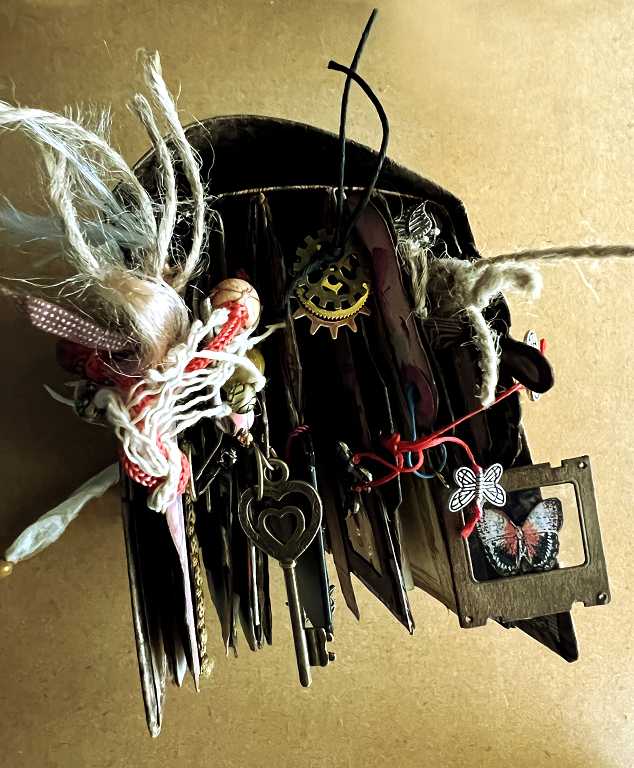
This is the finished album, showing the front cover with its closure, and all the embellishments spilling out over the top.
The spine, showing the curve, with the closure fabric tied around it. If you look closely on the left-hand side, you can just make out the vertical score lines of the base card showing through, to make the curve.
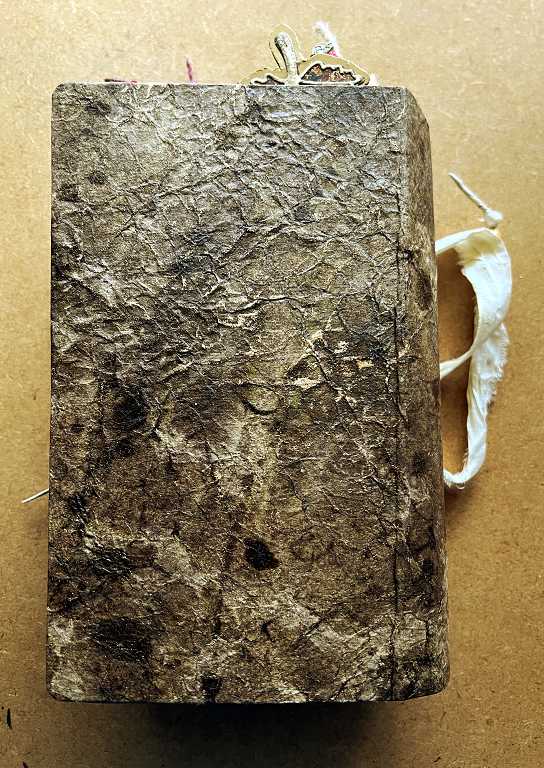
The back cover, with the closure removed.
The open edge of the book with the embellishments.
The closure
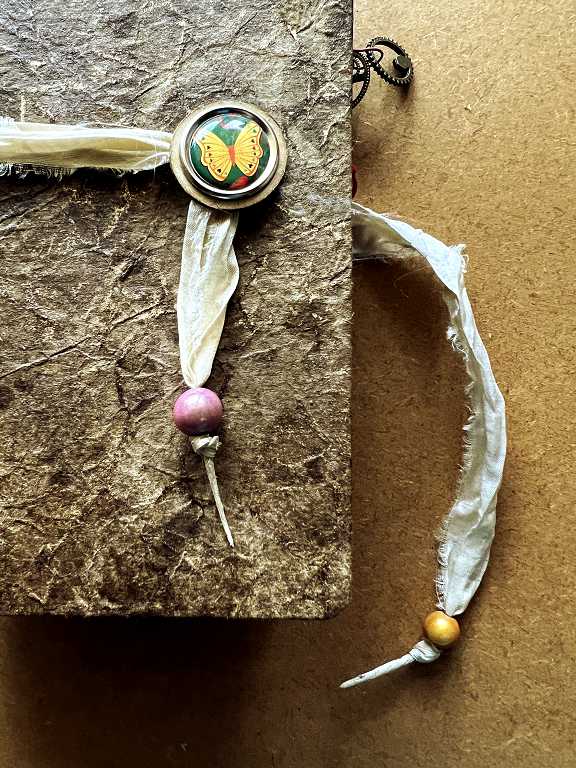
I had a good rummage through one of my vintage suitcases which hold a multitude of trims, before settling on some plain cream sari ribbon which I acquired from Etsy recently. I love the tattered frayed look of this which suits the vintage appearance of the book.
Before adding the endpapers, I attached a large brad with a butterfly design onto the front cover. I had previously glued this onto a multi-layered disc of card with hot glue, and inked the edges. I tied one end of the sari ribbon around the “neck” of the brad that I created when adding it – not tightening it so much that there would be no room for the sari ribbon – and left a little excess hanging down. The longer end was trimmed so that it was pretty much the same length as the first end, once it was wrapped around the book and around the brad.
I twisted the ends of the sari ribbon and rubbed glue well into it and let it set hard. I was then able to push it through the fairly small holes in the beads, and secure them wth a knot. I decided to leave the fused ends, and thinking about it later, I will probably paint these gold, but they remain plain cream for now.
A single half-twist of the long end of the sari ribbon around the brad is sufficient to keep the closure in place and secure the book closed.
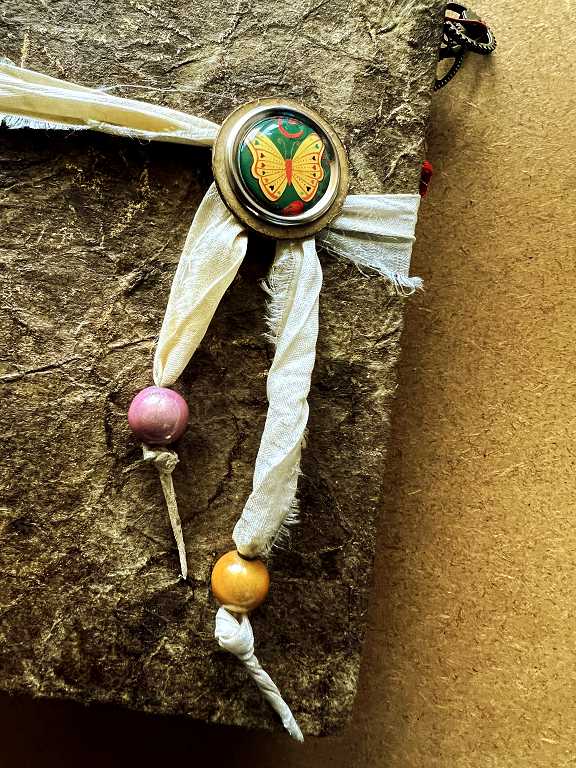 I am glad that I only had beads of two different colours taken out of my stash at this stage. I thought it would add more interest to have them in different colours, and in the end there was a practical application too. When the book is secured, it is hard to tell which is the loose end of the sari ribbon, but with different coloured beads, it is simple to remember that it is the yellow one which undoes the book.
 Apart from the spine being too large for the thickness of the stack of folios, I am pretty pleased with the result of this project. It is highly tactile and interactive, with elements of surprise and fun inside, and plenty of variety. It is also very pleasing that nearly all of it was made from scraps or from things already in my stash; I think there was only one occasion on which I had to cut into a fresh piece of card.
When my Tesco delivery driver arrived on Tuesday morning, I showed it to him briefly and said “this is what I have done with your bags!” He was impressed and somewhat amused!
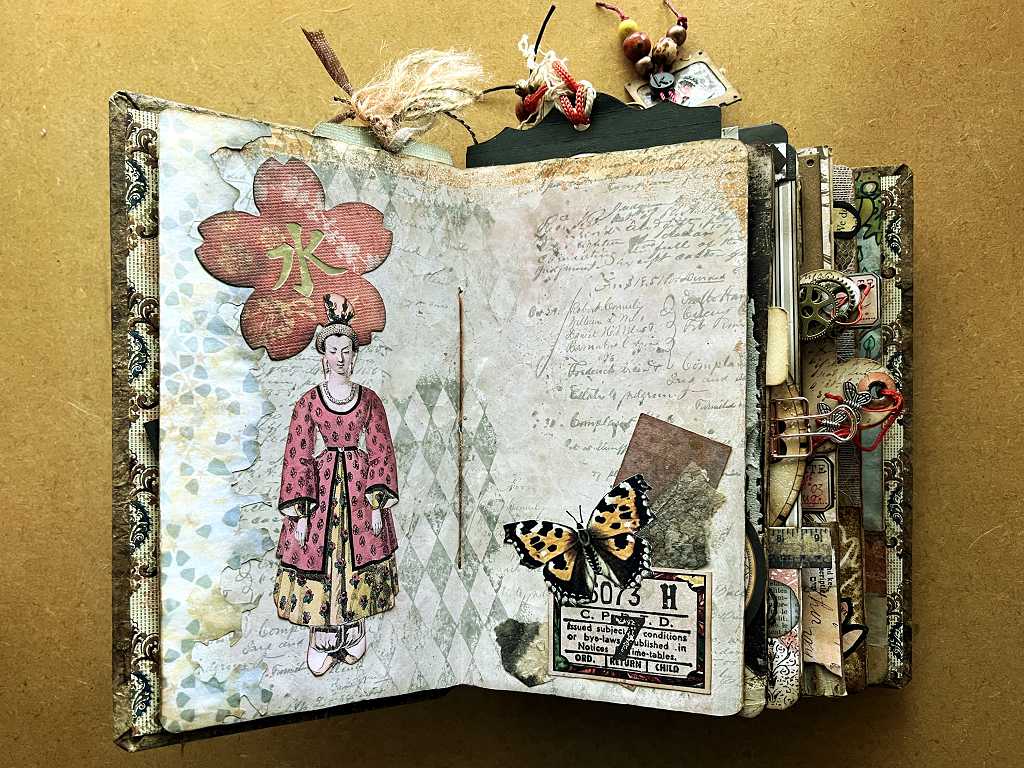
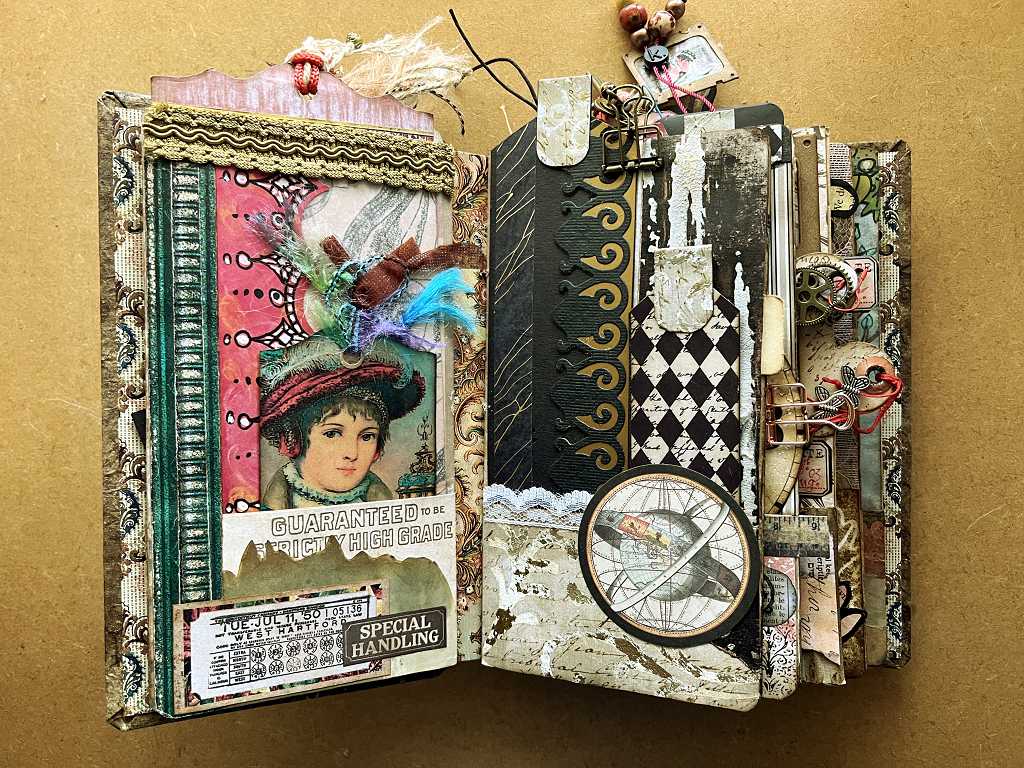
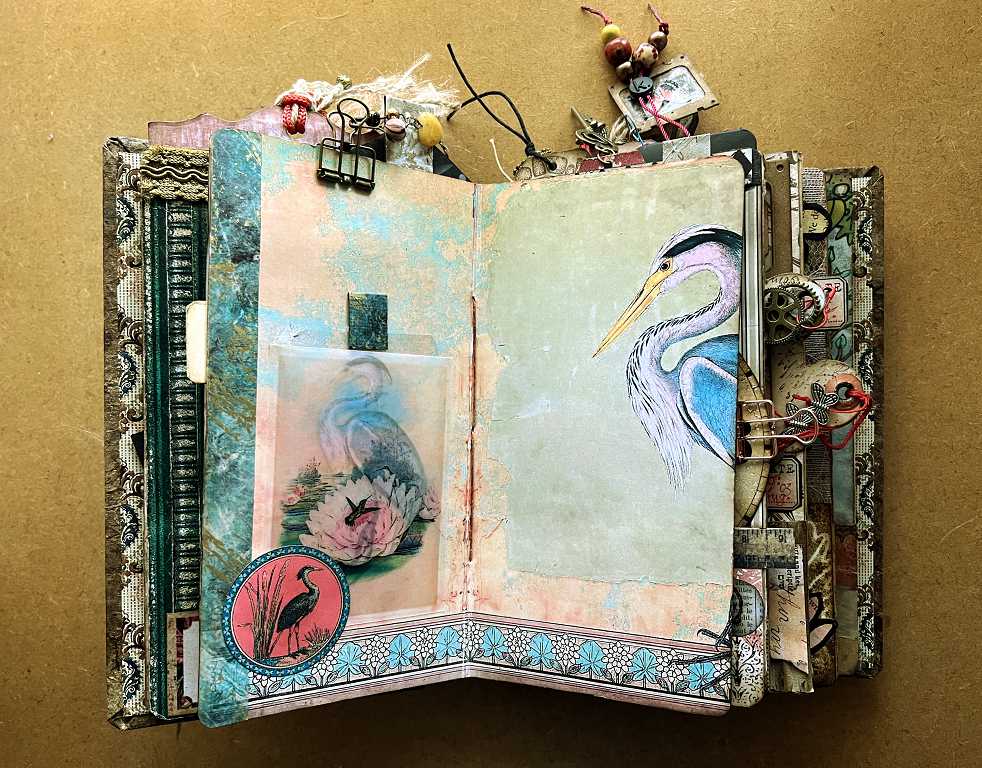
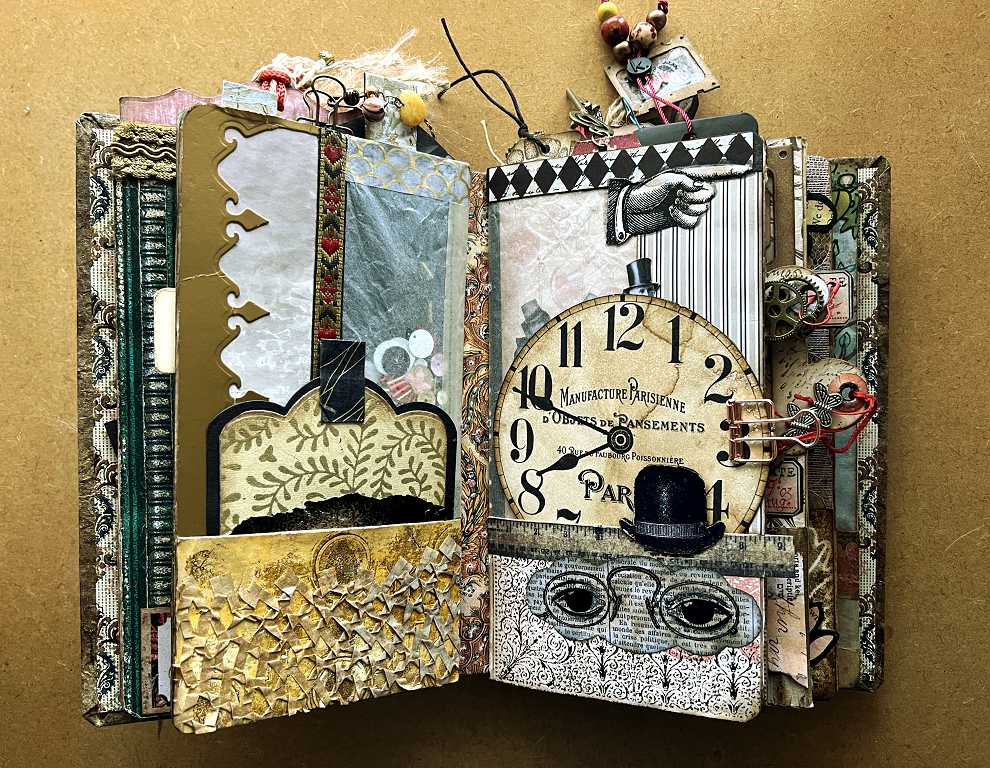
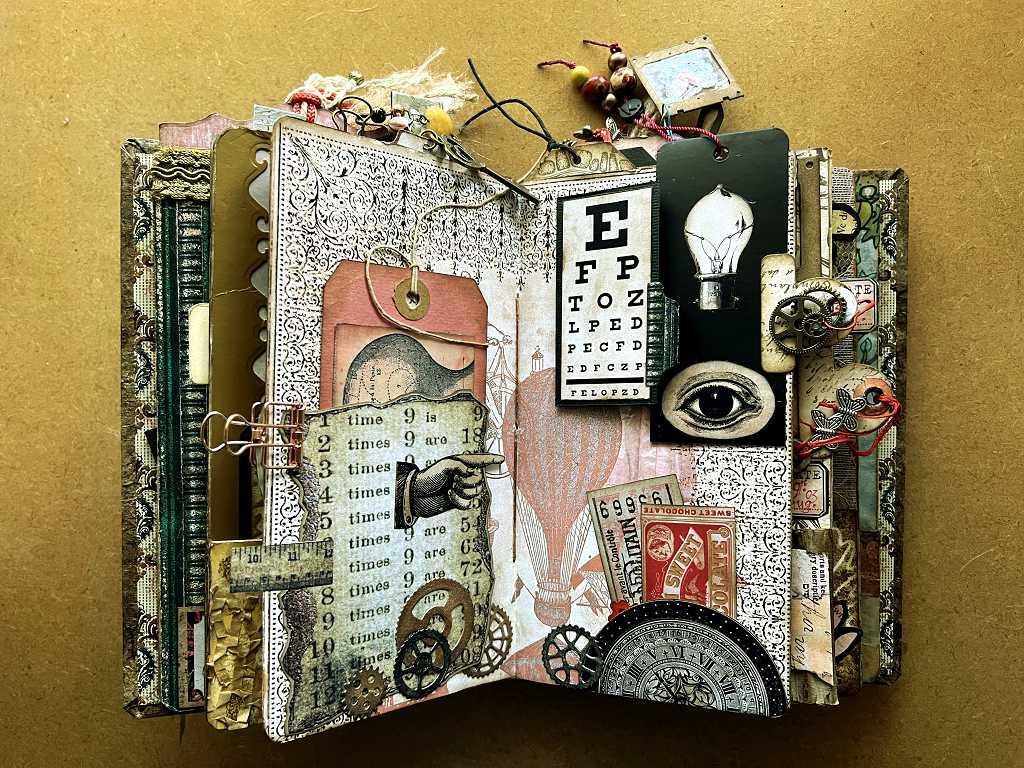
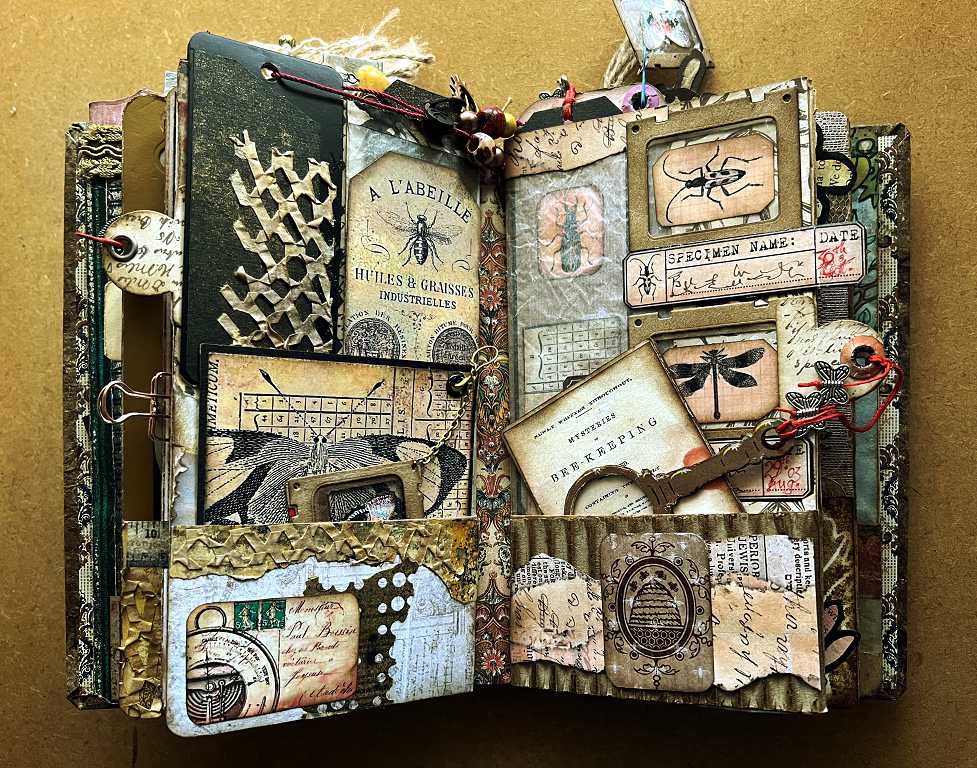
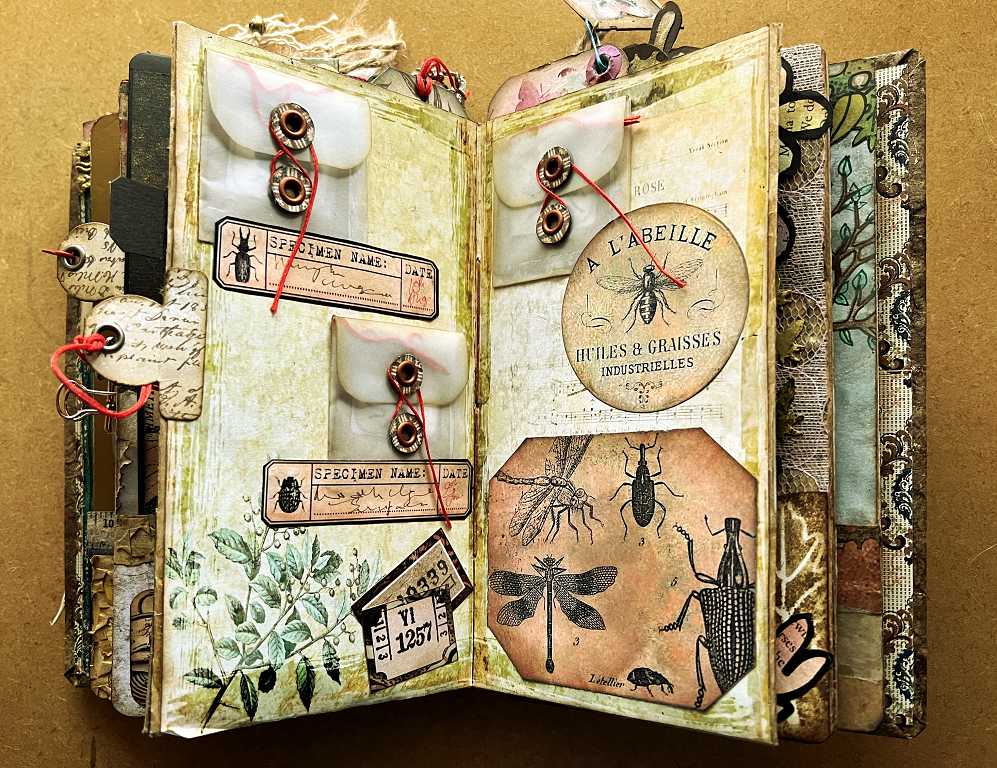
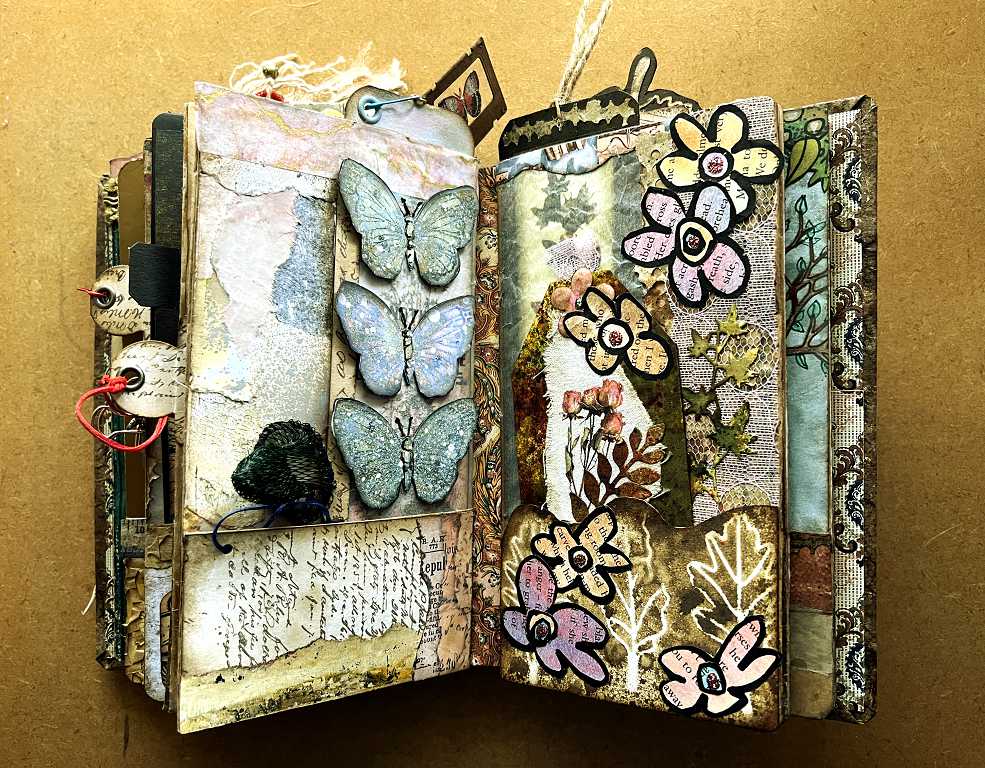
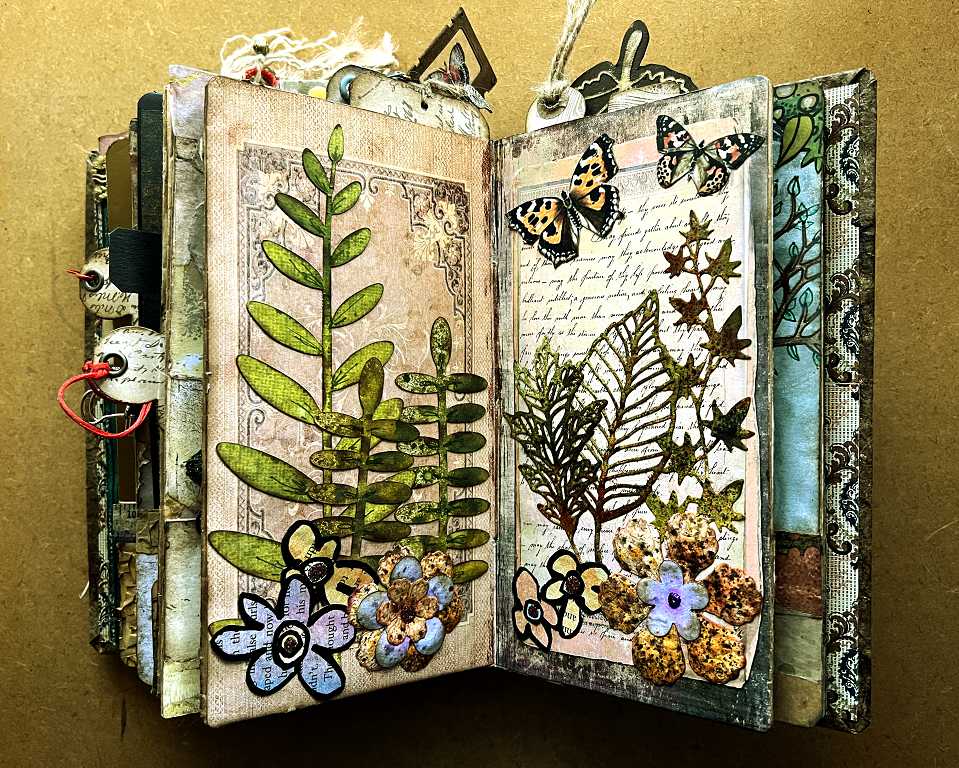
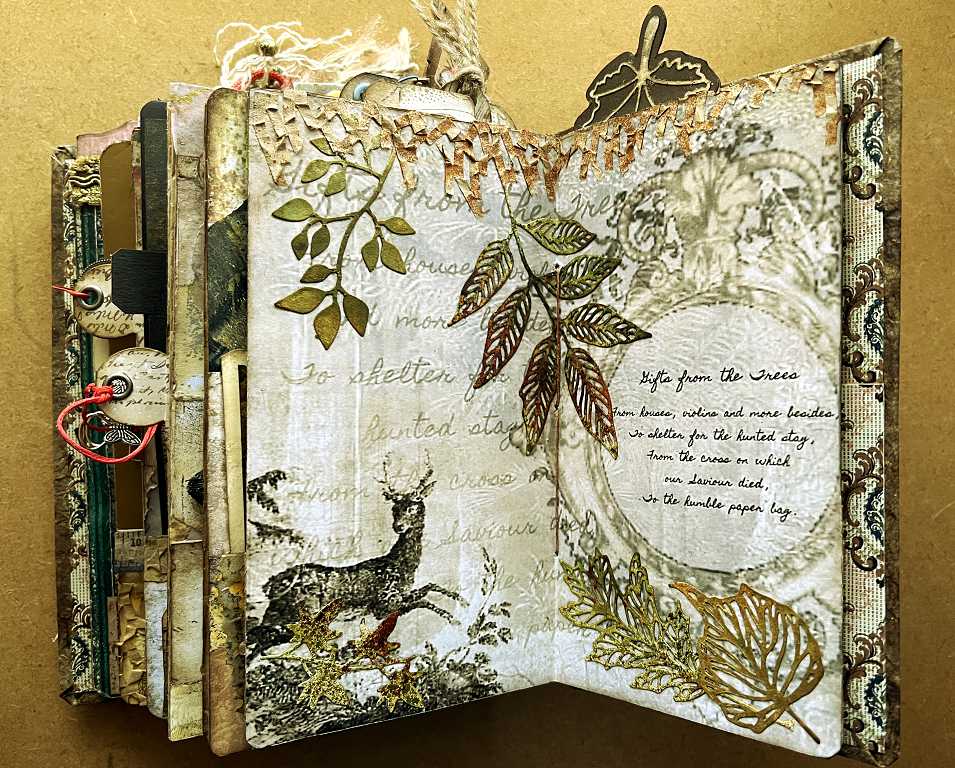
A brief flip-through
Just a quick flip-through of the finished book, without removing any of the tags. For further detailed information about each folio, please scroll back through my previous posts.

I have so enjoyed making this project, which came about as very much a spur of the moment decision, as I found my stash of the paper bags, and wondered if I could make a book out of them. It’s been an adventure and I’ve ended up with something that has given me a tremendous sense of satisfaction and fulfilment – I love making art out of rubbish!!
This is ABSOLUTELY MAGNIFICENT! I can well and truly vouch for that having seen and handled it “in the flesh” so to speak, it is awesome, so unique and extremely entertaining, fun, tactile, amusing, intricate and a marvellous interactive item – I remember saying there should be a name for items like this, and yous aid you had invented one, I can’t remember what it is now, what name did you give to this incredible creation?