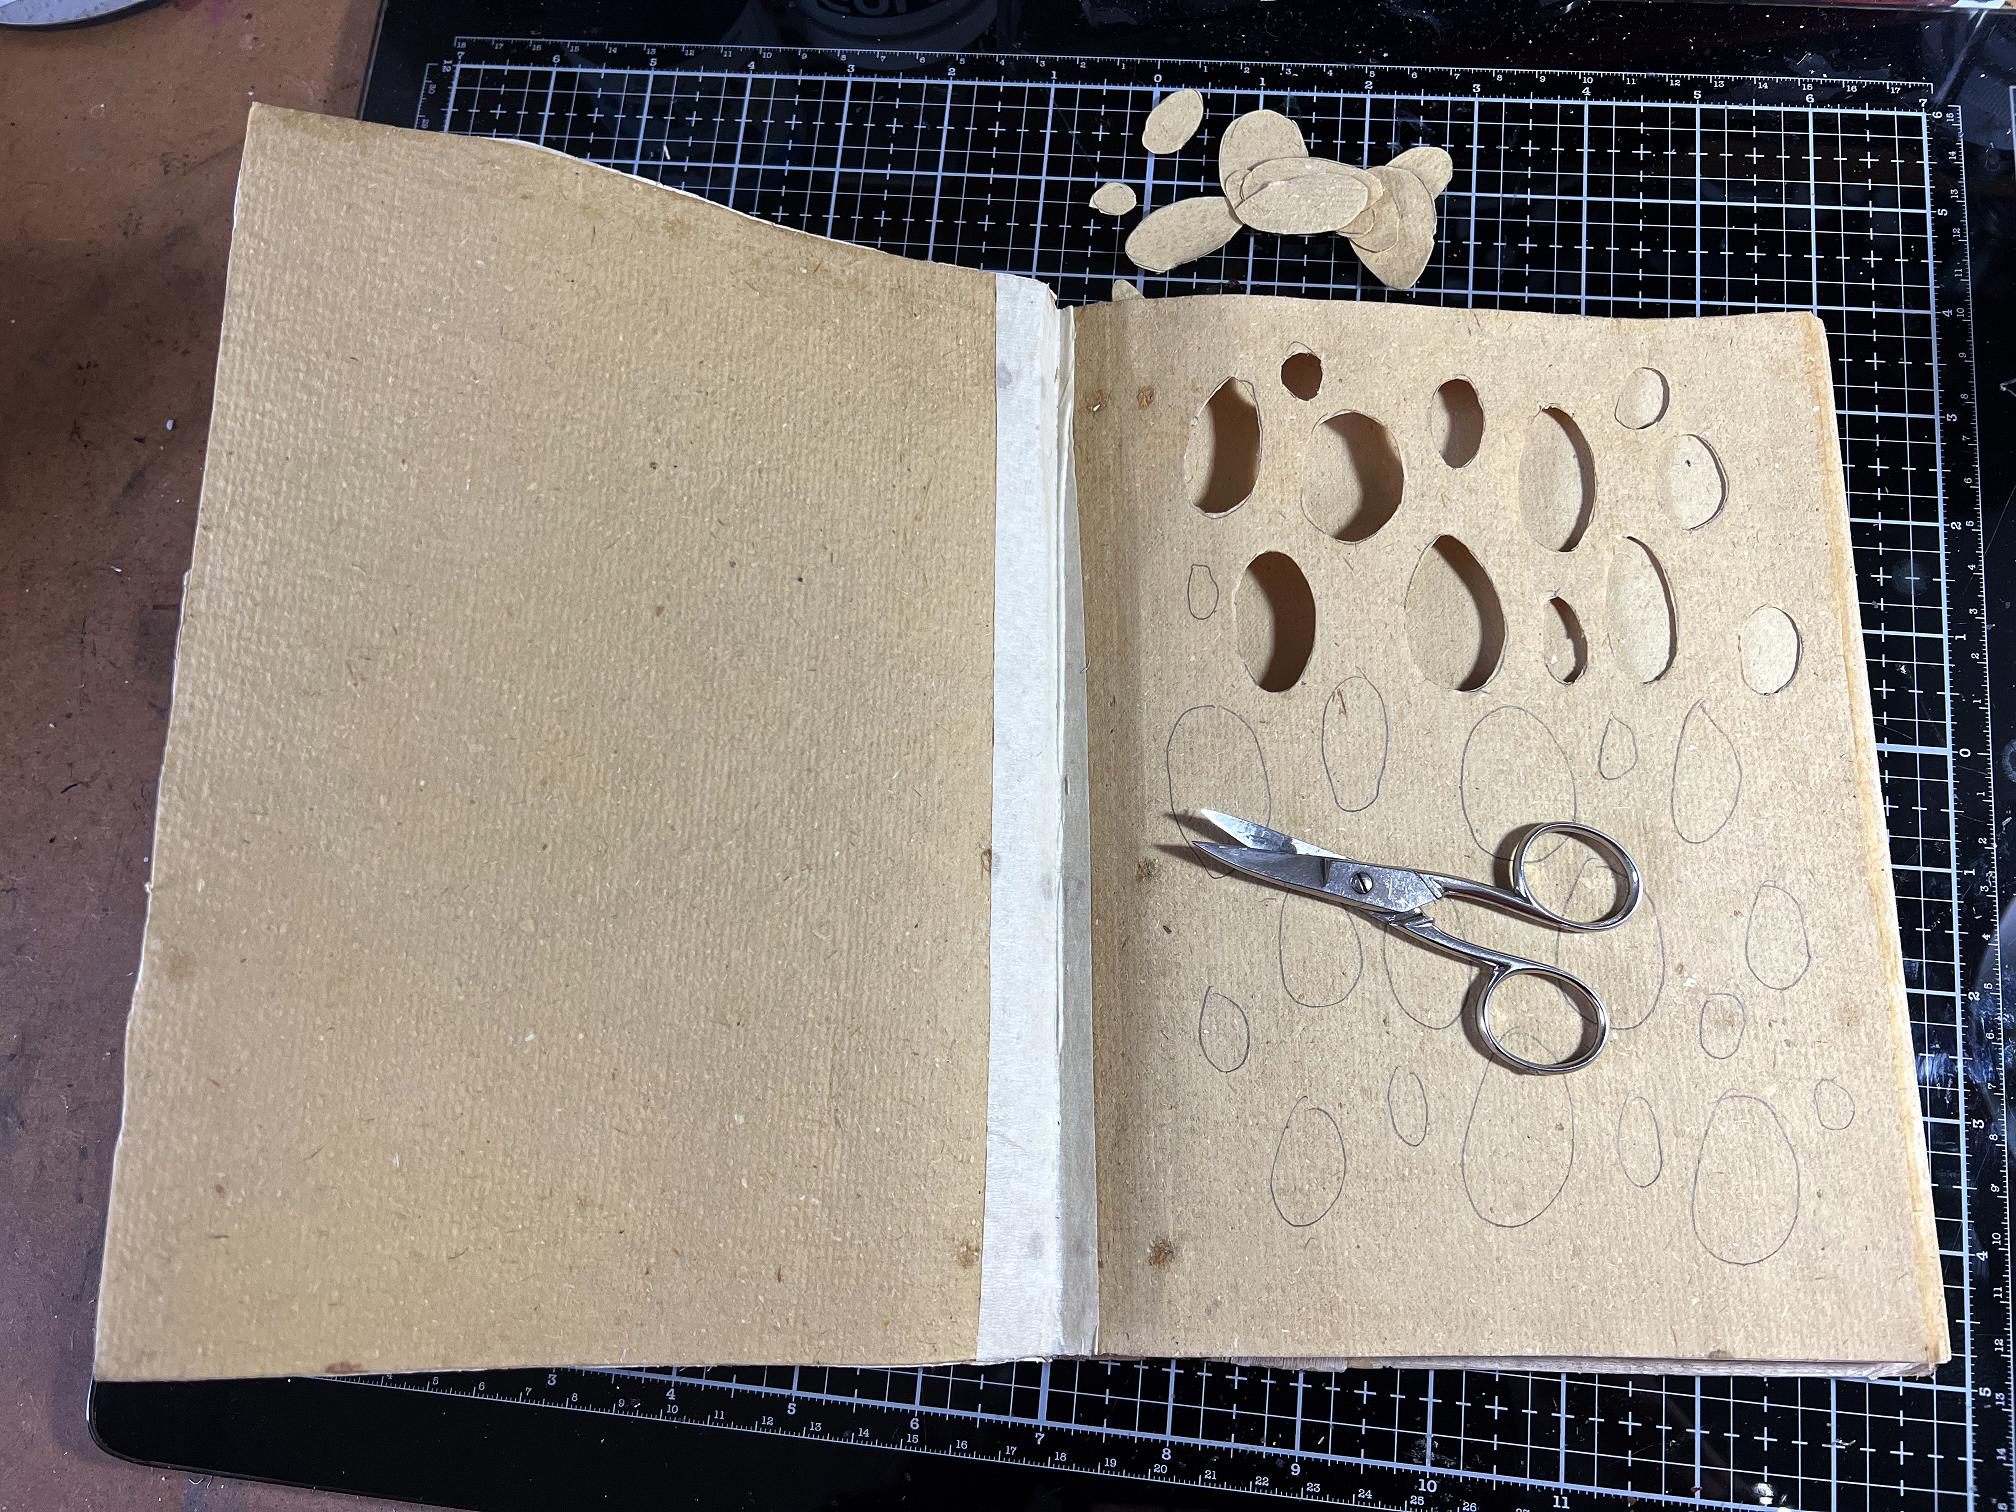
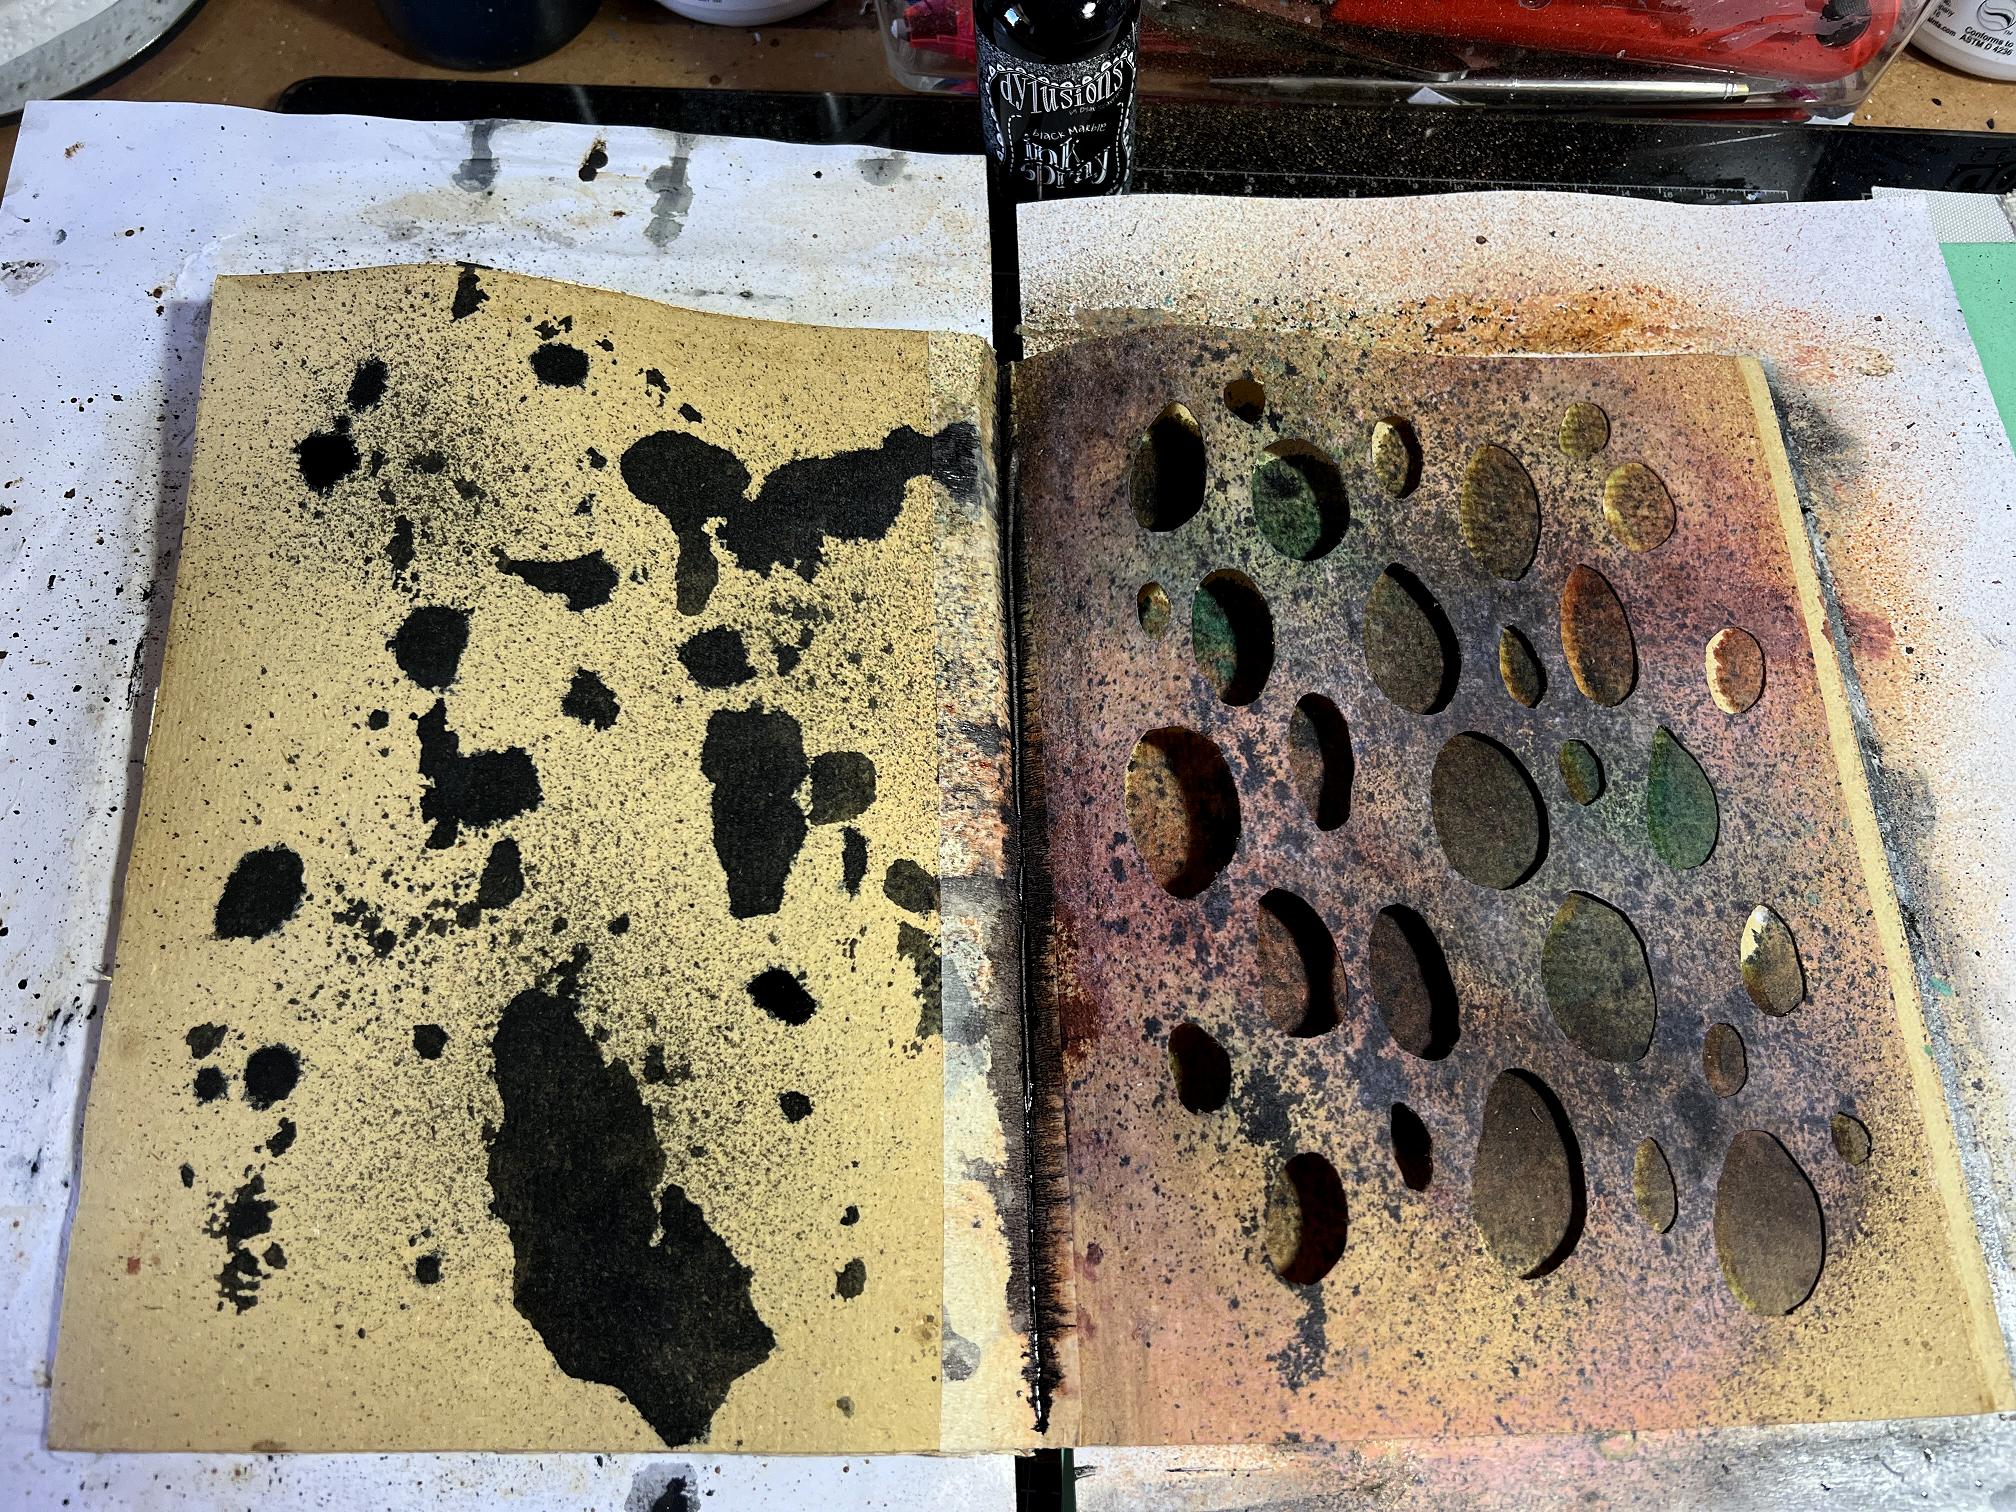
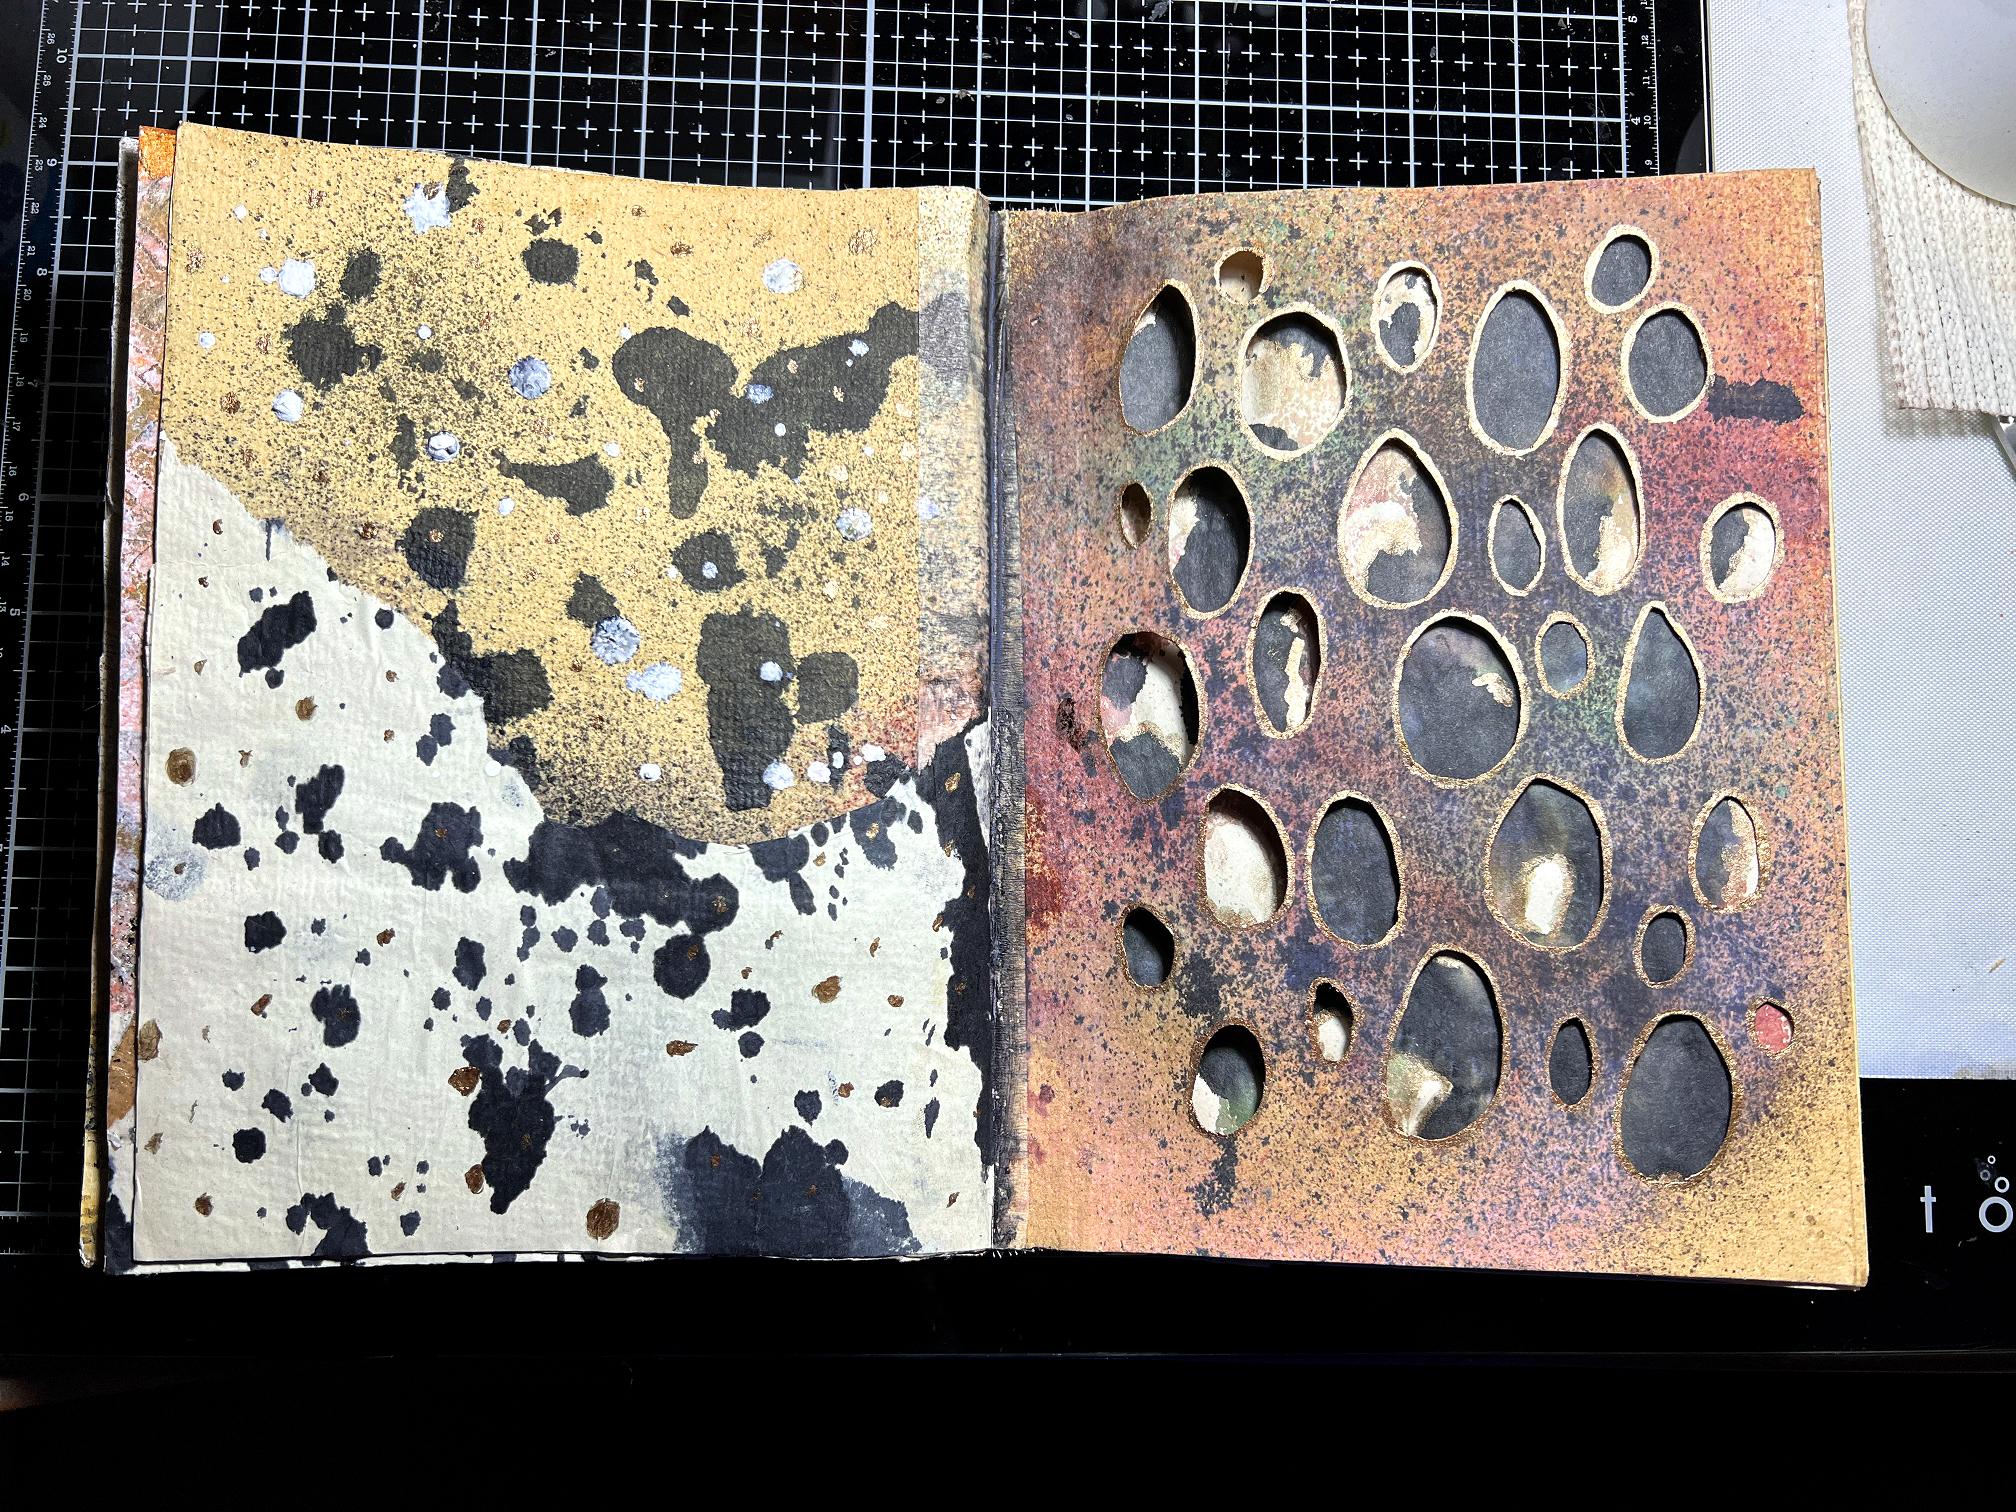
Last night I completed another page in my Organic Journal. I had been thinking of experimenting with cutting holes in the pages, and then this morning I saw Robyn McClendon doing just that! I couldn’t wait to get going on it.
When I started this page spread, I was coming to the end of the pages I’d prepared in advance in this book. The pages are made of fairly flimsy hand-made paper, so I stuck quite a few of them together in pairs and sealed them, sometimes with clear gesso and sometimes with an acrylic polymer. With this project, I started to move into the untreated pages with some interesting results. The first spread, though, is treated and robust.
With a pencil, I mapped out the ovals where I wanted them and then used some fine scissors with curved blades to cut them out.
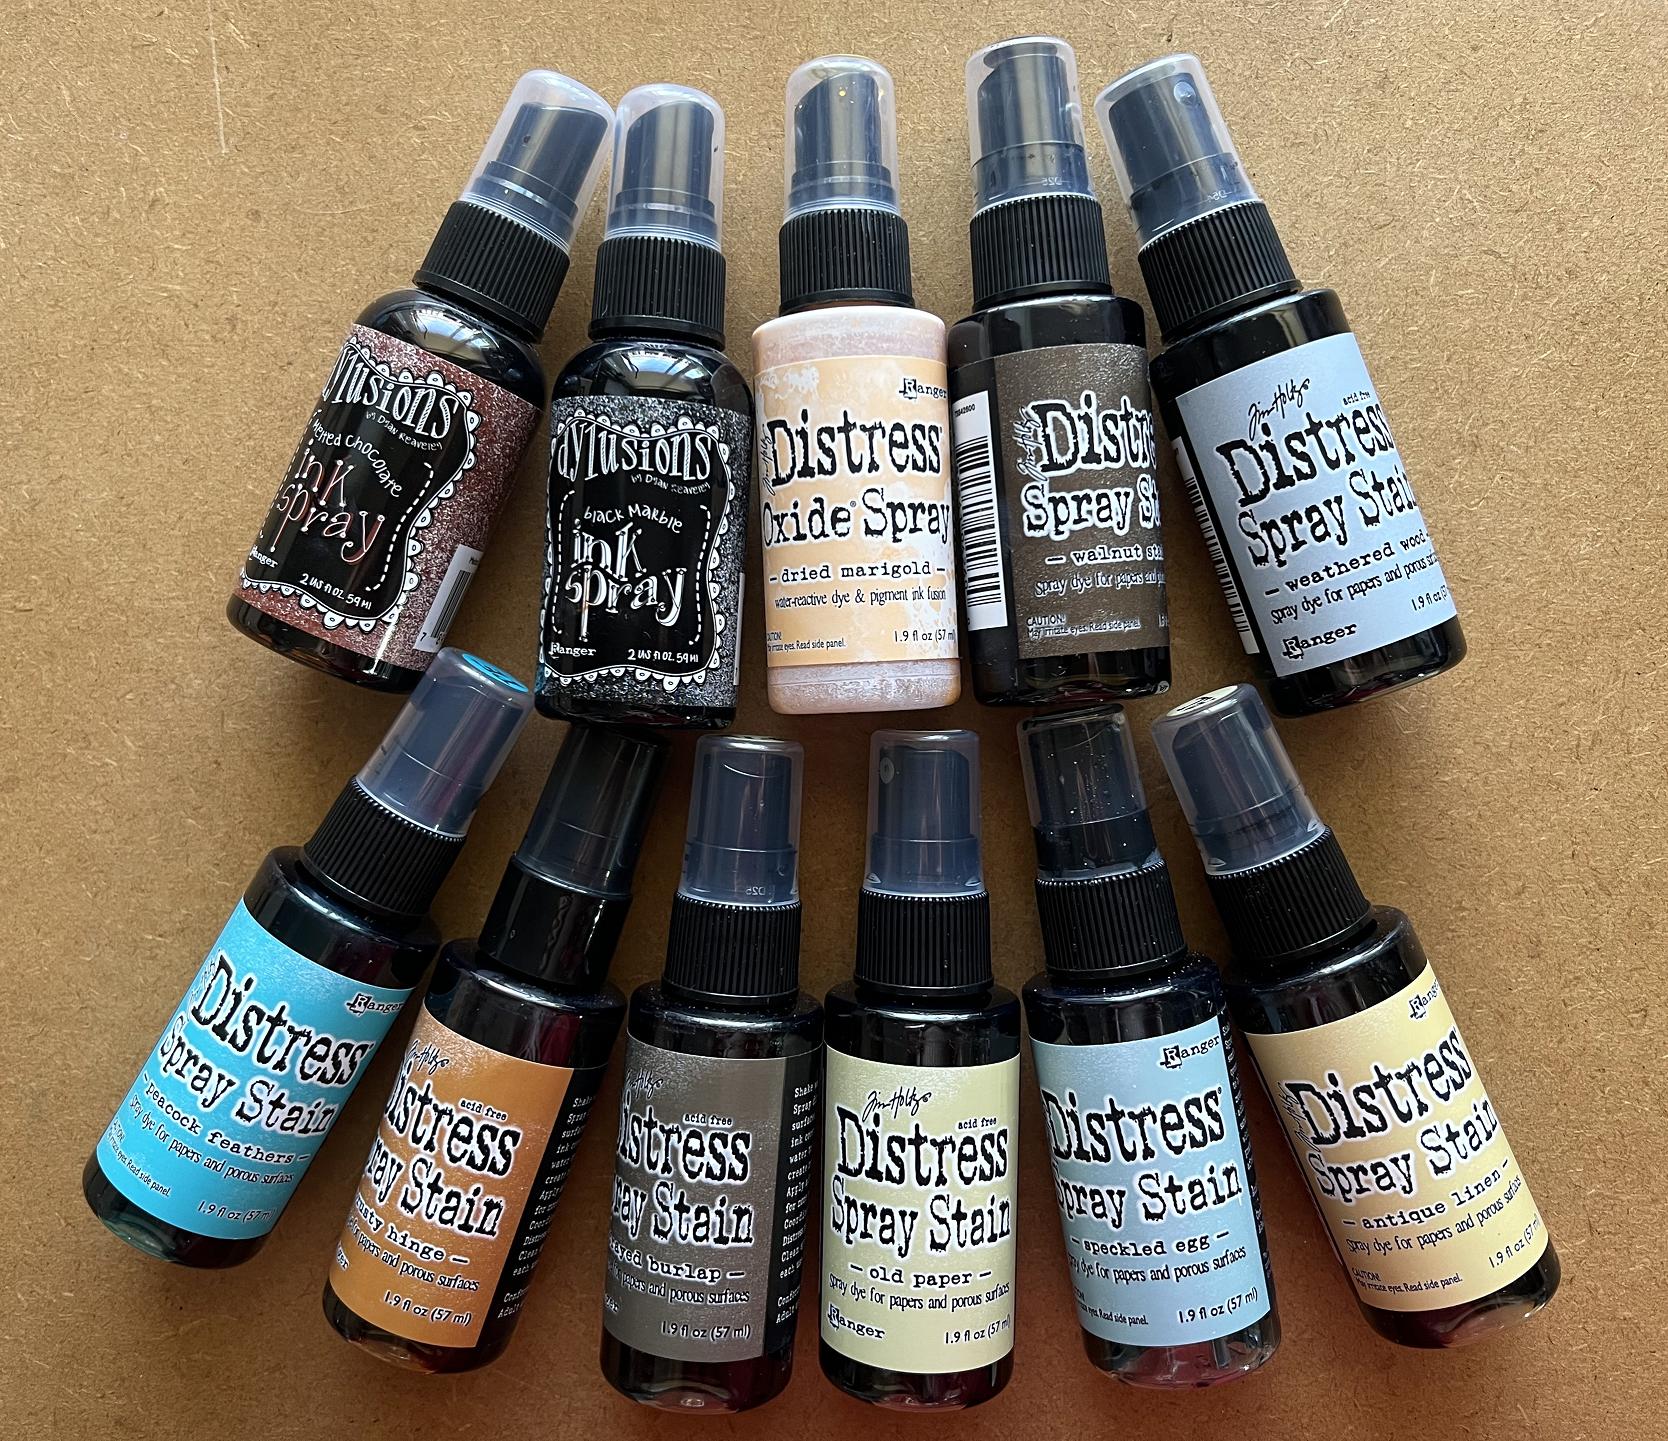
This project does not involve any gel prints, but relies almost exclusively on spraying and spattering with ink. I used a selection of Tim Holtz Distress Spray Stains and a couple of Dylusions spray inks. While I kept the overall palette to the browns I decided upon for the whole album, I did introduce a couple of other colours in this page but they are just little accents and do not affect the overall feel of the page.
I began by spraying the page with the cut out ovals, allowing the spray to penetrate through the holes onto the page underneath.
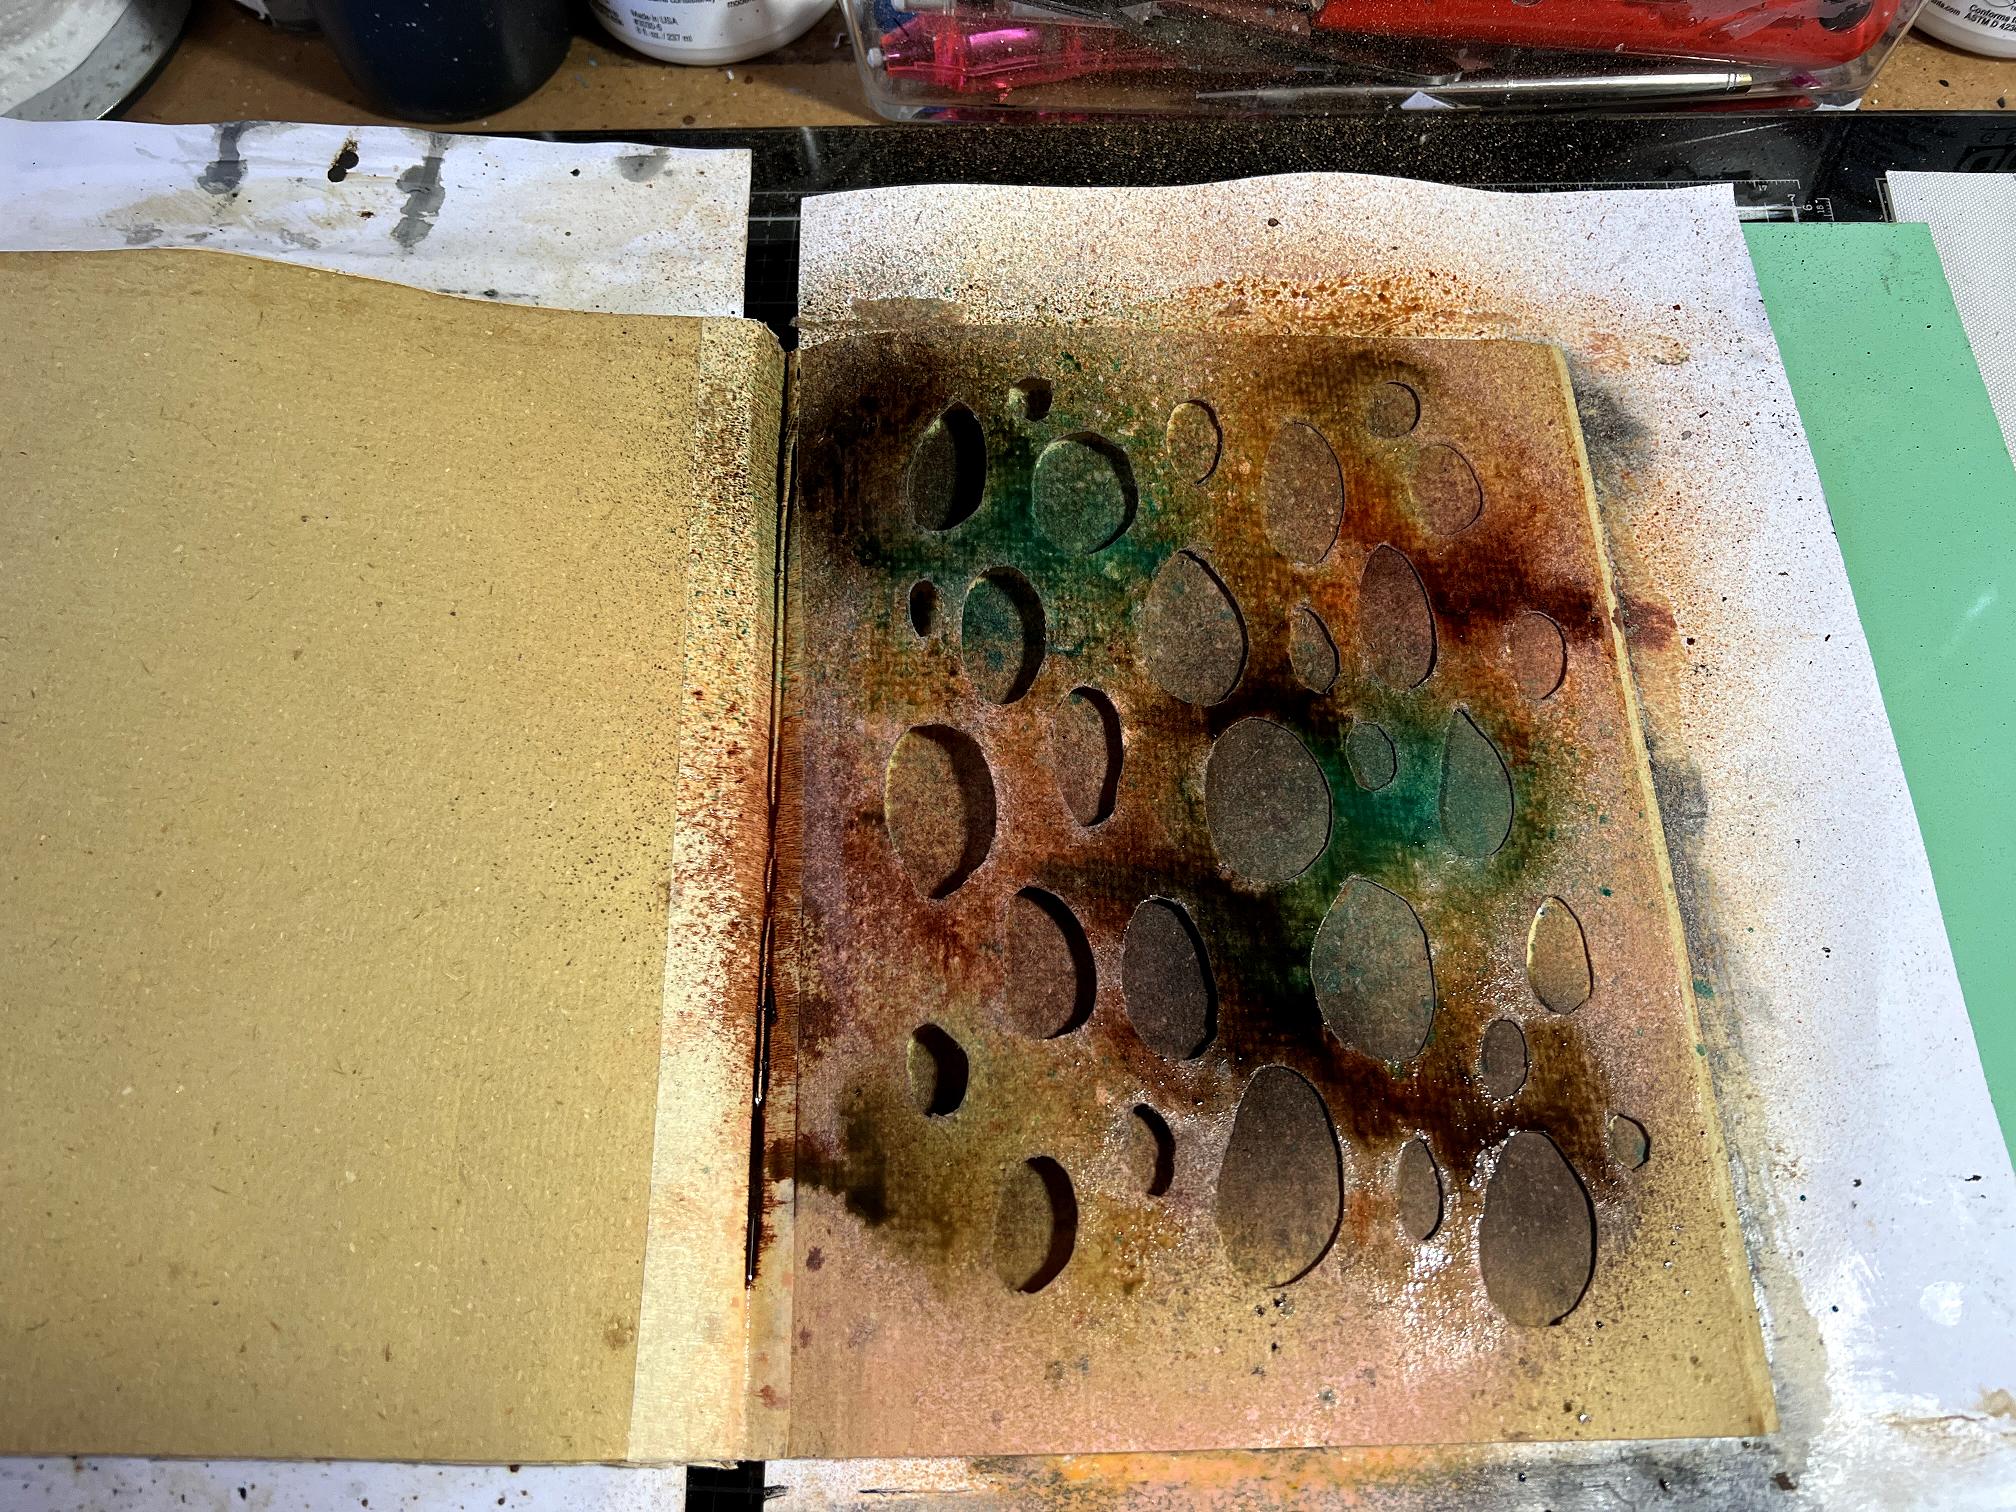
I blotted off the excess ink onto a separate sheet.
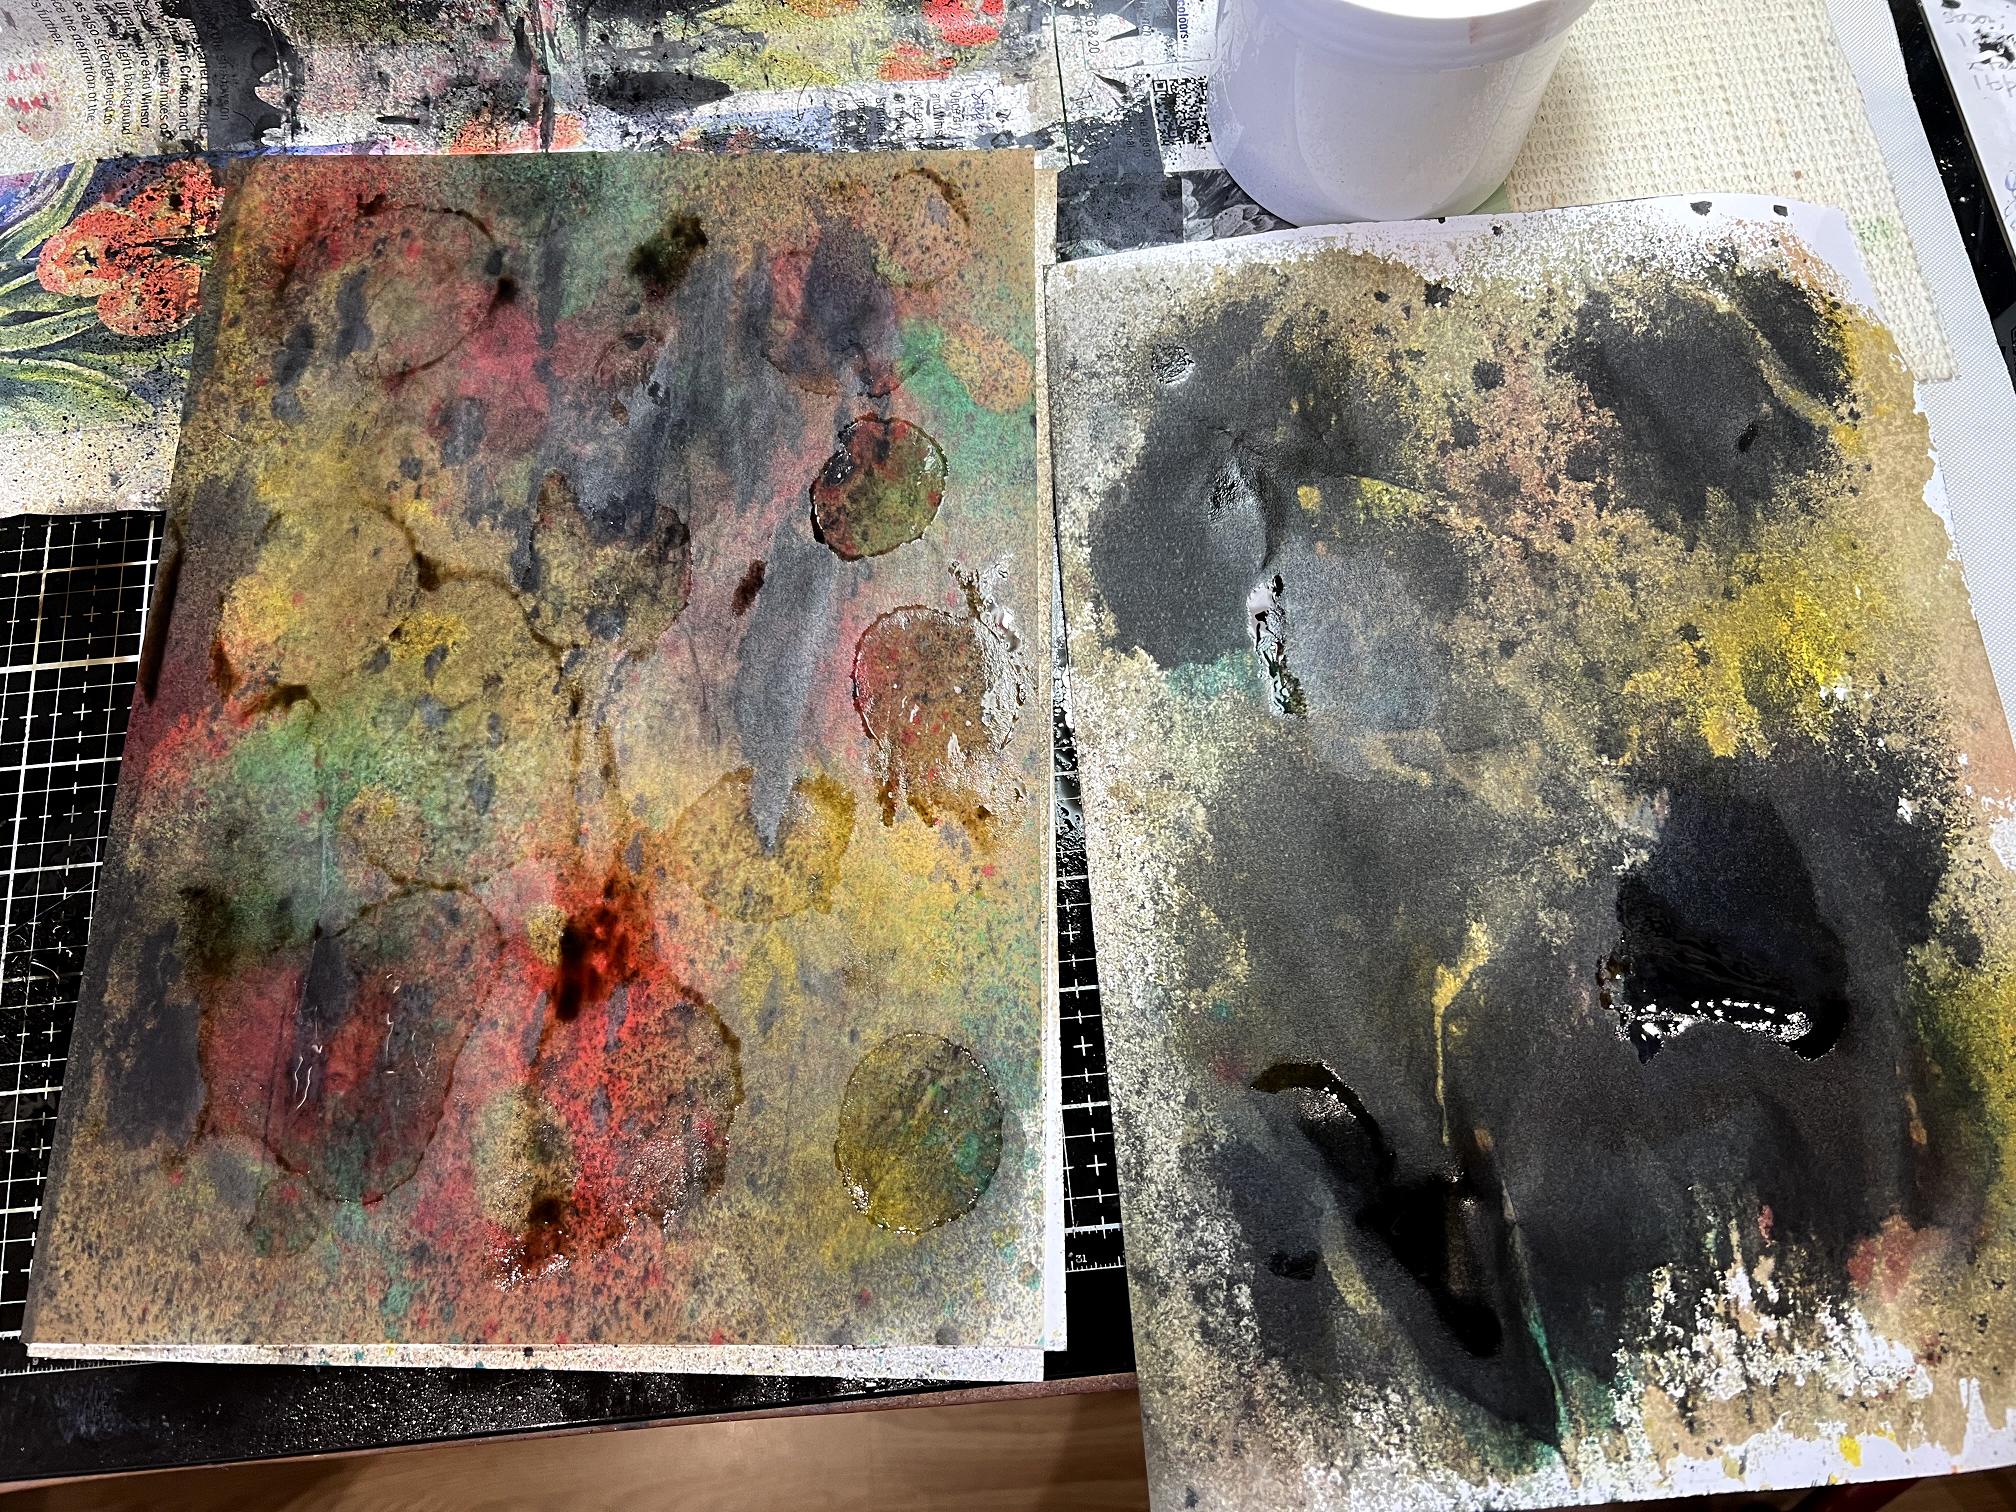
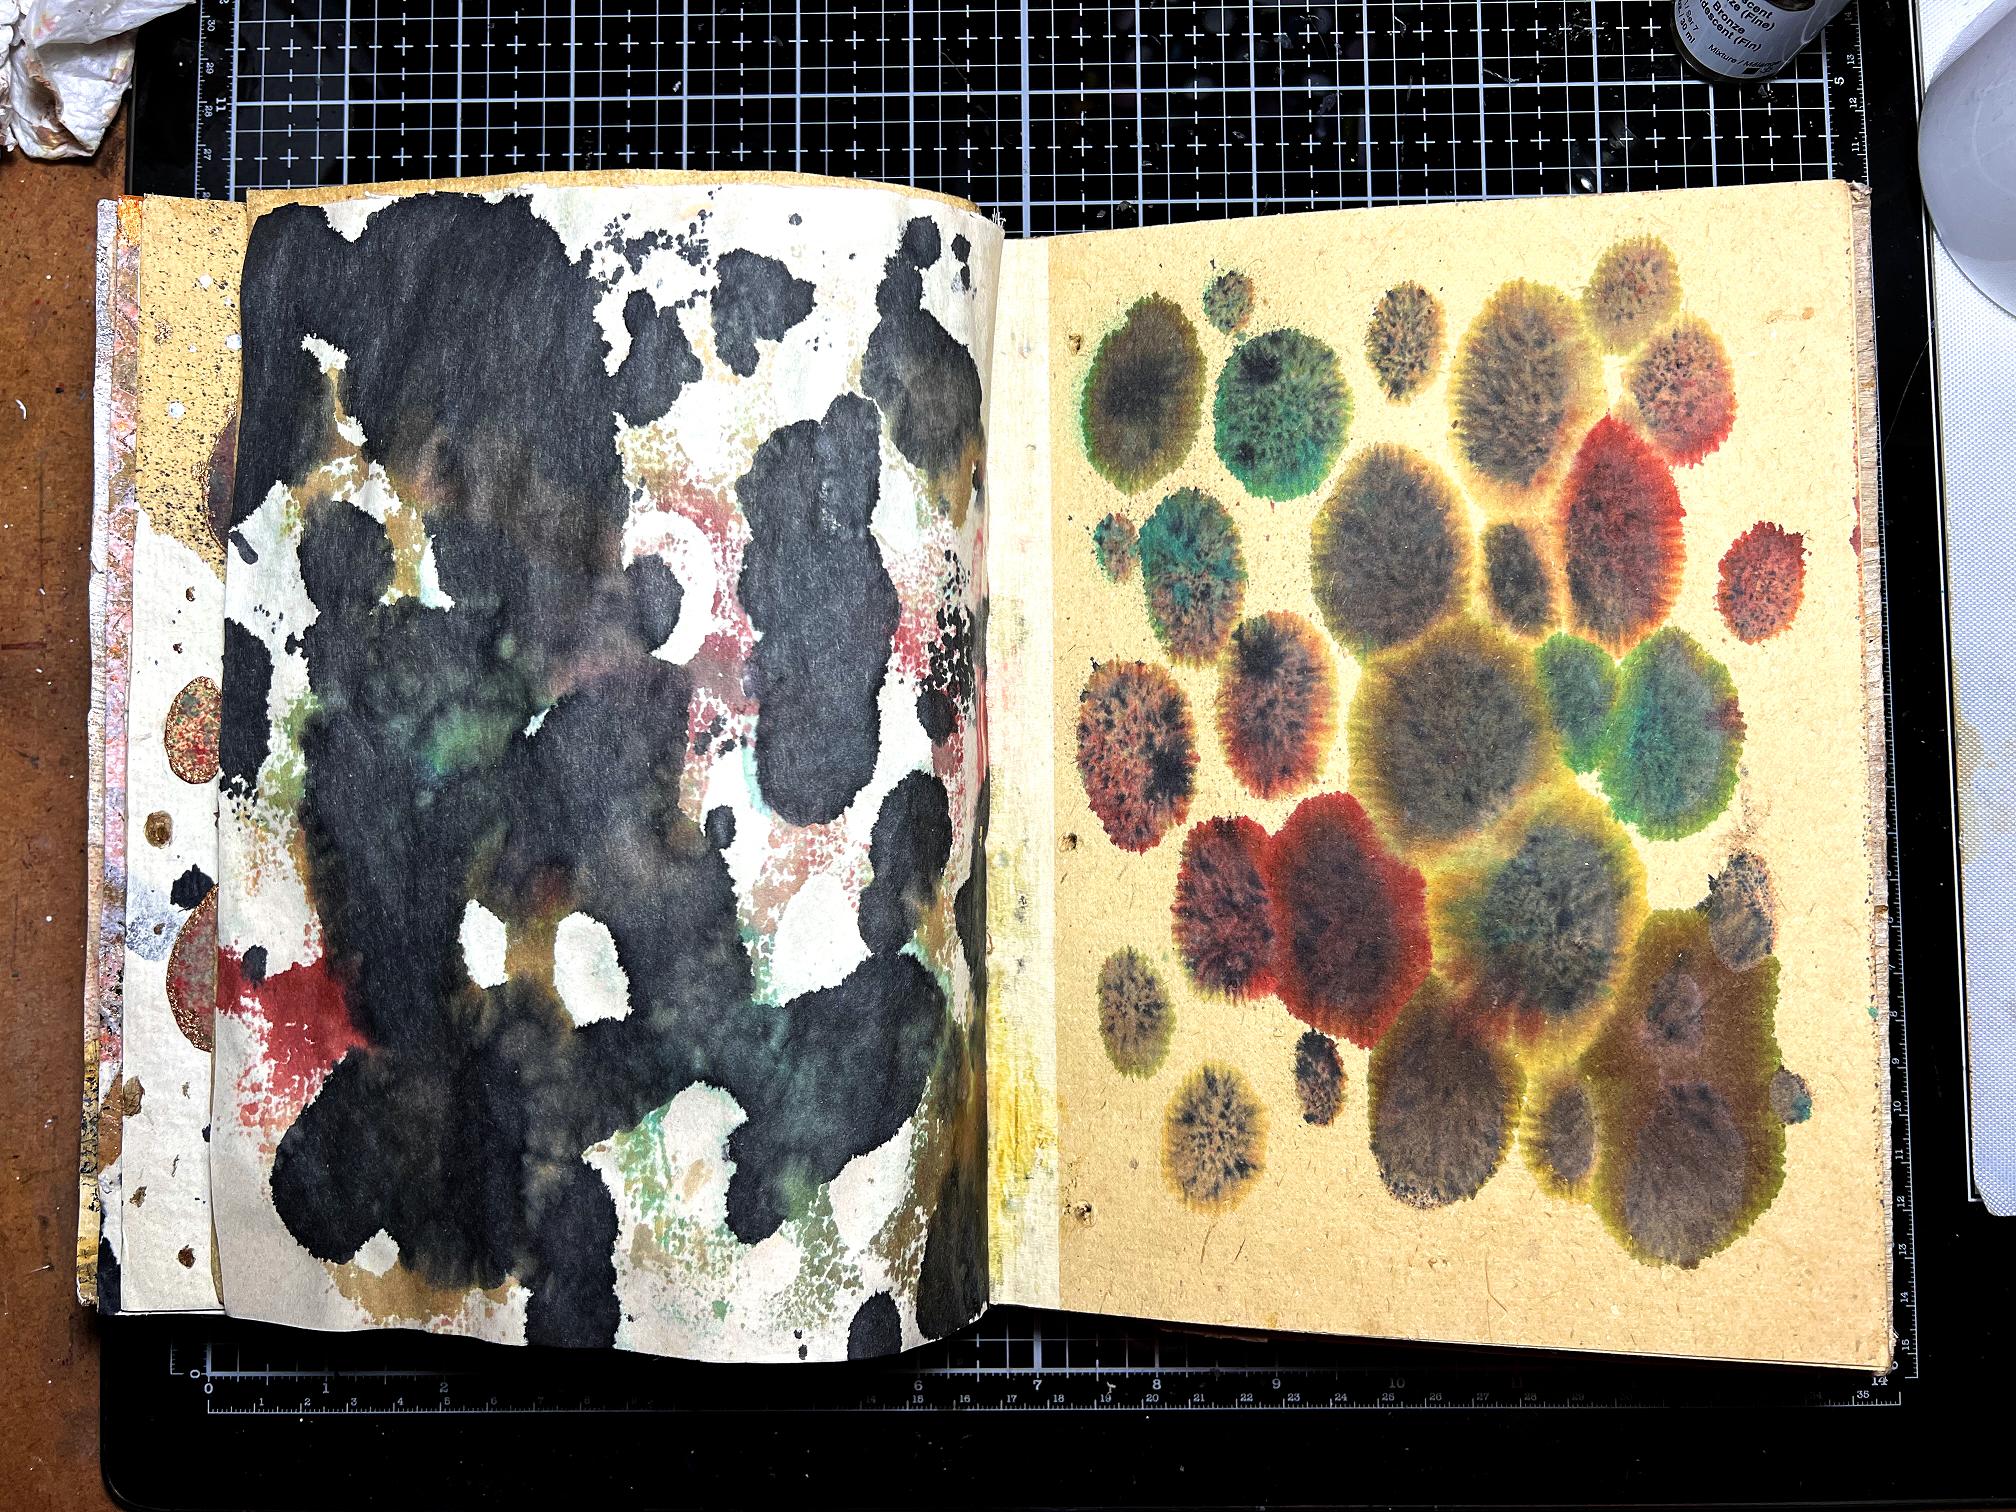
Turning the page, you can see that the ink has bled quite a bit, both on the backs of the holes and also onto the next page, which is the first of the untreated pages. I have yet to decide what to do with these pages subsequent to the spread I was working on.
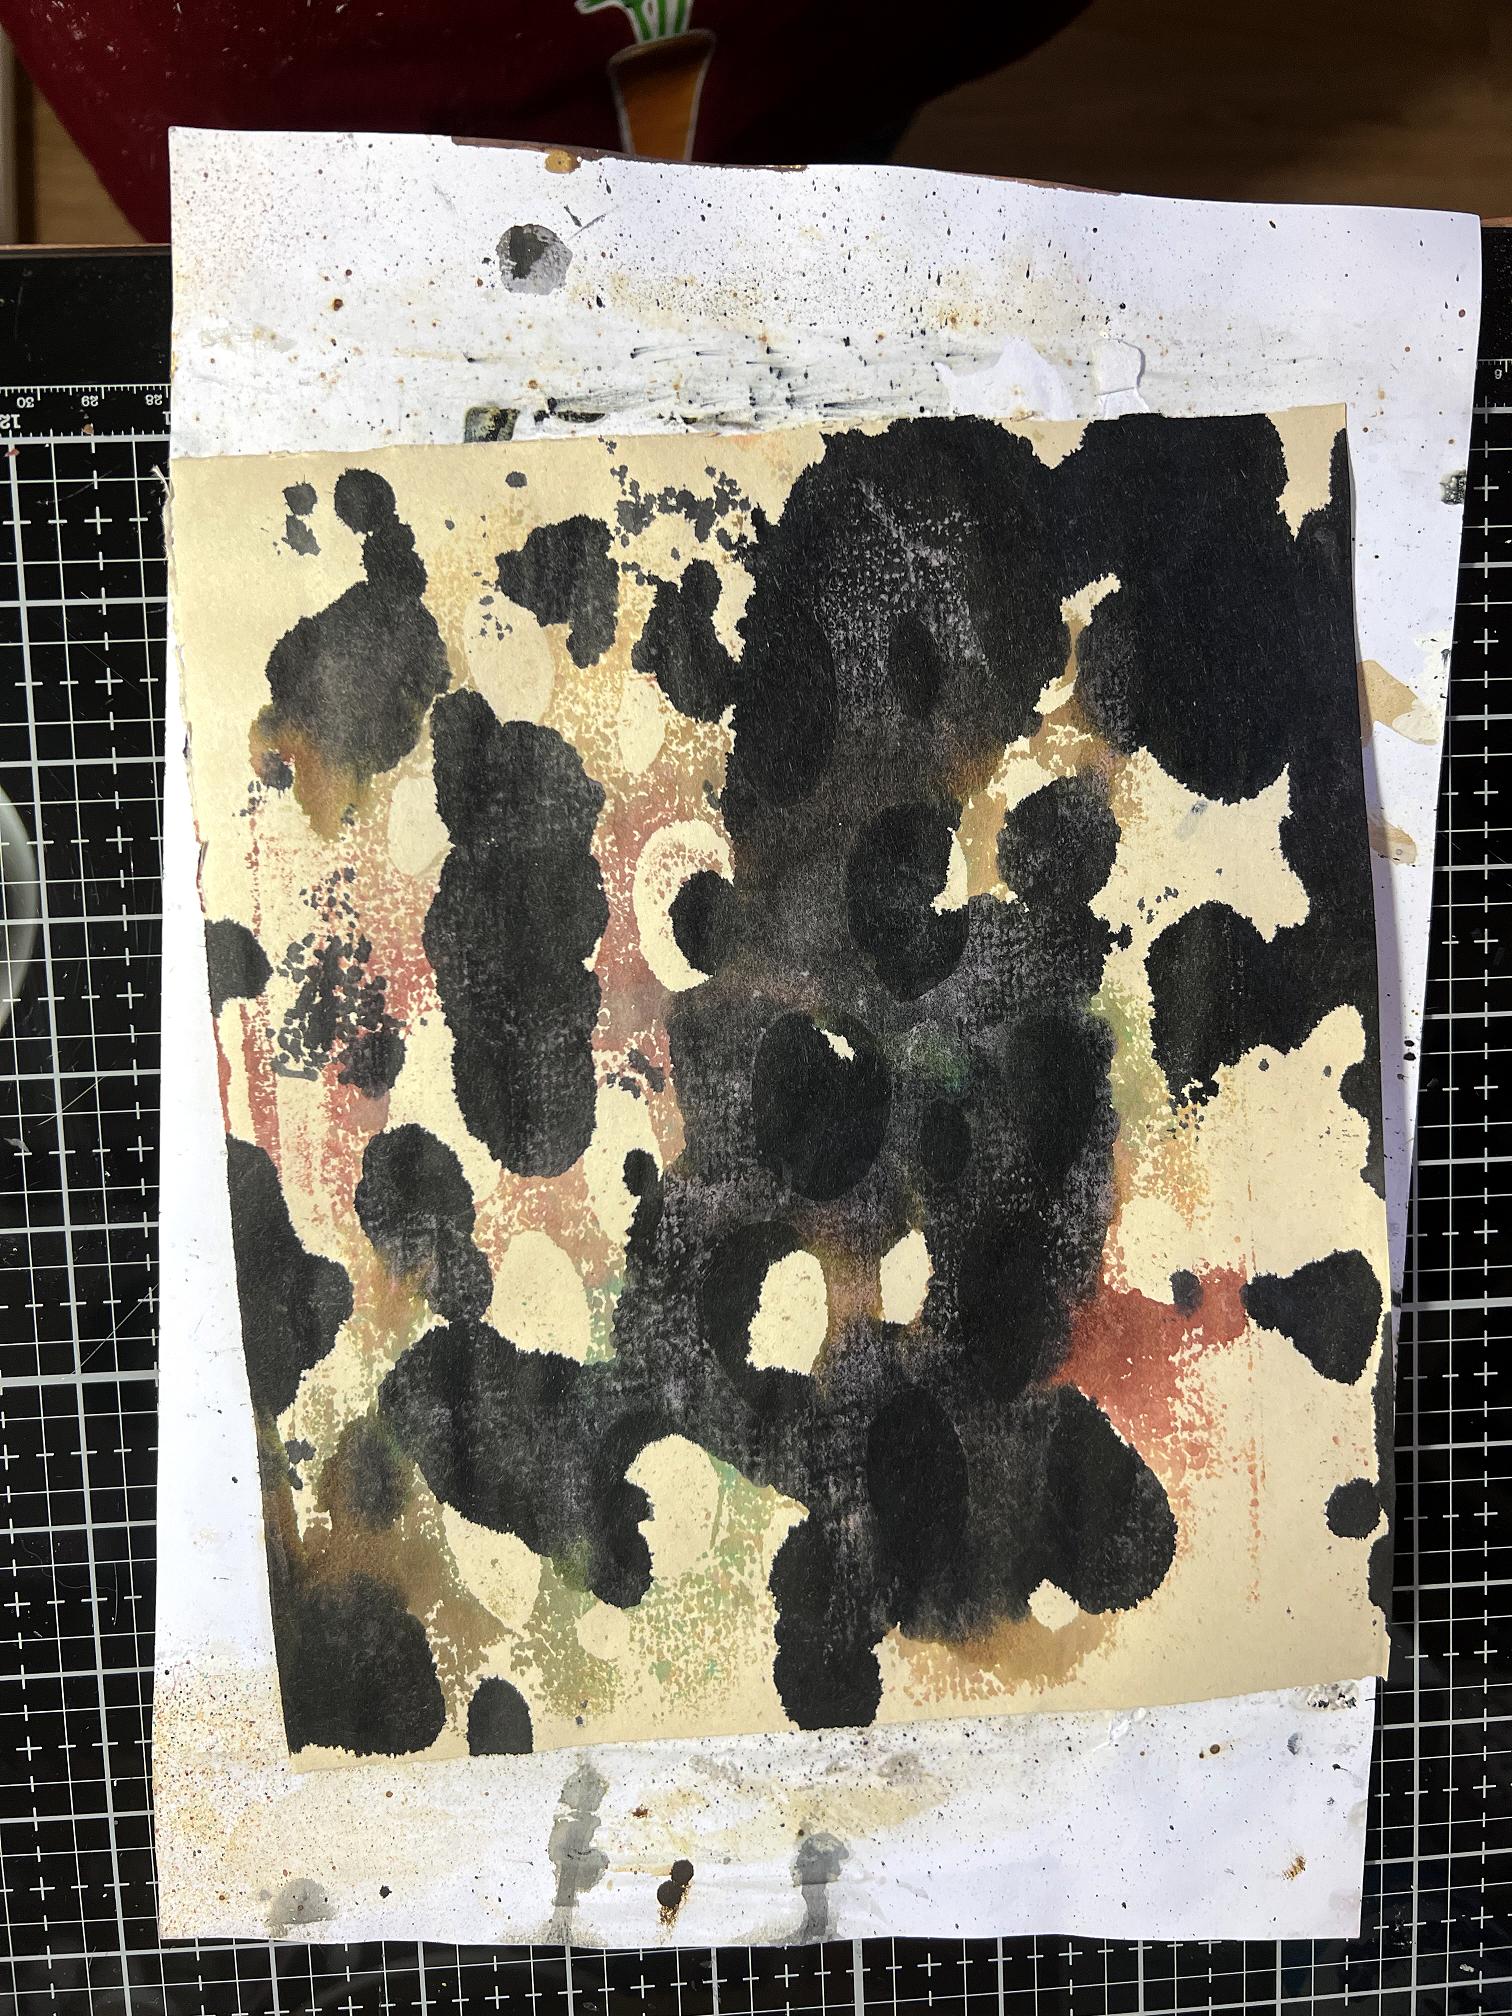
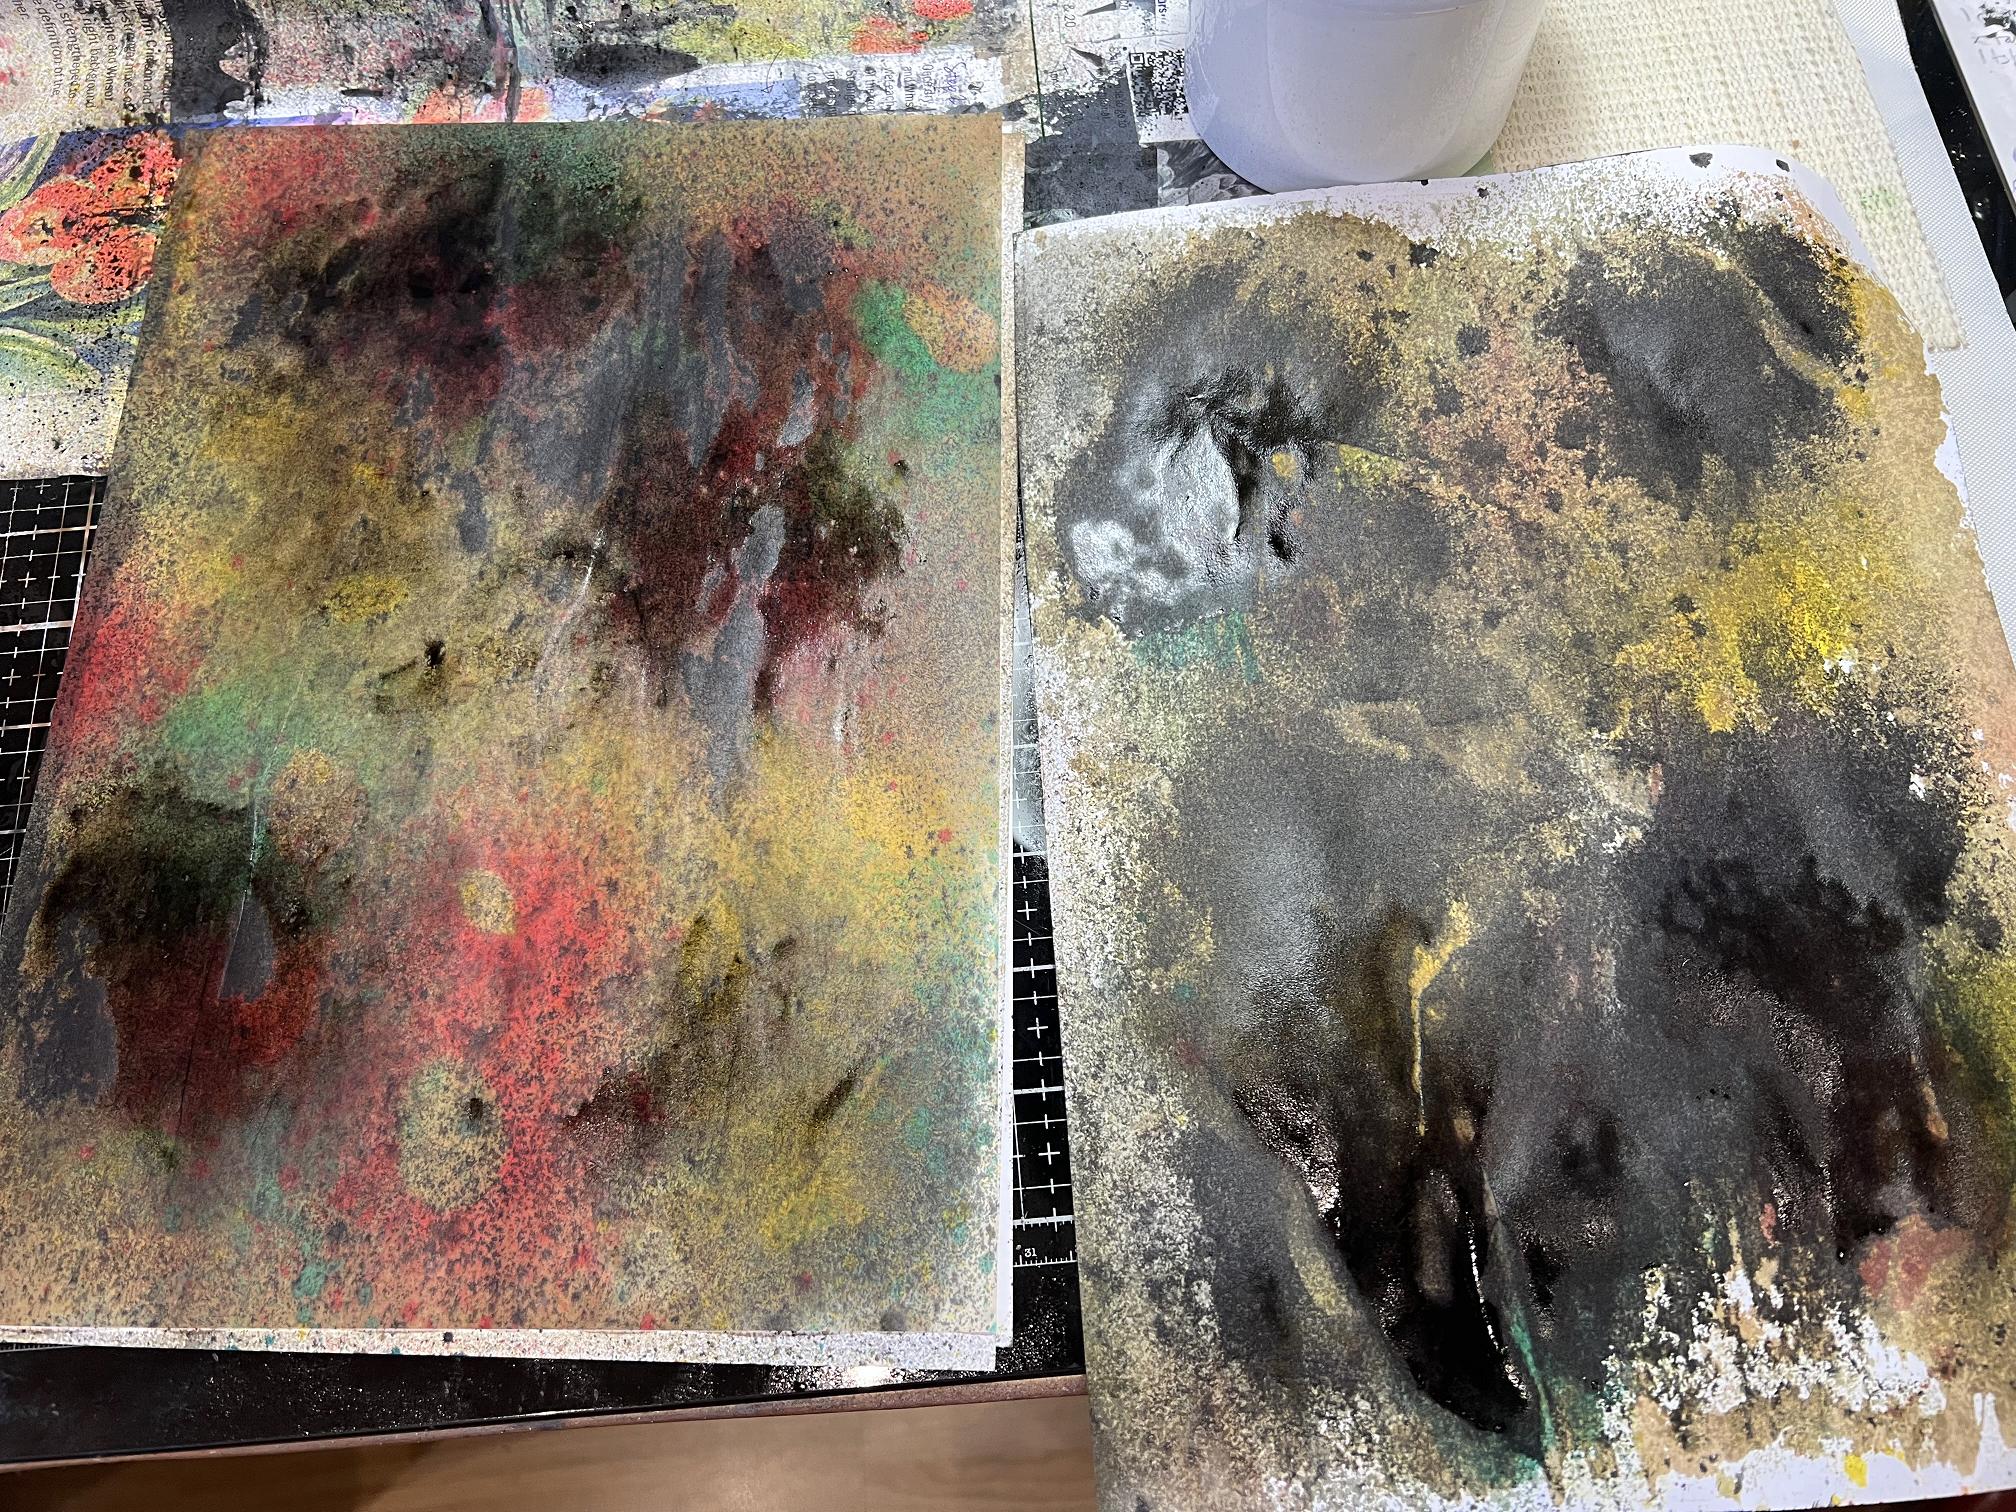
I began work on the left hand page by adding black ink blots onto the paper. I used a plastic pipette for this.
I took the original blot off sheet and used it to blot off the excess black ink. This sheet was becoming more interesting! It is one of the papers that was between the acetate sheets I used to store my masks when I was cutting stencils and masks. It is quite flimsy and has a slightly shiny surface. It absorbs ink really well.
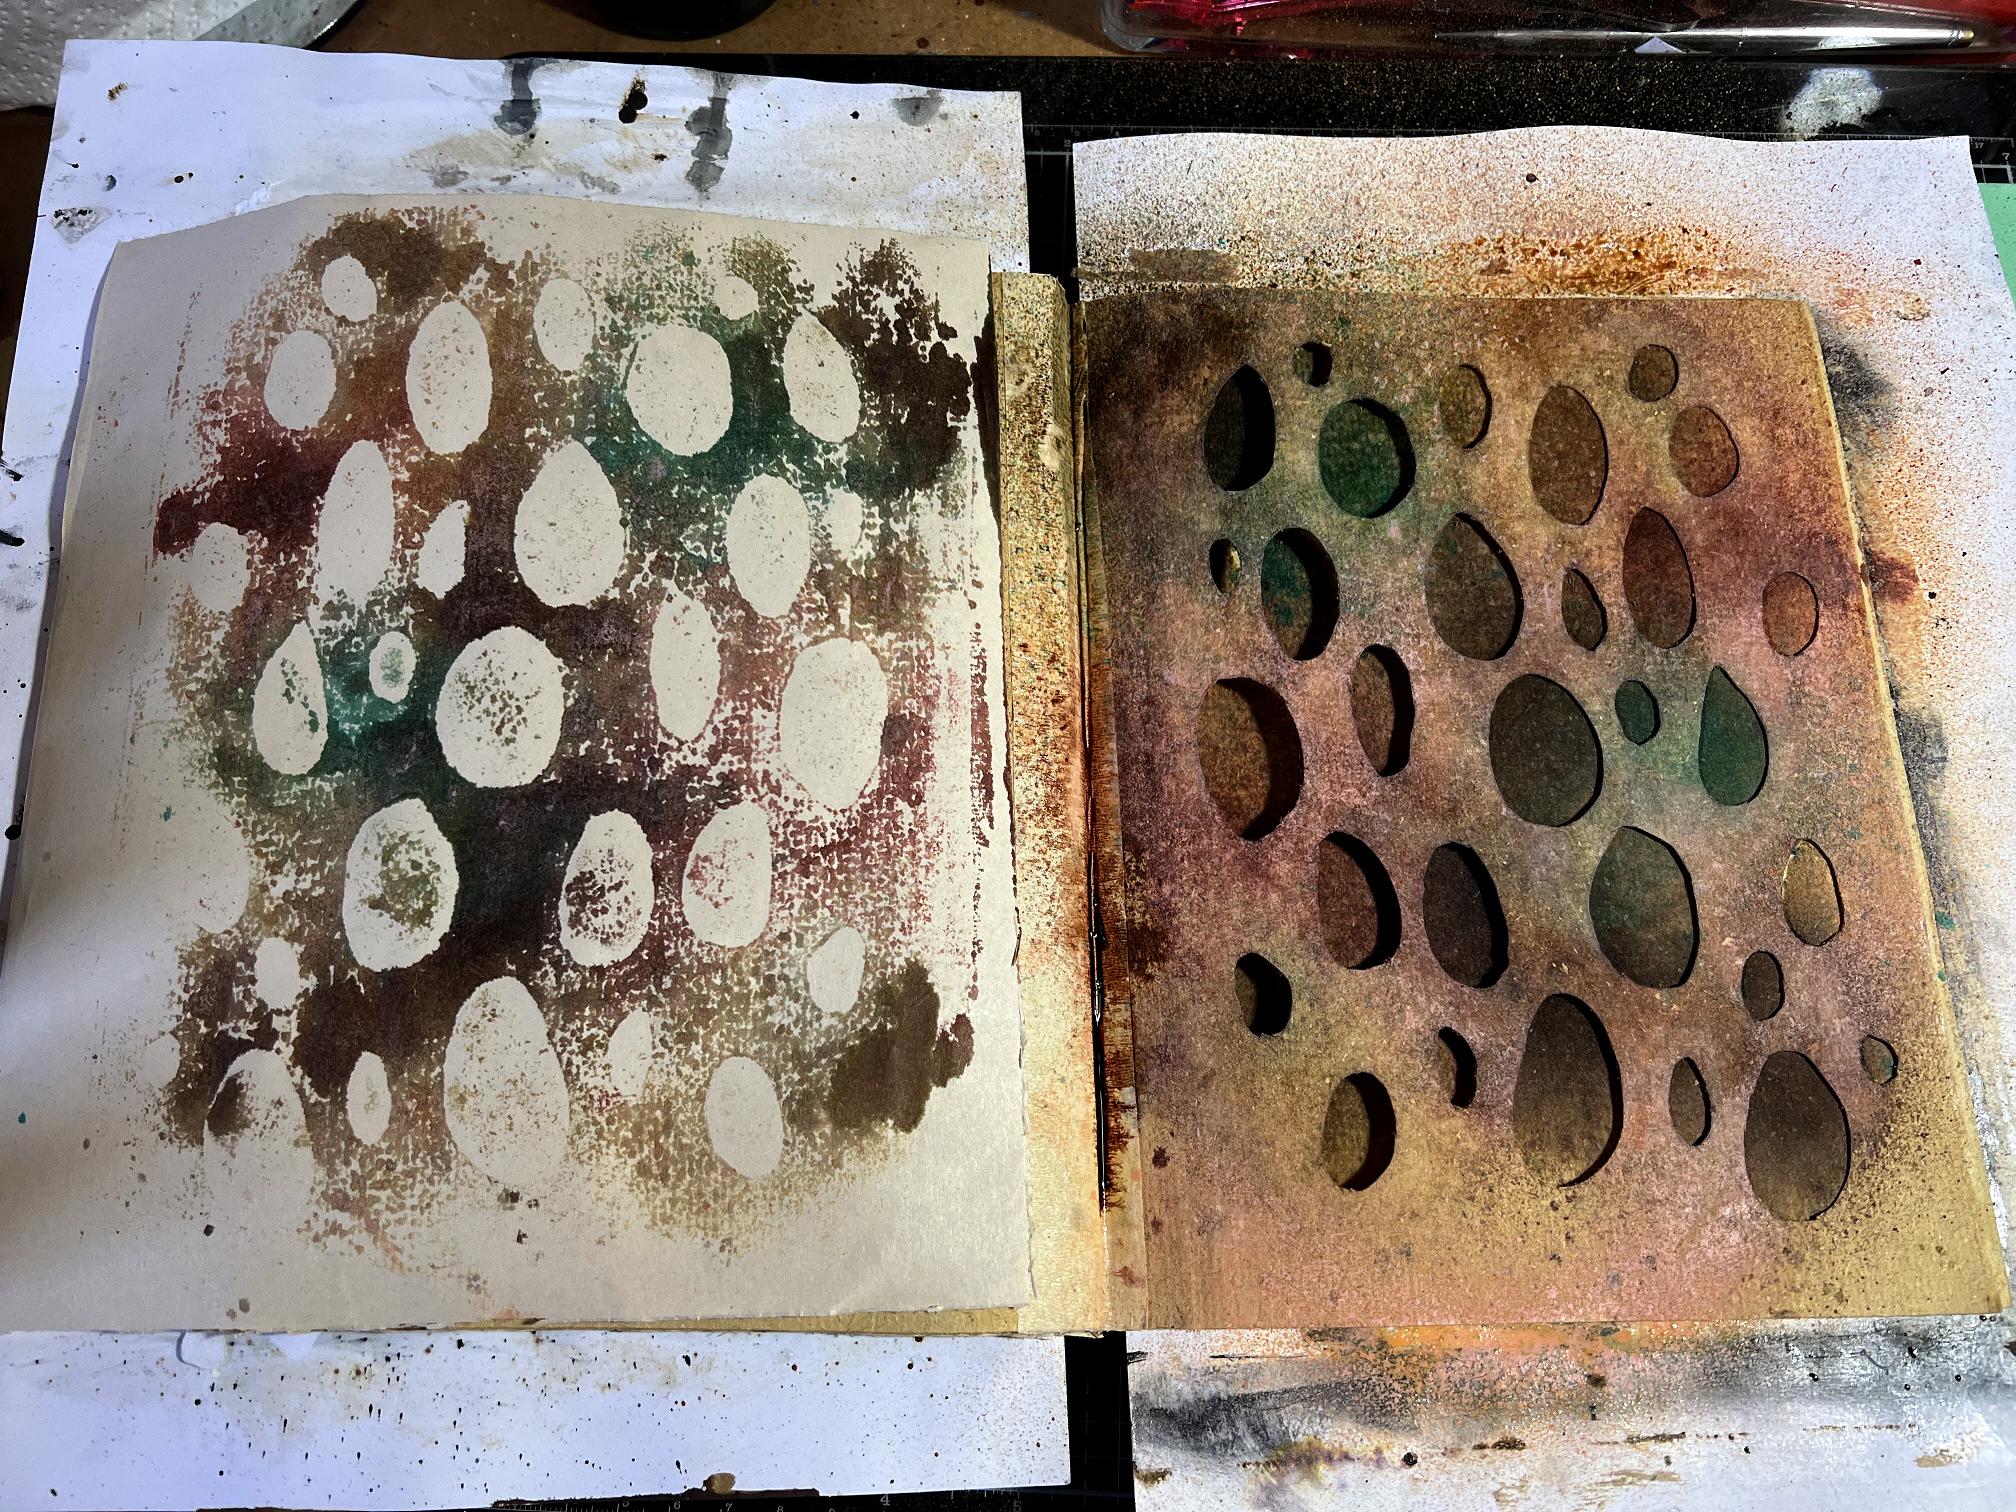
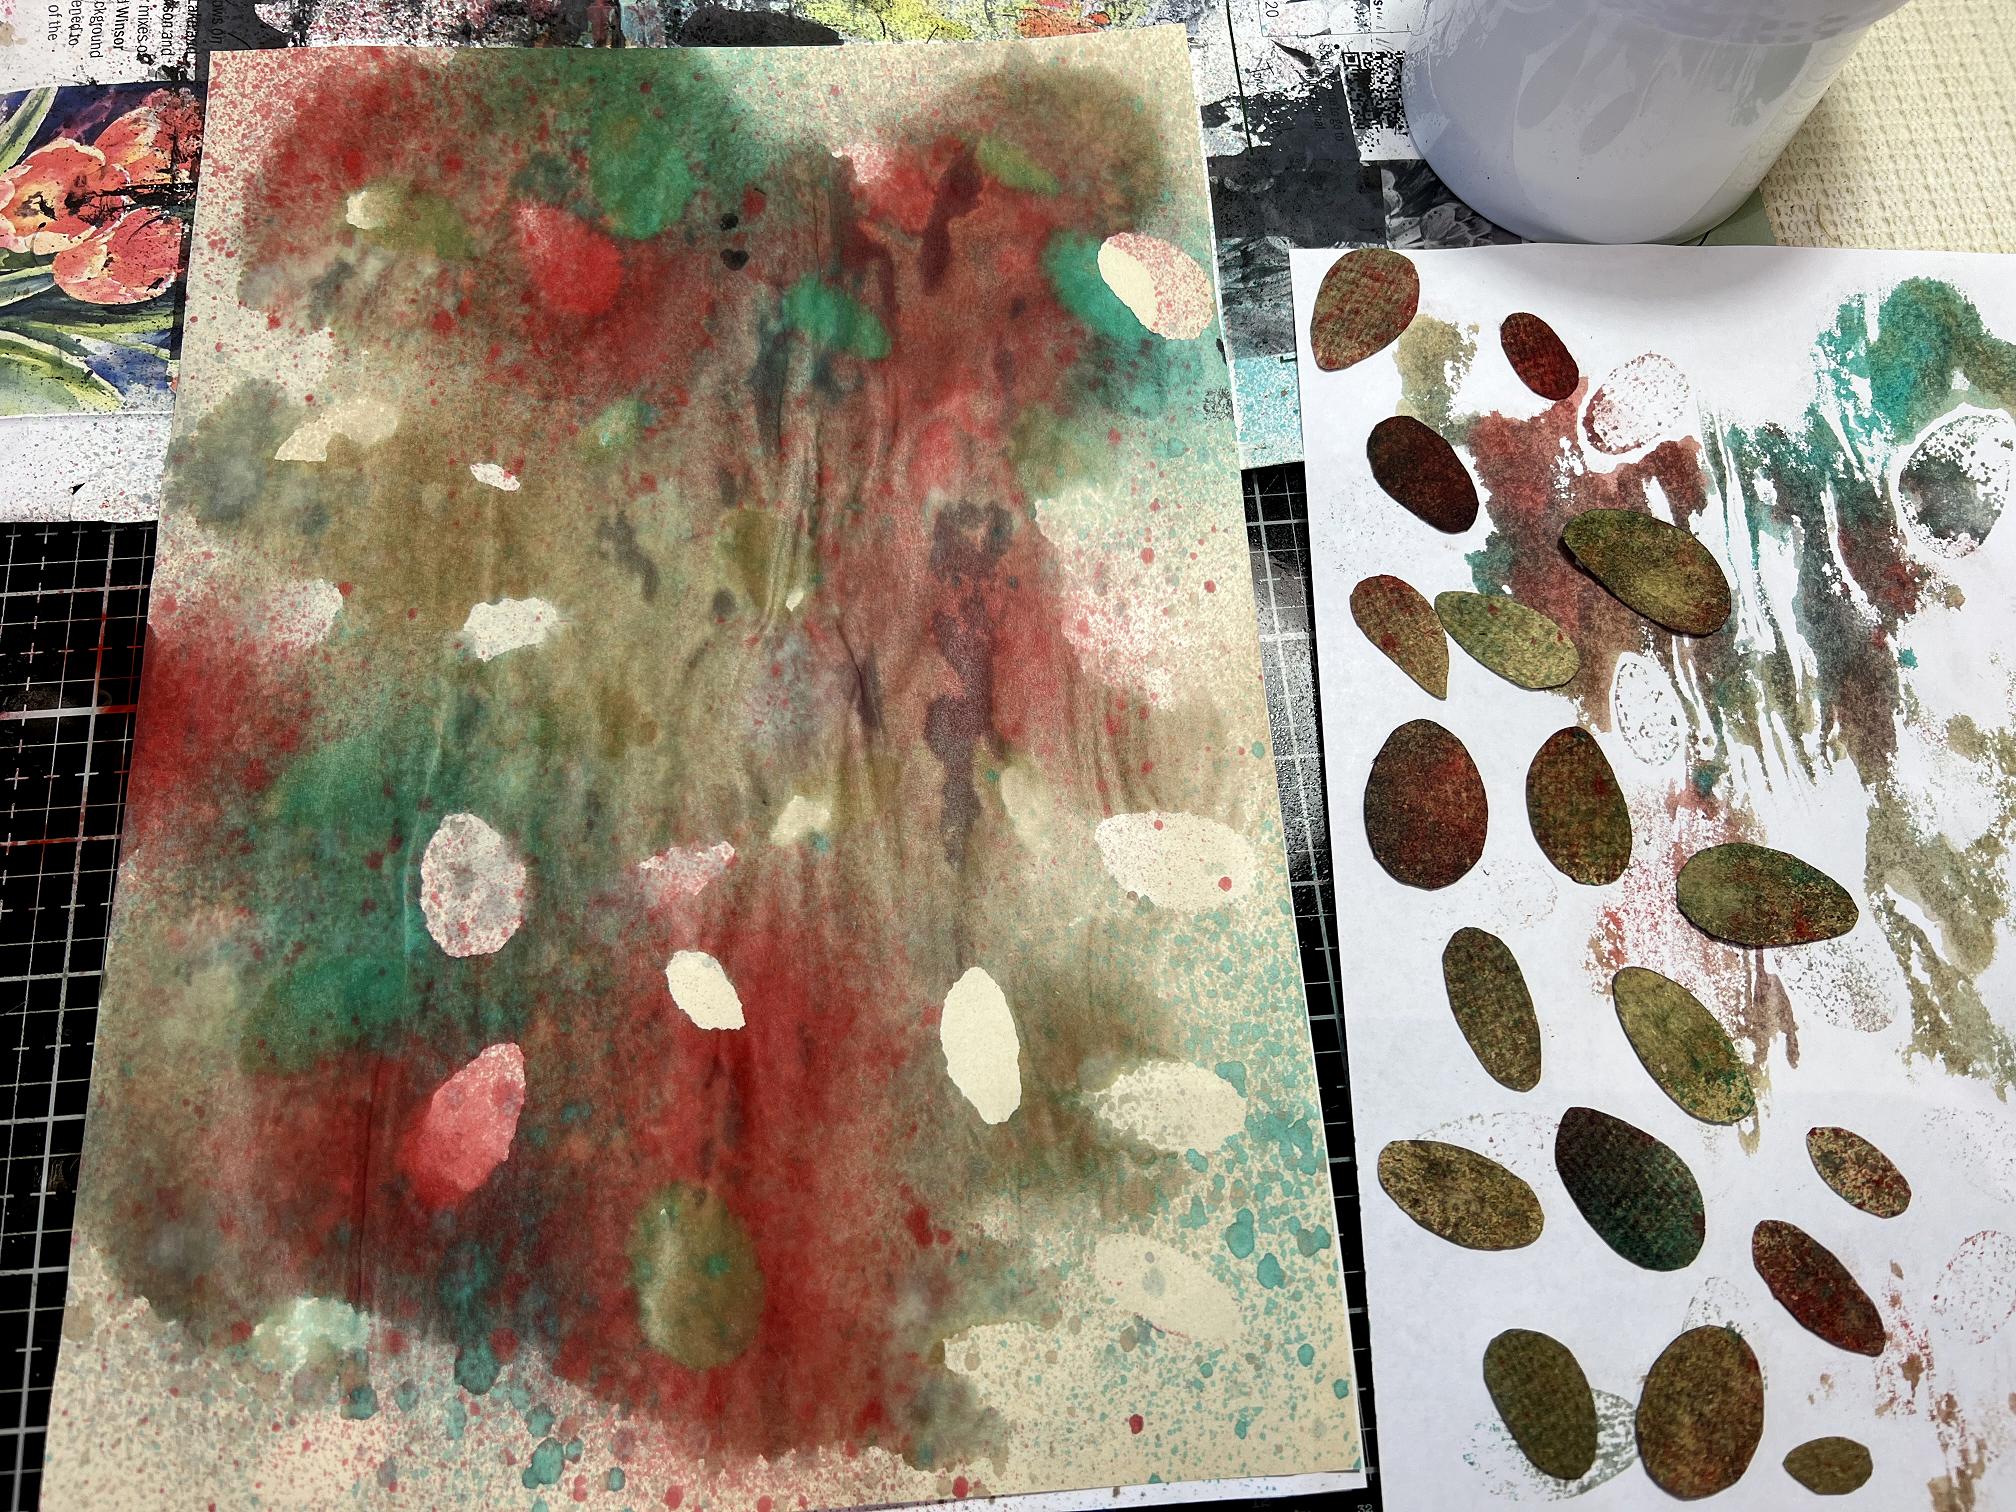
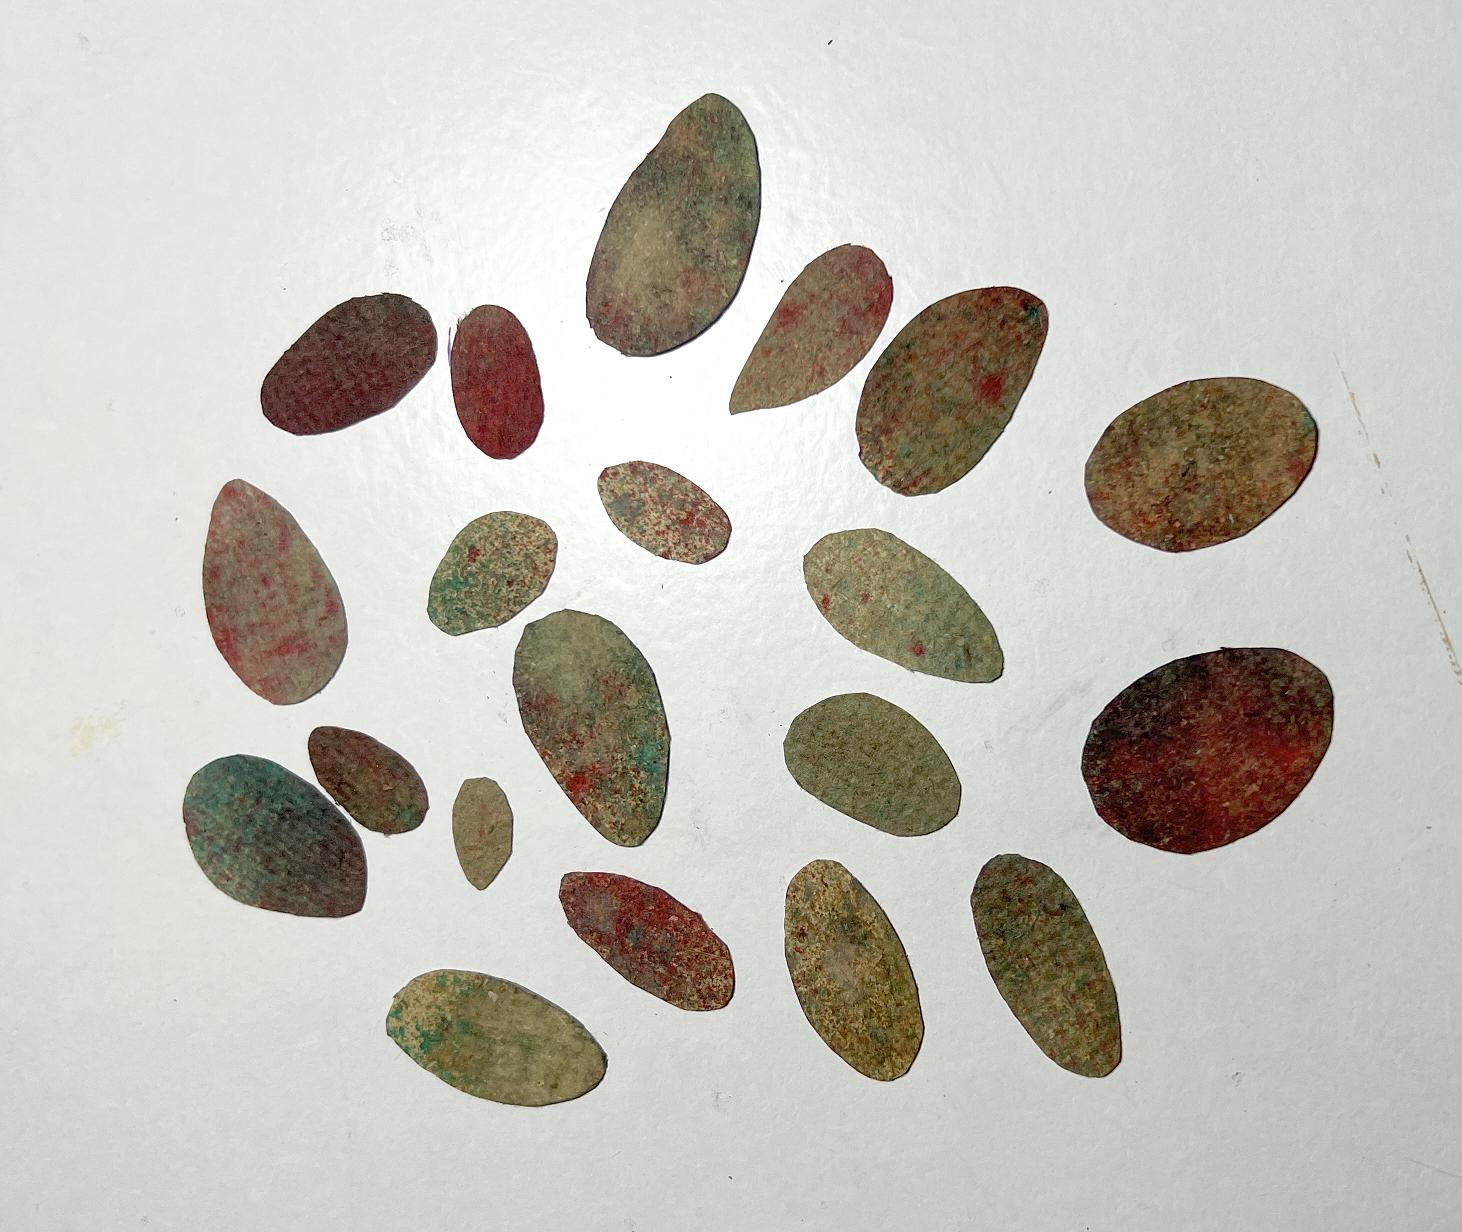
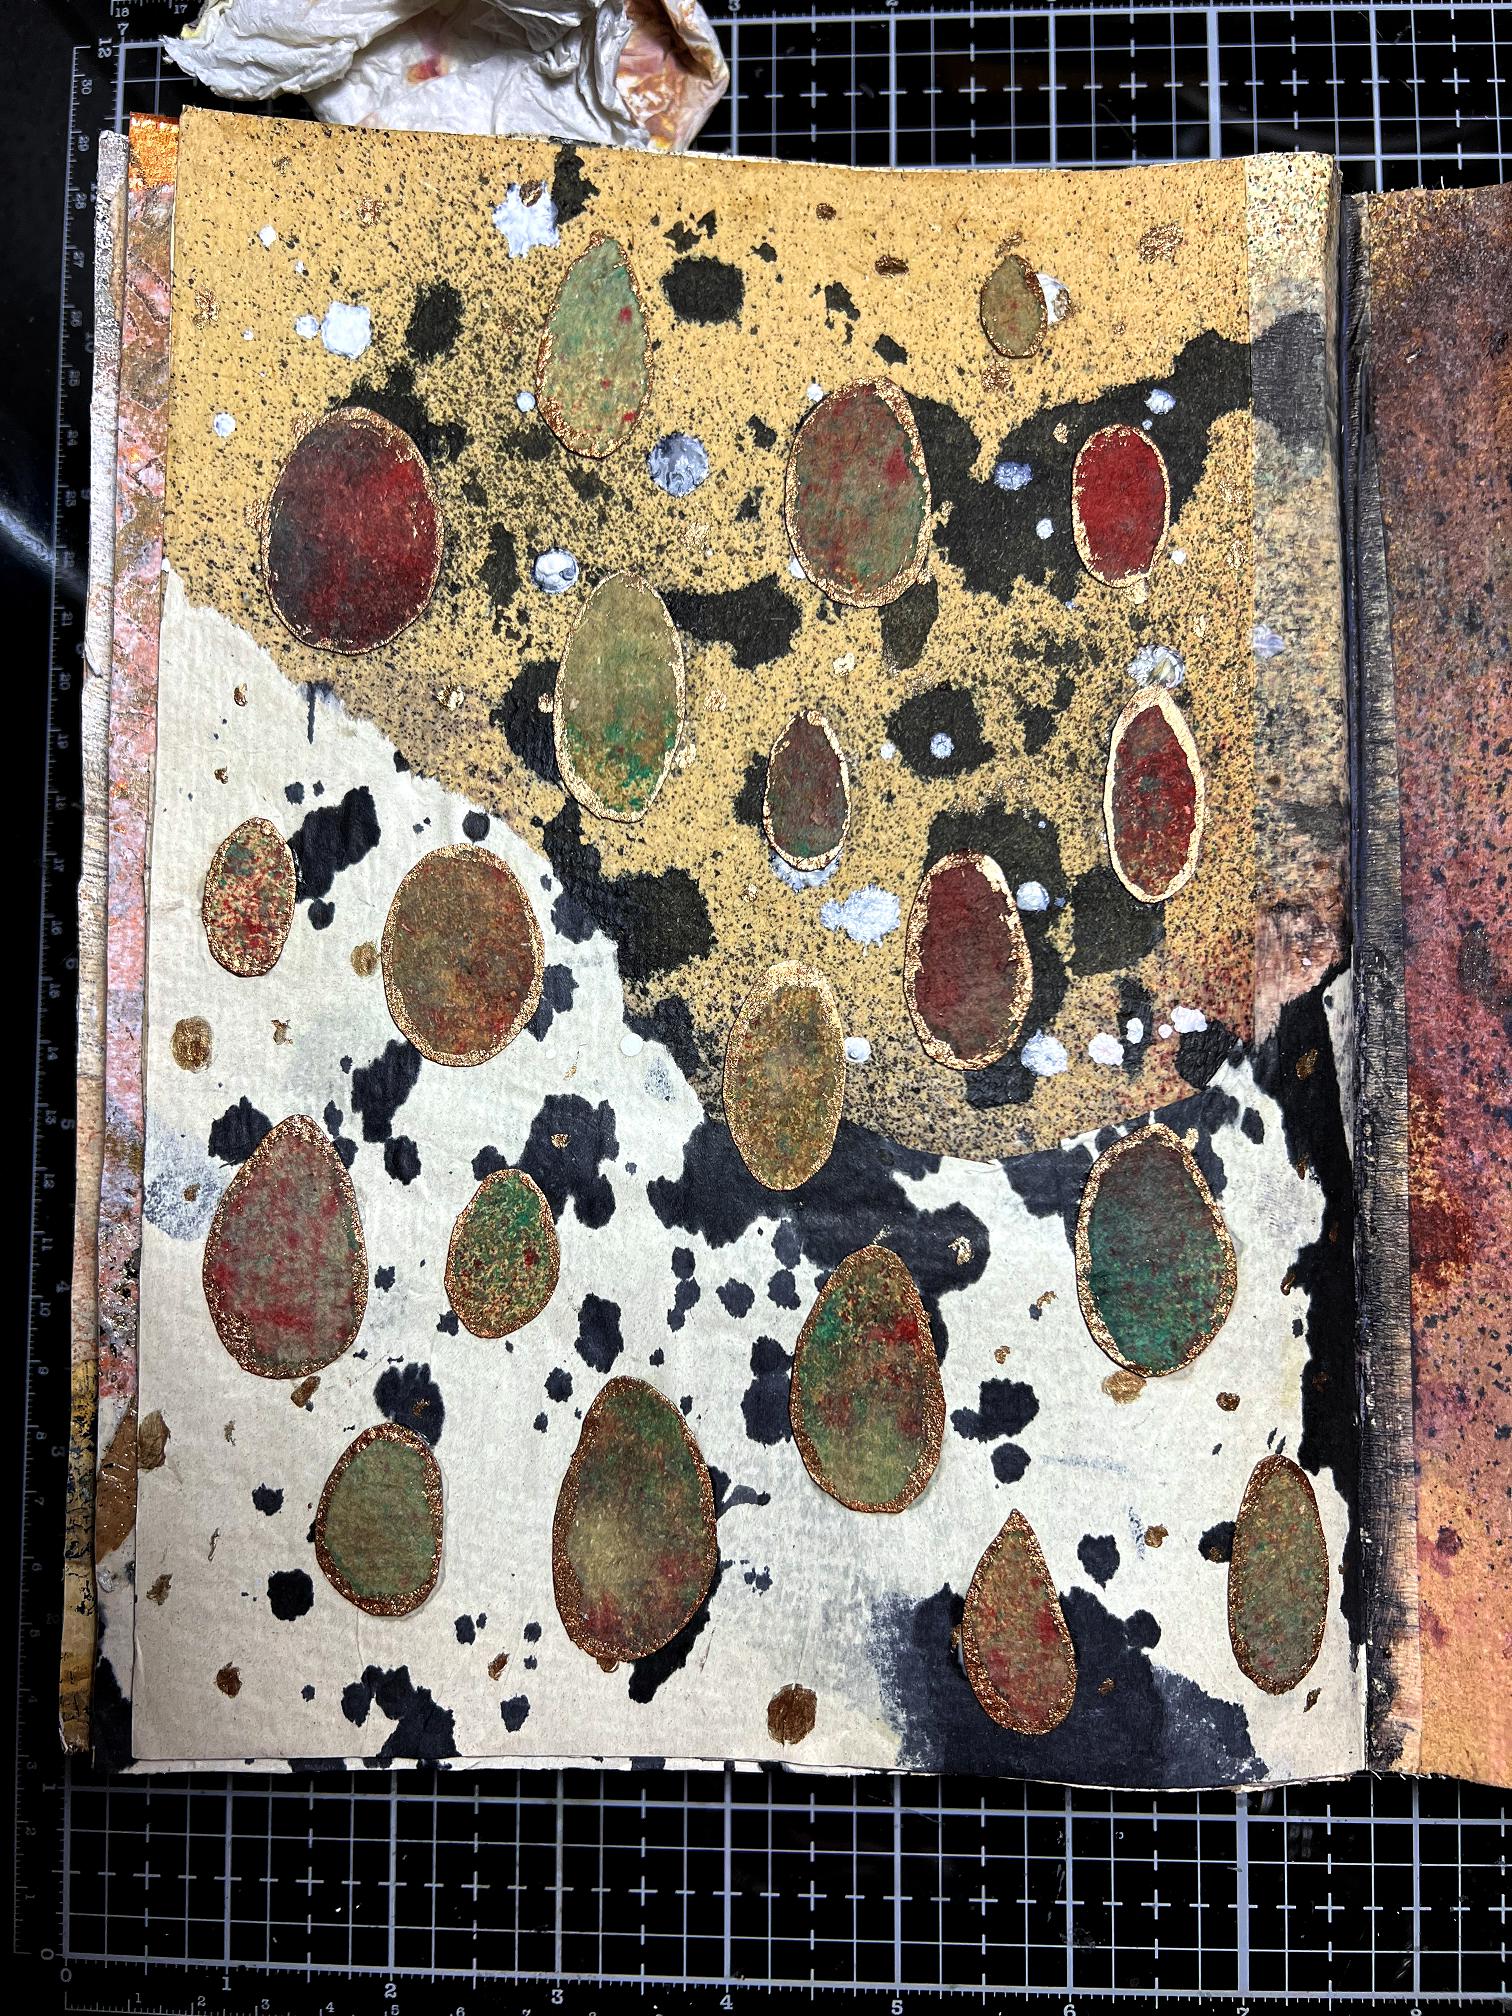
I selected quite a few of the ovals I had cut out of the page, and laid them down on a sheet of that same paper, and sprayed ink in various colours over them.
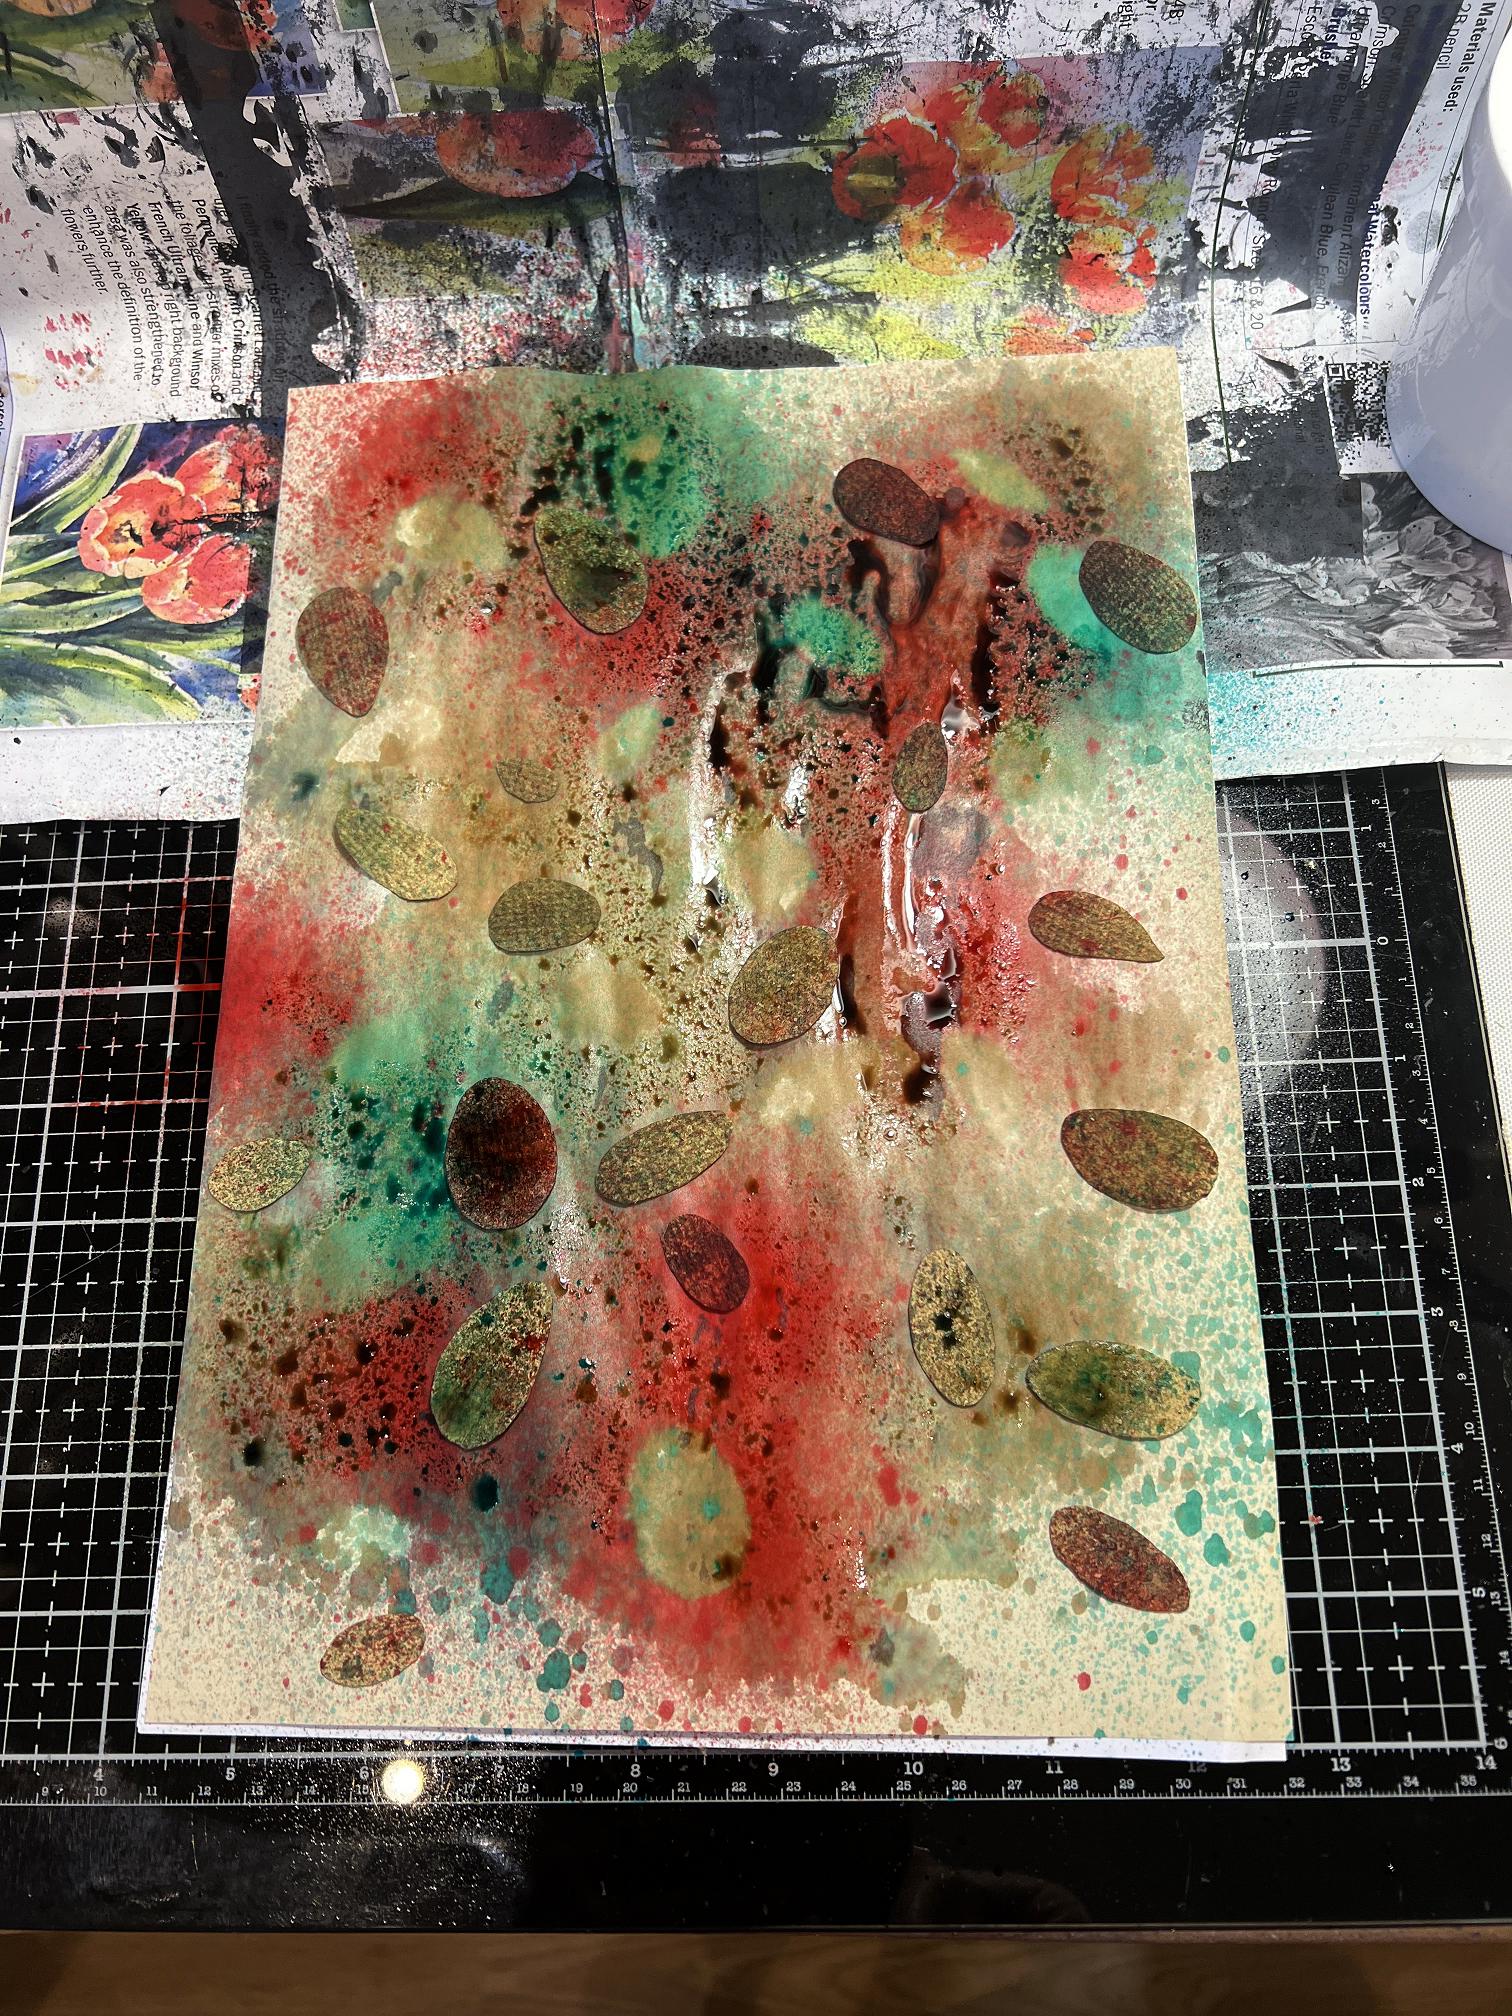
This process took several stages. I moved the ovals to expose the paper underneath which they had masked from the ink, and sprayed again. You can see the blot off paper on the right.
The completed ovals laid on the blot off sheet on the right, and the paper as it then was. I had not managed to move all the ovals with the second spraying, which had left further uninked shapes.
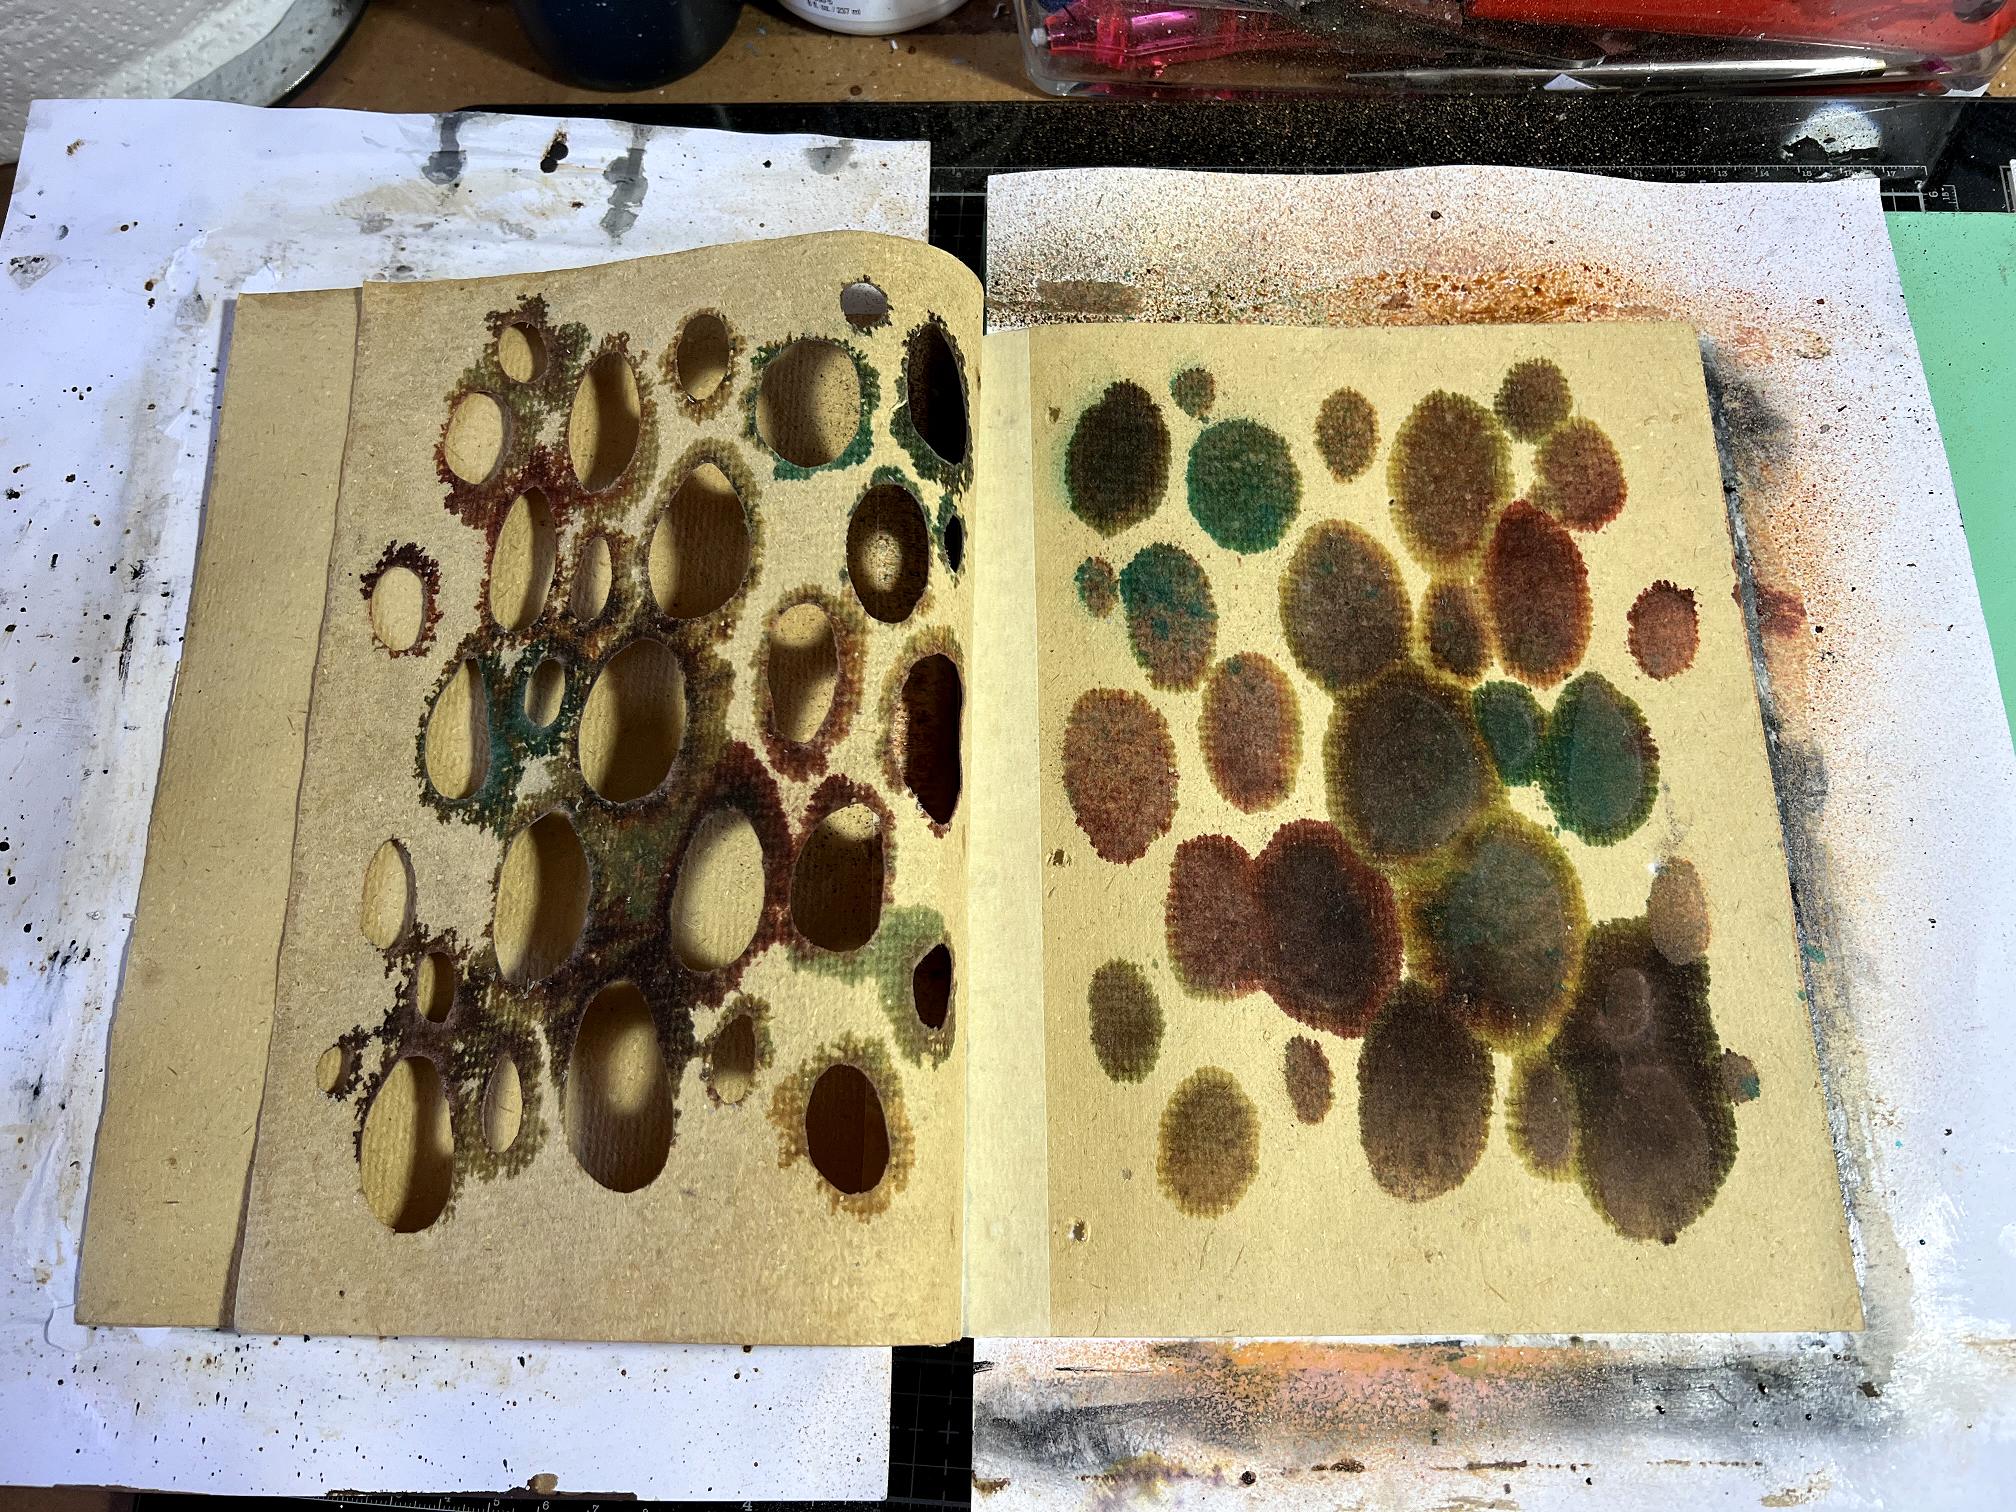
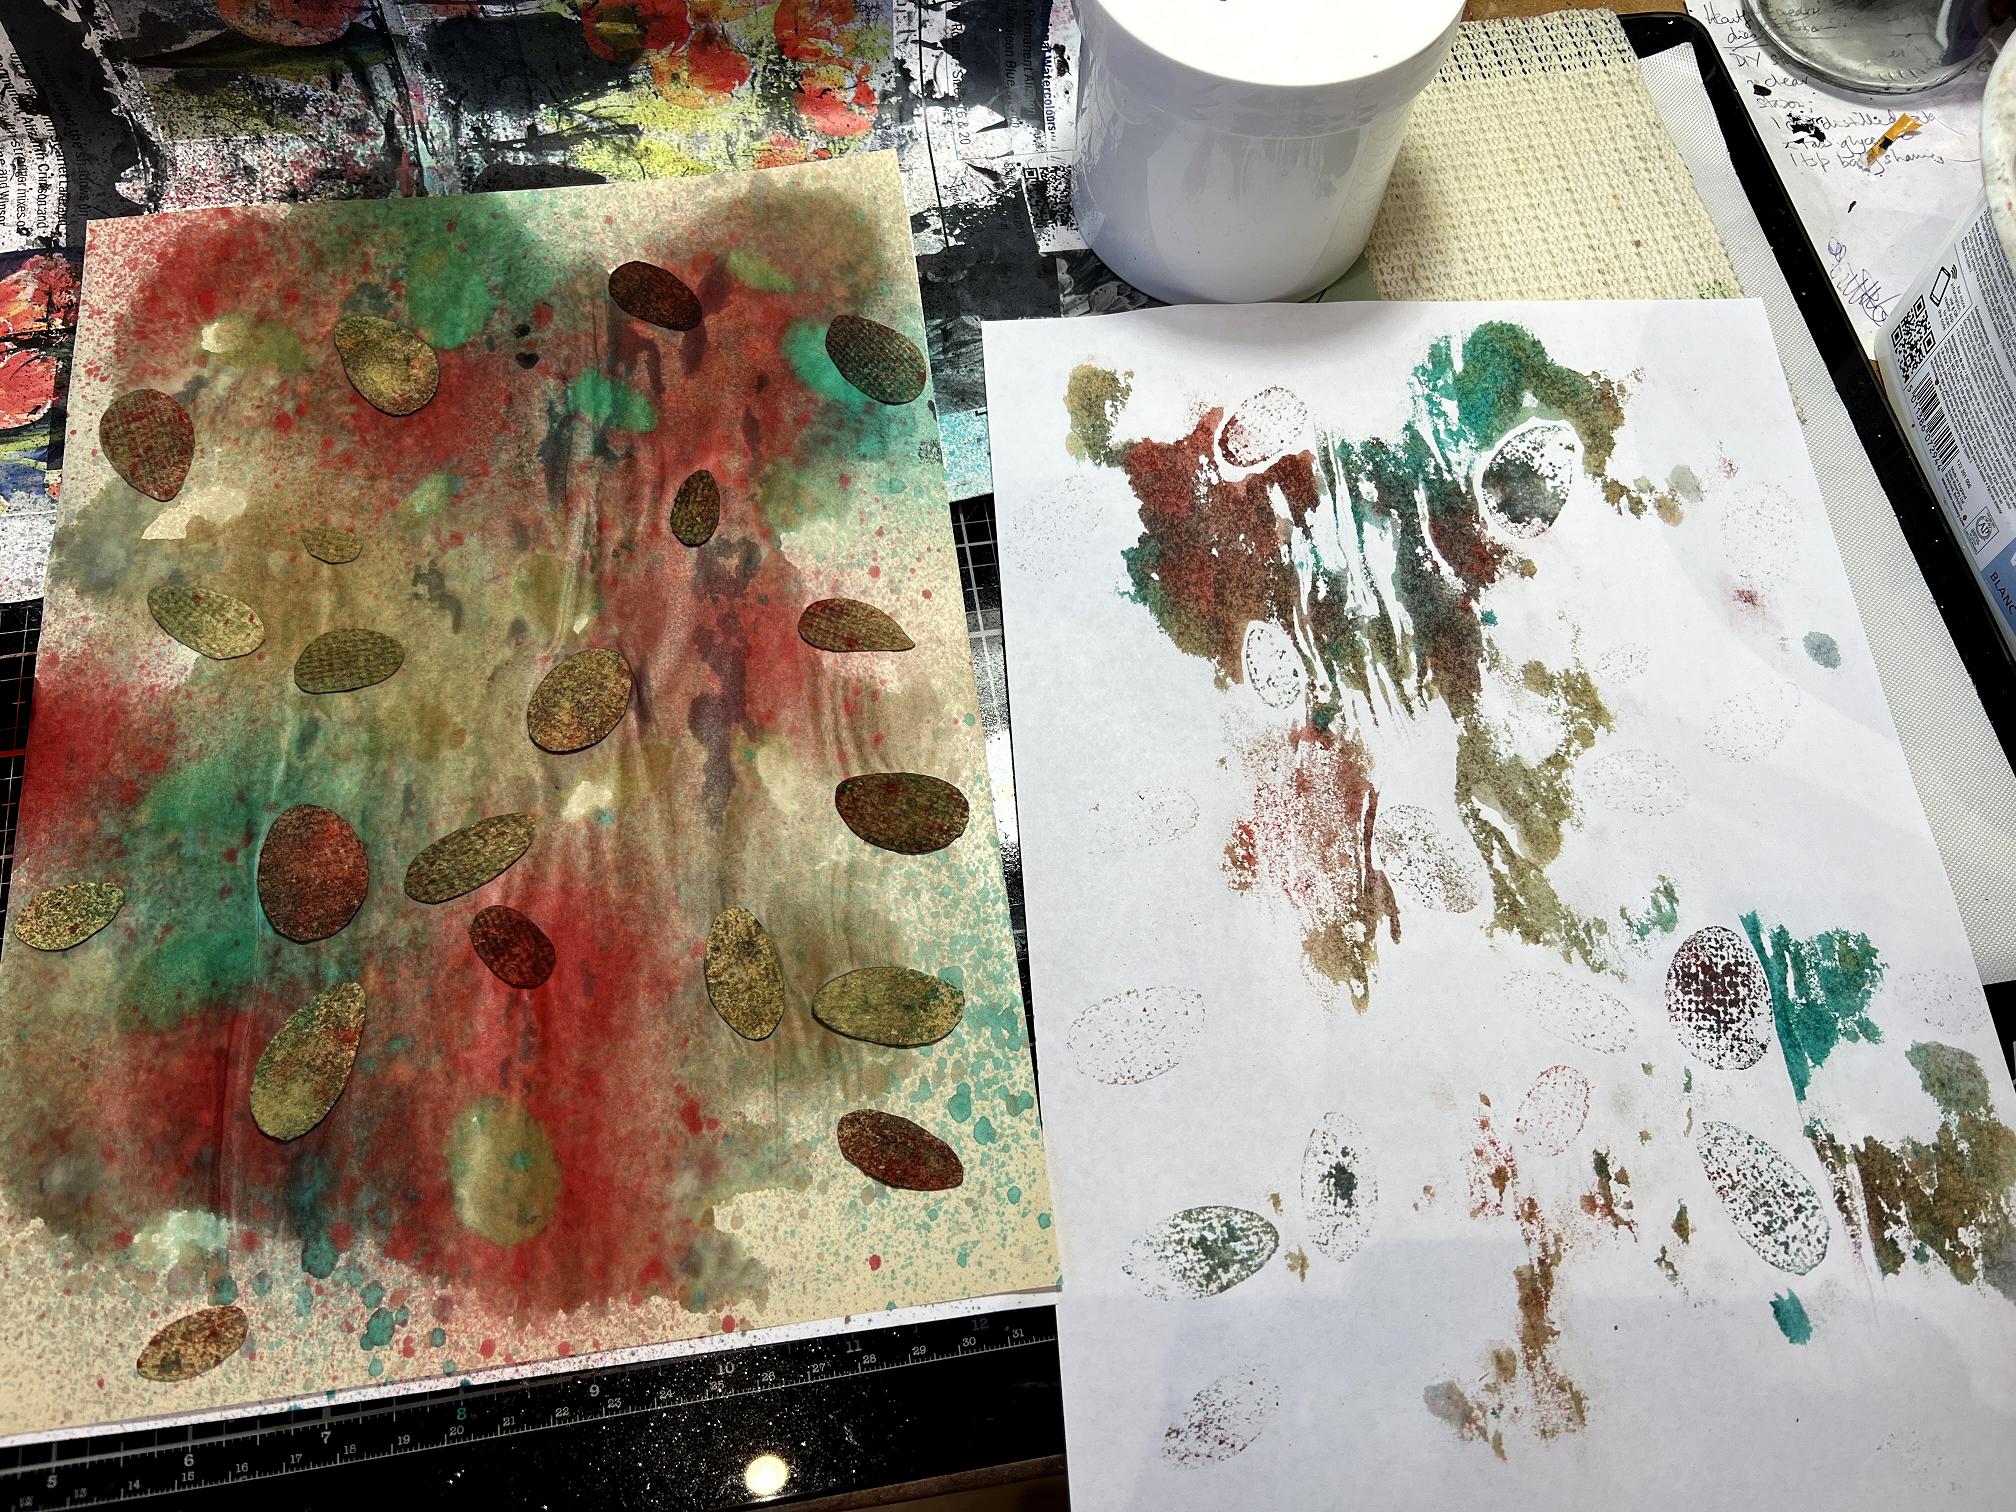
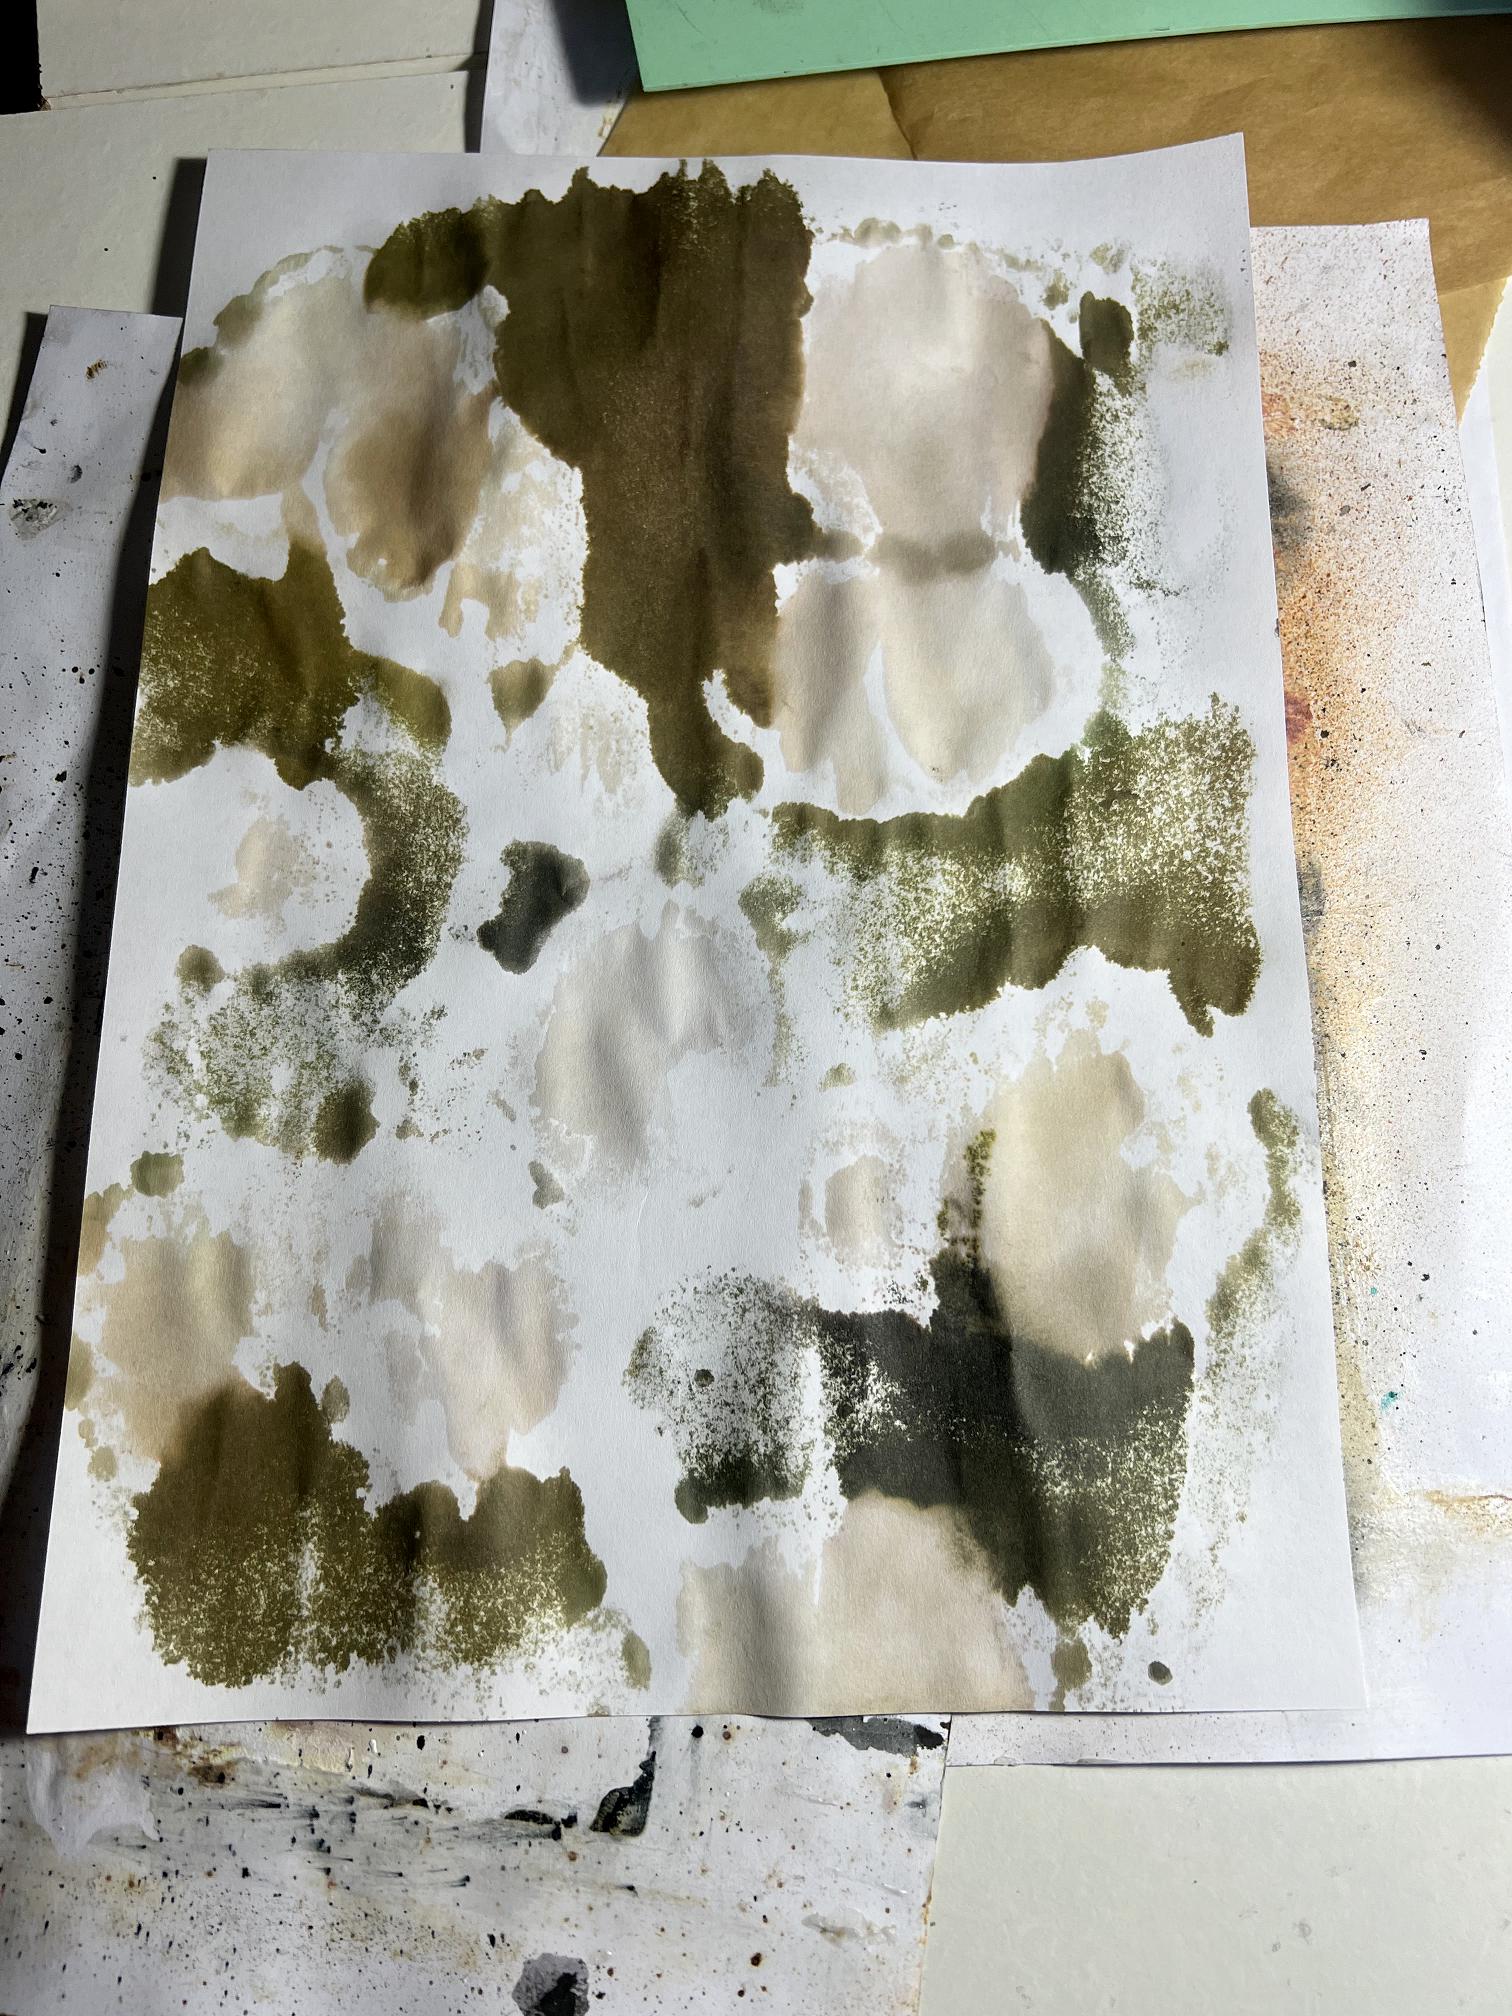
Subsequent sprayings were much too bright – I wanted to use the sprayed sheet for other projects and it wasn’t looking at all how I wanted.
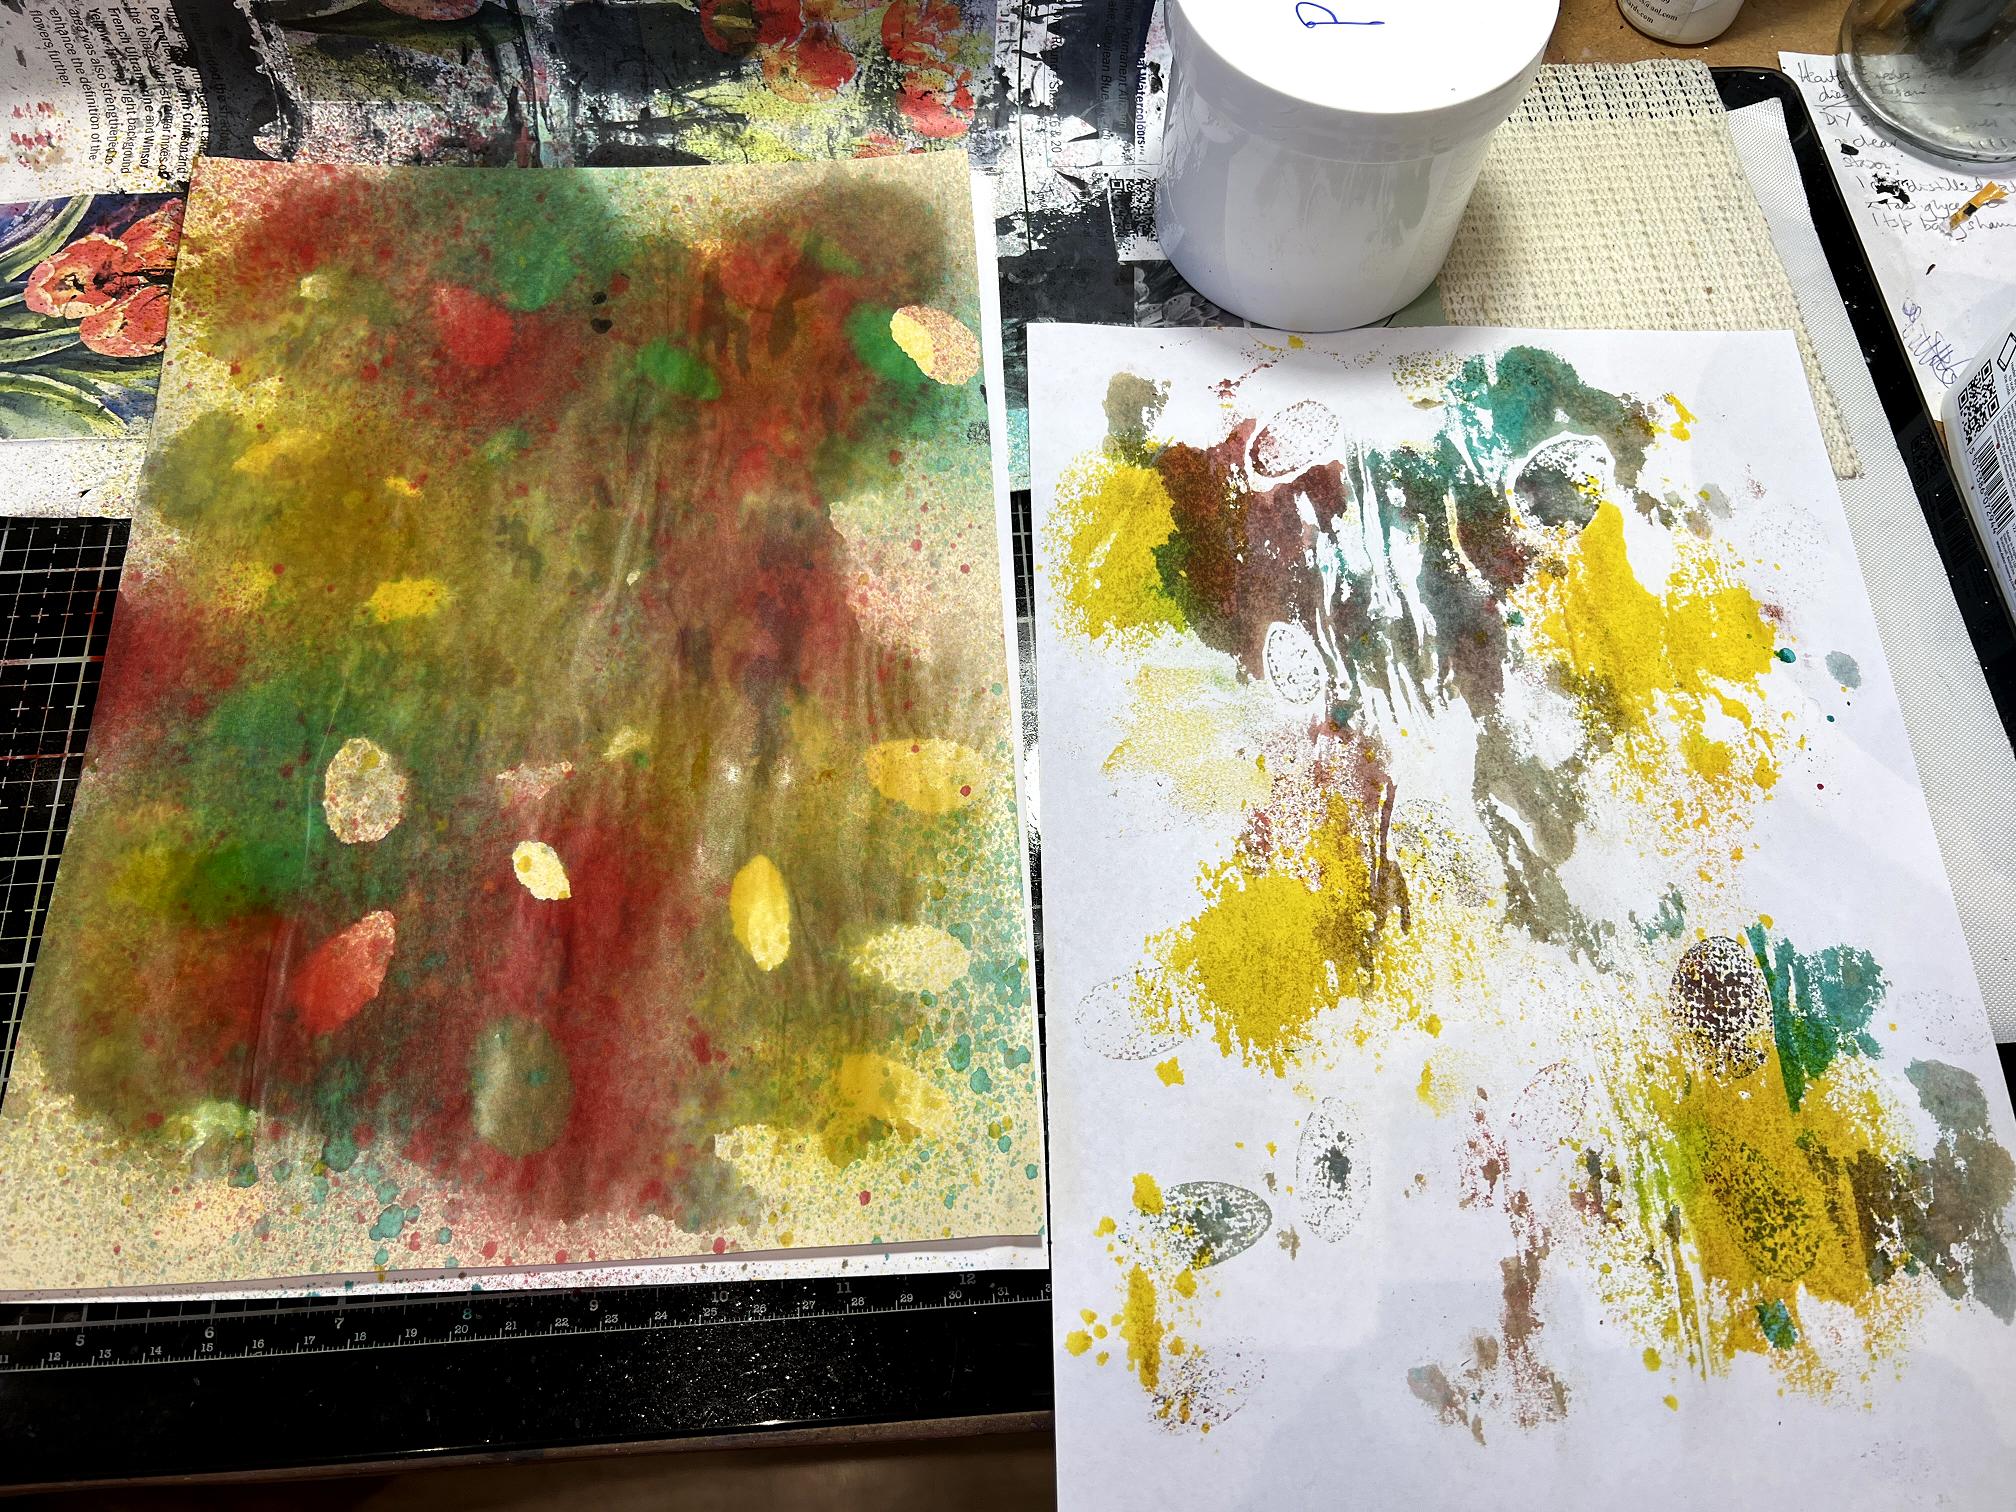
Adding some brown helped a bit.
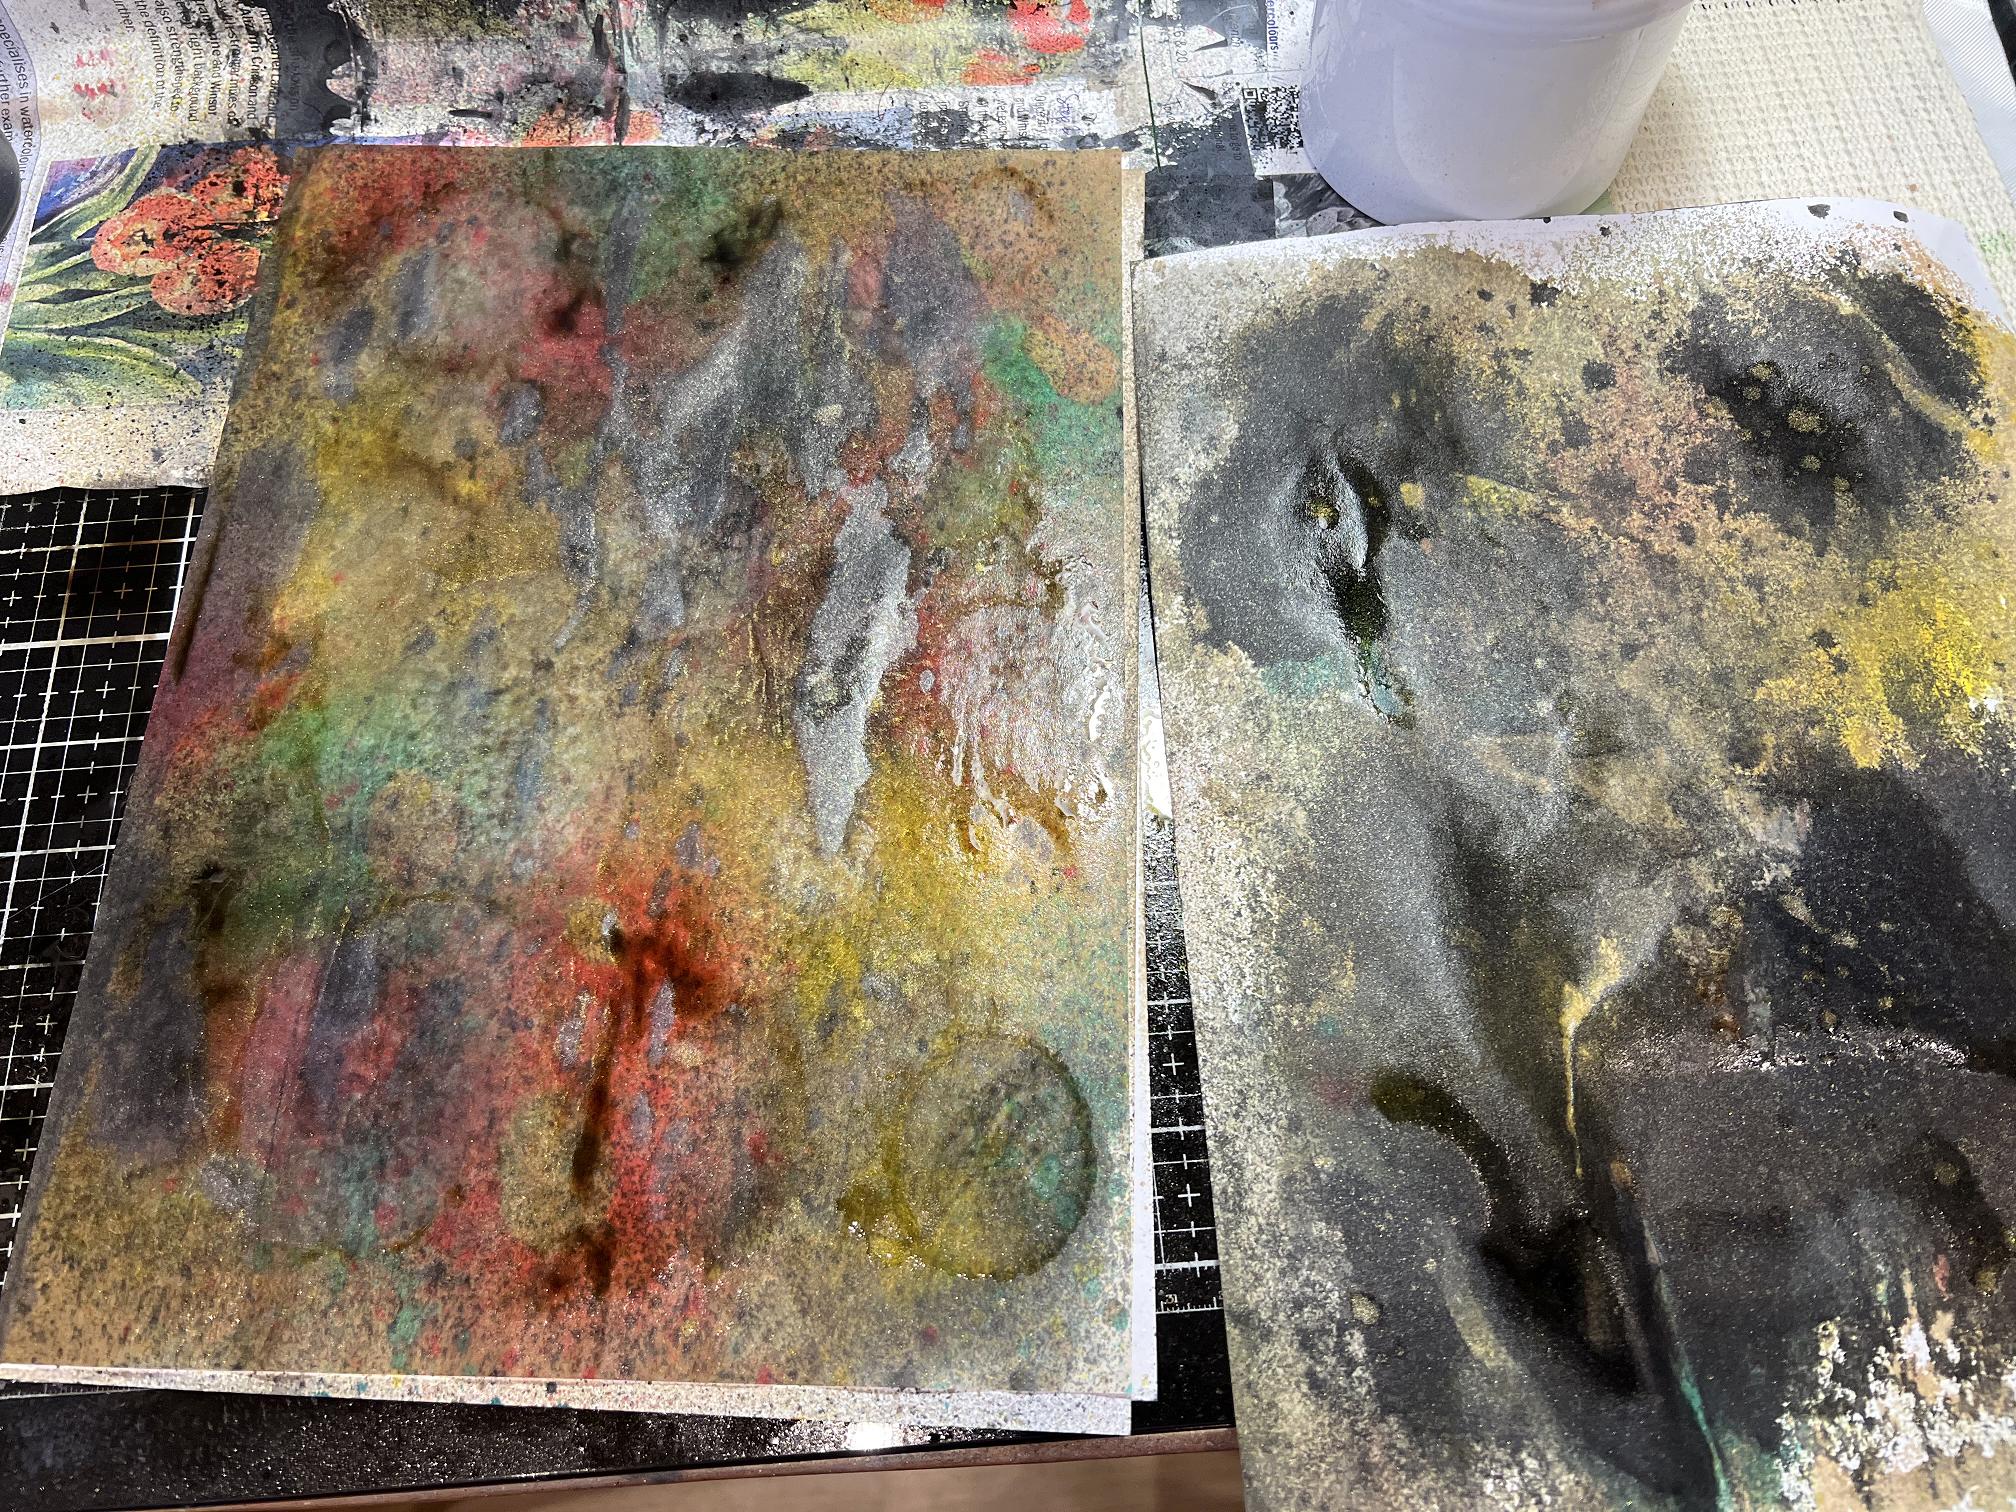
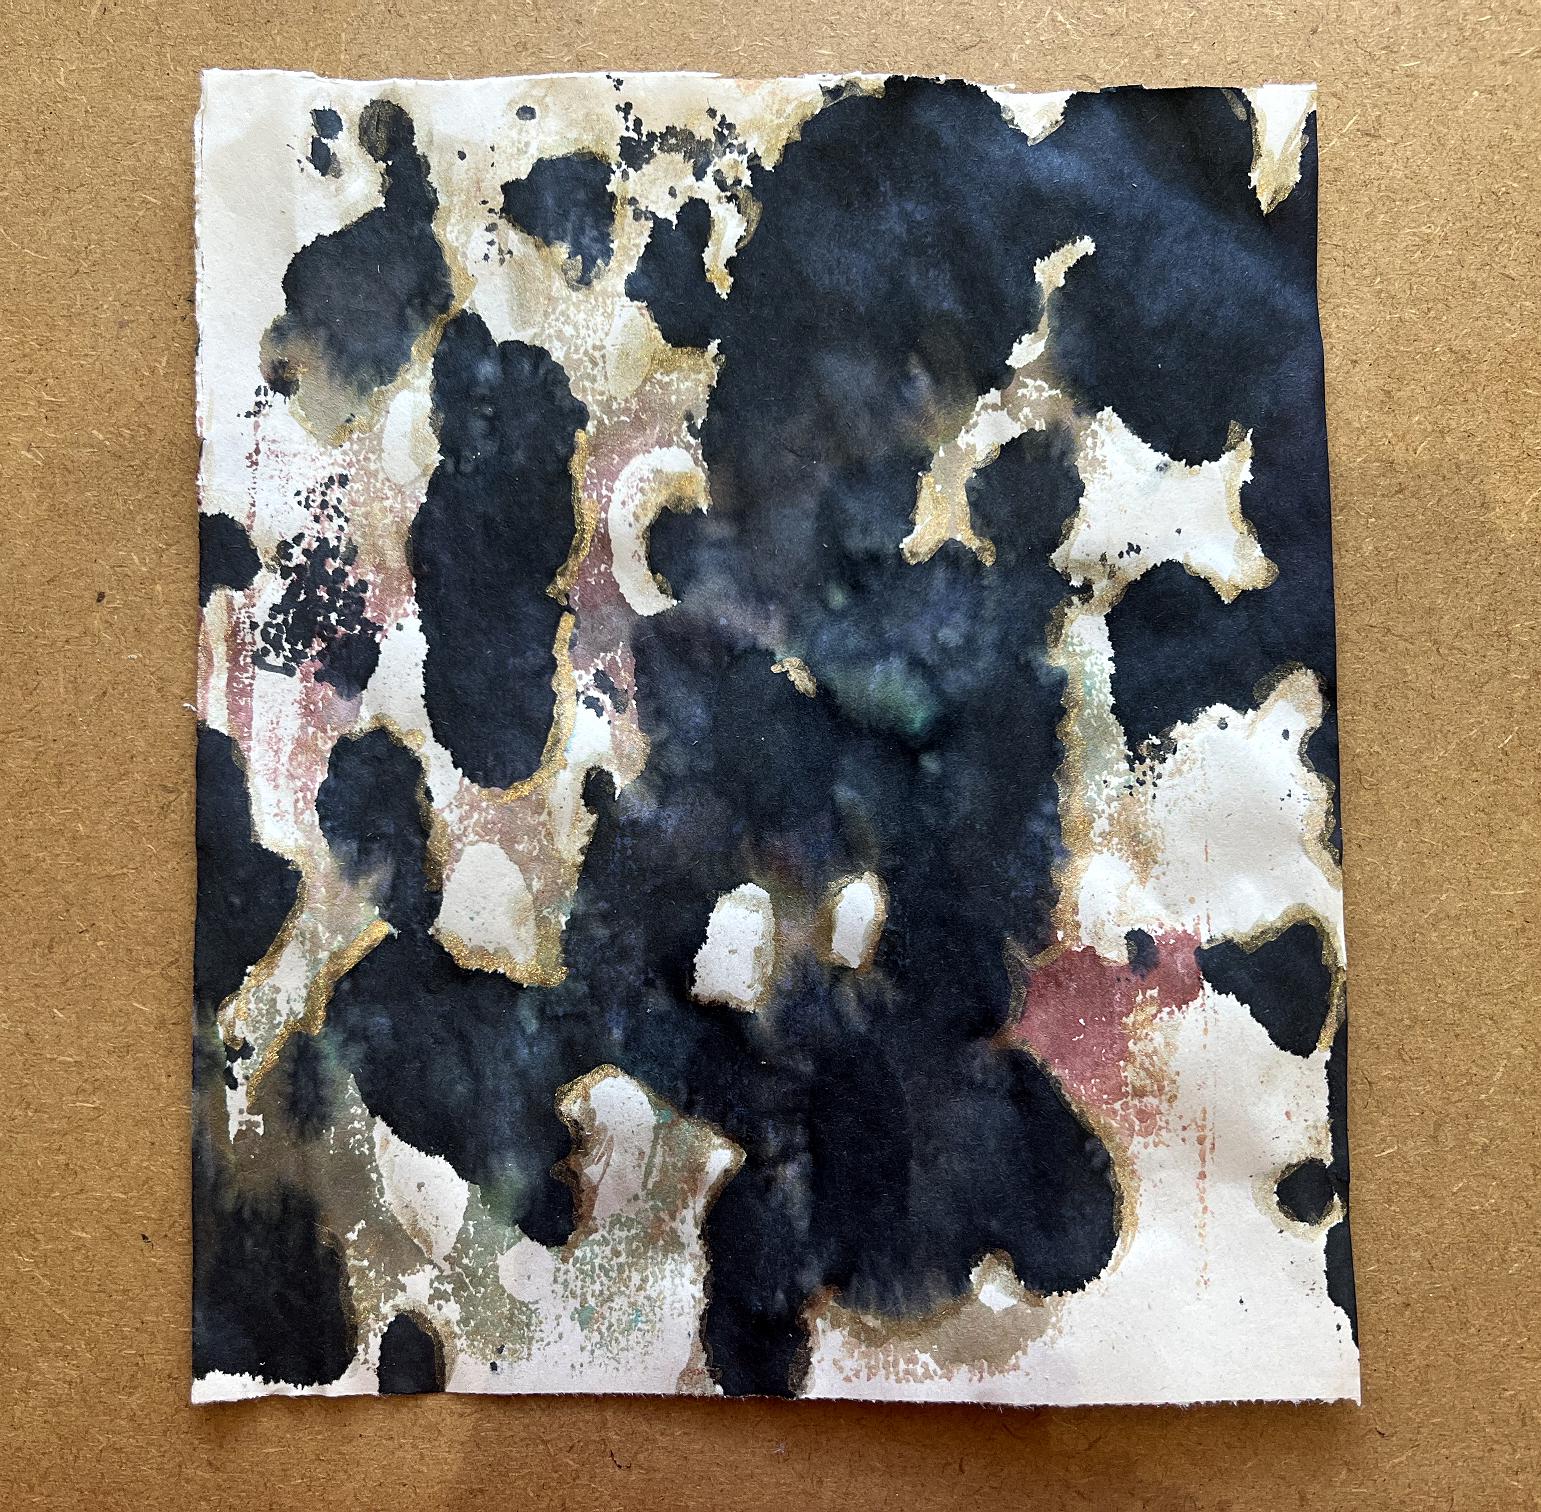
Hickory Smoke and Black Soot definitely improved things. I really like the blot off sheet at this point.
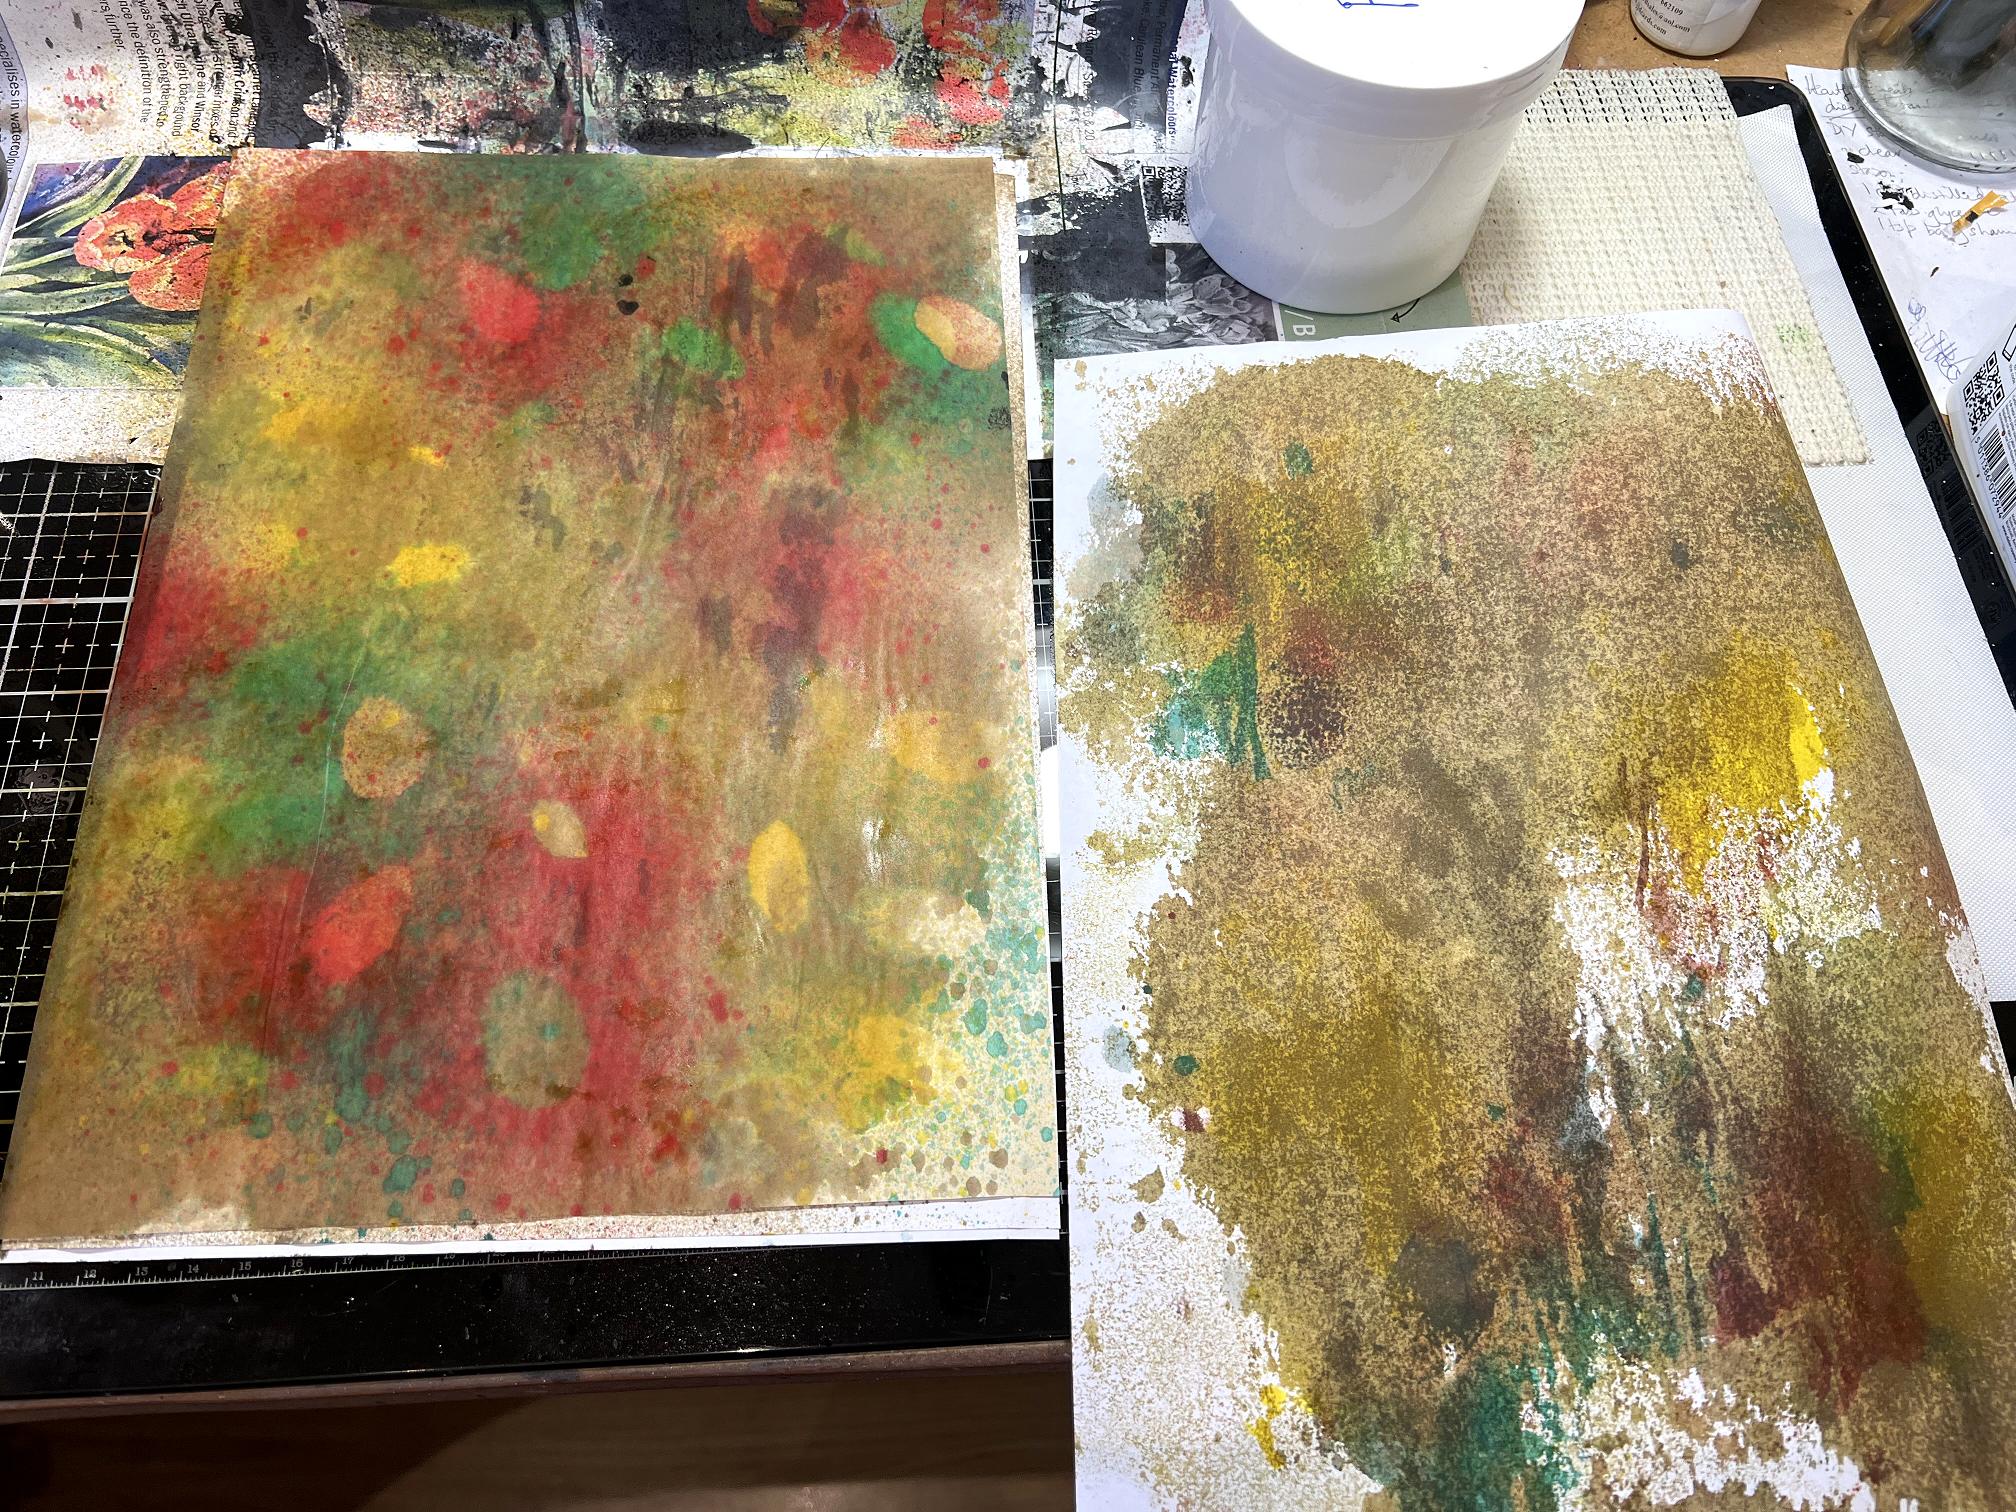
At this point I decided to experiment with dropping alcohol onto the sheets, using a plastic pipette. Gorgeous! The problem was, the effect didn’t last too well.
The final step was to spray on some mica spray – Tim Holtz Mica Spray in Antique Brass. You can’t see much in the photos but now they are dry, the sheets have a lovely metallic sheen to them.
I took a fresh piece of paper for a final blot off sheet. All these papers have potential for use in other projects.
Returning to the project at hand, here are the sprayed ovals.
Working on the left hand page, I collaged a piece of the ink blot paper I used on the previous page, and added spatters of white and gold.
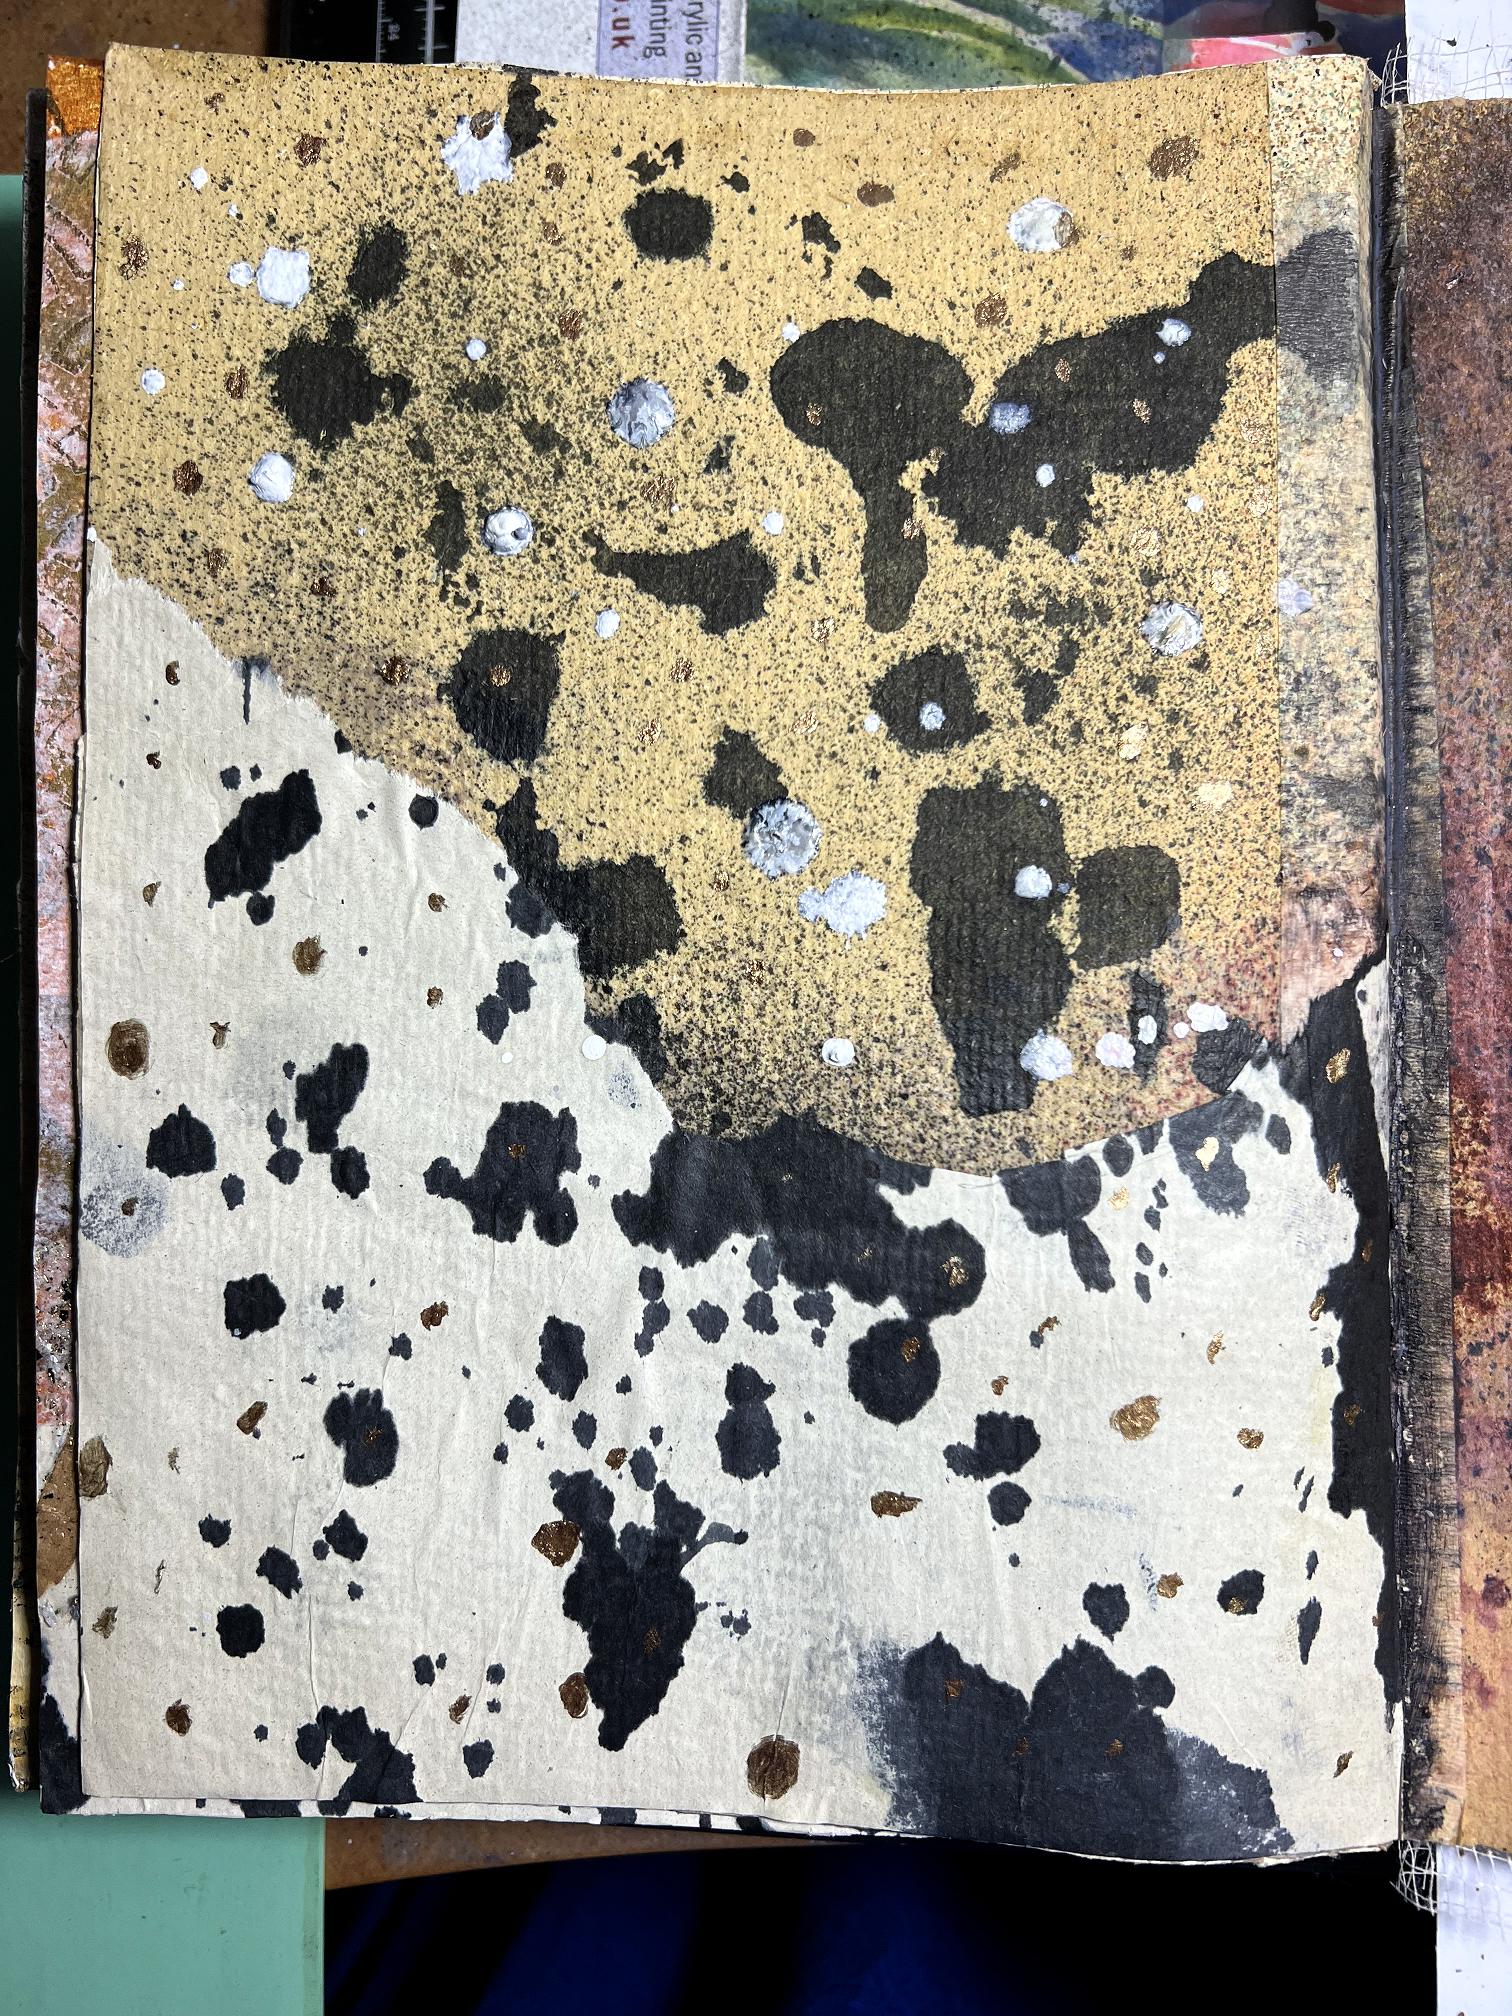
Using the same gold (Golden iridescent bronze fine) I painted around the outlines of the cut ovals on the right hand page.

I needed to think about what to put behnd these holes. When I sprayed the page, the ink obviously went through the holes onto the page underneath, and this looked too similar to the surface of the cut page. I needed something with a bit more contrast, and this would involve taping an additional page into the book. I settled on the blot off piece with the black ink blots on it. I painted around the edges of some of the blots with the gold paint remaining from painting the oval holes, and what was finally left, I watered down to add a gold glaze in different parts of the sheet. As always the gold isn’t showing up well in the photo but it makes a huge difference in real life. There are also some gorgeous other colours emerging in the black ink as it has dried.
Here is the sheet inserted into the journal. I tried to stick it in with Scotch tape which I thought would virtually disappear, but it wasn’t sticking well, and trying to help things along with some PVA adhesive just made matters worse. I dispensed with the tape and used a strip of scrim instead. It’s not invisible, but it adds texture! I wish the gold showed up on the photo…
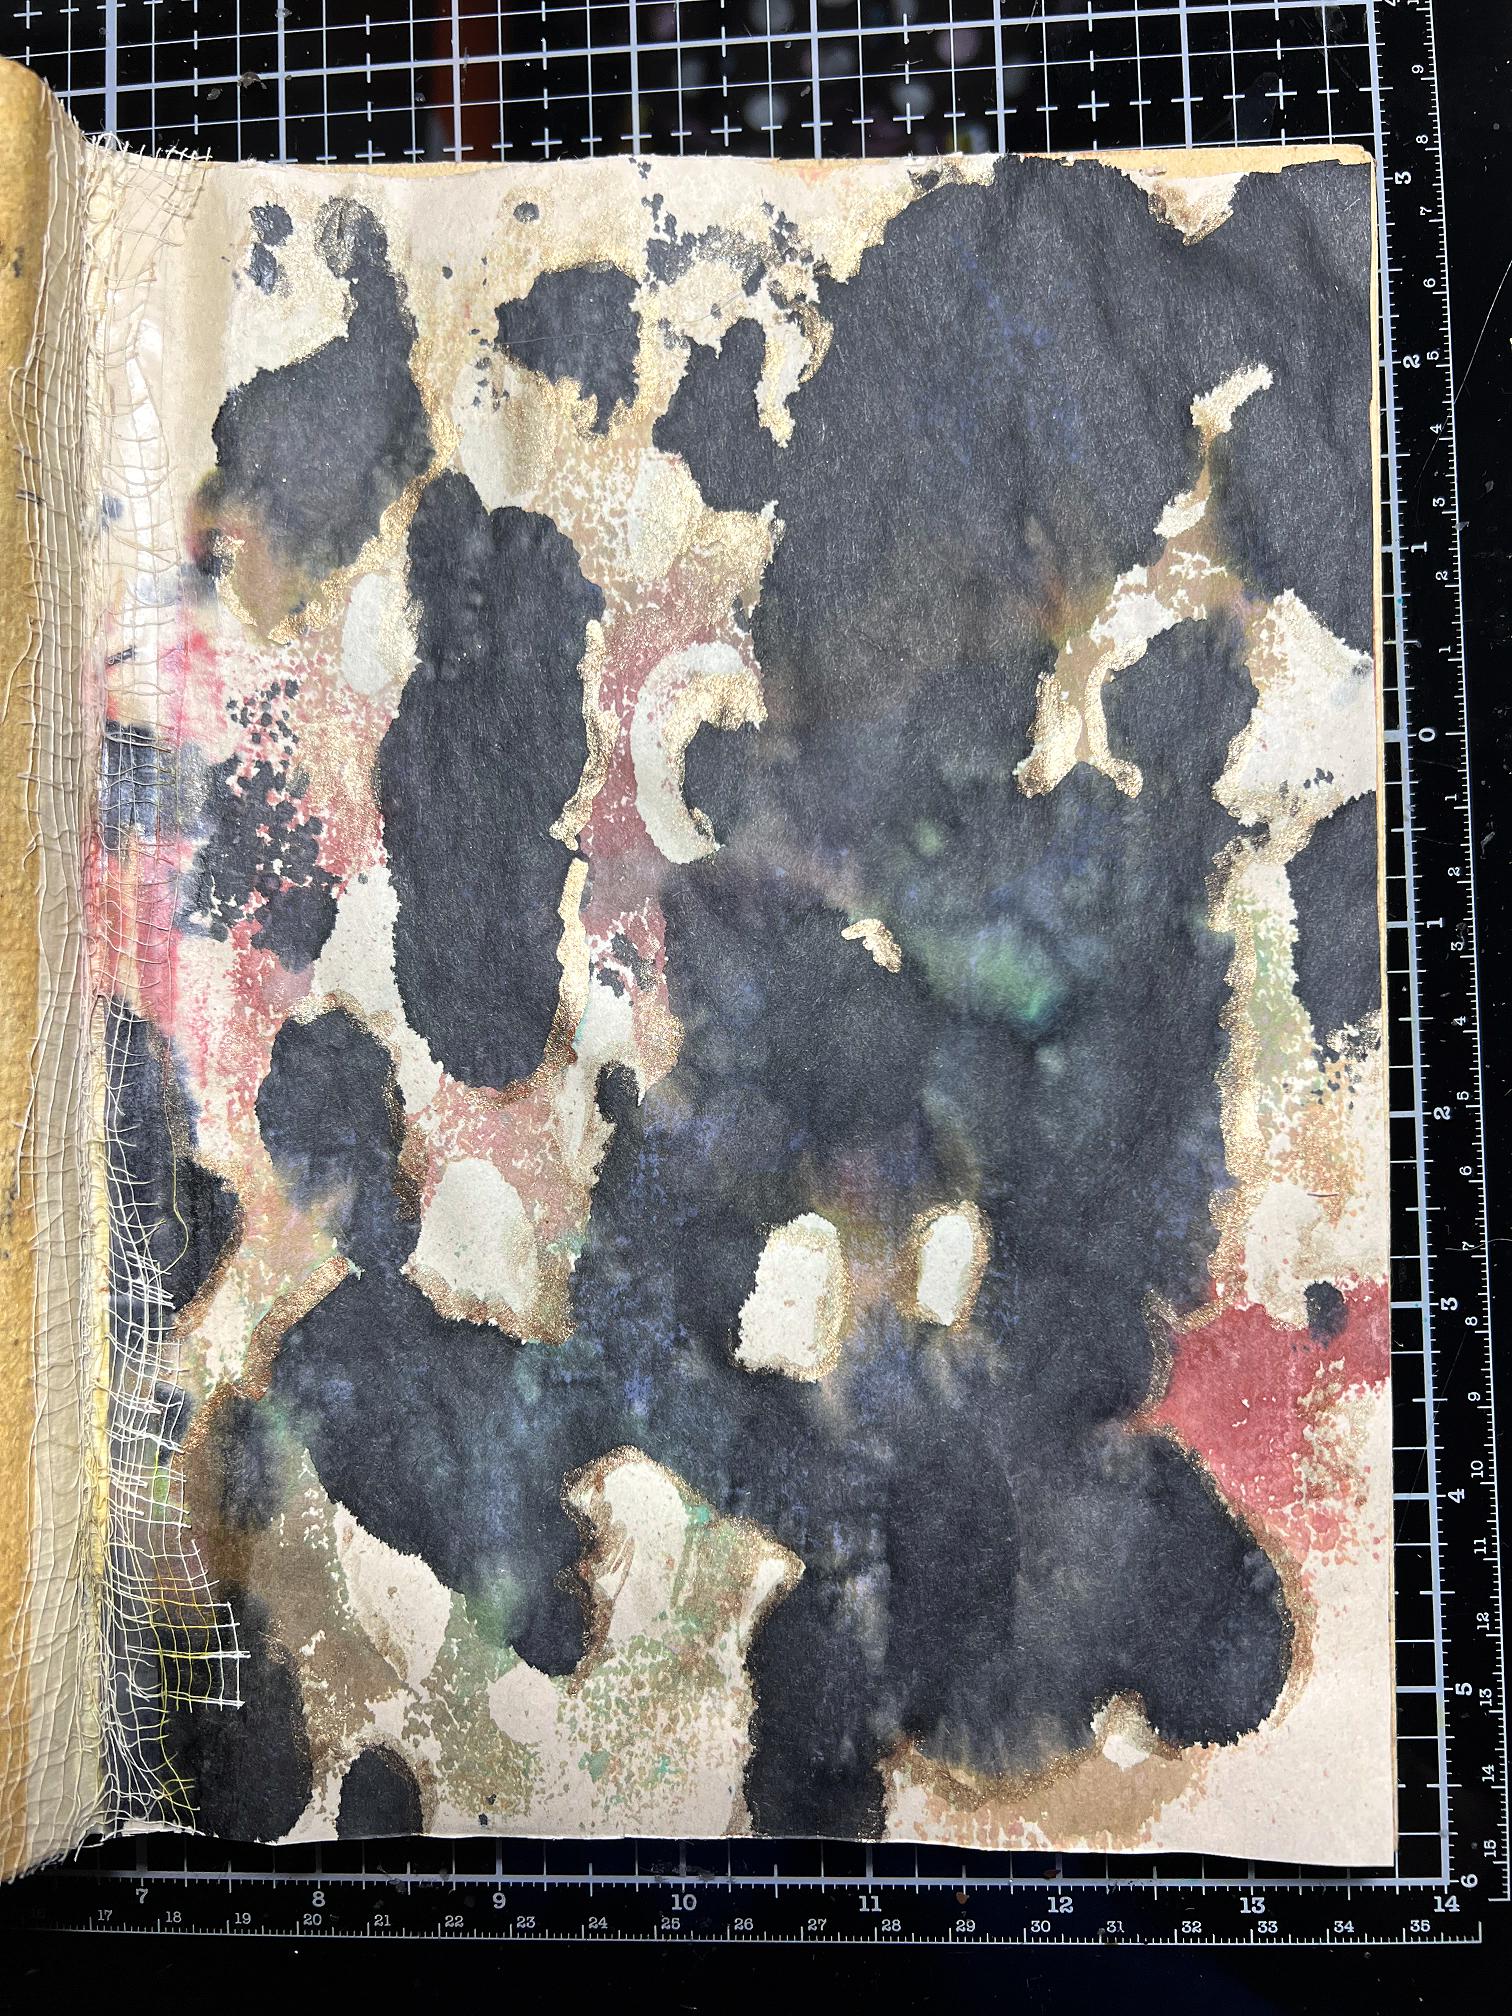
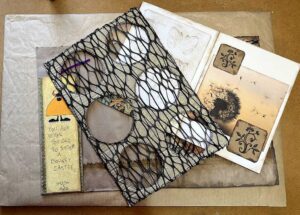
This is how that page spread looks, with the reverse side of the pierced page.
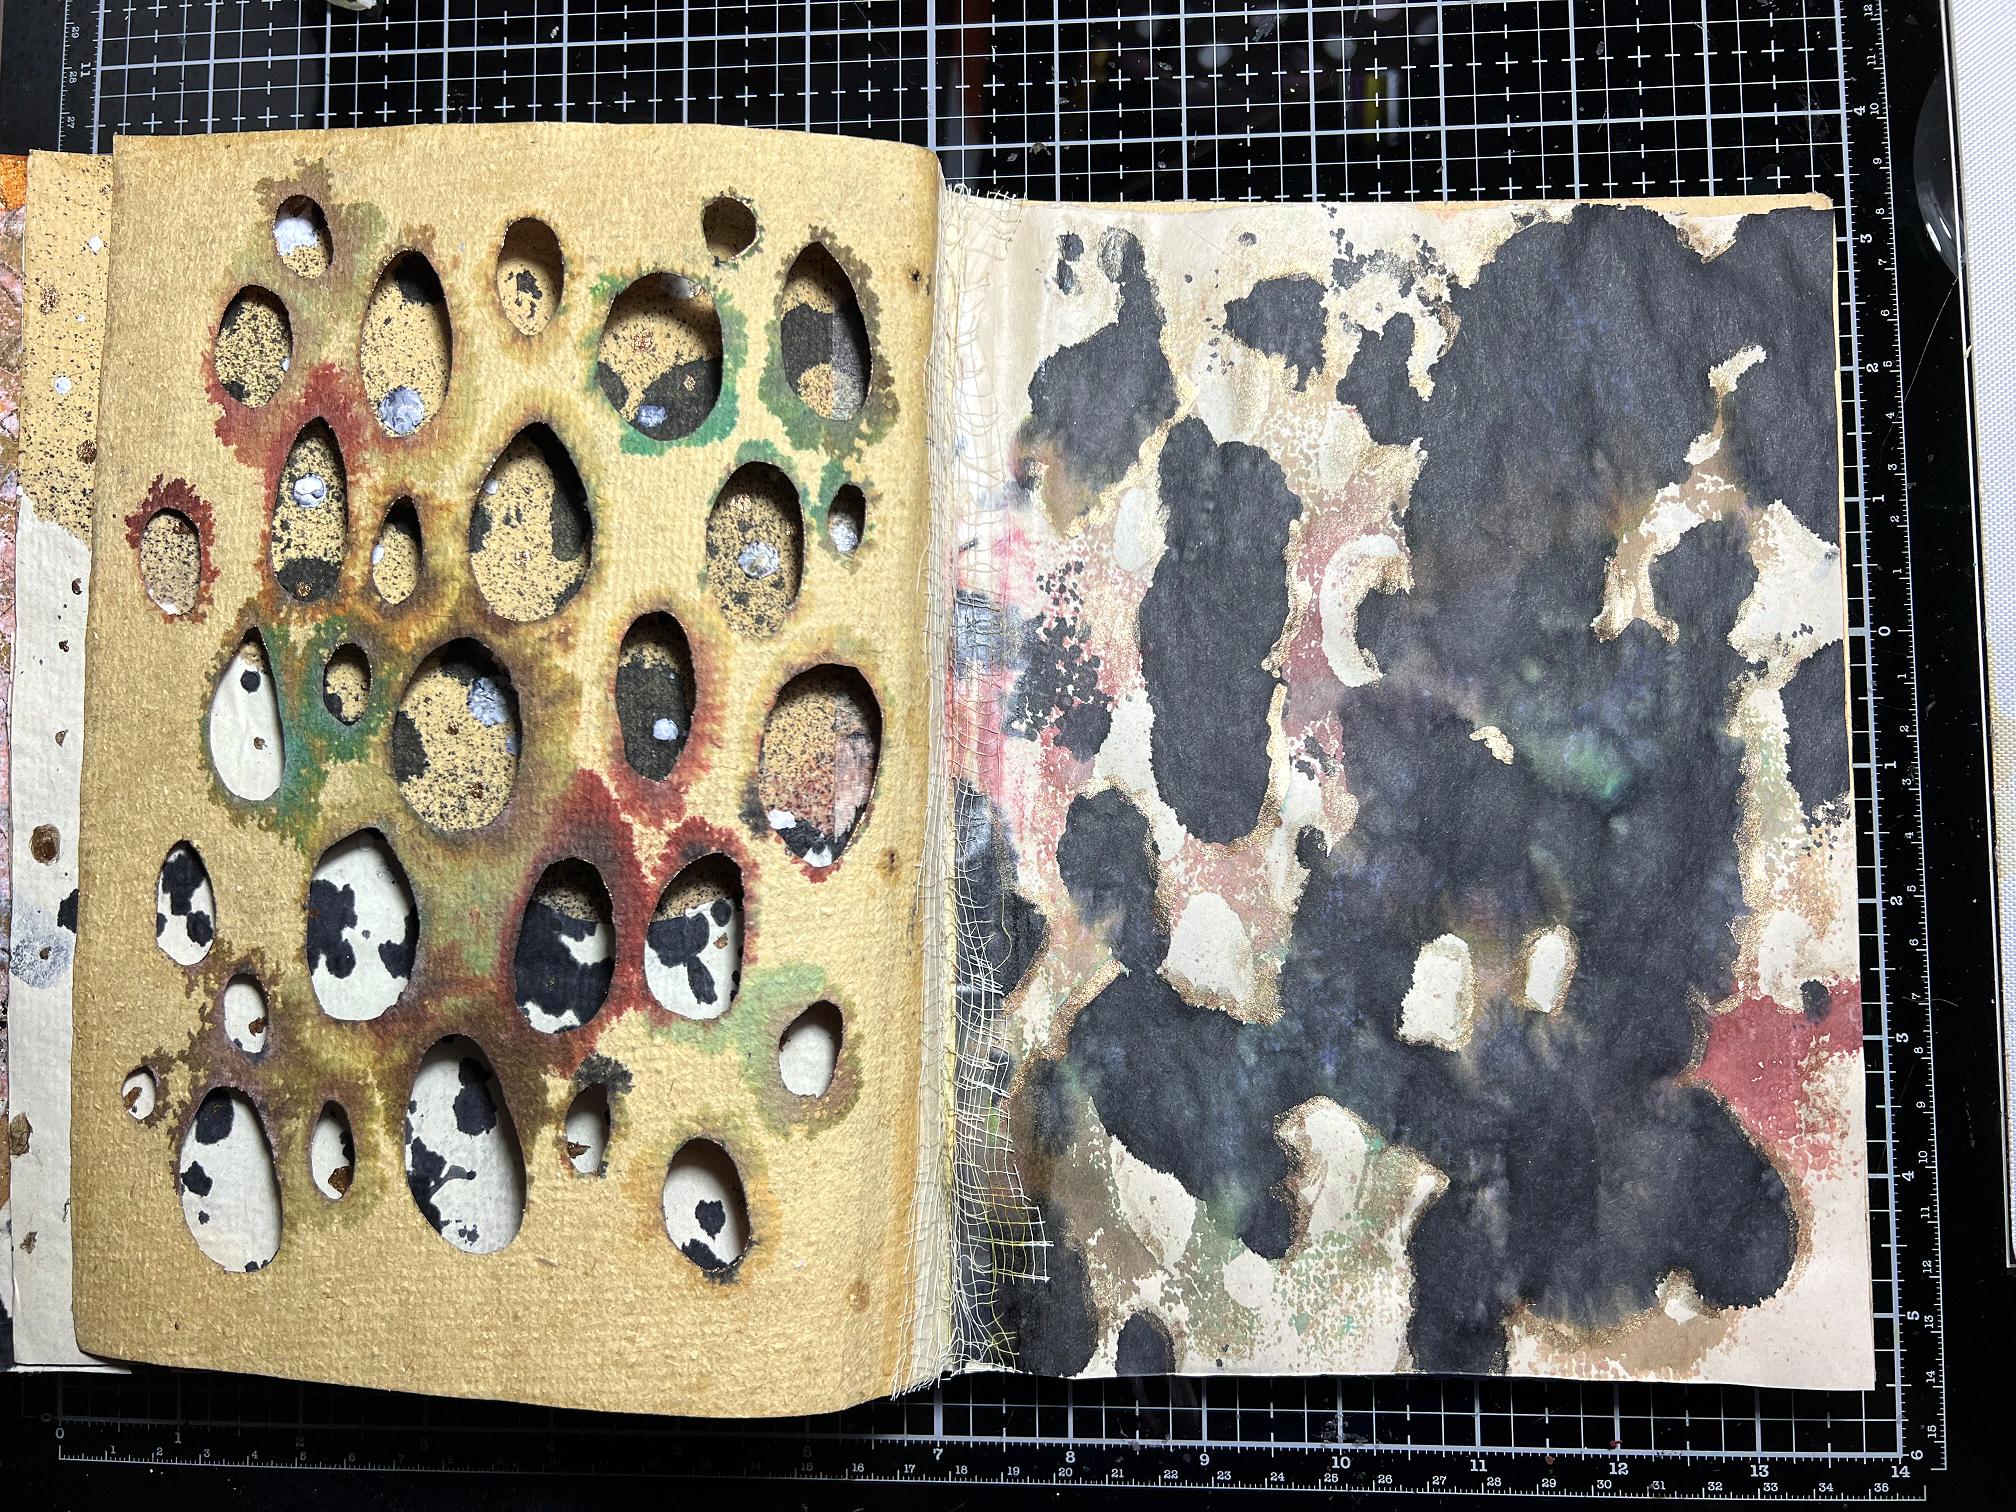
Turning the page back again to reveal the spread we are working on, here is how it looks, with the extra page now showing through the cut ovals. I am very pleased with how this has worked.
I painted the edges of the cut out oval shapes with the same gold, and stuck them down onto the left hand page.
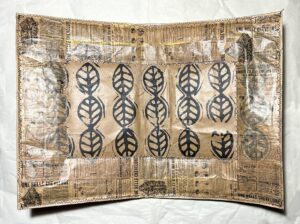
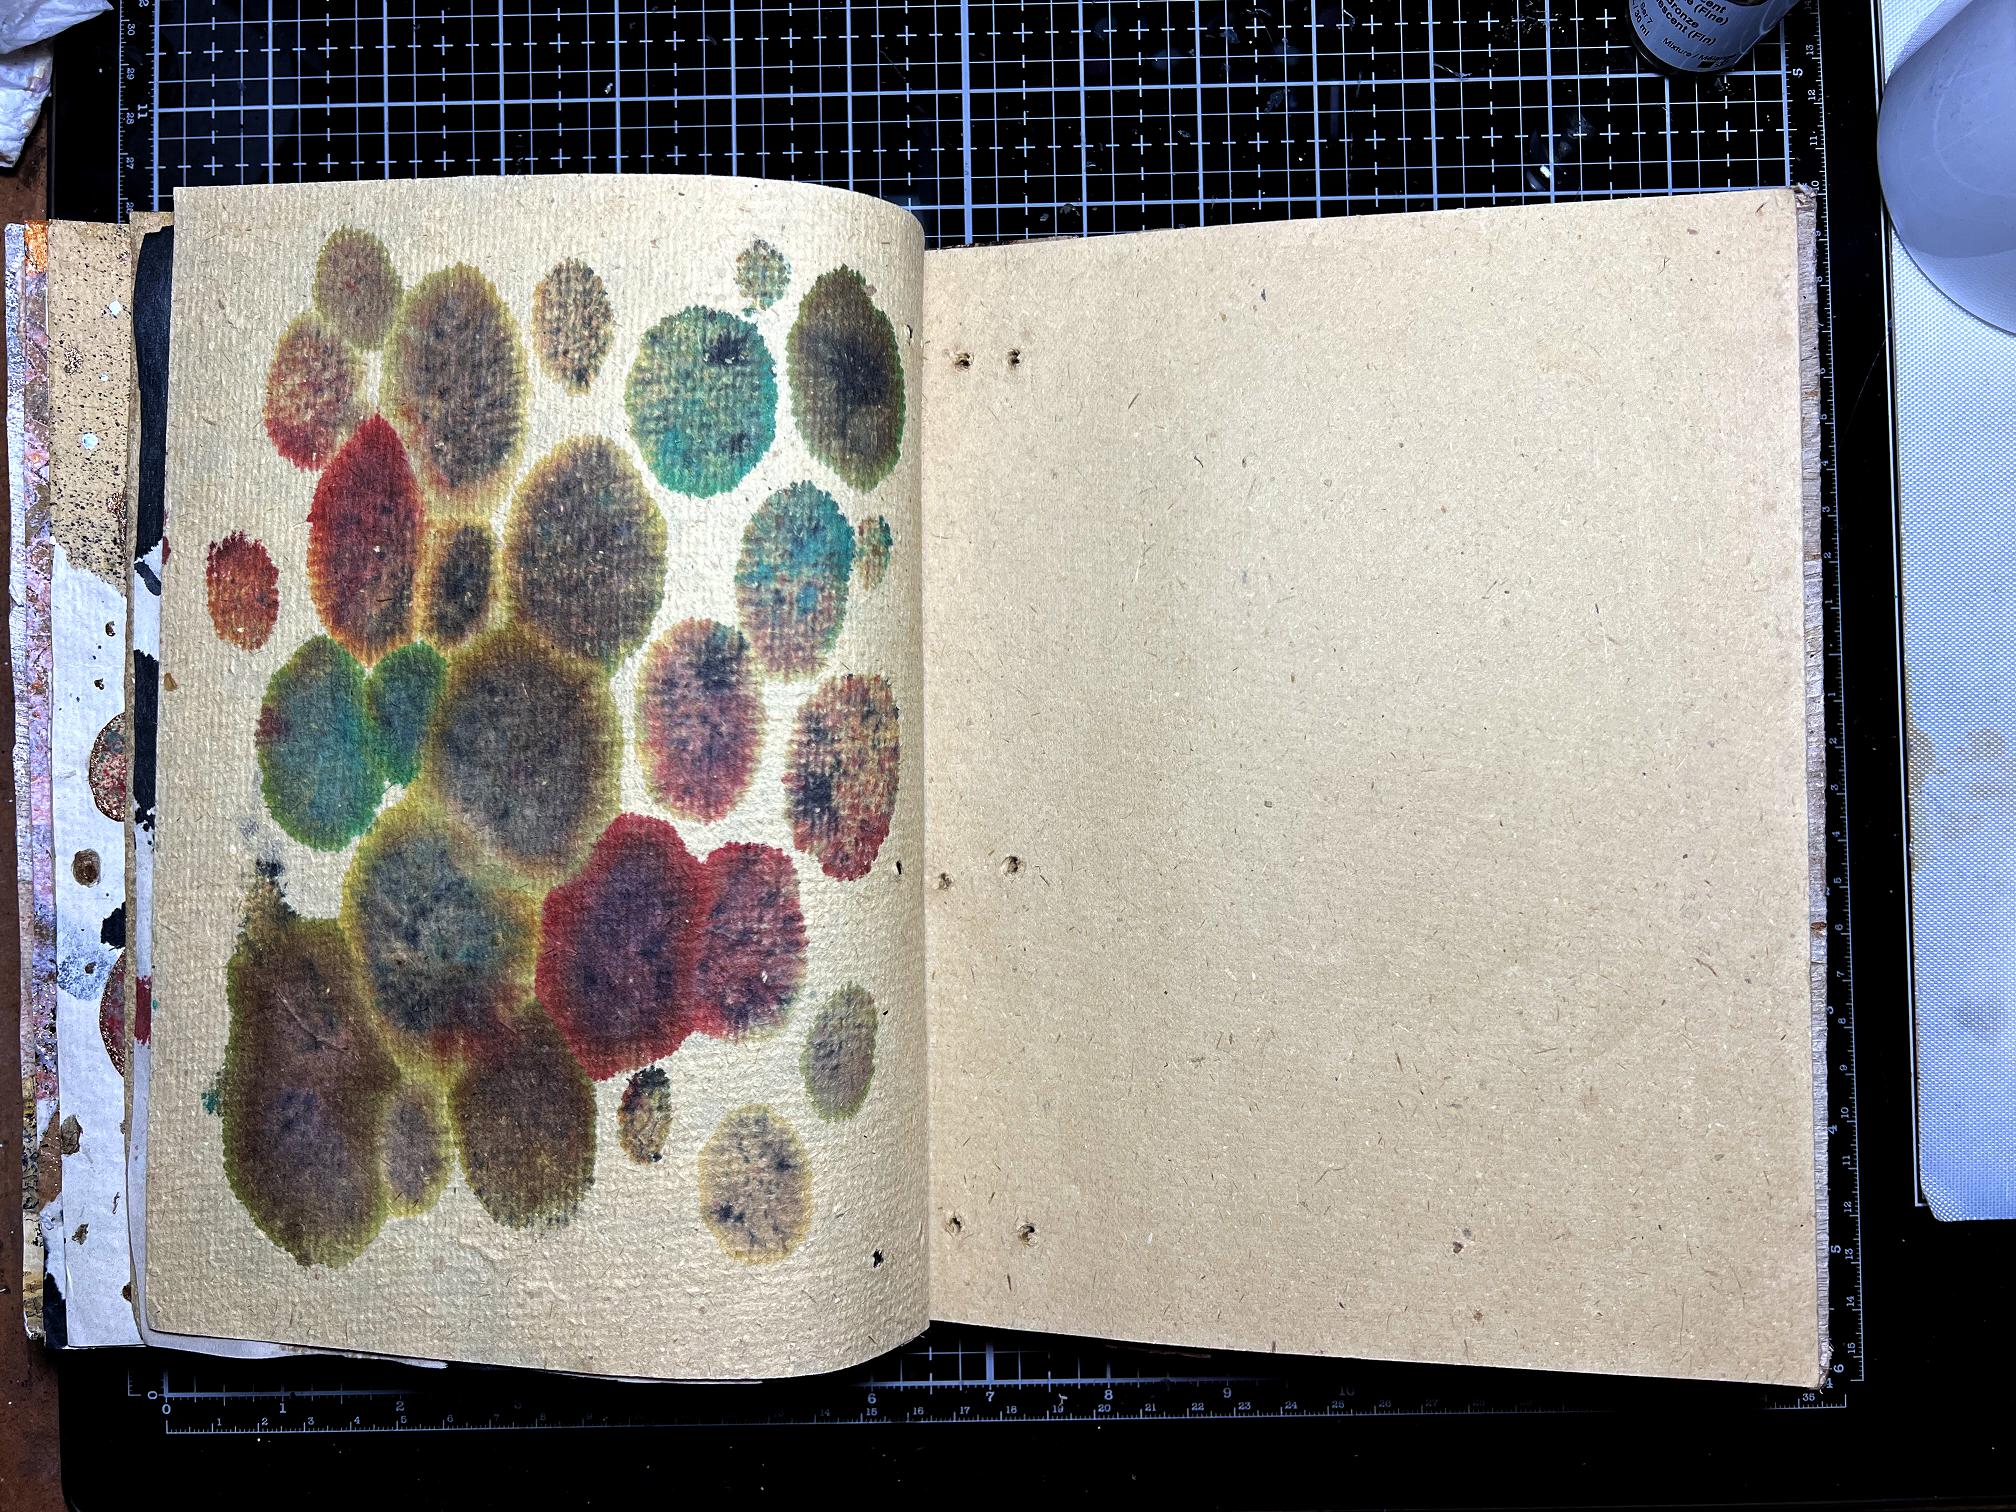
Here is the completed page spread.
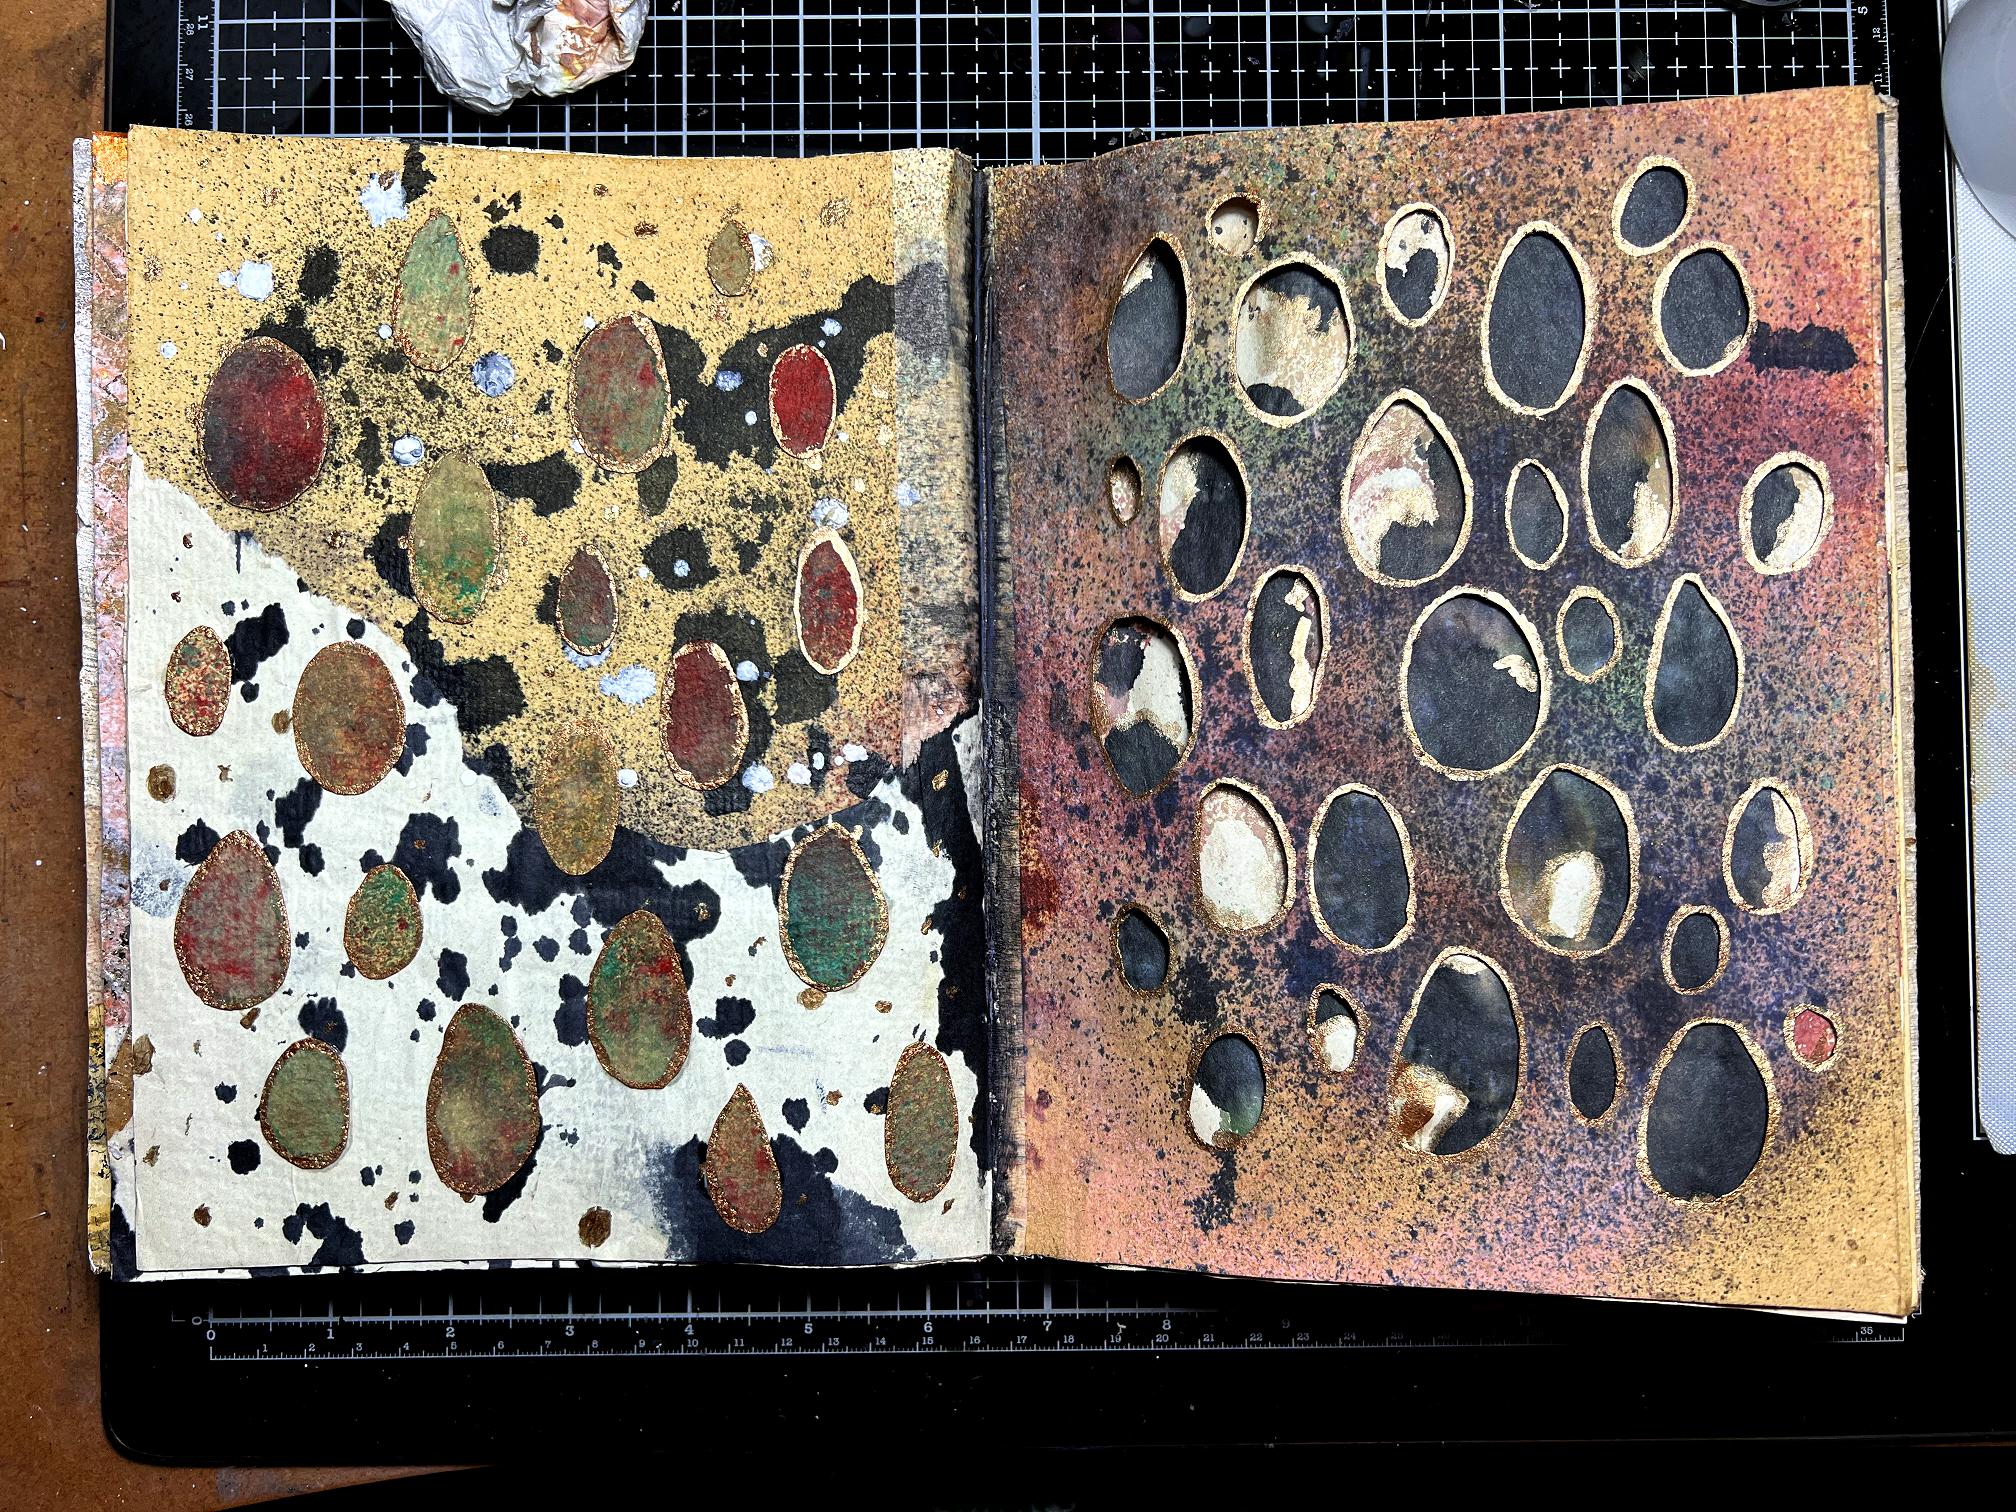
A closer view of the right hand page.
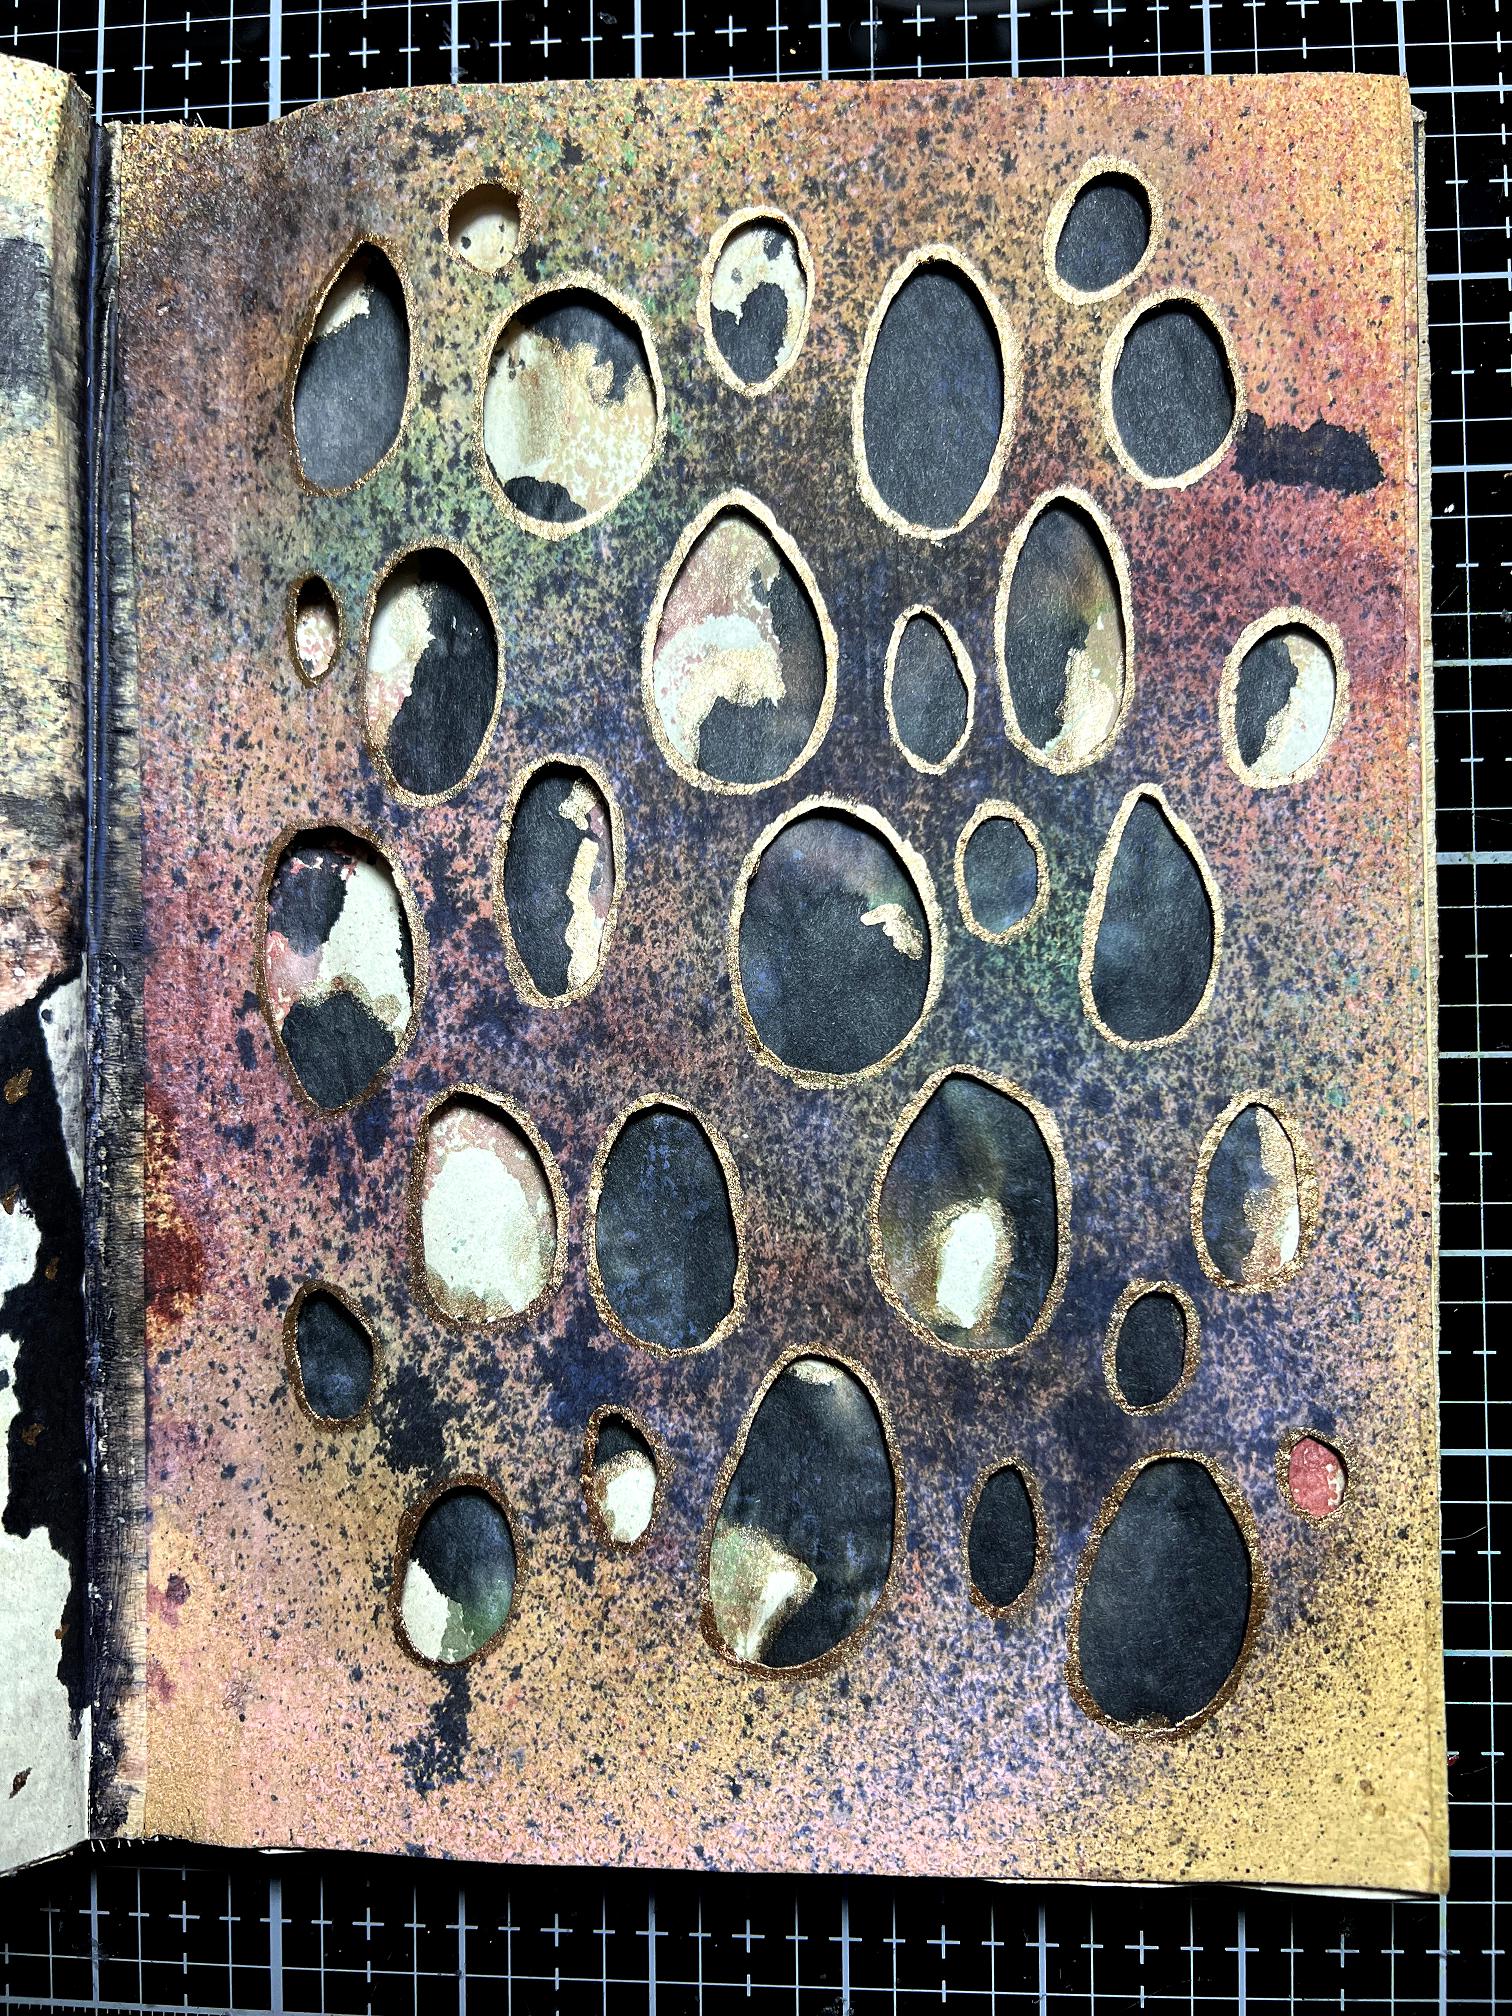
This is the page spread with the back of the additional page. Again, I haven’t decided what I am going to do with this. I love how the ovals on the right hand page have feathered and spread.
Turning that final page shows that the ink has bled through to the other side, one last time. Again, a lovely effect. This page is not treated in any way and is fairly thin. I need to think about preparing some subsequent pages to make them ready for more mixed media and/or collage work. The book is filling up nicely! I also definitely need to remove some more pages as it’s getting pretty thick at the front.
Moths
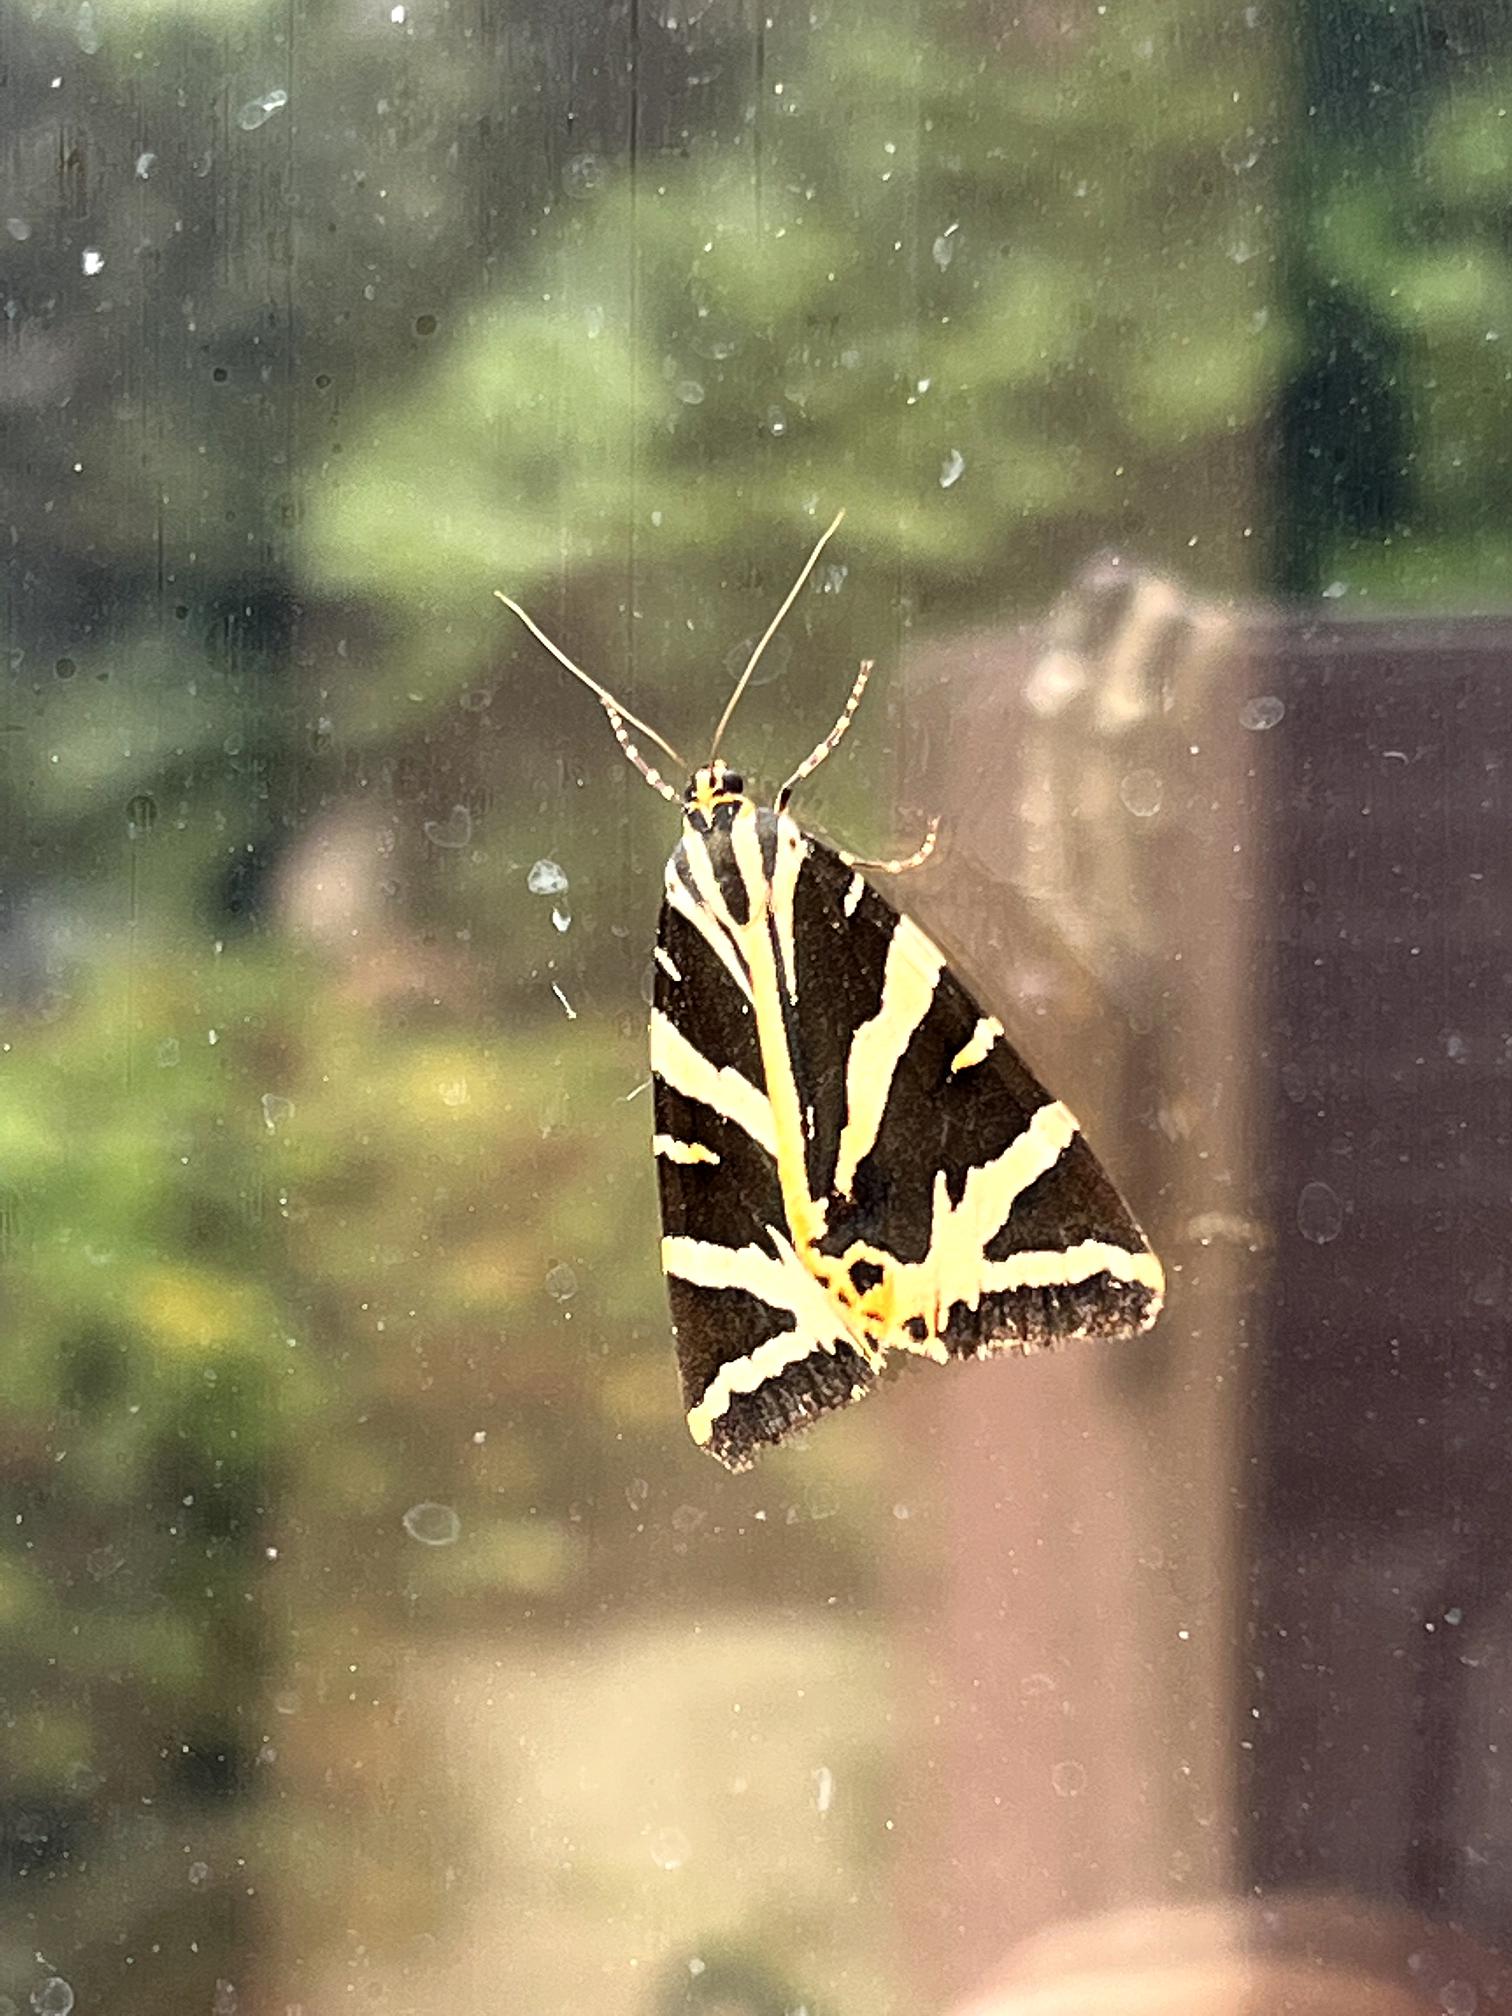
Off-topic, but I had to share this photo I took yesterday morning, of a Jersey tiger moth that was sitting on the kitchen window. He’s a very handsome fellow! This moth is found only along the south coast in the UK although colonies are now being discovered further inland in London and in Dorset. They are not nocturnal moths like most of our native species, and like butterflies, they enjoy the buddleia trees in the garden.
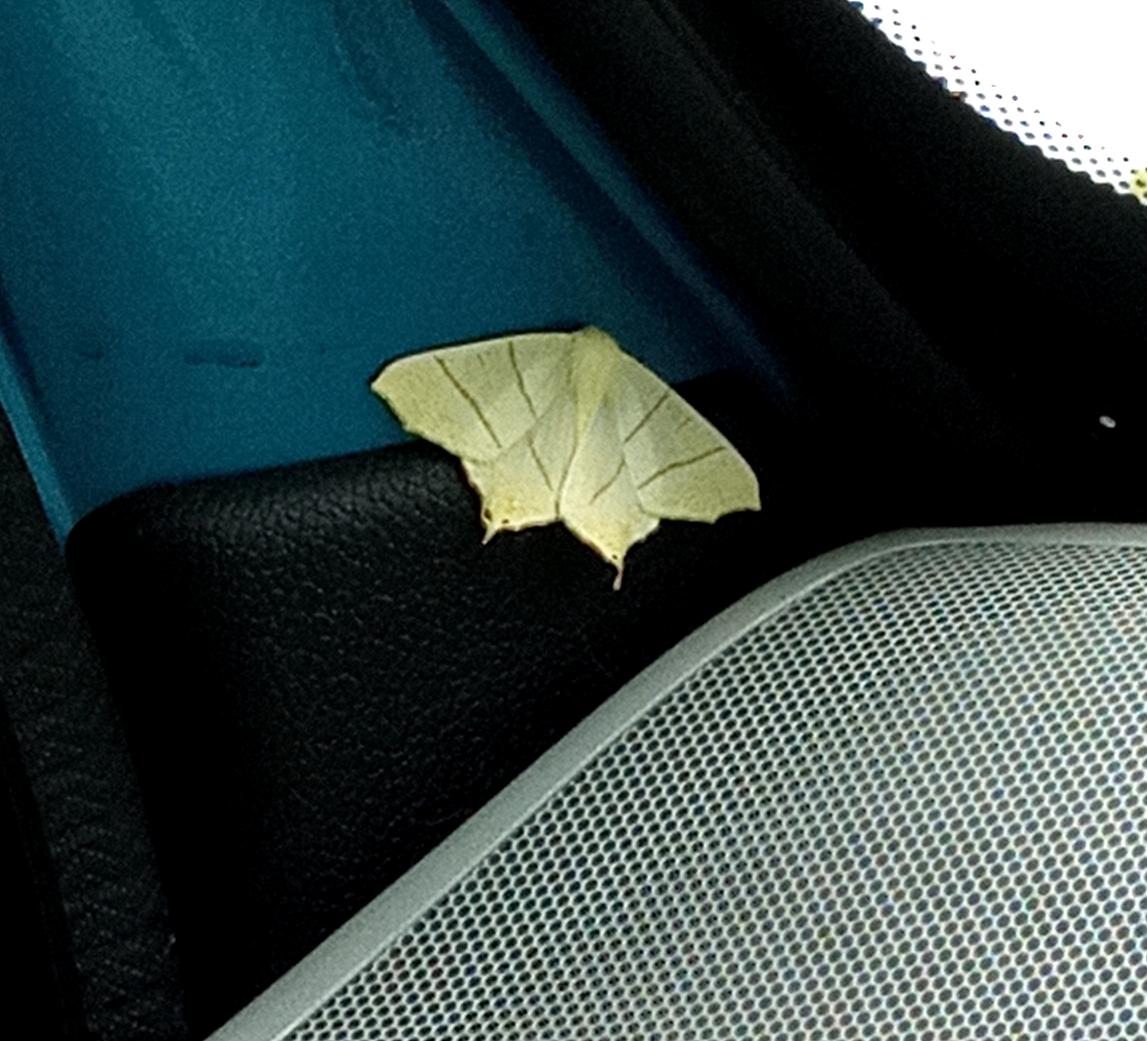
A few weeks ago my hubby found a different moth in the car. He spent ages trying to find out what it was, thinking it was a butterfly (he didn’t realise that when at rest, butterflies fold their wings vertically, whereas moths fold them horizontally along their backs). He got someone else to look in their butterfly book but they couldn’t find it either – not surprisingly!! This evening, I searched onlilne for “pale yellow moth with stripes” and it was the first one that came up! Easy peasy lemon squeezy. It is a swallow-tail moth, which is nocturnal, and you don’t see them flying around in the daytime much unless they are disturbed. Their distribution is much wider than the Jersey tiger moth. It’s an unusual looking moth as I am sure you will agree.
A final view of the completed Organic Journal page again.