Completing the first page
Last night I completed the first page of my Organic Journal. I had a plan in mind, how the page would look when finished, and it turned out completely different! This was because of several mistakes I made. I look on this page as a steep learning curve in mixed media, and I do not consider it to be a failure because of all the things I learnt during the process. When it was done, my first reaction was, “I don’t like it. I really don’t like it.” Then it began to grow on me a bit. Once I let the original plan go, I could accept it for what it was – yes, it was very dark, and quite muddy in places, but for a first attempt I could believe in it.
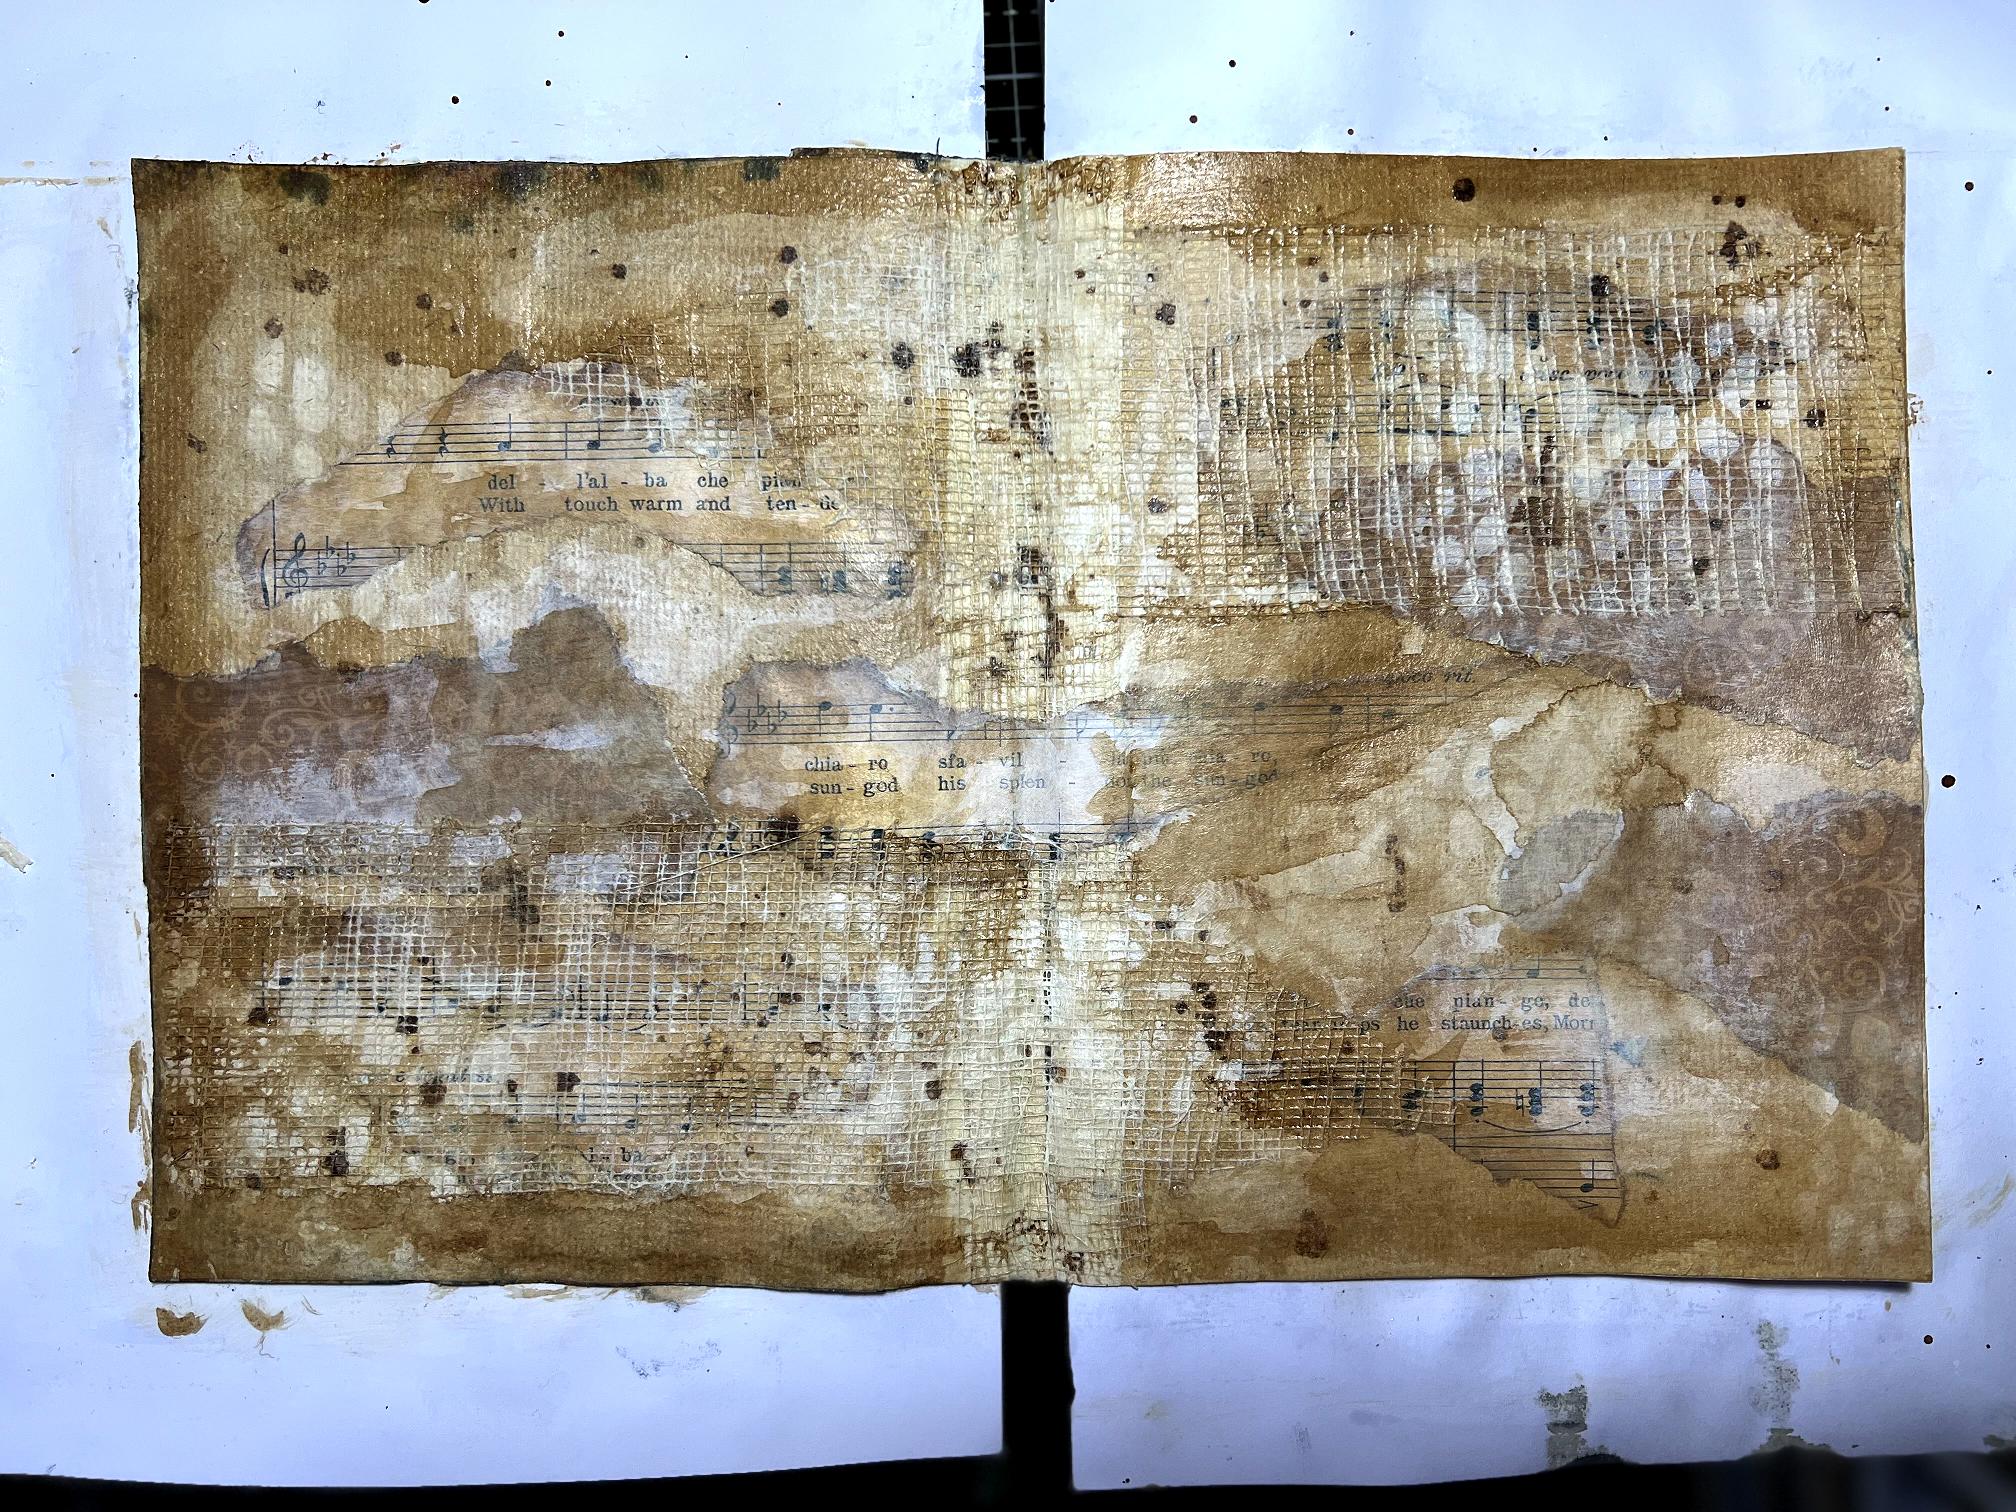
At the end of yesterday’s post it was still pretty much on track.
When I added the circles, things began to go wrong. Not too bad to start with… In addition to the circles, I also painted on some streaks of white gesso.
The music was still visible. I added some stamping using my new Tim Holtz text stamp with black archival ink, and also some patches of stencilled moulding paste – I really like this Tim Holtz “Dot Fade” stencil.
At this point I decided to add some Black Soot Distress Spray Stain along the top edge in the hope that it would drip down. All that happened was that it blended with everything else it came into contact with, making a dark mess. Also, the black and white I had painted on the circles were also blending with other stuff and losing definition.
The music was starting to disappear.
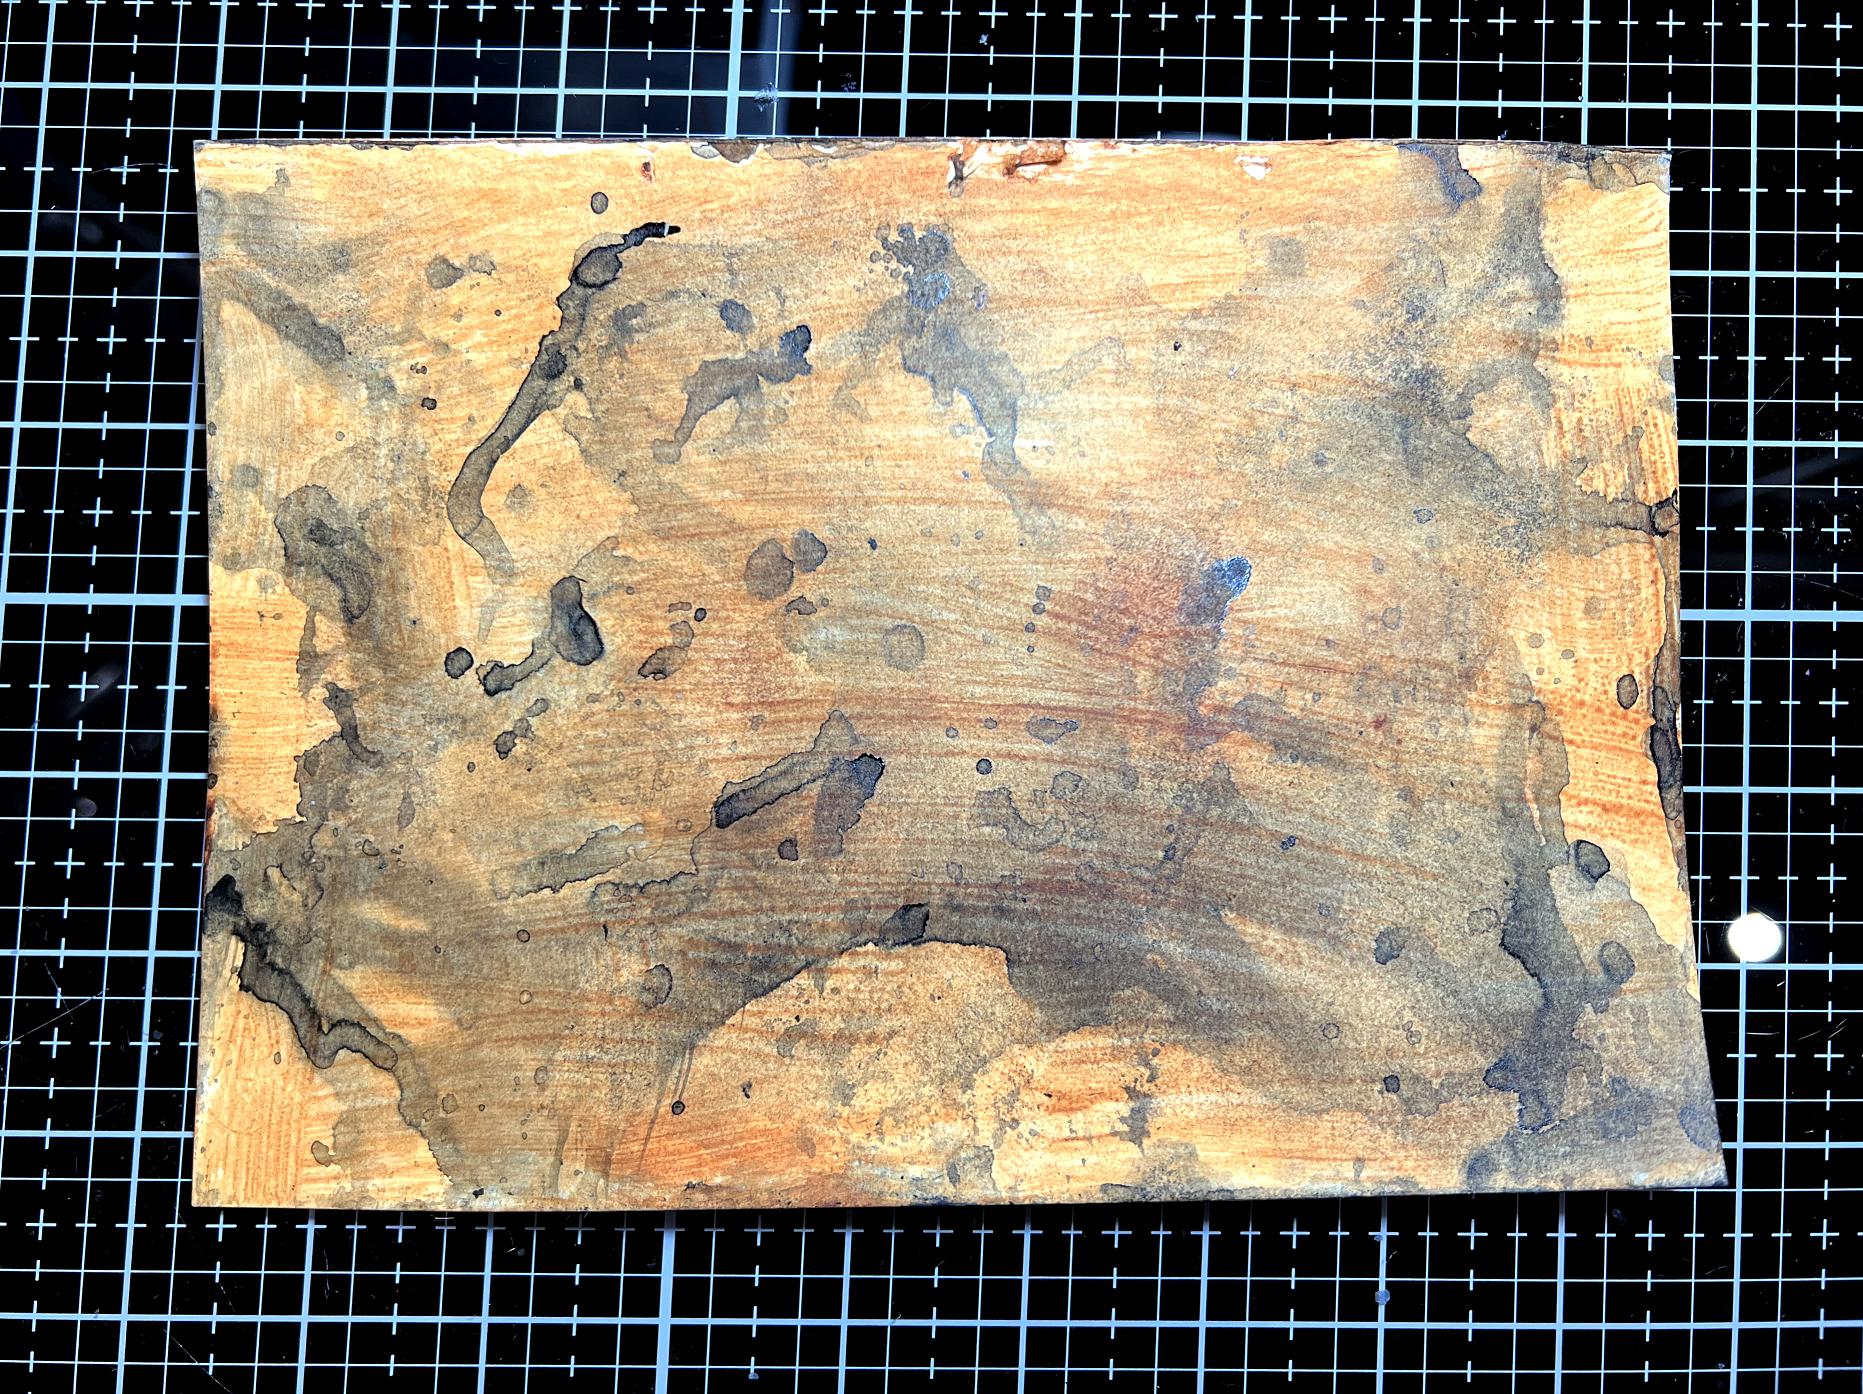
There was quite a bit of ink swimming around on the desk from the drips, and rather than wasting it, I blotted it up with one of the background pieces I’d made the other day on stiff card, when I was cleaning my brush.
Yesterday, when I covered everything with the Distress Micro Glaze, and then was able to add clear gesso, I used my heat tool to dry it, and I read somewhere that this can cause the Micro Glaze to melt and disappear and stop working. I think this may be what happened, causing all that black ink to blend with the underlying layers.
Undaunted, I decided on another tack – drips from the sides! I repeated the process with the Black Soot Distress Spray Stain, again applying it liberally with a brush along the edges of the pages and tipping the book up to allow it to run.
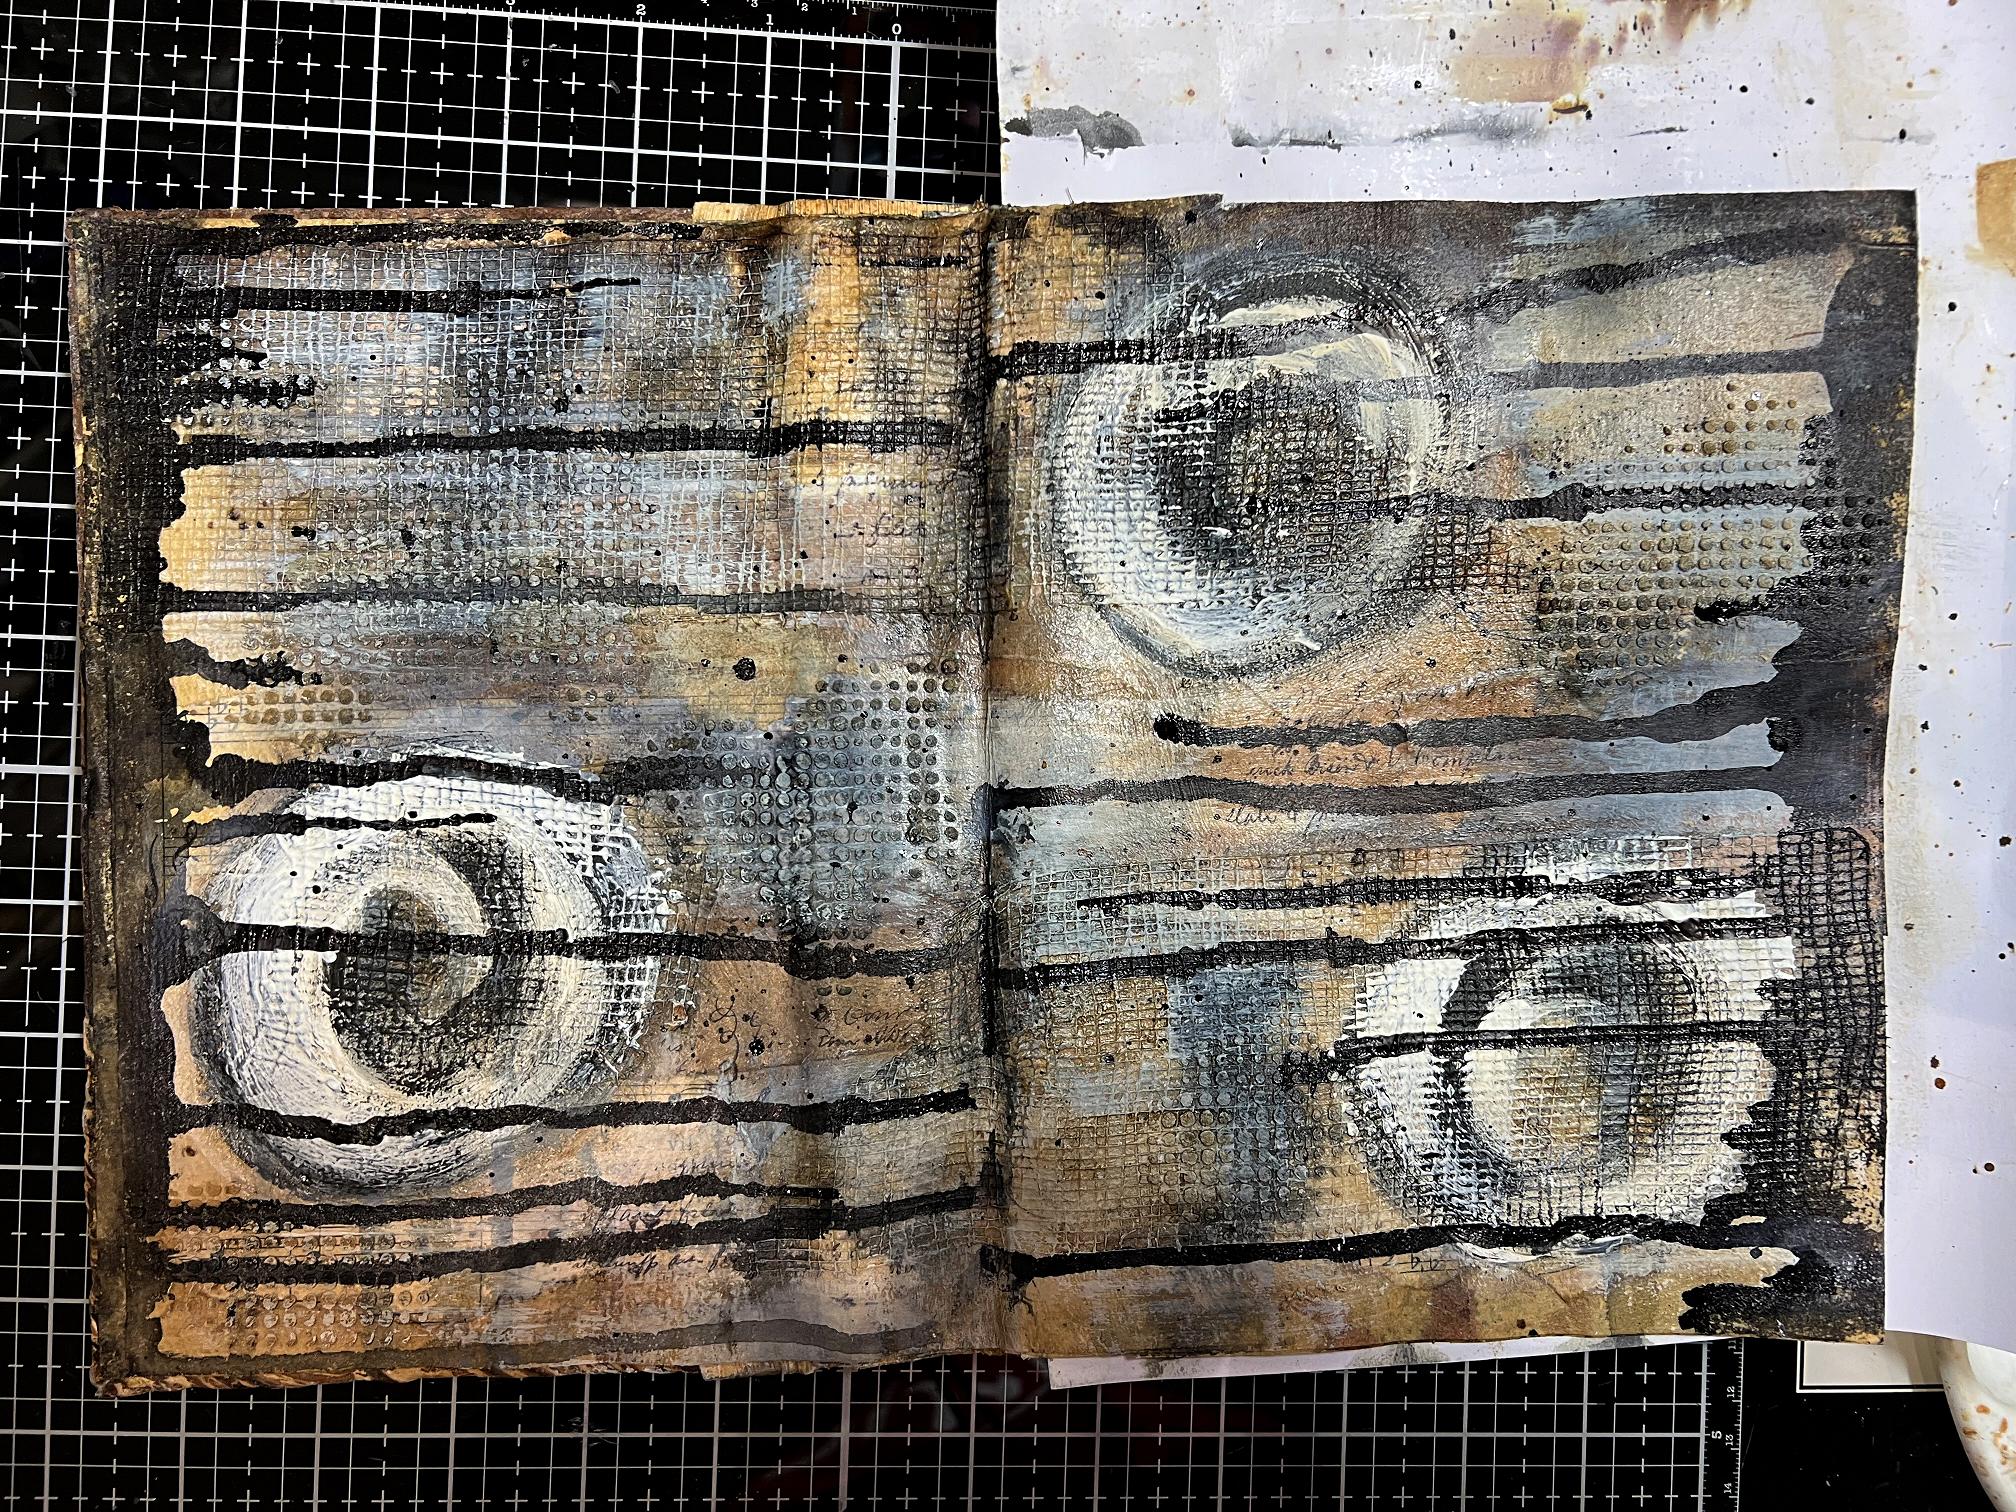
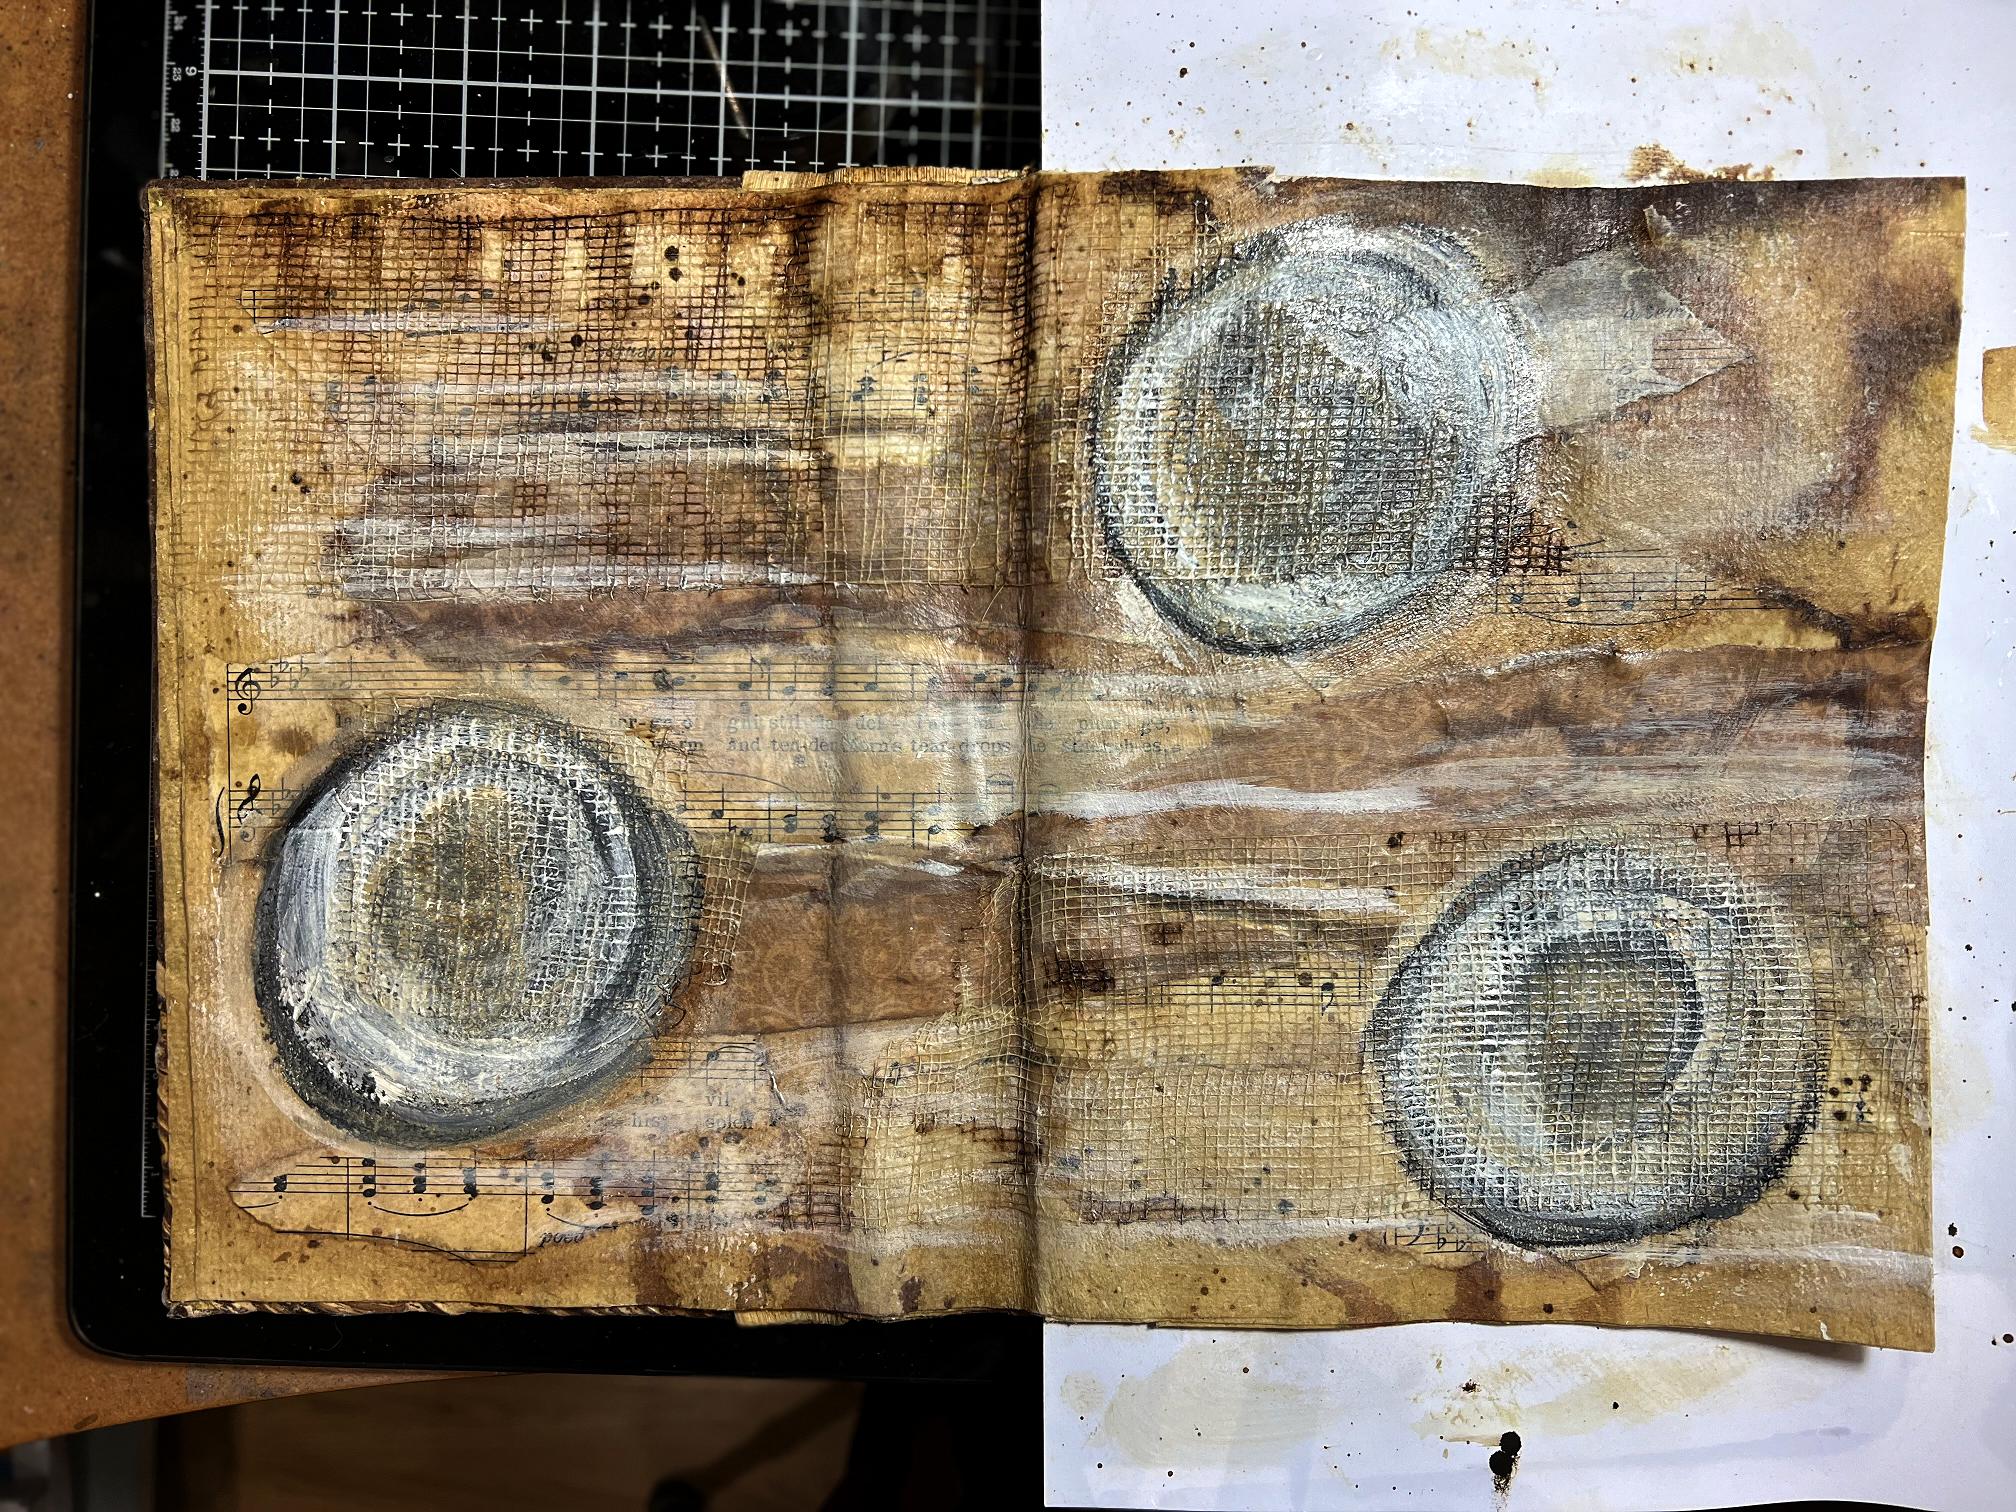
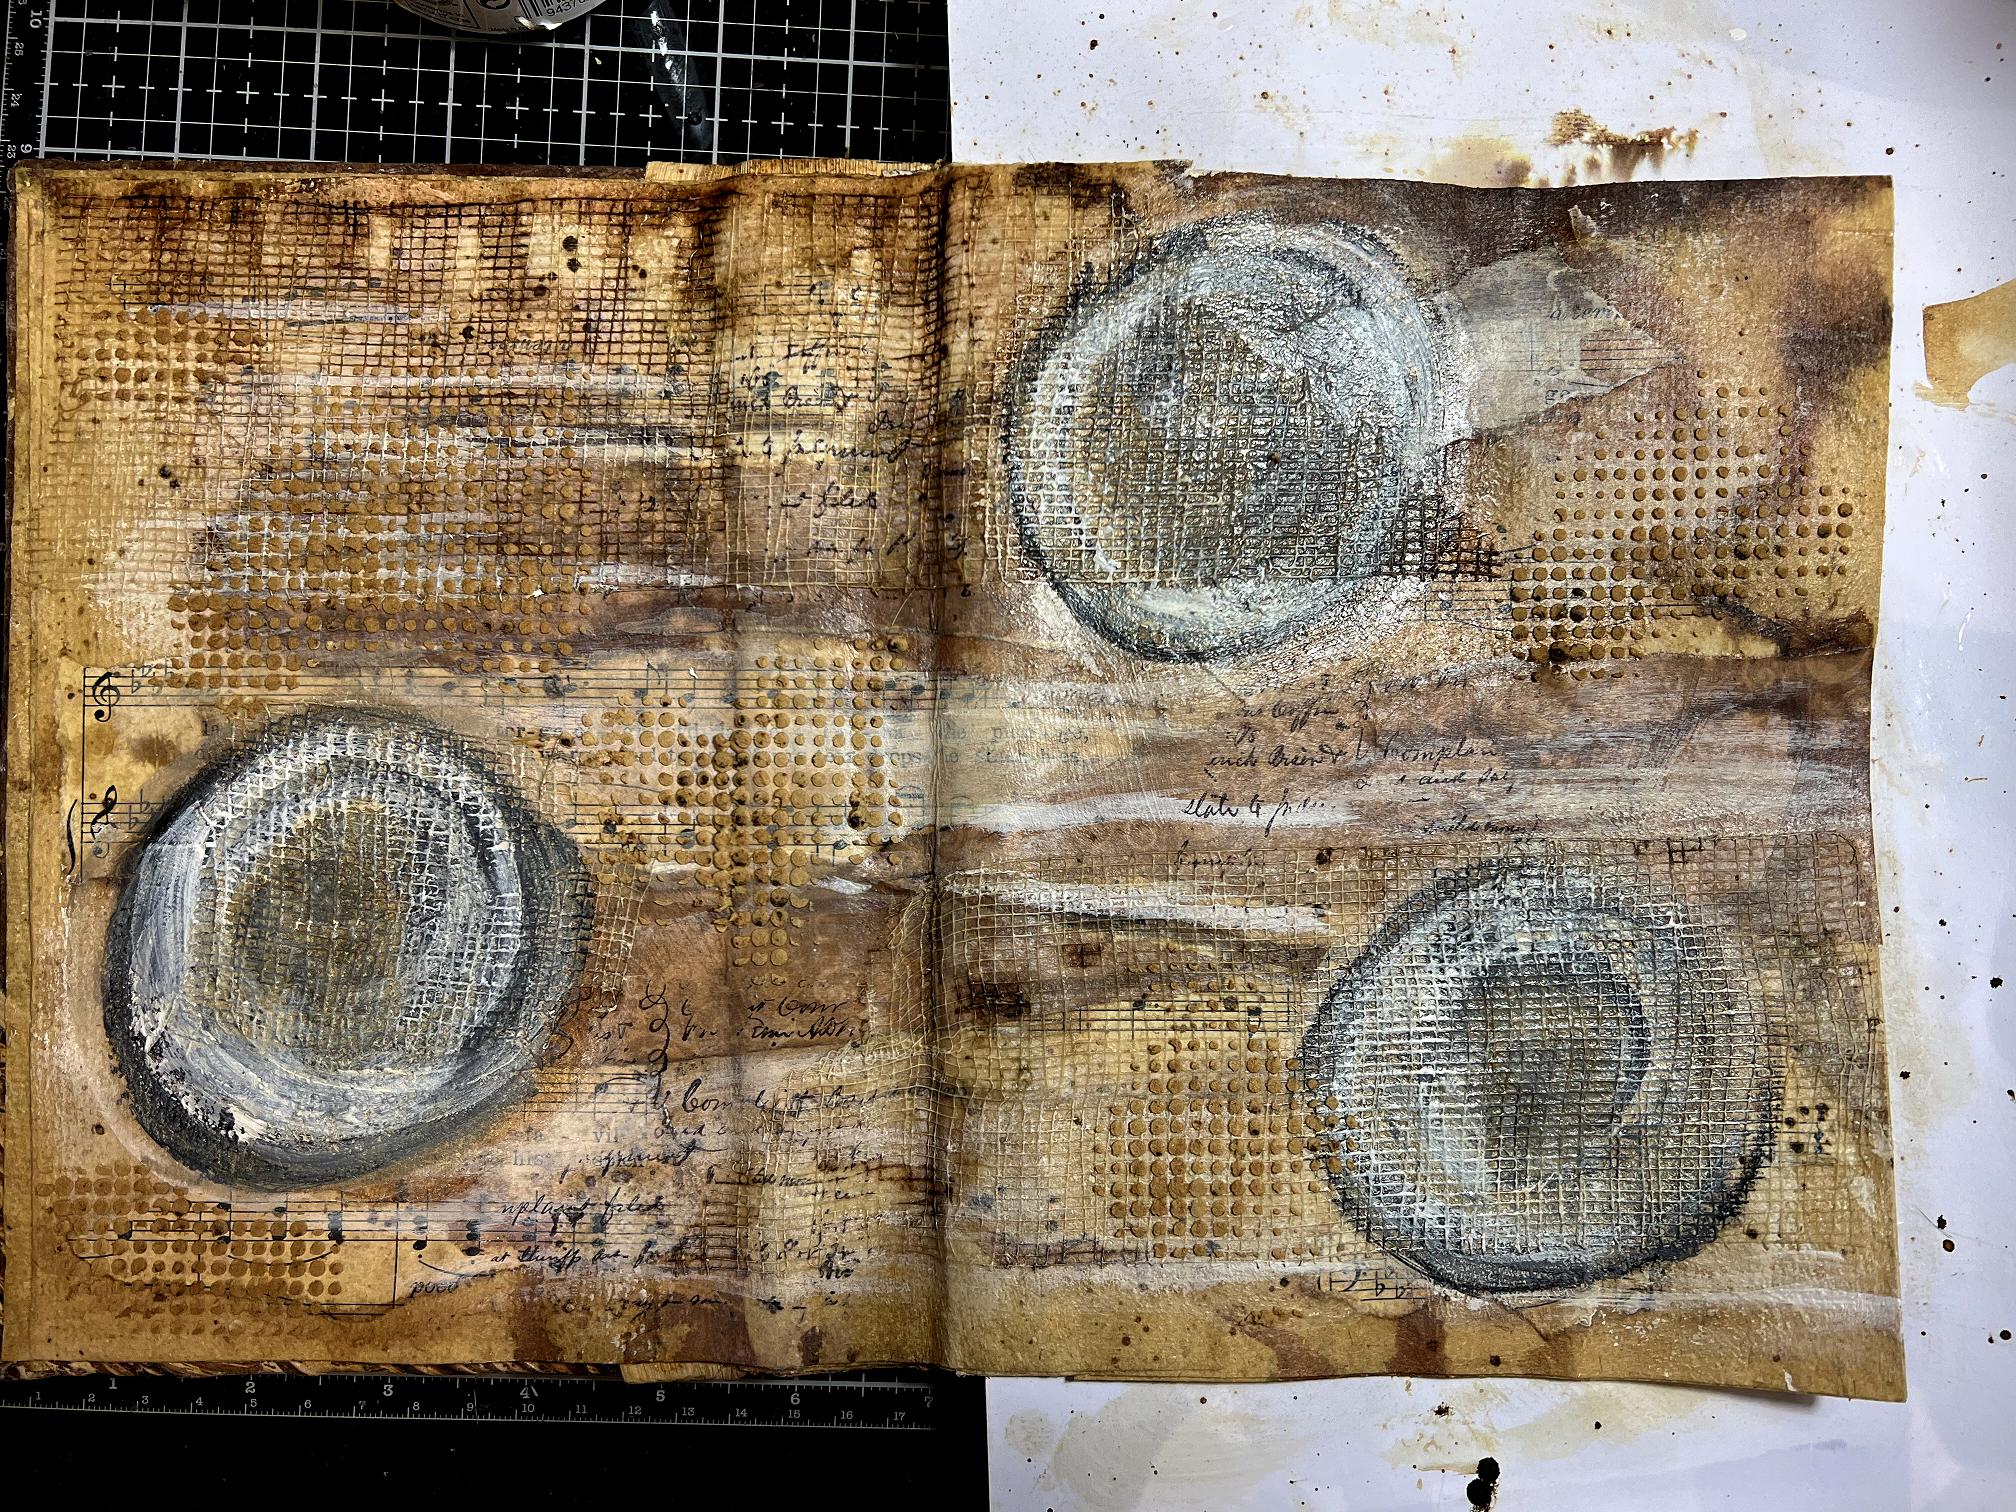
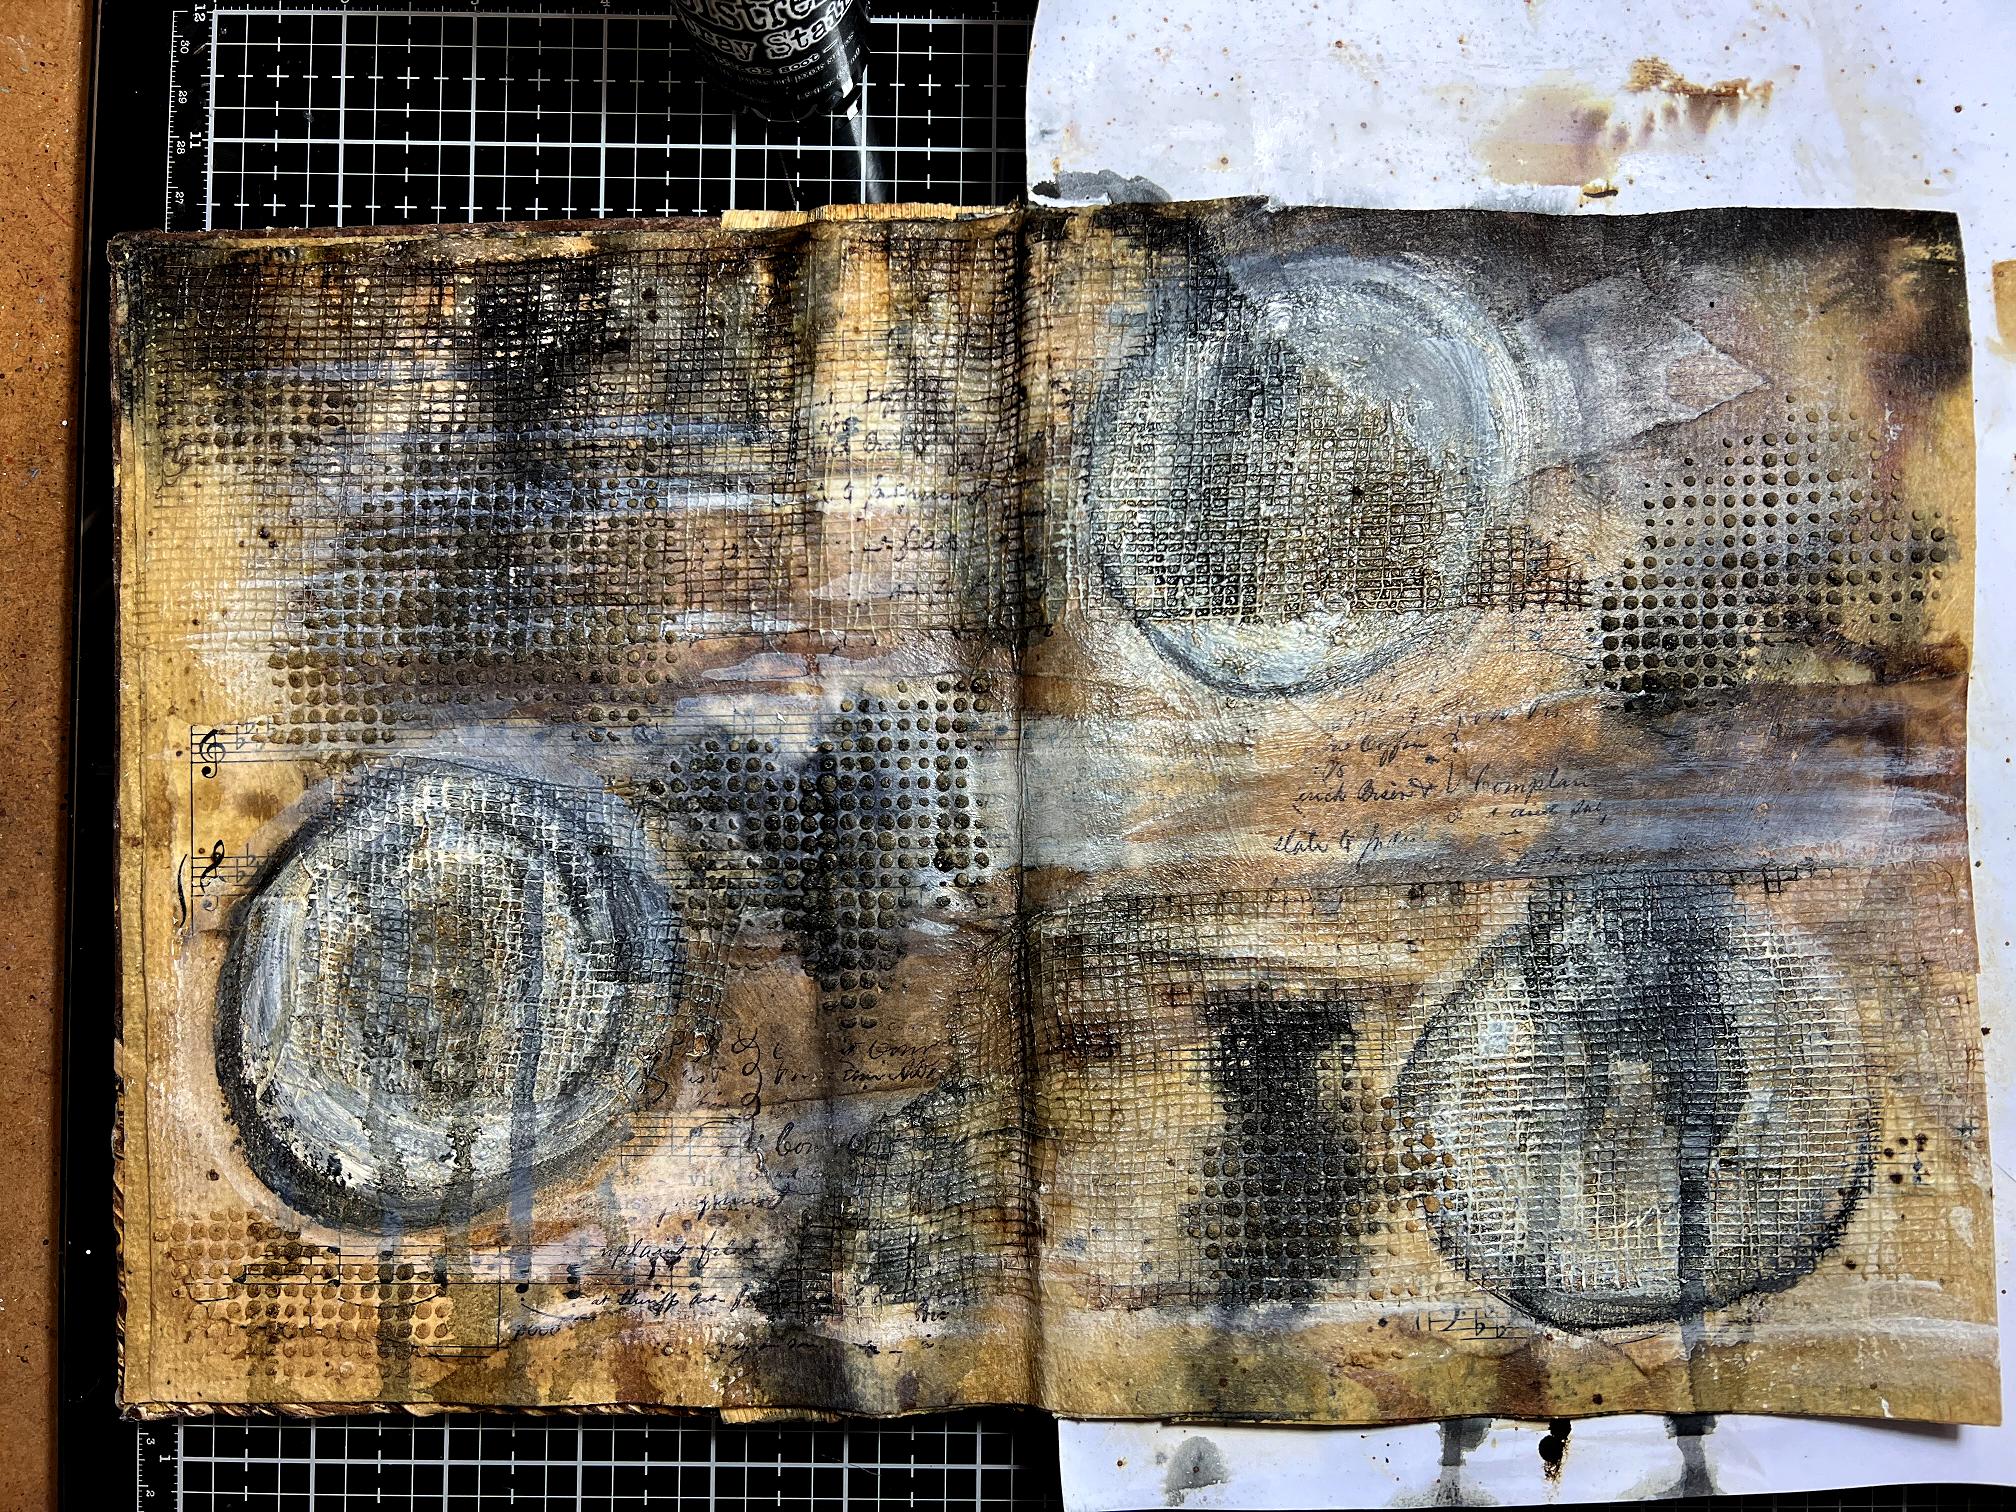
The whole thing was now beginning to look very dark. You can see I had made another attempt to bring some definition into the circles. Where the black ink had blended with the white gesso/paint, I was getting a blue-ish grey which I really didn’t want in this colour scheme.
I added some black acrylic paint around all four sides, and attempted to add some white spatters using acrylic paint – these came out much too small and just looked messy. By now I decided I really didn’t like this page! The final touch (as usual, not properly visible in the photo) was to rub some gold gilding wax over the stencilled moulding paste, and this did begin to turn it around for me, and the page began to grow on me somewhat.
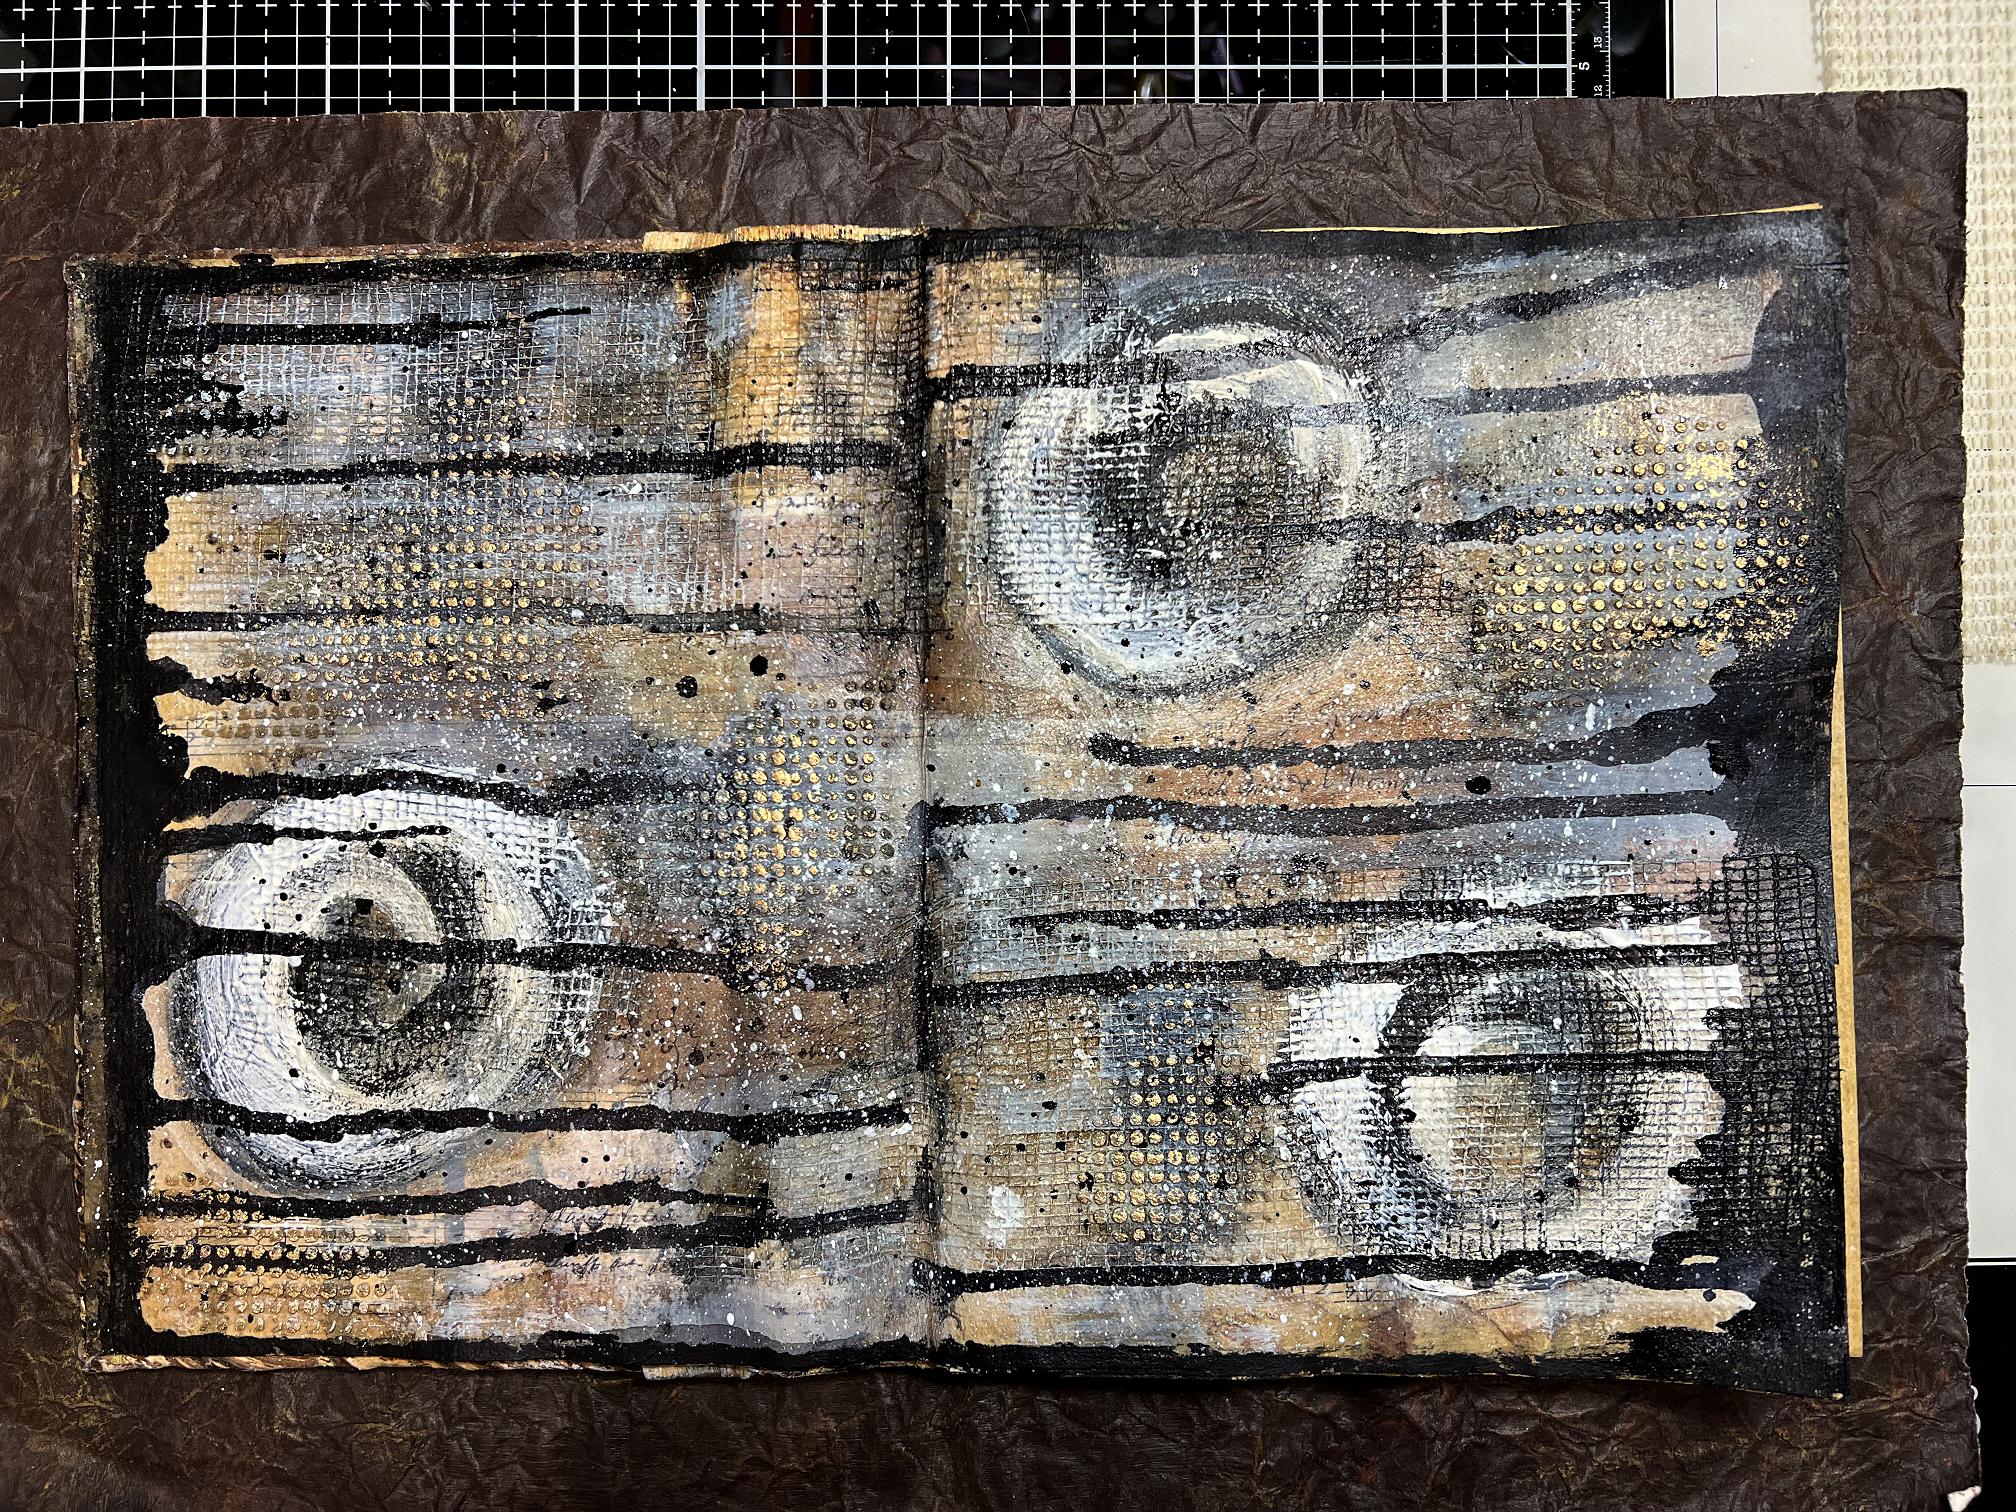
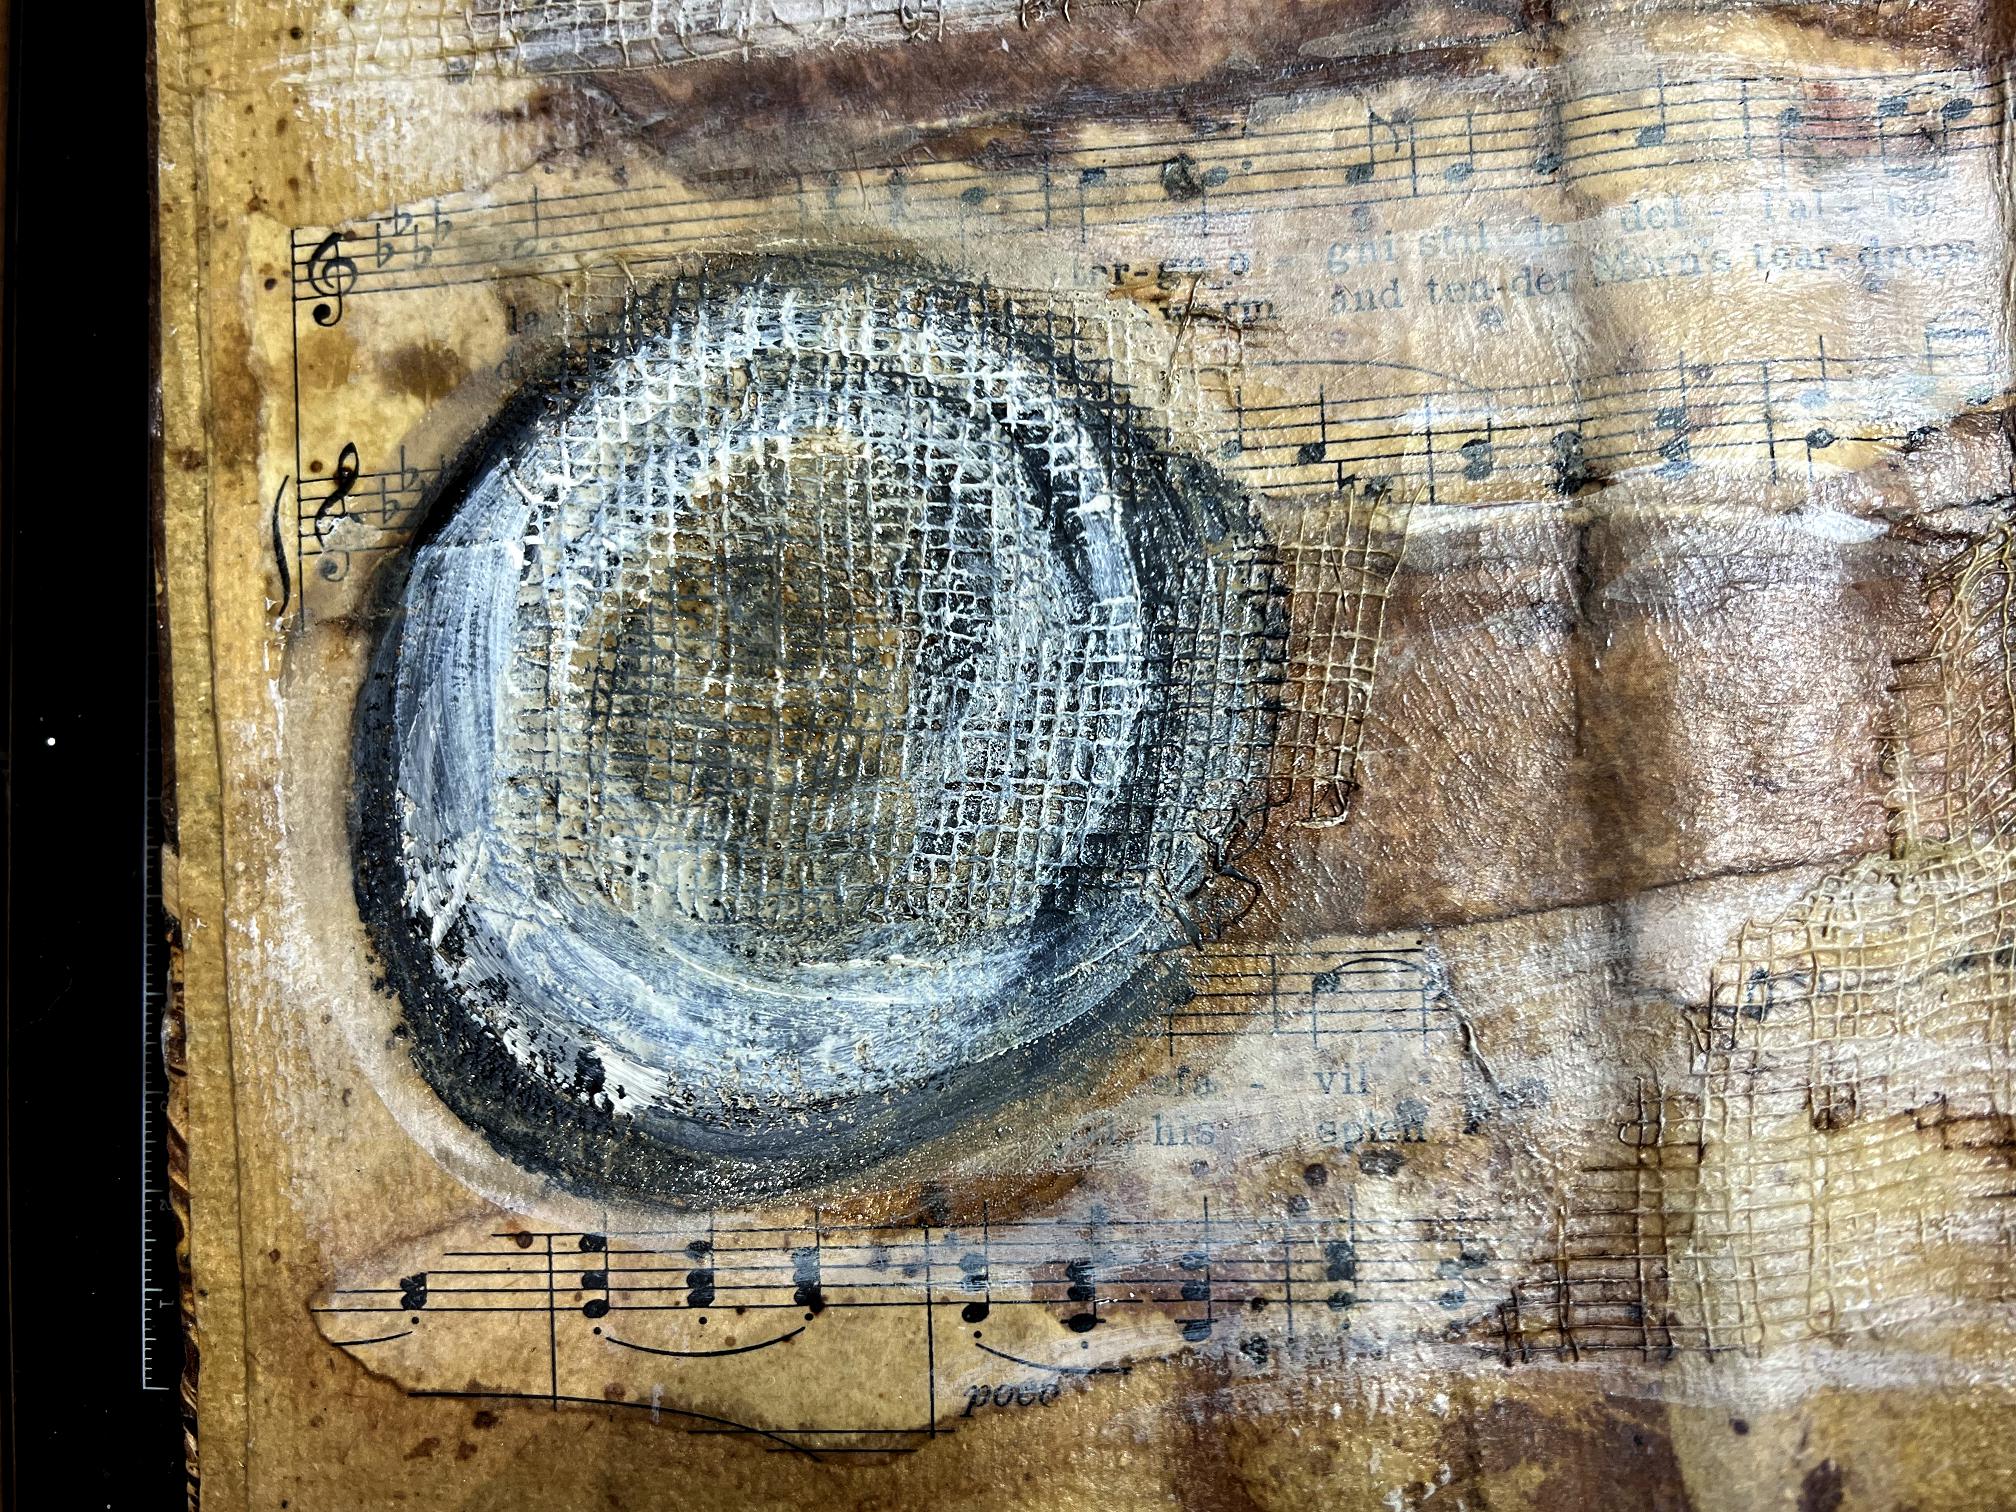
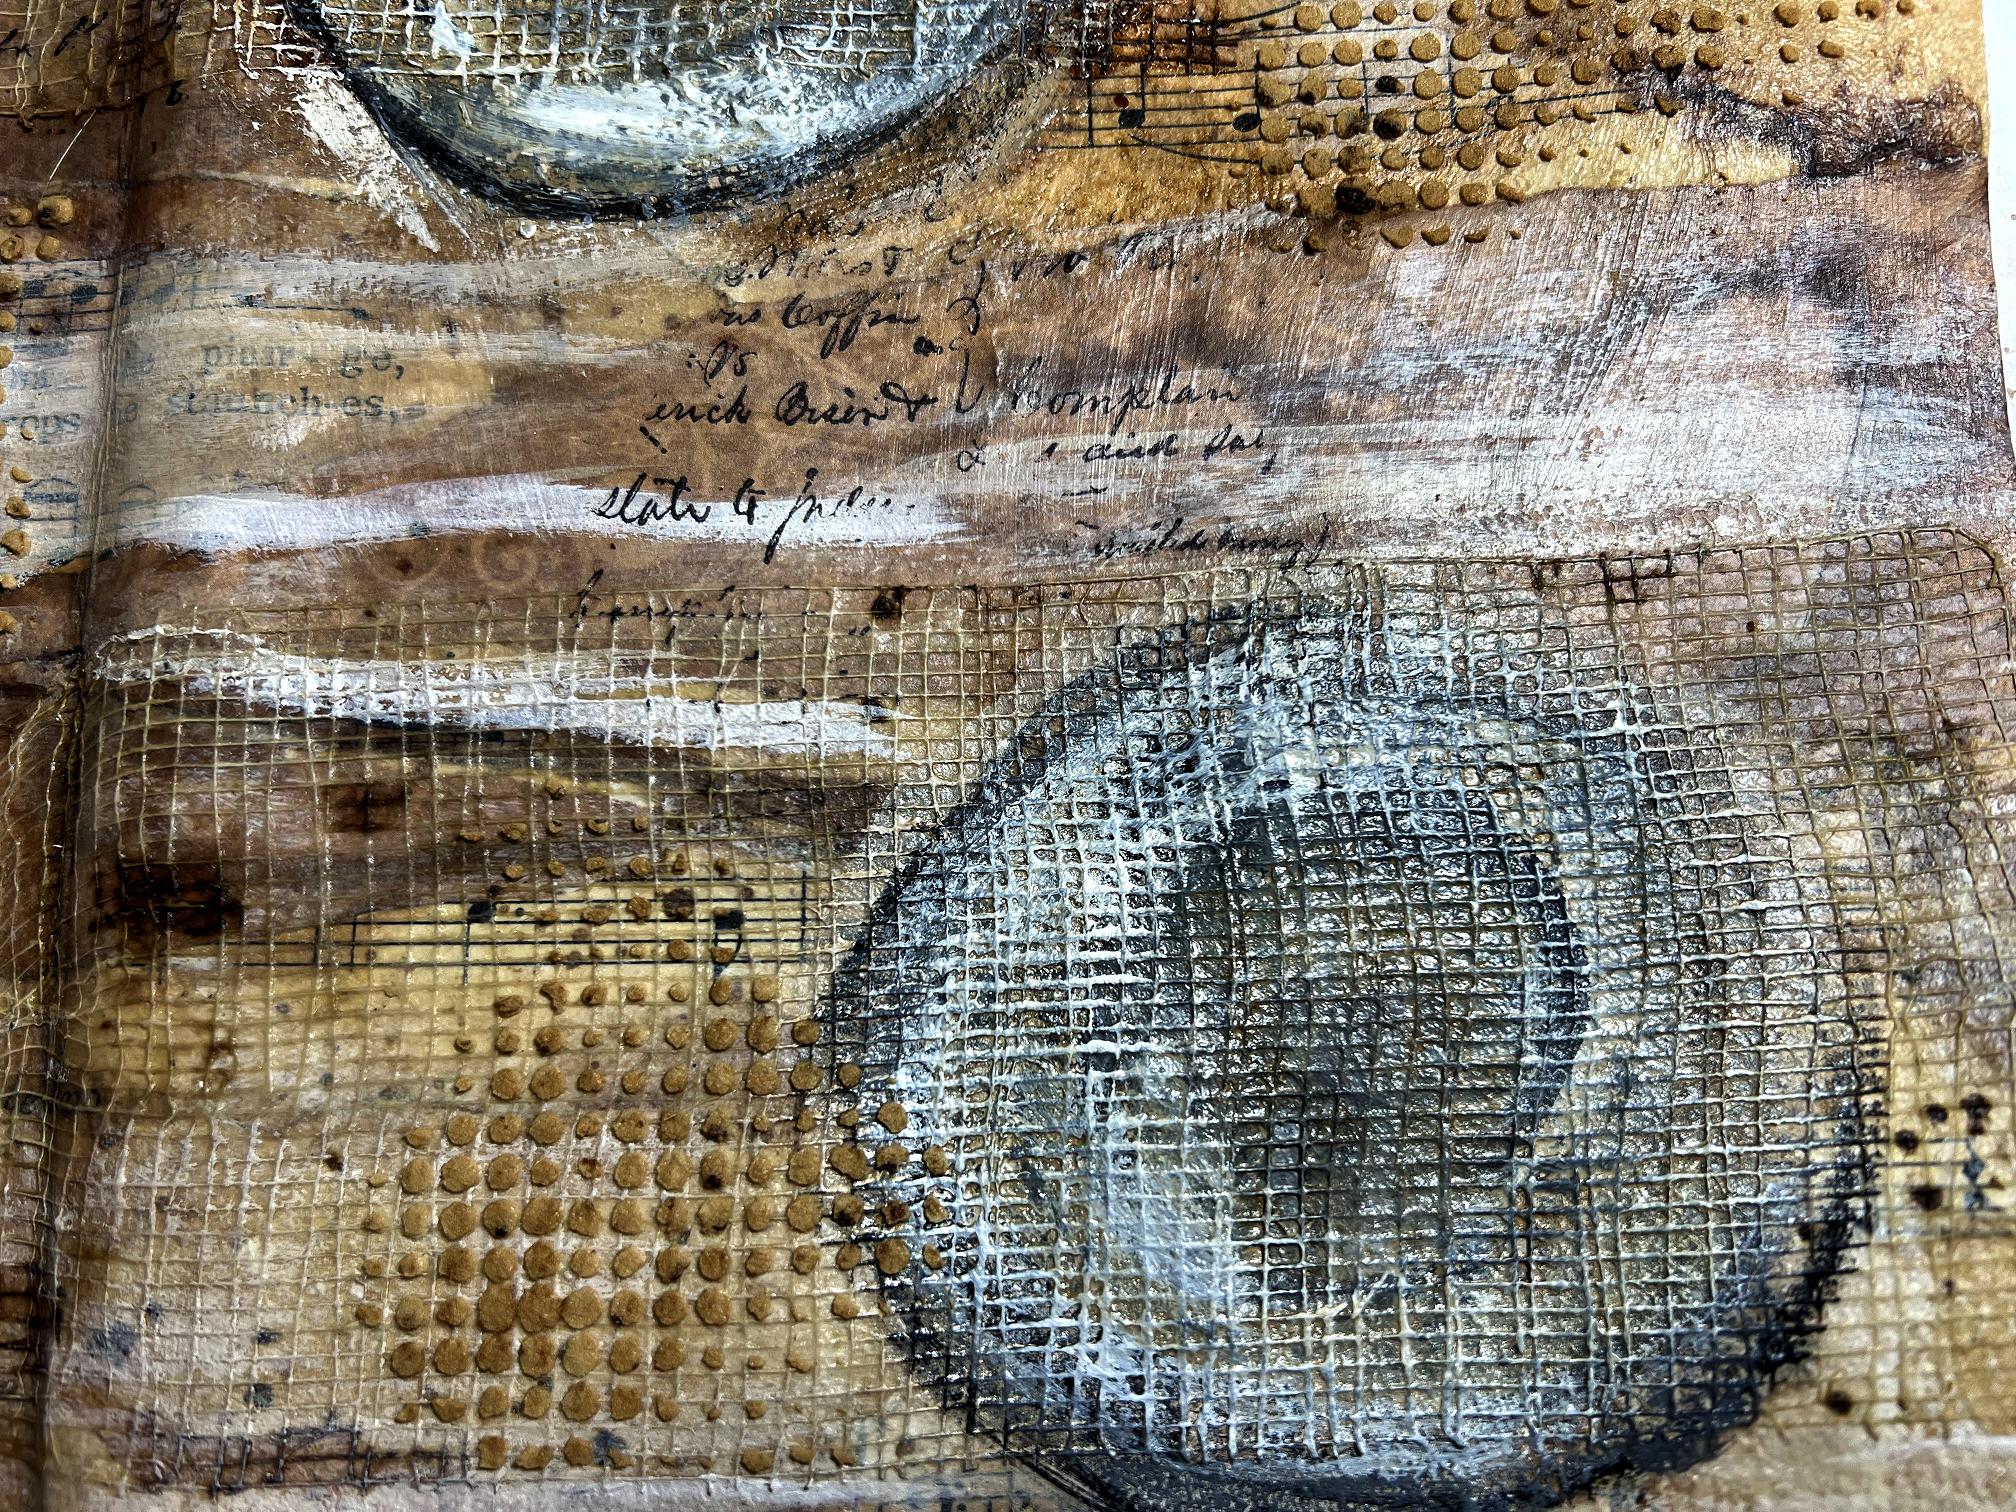
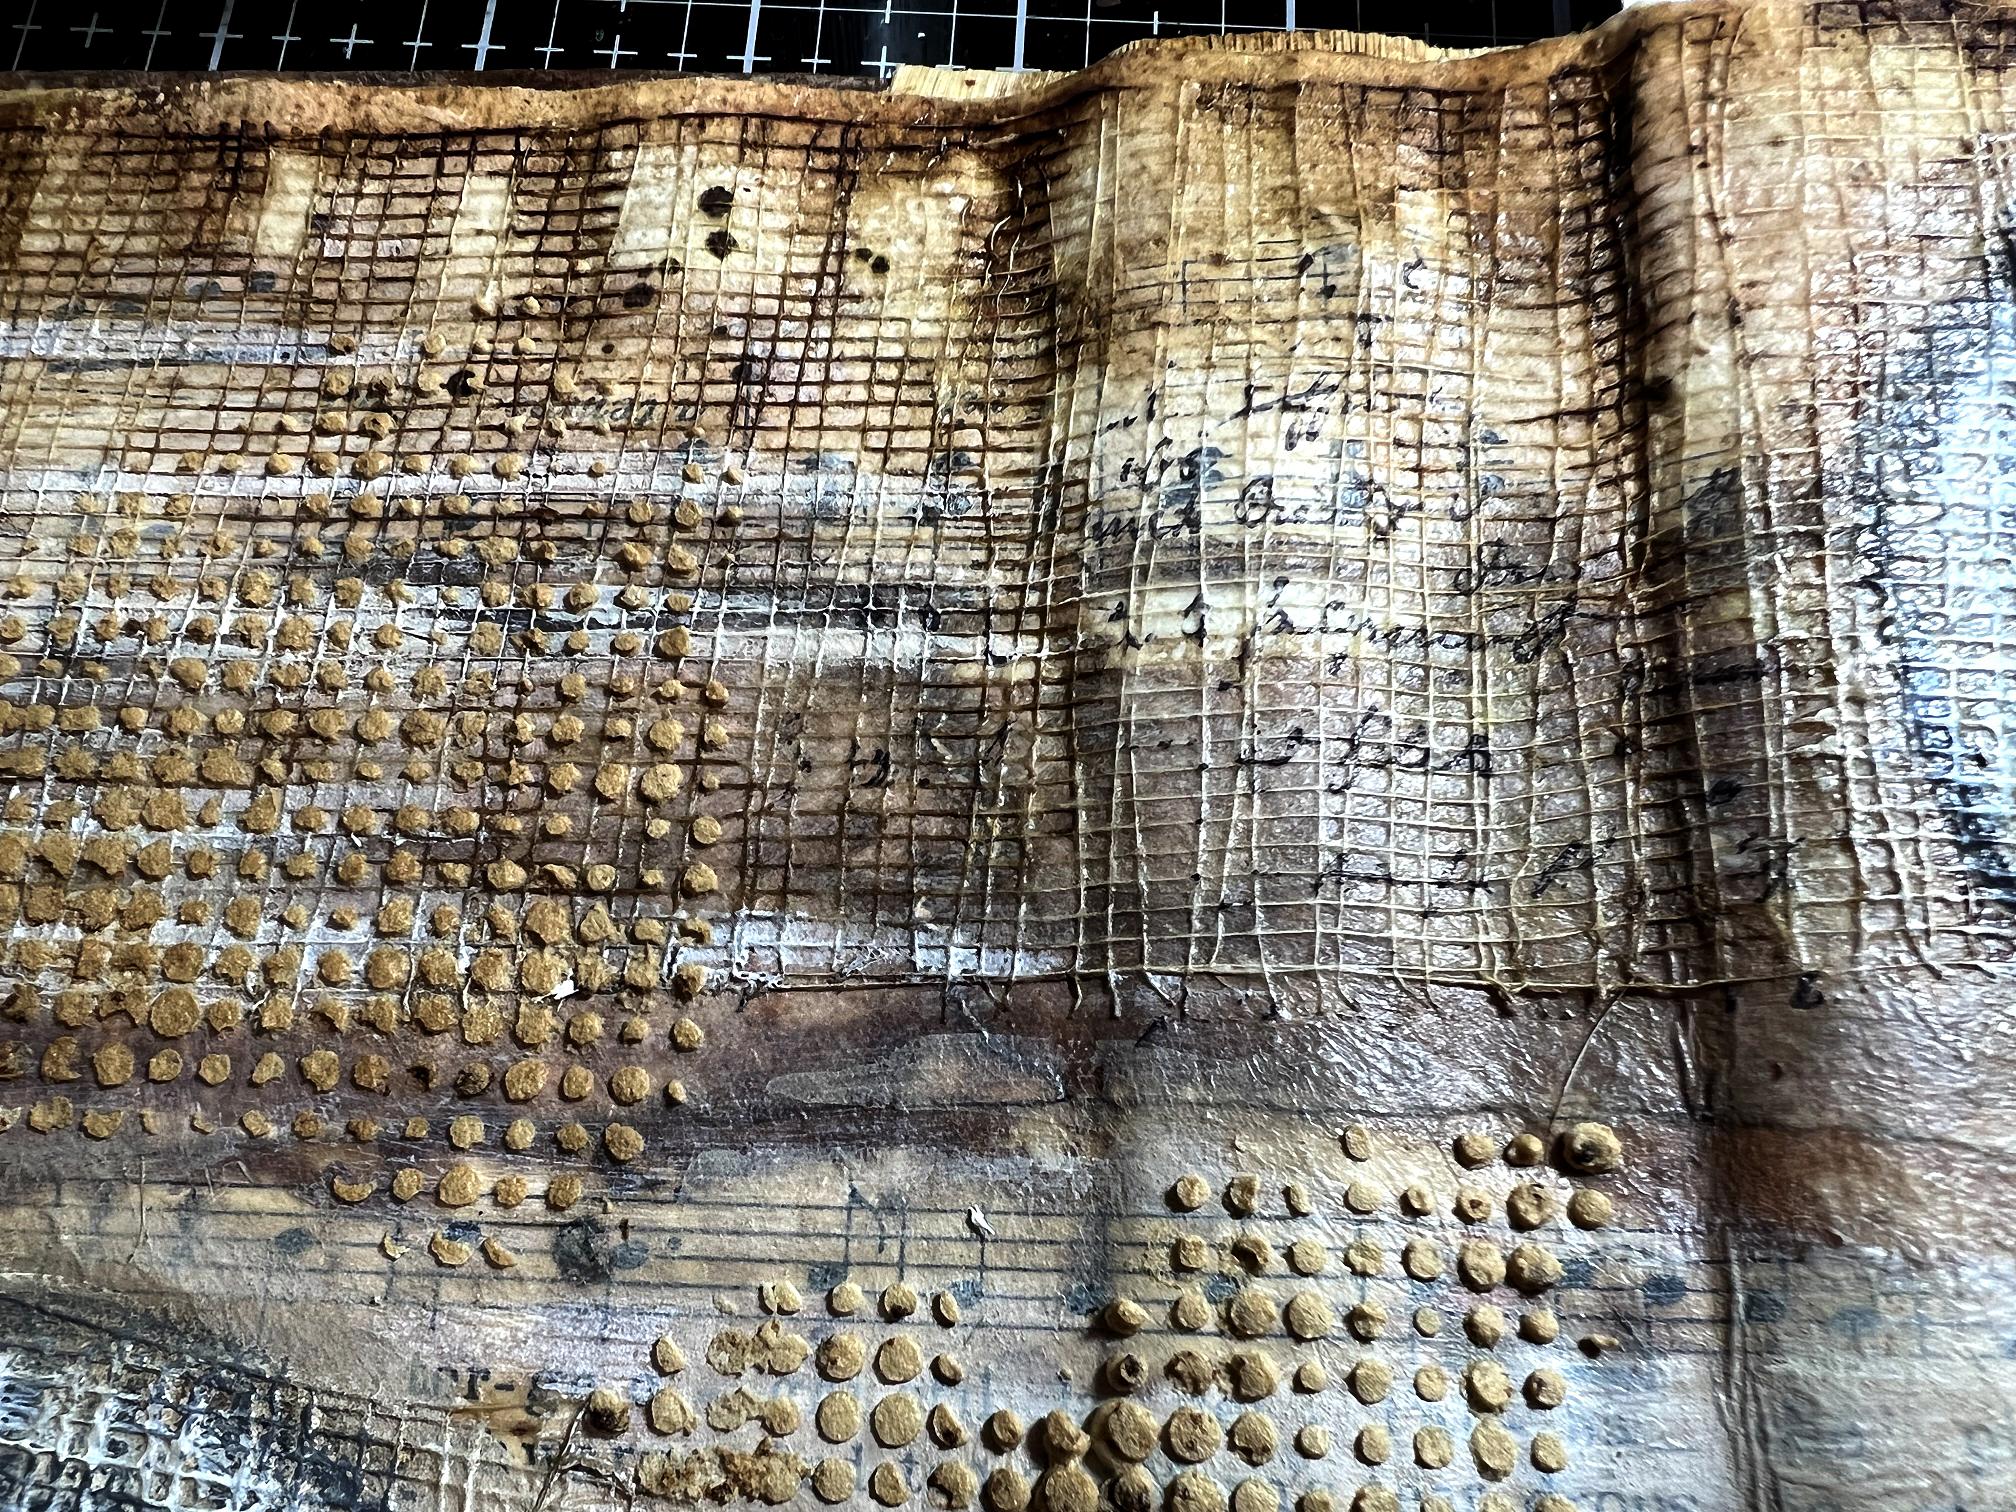
Some detail shots.
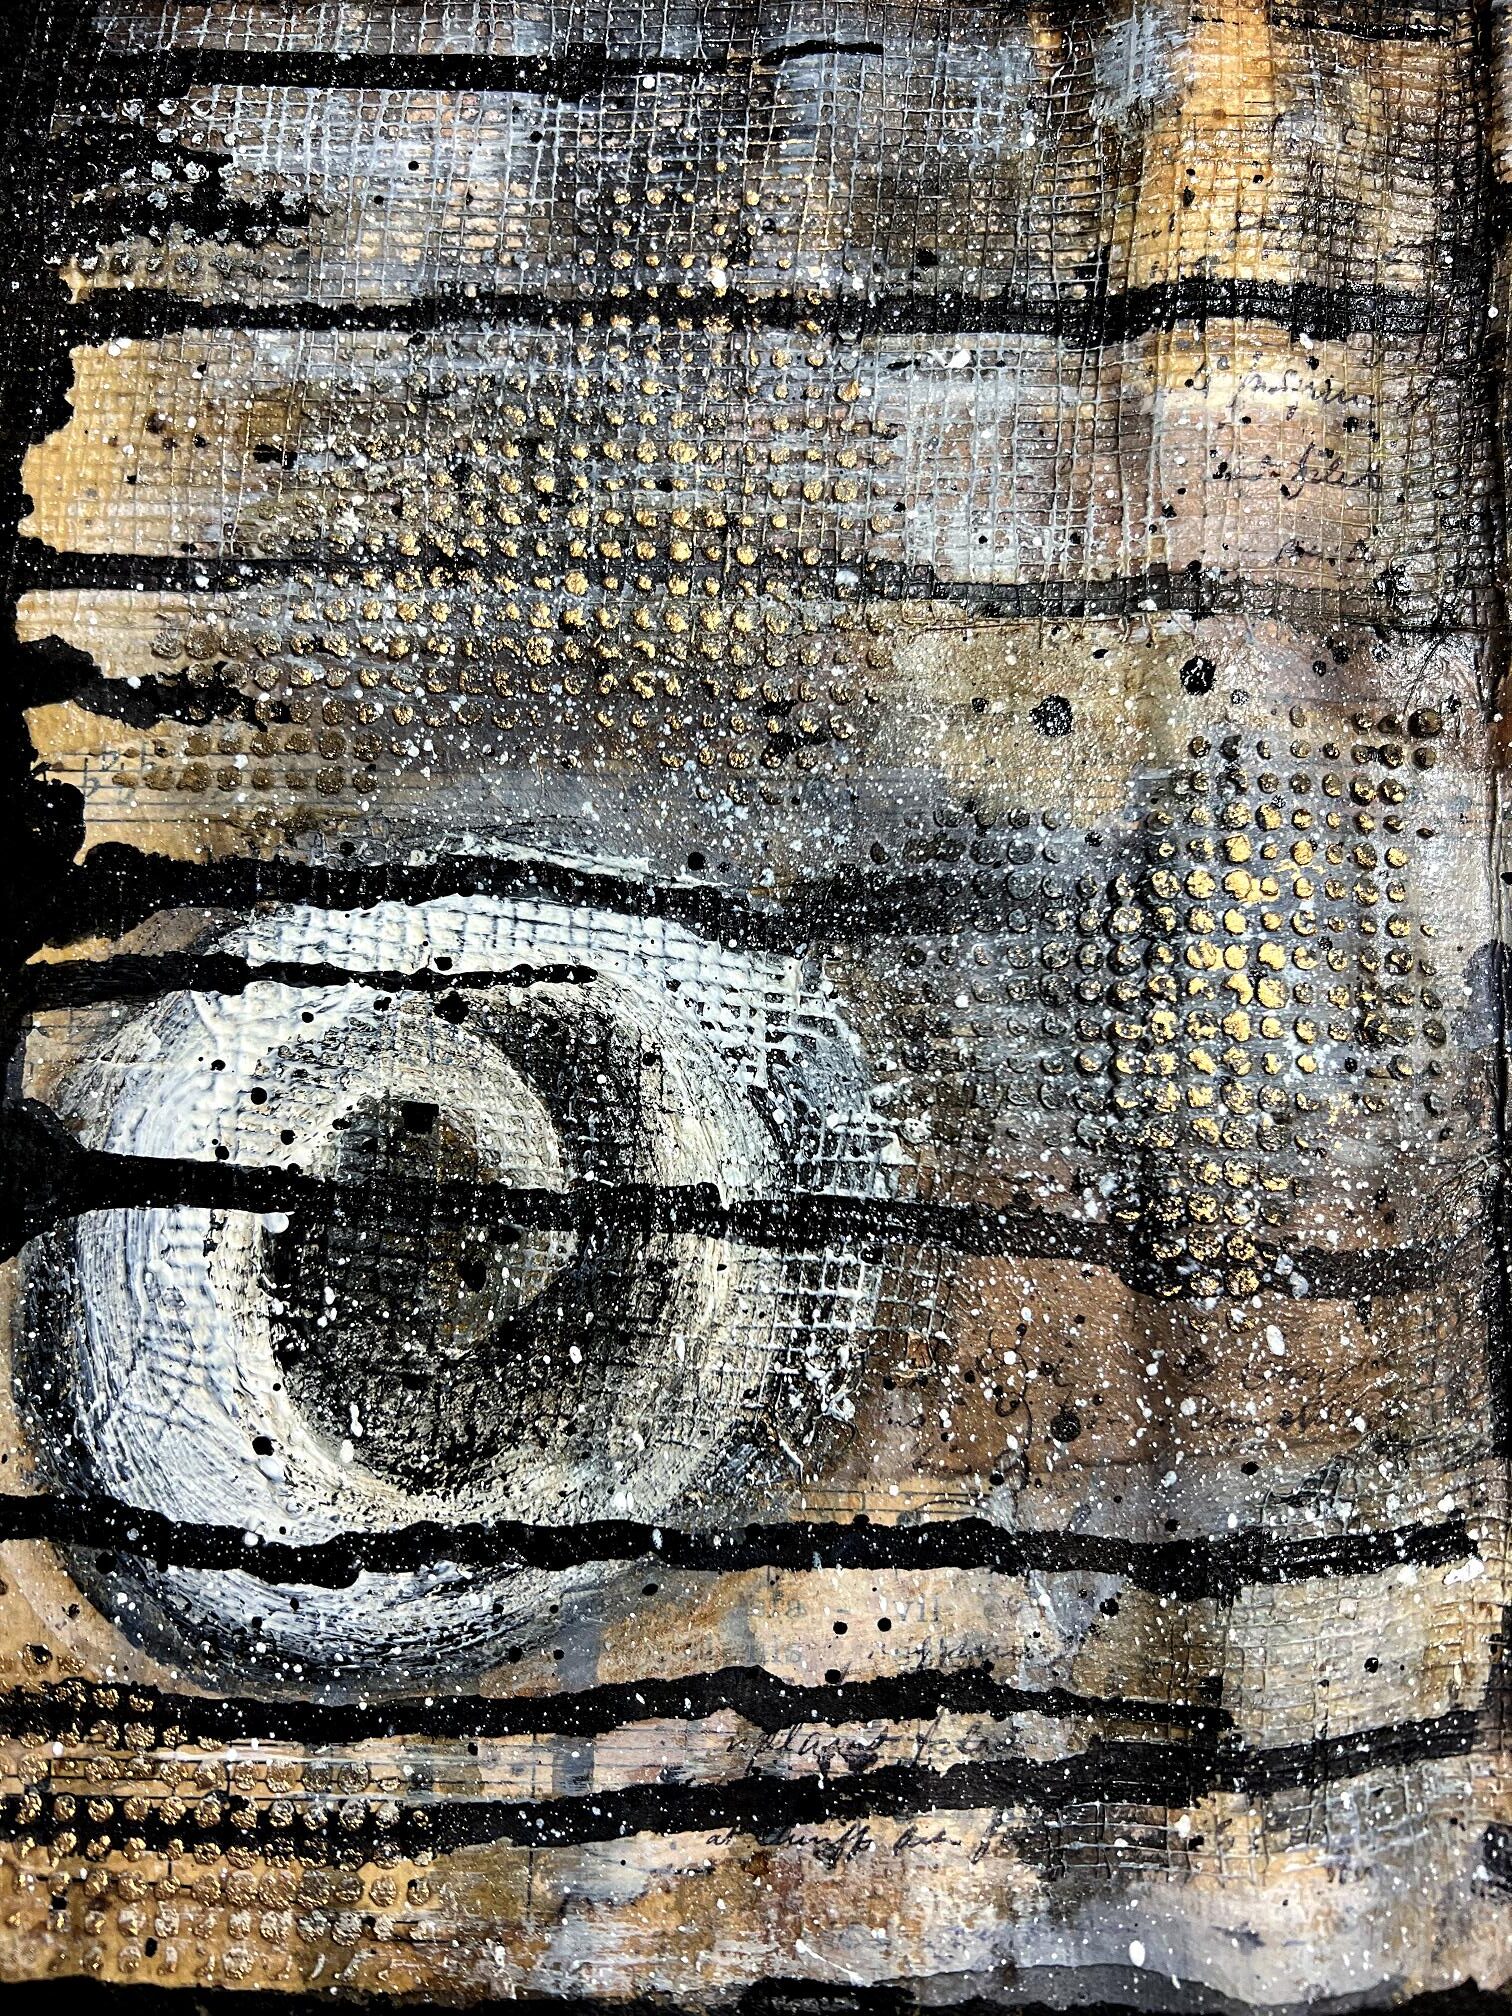
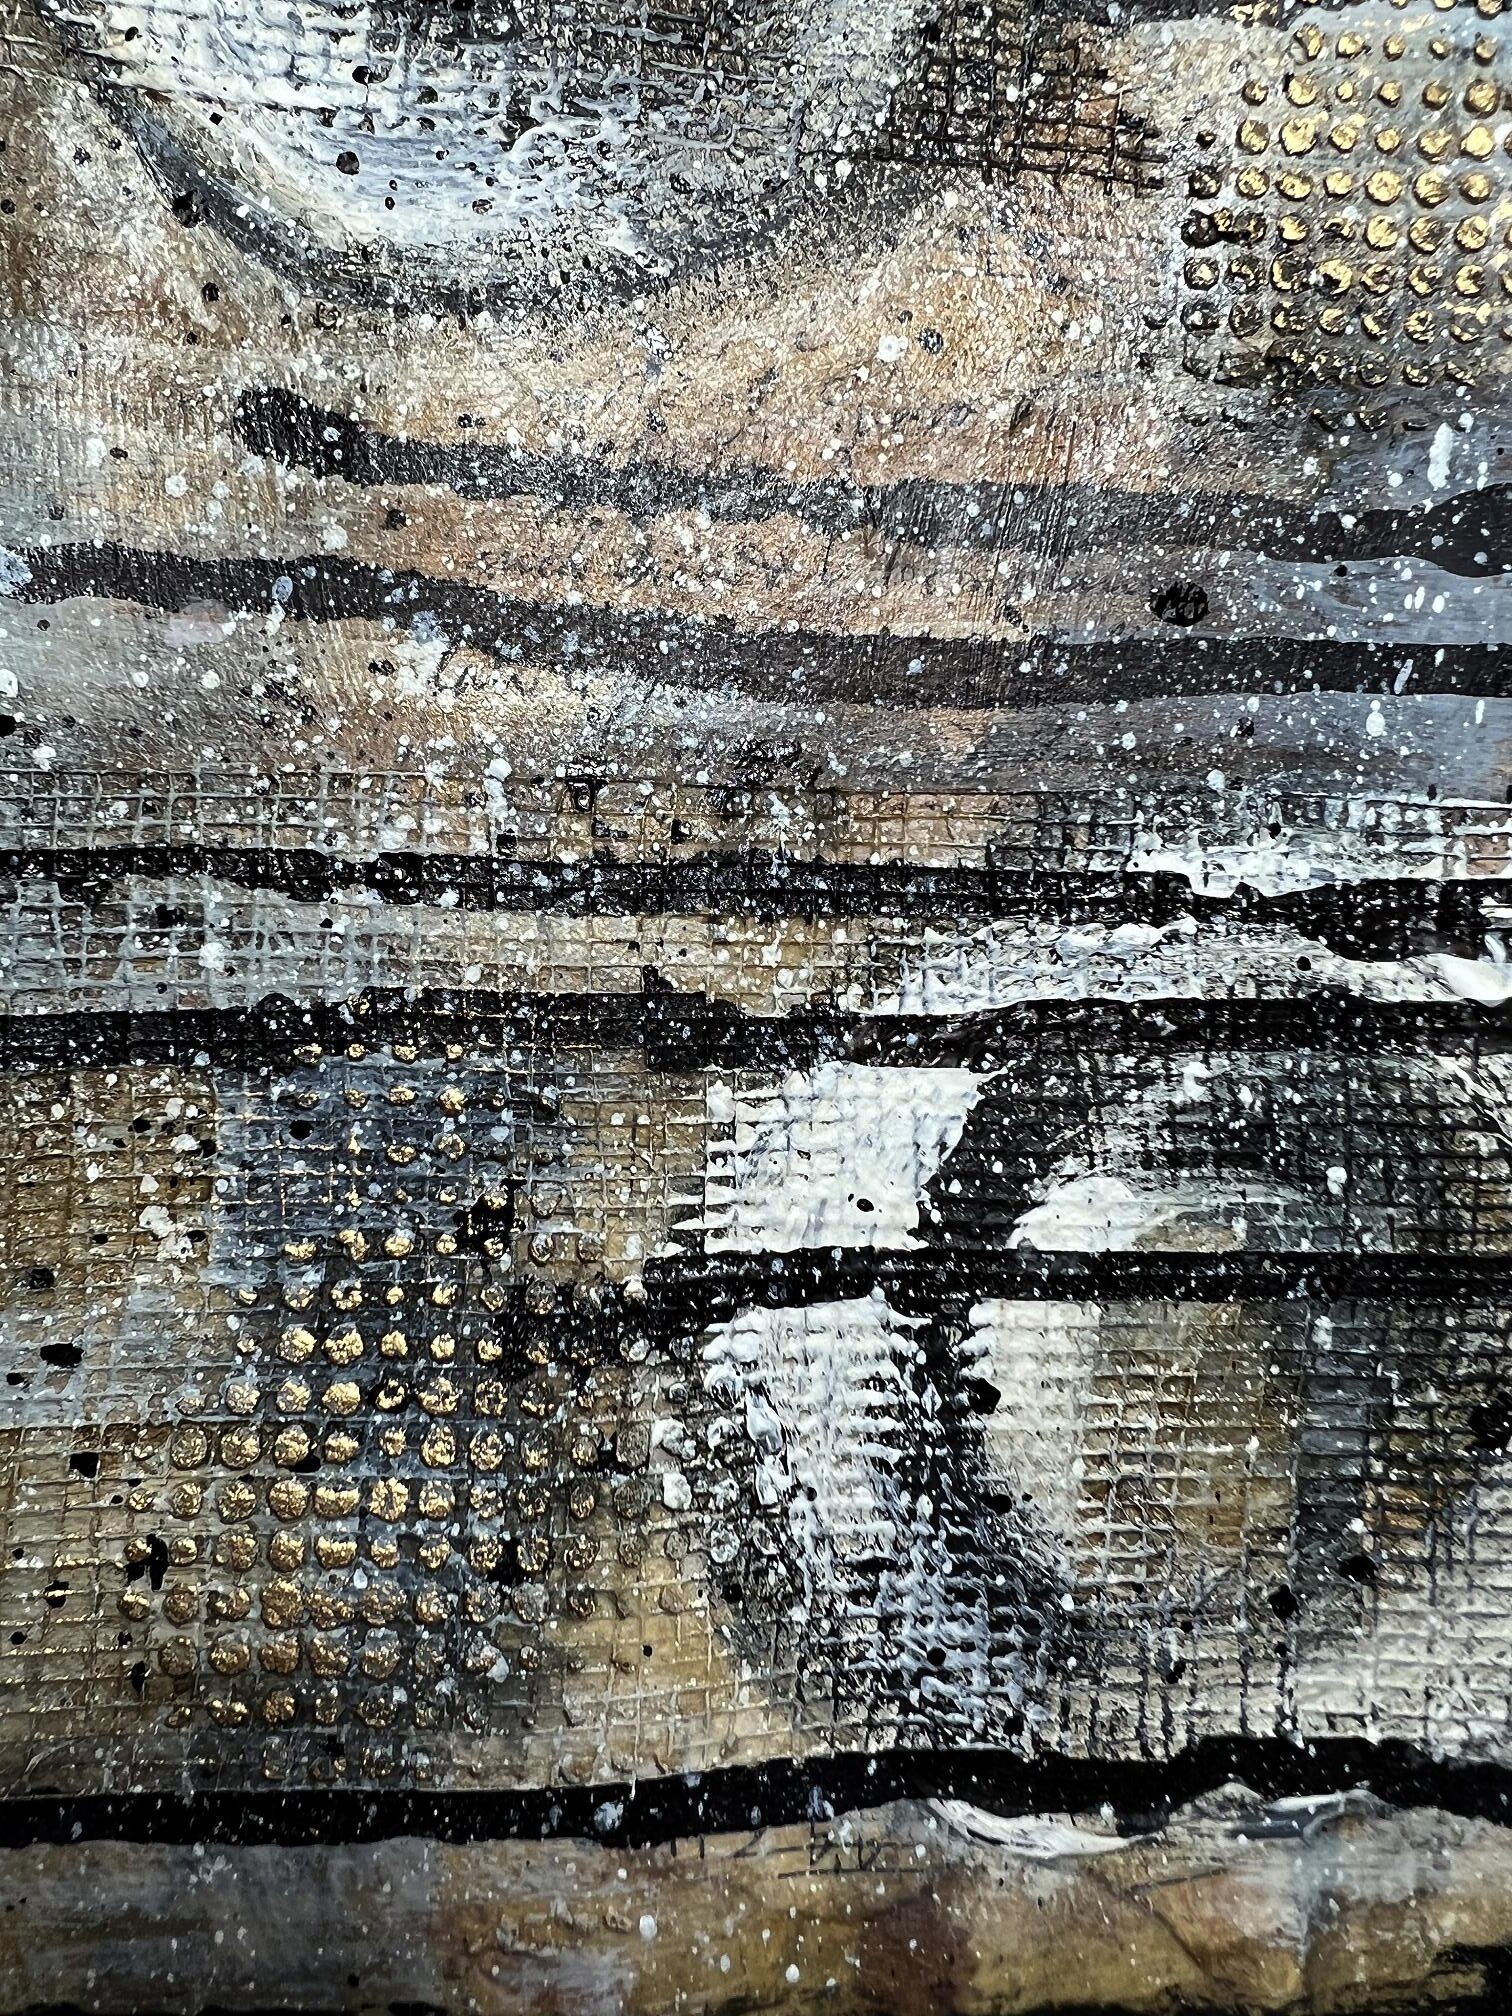
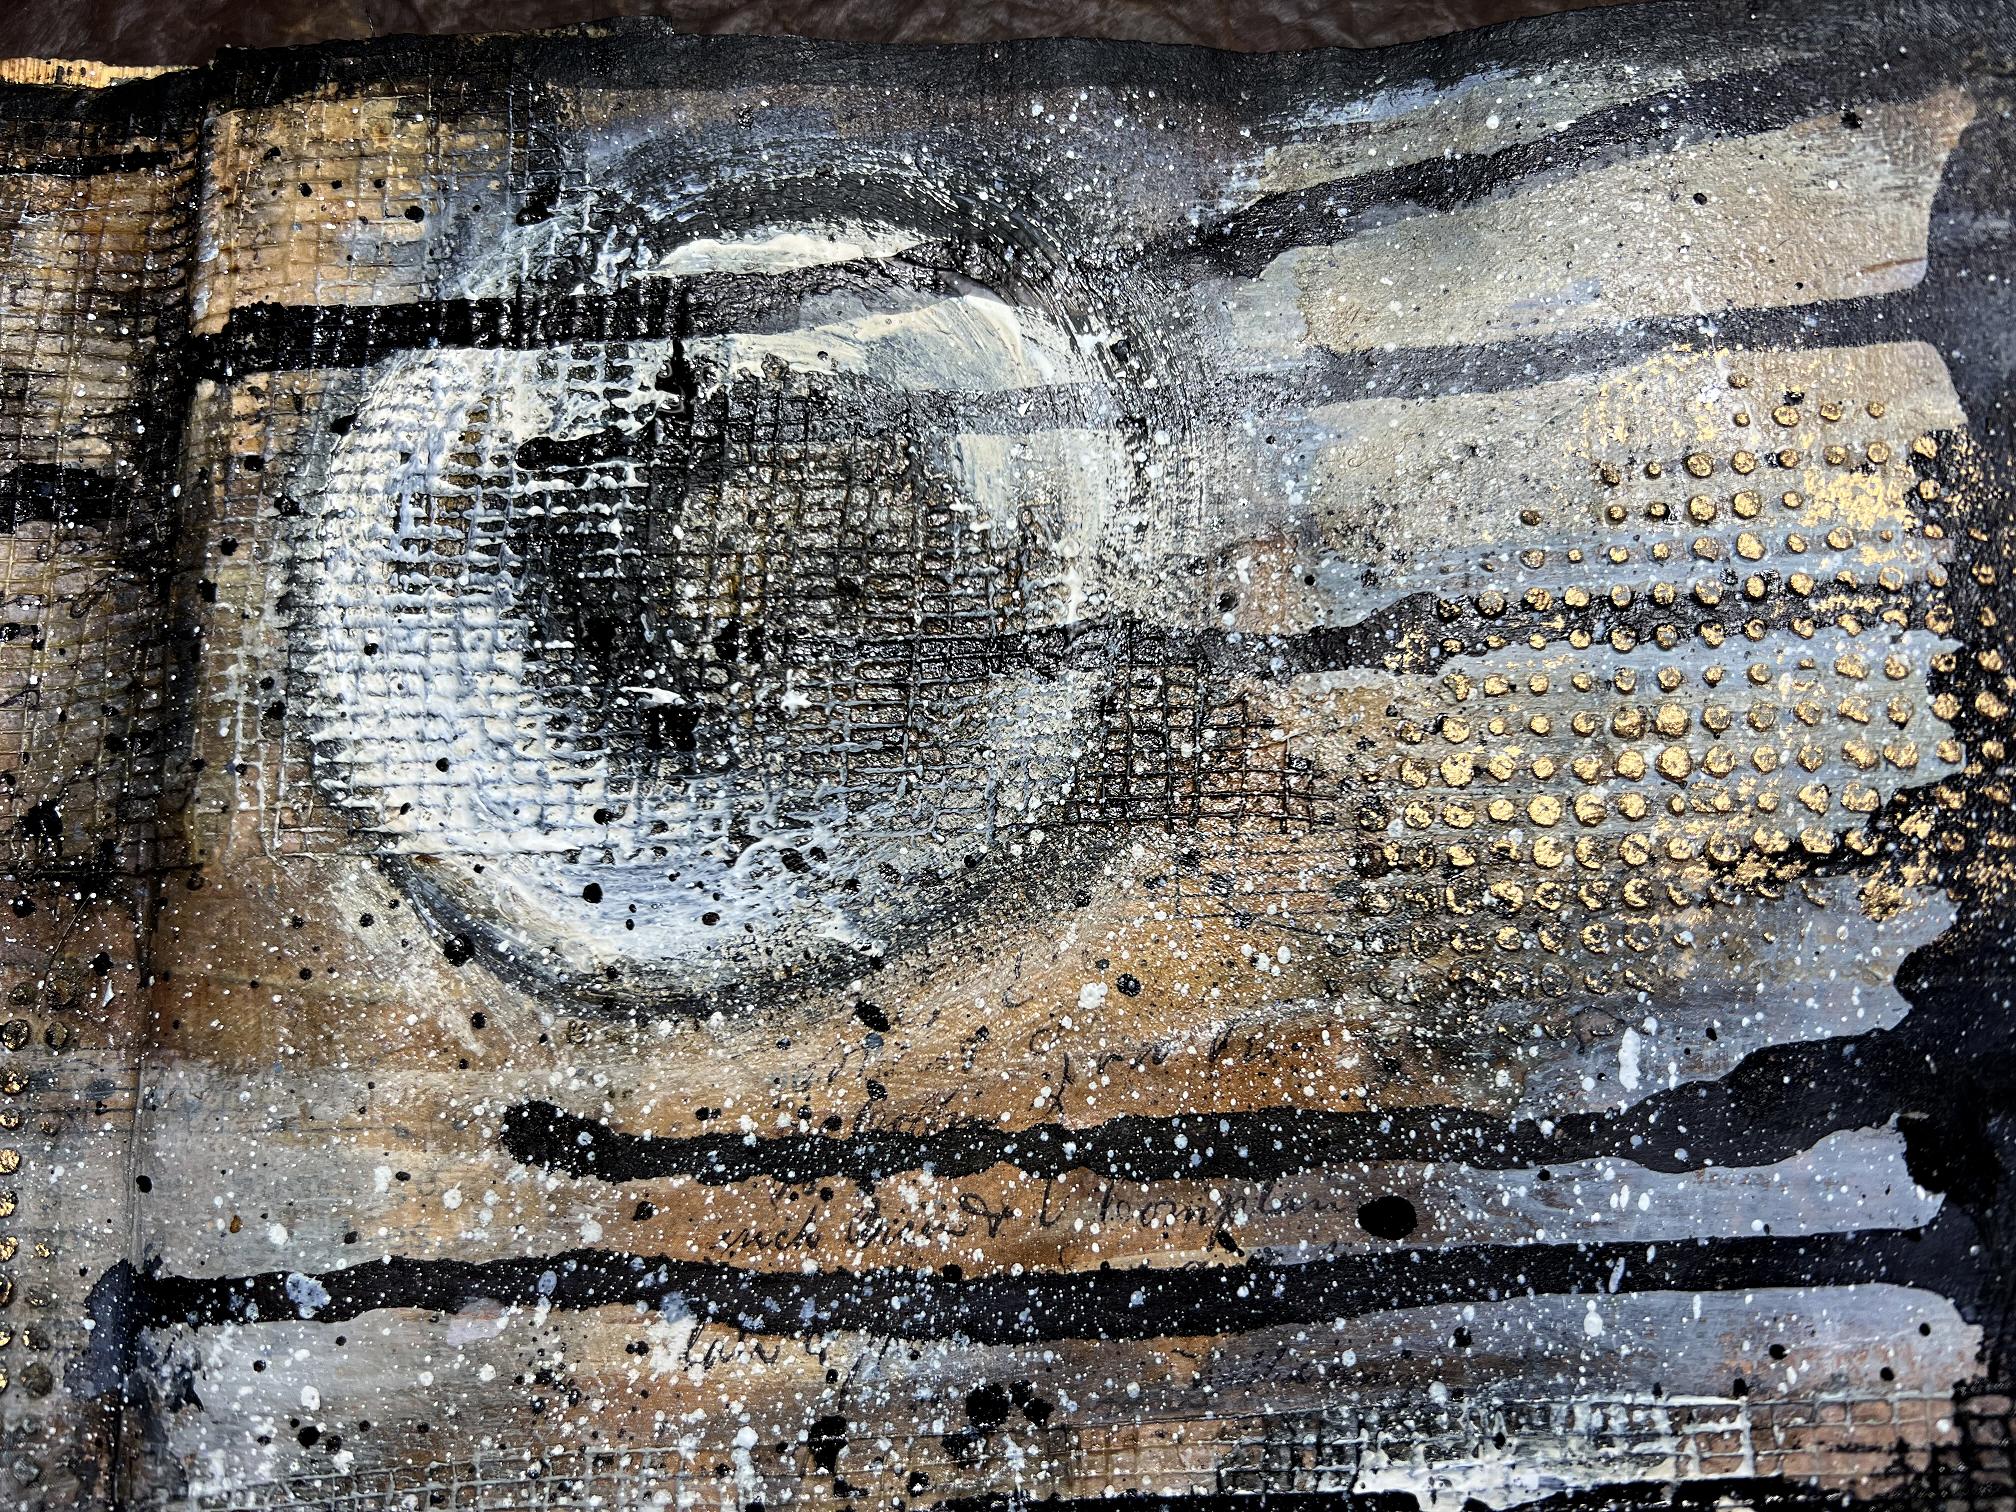
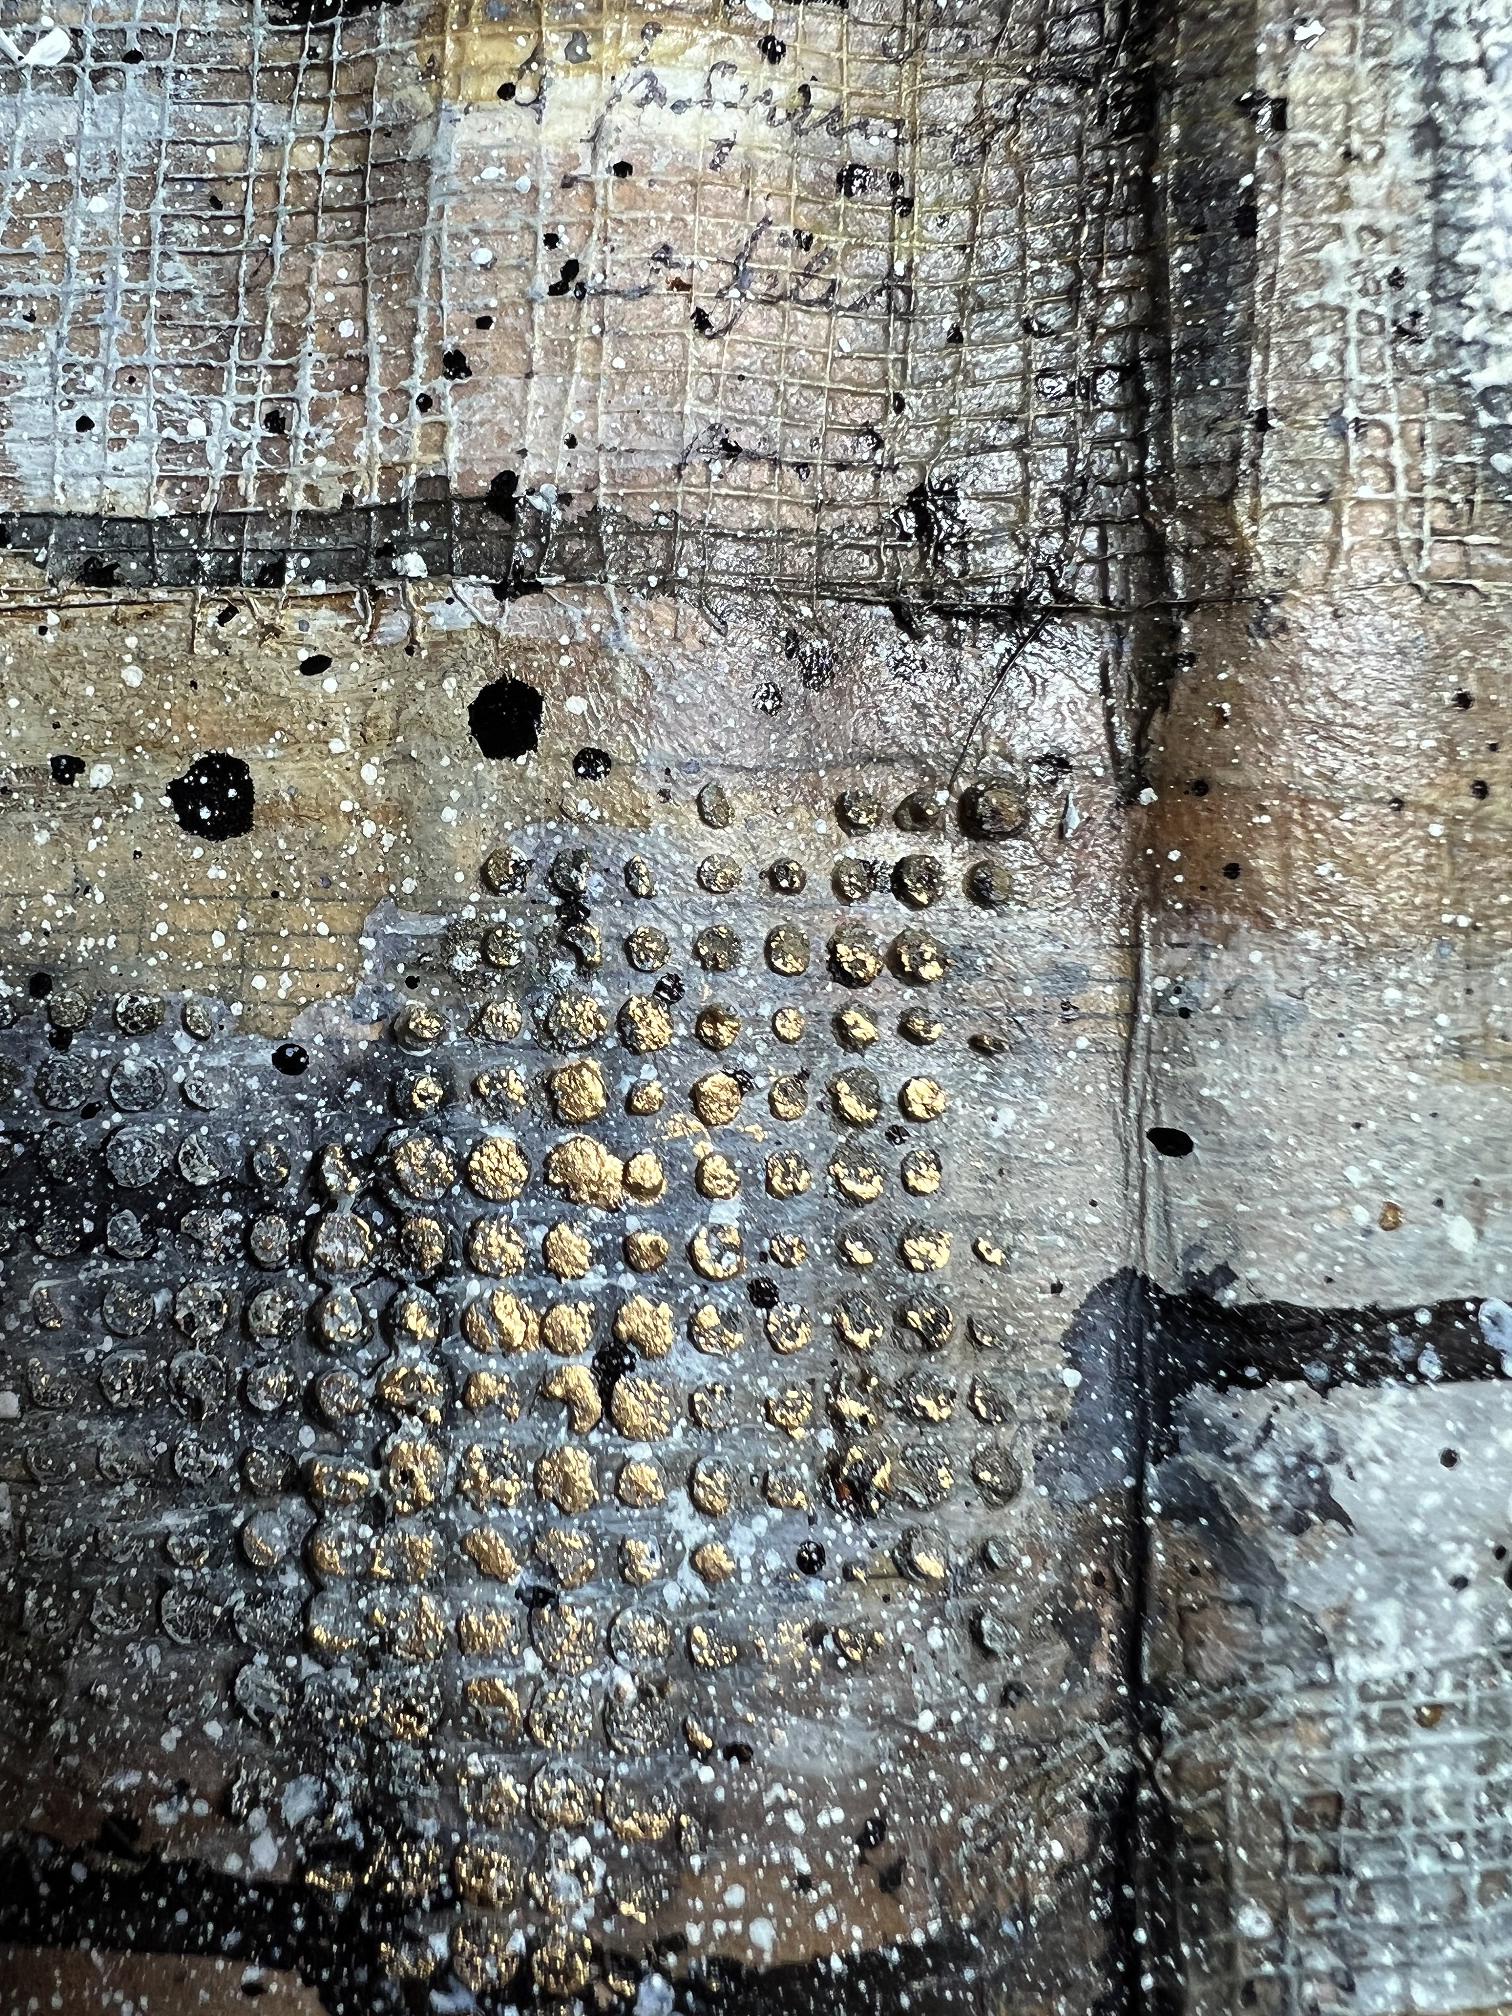
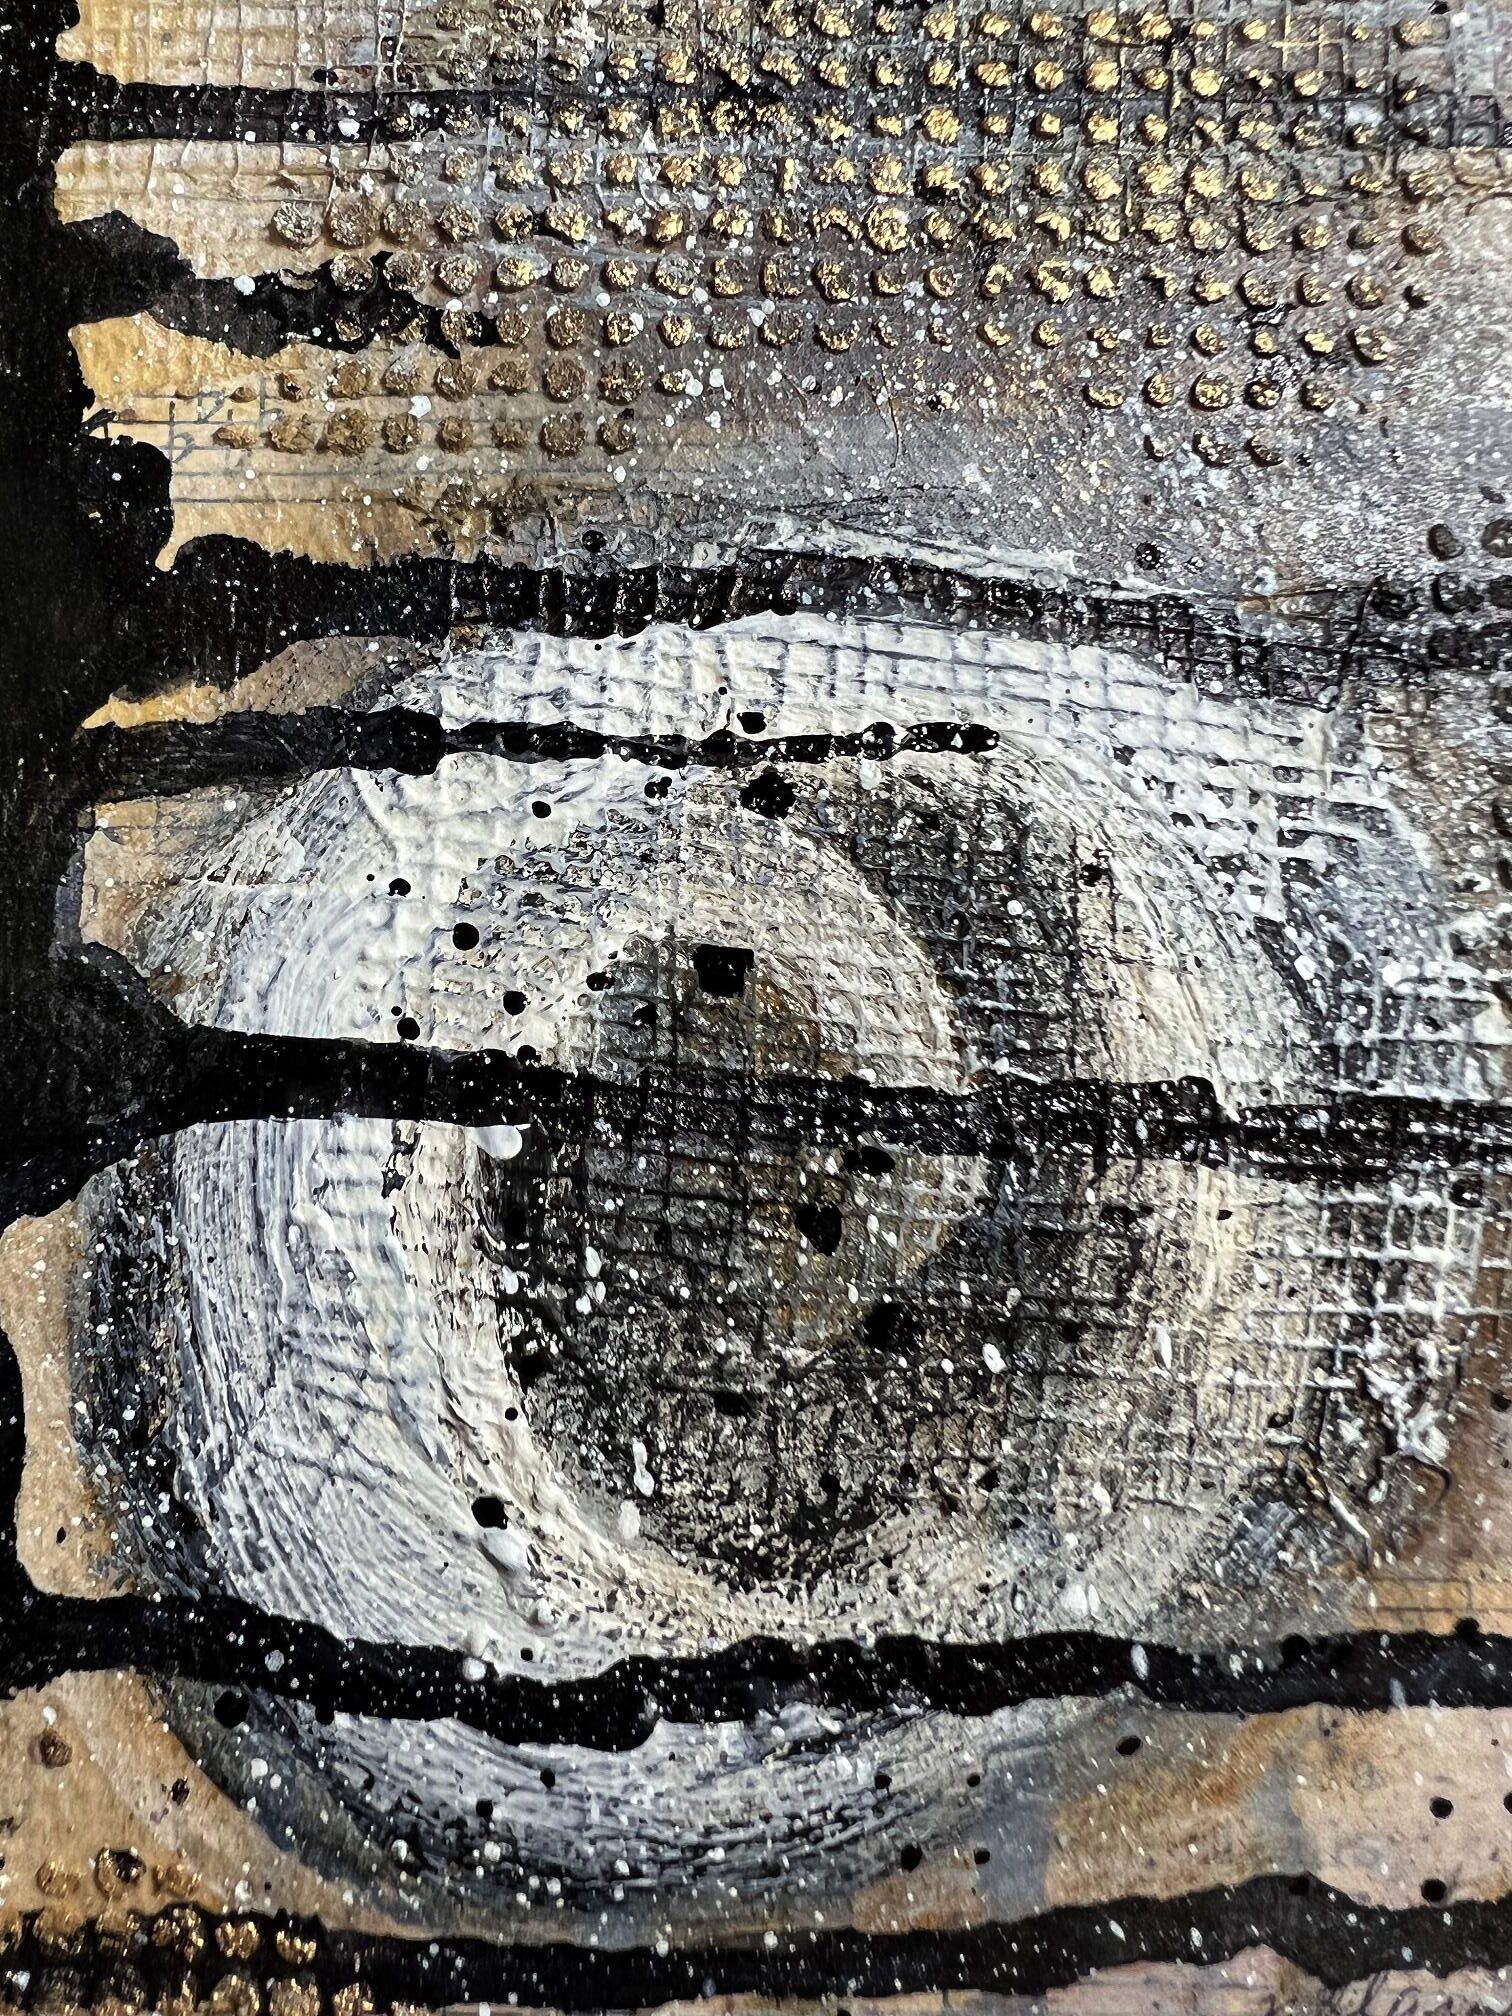
I actually like the detail shots better than the whole thing!
Throughout this process, I had been using the centre sheet in this photo:
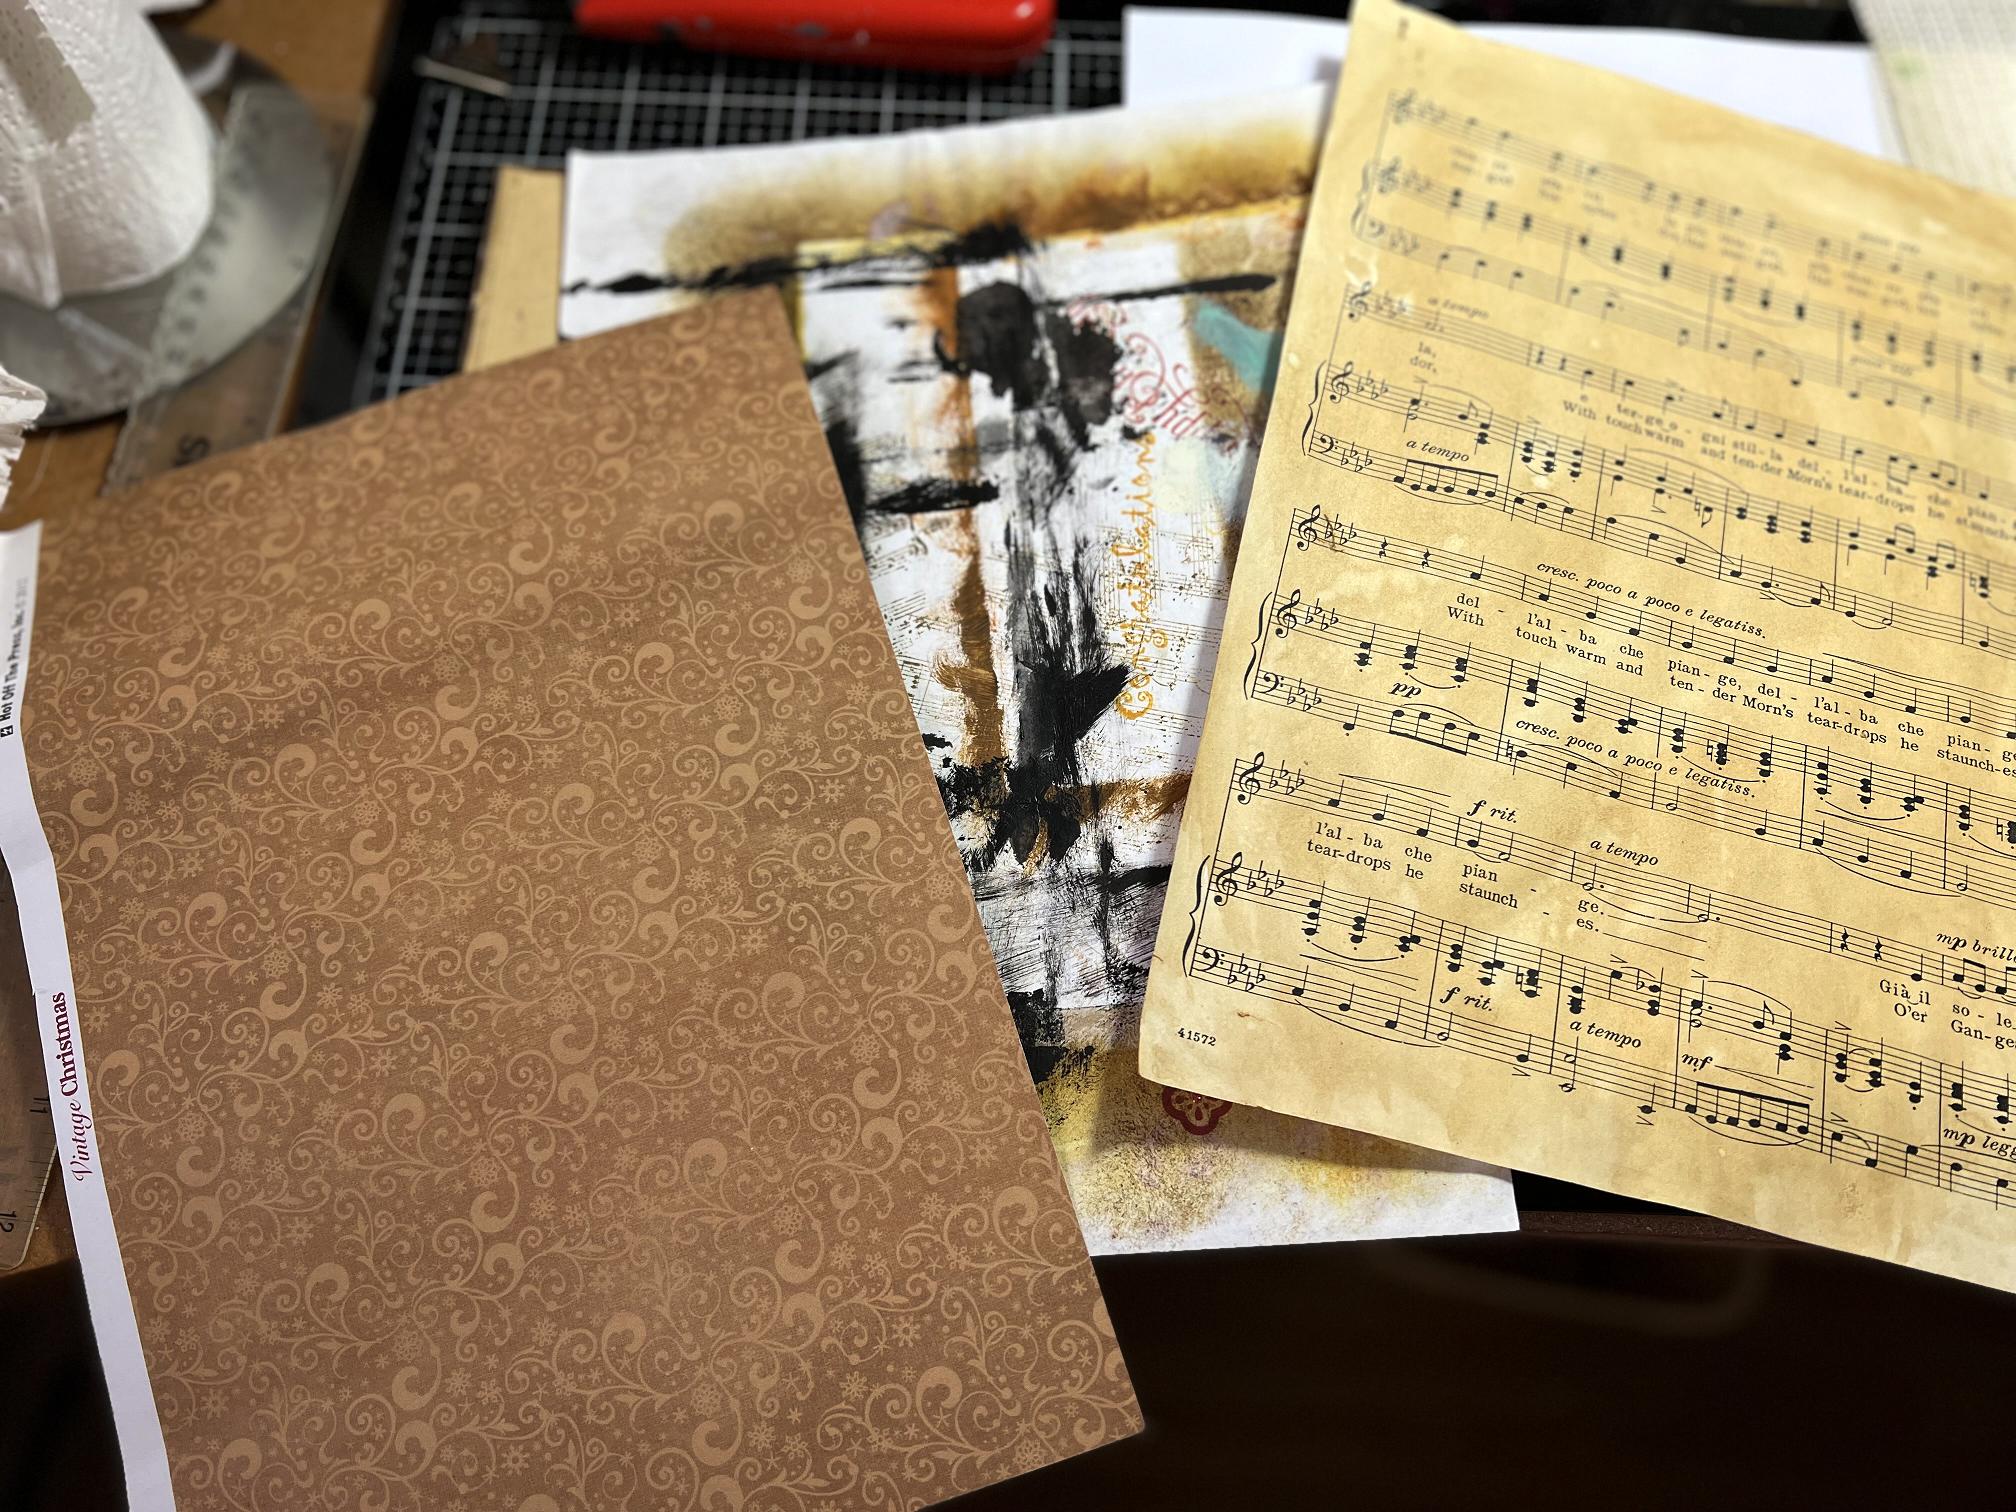
as a scratch sheet to clean off my brushes. As usual when I do this, I tried to organise the brush strokes somewhat, so that I would end up with a useable piece. This is what it looked like at the end of last night’s session.
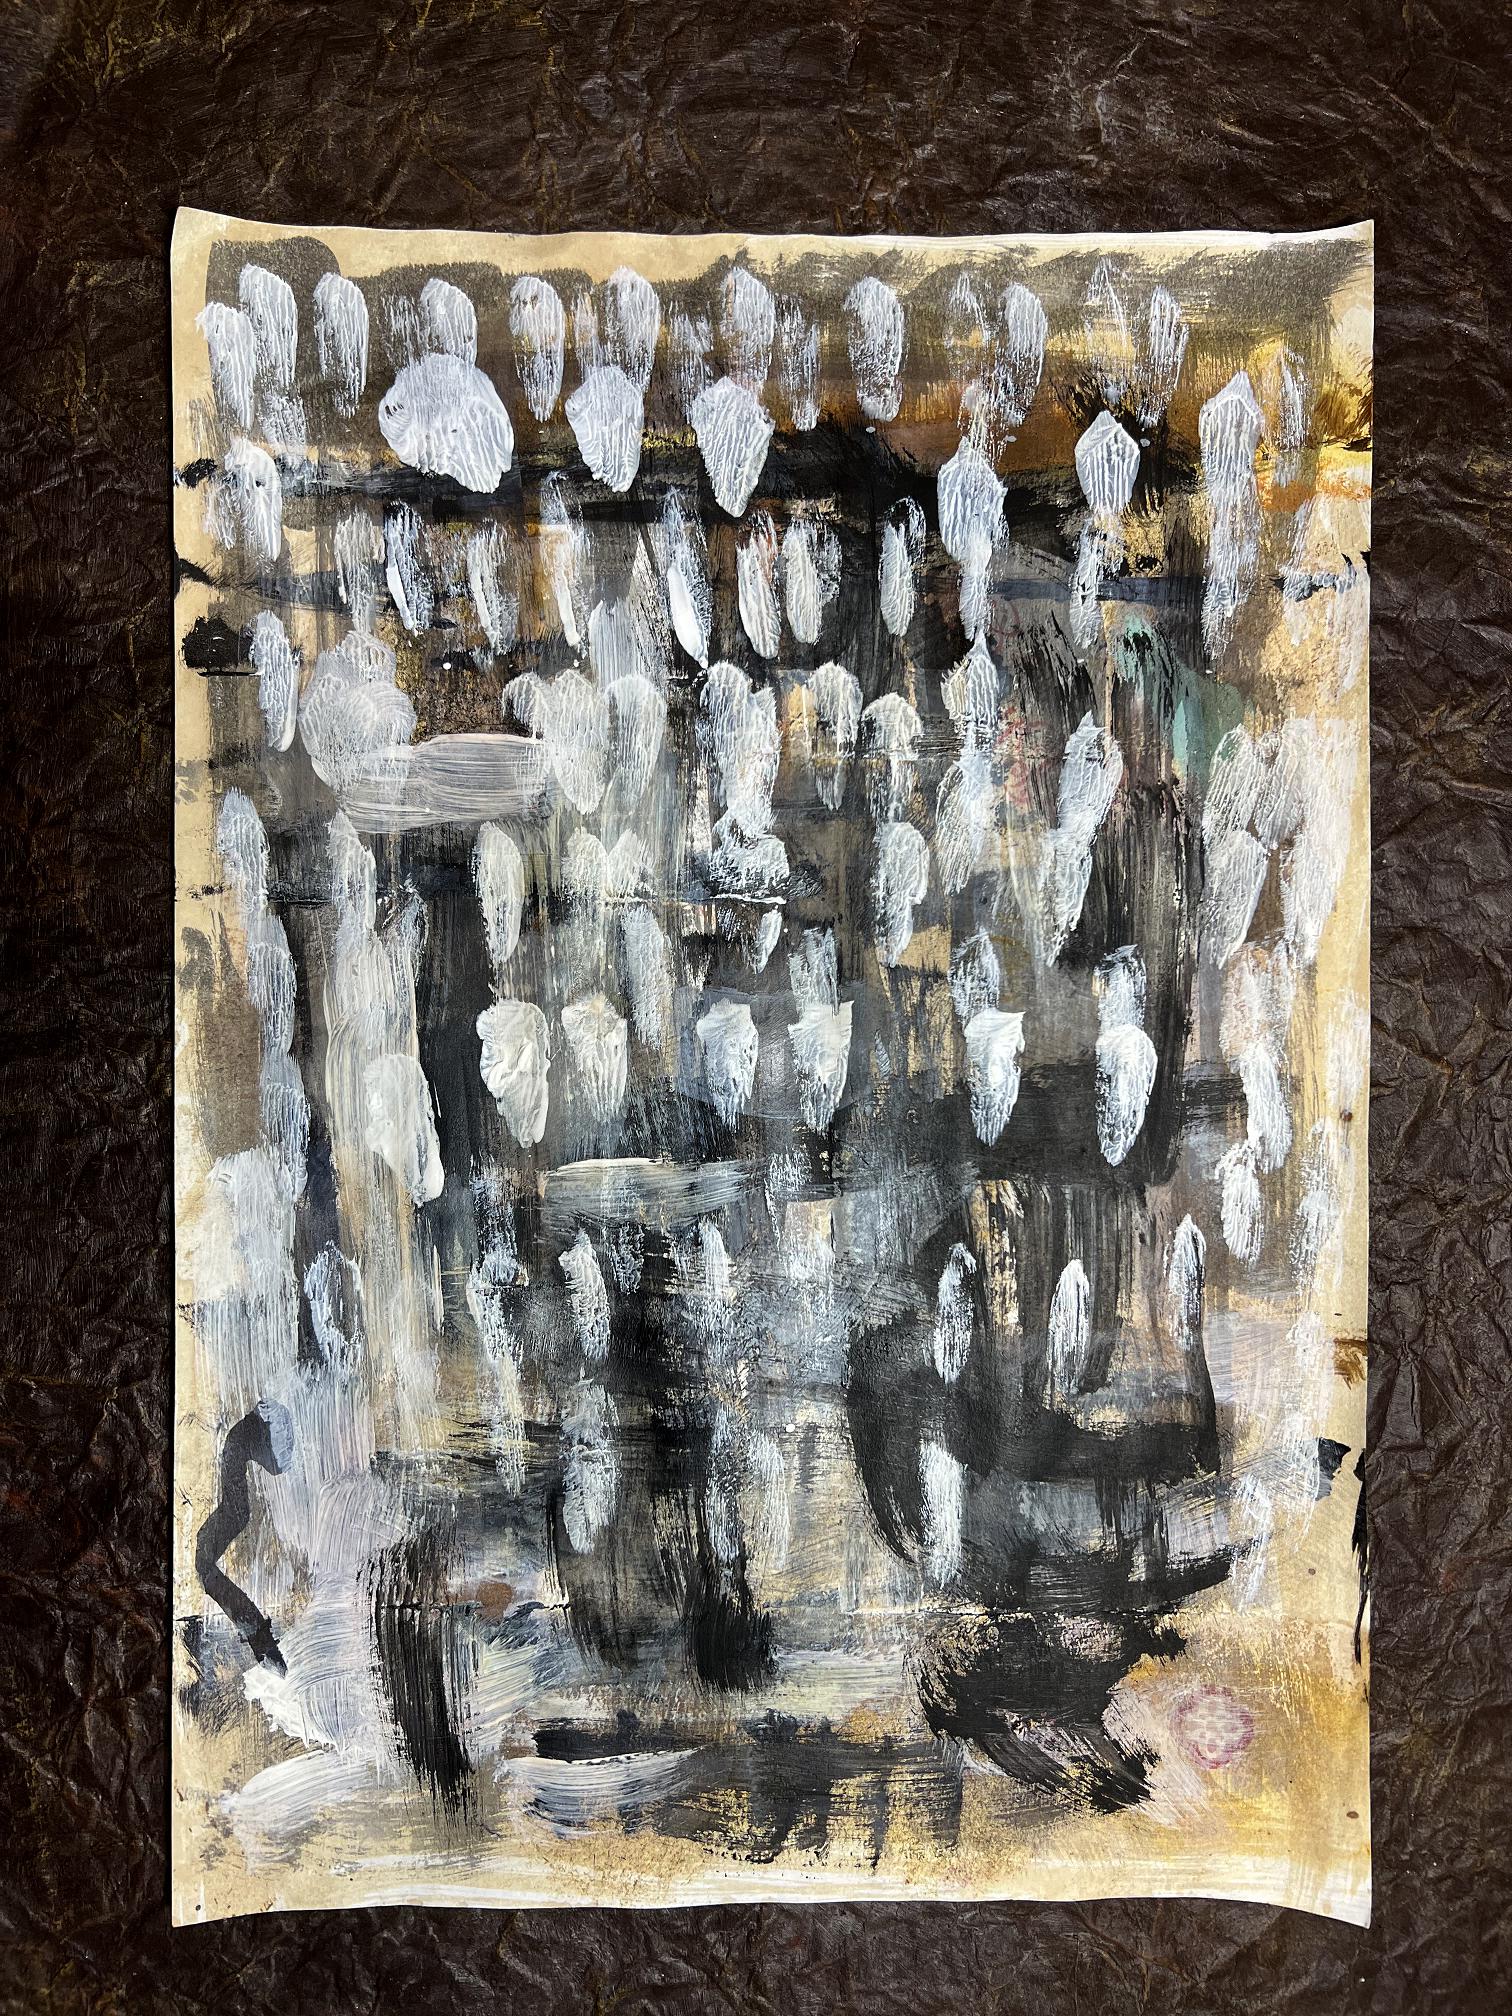
It definitely has potential for tearing up and using as collage pieces.
A new beginning
Today, I literally “turned over a new leaf” and began again. I planned to redo the original page, maybe with some variations, and correcting the mistakes along the way, so that I would end up with the page I had originally conceived in my mind.
When I got up, the first thing I did was to paint the whole page with Golden Acrylic Satin Glazing Liquid – a liquid polymer I bought recently on the recommendation of a YouTuber who had experimented with various media and found this one to be the best for sealing adult colouring book pages (often not that great quality paper) to make them suitable for watercolours. This stuff is great. It also provides sufficient tooth for coloured pencils. I also took the opportunity to stick a couple more pages together with PVA adhesive, ready for working on later. By the afternoon, all this was dry enough to work on. I am planning to do some page prep first thing each day so that I don’t have to wait around while everything dries before I can start work. I am also removing some pages in order to allow space for mixed media layers, so that the finished book will lie flat. I am keeping these pages to use for repairs and covering up mistakes.
Beginning the page with the music and darker brown collage pieces. This time I inked the torn edges with Frayed Burlap Distress Oxide before laying them down and sticking them with Distress Collage Medium. Quicker drying and less wet than the PVA I used the first time around.
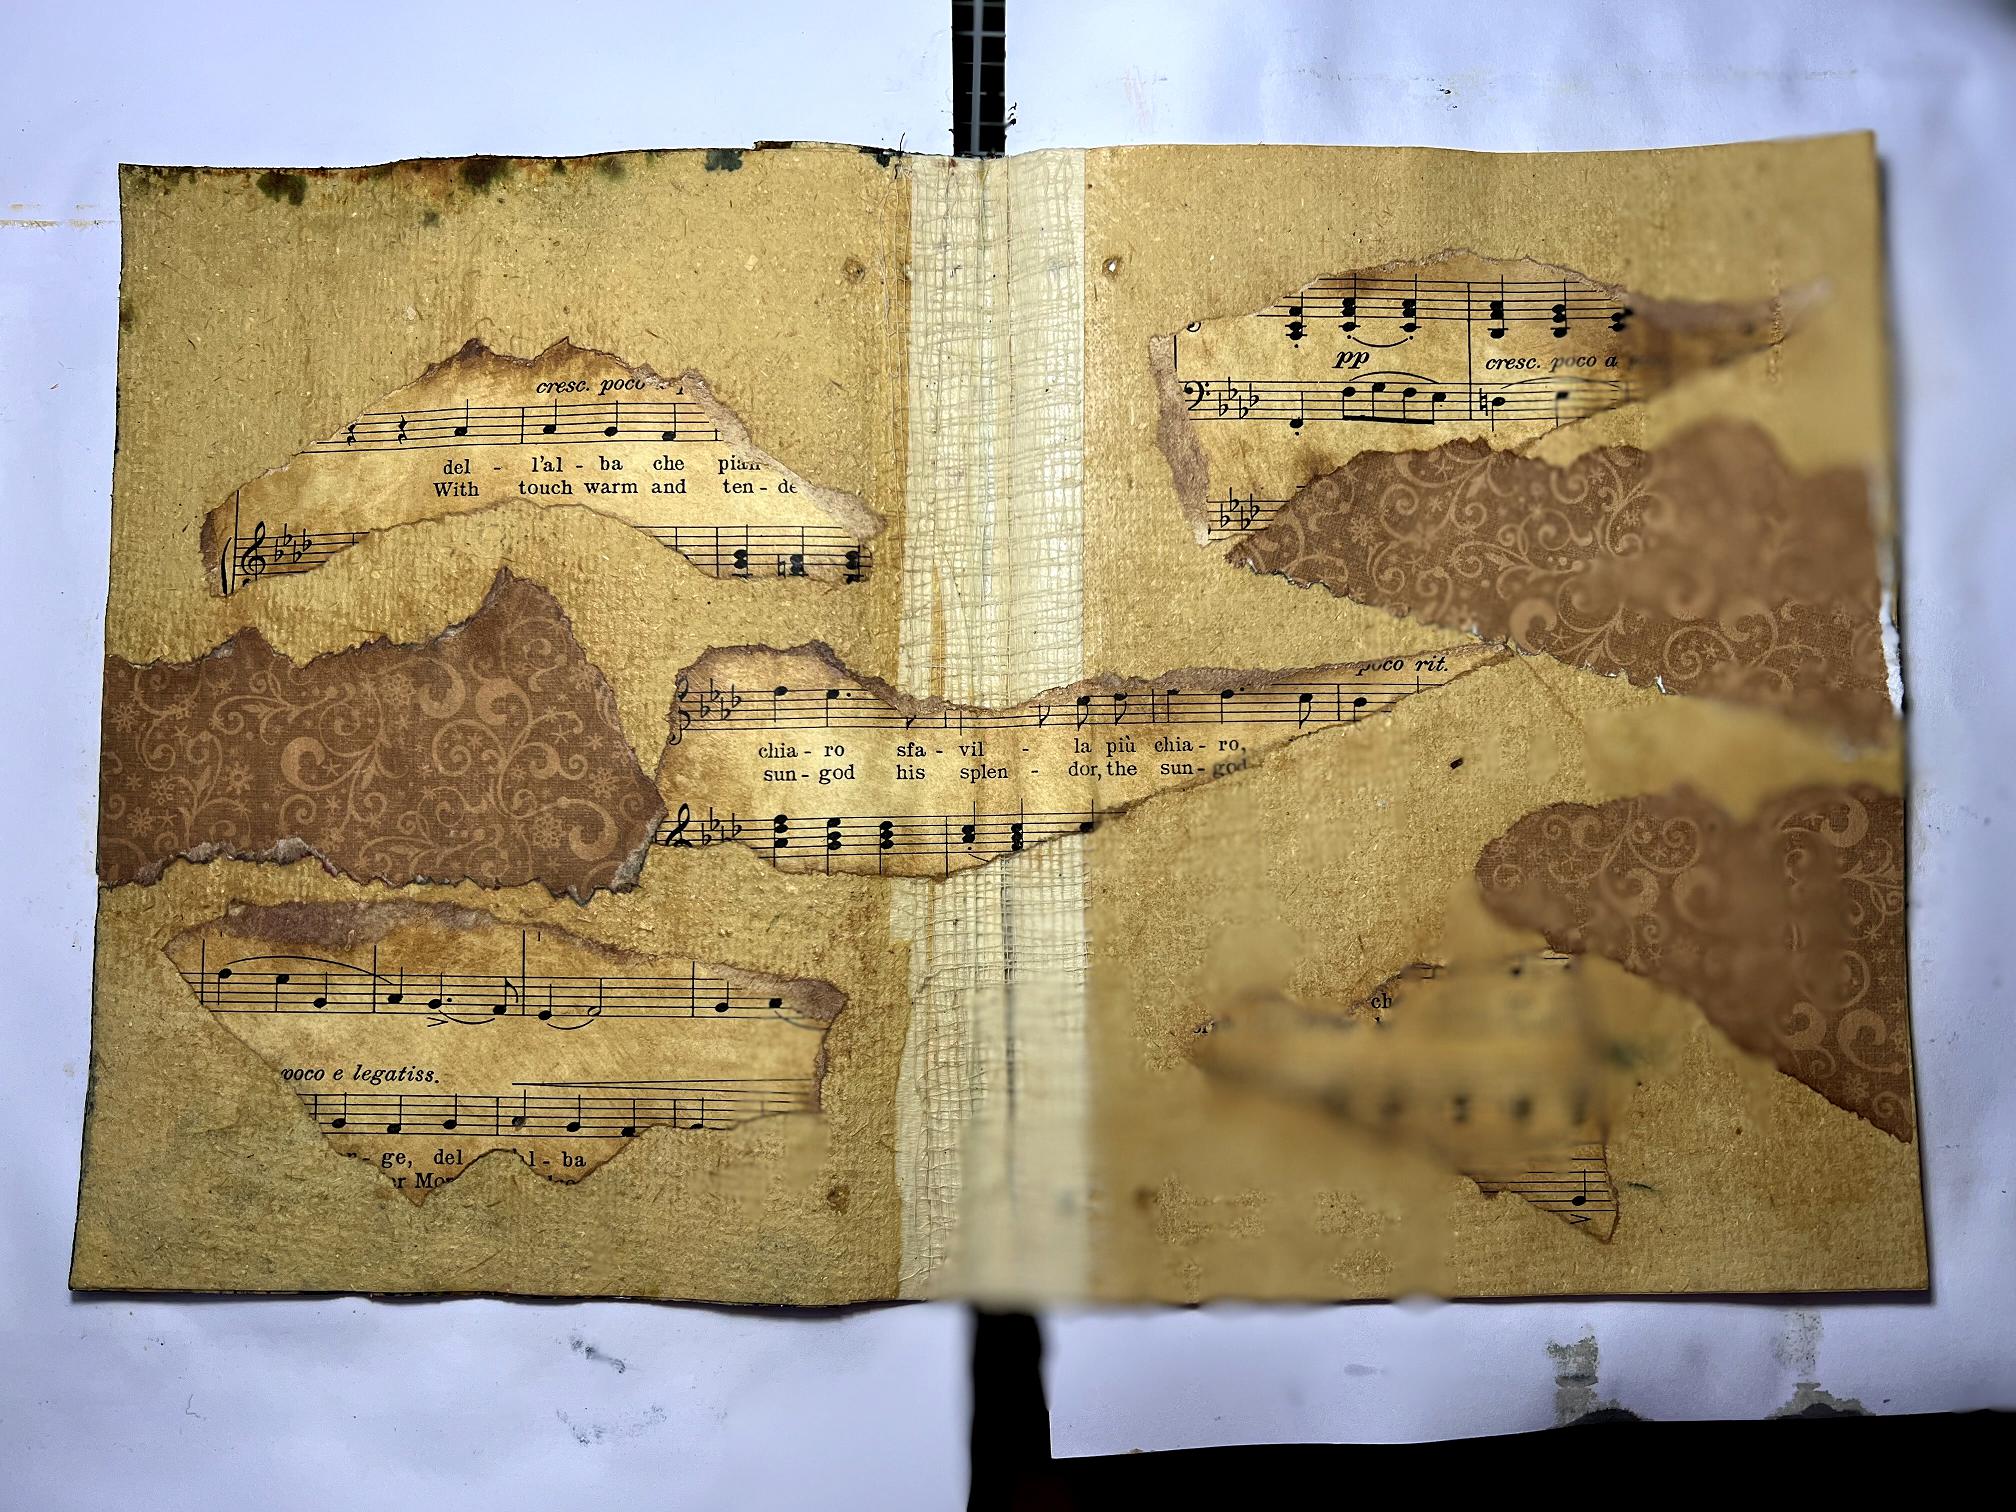
At the bottom left, there had been quite a large black stain where ink had seeped up from the previous page, presumably when it was dripping down and I hadn’t put the edge of the book onto anything absorbent. I took one of the pages I had removed from the book and tore off a piece, which I stuck down over the stain with PVA before beginning the work. You can see that on this page spread, I have reinforced the centre where the pages were loose, using masking tape and adding some scrim over the top. I think the scrim alone will be sufficient to hold any other loose pages in place in future.
I have also discovered that once I stuck the pages together, the holes from the original binding seemed to close up and virtually disappear, and they are certainly not visible once the art work begins. There is no need to cover them with tape. The only reason for putting tape or scrim down the centre would be to hold any loose pages in place.
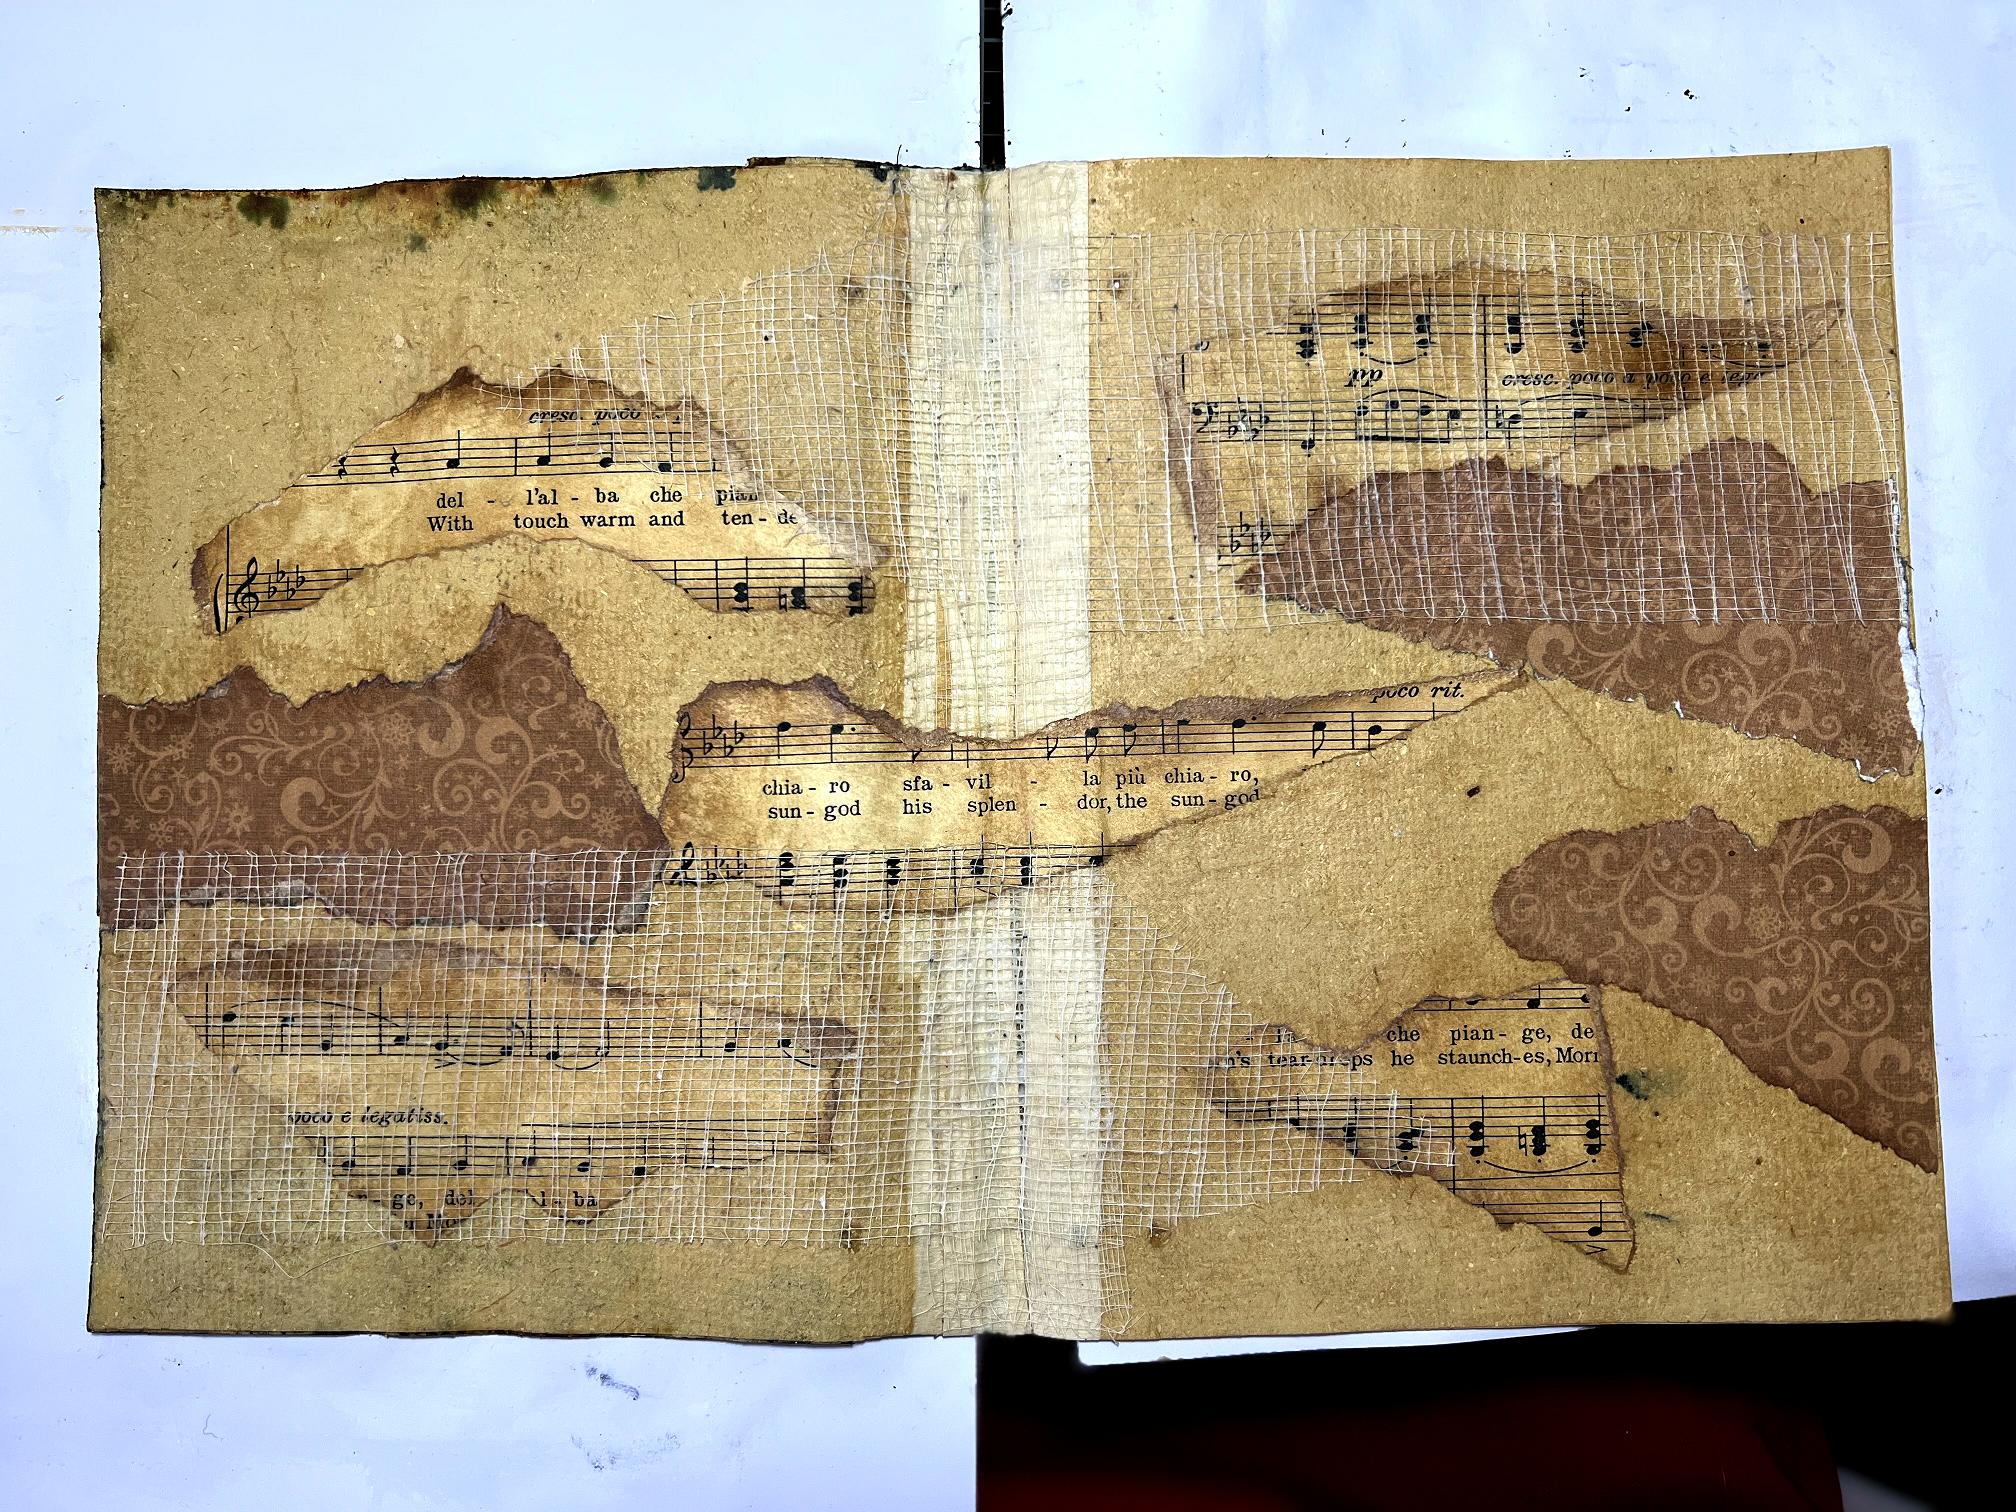
Next step – sticking down some scrim using soft matte gel medium. I really love this stuff – it gives gorgeous texture. I have got quite a big roll of it and have had it for many years.
A slight departure from the original page – using a stencil brush, I stippled some white ink pad through a stencil for a bit of added texture, and spattered on some coffee.

At this point I covered the whole surface with Distress Micro Glaze, this time using a brush rather than my finger, which got rather sore yesterday, rubbing over all that scrim and texture! After buffing it off, I coated the whole page with clear gesso. This really does seal the surface ready for the next layer, and I think that this time, I shall avoid that awful blendng together that happened on the first page.
Blending everything together with a light brushing of white gesso and painting on some coffee, which I also used to darken the edges of the page. All the elements are still visible – the music paper, the brown collage paper and the scrim.
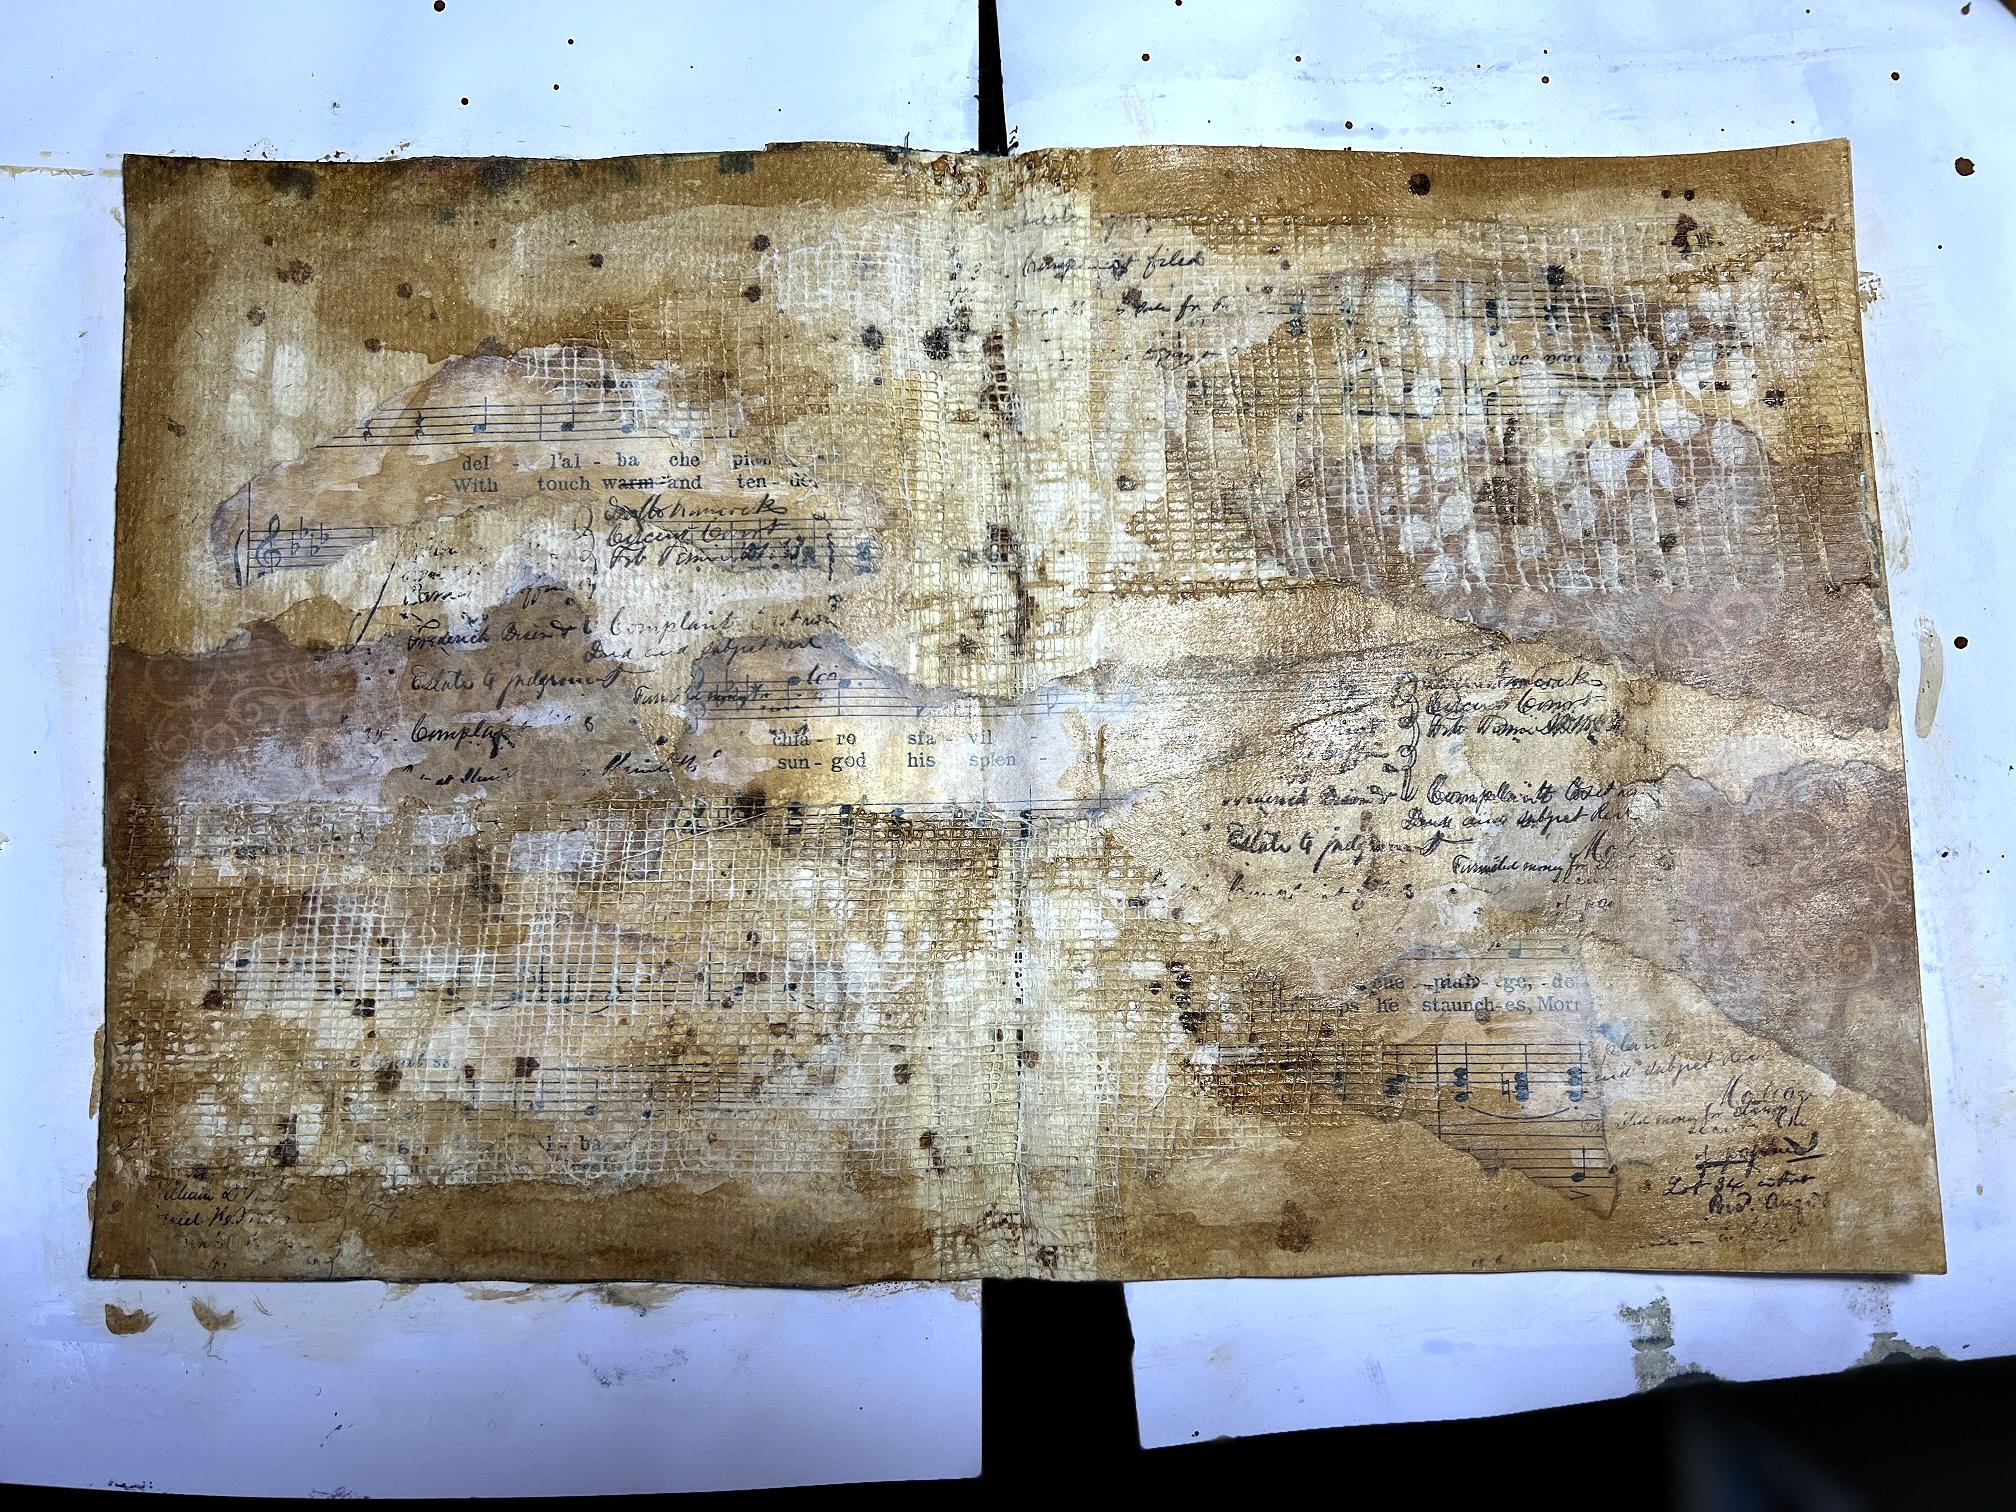
Stamping with black archival ink, using the Tim Holtz text stamp.
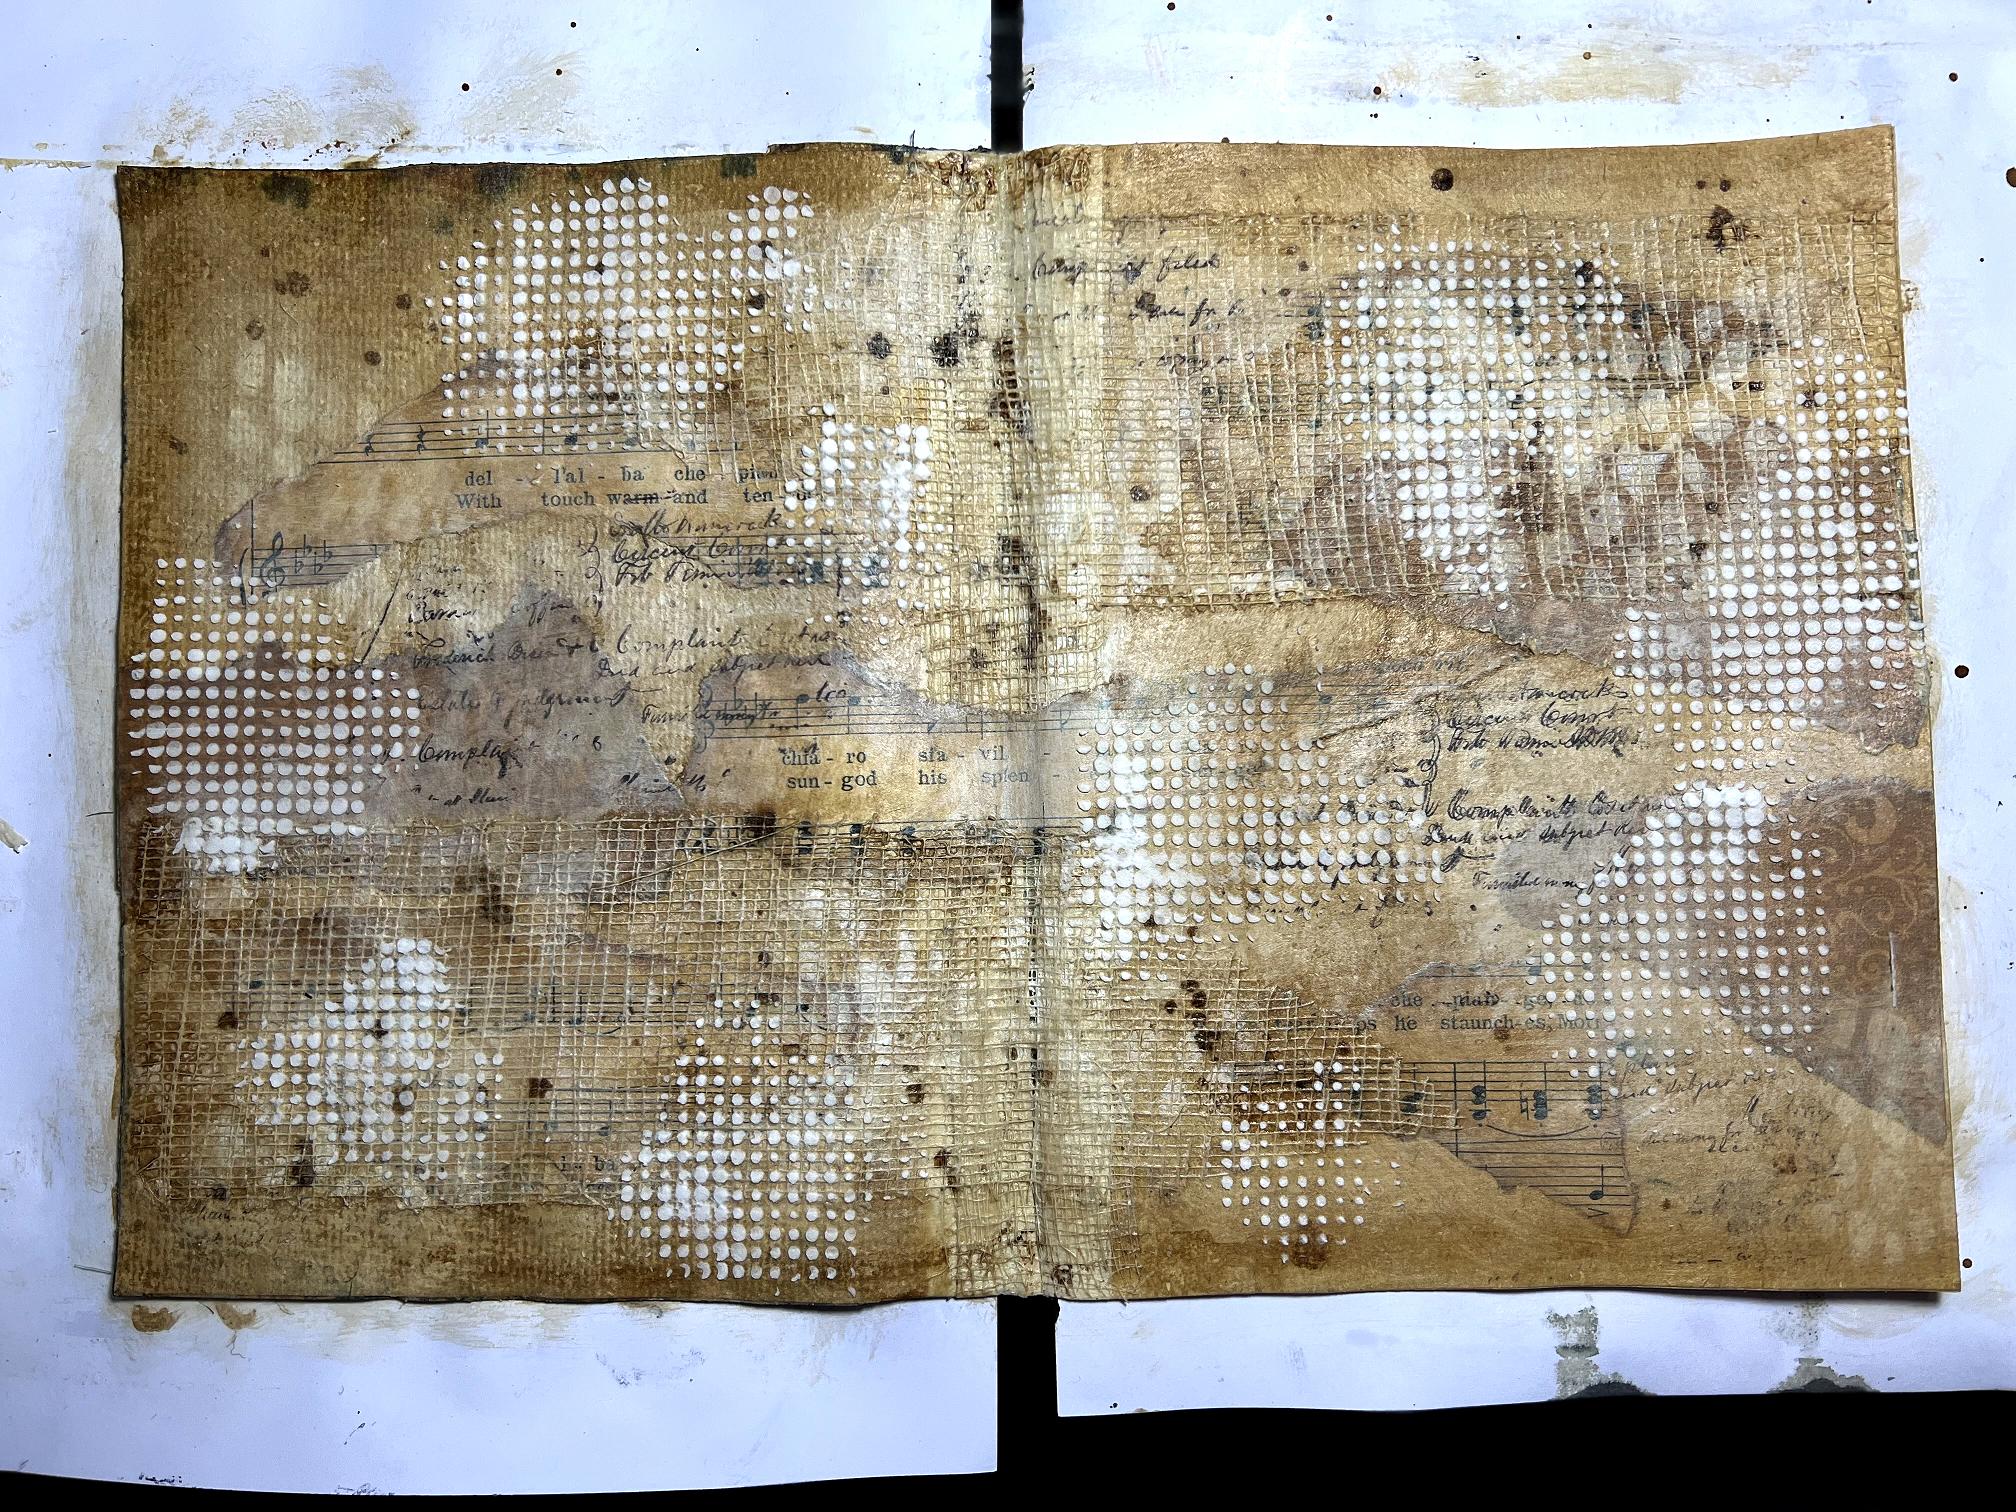
I again sealed the whole surface with Distress Micro Glaze and clear gesso. The final step in today’s session was to stencil on some light moulding paste, using the same Dot Fade stencil as before. I am glad that the white inked stencilling is still visible.
Later, I propped the book up on a cloth and painted coffee liberally along the top edge with a soft brush, and let the drips run down through the page. The cloth absorbed what dripped off the bottom. I removed quite a few of these drips with a damp paper towel – easy to do on the clear gesso finish. I also added some more coffee spatters. Nothing blended with the underlying layers. There will be a photo of this stage in the next blog post – when I left it, the coffee was still wet and shiny.
I want to add some white spatters but not the messy spray-like version that I ended up with on the first page. I have always found this extremely difficult to do. My experience with the coffee spatters, which went on beautifully, makes me think that my paint was too thick. The trouble is, if you water down white acrylic, it becomes less opaque. I have ordered some Dr. Ph. Martin’s white Indian ink from Amazon, and also some black – these inks are very opaque and dry permanent. I think they will be useful for many other projects too. I have some Dr. Ph. Martin’s Bleed Proof White, which is a fabulous, really opaque watercolour paint in a jar and I have found this very good for highlighting etc.
I now have to decide what, if any, the focal point of this page should be. There is rather more moulding paste stencilling than I did before – on the previous page, I added this after I had painted the circles. If I paint more circles on this page, I shall seal the surface where I want to paint them, but I am not sure what to do about any stencilled moulding paste that will be under them. I am really undecided as to the way forward at this stage. I also need to decide whether to add any black – or perhaps very dark brown – around the border, and perhaps coming in a little at the sides. Decisions, decisions…
Anyway, at the end of the first day for this page, I am feeling a lot happier with it.