Today is our 33rd wedding anniversary. Where did all those years go? He was 70 on Sunday, and we were both in our 30s when we got married!
I haven’t been feeling too well lately but like with his birthday, I felt I must make an effort and get a card made for our anniversary too. I decided to keep it simple, not just from the point of view of less work, but because I felt in a “less is more” mood.
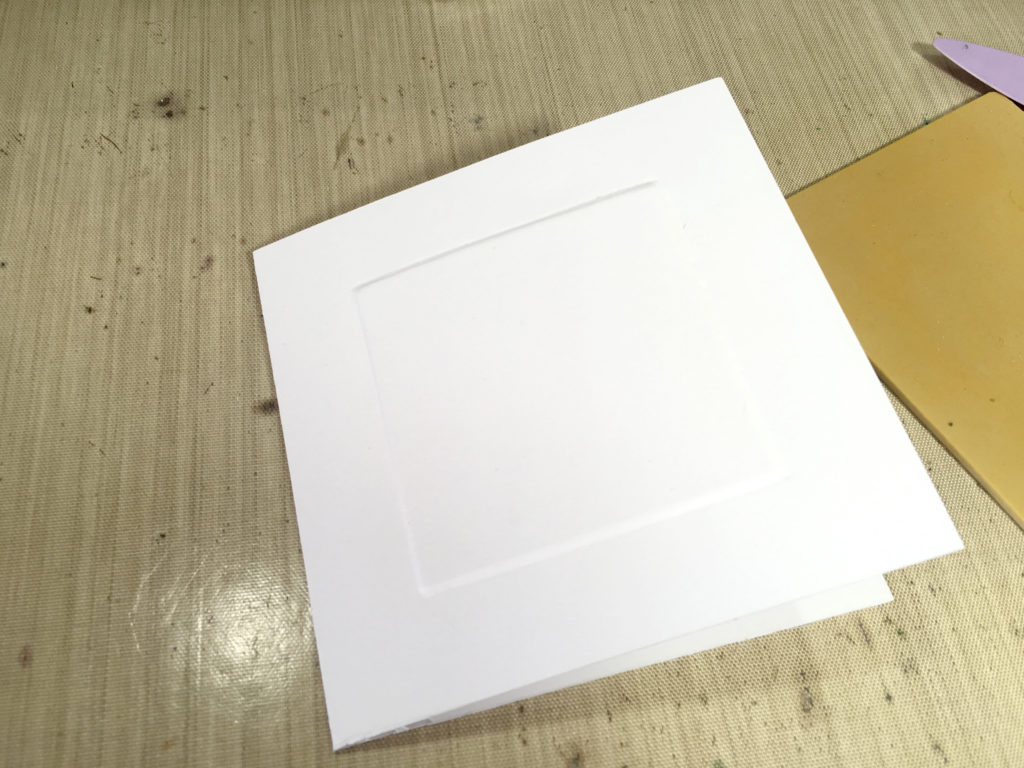
I cut a piece of A4 cardstock down to a 6 inch square card. I cut 3 pieces of similar cardstock at 3 1/2 inches square and lightly glued them together, and marked the centre. I also marked the centre on the card front, and lined up the piece on the inside and again lightly glued it before running it through my Cuttlebug with the embossing mat.
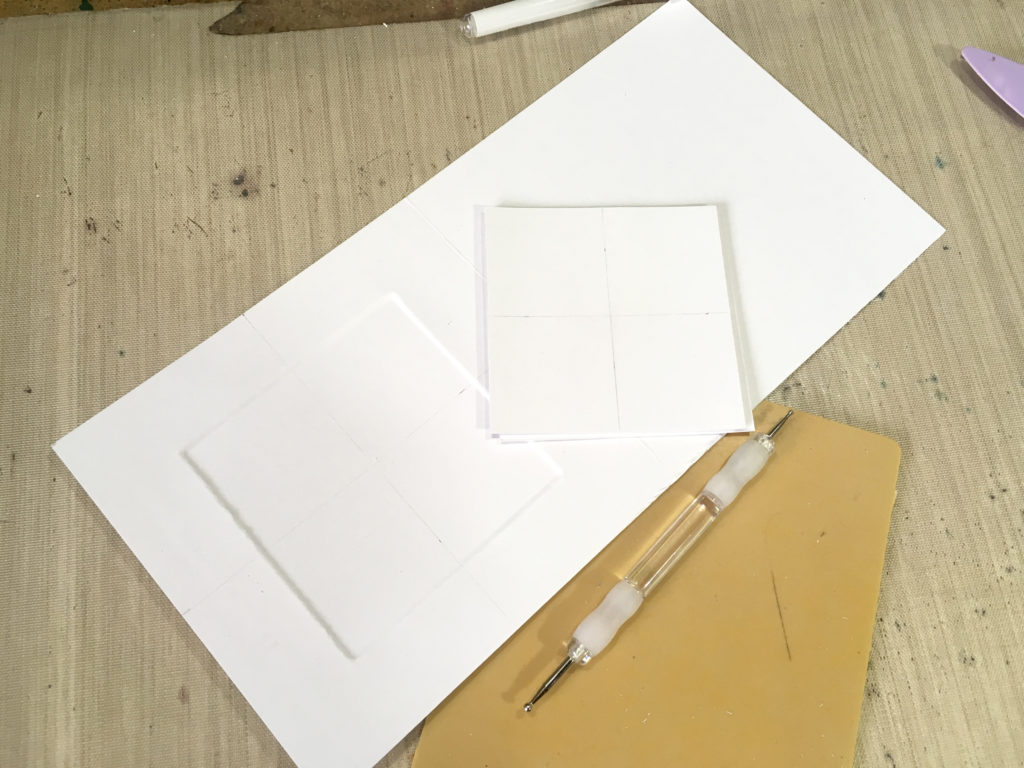
The embossing didn’t have quite enough definition so before removing the squares of card, I ran around the edges on the outside of the card with an embossing tool.
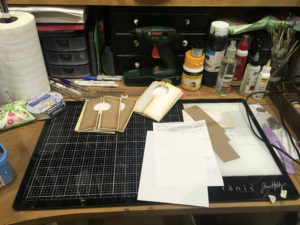
The materials I needed to embellish the front.
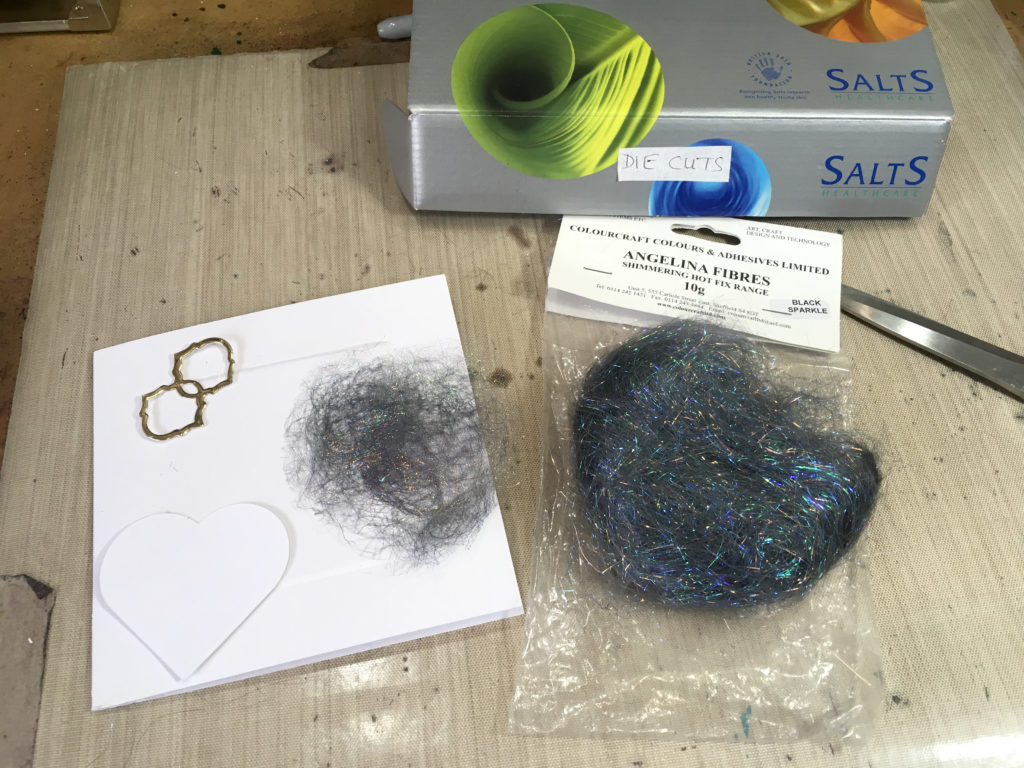
I had the die-cut heart and the small gold die-cut piece in my stash, left over from other projects, and I also dug out some Angelina fibre. I fused this with an iron, between two sheets of baking parchment, and trimmed off the excess to tidy it up.
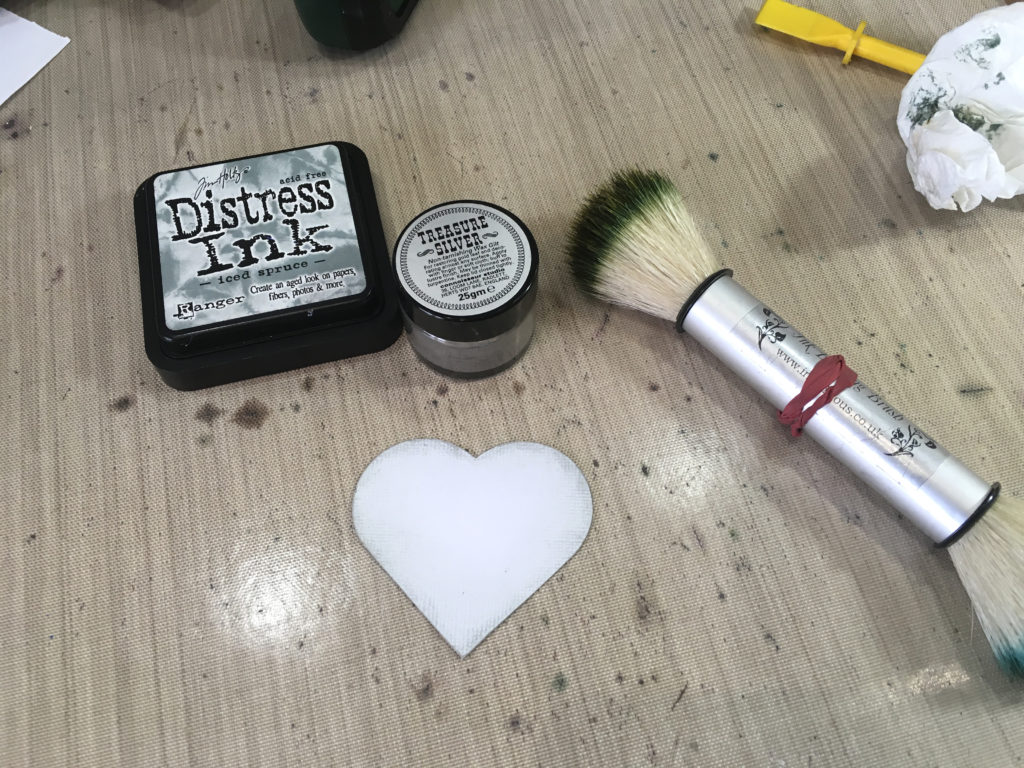
To make the heart stand out a bit more, I inked it very lightly with Iced Spruce distess ink, and a tiny amount of silver gilding wax. I anted to keep the effect really subtle. It doesn’t show up very well on the photo.
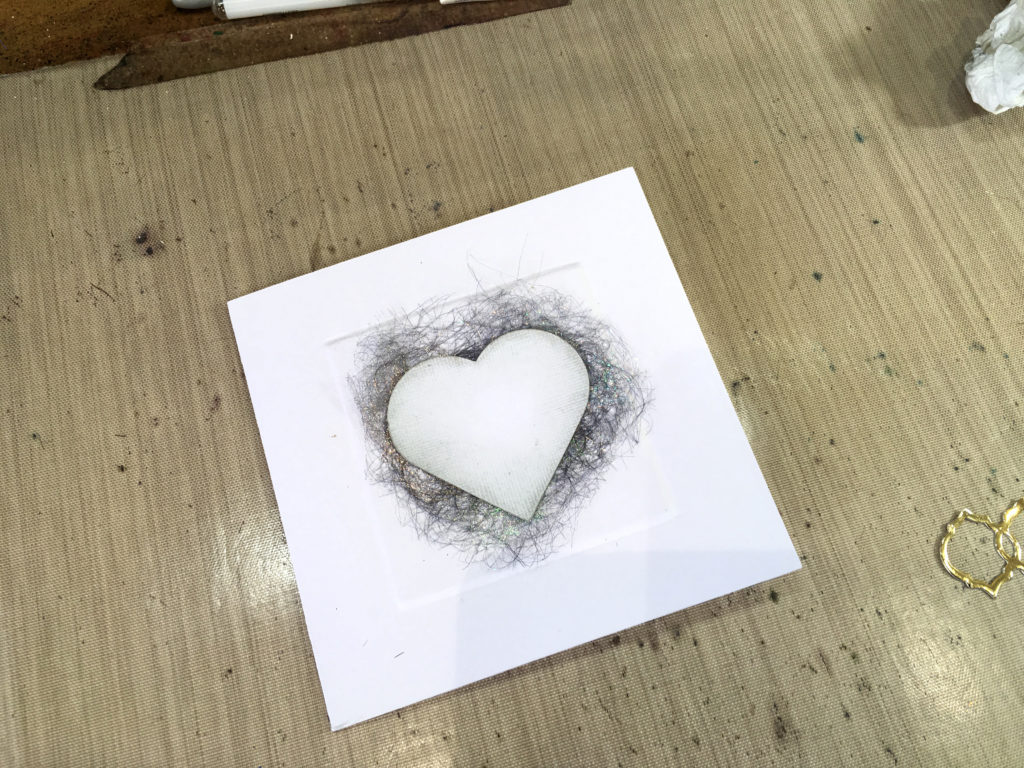
The heart and Angelina fibre in place. I attached them with tacky glue.
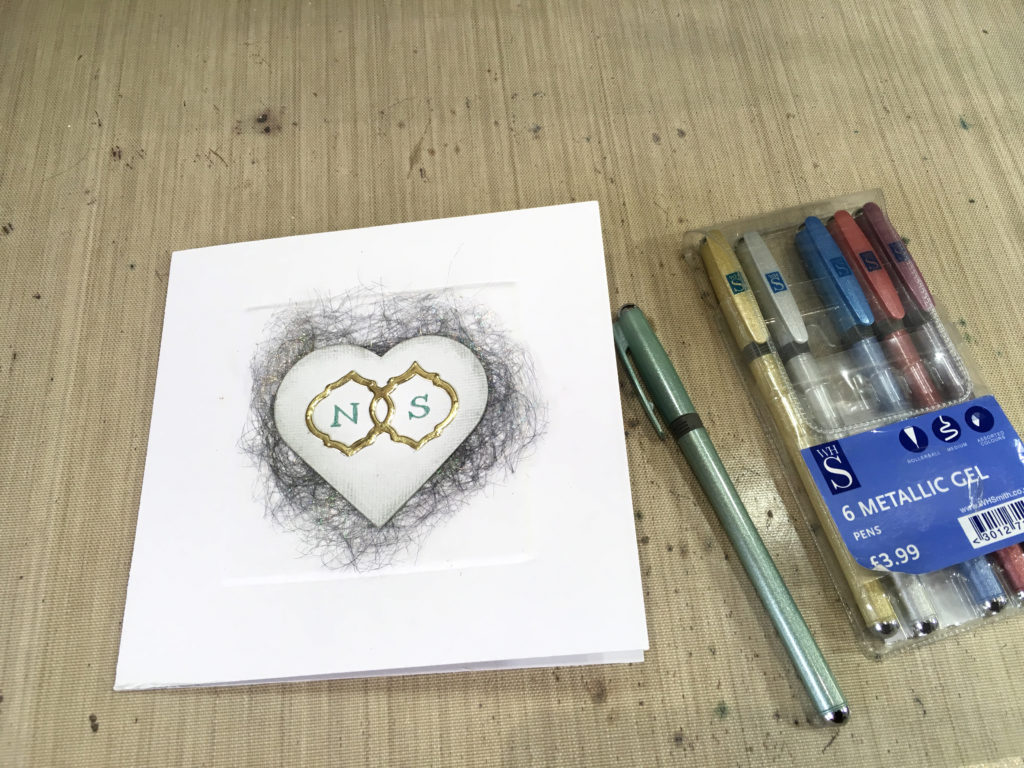
The next step was to add the small gold die-cut. This already had double-sided tape on the back. When I made the project it was left over from, I attached double-sided tape all over the back of some gold mirror card so that it was self-adhesive once it was cut. I stuck this small piece onto the heart.

With a gel pen, I added our initials in the spaces in the gold die-cut piece. Later, I added a shadow with a fine black pen for a bit more definition.
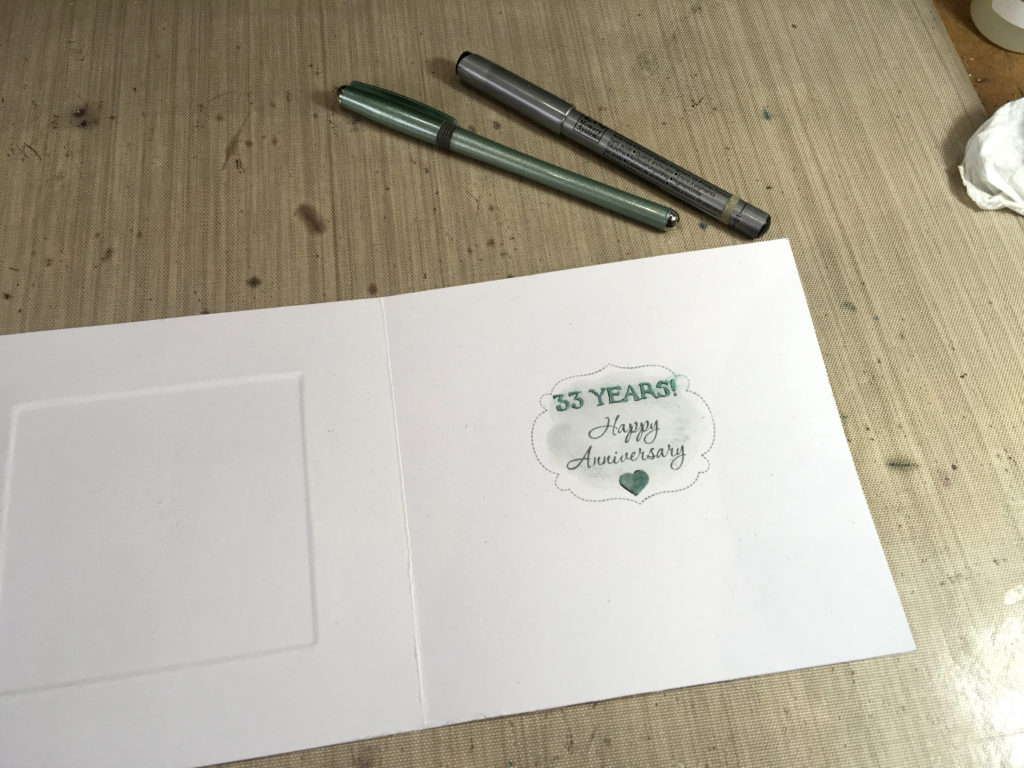
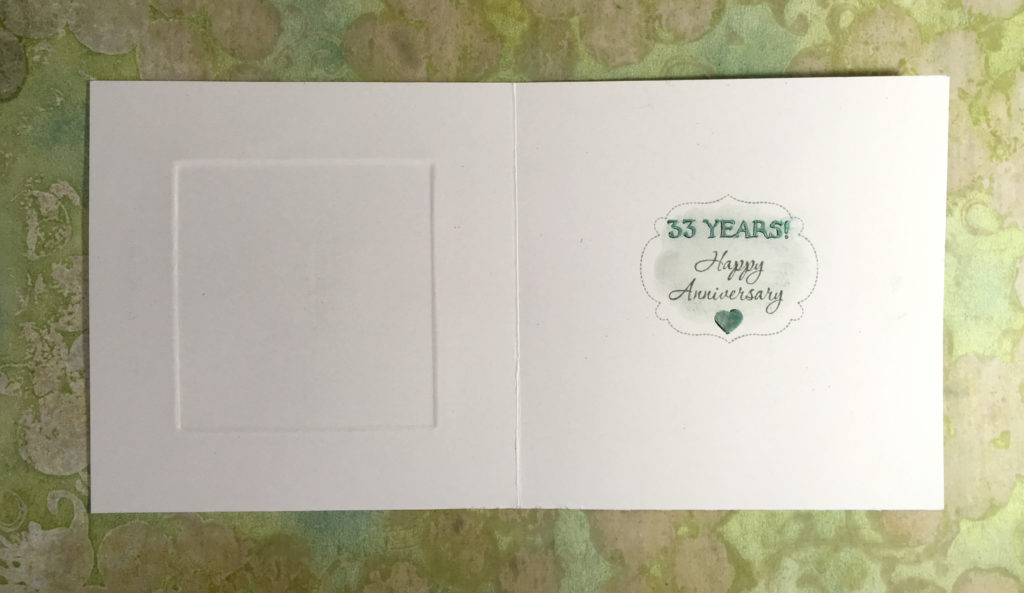
The inside proved to be much more of a pain to do. I am hopeless at stamping so it always takes me ages. Even with my stamping platform I can make mistakes! I used 3 different stamps from a Stampin’ Up set – the border, and the two text stamps. Unfortunately the borders on these text stamps are too wide to stamp the two words at the same time, which is a bore. It took me ages with scrap paper and minute adjustments before I got it right. This is the one time when I prefer clear stamps, because it’s really hard to get these rubber ones lined up exactly. I did the frame first, and of course managed to get some ink in the space in the middle, but I used a wet brush to spread this and make a bit of a shadow in the frame, which actually looked better in the end than just a plain blank space!
I then realised I’d stamped the text too low down in the frame, so decided to add a bit more with the gel pen, and a shadow with the fine black pen. It looked OK in the end, but what a performance! My hand-lettering isn’t too bad, and I think I’d have done better to do the sentiment by hand rather than by stamping it. I added the little heart with the two pens.
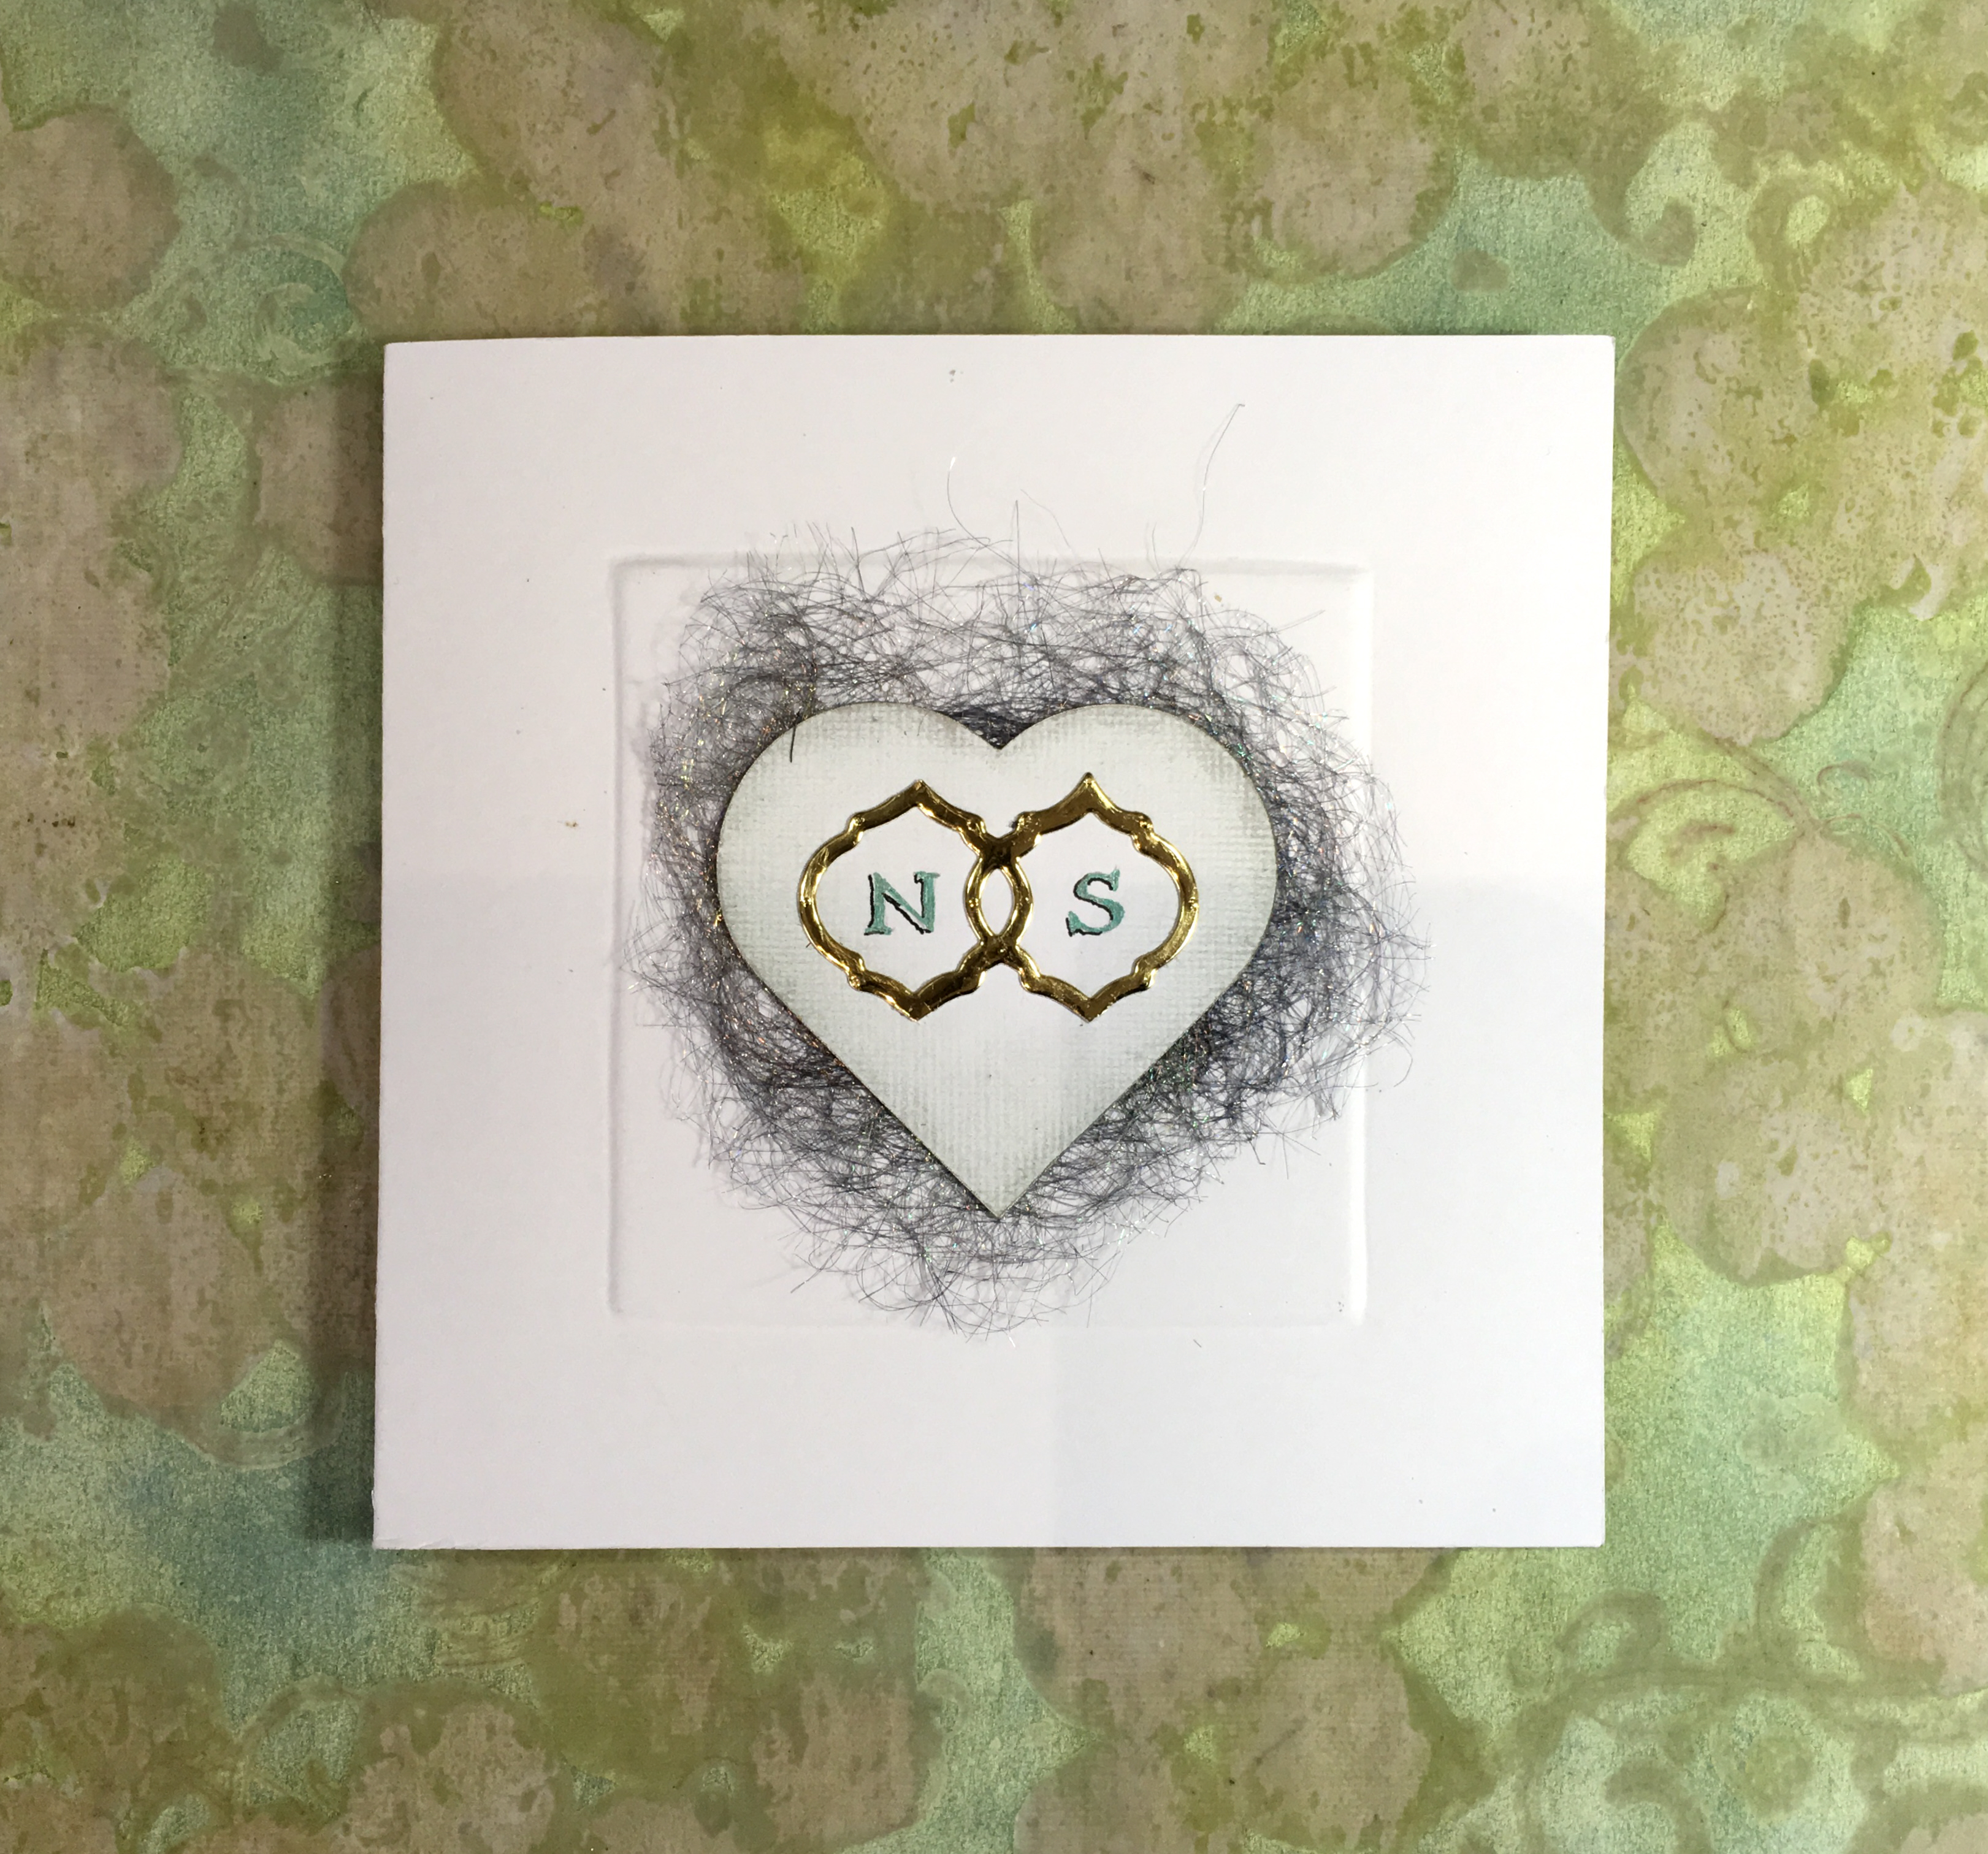
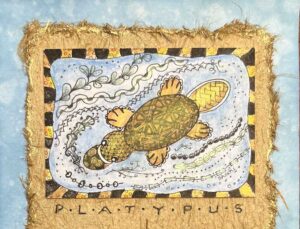
The completed card front.

The completed inside.
All in all, I’m quite pleased with it, and my hubby thought it was lovely, and appreciated that a lot of work had gone into it. He said he always keeps all my cards, which is nice. I am sure that a lot of my other cards, sent to other people, end up in the bin, which is why I find card-making somewhat demoralising!!
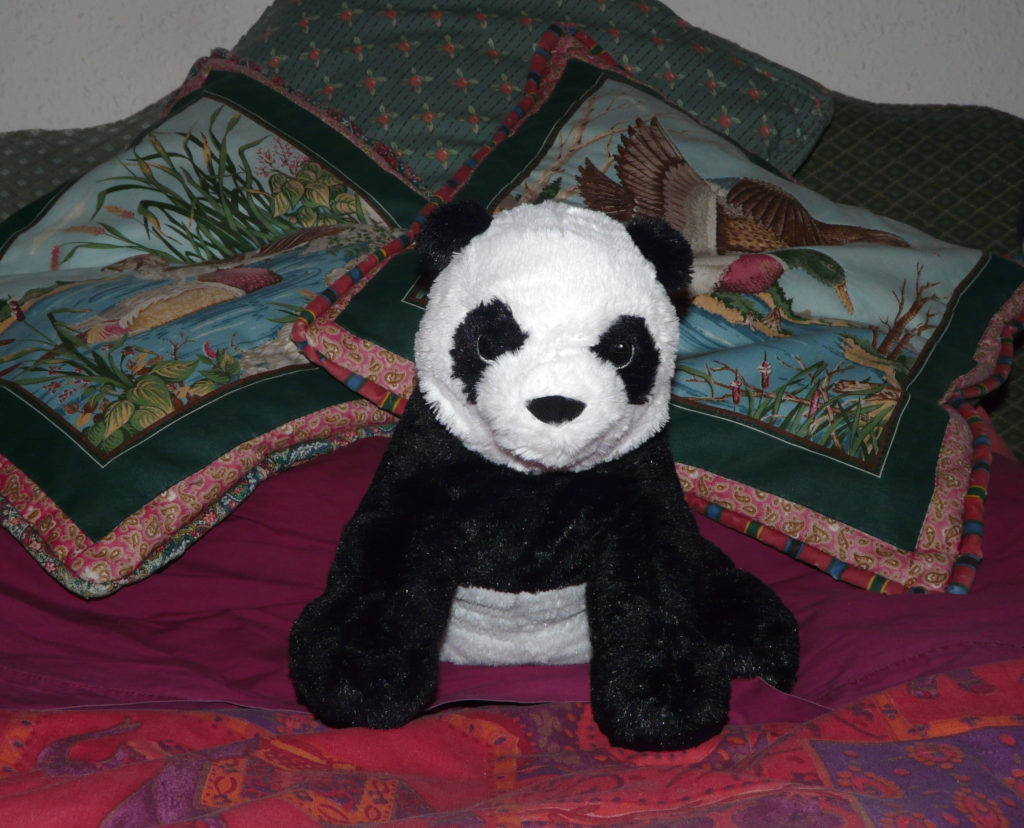
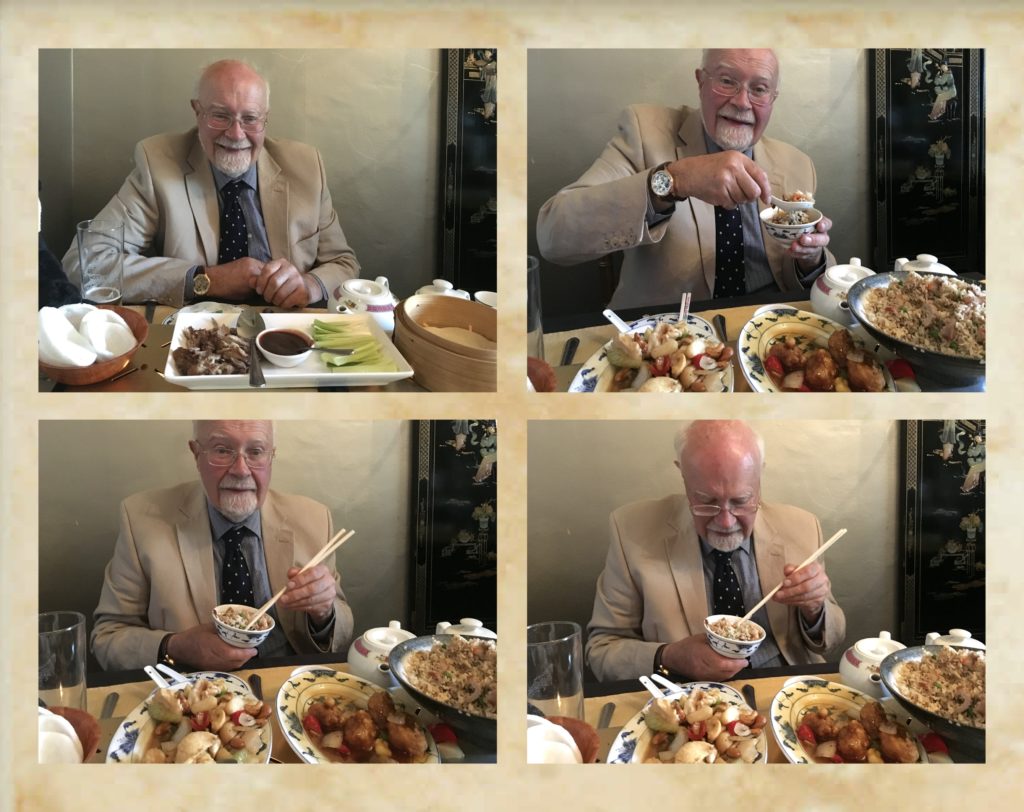
We went out to our favourite Chinese restaurant to celebrate this evening. It’s called “Yum Sing” which means “Cheers!” in Chinese, apparently! A few years ago my hubby bought me a little panda and we called him Yum Sing too. Whenever we go to Yum Sing, we take Yum Sing with us and he sits on the table and watches us eat. The staff are always very amused! They know us now, and direct us to our favourite table.
We had a great time. Here’s my hubby tucking in first to crispy duck with pancakes and hoisin sauce (a great favourite with us both) and then with a variety of dishes. We ordered extra and took home a nice takeaway for tomorrow! Note his expertise with the chopsticks. I’m afraid I am too lazy to bother these days. I always used to use chopsticks (mostly to show off) but now I don’t have anything to prove and prefer to get my food from plate to mouth in the easiest way possible!
Yum Sing the panda is just out of shot, unfortunately.
I think my diet has taken a hike this week. Too many celebrations to maintain a healthy weight! I will need to get back on track after my birthday next week.
Hi Shaoshi. Happy belated wedding anniversary! Loving your card but loving the food even more and your little panda too. Have a great week and I’m sure you’ll soon get back on track with the diet. Angela xXx
Hi Shoshi!!!! goodness, I’ve not been here for ages. I do hope you find a pick-me-up and feel better soon. Happy Anniversary to the two of you. What a special mark. Bob and I will celebrate 34 this year. Hard to believe. You’ll think this is funny. I was raised to be a 1950s housewife. I said something the other day and Bob said if I hadn’t been the 1950s housewife we probably wouldn’t have lasted this long. LOL I love him.
I’ve never mastered chopsticks. Like you, I just prefer to enjoy the food, not the frustration of getting food from point A to B 🙂 Hugs & Creative Blessings! Kelly #35