RUST WATER
I am grateful to Dragana of Saacibo on YouTube for her instructions on how to make rust water. This cheap as chips resource, completely new to me until I started following her, is an amazing addition to the studio, producing stunning and most unusual effects. She also has instructions on how to make copper water, and other mordants for eco dyeing.
I decided to make myself a jar of both rust and copper water. They take a while to mature so I left them on the glass mat on my wet area table by the sink. It was a mistake to use glass jars because eventually when I was shaking the rust water jar to help it along, the nails cracked the glass! I immediately transferred both liquids to lidded plastic containers which is a lot safer.
Making the rust water
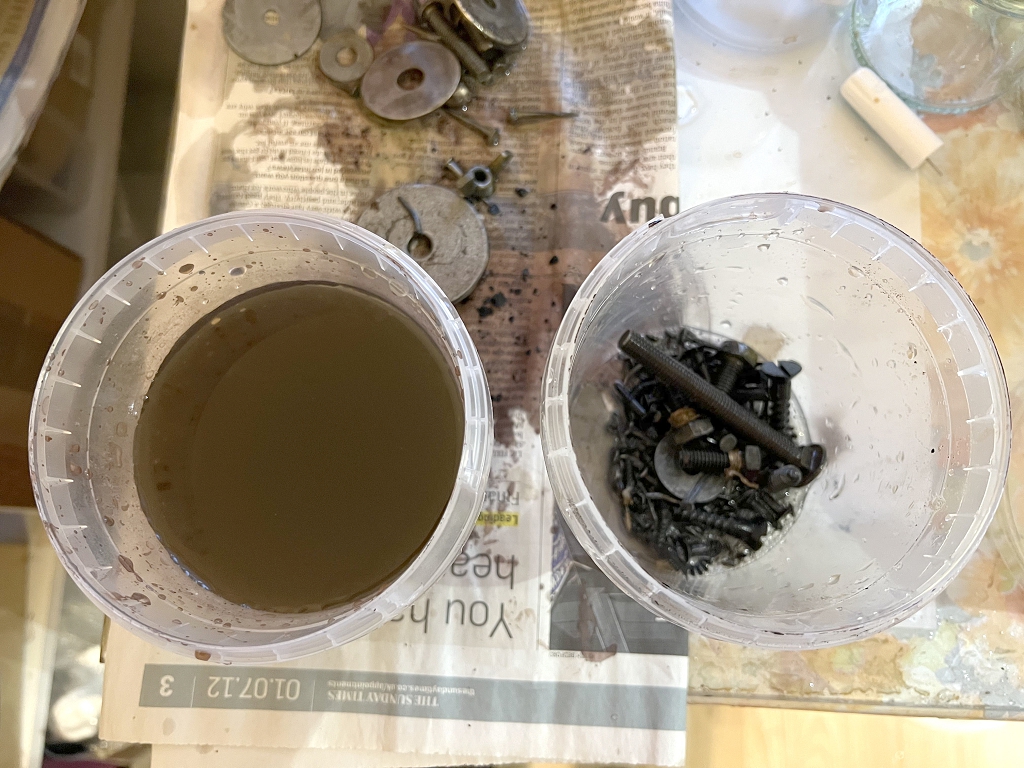
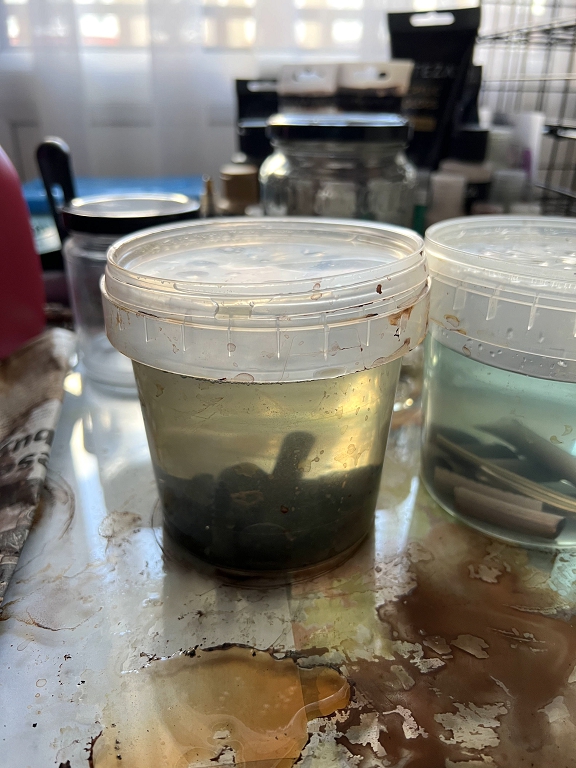
To make rust water, you take some iron or steel bits and pieces such as nails, washers, bolts etc. and put them in a container. You add a 1:1 mixture of vinegar and water, cover and let stand with periodical shaking until the water has turned a nice rusty brown colour. My first effort wasn’t very successful because I used normal strength vinegar and nothing seemed to be happening. I tipped it away and used x4 strength cleaning grade distilled vinegar instead. After my mishap with the broken jar, I had no further problems. I watched the colour gradually darken until I decided it was ready. You can see from the following photo just how dark the liquid in the container on the left has become.

I put a coffee filter in a funnel from my hubby’s garage and strained the water into a fresh container. I noticed that several of the metal objects were still bright and shiny – these were clearly galvanised, designed to prevent rusting! I separated them out and continued with the other pieces which were good and rusty.
I had to use two coffee filters because the first one seemed to be getting clogged up with bits. These coffee filters will go in my stash of dyed papers because they look pretty cool!
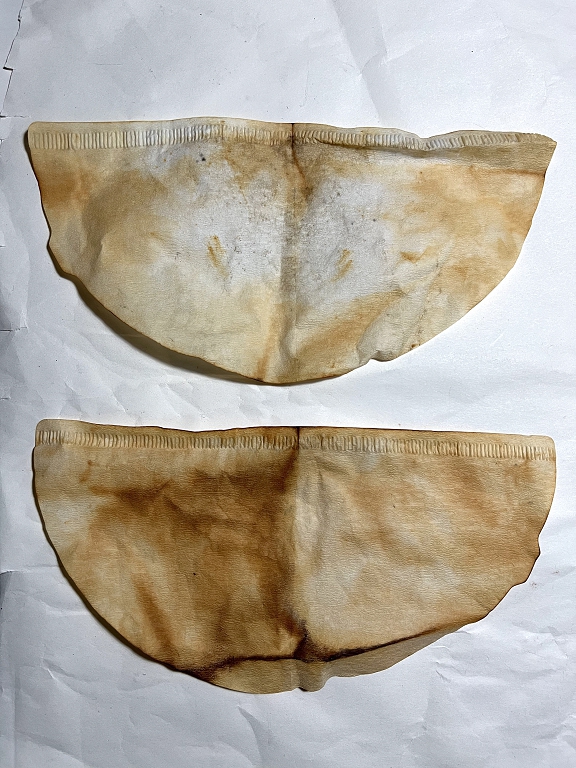
These two coffee filters were the cone-shaped ones. They were the first pack that I bought. In the above photo, I have gently pulled them apart along the seam and opened them out flat. I subsequently bought another pack of coffee filters, this time the bowl-shaped ones with crinkled sides like paper baking cases. These can be flattened out into a circle. The thing about coffee filters is that they are designed to be strong when wet and won’t disintegrate if you throw a lot of wet media at them. They are also quite absorbent. This is my first experience of working with them, and I can see that they will be just as useful as teabags in my art. The texture is thick and soft and feels a bit like felt.
Here is the second batch of rust water being made.
More rust-dyed coffee filters
I took two of the bowl-shaped filters and cut the fluted edge off one of them. I laid them out and painted them liberally with rust water, beginning with the cut one. I am planning to use these in my current album project, “Make a Joyful Noise.”

Rust water goes on quite pale, and it is easy to assume that you haven’t added enough, but the colour is revealed as it dries. It seems to go through various iterations in the process – in the above photo you can see a distinct pinky-purple shade but this doesn’t seem to last as it dries. While the rust water was still drying, I dug out my PaperArtsy Infusions (which I made an album about recently), and sprinkled on two different Infusions powders. I deliberately didn’t smooth out the papers, in order to achieve a nice grungey effect. That narrow strip is way too dark for the purpose I want it for. There are some very interesting effects around the cut edges where the Infusions had a chance to work where there was less pigmentation. As it dries the purple colour gradually fades and is replaced by true rust colours.
Making copper water
Looking at this photo again, you can see my pot of copper water maturing on the right.
To make copper water, you take some scraps of copper, such as bits of copper pipe, and put them in a container. You add pure vinegar, cover it and leave it to stand for quite a bit longer than for the rust water. By the stage when my rust water was ready, the copper water had a pale blue tinge, proving that it was working, but it will require more time before it reaches that glorious bright copper sulphate colour which is required. I am anticipating this taking at least a month to mature but I’m in no rush, so I can wait.
As far as I know, the only use for this water is as a natural dye mordant. A mordant is a chemical which you add in small quantities to natural dyes to make them both light- and water-fast. The word derives from the French word “to bite,” which means that the mordant helps the dye to “bite” into the fibre and form a firm bond which will not be dislodged by washing or by sunlight. Different mordants will produce different colours in the same natural product, whether it be yarn or paper. Eco-dyeing is the process of dyeing paper and fabric with natural products such as various plants. Most plants do not produce the colour they are in their natural state, but often quite radically different colours, which can be varied by using different mordants. I am looking forward to experimenting with all this in due course.
Working with the rust water
In the meantime, now that the first batch of rust water is ready, I have another purpose for it as a paper stain in addition to tea or coffee. My next post will show how I have used it while making some layered cluster embellishments.
I love the rich rust colours, and how much variety there is in one piece. Rust can be very beautiful, if you would only take the time and trouble to see for yourself. I always love finding rusting objects on our various outings.