The Skirt
This was made from the brocade curtains I got on Ebay.
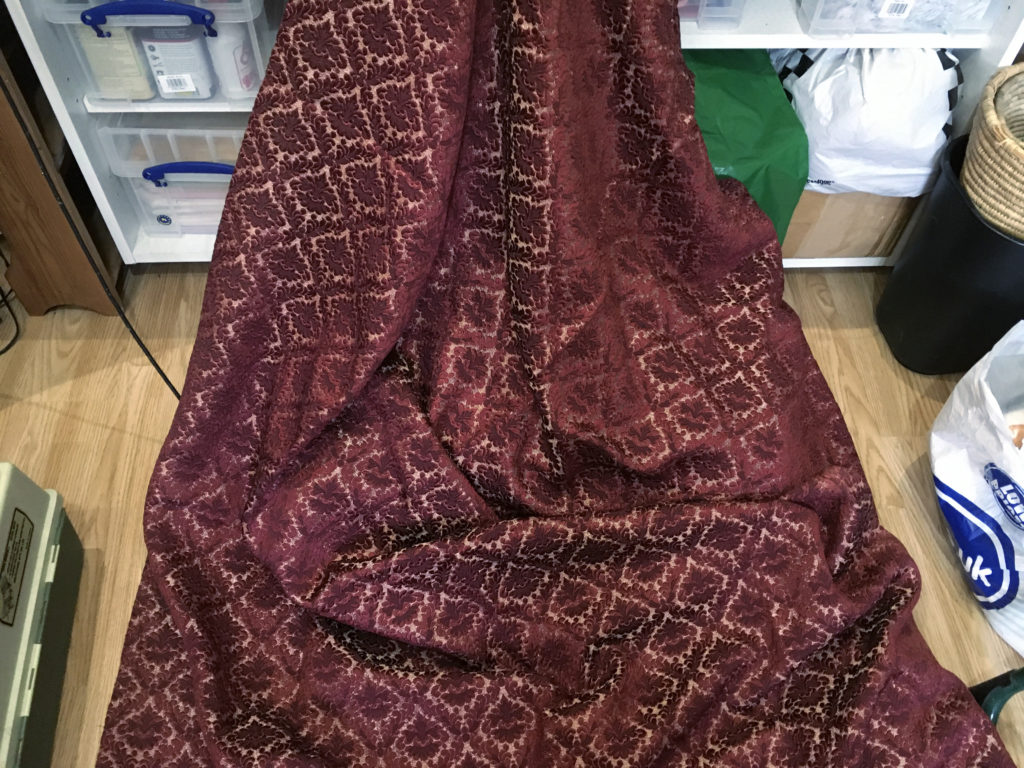

It was relatively easy to make, being quite a simple shape, but the fabric is quite thick and heavy. I used the existing hem on the curtains and cut the required length from the top. Then I stitched the side seams, leaving a gap on the left-hand side. I cut this seam allowance 3 inches wider on the back piece, to form a placket underneath the side slit. This meant I didn’t have to insert a zip fastener. The excess seam allowance below the placket was trimmed away and all the edges neatened.
I ordered some waistband buckram in the required width (2 inches) from Ebay, but when it came, it was pretty flimsy and I didn’t think it would be firm enough for the heavy fabric. I did think of using some pelmet vylene but the stuff I have got is self-adhesive and is not washable or dry-cleanable, which ruled that out. I had had to buy 2 metres of the waistband buckram so I decided just to double it up, and hope for the best. This has proved to be quite satisfactory.
I lined the skirt with the backing fabric from the quilted counterpane I bought several years ago in a charity shop.
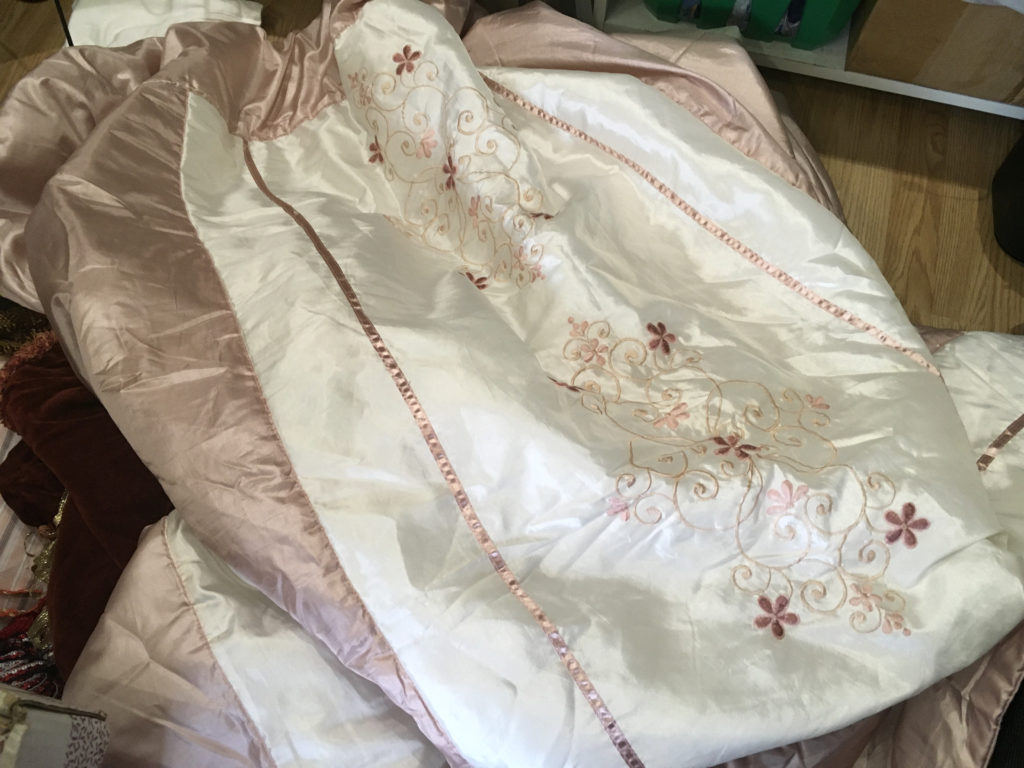
There was a lot of the pink fabric on the back, and it was ideally suited for lining the skirt. I cut it to size and sewed the side seams, after which I tacked the top onto the inside of the skirt itself.
The most difficult part of the skirt was attaching it to the waistband. I pleated the skirt together with its lining, rather than gathering it. The original Tudor skirts would have been pleated in this way as well. This also reduced the bulk at the waist, but the resulting seam was very thick, and wouldn’t go under my sewing machine foot, so I had to stitch this by hand. I used some heavy buttonhole thread and worked in backstitch as finely as I could, pulling it up well with each stitch. The result is a nice strong seam which I think will hold up OK. I trimmed the seam allowance away as much as I could from each pleat to reduce the bulk. Folding the waistband over and hand-stitching it in place, this covered up the seam on the inside and the result is quite neat.
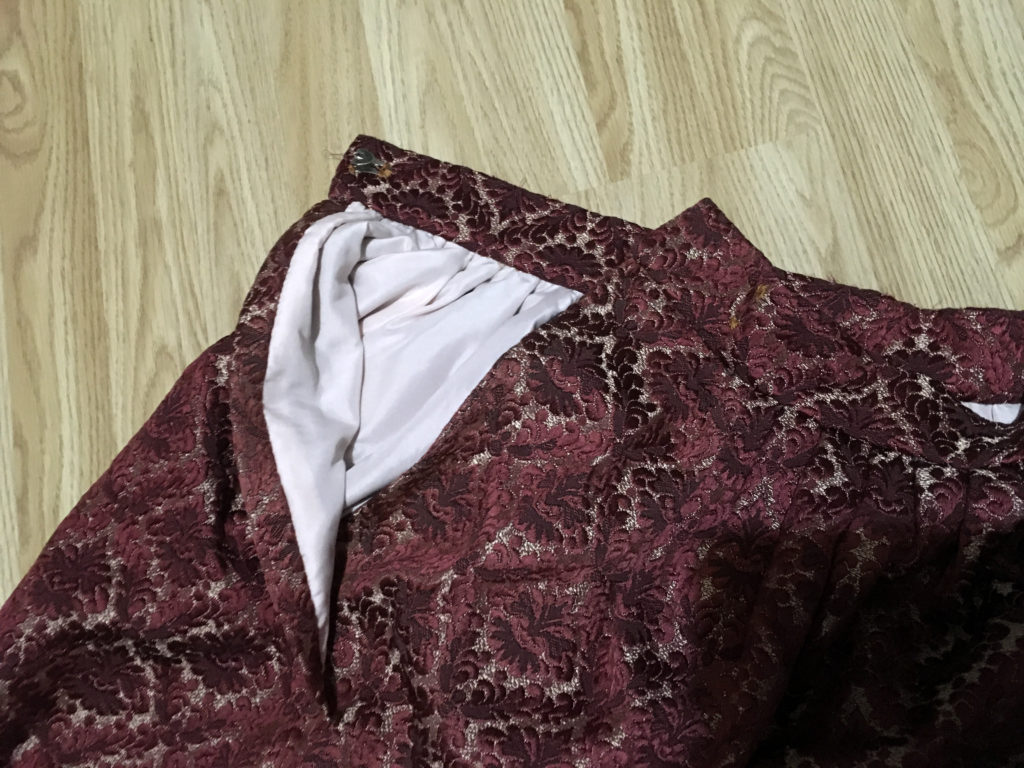
To finish the waistband, I added a metal hook fastening. The waistband extends across the top of the placket, and tucks in nicely under the top layer of waistband, giving a reasonable finish. It may need another hook inside to hold it in place.
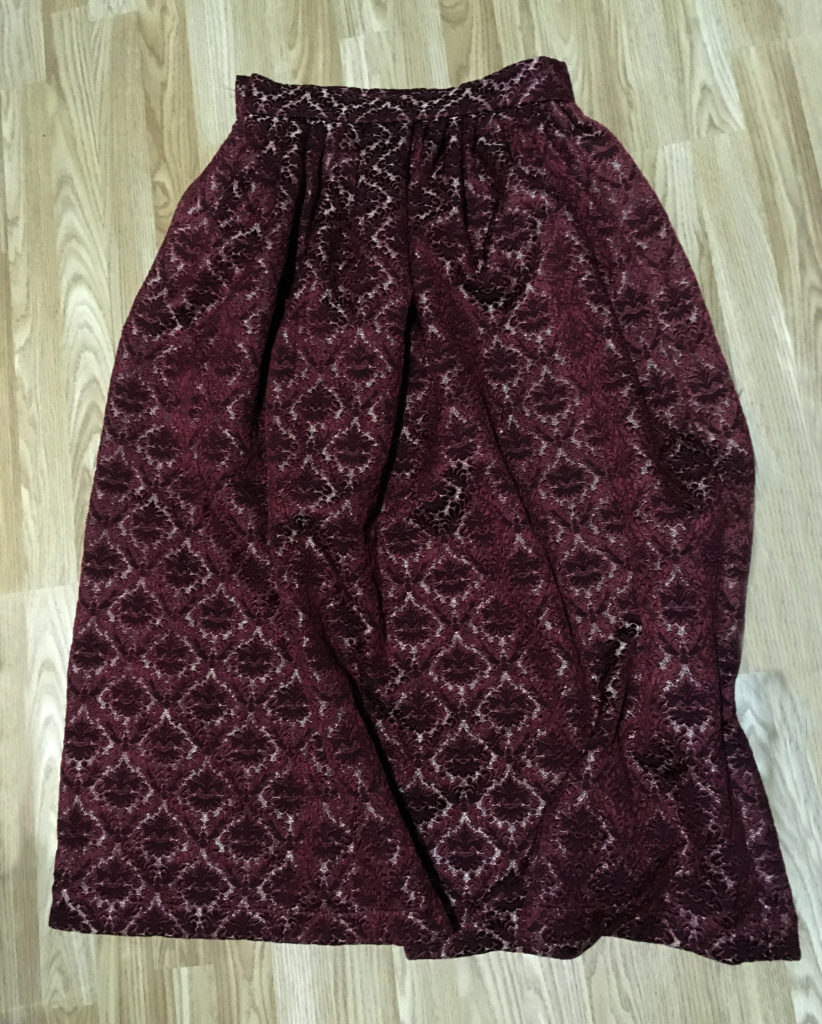
It fits me perfectly, and I am very pleased with the result. Even if I never get the chance to wear the whole outfit again, this skirt will be a useful addition to my wardrobe – a nice long warm winter skirt!
The bodice
A website I visited suggested buying a boned bodice and covering it. This seemed a good idea, because time is fairly short for this project, and it would save having to draft a pattern. I searched on Ebay and immediately found a black boned bodice, brand new, Marks & Spencer Per Una brand, complete with price tags, and what I paid for it was a fraction of what was on the label! It’s a perfect fit, and is straight across at the front, which makes it eminently suitable for a Tudor bodice.
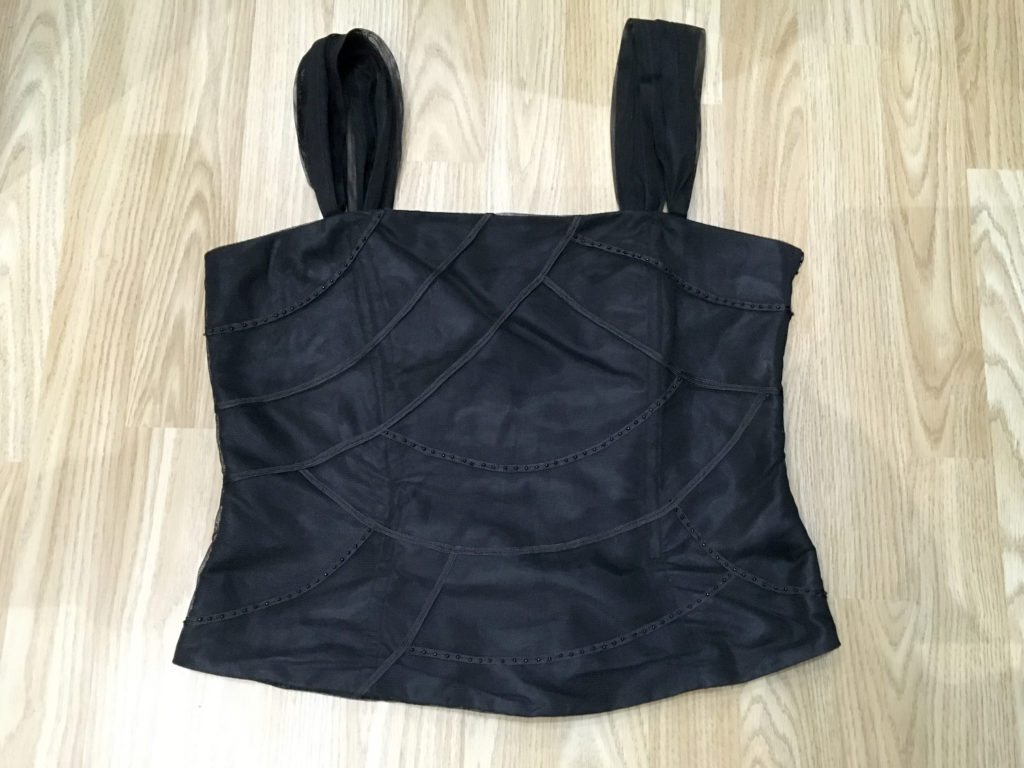
I have removed the outer net layer with its black bead trimming, which I may eventually take the time to remove, and keep the little beads in my stash. The shoulder straps were made of the same black net, slightly rouched, and they were attached too far in for an authentic Tudor look, but were easy to remove. At the beginning I wasn’t decided whether to use them in a slightly wider position on the bodice, covering them with the fabric, or whether to ditch them altogether and make new ones from scratch, and in the end I decided on the latter course of action which was a lot simpler.
The sleeves will be attached to the bodice with ties, and the chemise underneath will poke through the gaps. For the chemise I am using a Romanian blouse with red and black embroidery on it. Not exactly traditional but I’m after the general look, not 100 percent historical authenticity.
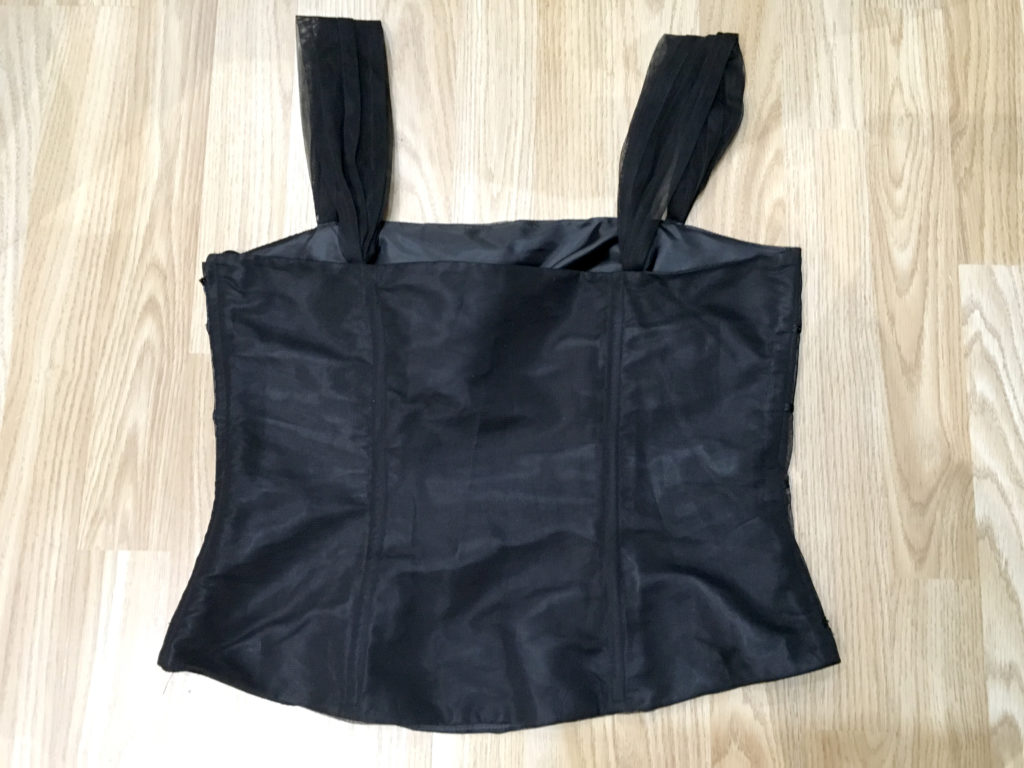
This is the back of the bodice.
Covering the bodice
This proved a little more tricky than I’d imagined. The purchased boned bodice has no darts, but the shaping is in the seaming. I cut my fabric with straight sides, cut to the widest measurement of the bodice, and then added some darts for the shaping. Trying it on, it needed further darts above the bust, and a further tuck to reduce the bulk of the square neckline. It is perhaps not quite as neat a result as I would have liked, but with the stomacher in place, and the general pattern of the main fabric, the result is acceptable. The main thing is that it is a good tight fit.
The purchased bodice has a side zip on the left, which opens at the bottom, making it easy to put the garment on. An original Tudor bodice would have had a back opening with lacing, but I didn’t see much point in adding this detail, since there was already a perfectly satisfactory opening which would be easier to use anyway. Also, with the French hood in place, the veil will cover much of the back, and I didn’t think it was worth the effort of going for 100 percent authenticity!
Once the back and front pieces were cut and shaped, I turned in the seam allowance all round, and machined it in place near the edges. Then I simply hand-stitched them onto the bodice. I altered the top of the front a little, making it slightly higher in the middle in a gentle curve, rather than being straight across. The cover was stitched to the side seams and at the top, but I left the bottom open, just machine-hemming the raw edge of the fabric.
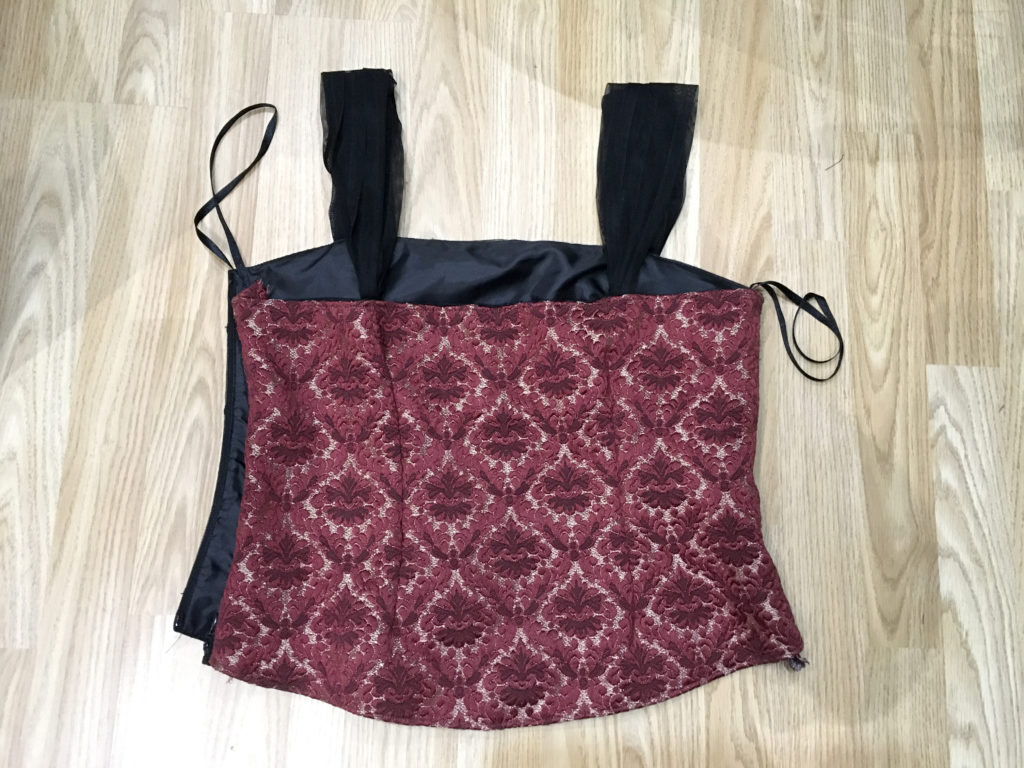
Covering the back of the bodice.
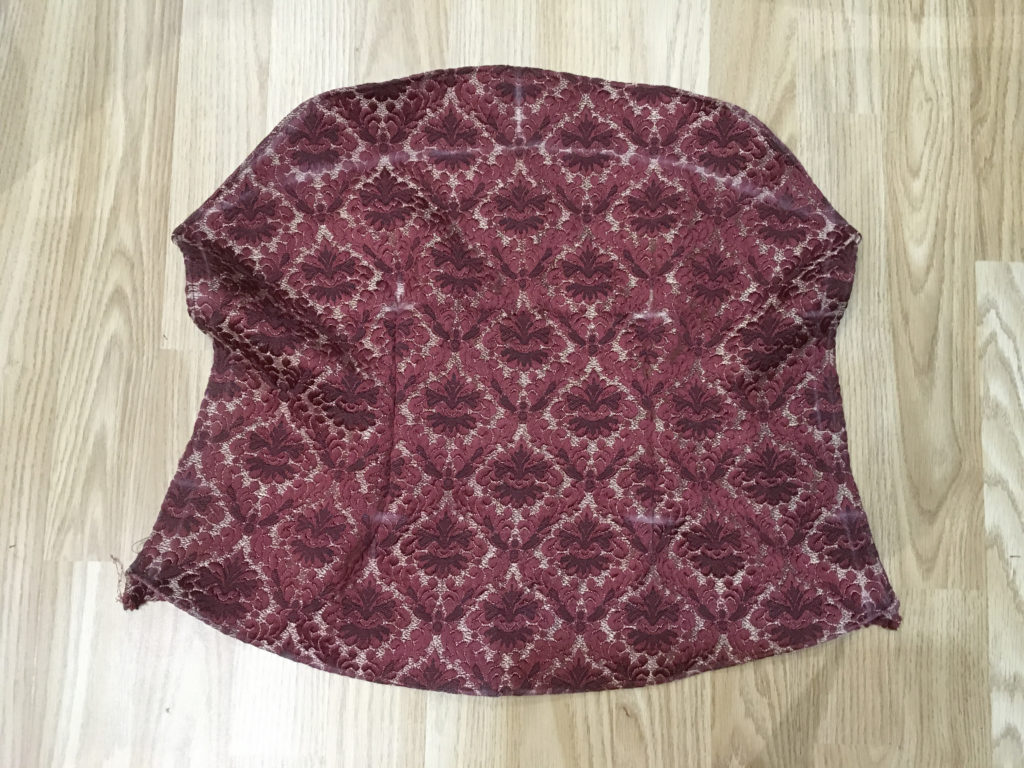
Covering the front of the bodice.
I made new shoulder straps from the curtain fabric and stitched them in place, so that they were sandwiched between the existing bodice and the covering pieces. I had to fiddle about with this quite a bit and ended up unpicking them from their original position, and adjusting them until the bodice was a good and comfortable fit.
I am a little concerned about the weight of the sleeves pulling the shoulder straps down. Looking at the portraits of the period, this doesn’t seem to have been a problem for Tudor ladies, and I’m not sure what their secret was! I may end up having to pin them to the chemise and to my bra straps on the inside when I wear it, but I shan’t know until much further on in the project. There aren’t many pictures of what these gowns looked like from the back, but it may be that the back of the bodice was a lot more built up; I know they came down in a V to where the lacing began, but I don’t know exactly what they were like.
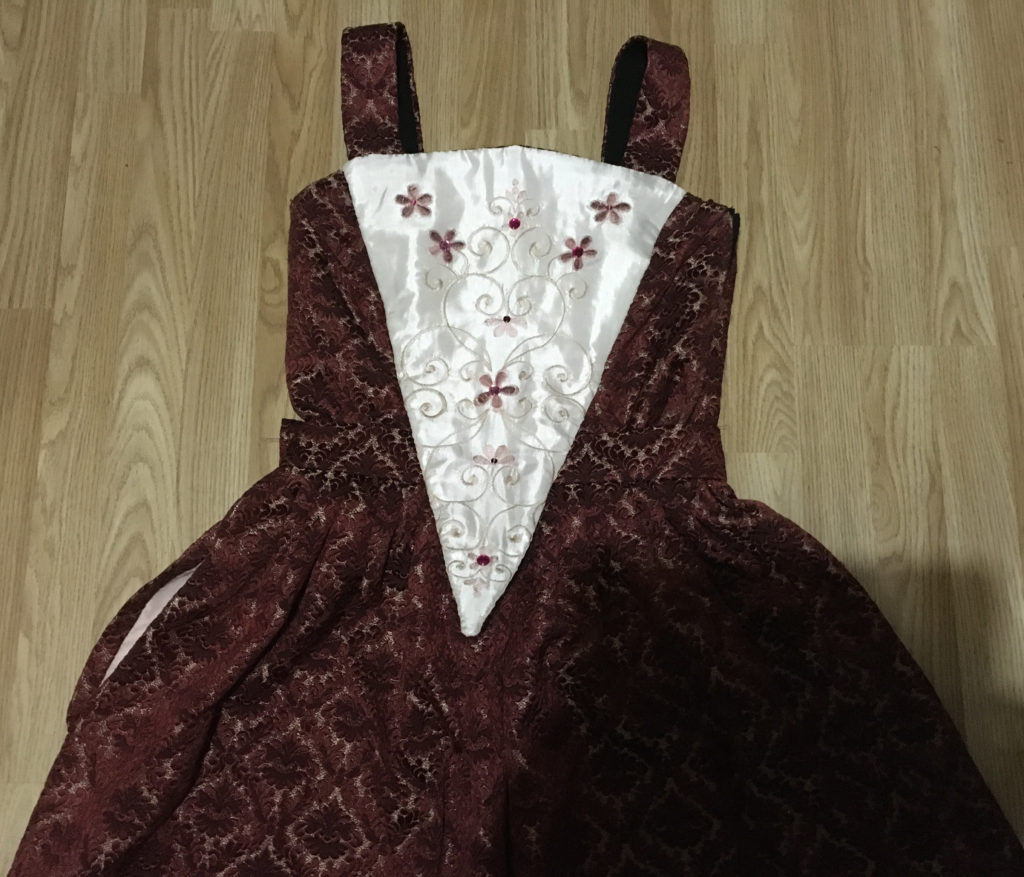
The stomacher
This is the flat panel covering the front of the bodice, and it was often embellished, and/or made of contrasting fabric. Once the bodice covering was complete, I was able to move on to making this.
By trying on the bodice and looking at various pictures, I decided to make this a triangular piece, extending across the top from the outsides of the shoulder straps, tapering down to a point extending below the bodice onto the skirt. This means that the bottom half of the stomacher must not be attached to the bodice, so that the bodice can be tucked into the waistband of the skirt. I marked the position of the waist on the bodice with a safety pin. The stomacher would require some boning.
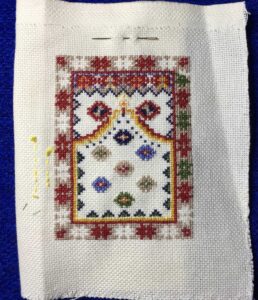
I made a paper pattern, and proceeded to cut out quite a number of layers for the stomacher. The top layer, from the embroidered panel on the quilt I bought in a charity shop, is quite fine material and would need to be made a lot more substantial. I cut two pieces from a piece of old sheet, which were to make up the boned interlining. I also cut two pieces from heavy interfacing so that the boned interlining would be sandwiched between them, and finally, a lining piece cut from the pink fabric off the back of the quilt, which I had also used to line the skirt.
This is the top piece, cut from the quilt.
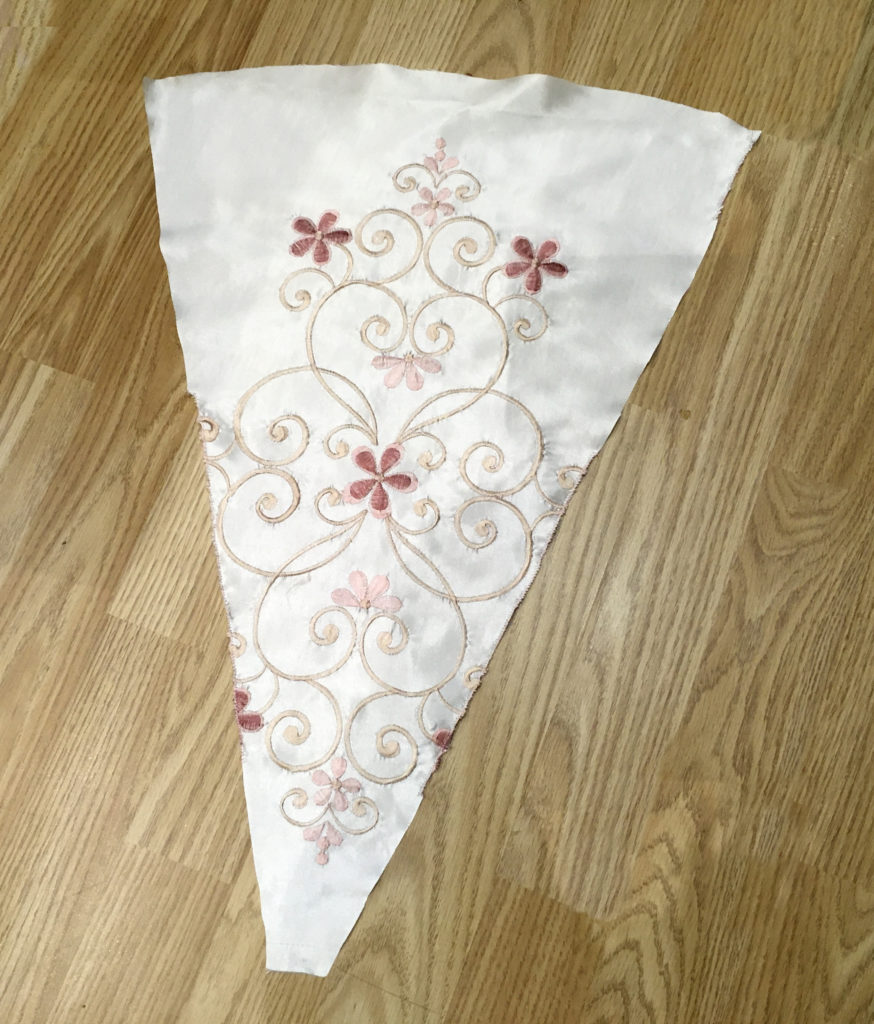
I zig-zag stitched the sides where the embroidery had been cut, in order to stabilise it and stop it from unravelling.
These are the interlining pieces, with the boning in place. There is a length of rigilene boning across most of the top, and a longer strip down the centre front. I was able to create a slight curve in the top piece of rigilene by ironing it and manipulating it with my hands.
![]()
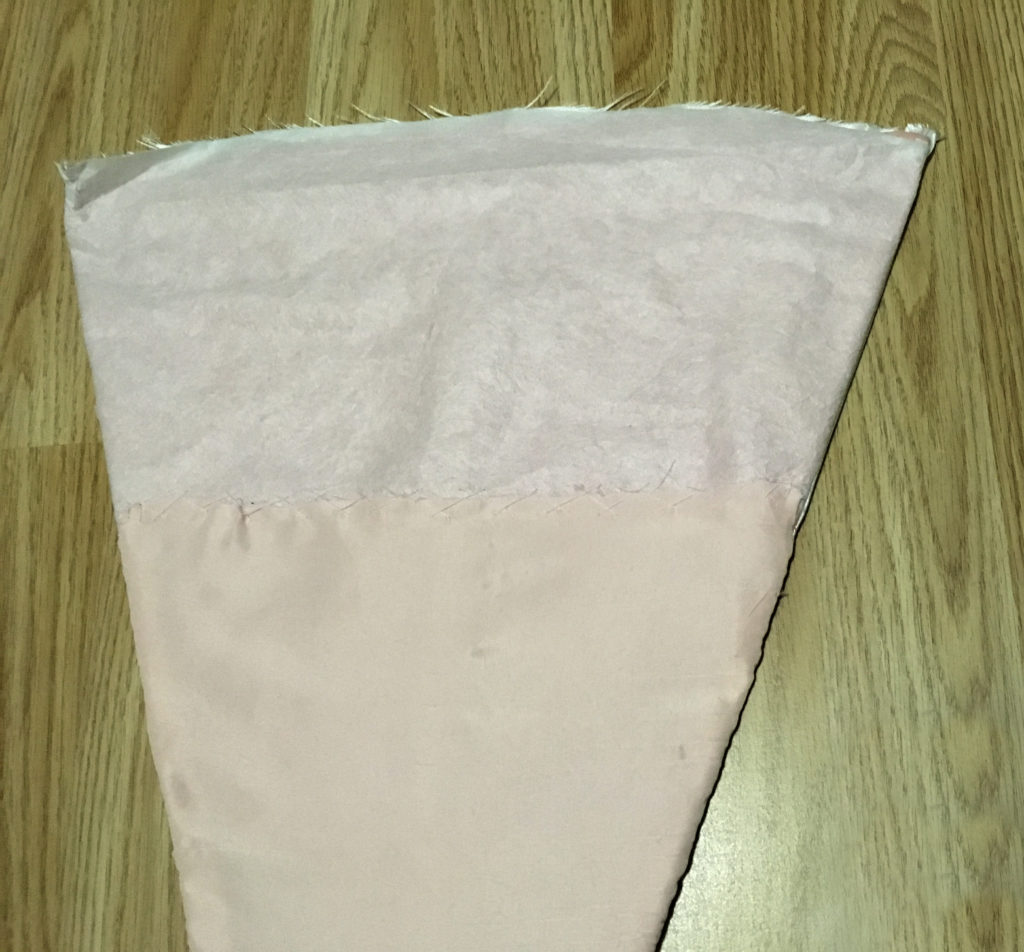
I made the sandwich with the two interfacing layers, and then laid the embroidered piece face down on top. I sewed along both long edges and attempted to turn it inside out, but the boning at the point made this impossible. I had to unpick the sewing around the point, which made the turning possible, and then re-sewed the point by hand from the outside.

After pressing, I made the lining piece, cutting enough for it to cover the bottom half of the stomacher which would not be attached to the bodice, and carefully hand-stitched this along both long edges and around the point.
![]()
The raw edge of the top of the lining was roughly hand-stitched to the inside of the bodice. This would not be seen on the finished result.
I’m afraid it’s rather difficult to see the detail on these photos.
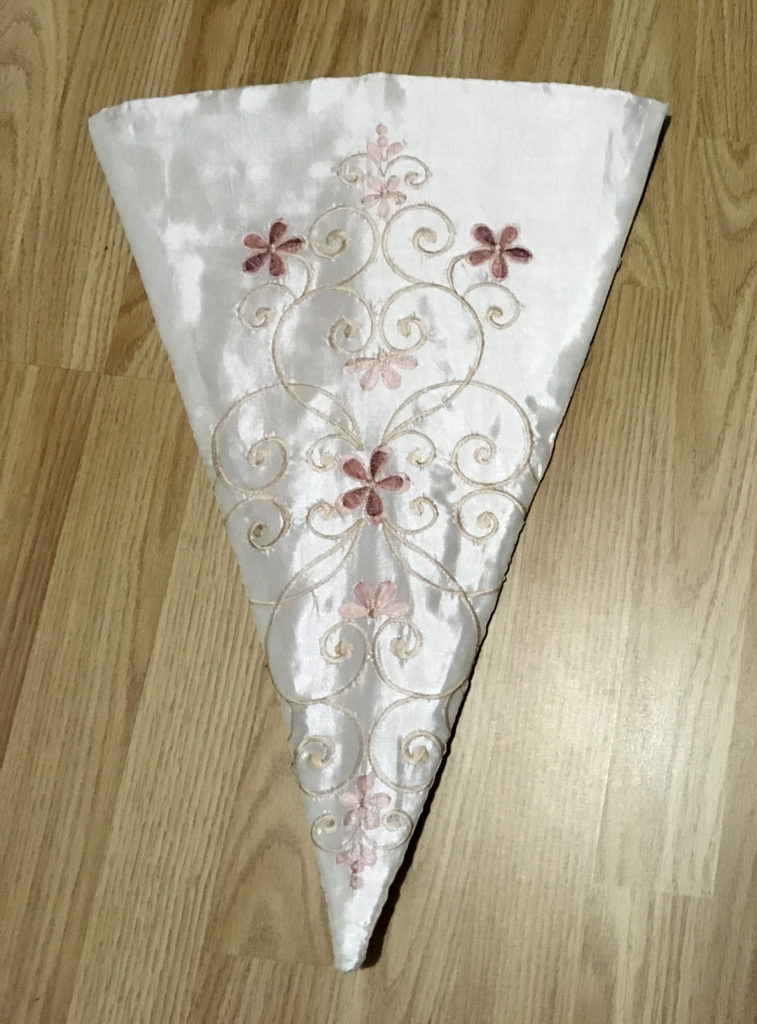
The final stage was to turn over the top edge of the stomacher, and roughly hand-stitch this in place. This will also not be seen on the finished result, because it will be covered with some braid, but I needed a stable edge to stitch to the top of the bodice.
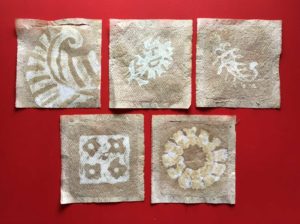
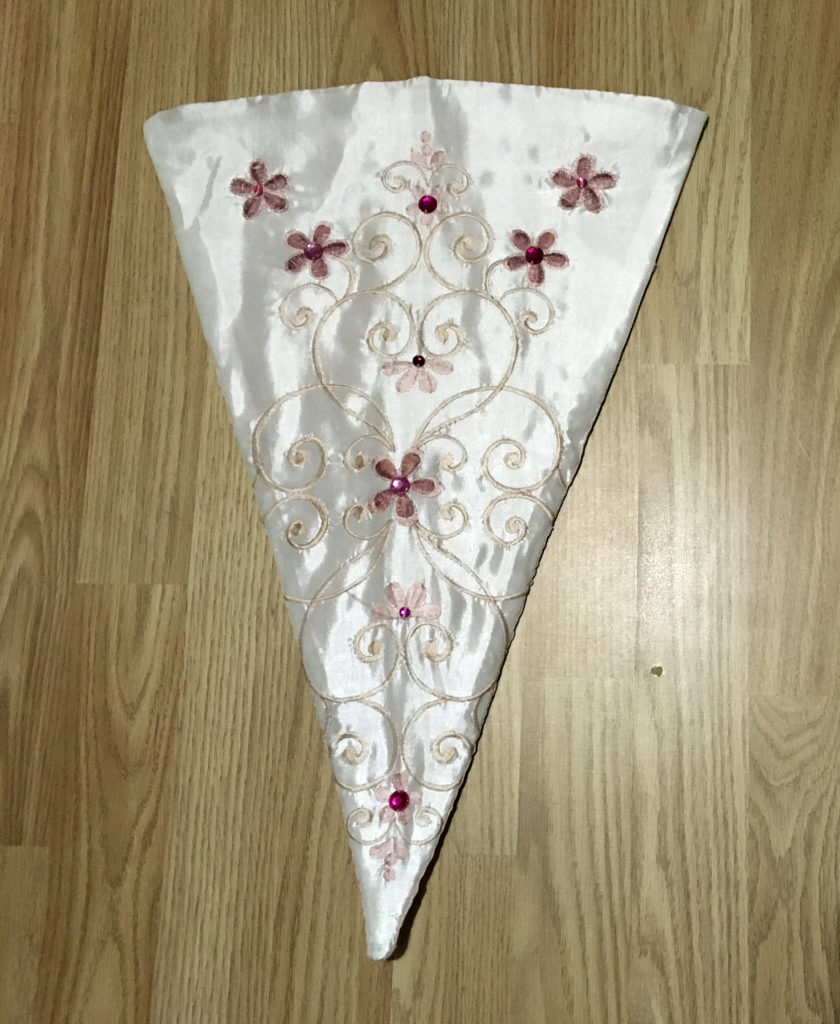
At this stage, I decided the top part of the stomacher needed a bit more embellishment. I had had to cut the embroidered panel to fit the shape, and at the top and bottom on the quilt, each embroidered panel did not have a lot of seam allowance to play with. This meant that the design had to be further down on the stomacher, leaving some blank space near the top. One of the flowers on one of the other panels had unravelled slightly so I didn’t think I would ever use this for anything else, so I cut two complete flowers from that panel, with an allowance for turning all round, and hand-appliquéd these either side at the top. I also decided to add a bit of bling at this stage, and rummaging through my stash, I found a small number of sew-on gems in pinks and reds, and some co-ordinating sequins to cover the shortfall, and gave the flowers some sparkly centres!
Once the stomacher was finished, it was time to attach it to the bodice. This was done by hand-stitching along the top, carefully aligning it to the centre, and then sewing down the two long edges as far as the mark on the bodice.
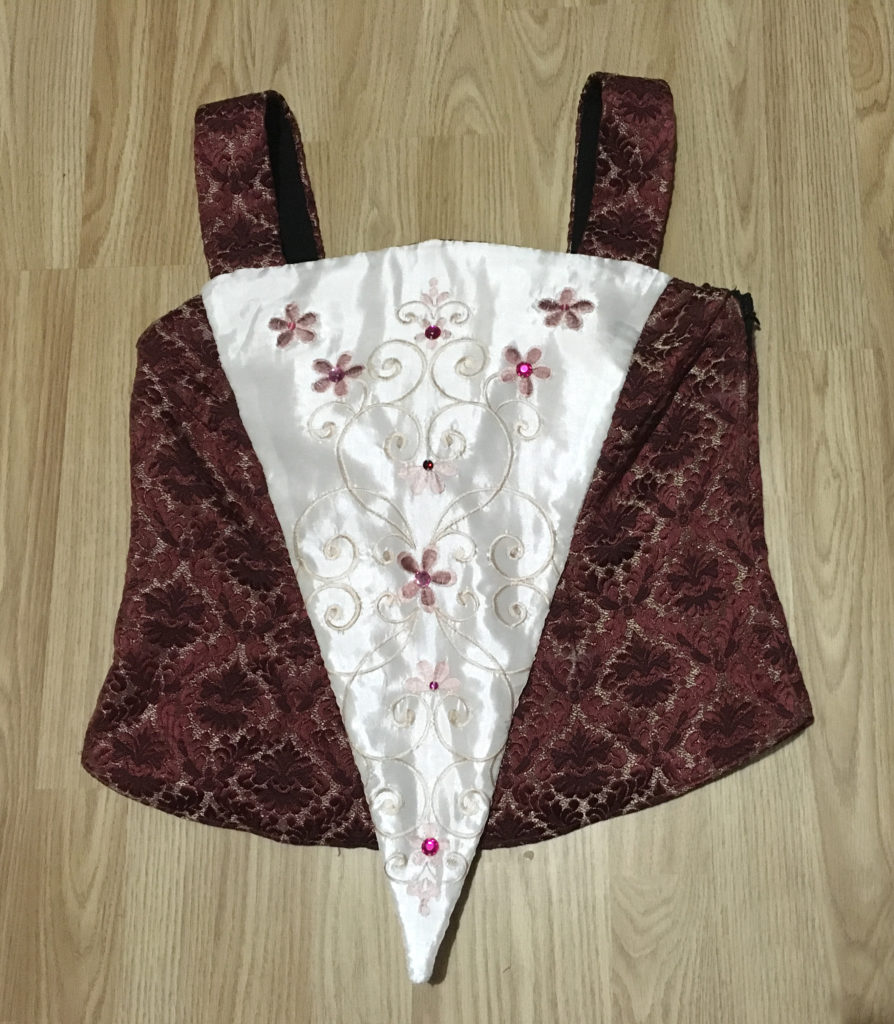
With the stomacher stitched in place, the bodice is ready for further embellishment. This stage would be left until last. Adding braid etc. along the top edge and sides of the stomacher will cover up any irregularities, such as the slight bump at the top of the stomacher where the the boning ends.
Here are the bodice and the skirt together. It looks better on, rather than laid out flat.