What is Tyvek and how can we use it?
Tyvek is a non-woven high density polyethylene membrane manufactured by American company DuPont, used in the building trade to wrap buildings. It is water-resistant but pervious to water vapour (breathable), resistant to tearing, but easy to cut. It is immensely strong and flexible. There are two kinds available – the paper-like variety and the fabric-like one, which is softer.
The “paper” variety is best for use in art. It handles like paper but has a slightly slippery surface, and it has a very interesting property – it is resistant to almost everything but heat. If you heat it, it will melt, and it does so in a quite organic and unpredictable way, shrinking and producing bubbles and eventually holes as you apply more heat.
You can heat it with a heat tool, which will cause it to curl, so you need an implement to help flatten it, such as a wooden skewer. It is easier to control if you iron it between sheets of baking parchment, hovering the iron just on the surface, to allow space for the bubbles to form. The bubbles are pushed out away from the direction of the heat, so you end up with the concave surface uppermost. Both the convex and the concave surfaces are interesting.
The more you heat it, the more it will shrink and distort. It will eventually reduce in size to a small piece of rigid plastic.
You can also apply local heat after you have distorted it, using a soldering iron or other hot tool, sculpting the edges and creating holes in a more controlled fashion than are produced by ironing.
It can be painted either before or after melting. I have tried both and find the latter to be more satisfactory in most situations. If you apply too much paint before melting, it will not melt as well, and you don’t get decent bubbles. However, if you apply a thin layer of, for example, an iridescent paint or ink, the mica powder will tend to accumulate in the “valleys” between the bubbles, giving an interesting metallic effect.
If you are making beads, it is best to paint it first so that you can roll it around the wooden skewer and all surfaces will be coloured before you start.
I did some Tyvek melting experiments many years ago and haven’t really thought about it since, but since cutting my stencils from this material recently, I was left with quite a lot of small offcuts which I kept for the purpose of melting and using in mixed media projects. Tyvek cuts like butter with an electronic cutting machine and makes beautiful, thin, strong and detailed stencils which can be washed after use. It also die-cuts really well, but punches are a no-no – I once tried to cut Tyvek with a circle punch and the punch completely jammed, and I had to take it apart in order to release the Tyvek, which was not cut at all!
Painted Tyvek
I began today’s session by painting a piece of Tyvek with a mixture of acrylic paints in various browns, yellows and gold.
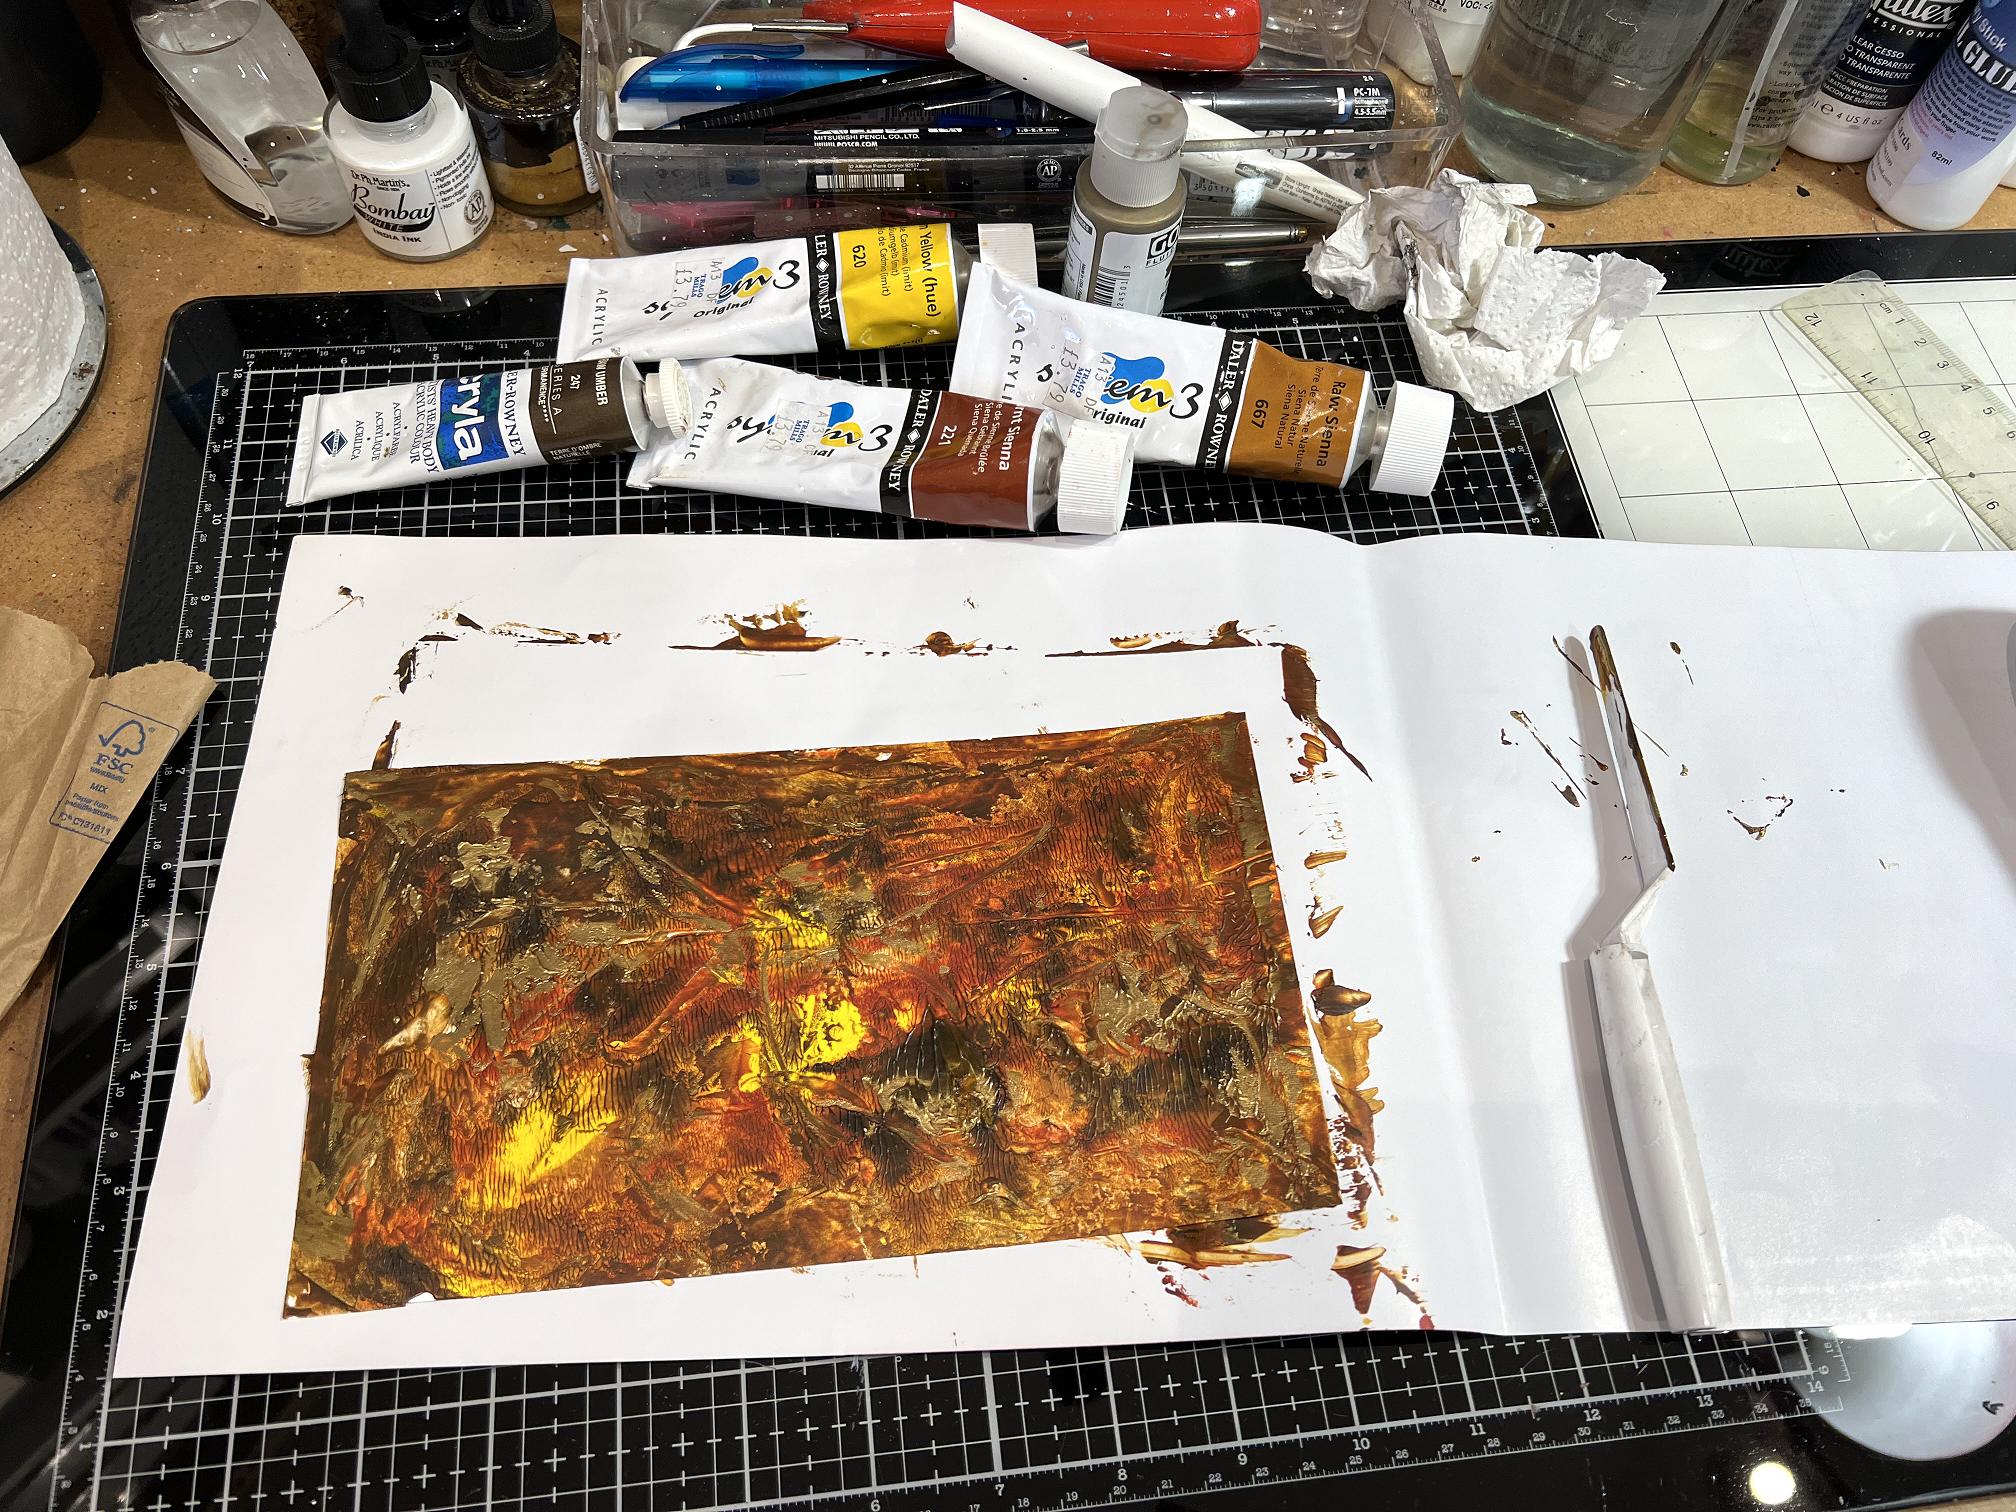
After applying the paint with a palette knife, being careful not to over-blend it, I realised that the paint was probably too thick and would prevent the Tyvek from melting nicely, so I blotted it off on a piece of scrap paper.
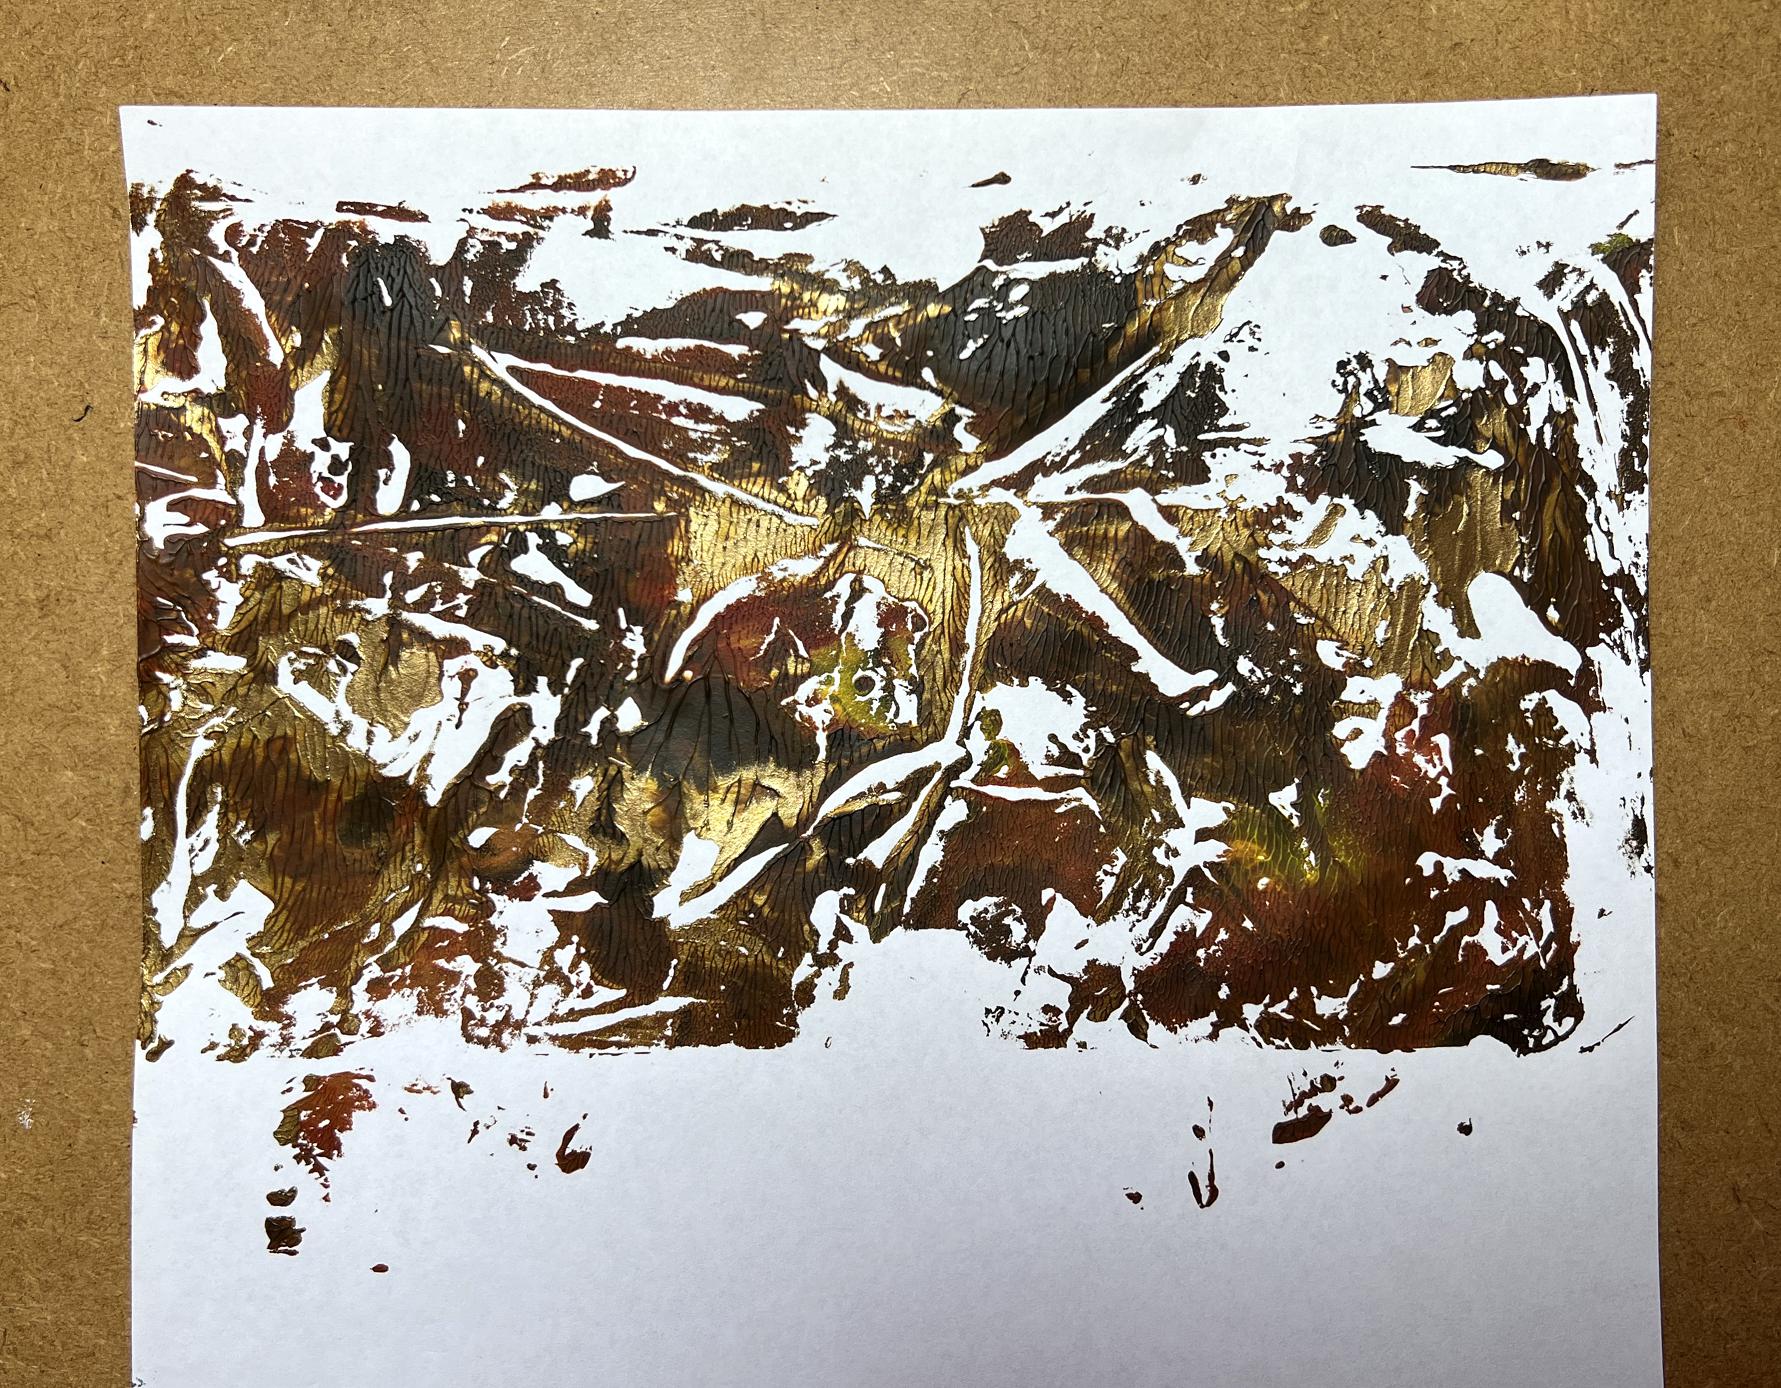
Another interesting piece to go in my box of potential collage papers! The photo doesn’t do it justice – the gold is gorgeous (Golden iridescent bronze fine, my favourite paint at the moment).
I proceeded to melt the piece.
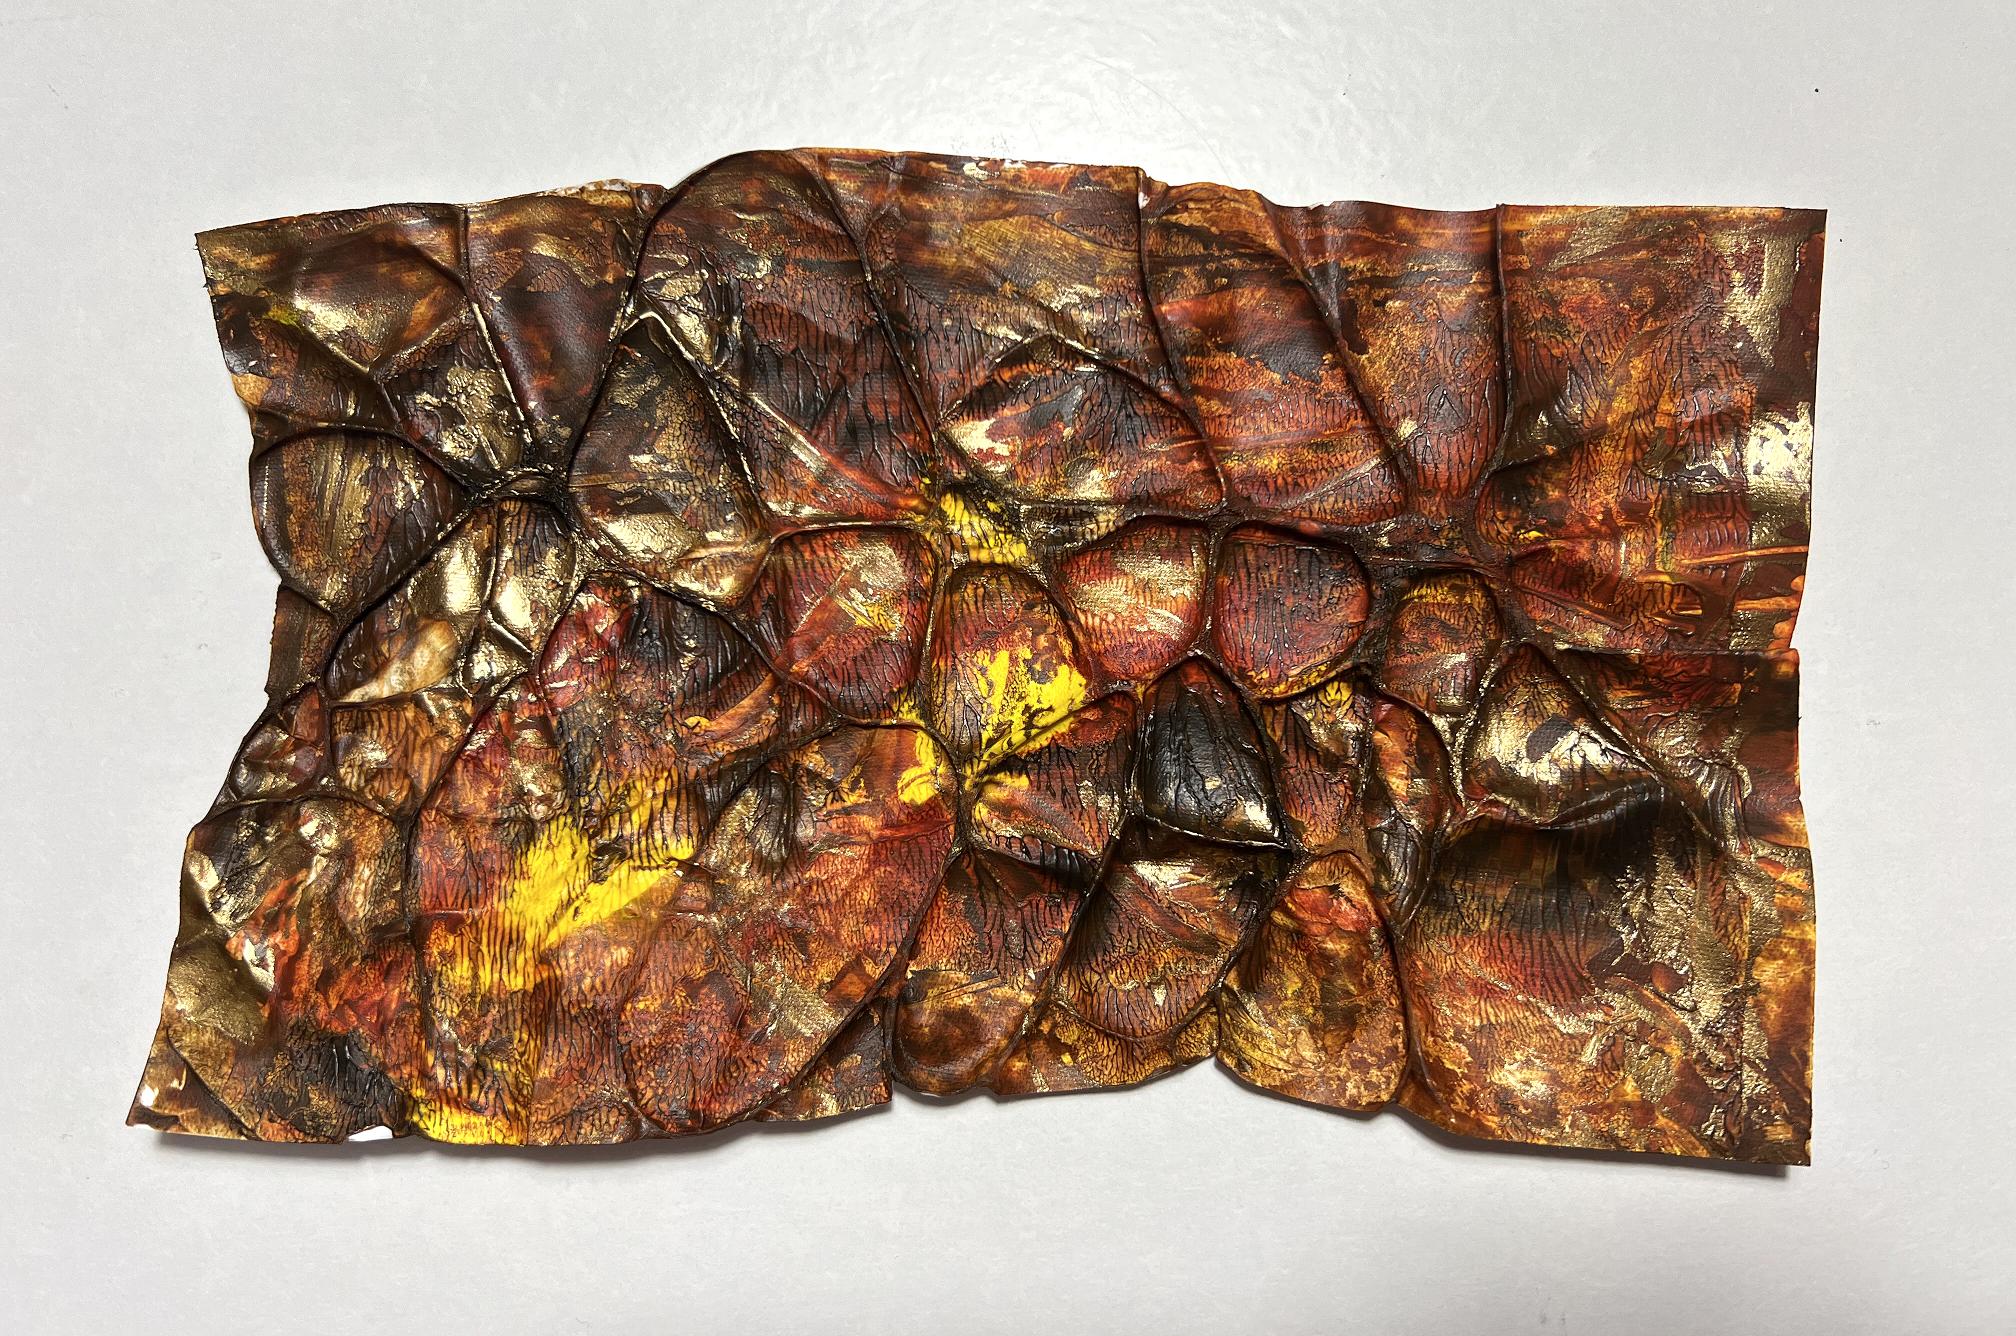
I placed it between the parchment paper sheets face down, so that the bubbles would be convex on the painted side.
I wasn’t desperately thrilled with the result, and decided that I would melt the Tyvek before painting from now on, unless I was making beads.
Melting unpainted Tyvek
The next stage was to melt a series of identical-sized scraps of unpainted Tyvek to varying degrees and compare the results.
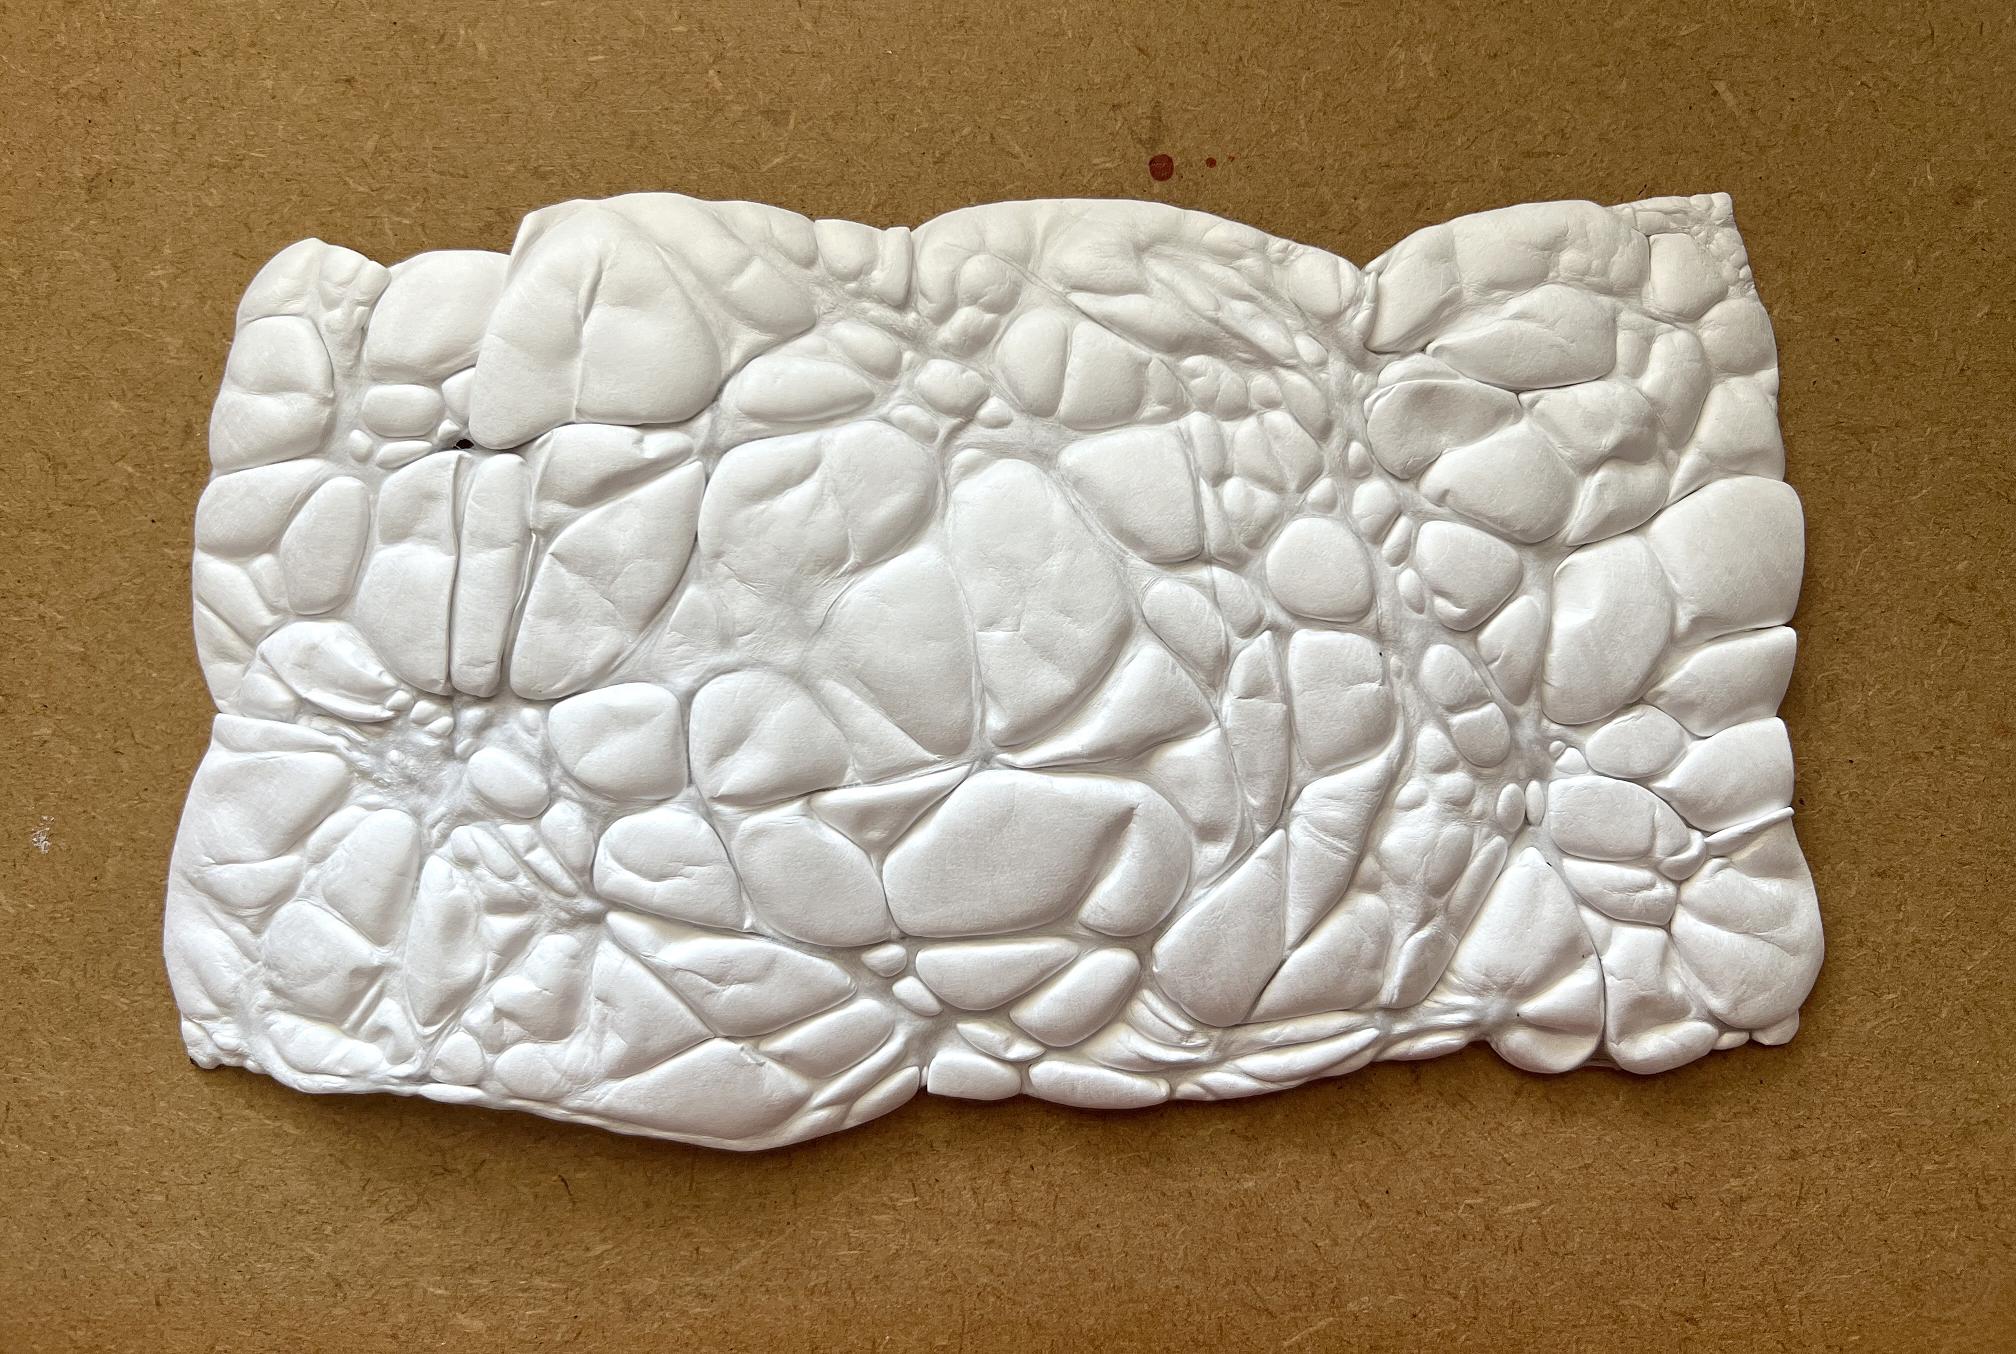
The “outie” version of the first melting, i.e. with the bubbles being convex.
The “innie” version (the reverse side).
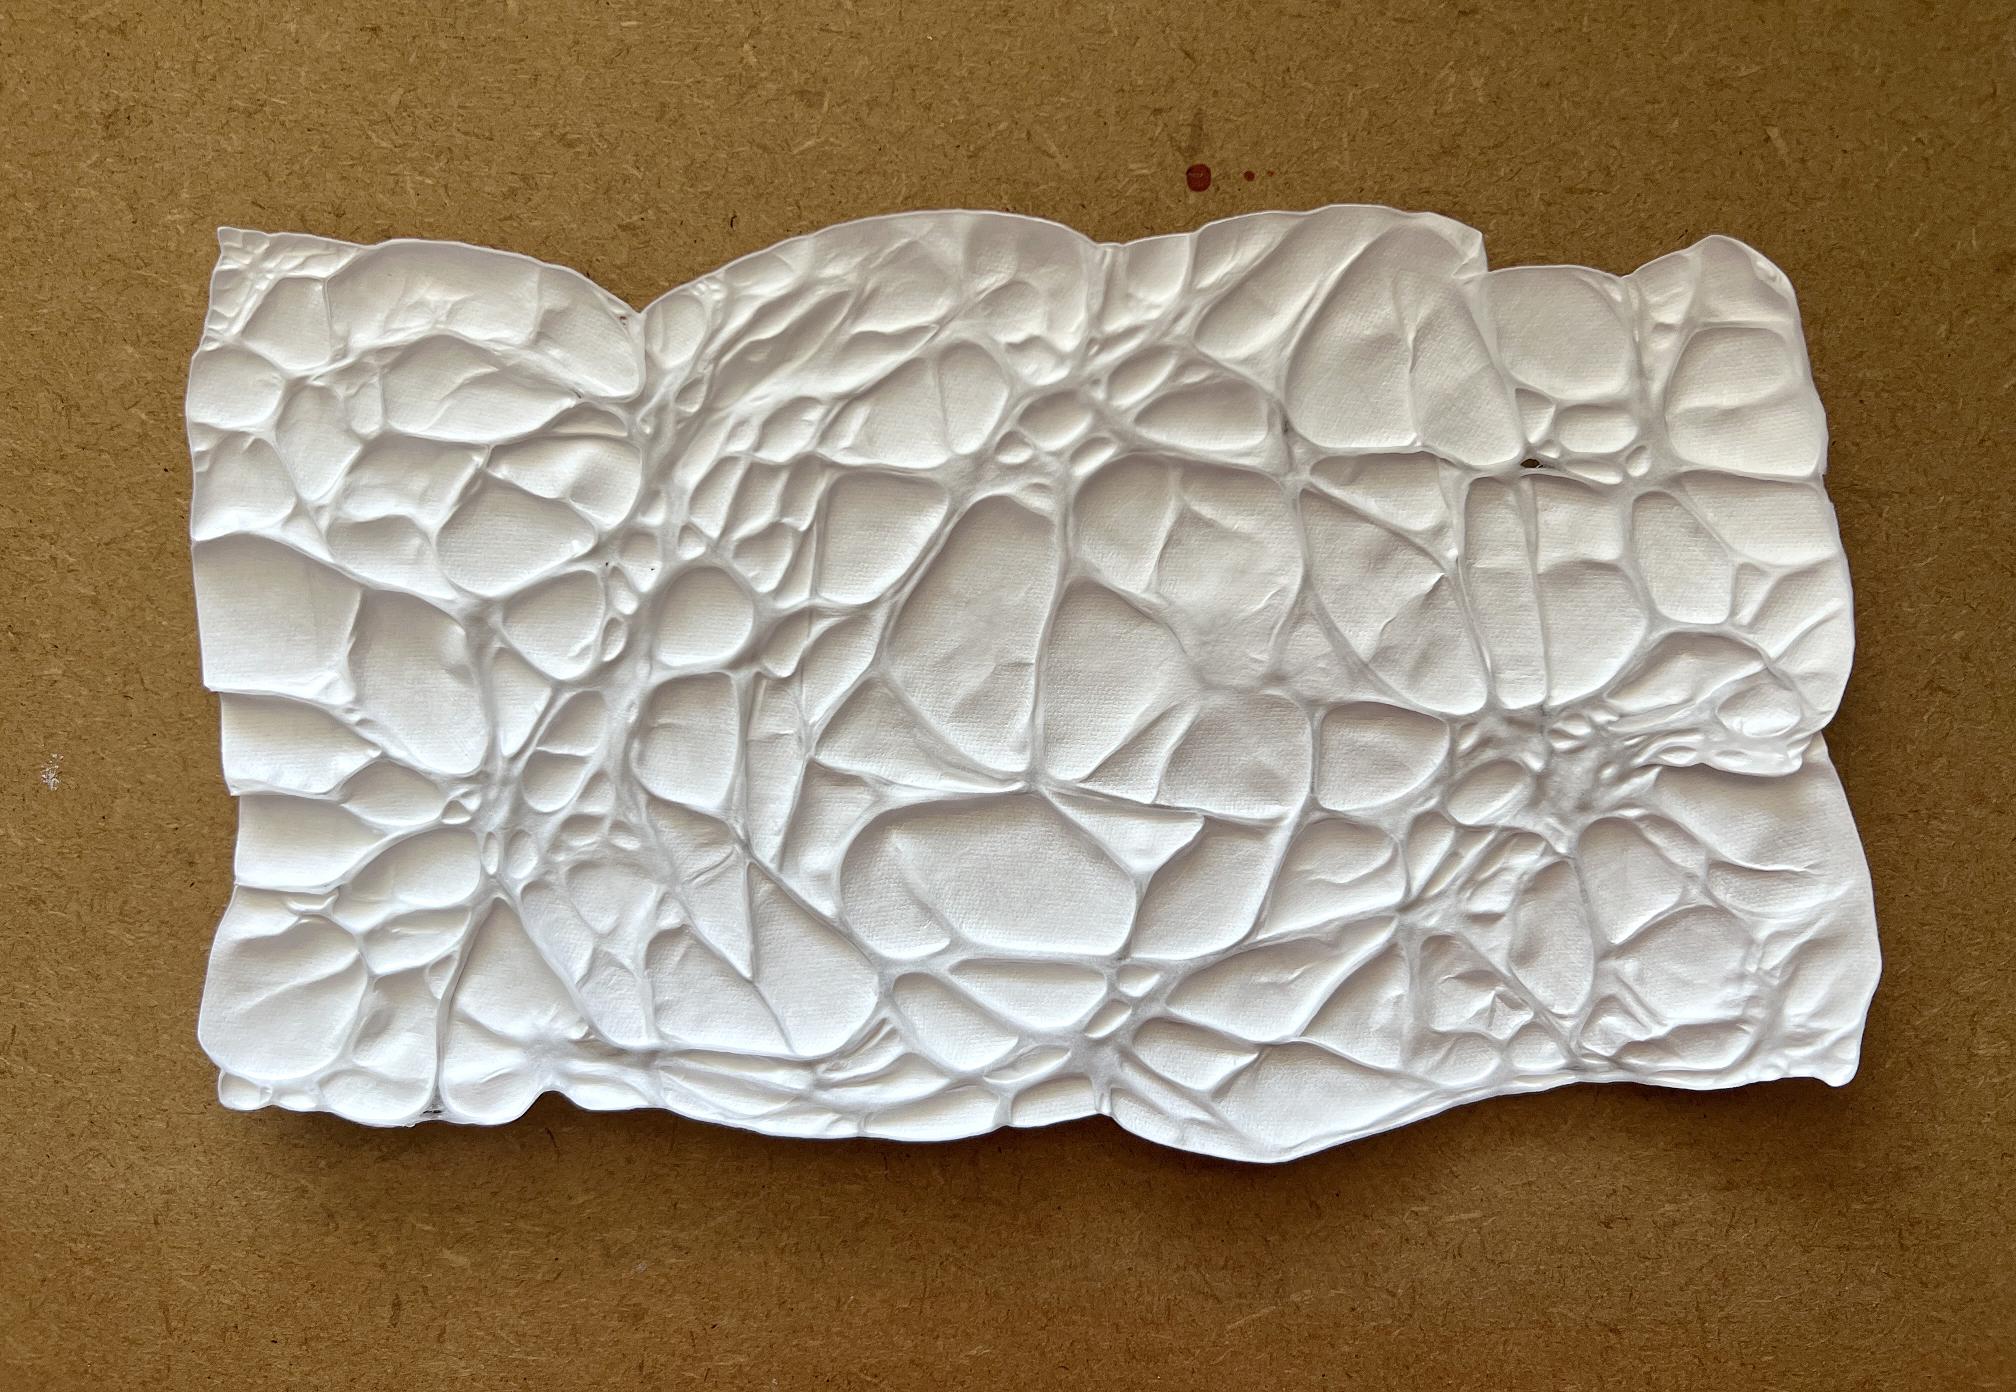
Both are interesting, and useable. You can see how any liquid colour (fluid paint or ink) would tend to pool in the recesses.
Another piece, with more prolonged melting. First the “outie.”
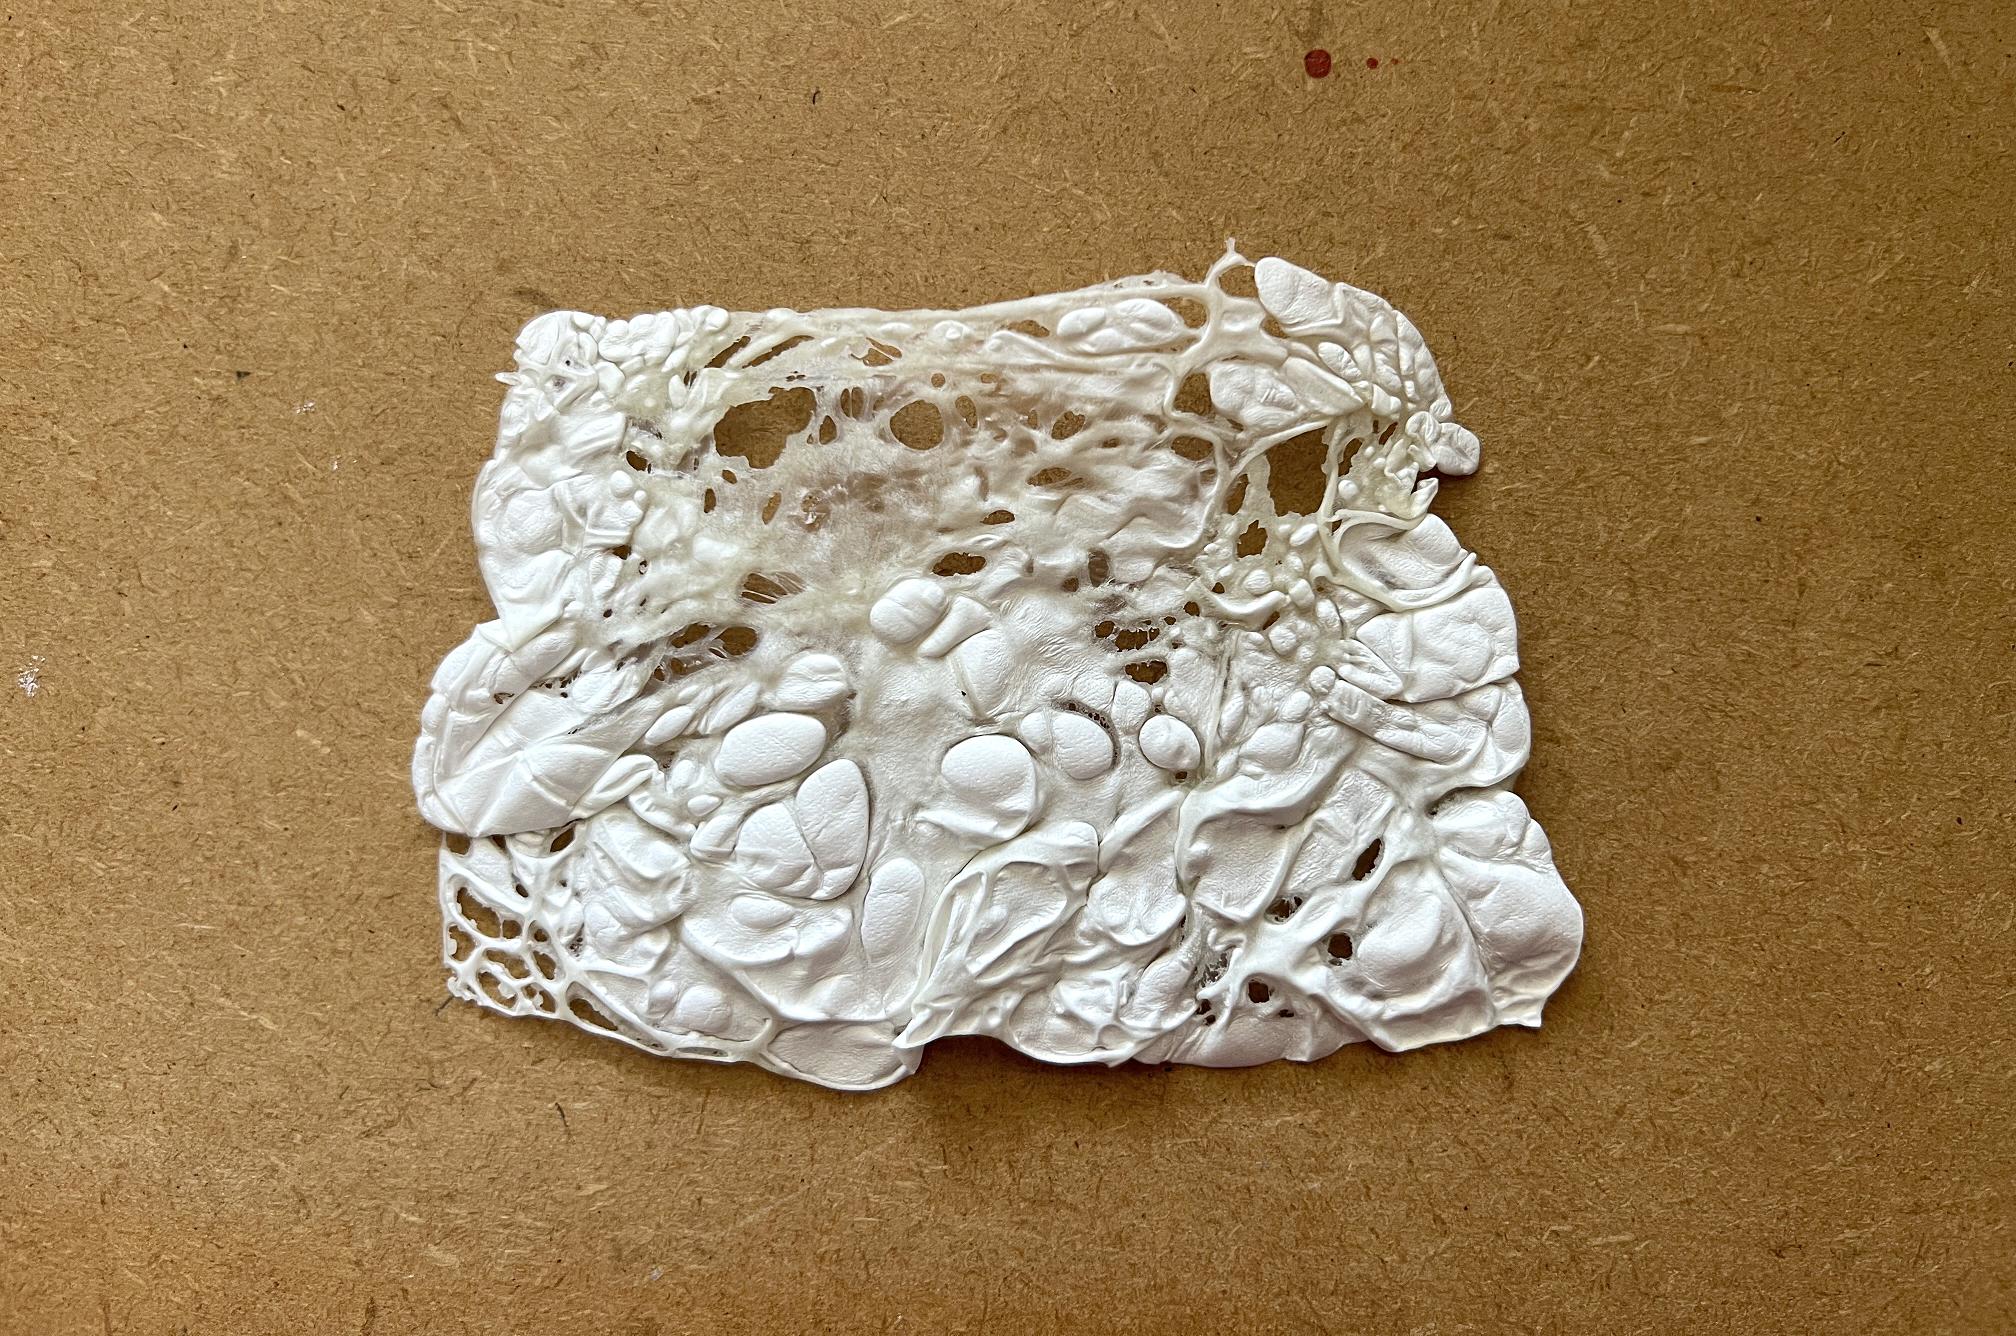
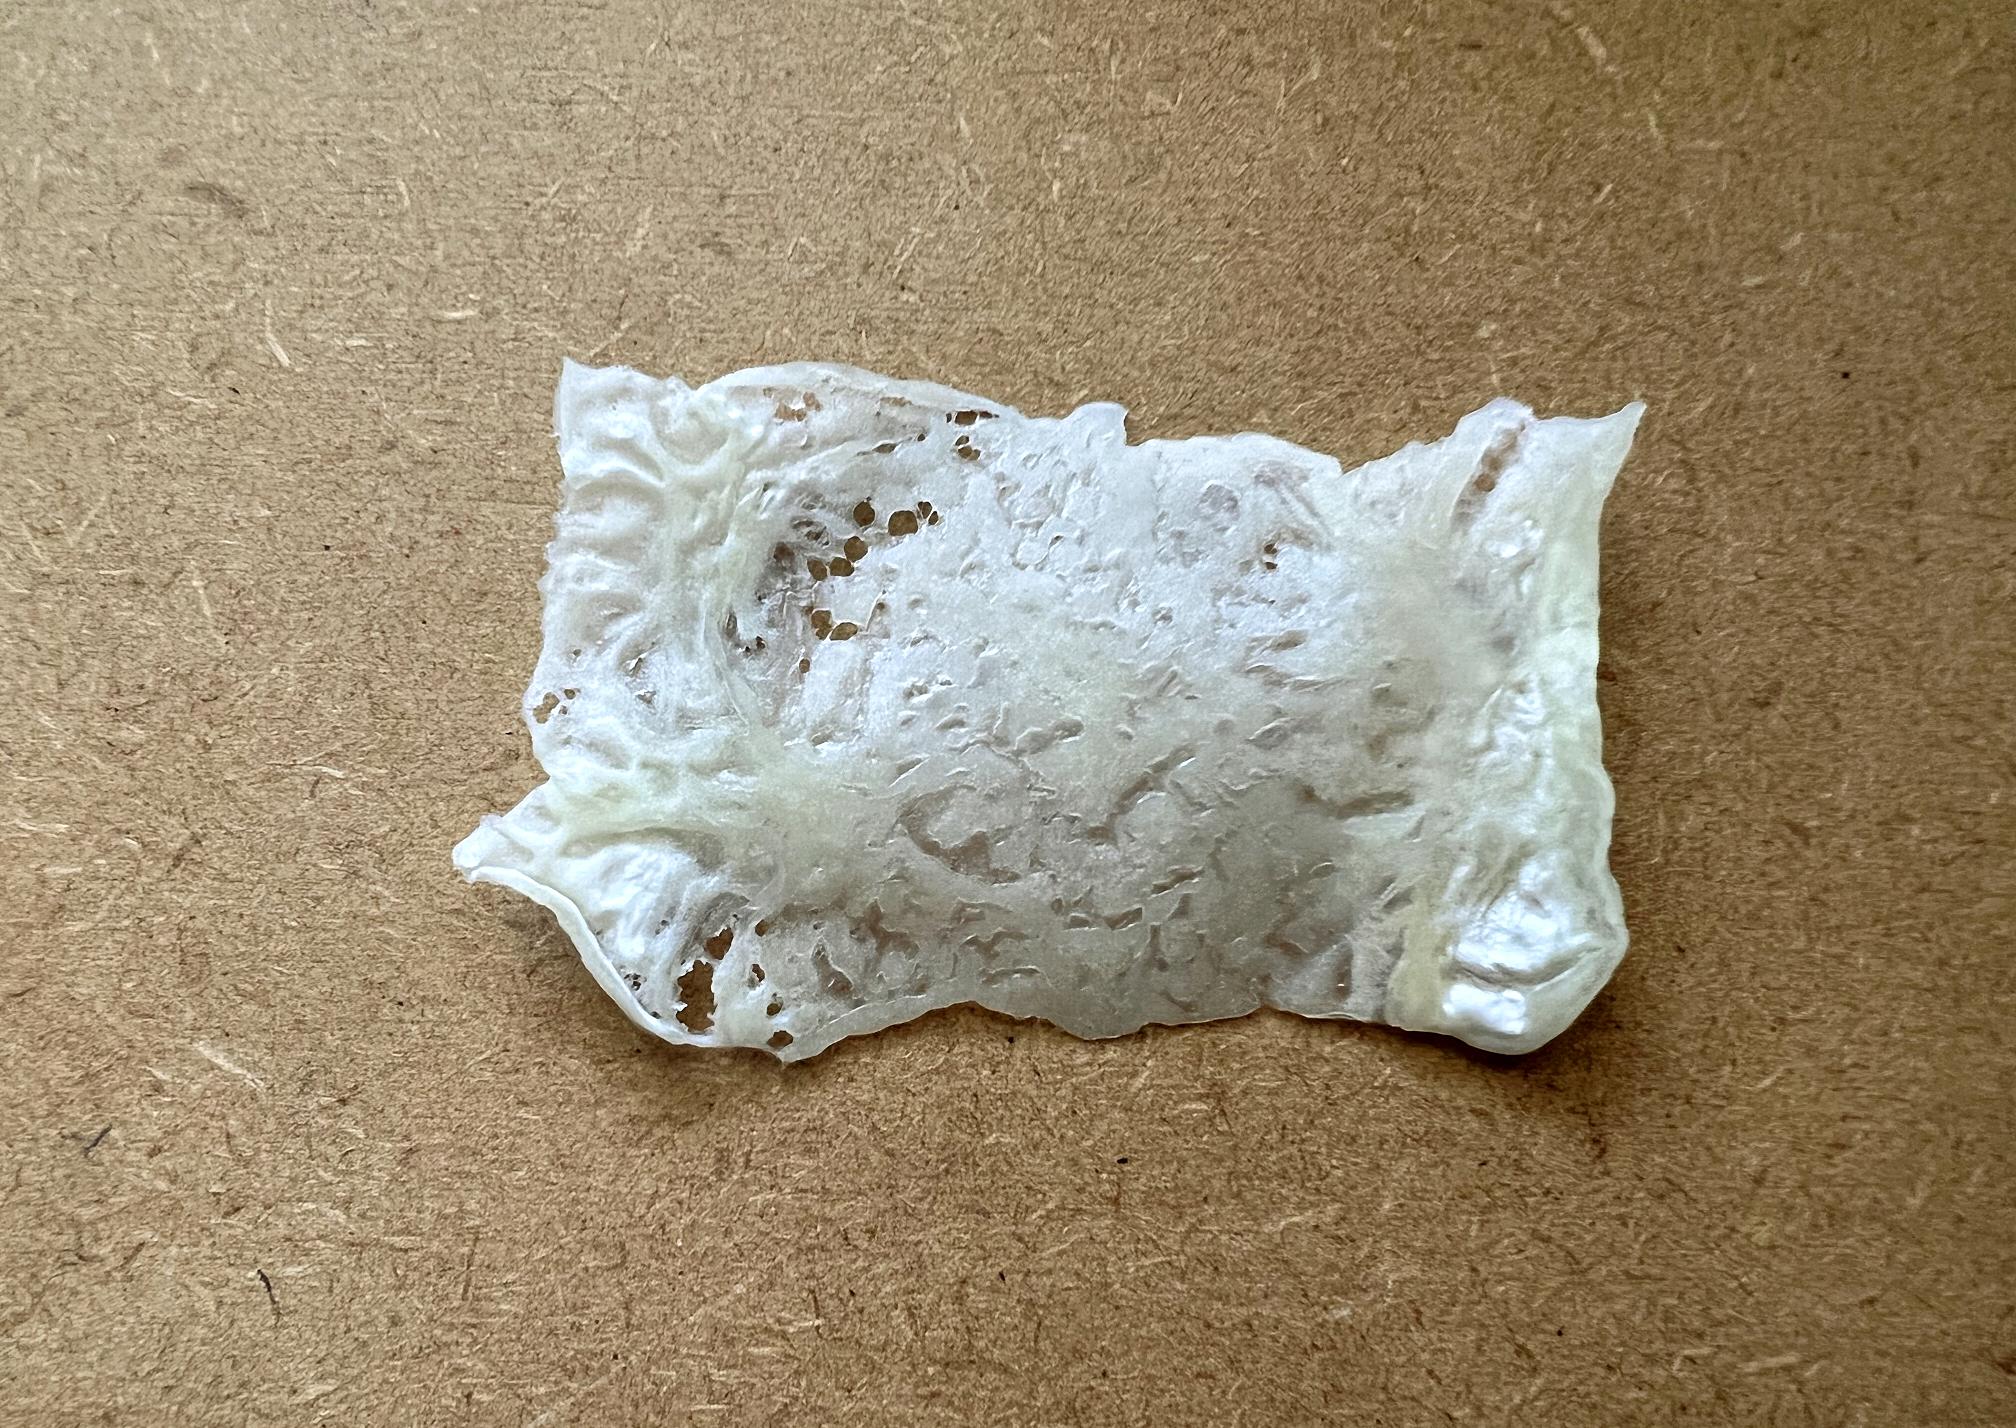
You can see that holes have started to form. To produce this effect, you turn the piece over half way through the process and apply heat again. The poor bubbles don’t know which way to go and eventually wll shrink away to the sides, leaving holes. You can get a lovely lacy effect. You have to be careful with it and not peel it off the baking parchment until it has cooled a bit, or it will stick and tear.
Now the “innie” of the same piece.
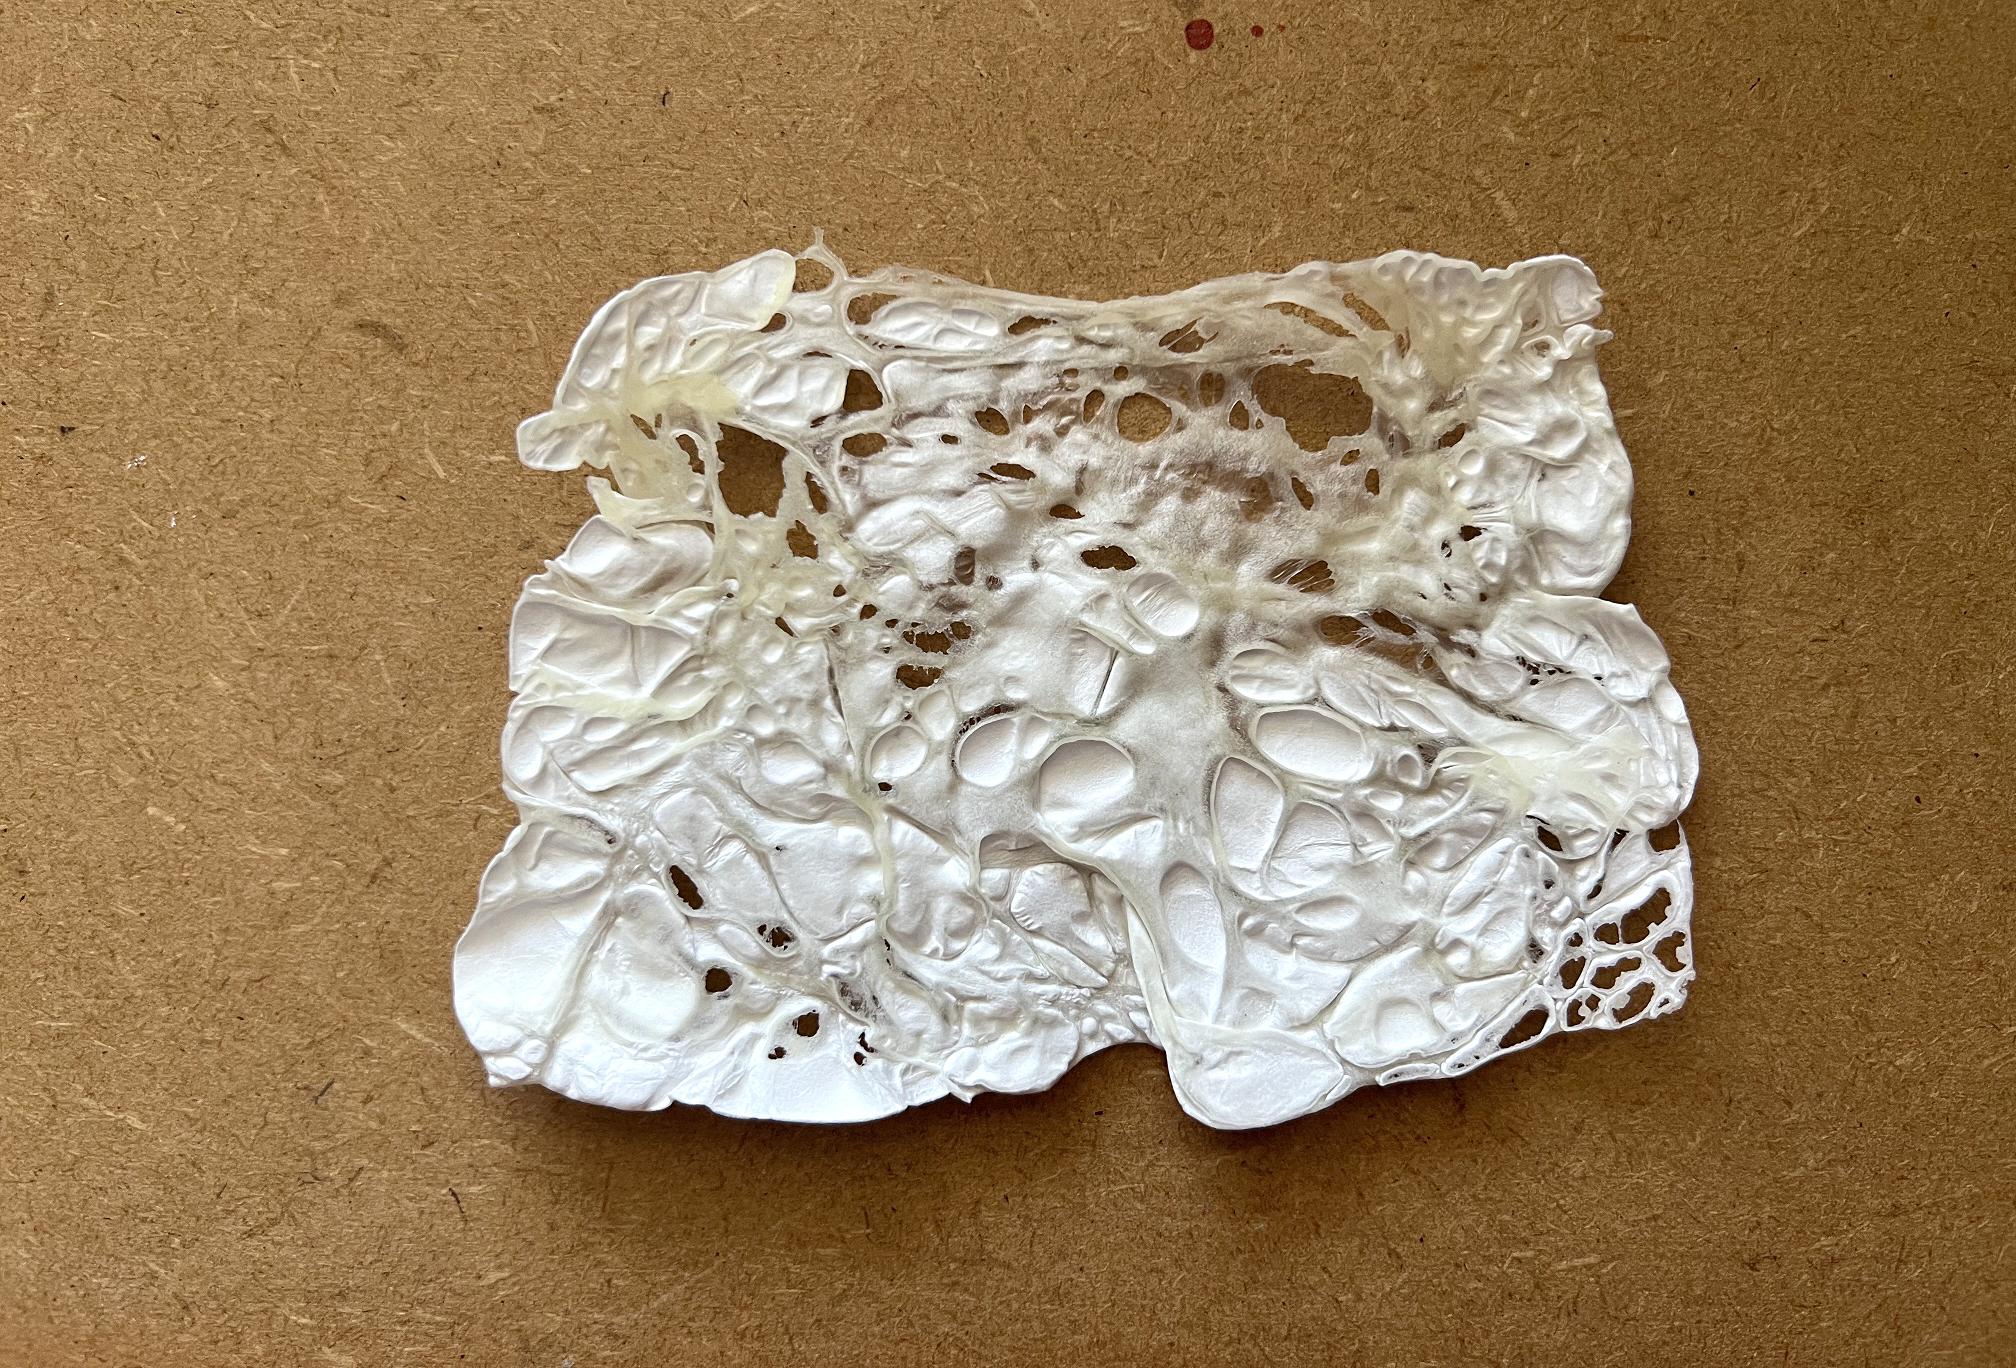
You can see at the top right corner that enough heat has been applied to start forming the hard plastic, which is beginning to look translucent rather than opaque white.
This is what happens if you continue to heat the piece.
You can ee that the bubbles have virtually disappeared. The piece is small, thick and rigid, and probably not too much use as an art element. I shall keep it just in case, though!
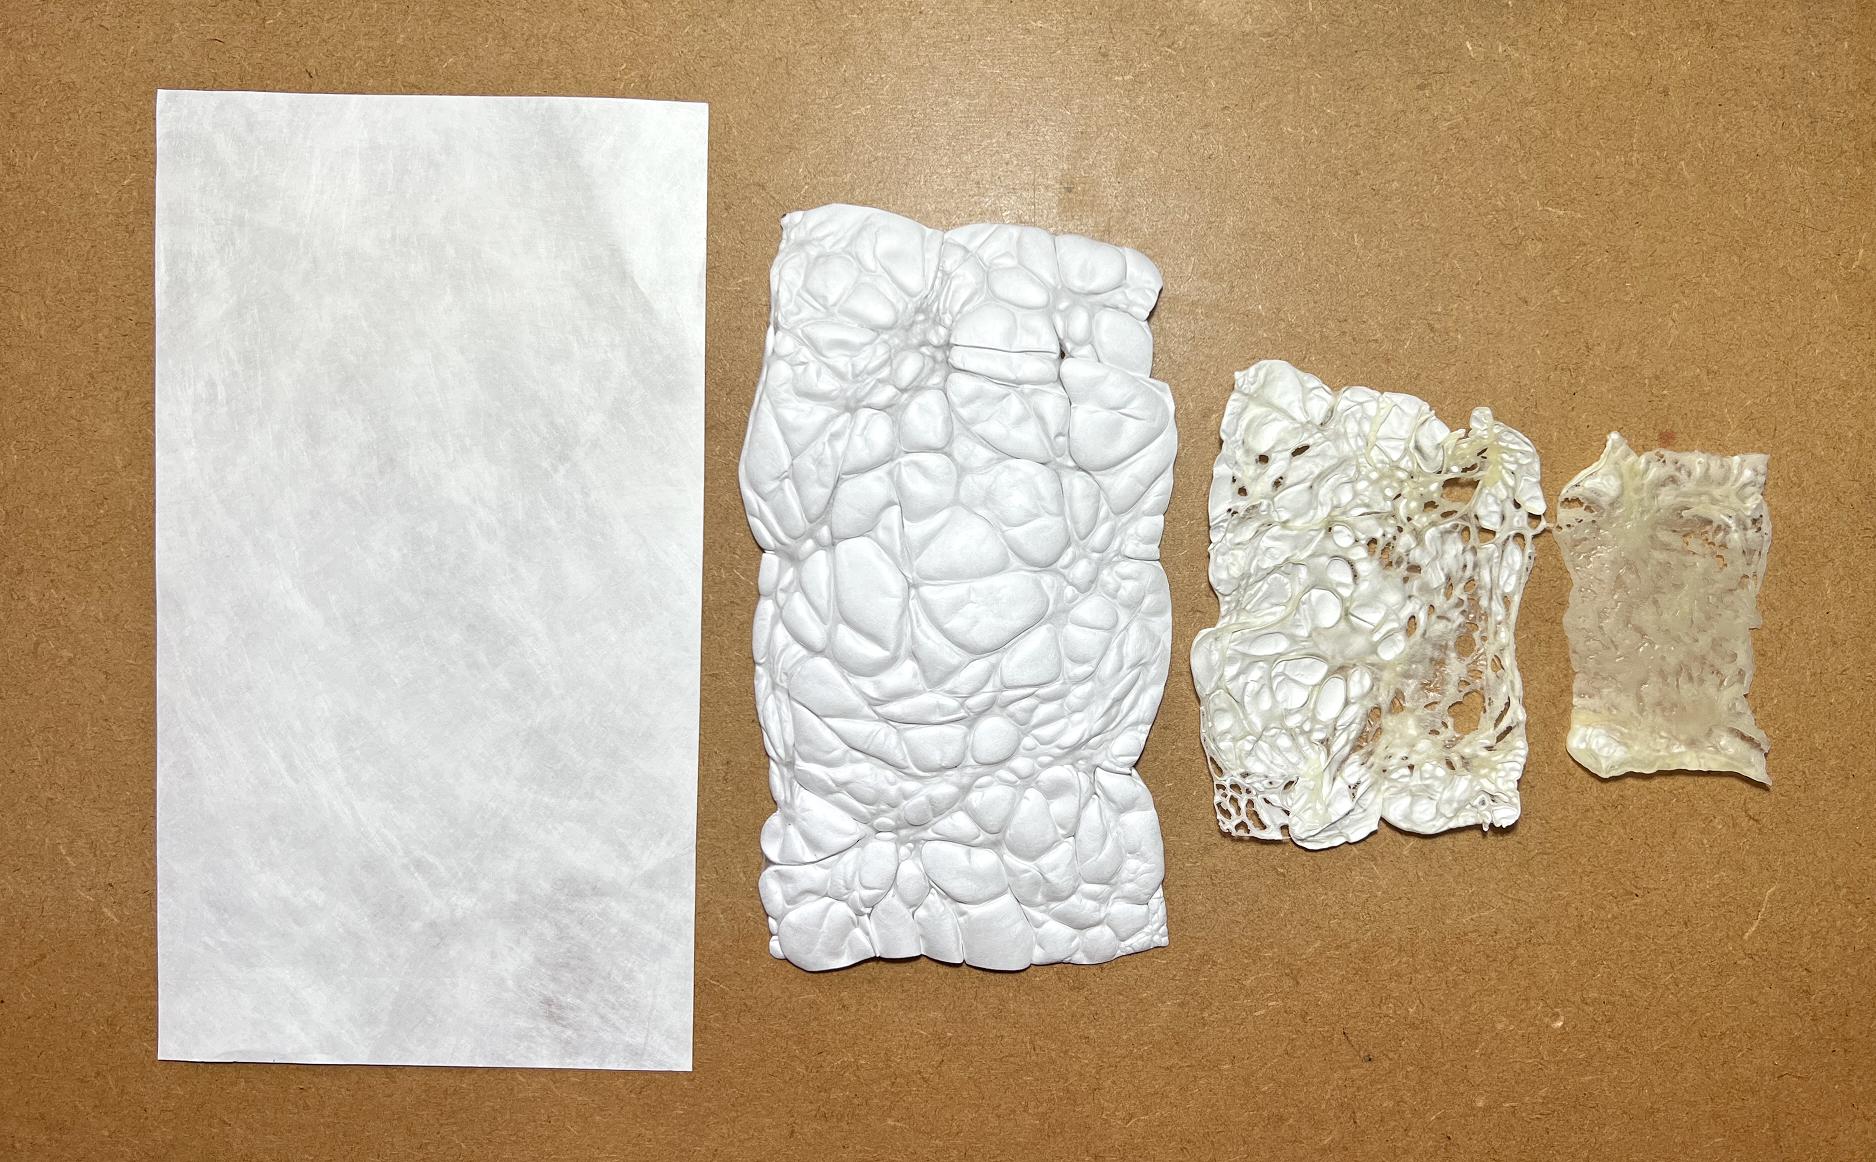
Here are the samples together with an unmelted piece, to show the level of shrinkage between each stage. They all began the same size as the unmelted piece on the left.
Making a sunflower
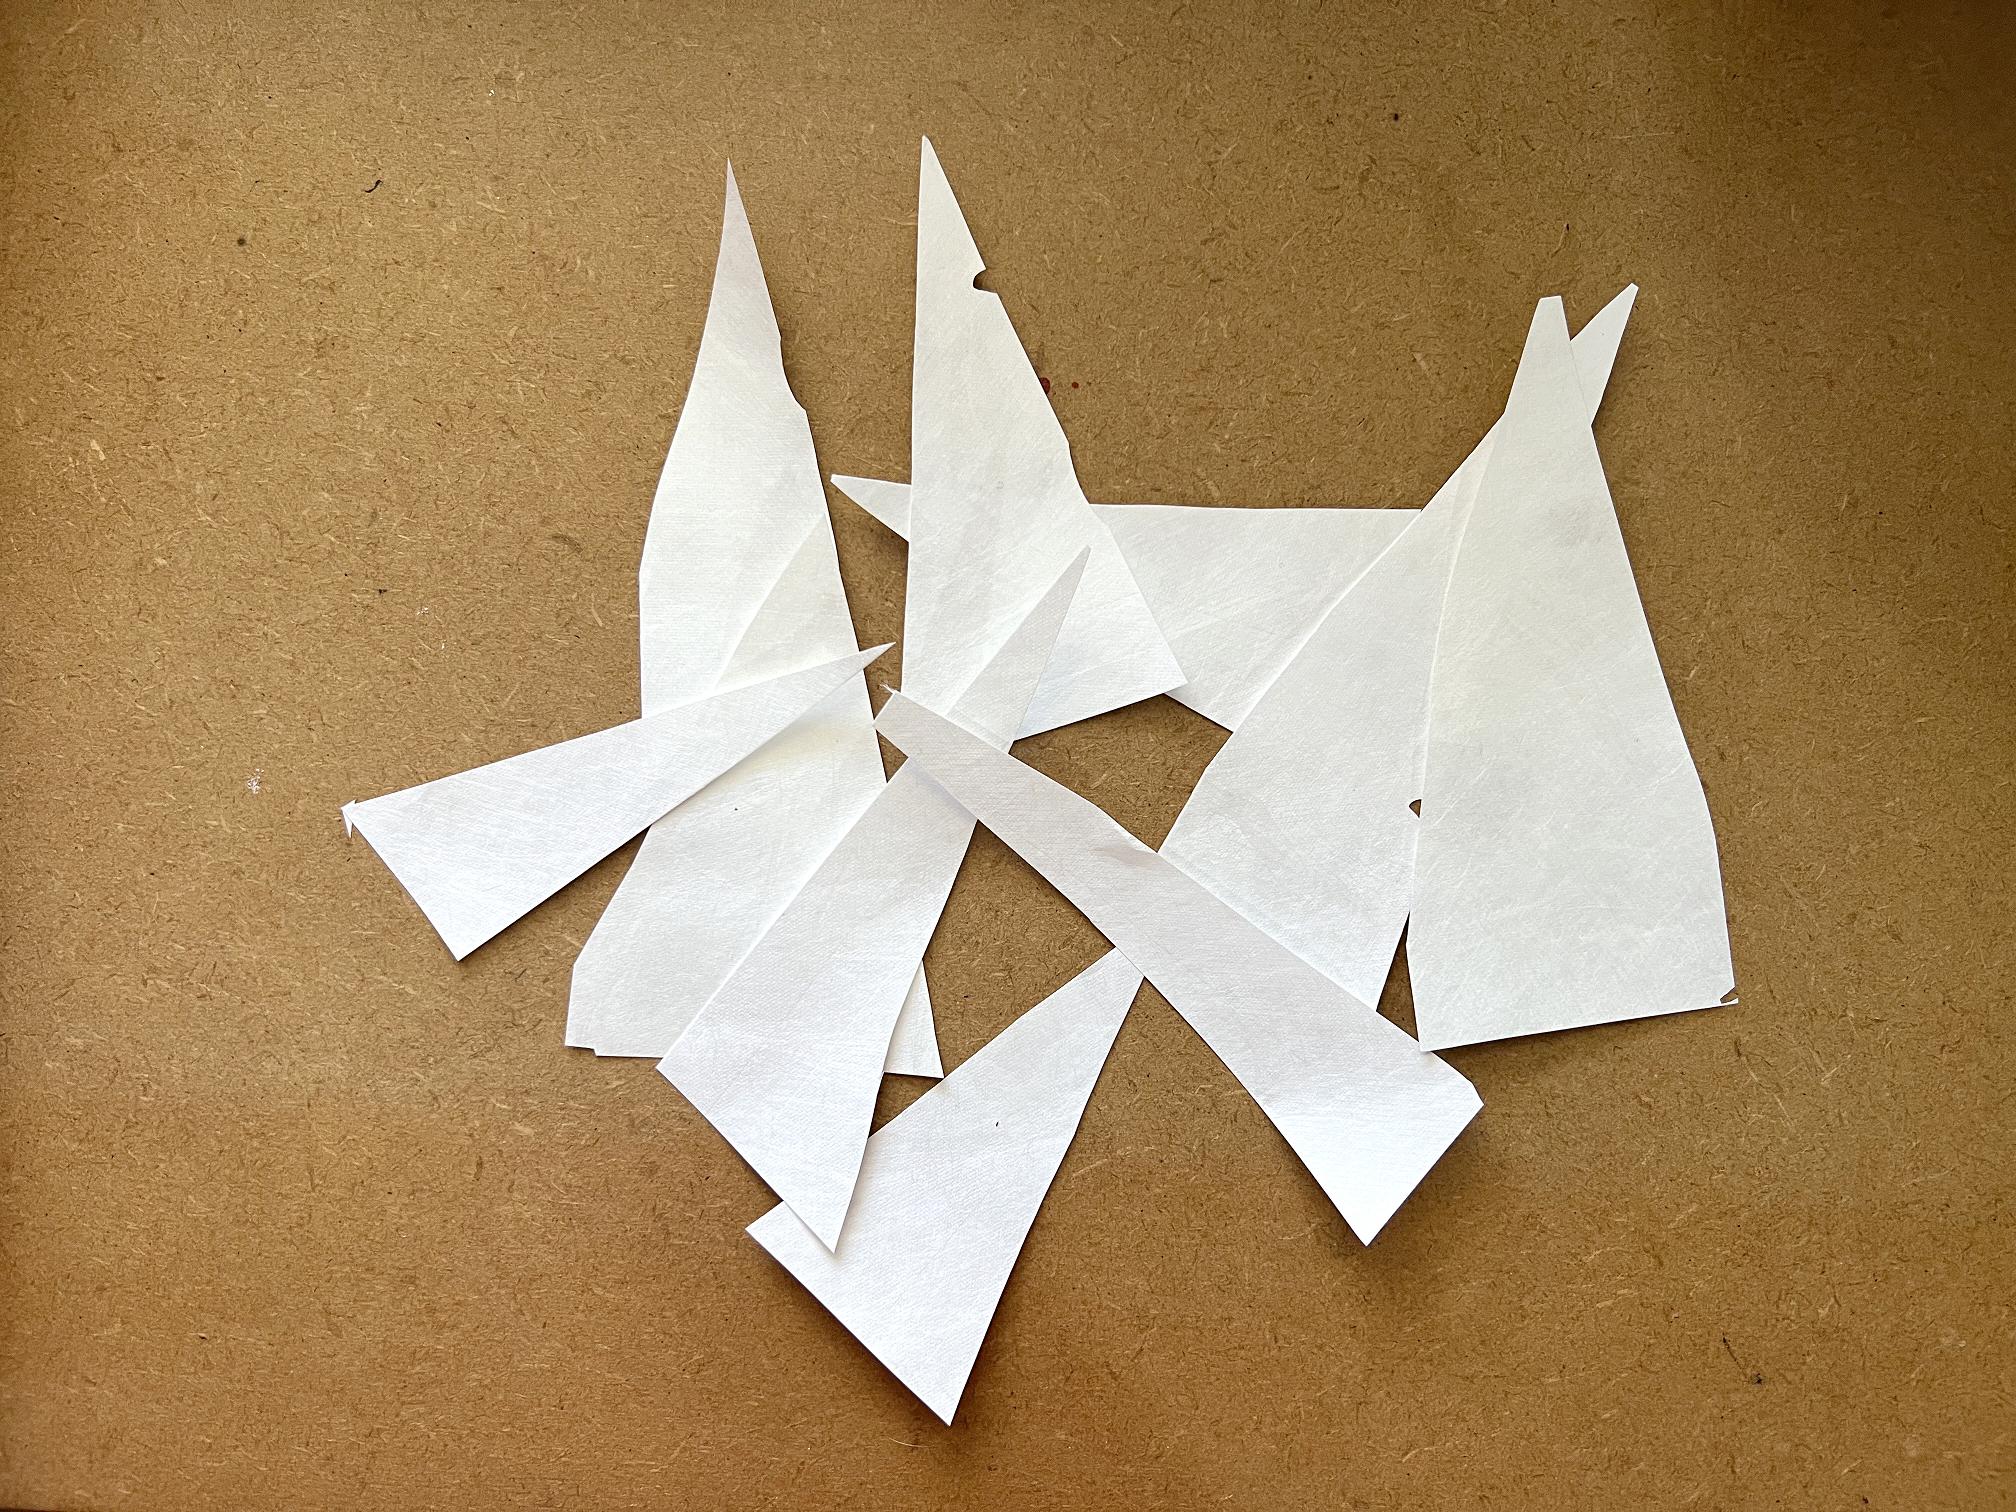
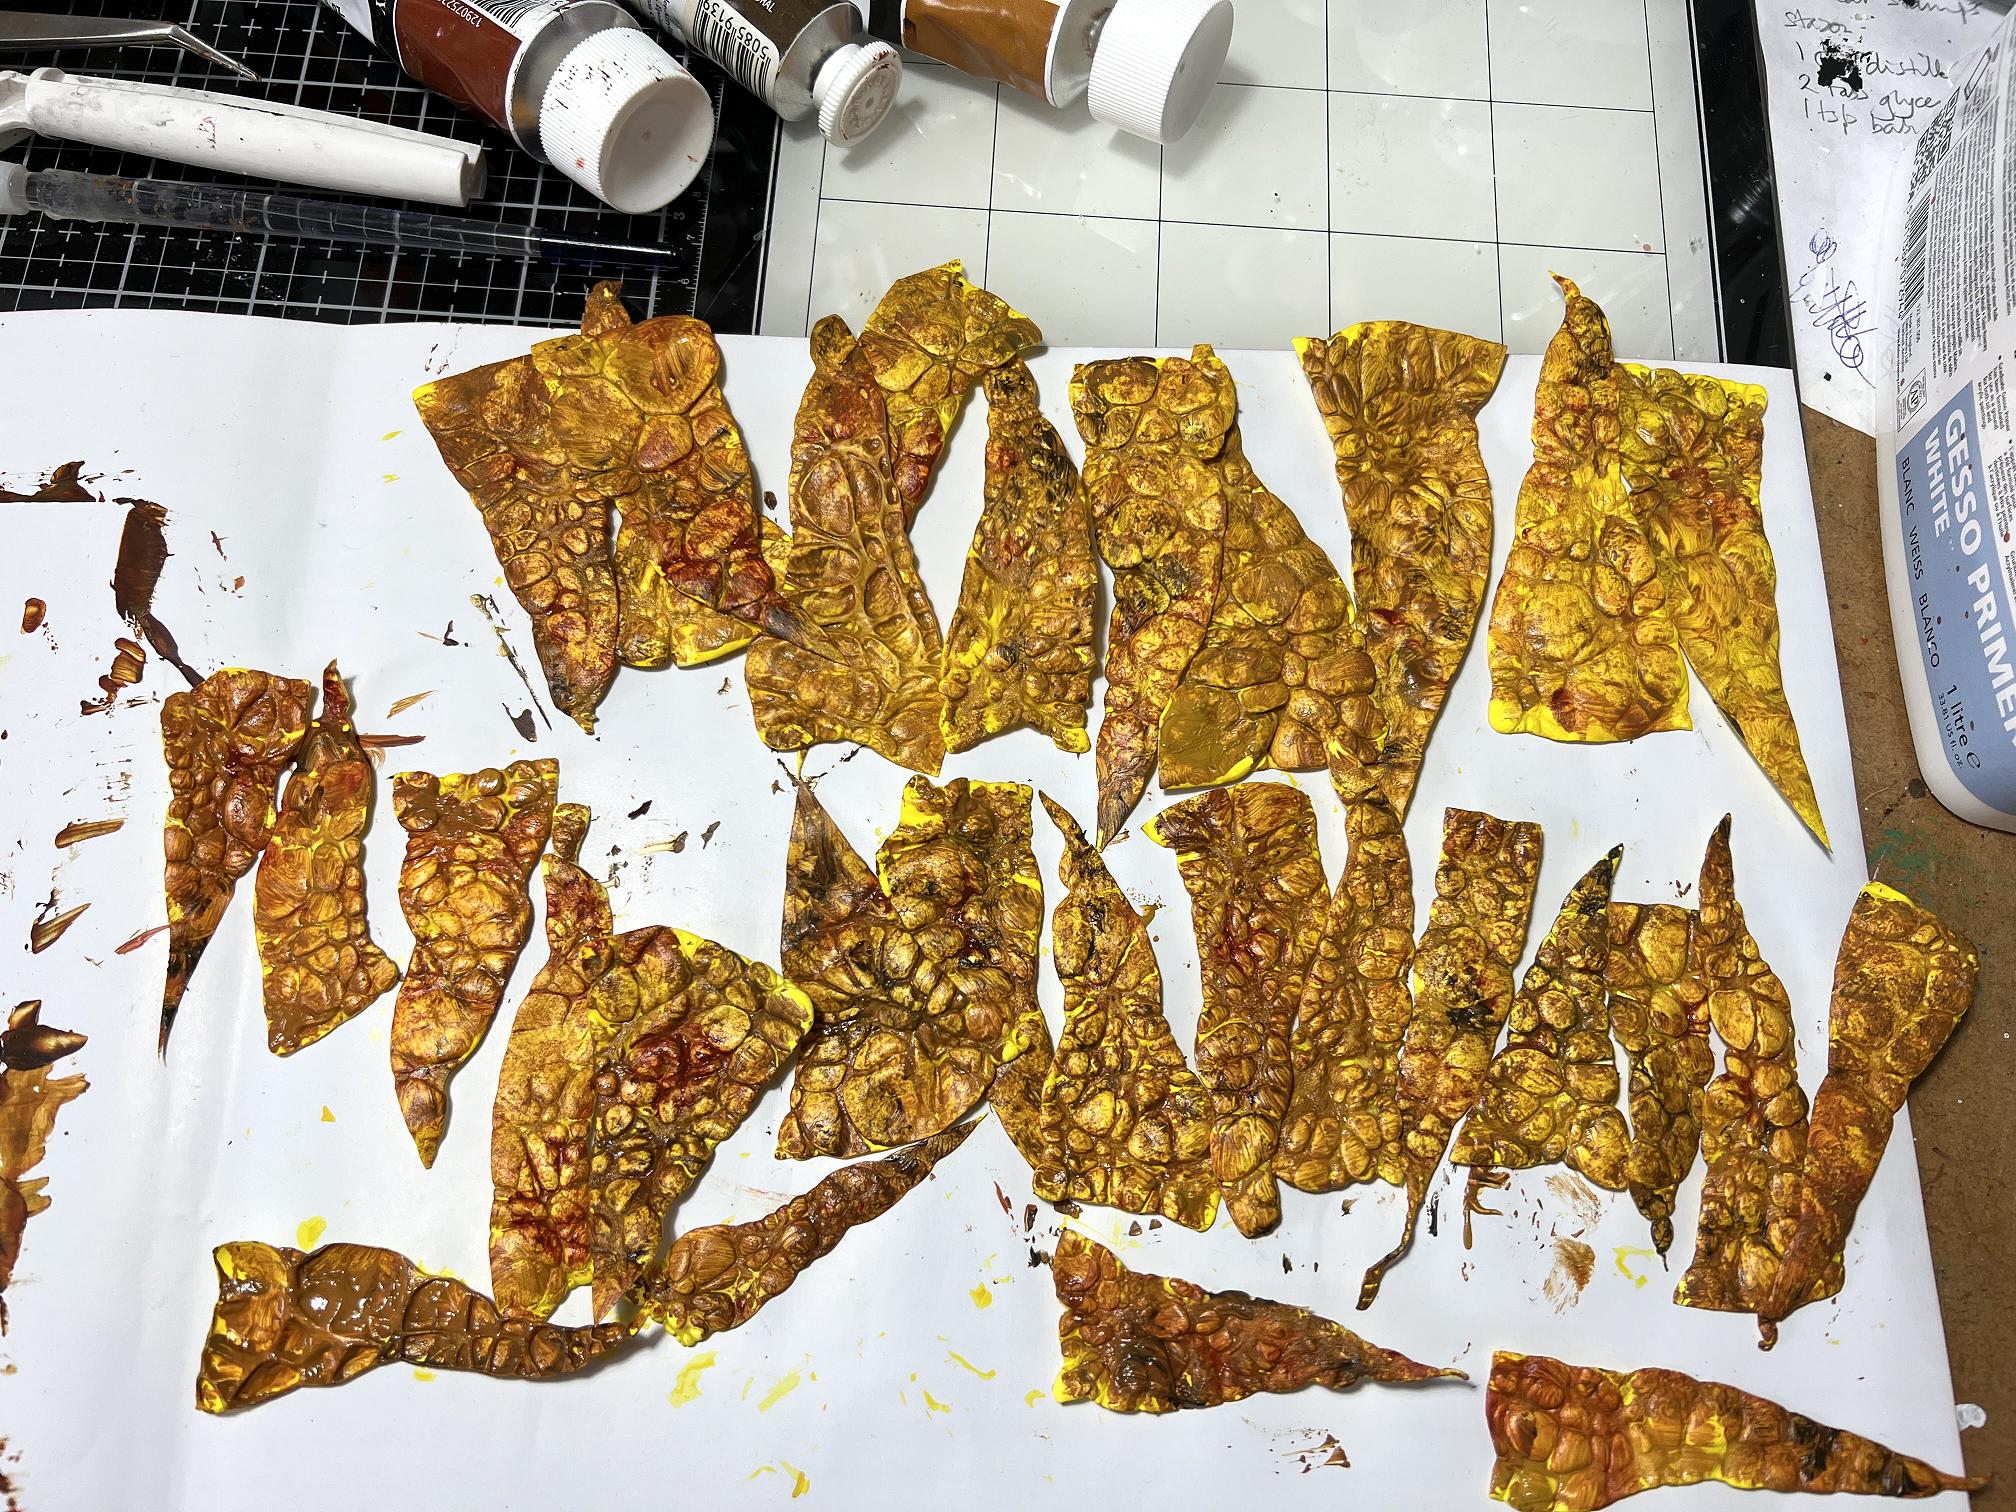
Using some of the narrow strips of Tyvek left from the recentl stencil cutting project, I cut a series of narrow triangles. The shapes are deliberately irregular and non-identical, and I have left a few indentations in the edges to create more interest.
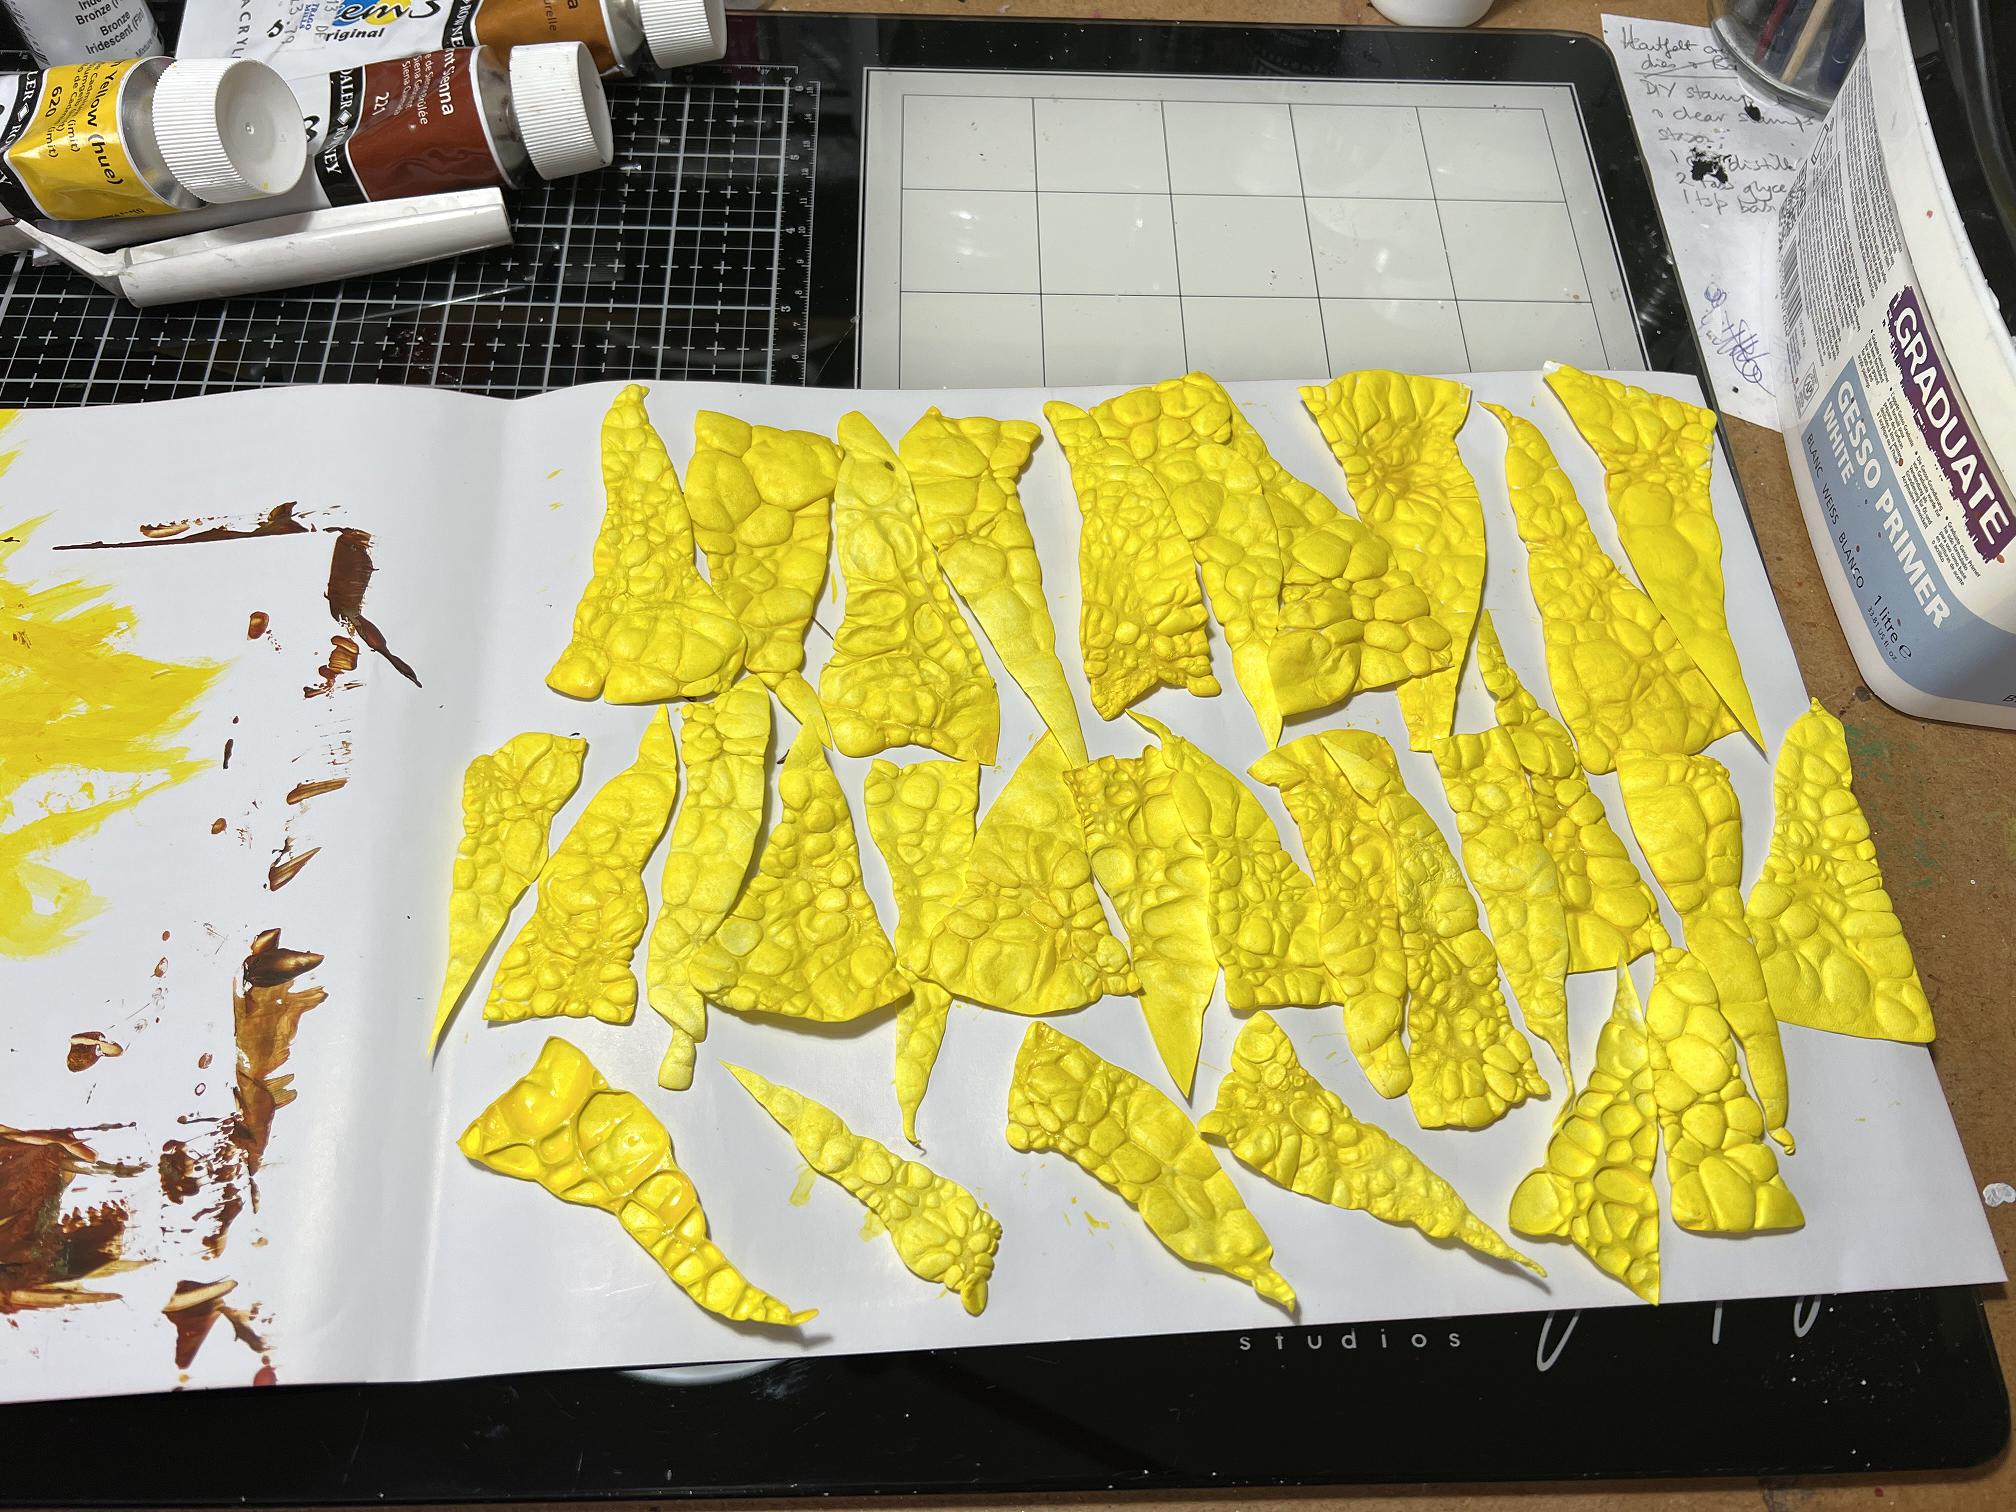
After melting the pieces.

You can see both the “innie” and “outie” surfaces on these pieces.
I painted them all yellow on both sides to begin with.
After this I applied a few different shades of brown in order to grunge them up and give a more interesting texture. I am planning to make sunflowers which are past their best and beginning to fade.
I shall probably add a bit more yellow (most likely yellow ochre rather than the over-bright cadmium yellow of the original layer) to bring back a bit more of the yellow.
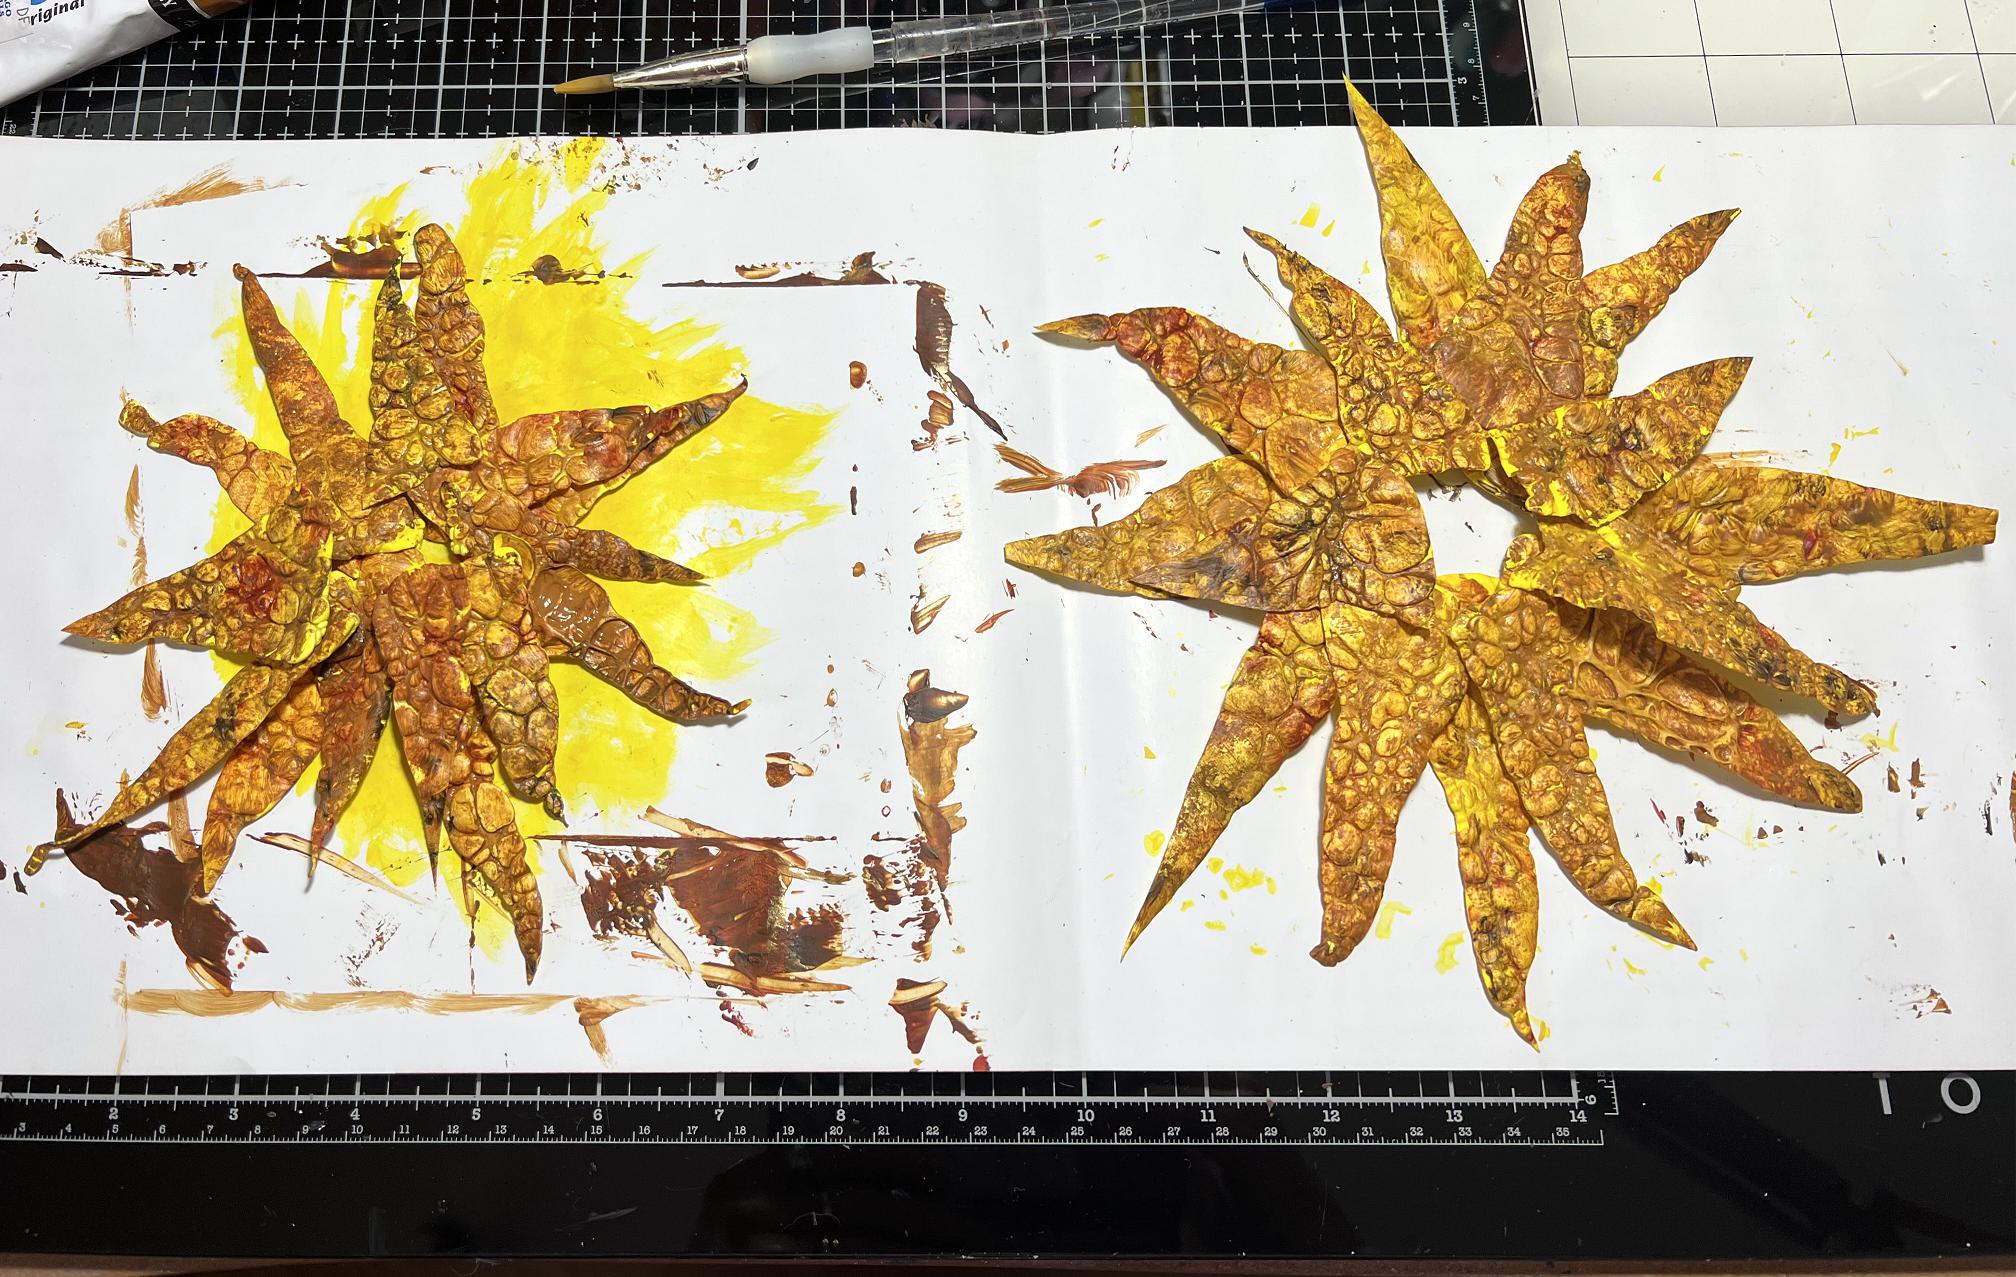
I made a couple of mock-ups, laying out the petals to see how they would look. I shall probably end up making one, leaving out the longer petals – neither of these two mock-ups has quite enough petals, but all together it was too much, and would prove too thick to put in my art journal. I am using a mixture of “innies” and “outies” to add textural interest.
I had thought of cutting a circle from a piece of Tyvek that had been melted sufficiently to produce a network of small holes but trying to produce this effect deliberately, in an even fashion, is quite difficult. I shall probably add the holes with a hot tool afterwards. This disc will be painted brown. I may add gold or bronze highlights with gilding wax, or perhaps some flocking or tiny seed beads. Whatever I decide, this will be a highly textured piece.
I am not sure yet what adhesive I shall use to assemble the flower. I think matte gel medium will be OK for adhering it to the page once it is done, and it can be flattened a bit by laying a heavy weight on it, so that the page doesn’t end up too thick.
I love the tattered distorted look of the petals, which will make the sunflower look as if it is dying and decaying and ready to produce seeds for harvesting!
I am currently working on a number of other projects and have draft posts in progress, ready to publish as I complete the work. This is the reason for fewer posts recently.