Completing the Tyvek sunflower
In my previous post, I described how I made a sunflower from Tyvek. I got as far as making a mock-up to see how the petals might be arranged, and I still had the centre of the flower to make.
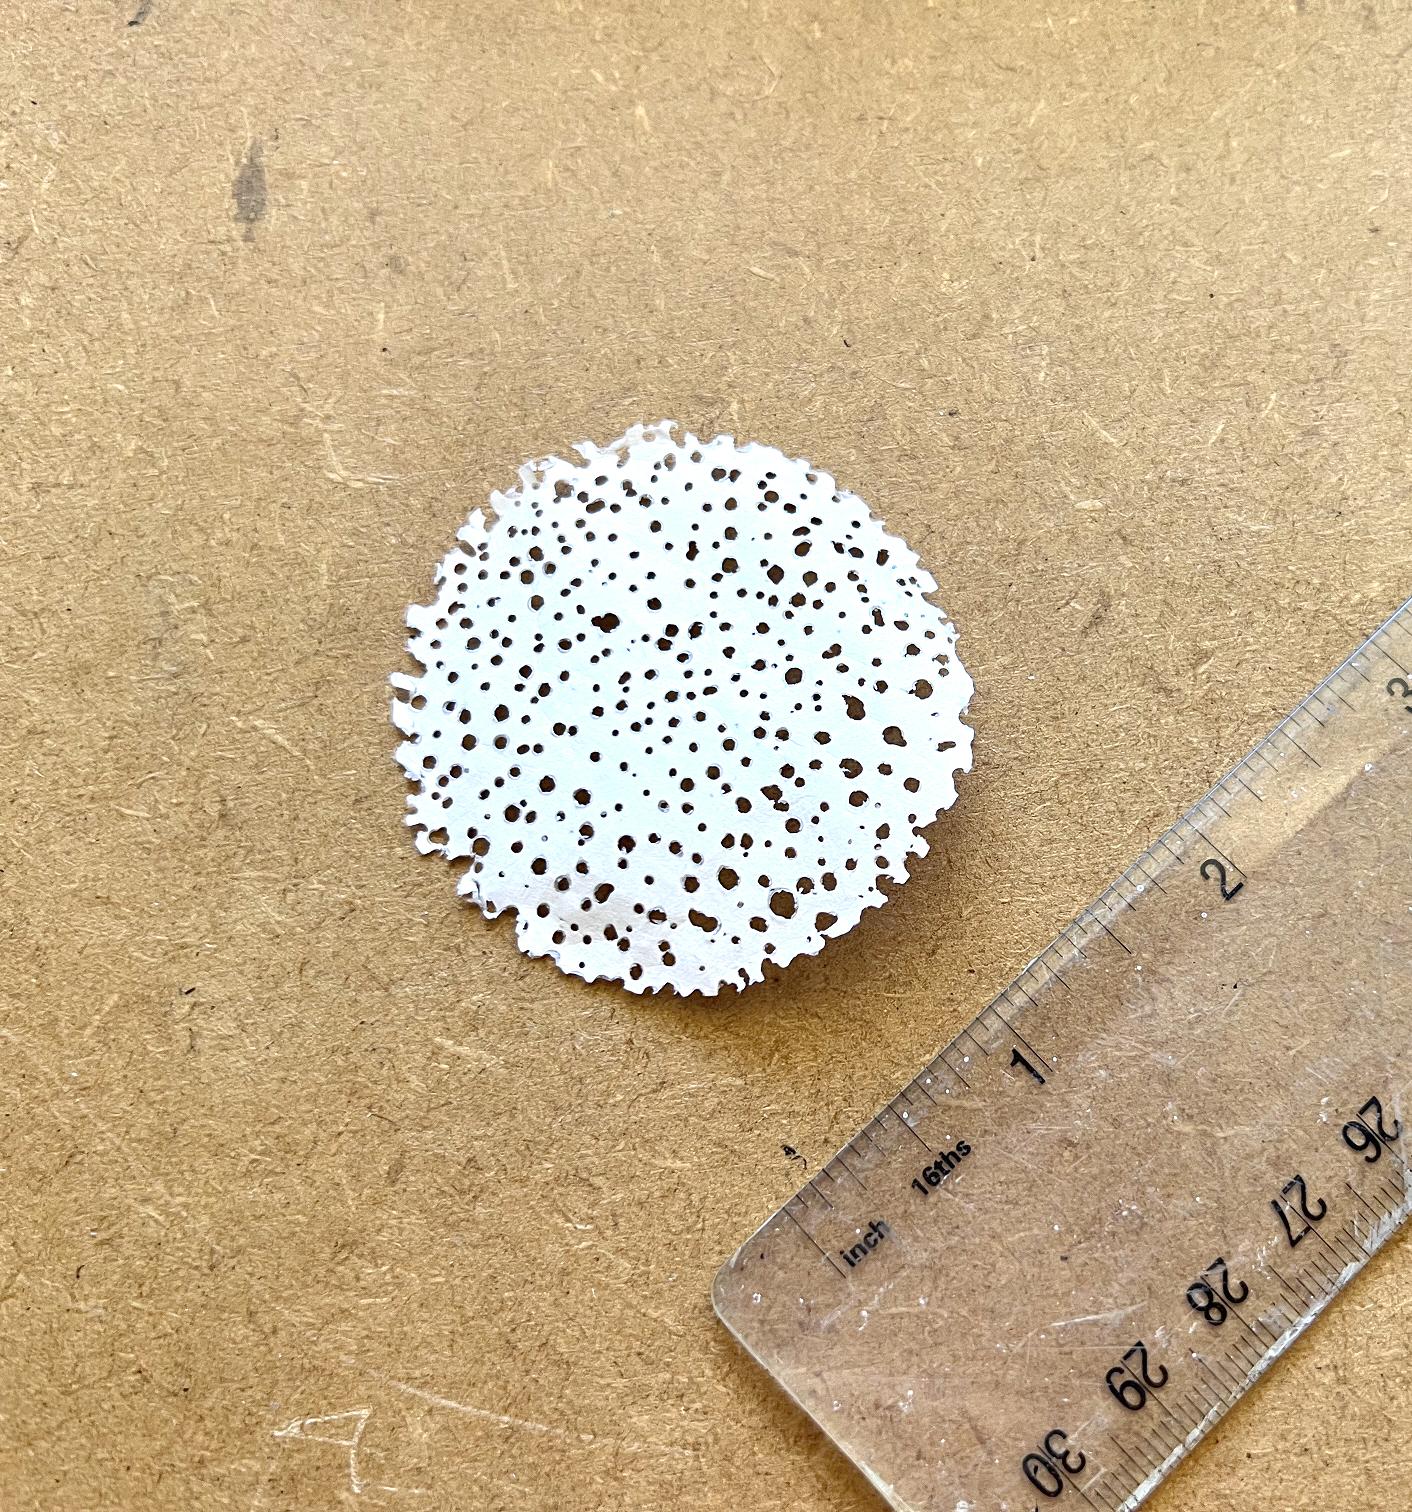
I cut a 2-inch circle of Tyvek from a scrap piece and did not melt it. With the circular pointed blade on my hot knife, I gently pierced through the piece, adjusting the depth of the knife randomly in order to create different sized holes. After this, I went around the edge of the circle, and with the side of the blade, gently distressed the edges.
I put the side with the “exit wounds” on top because they had slightly more texture, and then painted it with a mixture of different brown acrylic paints.
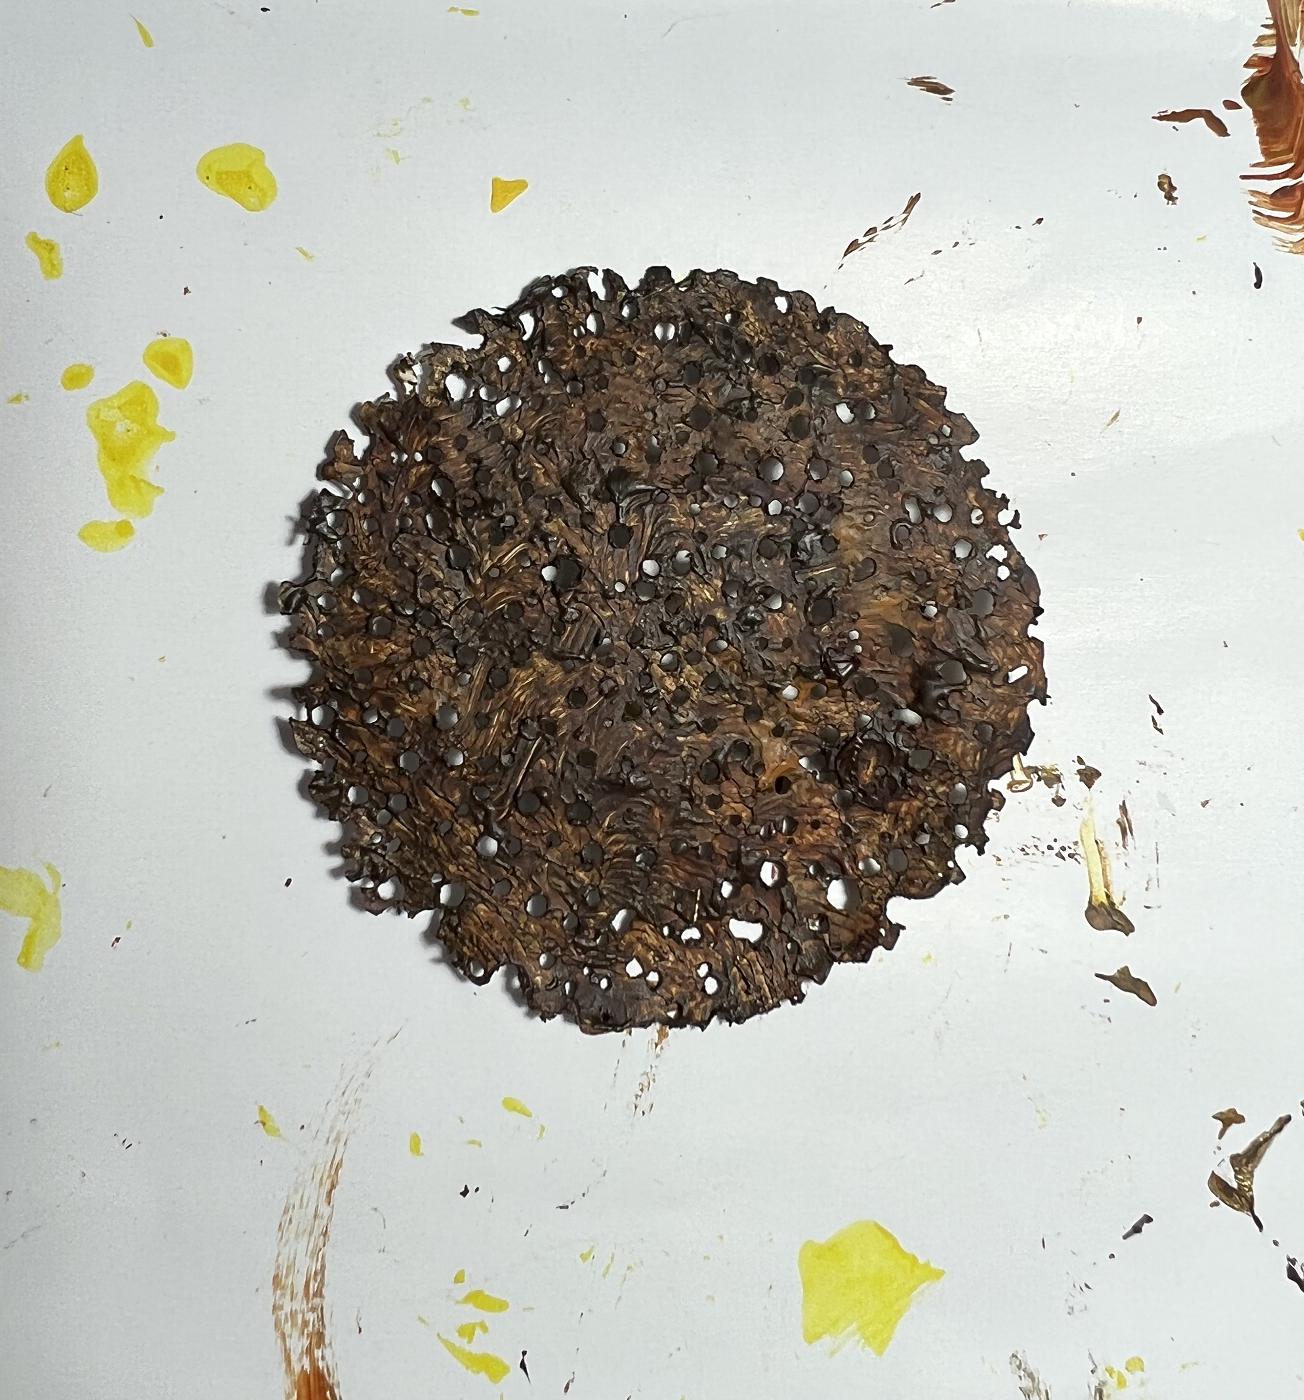
It was beginning to look like one of those thin Florentine biscuits!
I rubbed on a little copper gilding wax.
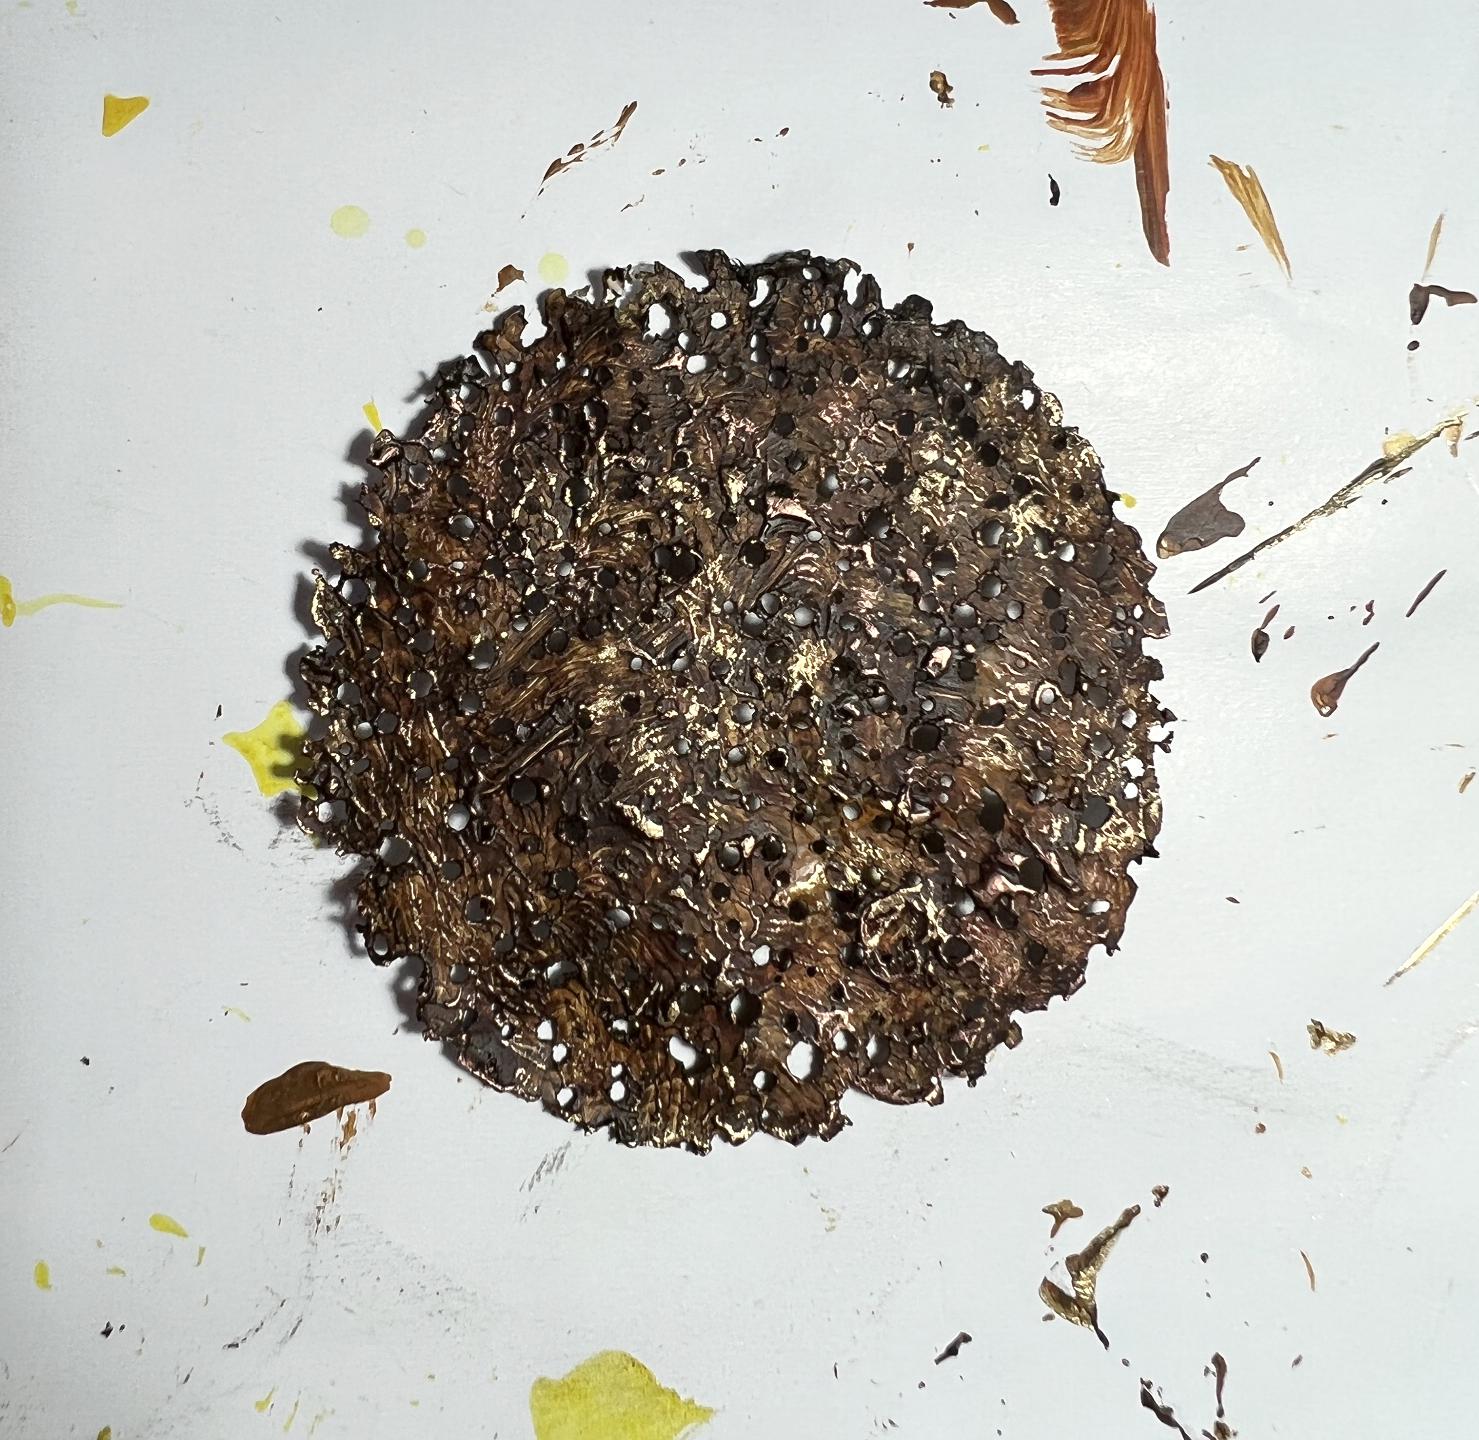
Actually I could have omitted all these steps and just worked on a plain 2-inch circle of card, because it all got covered up with the final stages! At this stage I assembled the flower.
I trimmed some of the petals at their root end and cut this end into a point, in order to reduce the bulk on the back of the flower. I tried sticking them to the centre with tacky glue but this simply wouldn’t work. Somewhere I had read that you could stick it with hot glue but I thought this might just cause the Tyvek to melt some more, but since I couldn’t get the tacky glue to work, I thought I’d give it a try. It was successful, as long as I didn’t hold the petal onto the tip of the glue gun for too long.
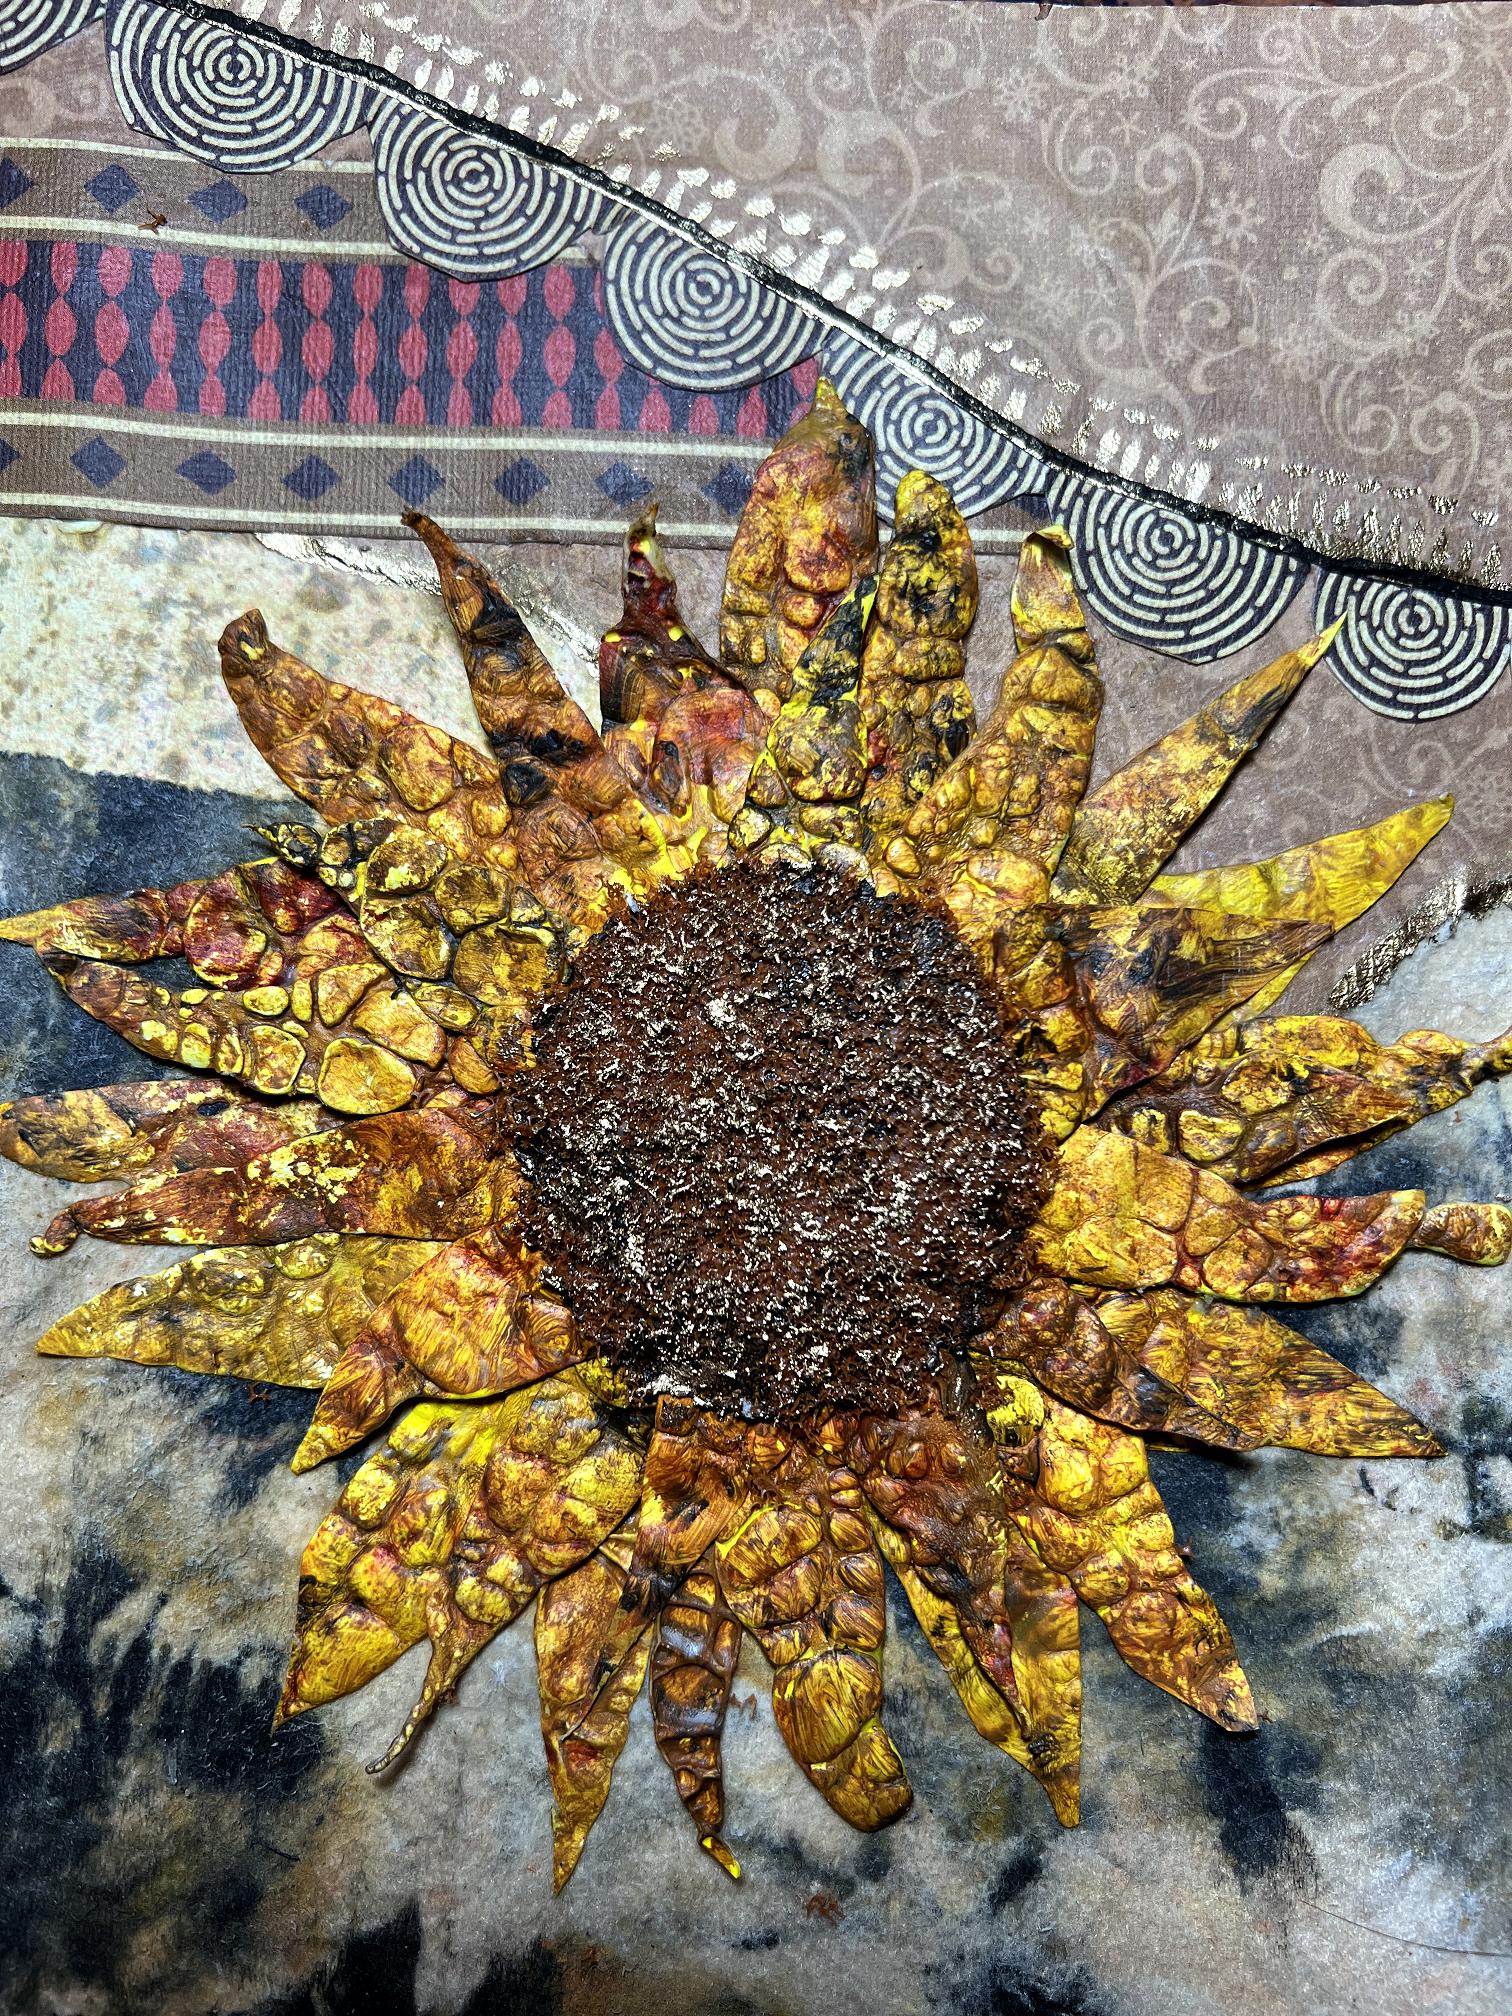
I arranged the petals, working from the back, and sticking down a ring of the smallest petals first, and then added larger ones around. I did end up using all the petals, despite what I originally thought, and the thing wasn’t too thick after all. Here is the completed flower at this stage.
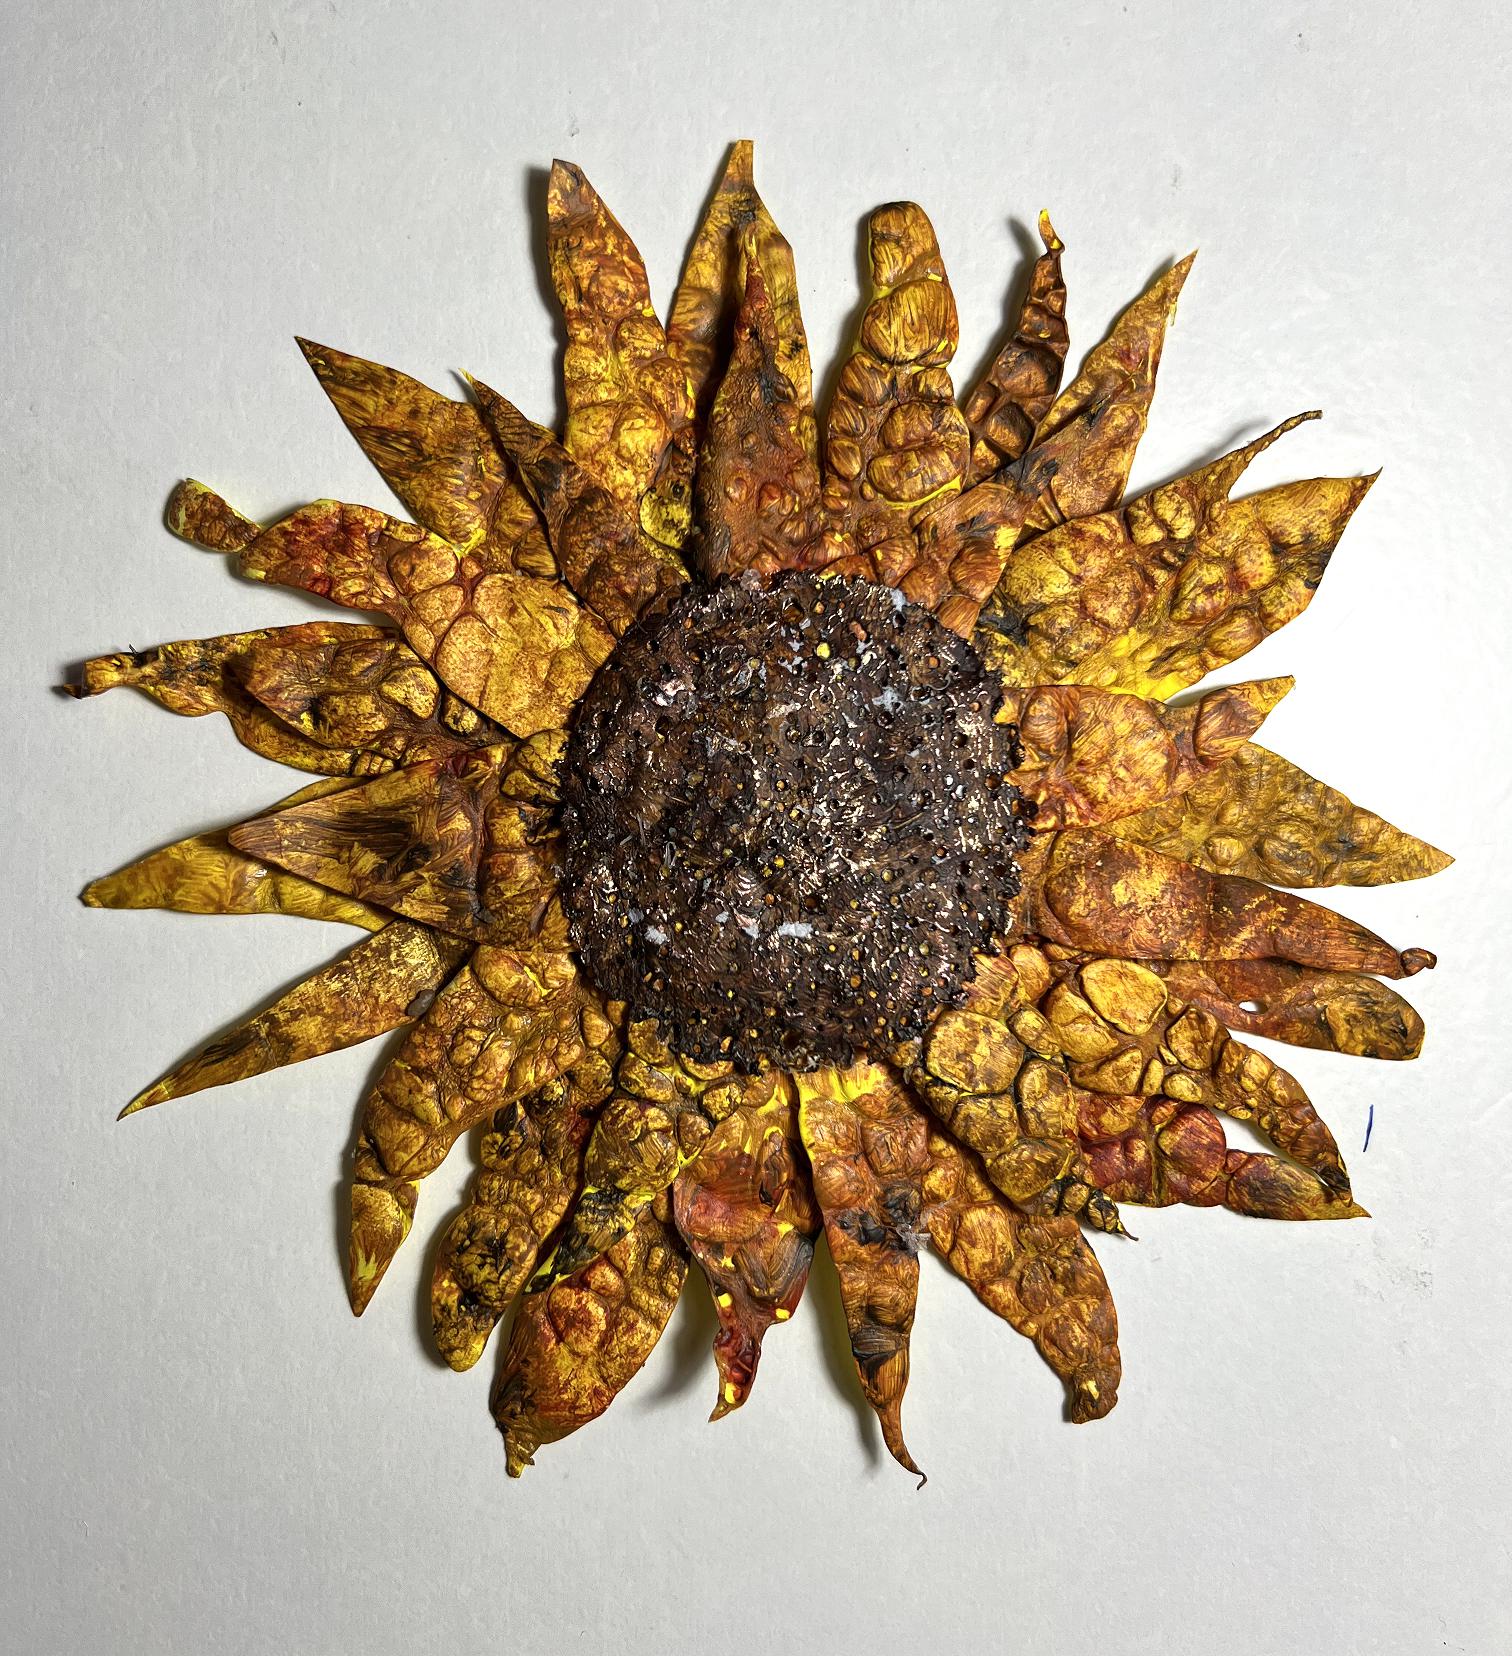
In retrospect, I could have left the centre as it was at this stage, because what I added afterwards didn’t enhance it much. This was carried out after I had stuck the flower onto my journal page.
I painted on a good thick layer of soft gel medium and sprinkled on some brown Flowersoft, a kind of flocking, and pressed it into the gel medium. A rather messy job and quite a bit fell off. I left it to dry and gently rubbed away any fragments that had not adhered. The colour was a bit pale, so I painted on a little dark brown acrylic paint. It still felt a bit vulnerable to being rubbed away so I sprayed it with some matte varnish, after making a paper mask with a 2-inch hole cut in it, to protect the rest of the page. I then added some gold gilding wax.
The Sunflowers Page in my Organic Journal
For details of my Organic Journal, please see this post, and subsequent posts where I start working on the pages.
Choosing the papers and elements for the collage
I have now got quite a considerable collection of gel prints in the brown/yellowish colour range, deliberately chosen as I knew I would be using them in the Organic Journal. I want to keep to a limited palette for this book, to co-ordinate with the beautiful cover.
I got out quite a big pile of papers and scraps from the scrap box, and had to weed them out, to end up with a quantity I could actually fit on the page!
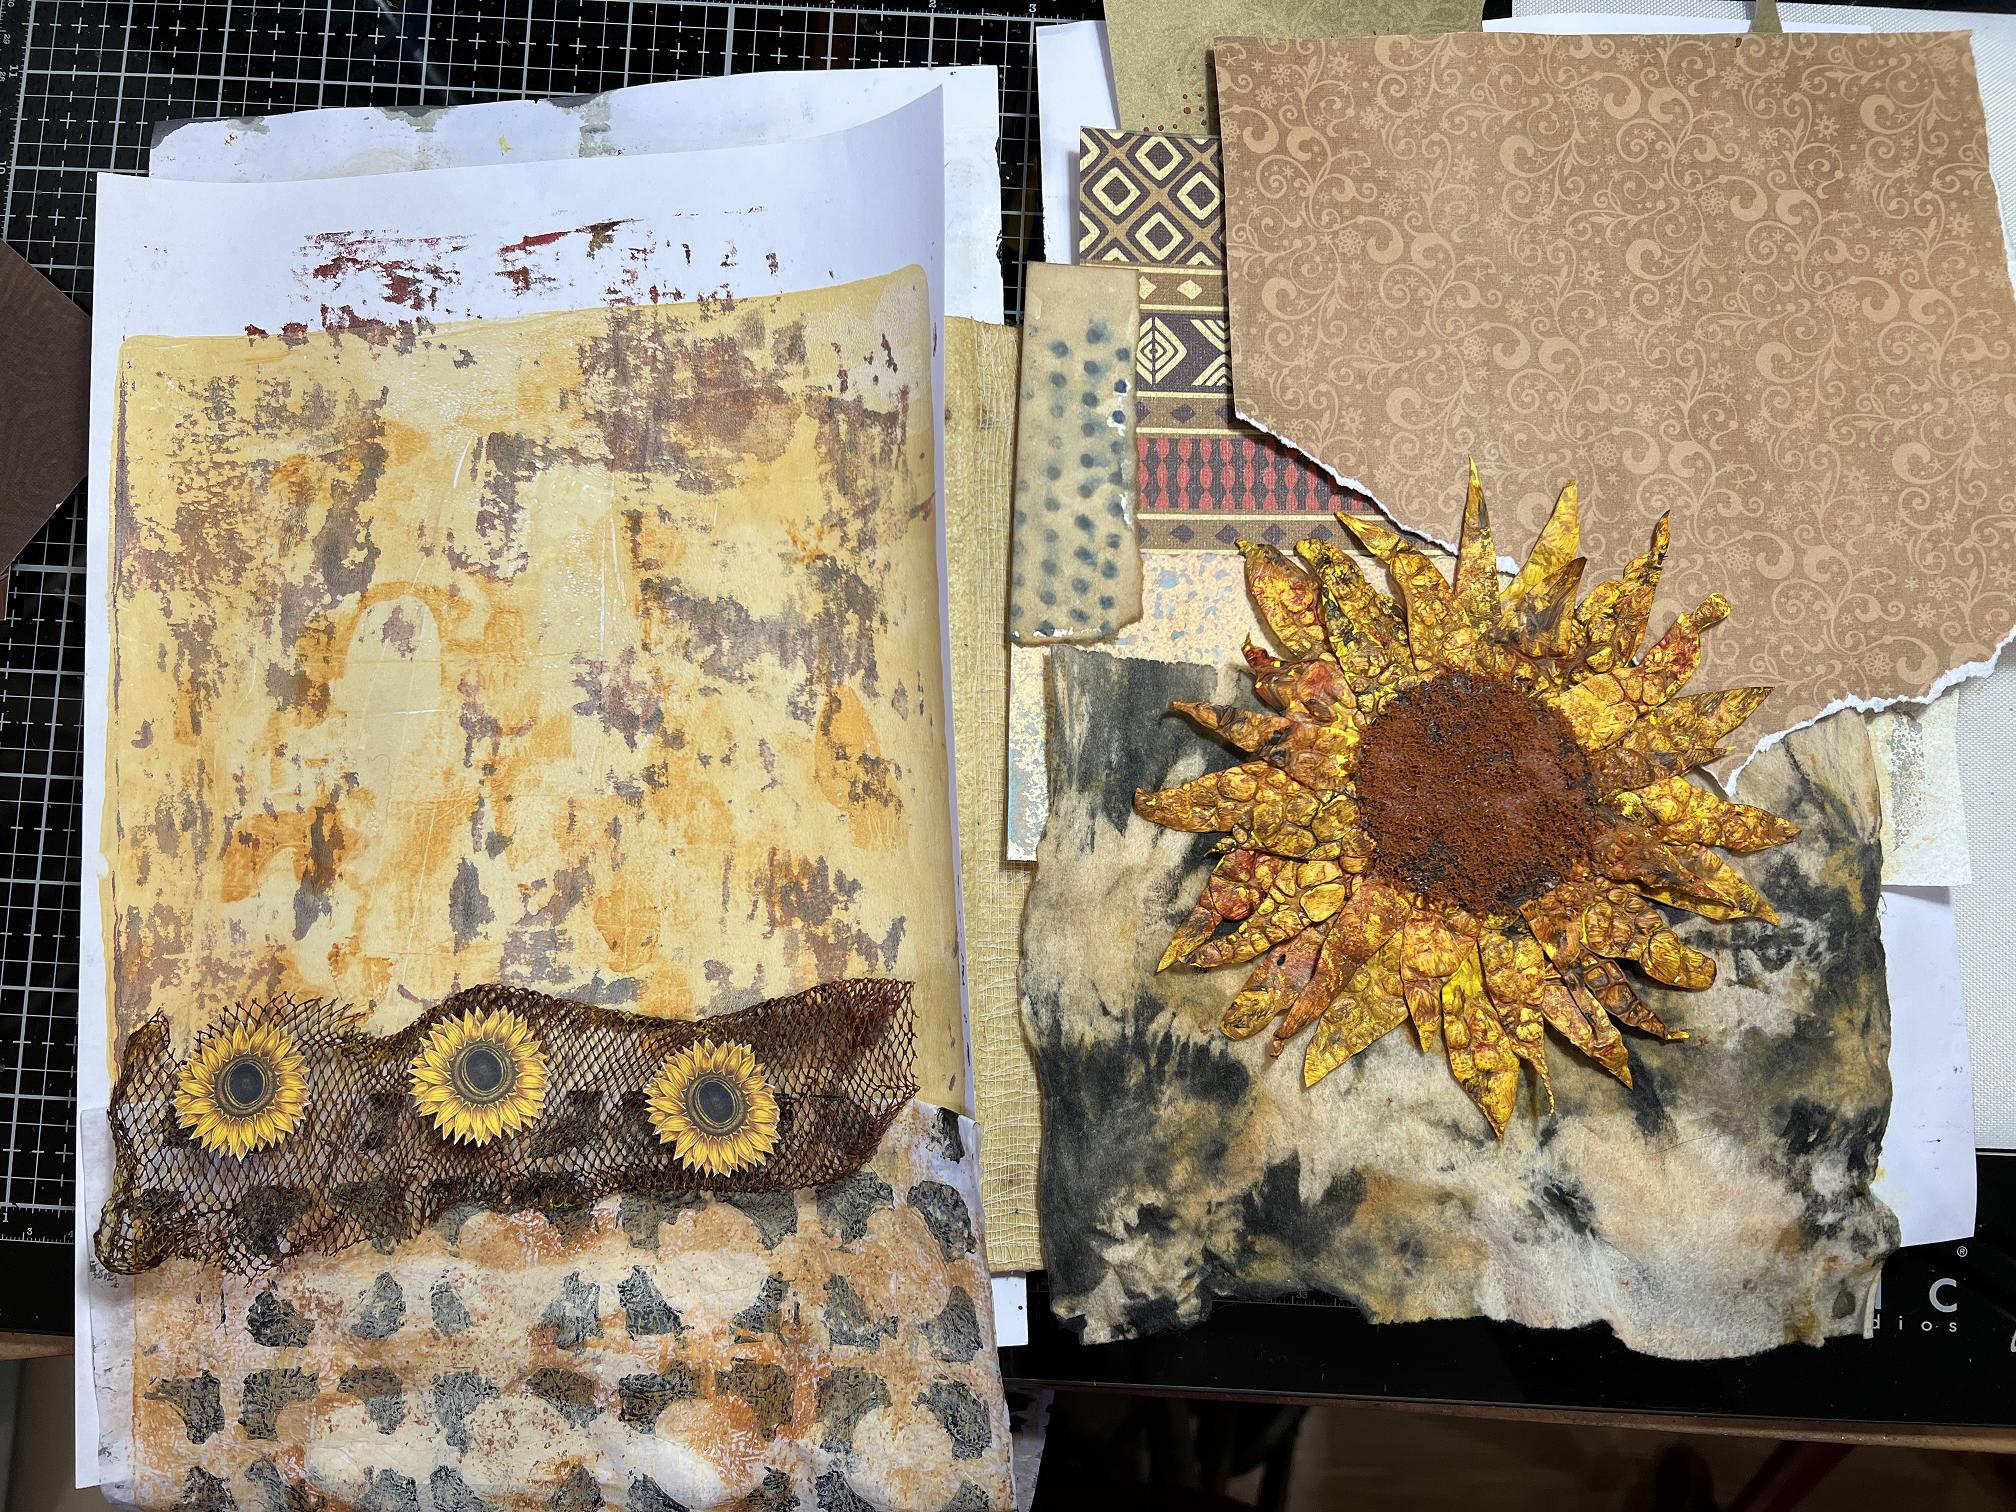
I didn’t photograph the whole process of assembling the collage as I got “in the zone” and forgot all about that, but basically it was just a question of sticking everything down and trimming and adjusting various bits and pieces. I used soft gel medium to stick it all down.
The completed spread
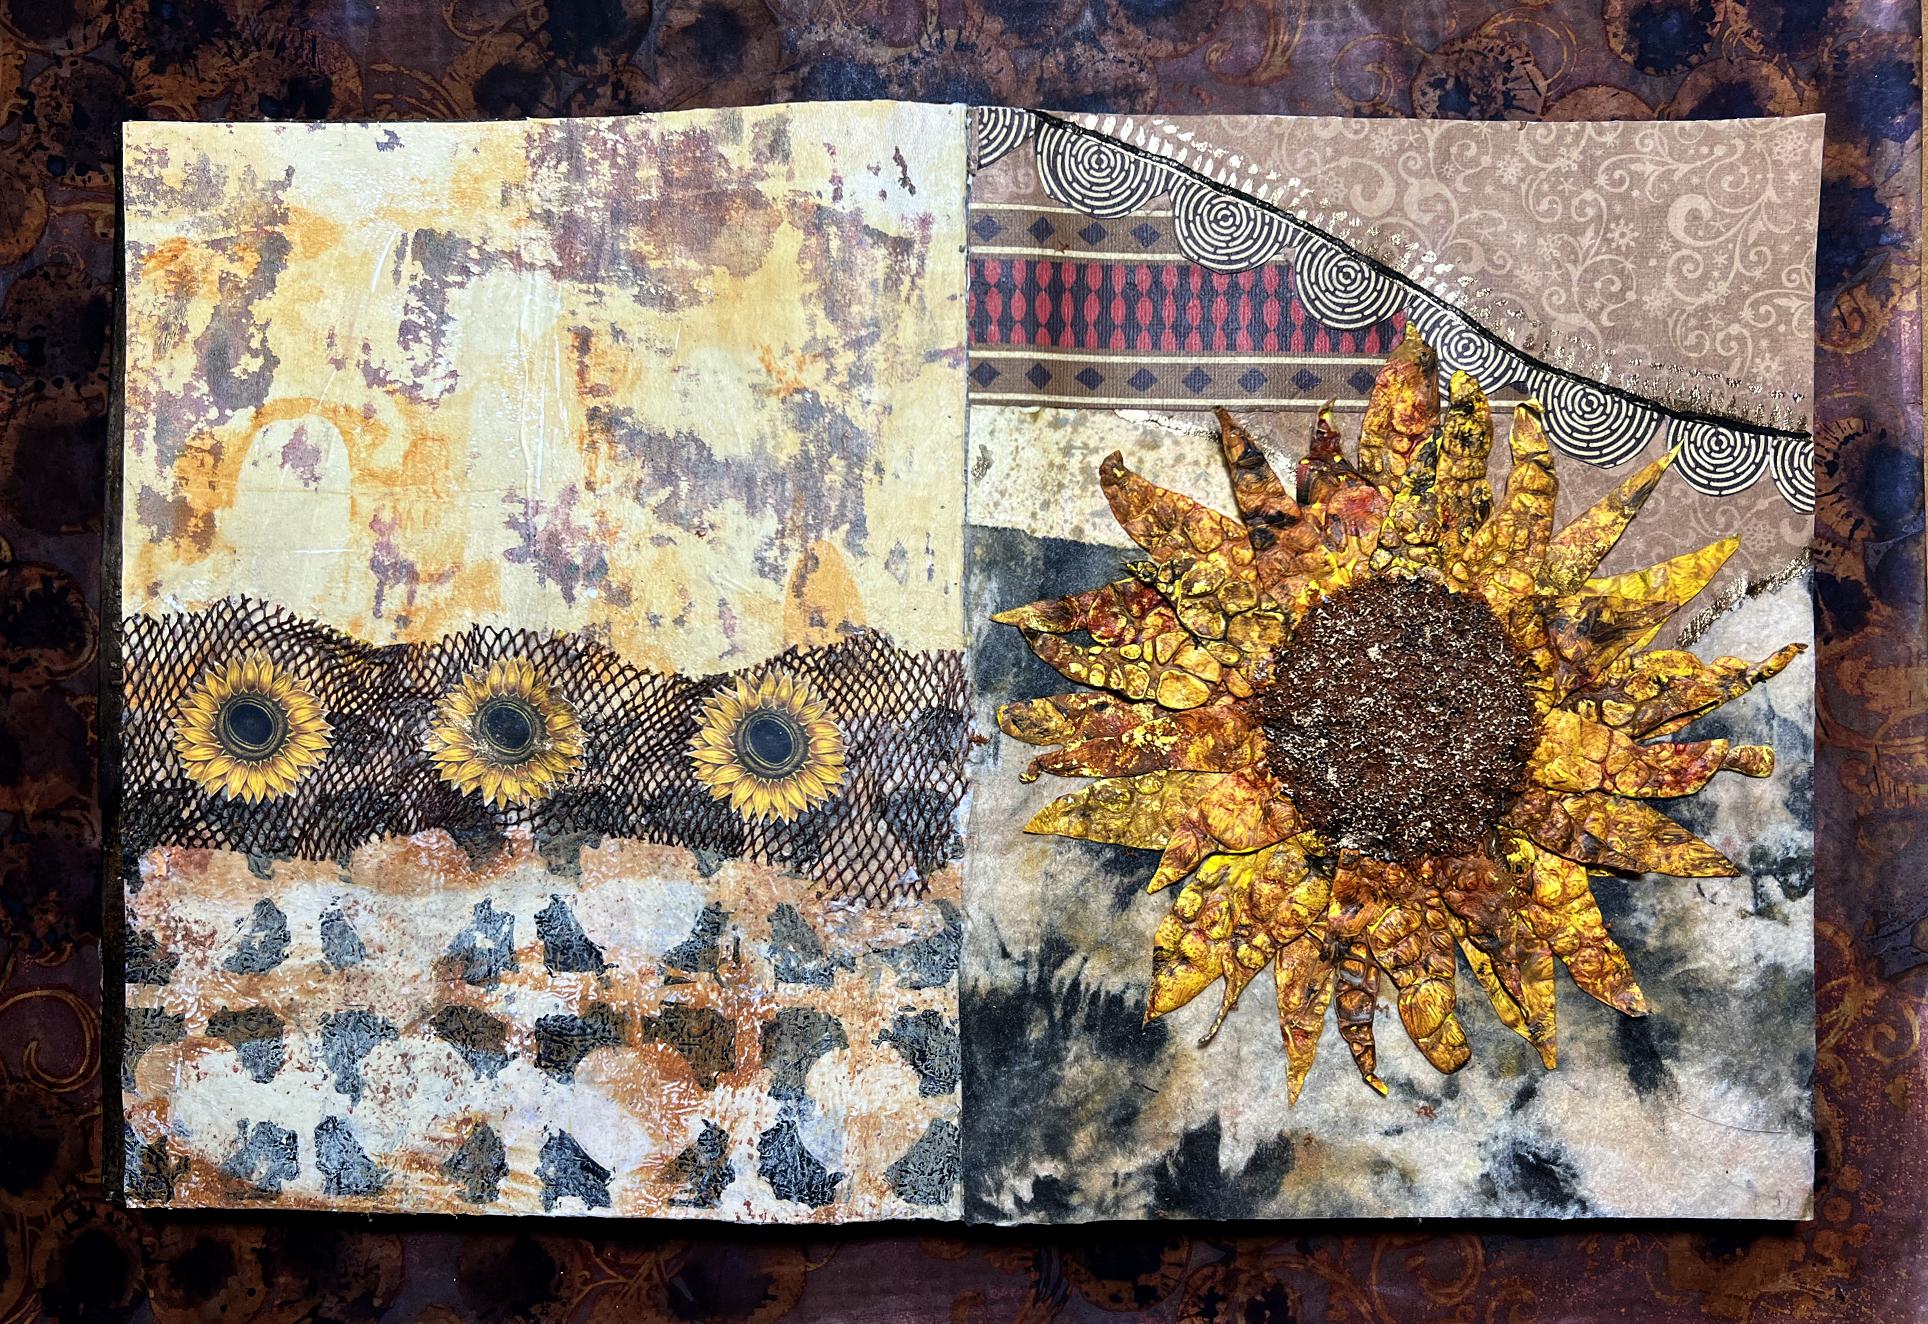
The left-hand page
I covered the whole of the left-hand page with one of my gel prints. I really like this one – I think it was a ghost print to pull stuff off the plate, and the predominant colour is unbleached titanium, which is one of my new favourite colours.
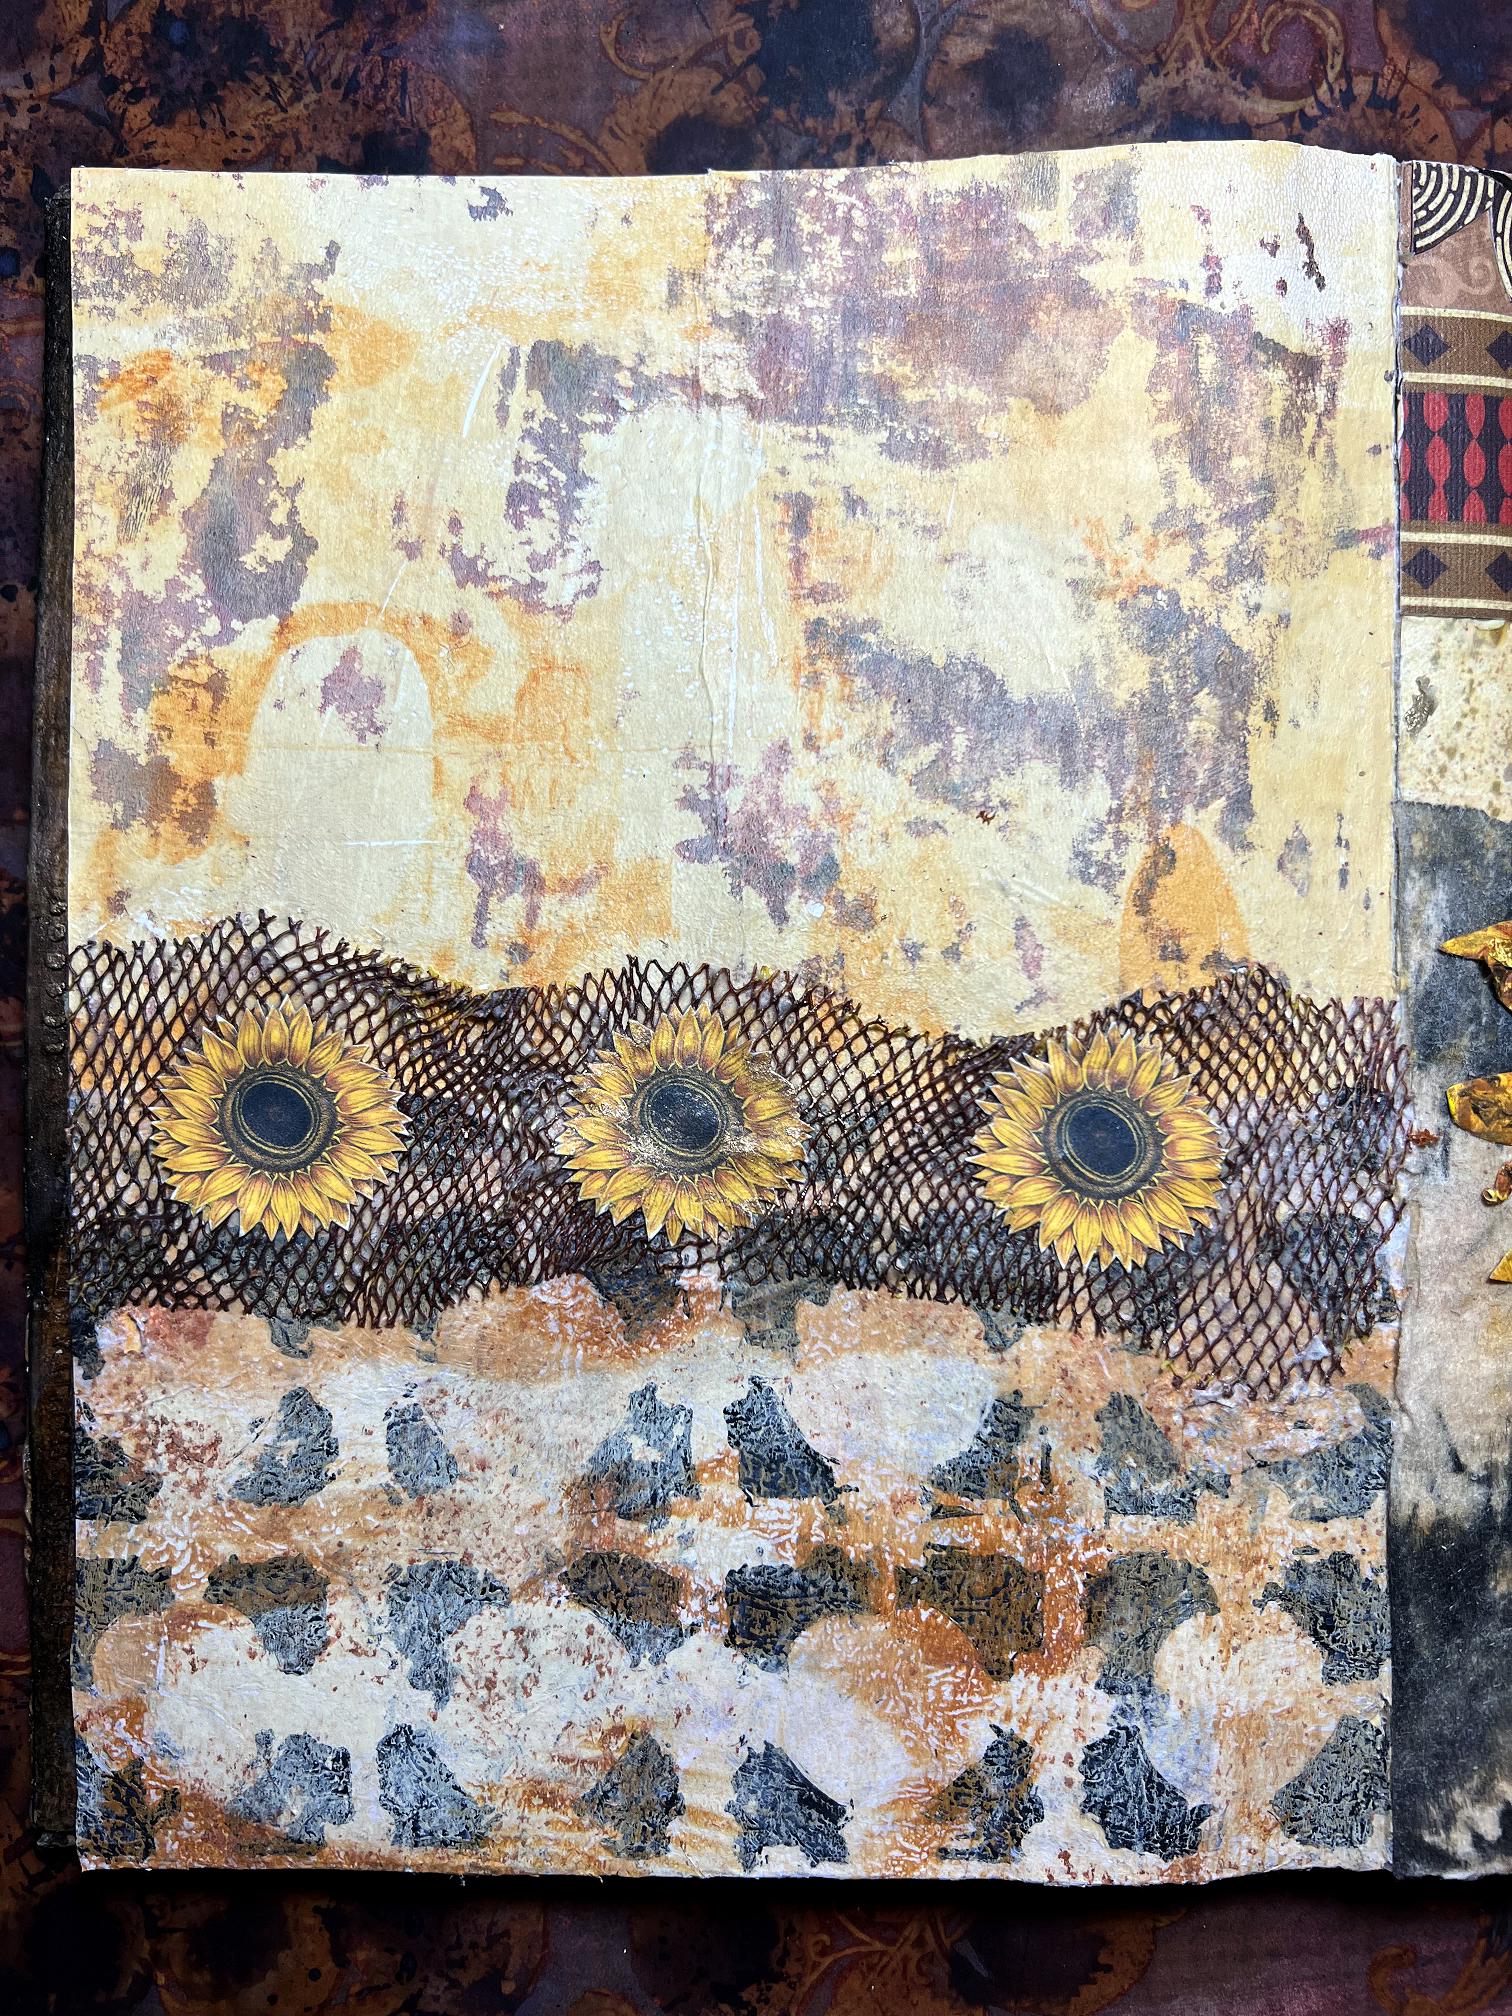
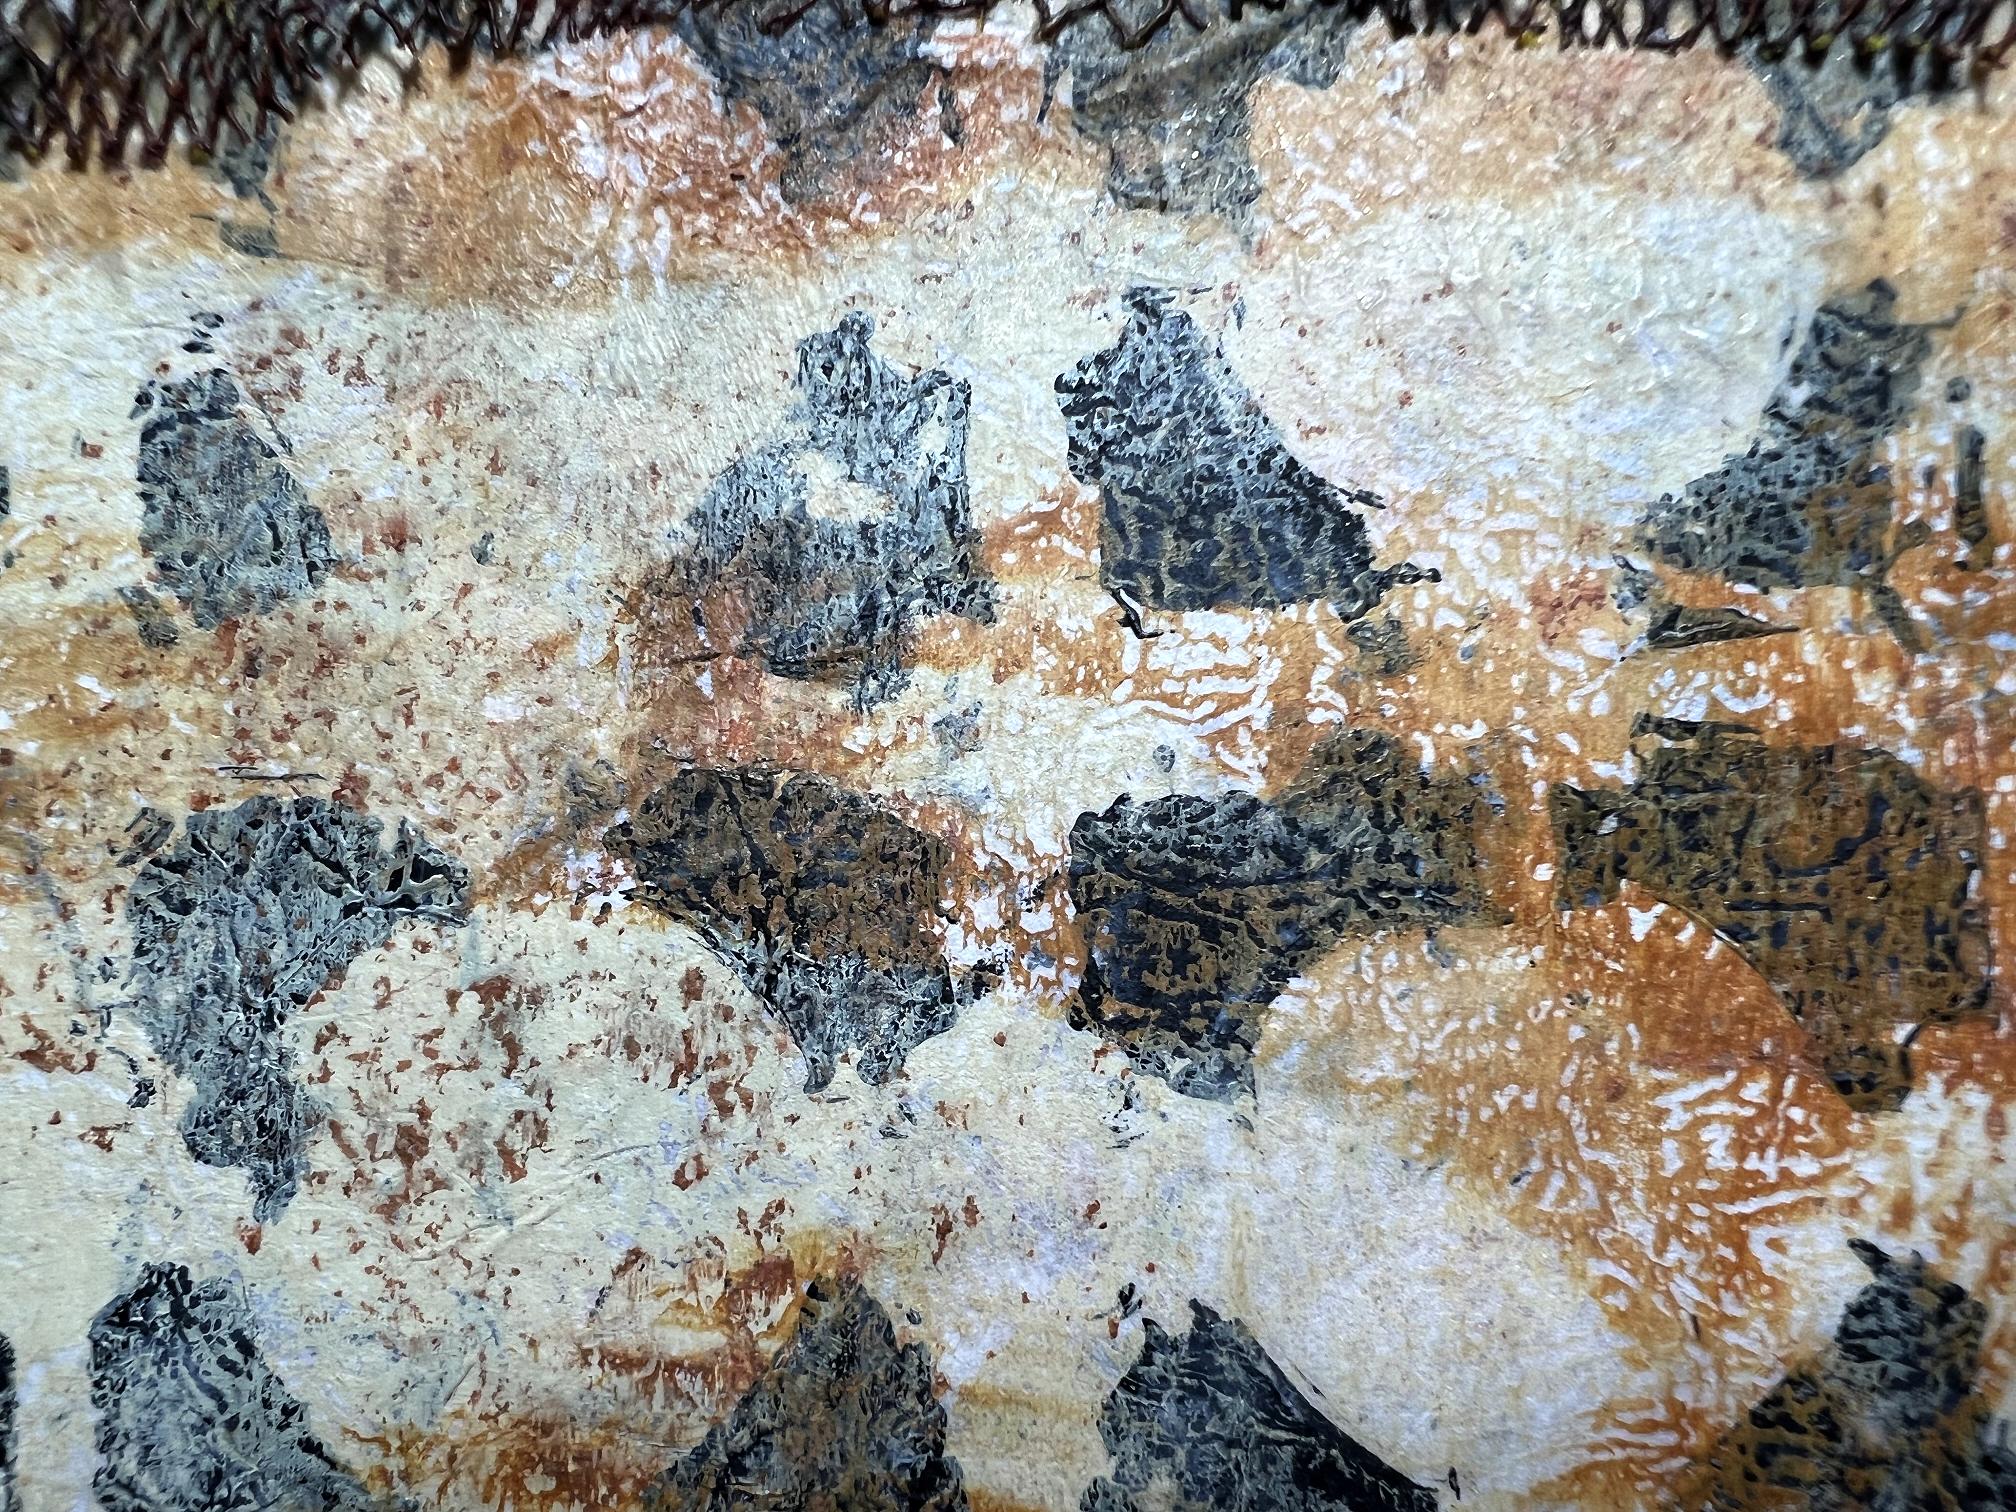
There is part of another gel print across the bottom. This was one of the initial pulls when I first used the cheap bathmat to create texture on the plate. I had covered the whole plate with black, then pressed the bathmat onto the plate with the suction pads down, and then laid the paper on top, pressing well into the holes between the patterns, to pick up as much paint as possible. I did two or three pulls in this way, and then removed the mat. The subsequent prints were ghost prints, and these are the most interesting, but the initial pulls were interesting too. The one I used here was used for a subsequent print, which knocked back the black shapes.
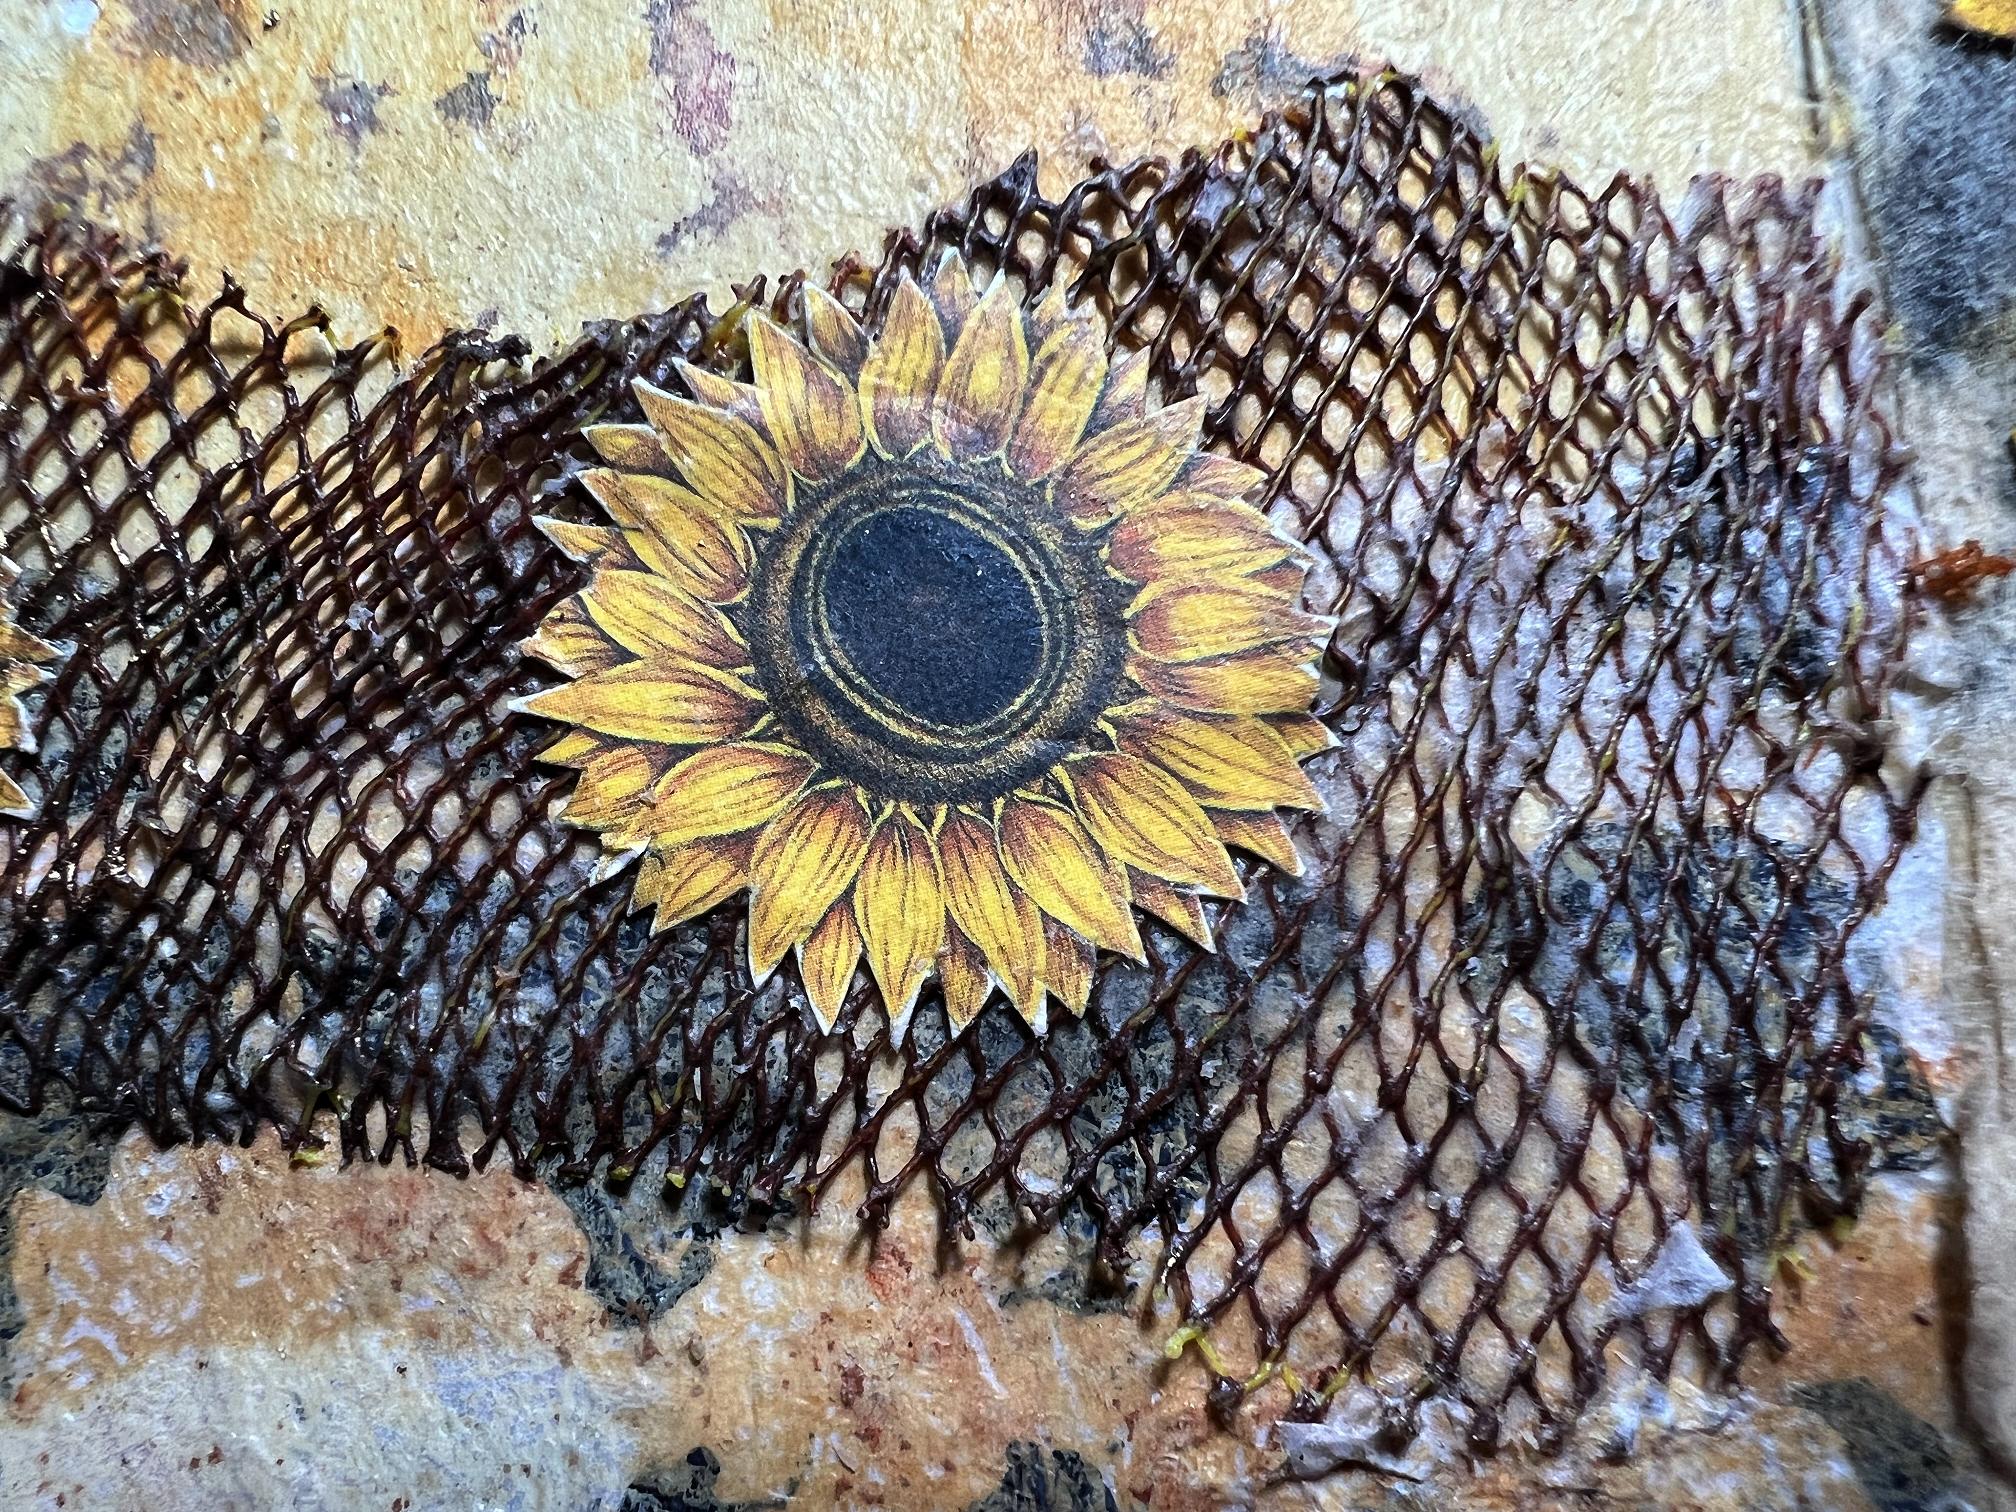
Across the join between the two gel prints, I stuck down a piece of melted and painted fruit net (details of this are in the Organic Journal post linked above).
Rummaging through my stash to find materials for this page has been most useful. I’ve got a lot of stuff I would probably never use, including some sheets of notepaper I was given once in a stationery set, I think from the National History Museum in London. The top of each sheet and the back of the envelopes had small printed sunflowers on them, from a vintage botany book. I fussy cut three of these out and stuck them down onto the melted fruit net.
I thought these papers spoke for themselves, and because the main focus of the spread would be the Tyvek sunflower, I did not add anything else to the left-hand page.
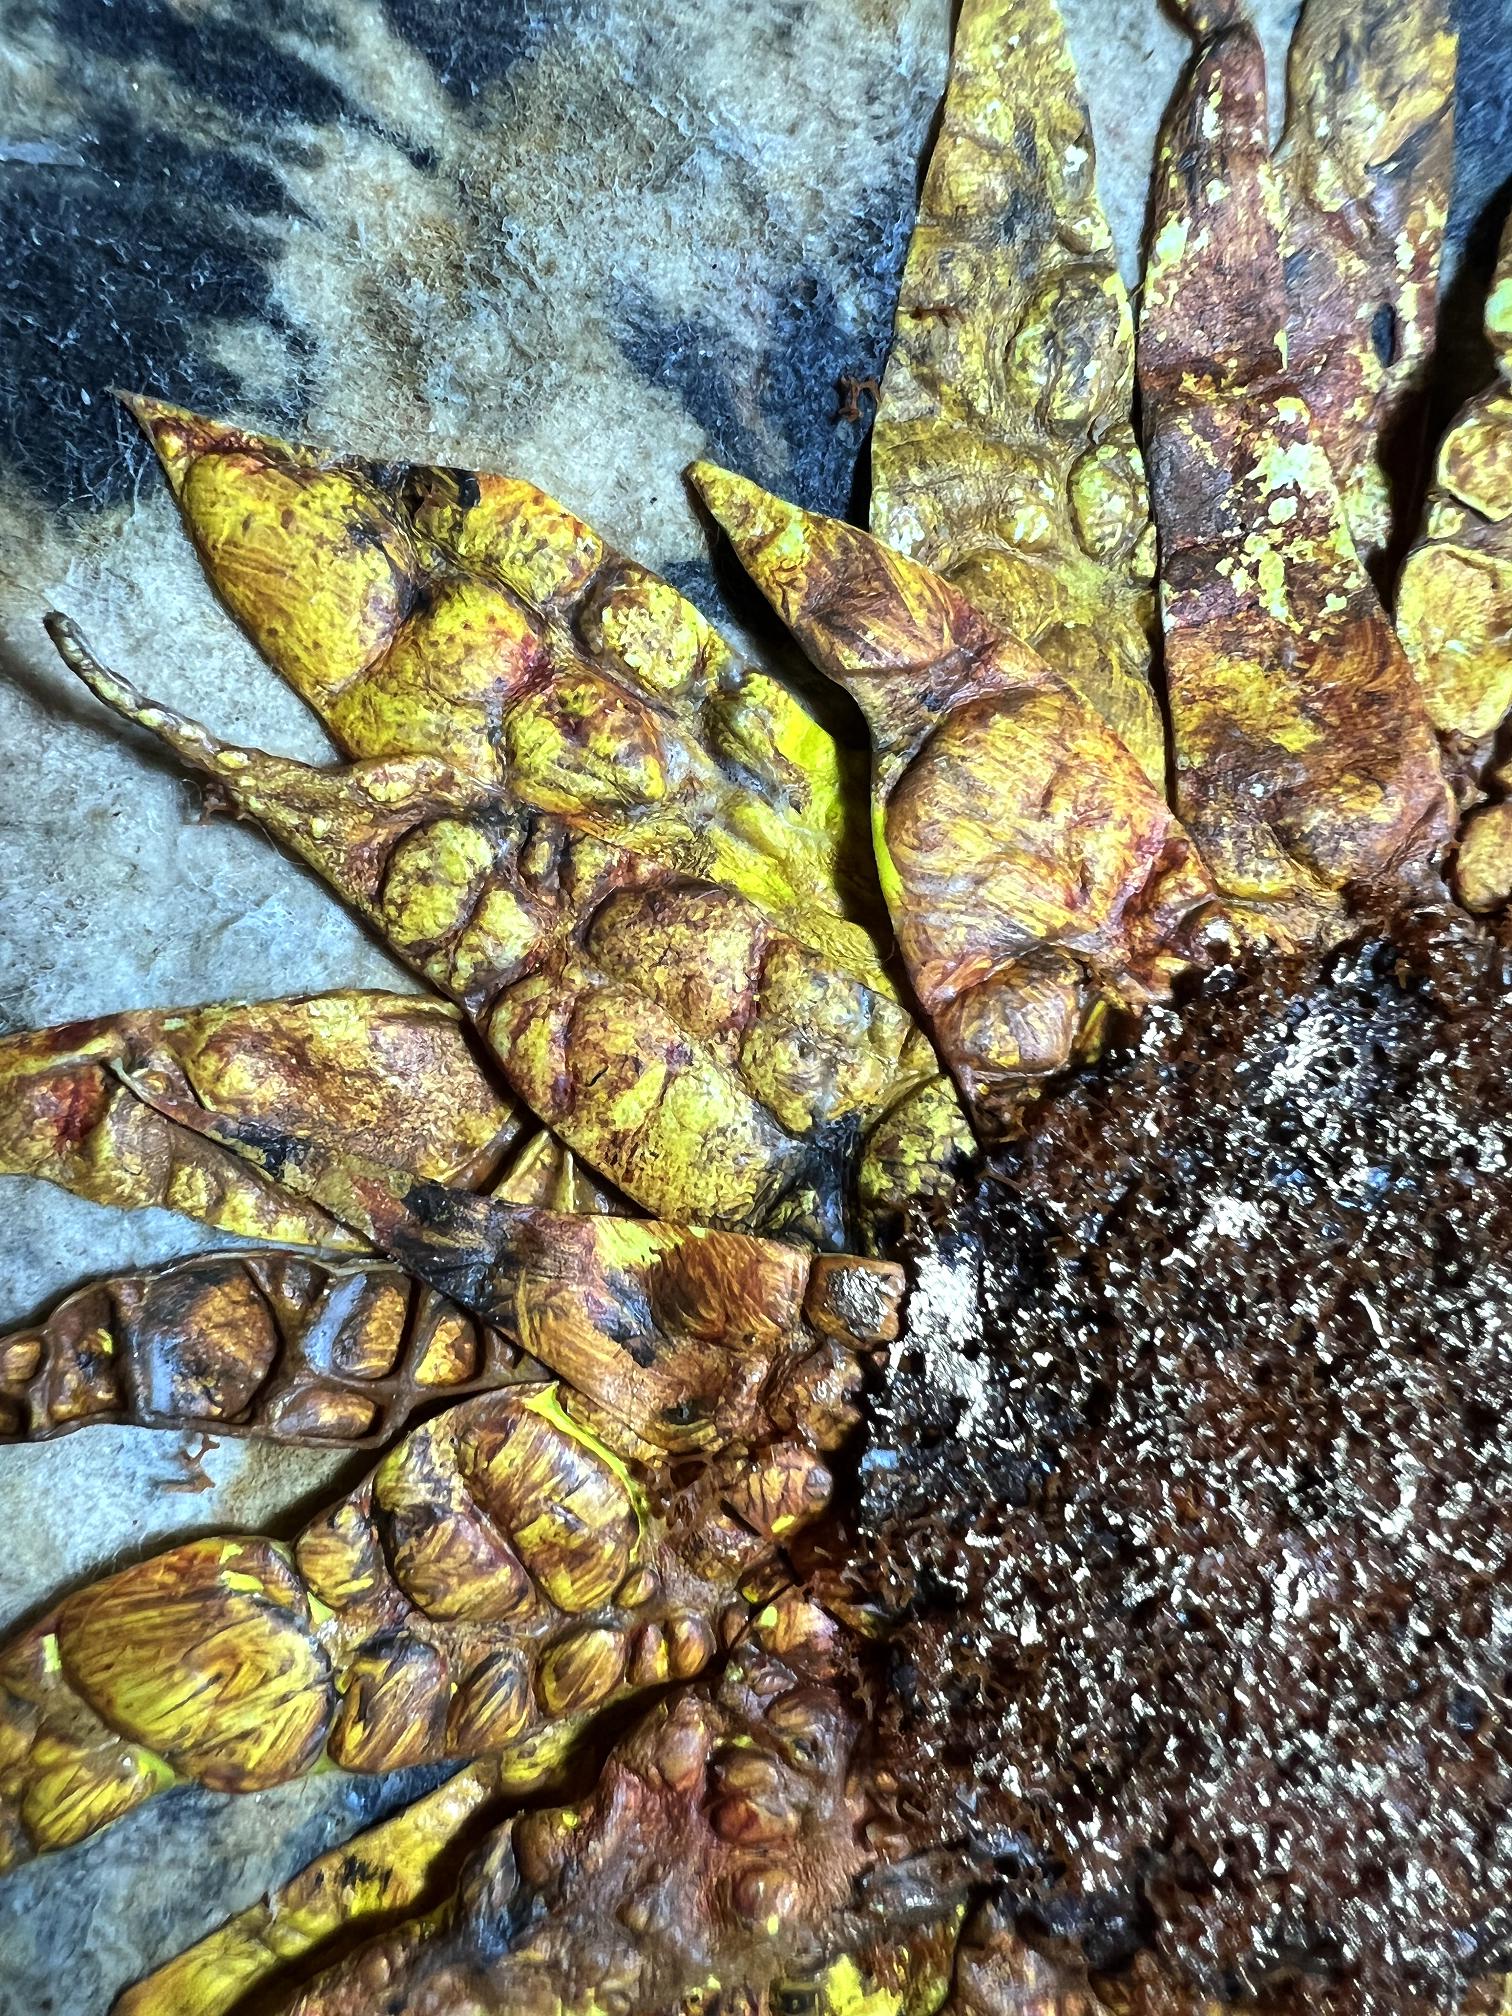
Some detailed shots of the page.
The right-hand page
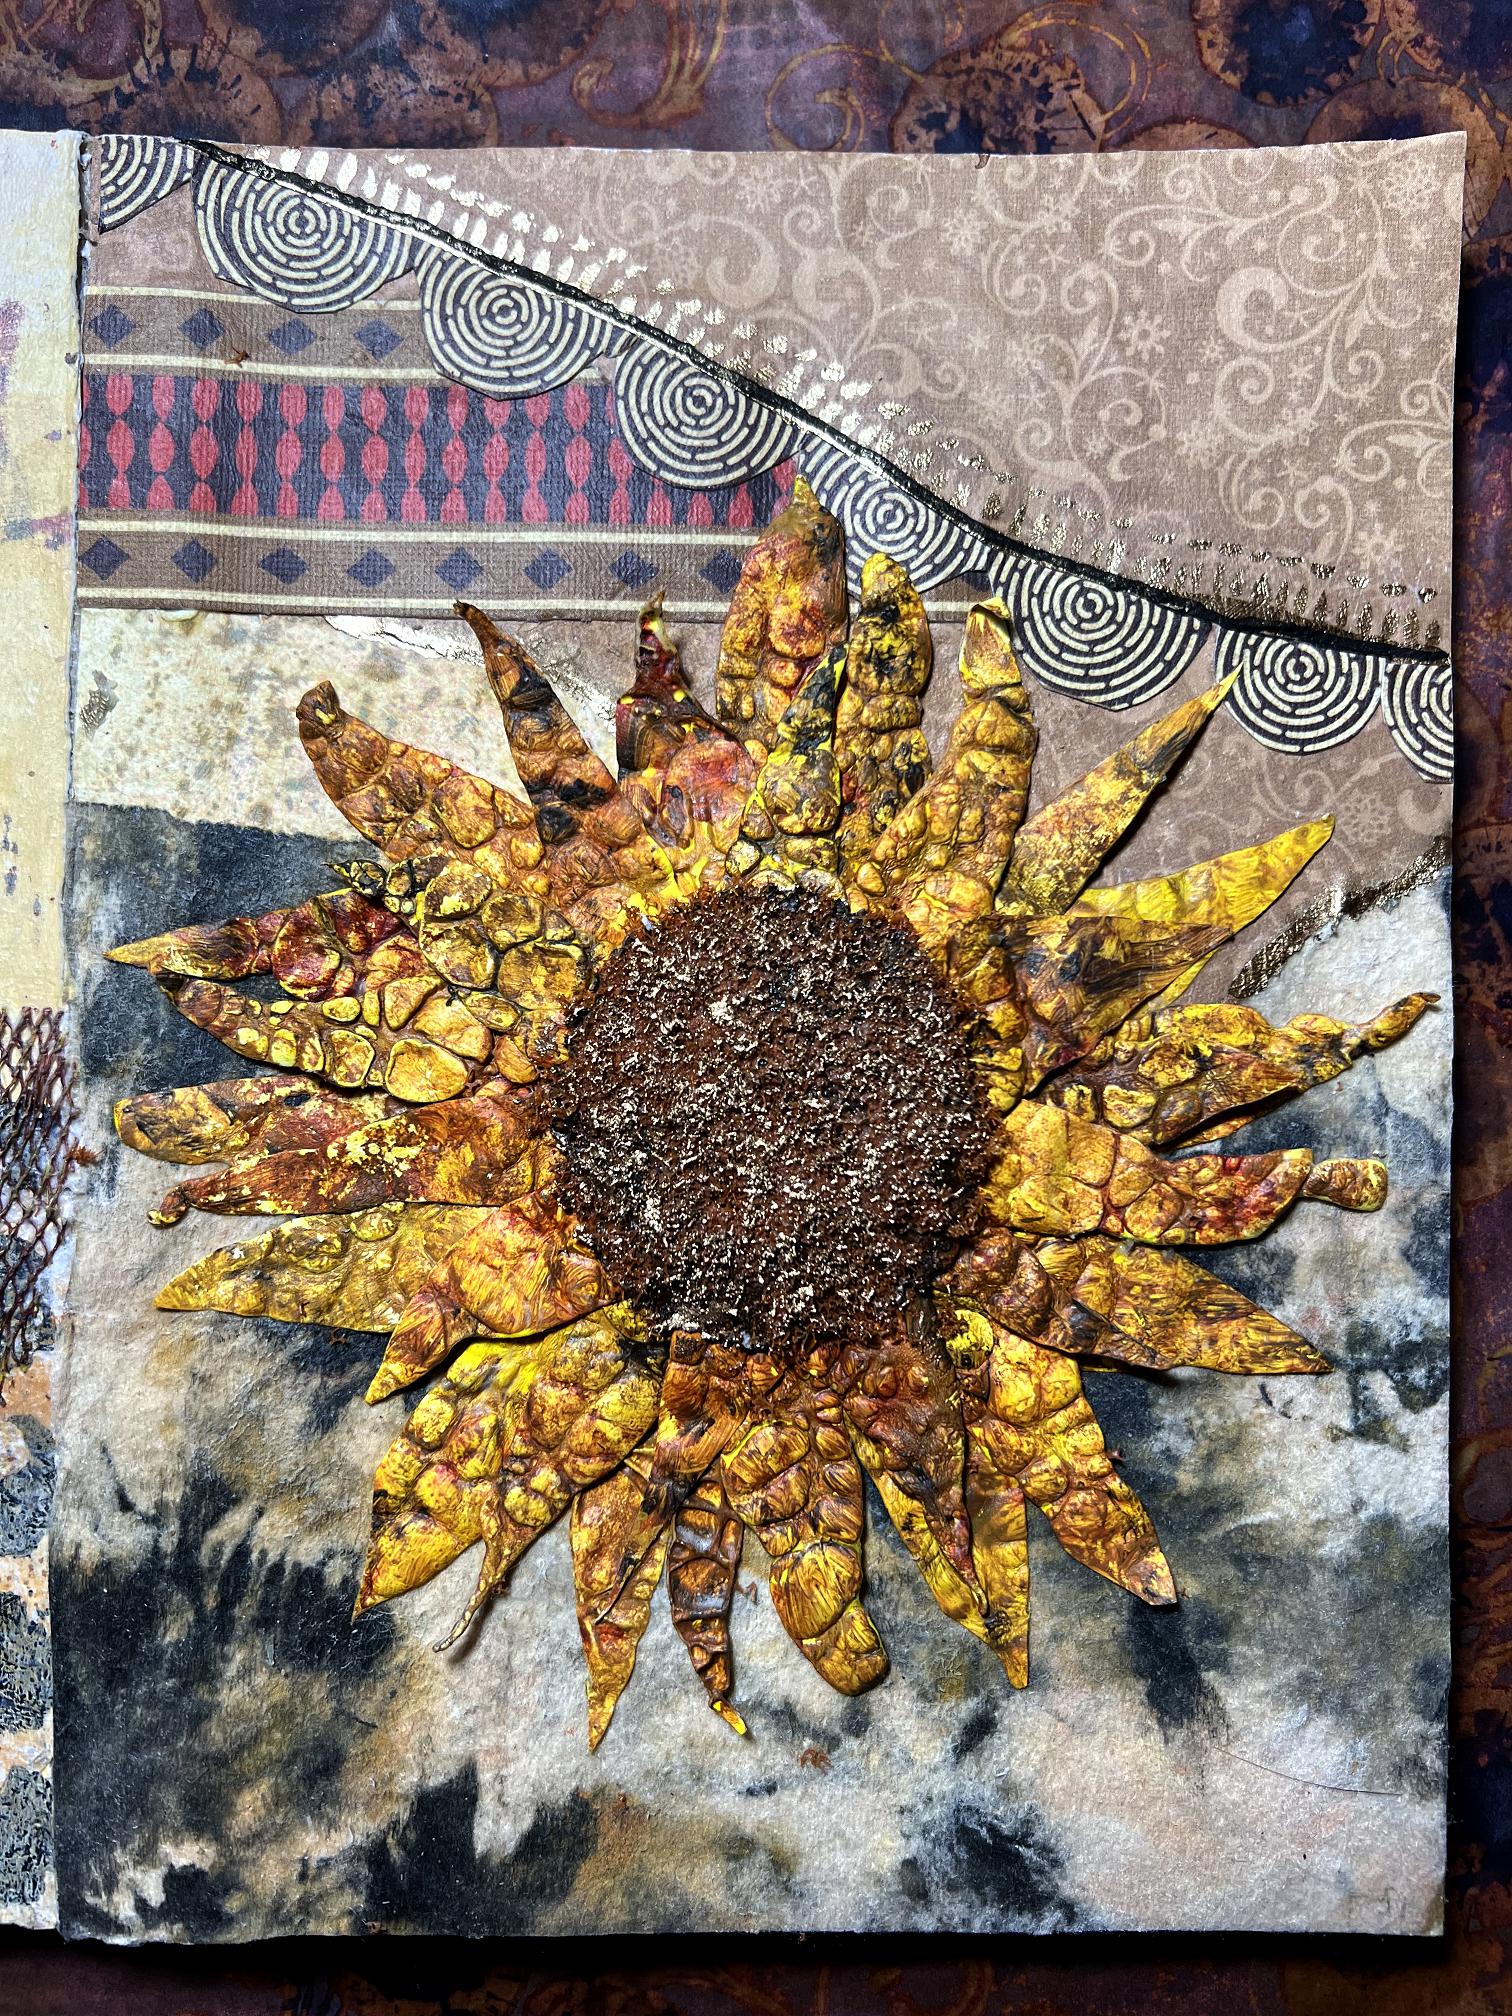
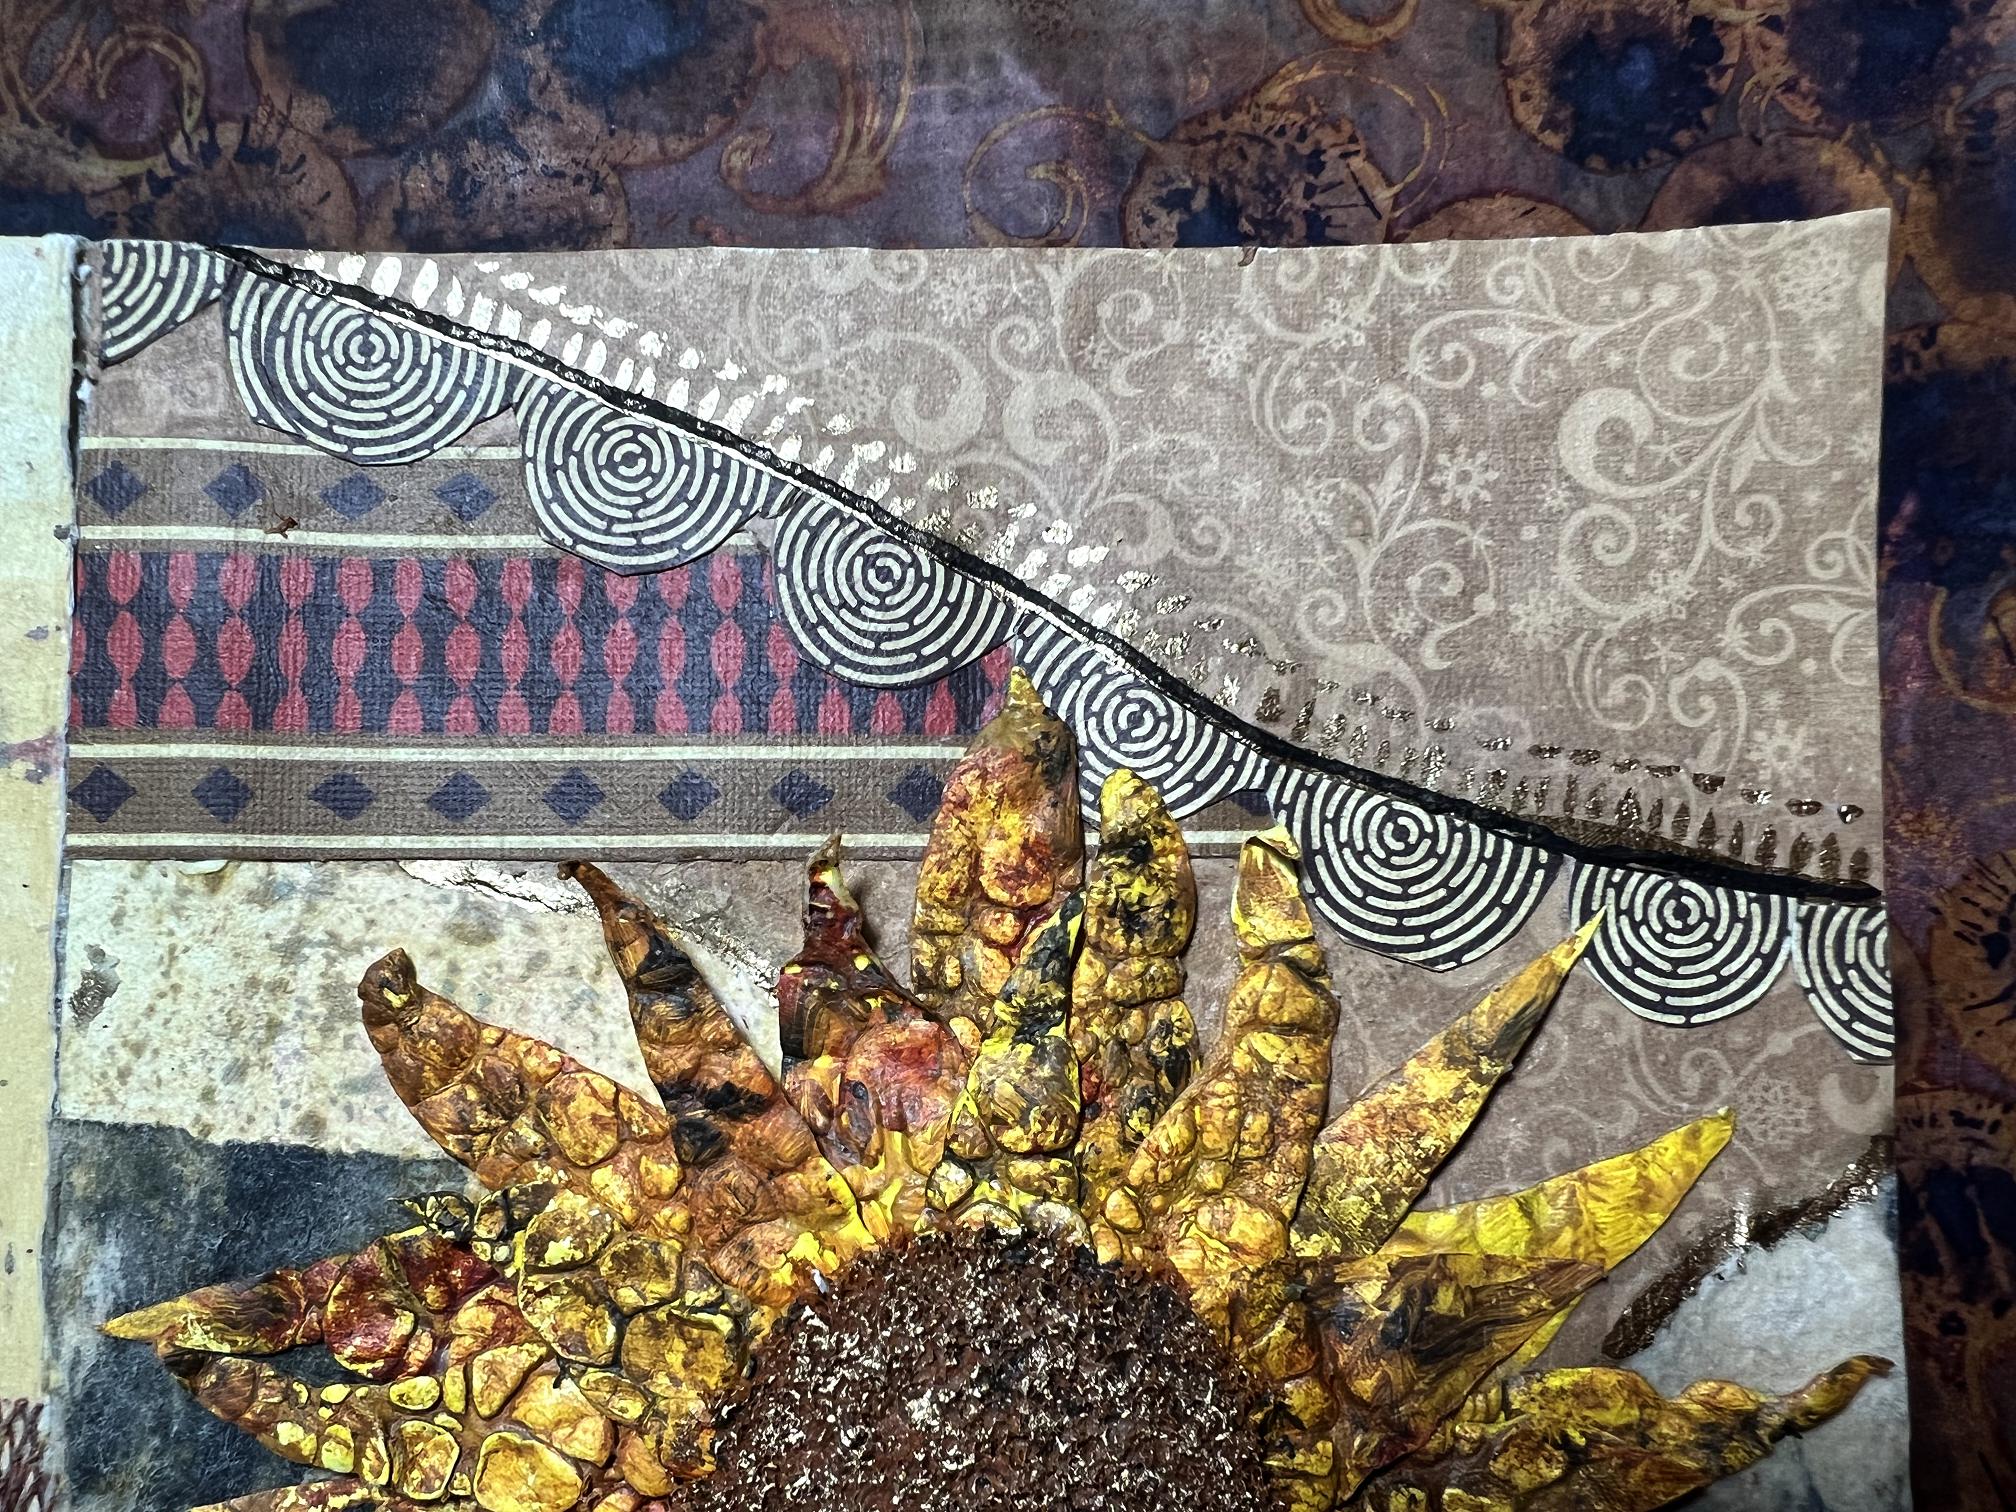
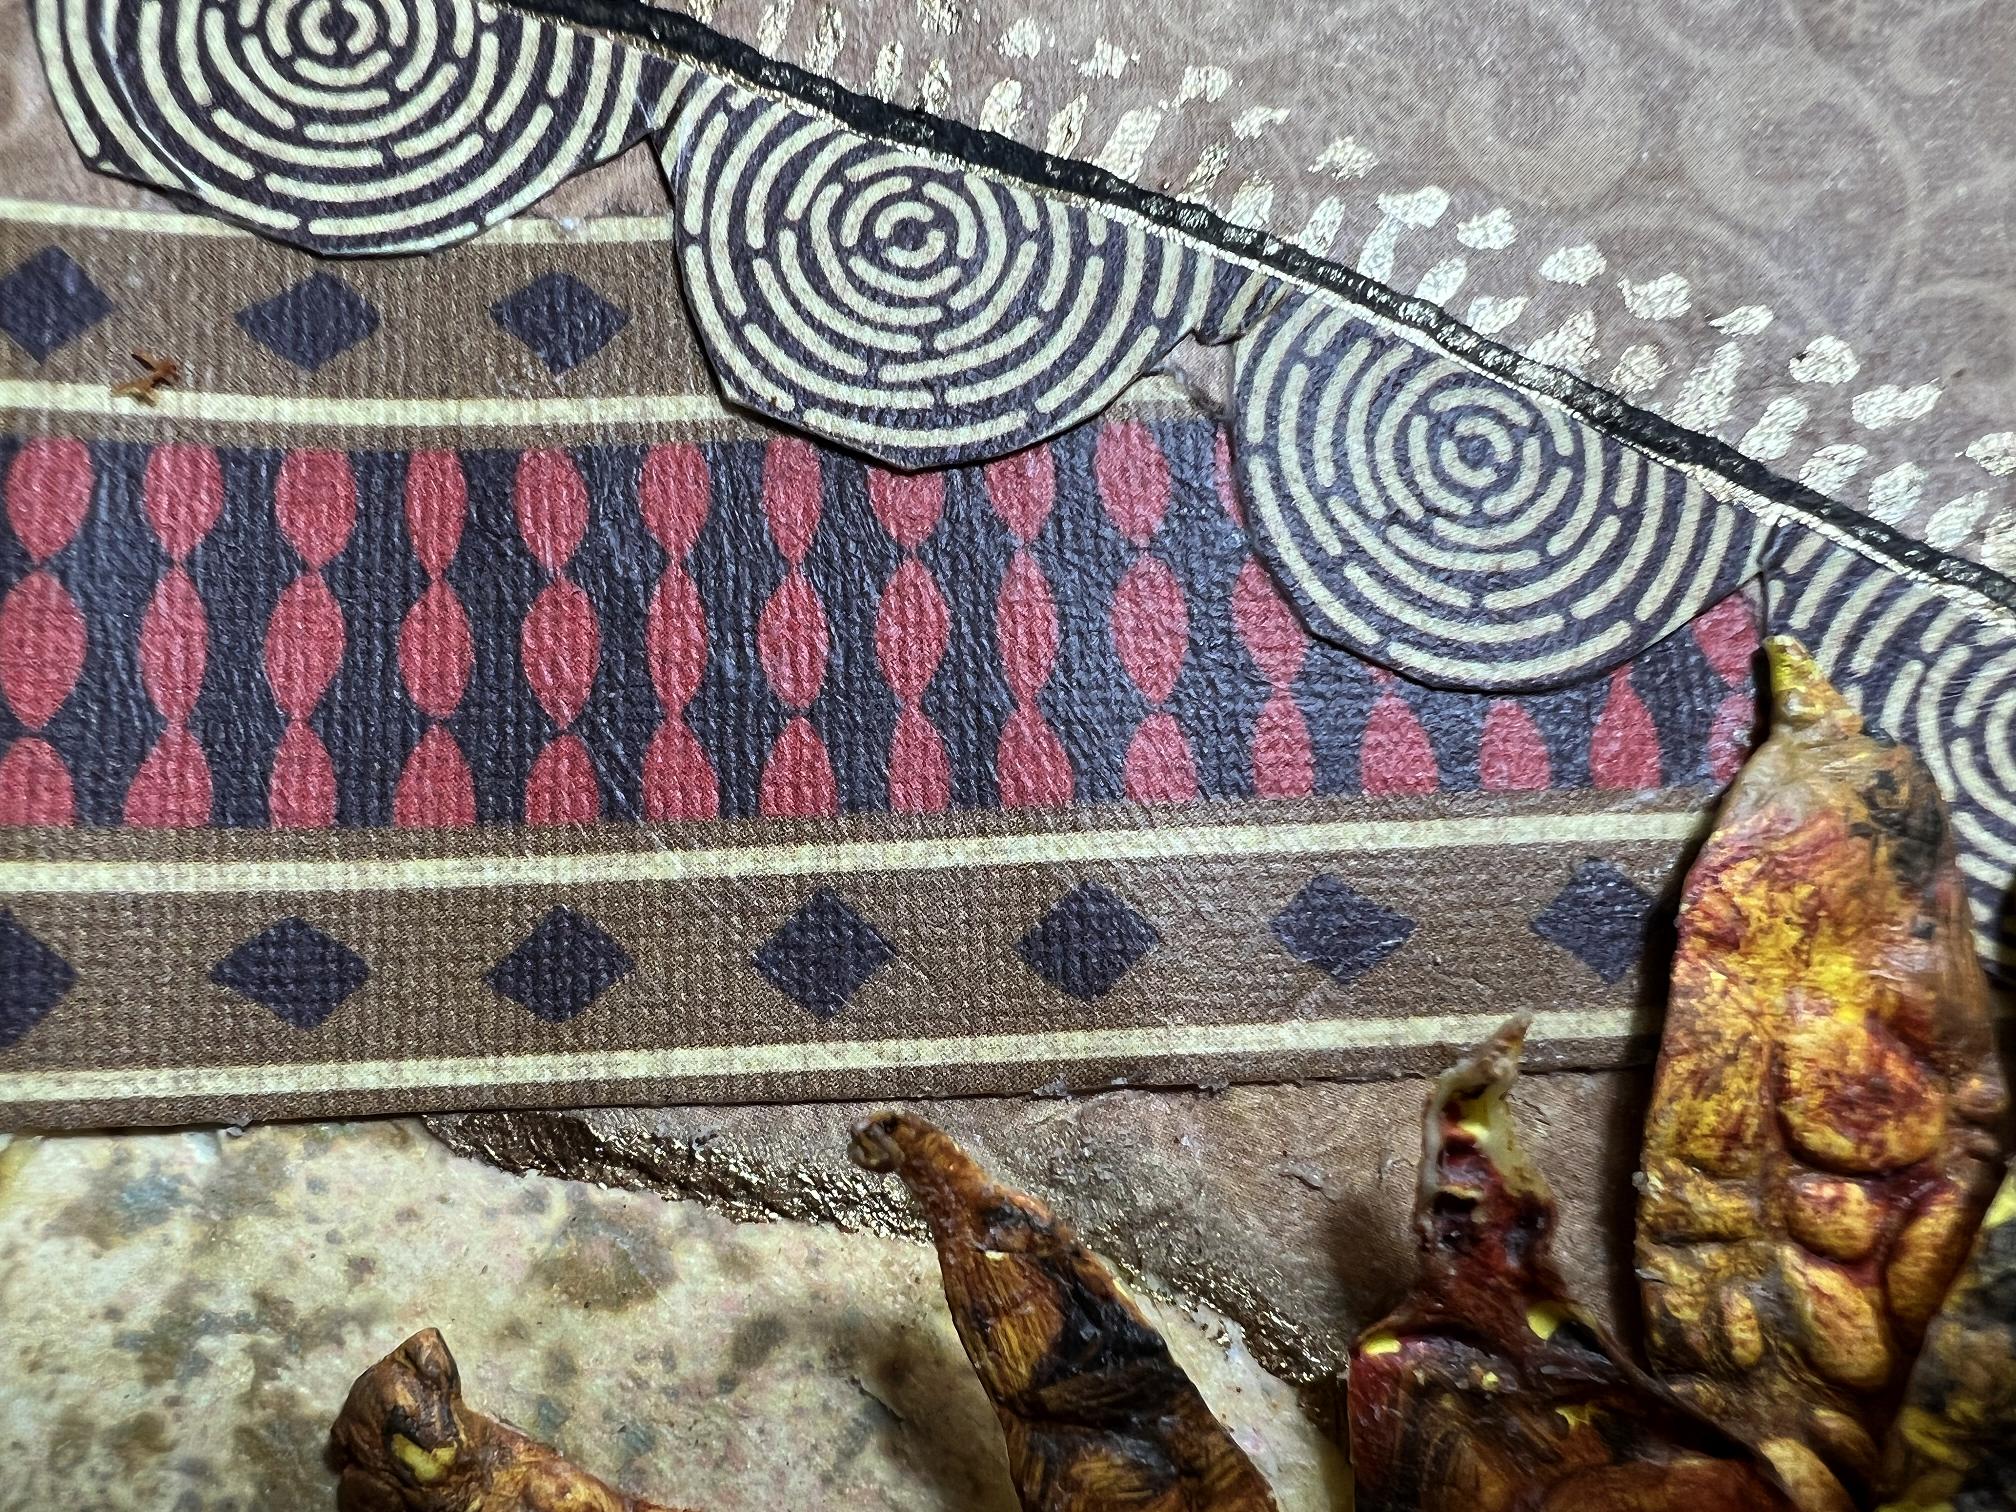
The papers at the top of the page have been in my stash for far too long. The are from a small Sizzix A6 pack of printed cardstock in various colours and designs. One of the pages had tribal-looking borders so I cut some from this, for the geometric striped piece, and the circular border – I fussy cut around the circles in order to allow the piece to follow a gentle curve. This was enhanced with a line drawn with a black Posca pen, and some brush marks using Golden iridescent bronze fine – my absolute favourite paint at the present moment! I also used this to cover an unattractive white edge where I had torn the beige swirly paper.
The sunflower.
Just above the sunflower, and below the tribal border, there is a small piece of paper left over from when I was experimenting with my new spray inks and stencils. I just love those papers and this was a tiny fragment left over.
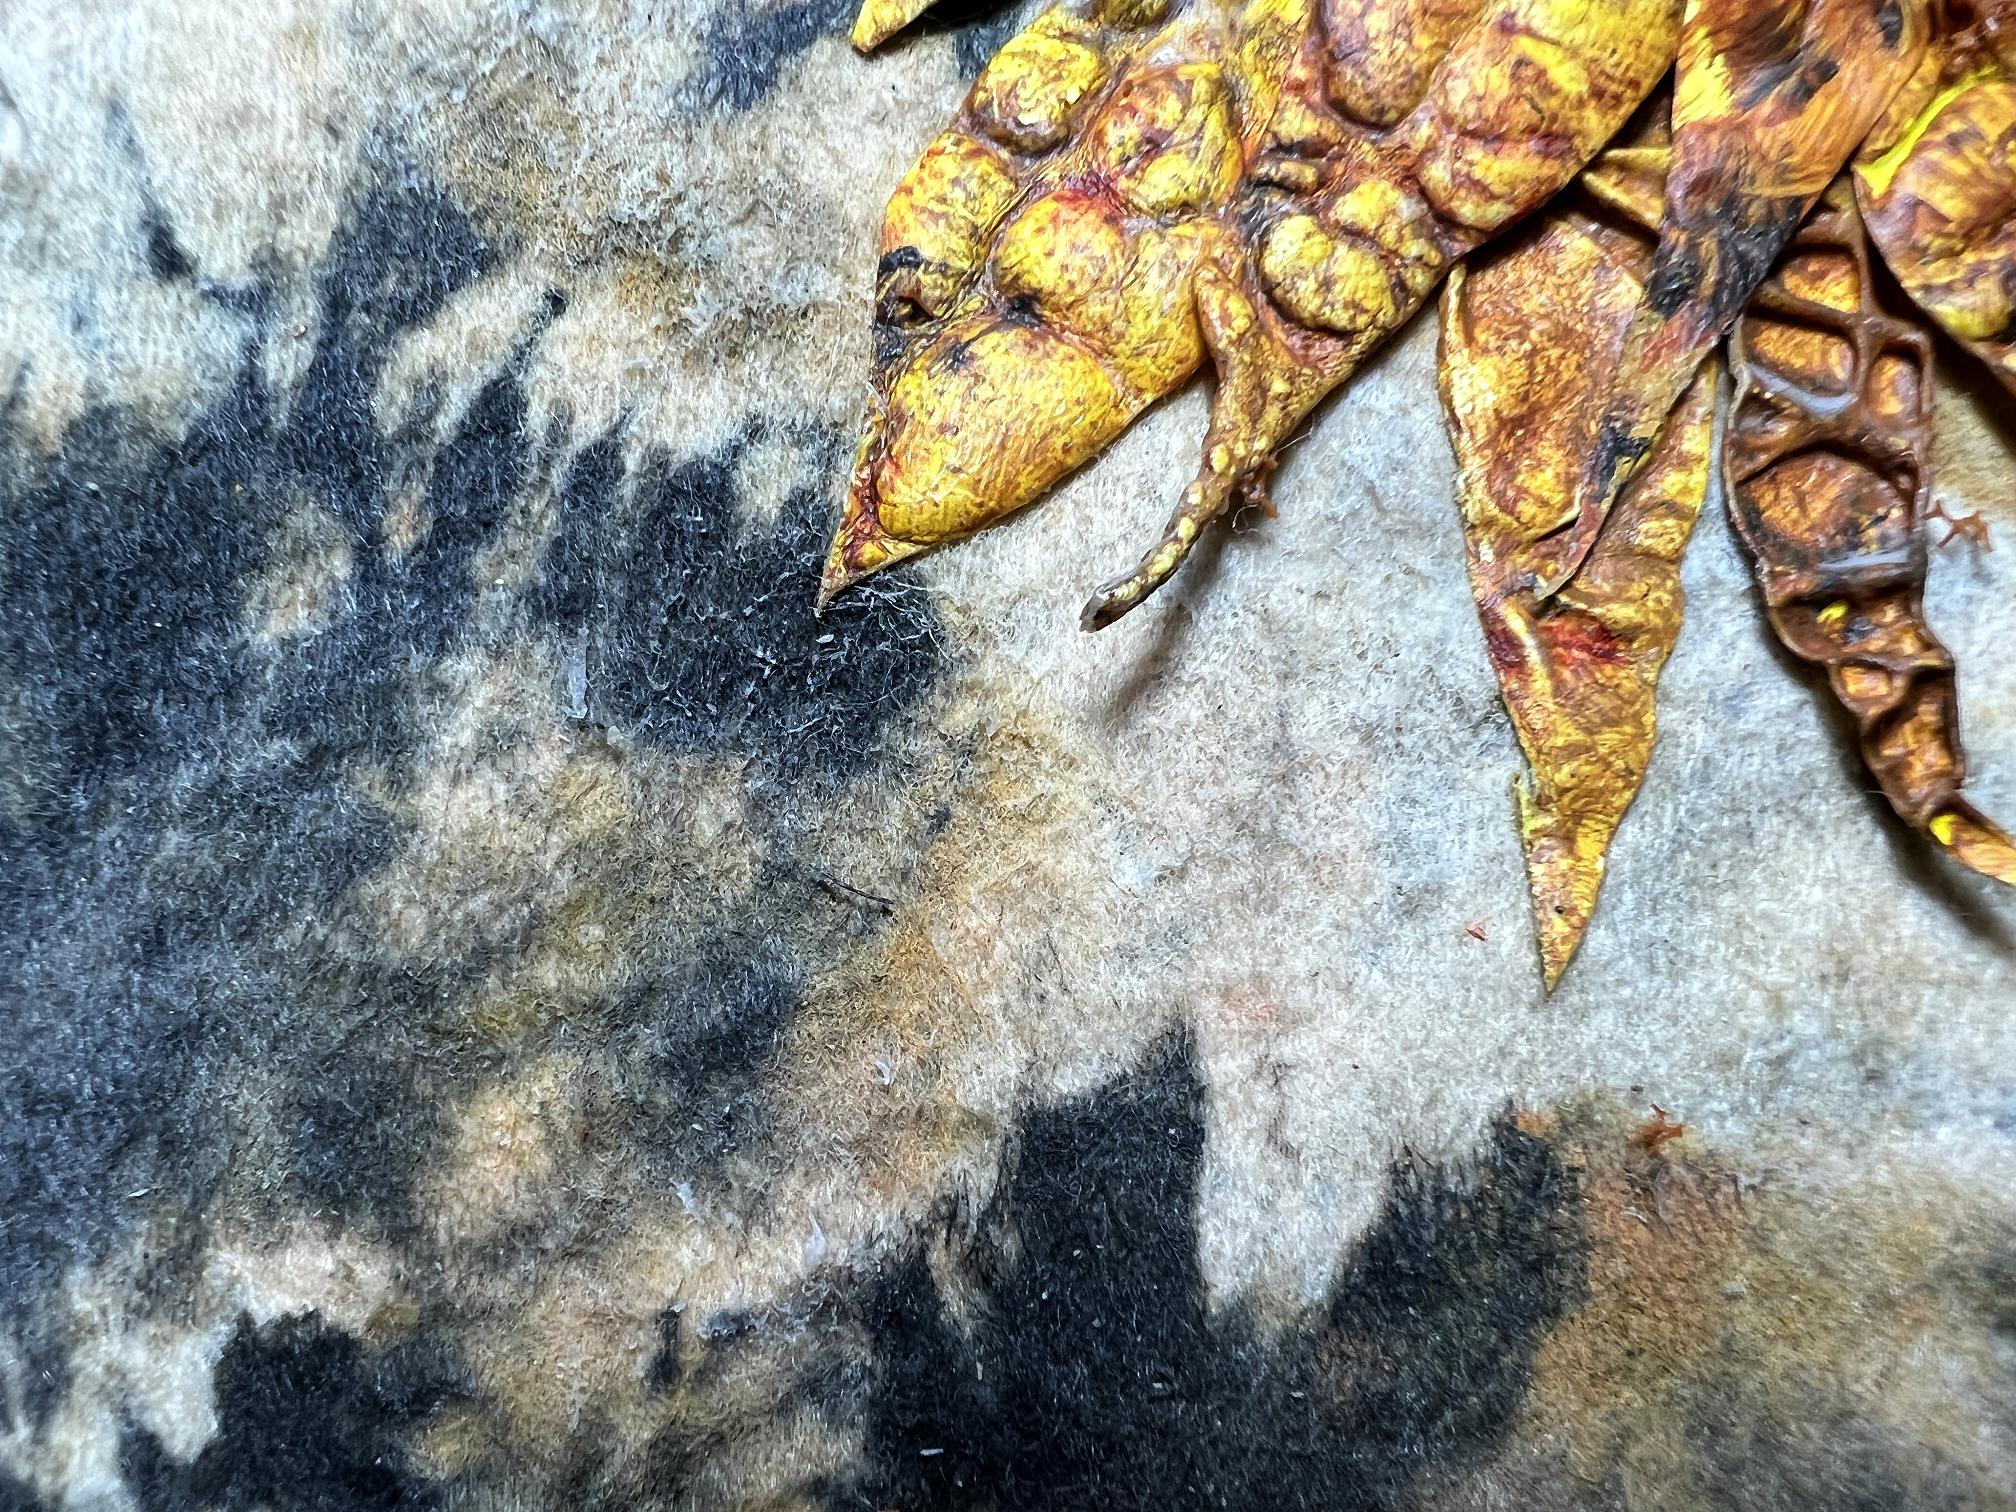
The bottom of the page.
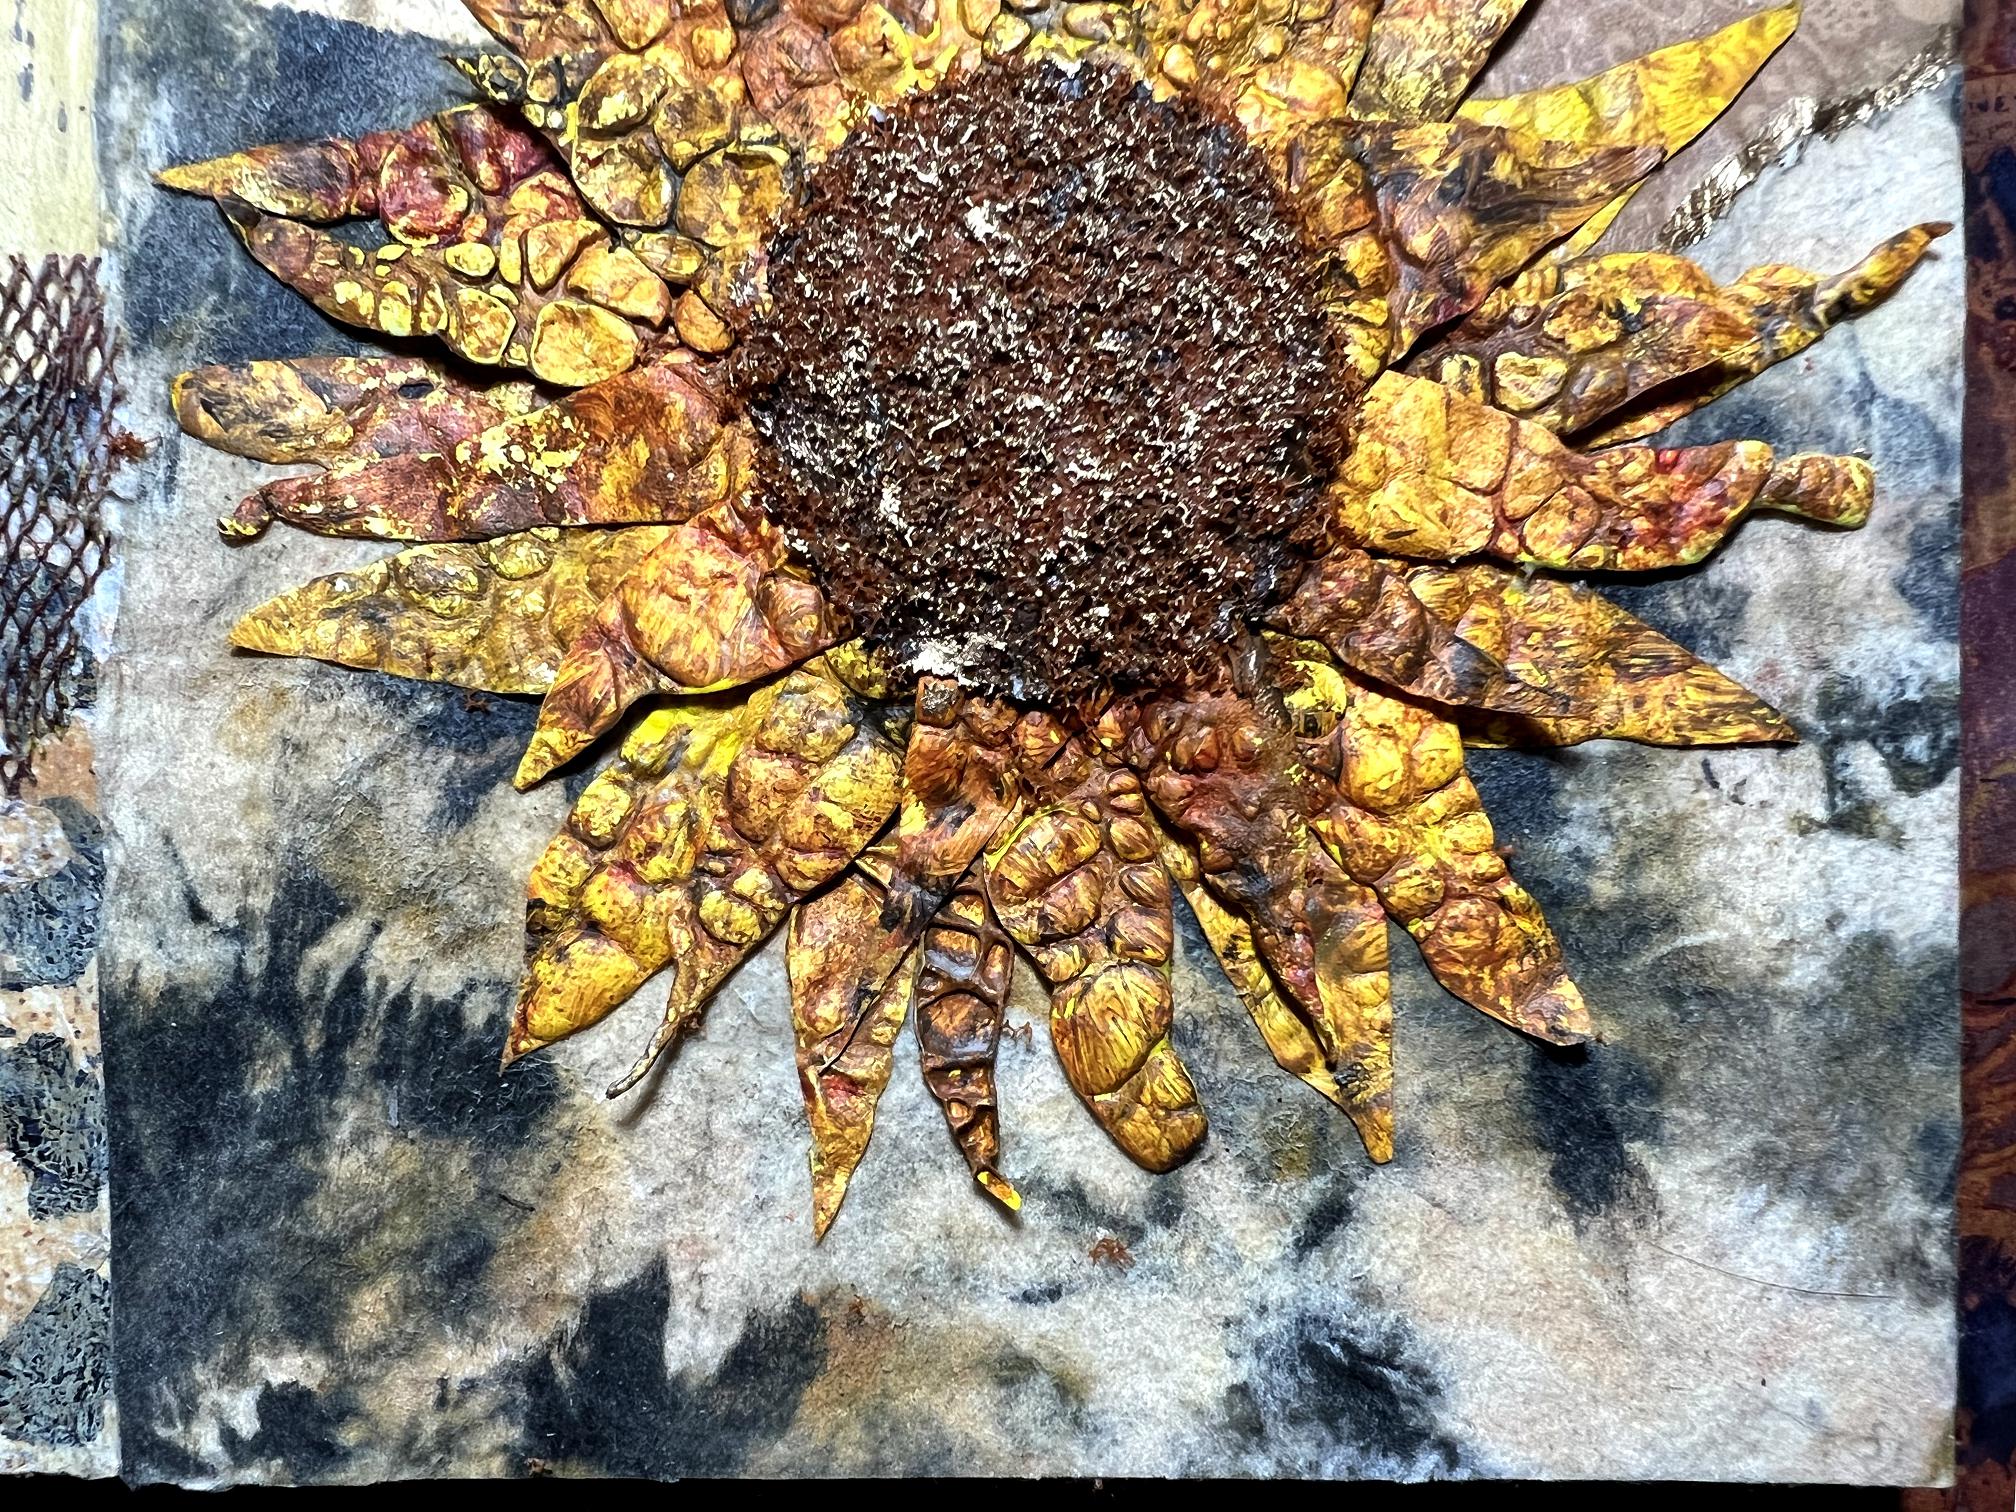
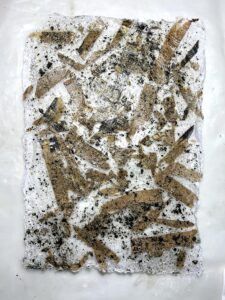
I just had to use this paper! Actually, it isn’t a paper at all, but a dried out baby wipe that I had used to clean the gel plate. I absolutely love the gorgeous patterns created by the paint. Glued down, this has the most beautiful texture as well – it is soft and velvety. This is definitely something I shall use again.
I hope you have enjoyed this page. It was tremendous fun to do, and it really didn’t take long, once I had decided which papers to use.
Where to start…
Well, first off, your wedding photo… you looked absolutely stunningly beautiful! Breathtakingly beautiful.
The bumble bee card… just lovely. The bees in tutus… the nursery with those lovely old fashioned prams… your hand lettering… the whole assembly… wonderfully put together.
Talking of bees… I have a bumble bee nest or hive living in a hedgehog house bought when we discovered hedgehog poo and a few hedgehog sightings…. since then, we’ve found a hog-built hibernaculum… still, the bought one has been put to good use. Proper bee ‘n’ bee!
Your latest tyvek project is very exciting. I had to make time to comment. The sunflower is just gorgeous. The colours, textures… just wow! It has gustv klimt -ness.. and some rosina wachtmeister elements thrown in with ease and shoshi artistry…
Rosina w. Is one of my favourite artists… her cats… her colours…
Your sunflower has everything!
Thank you for commenting on my blog… I don’t promote or update it as often as I should… and doubt it gets stumbled upon very often. Not a path well- beaten. It’s like opening the door to an empty house then noticing the postie’s been and favourite aunt has sent me a postal order!
Smile from the heart
Helen