PREPARING EMBELLISHMENTS FOR THE 8 X 8-IN ORIENTAL ALBUM, AND A NEW CUTTING BLADE
Before making the various pockets and interactive elements for this album, I thought I would prepare some embellishments. Once these are done, I will be able to determine the size of the various elements.
New paper cutting knife
I printed out quite a few sheets from the Graphics Fairy Premium Membership site – they have several bundles with an Oriental theme – and cut them out. Some of them required fussy cutting which I did in the comfort of the sitting room, and the rest I cut using my new finger blade and a metal ruler.

(This is the Amazon photo.) The knife came with two spare blades in a nice little case. I saw someone using one of these on YouTube recently and thought, what a good idea. I’ve always struggled with cutting with a knife against a blade and have never really got on with Exacto knives – for years I have used my Stanley knife which does pretty well but it’s rather big and heavy. This finger blade feels a lot more intuitive to use, as you slip your finger through the ring and rest your fingertip against the knurled collar, more in the way in which you’d hold a pencil. You can exert quite a bit of pressure on the knife this way, although it is better to put more pressure on the ruler, and lighter pressure on the knife and making several cuts. So far I am finding this a very nice way to cut paper and card. I think it will also be good for removing small internal pieces when fussy cutting but I haven’t tried that yet.
Embellishments
To return to my embellishments – here they are, cut out and sorted.
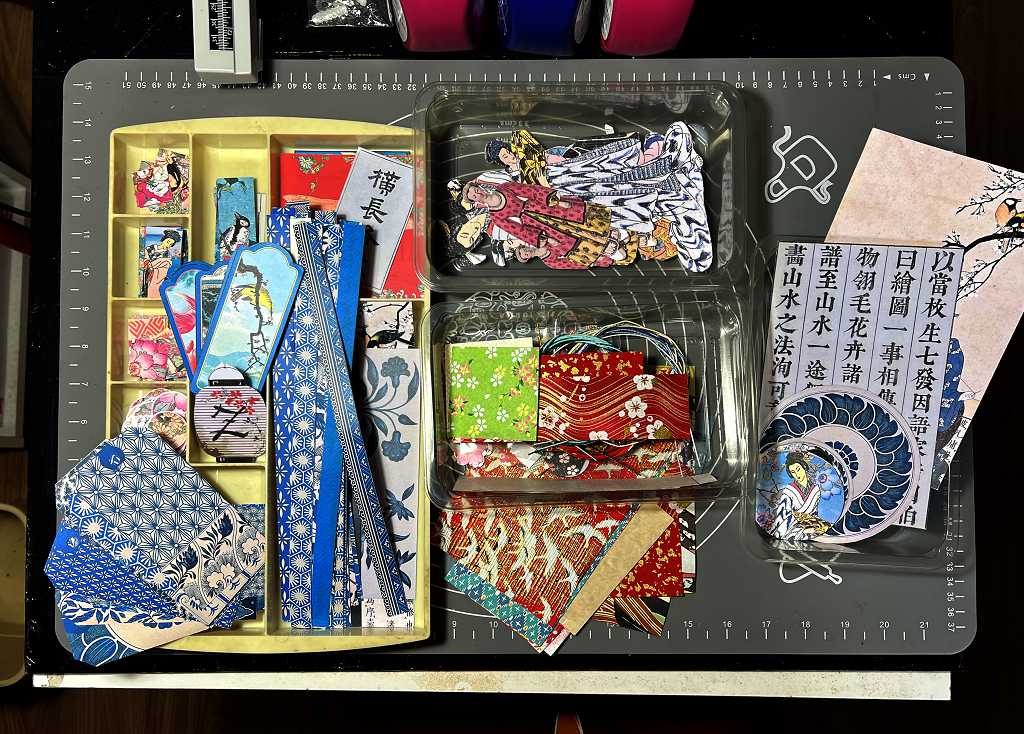
They are nearly all Graphics Fairy ones, with the exception of the plastic box in the centre and the pieces underneath it, which are the collection of Japanese embellishments I bought at a craft show a few years ago.
I cut the Graphics Fairy washi strips and added double sided tape to the back of them, ready to peel off and stick down.
Stencilling on callico
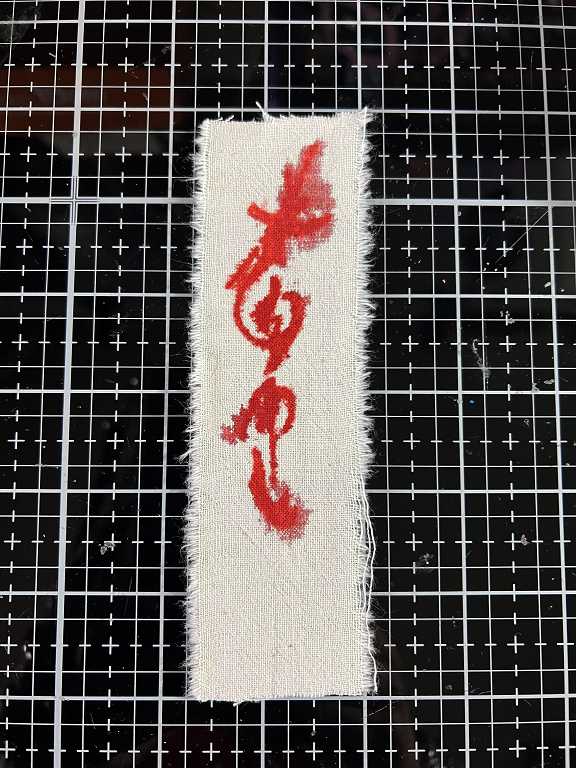
Some time ago I made some very successful stencils onto hand-made paper and callico, using my own faux Oriental script stencils, and decided to do some more for this project. I couldn’t remember what I had used to do them previously, and so this time I sprayed a little Distress Spray Stain (Fired Brick) into my pallette and stippled it on through the stencil (which is looking gorgeous – all gold, from using it on the gel plate with Golden Iridescent Bronze Fine fluid acrylic – my go-to gold paint!).
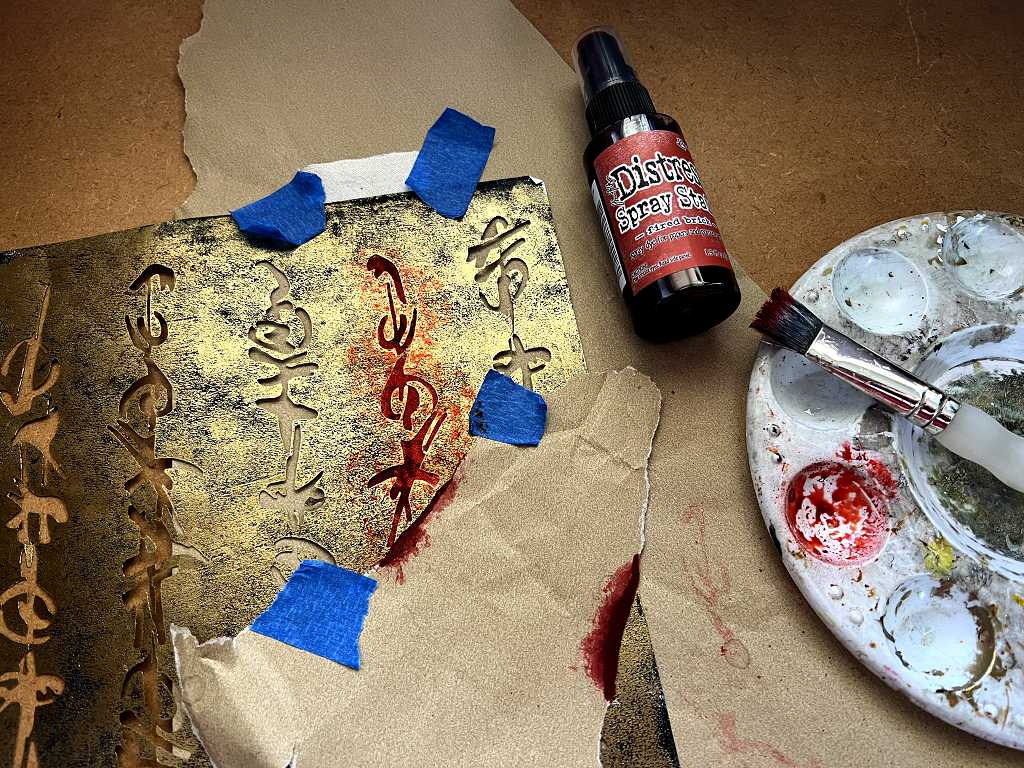
My first attempt came out pretty well, but when I tried it again, it wa a miserable failure, possibly because the stencil was a bit wet after I’d wiped it with a damp cloth. The ink bled ito the fabric.
I thought I’d try and paint over the smudged bits with bleach, using a fine brush, but it just made it worse!
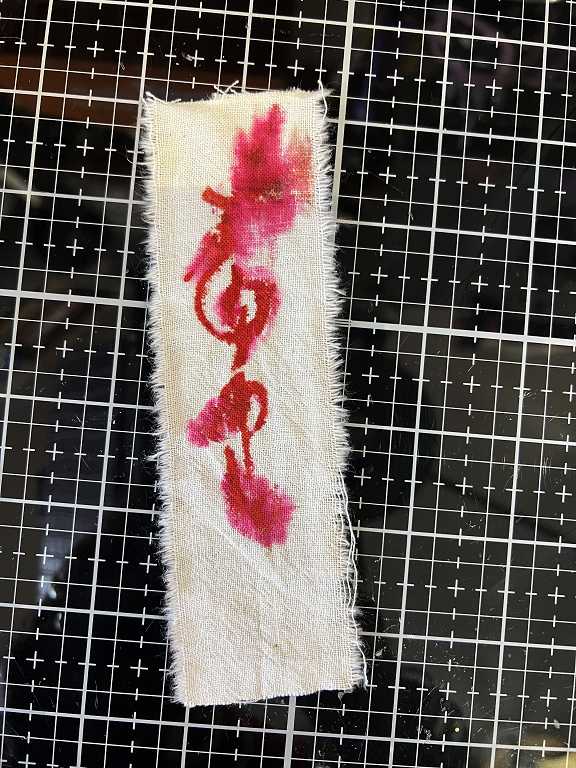
I was about to throw the thing in the bin, but then reconsidered – I hate throwing stuff away if I can remedy it. I sprayed it with some Distress Spray Stain and Oxide spray and plenty of water, and after drying it, I spritzed it with a little Antique Bronze metallic spray, and finally spattered it with some Seth Apter Goldmine spray ink. Of course, the photo doesn’t really show up the shimmeriness of this, but it is gorgeous, and definitely useable now!

I like the way you can still just see the ghostly image of the stencilled Oriental script.
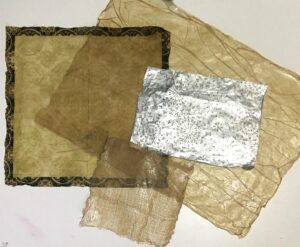
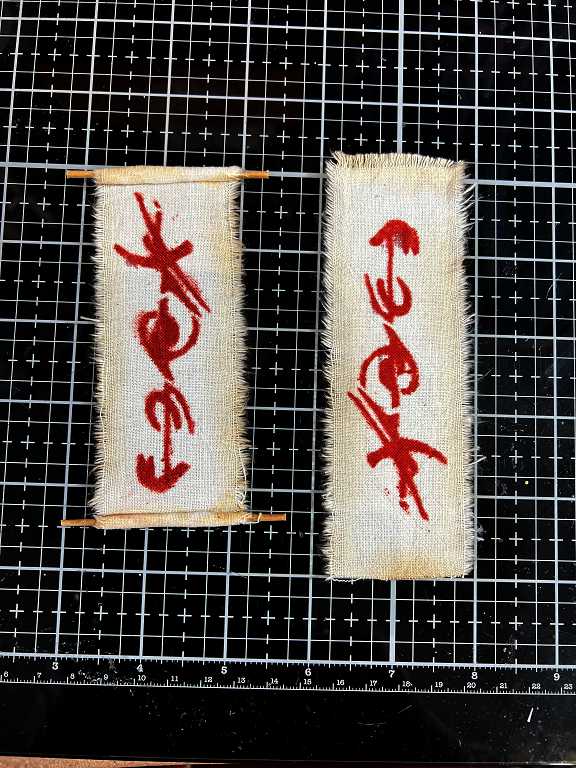
Here are my two successful pieces. The one on the left, which I turned into a miniature scroll by rolling the ends around a couple of trimmed cocktail sticks and gluing into place, was the first, more successful stencilling using the Distress Spray Stain, and the one on the right was done by stippling ink from the Fired Brick Distress Ink inkpad. Both of them have been distressed around the edges with Vintage Photo Distress Ink using a blending brush.
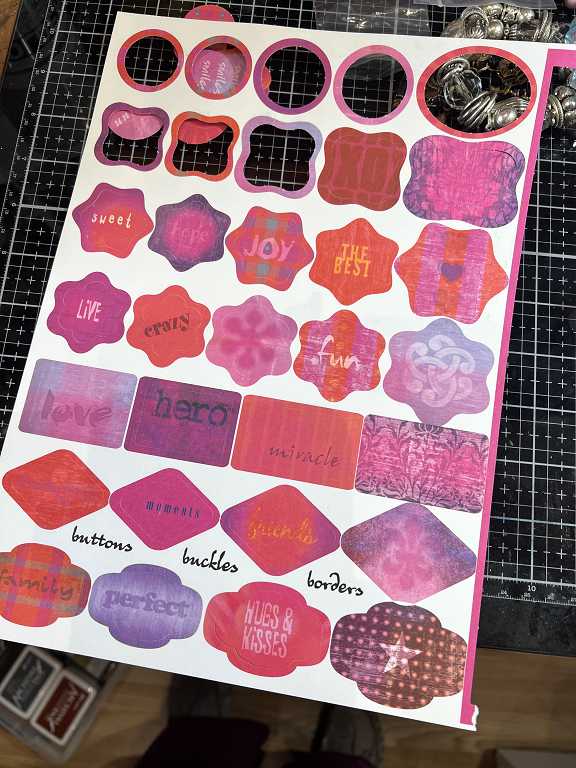
On a number of occasions I have mentioned a horrible paper pack that I’ve had in my stash for donkey’s years. At the back of the pack are several pages of push-out shapes, some with text on them. I didn’t think I’d ever use these, but today I decided to incorporate them into the layered embellishments I am going to make for the album.
These are the blue ones, which I have stamped with dark blue archival ink, using a Tim Holtz background stamp which I think reflects the Oriental theme qite nicely.
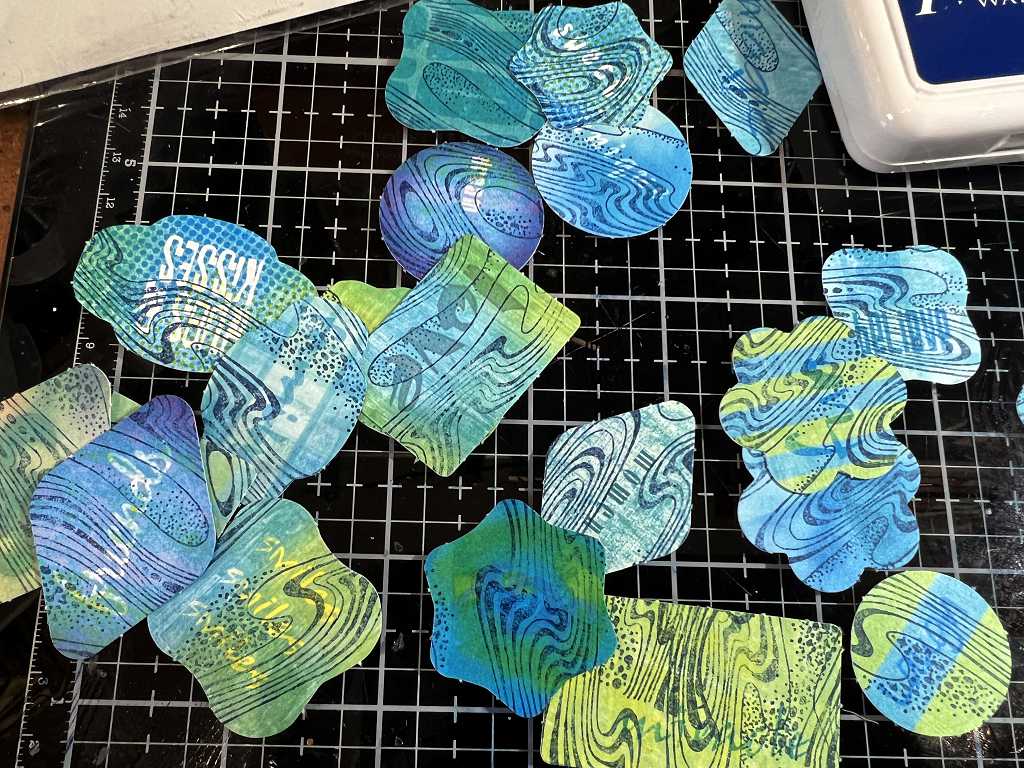
I laid out a few of the pieces and stamped them all in one go, repeating the process until they were all done.
Also included in these pages were several strips, which I pushed out and stuck down together with masking tape, and stamped them all in one go. these pink ones were stamped with plum archival ink. At the top right of the photo you can see a selection from my junk jewellery stash, which I am going to take apart to select some bits and pieces to add to my embellishments.
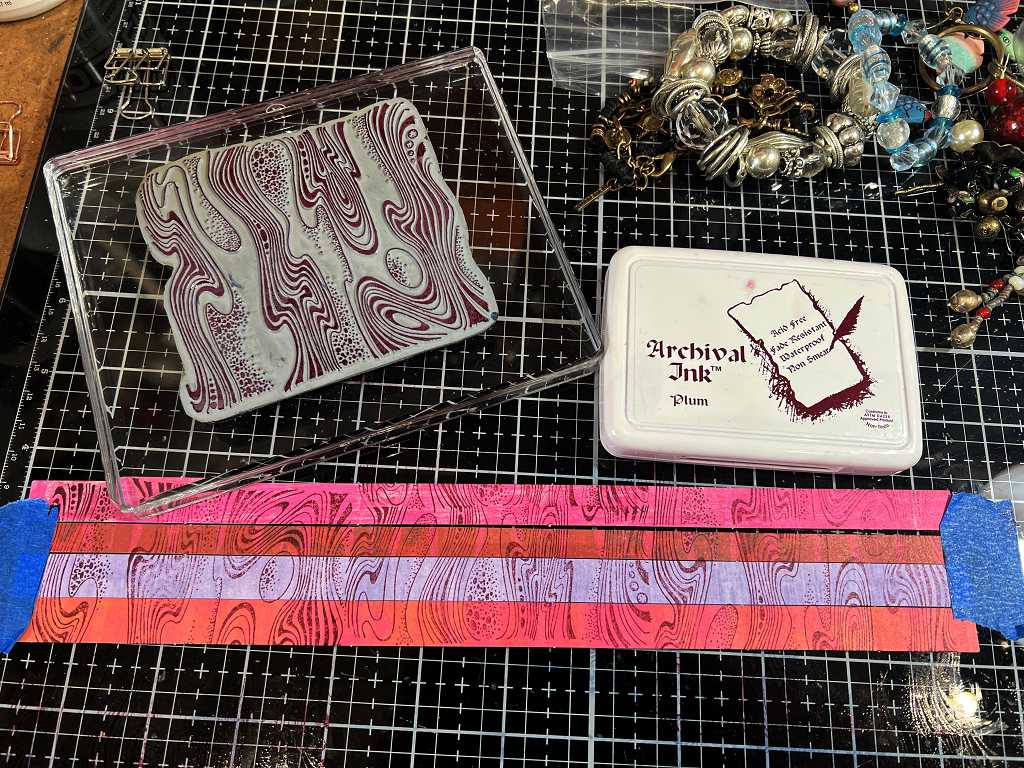
The collection of stamped strips. Much improved!
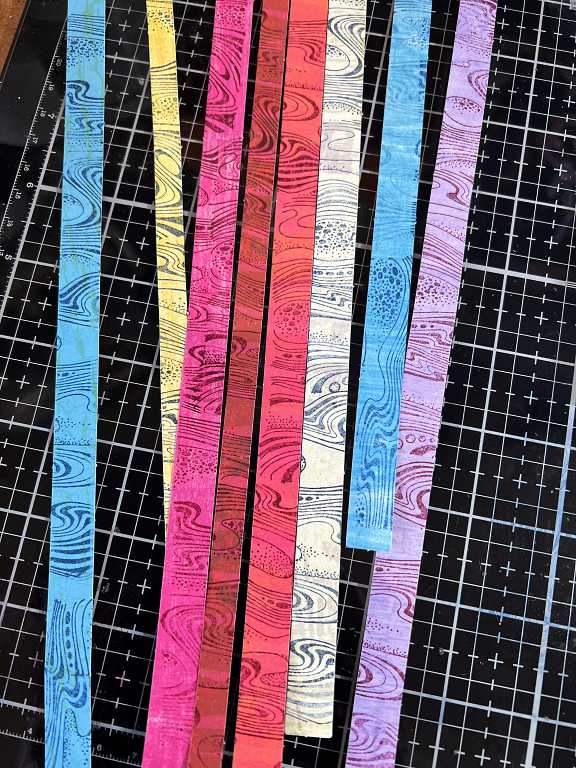
In between the push-out strips were some more useful strips, very narrow and not really worth stamping on, but I cut them out from the sheet to use.
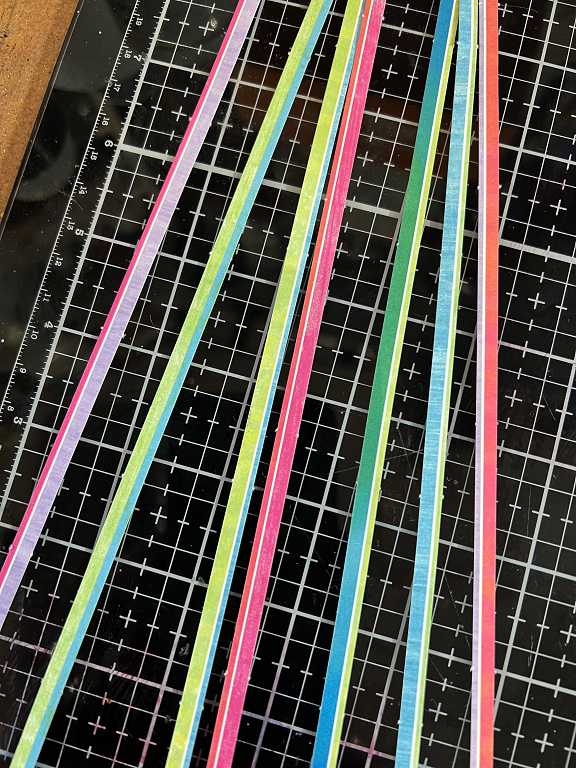
All these strips need to have double-sided tape stuck to their backs.
Cellophane melting and scratch paper
I was trying to clear a space at the other end of the studio and tidy up a bit (the place is still a tip!) and found a stack of empty cellophane bags that something or other had come in, and I thought these slightly crumpled bags might come in useful for something. I opened one of them up and sprinkled in a few sparkly bits – sequins and stars and so on – and then folded the cellophane back and ironed it between baking parchment.
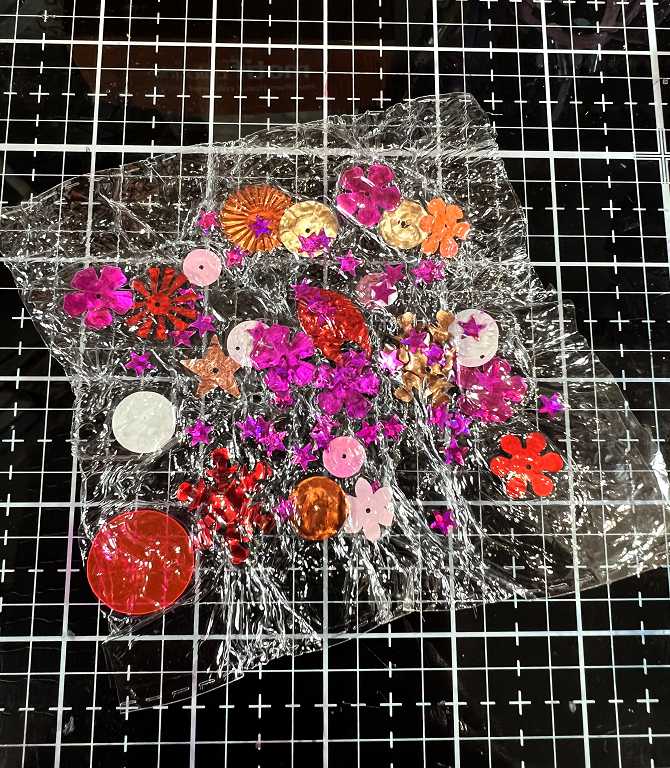
Quite interesting! The whole thing shrank and the pieces do seem to be contained, although they are not actually stuck. The cellophone doesn’t seem to have stuck to itself but the crinkles are holding it together. I think I might be able to cut this up and use it for embellishments. I tried melting about three of the bags together and again, they didn’t actually fuse, but the wrinkles more or less held them together. The rest of the bags have gone in the bin because there really is a limit to the amount of rubbish one can keep!!
Here’s a shimmery scratch paper I also dug out, so that I could use up the remaining Distress Spray Stain in the pallette. I thought I might use some of this in my embellishments. The card is quite slippery with a coating on it and the paint is shimmery – acrylic metallics and pearlescent paints. I cleaned off my background samp onto it.
![]()
Back to my embellishments
Here is the pink sheet of push-out embellishments in the process of being pushed out. This paper is definitely NOT to my taste and I really dislike the words on these pieces. As I have mentioned, I hate throwing things away even if I don’t like them and I’m definitely in the process of transforming them so that they ARE to my taste!!
Stamping the pink push-outs. This time I used an unbranded leaf background stamp with plum archival ink, using the same technique, stamping several at once.

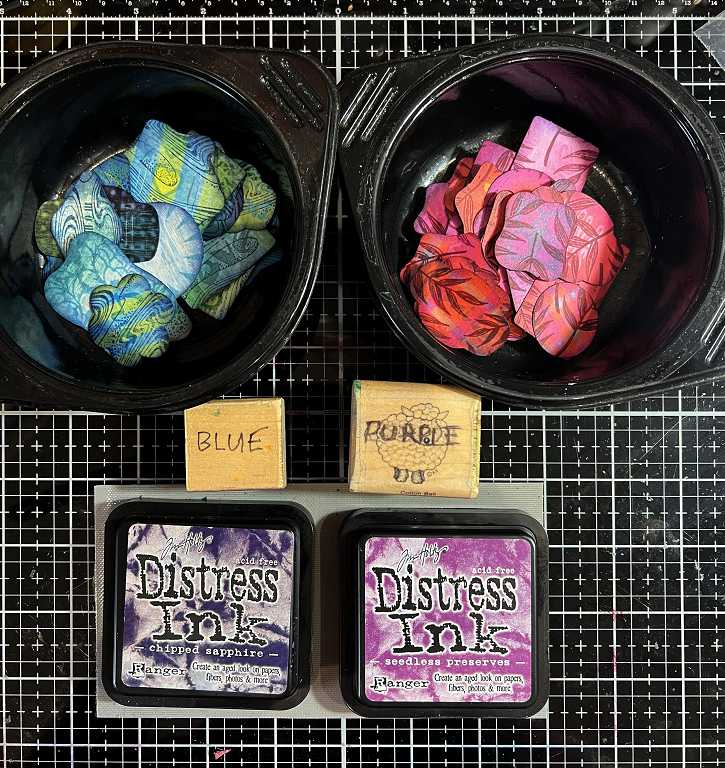
Here are both selections of push-outs with their edges inked with Distress Inks – the blue ones with Chipped Sapphire and the pink ones with Seedless Preserves. A huge improvement, I think you will agree. Some of them had no text and quite interesting backgrounds, so I didn’t stamp these. You can see two of my recently-revamped DIY blending tools made from Cut n’ Dry foam stuck onto old unmounted stamp blocks.
I blended a little ink over some of the more obvious text. Most of these will end up with a smaller embellishment on top anyway. Far too many for the present project but they can go in my stash for future use. That’s two more pages from the awful paper stack used up! Yay!
I spent the rest of the session inking the edges of everything else, which took ages. i used Chipped Sapphire, Aged Mahogany and Vintage Photo Distress Inks for this. I won’t bother to photograph them as they look much the same, but all the stark white cut edges of the papers are now nicely blended into the embellishments. The small circular ones now look a lot better – the printing was slightly smaller than my equivalent-sized circle punch, leaing a white border which has now been dealt with.
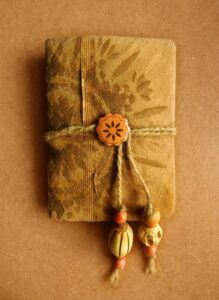
The embellishments will be made of several layers – card, both printed and/or inked, scrap papers including Amazon packaging paper etc., fabric, lace, doilies… whatever springs to mind from my stash, and incorporating the small embellishments cut from the Graphics Fairy sheets. They will have dangles on them made from the Japanese embellishments pack, and also from my junk jewellery stash. I shall also be making some tags. I think all of these will be fun to make up.