DRAW AWESOME ALBUM PART 9 – COMPLETION OF THE PROJECT
The final stage in constructing the book was to glue the end-papers inside the cover boards, sandwiching the reinforcing roofing felt and covering the insertion of the ribbon ties.
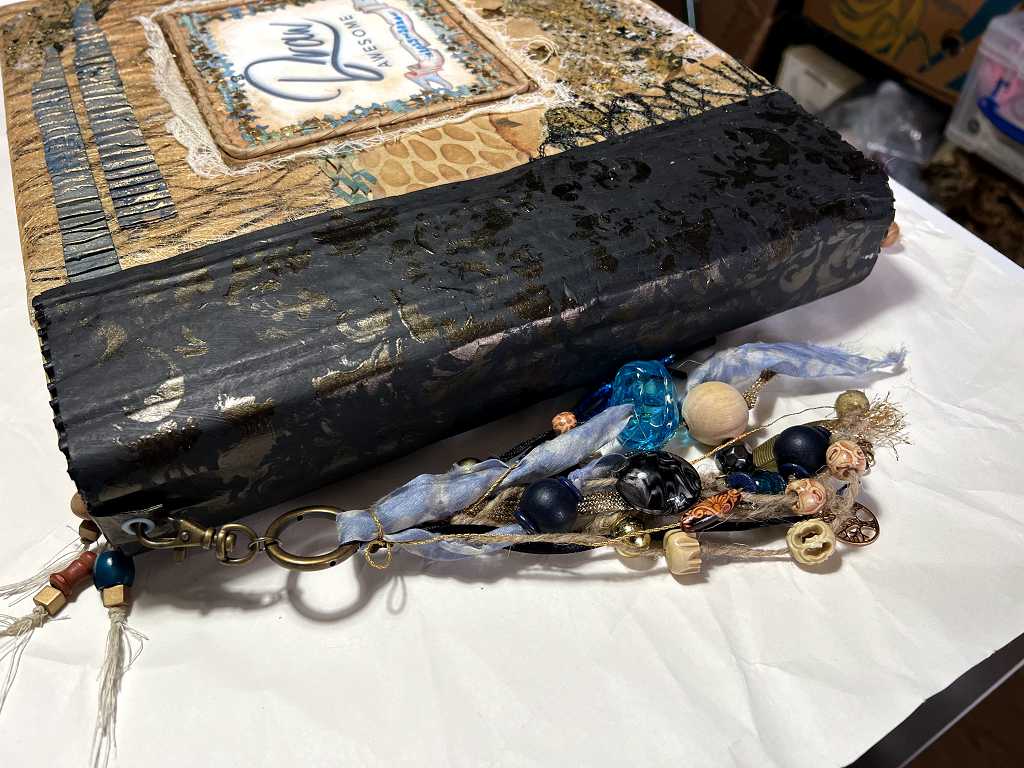
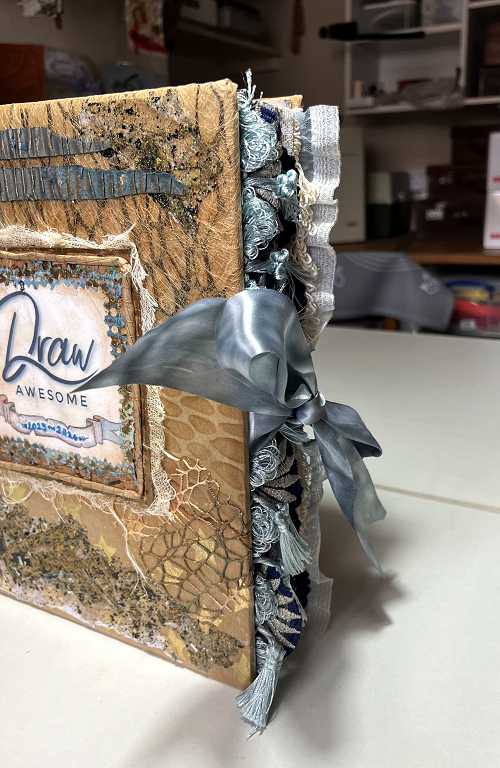
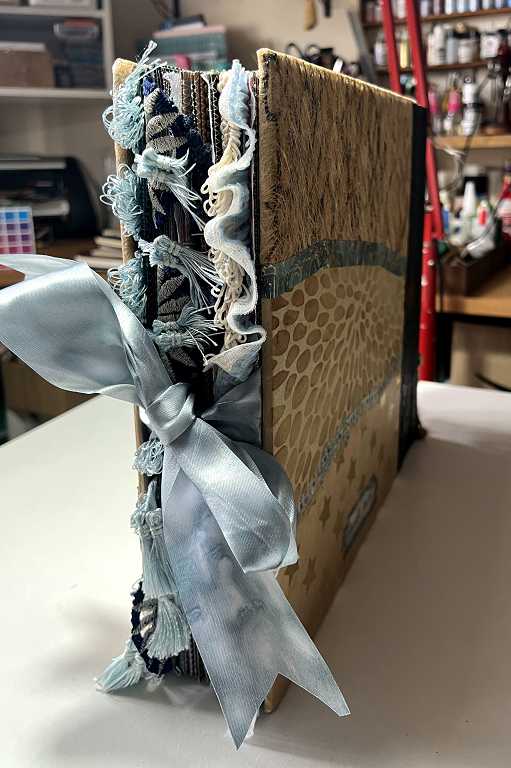
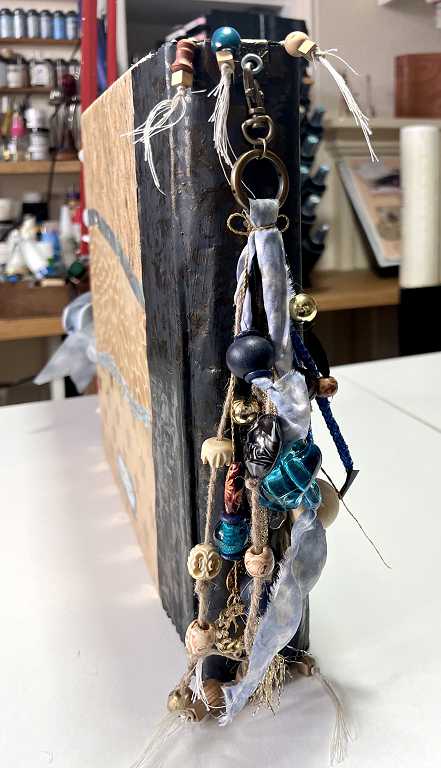
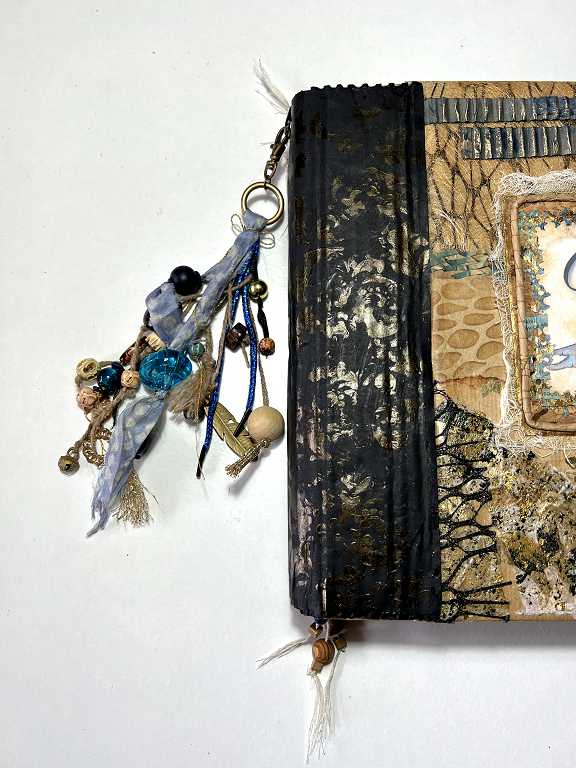
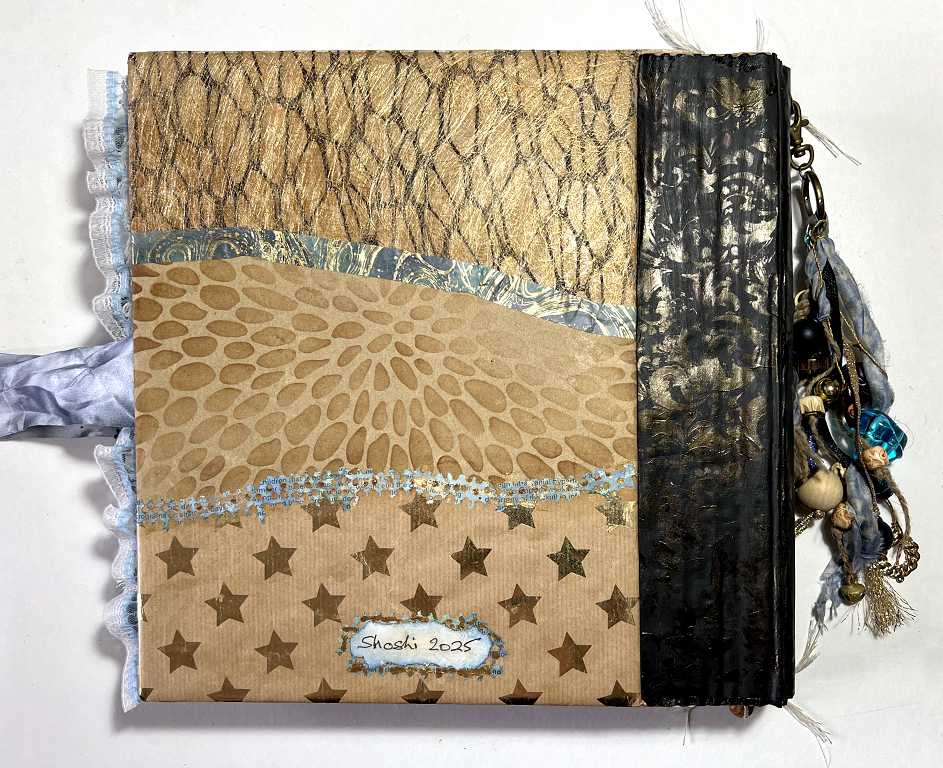
The completed book
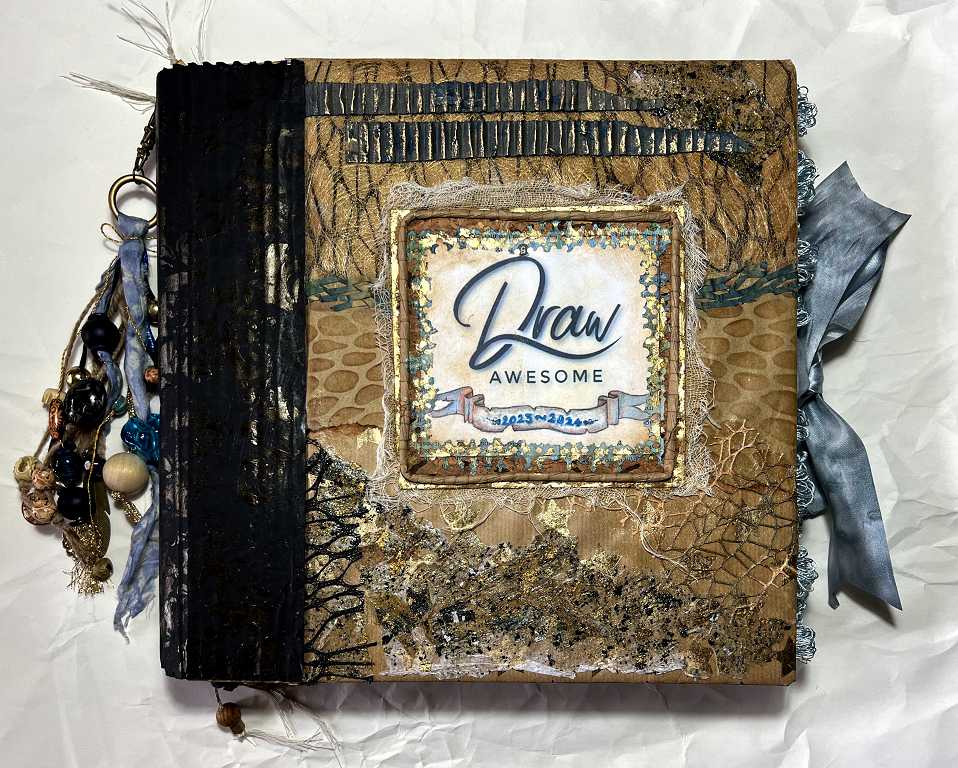
With all its embellishments, the spine embellishment and the ribbon closure, it looks pretty rich! It is quite heavy, and feels very textured and tactile, and I love the sound that it makes.
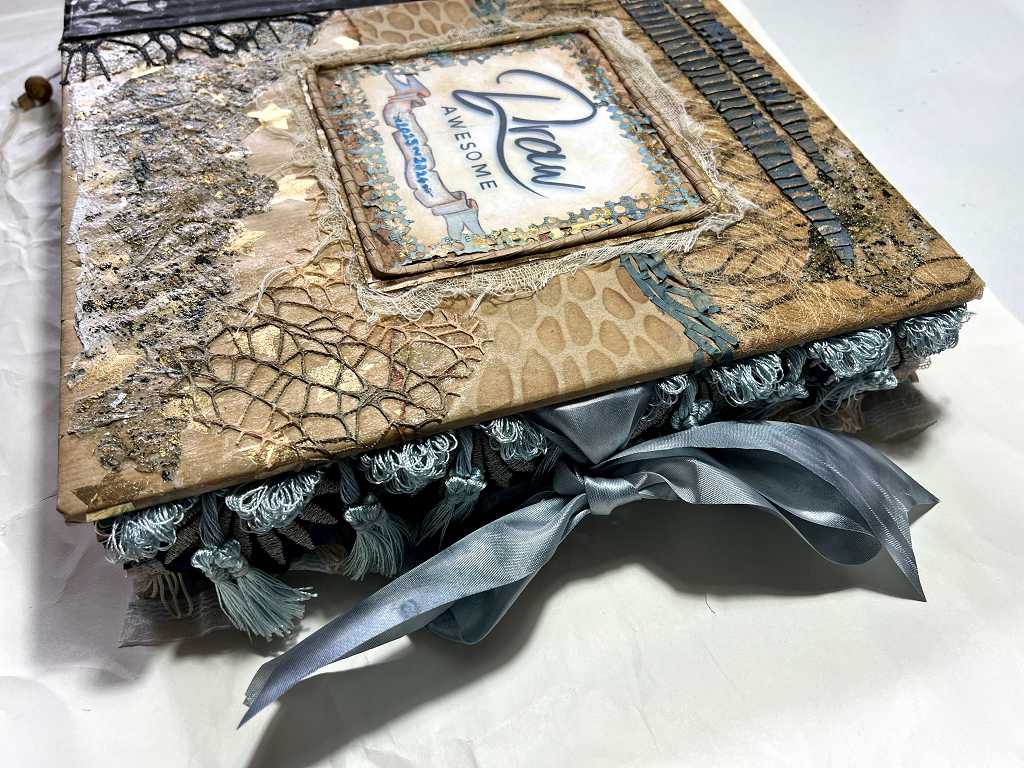
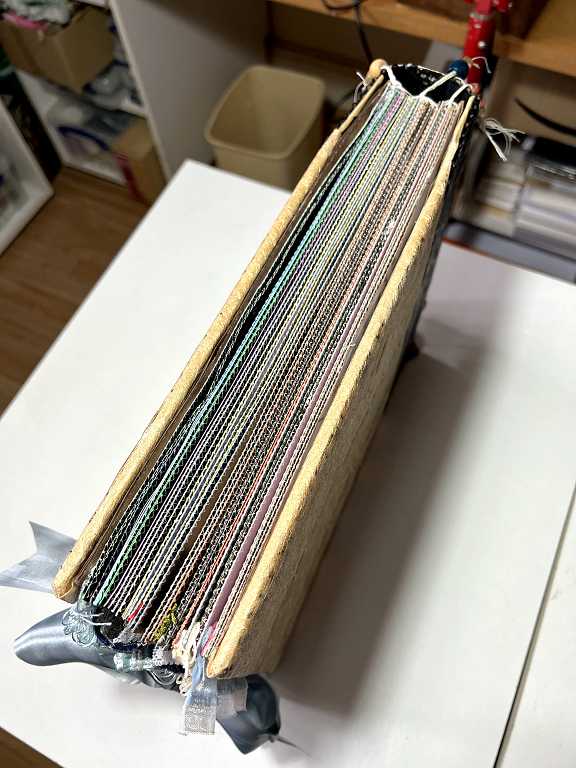
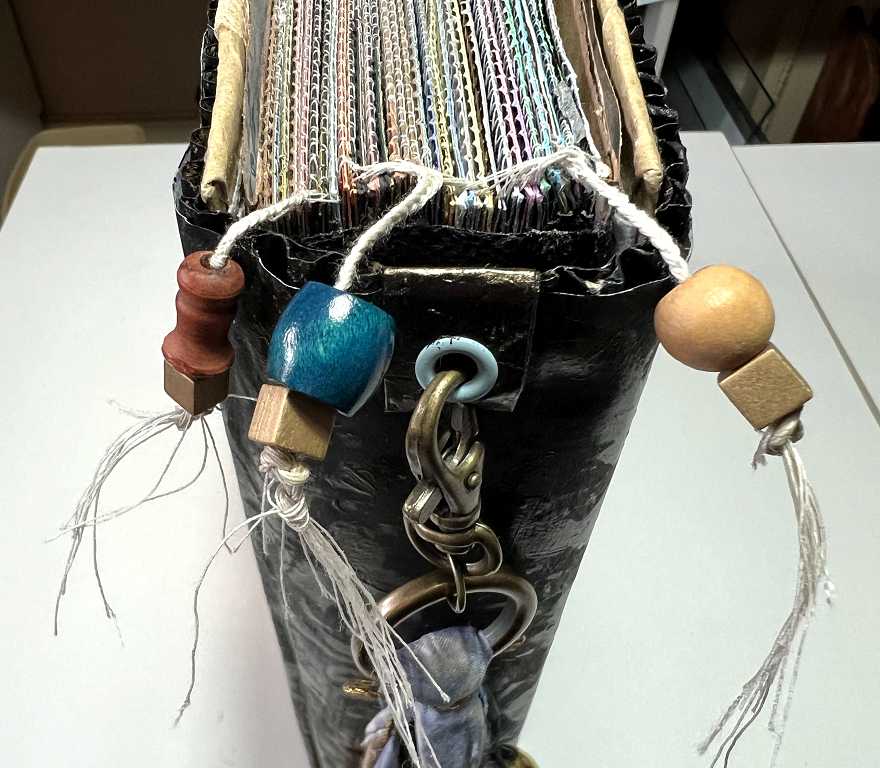
This photo shows the edges of the pages with their machine stitching. I used a mixture of different coloured cards for the pages and you can see the different colours on the edges of the pages. You can also see how I’ve gathered the ends of the machine stitching and plaited them together to form the binding bead embellishments.
Inside the book
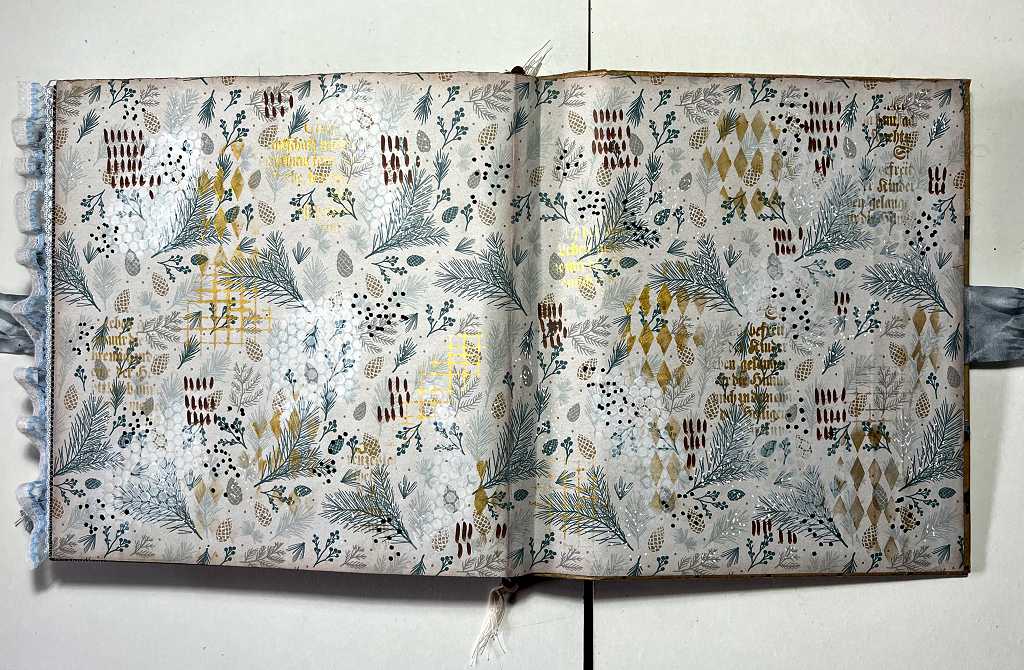
The end-papers
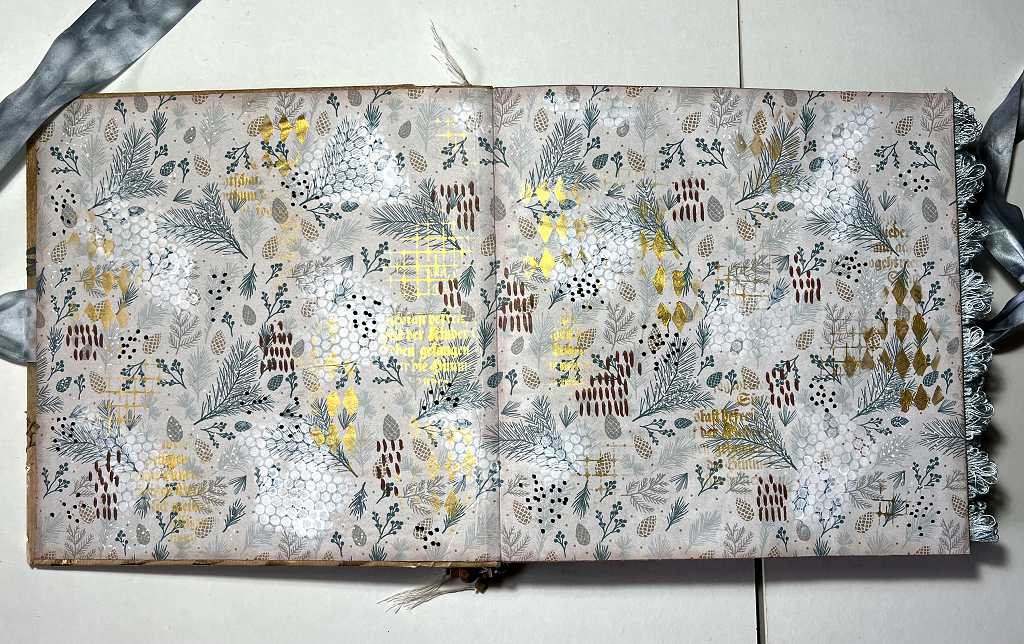
The title page.
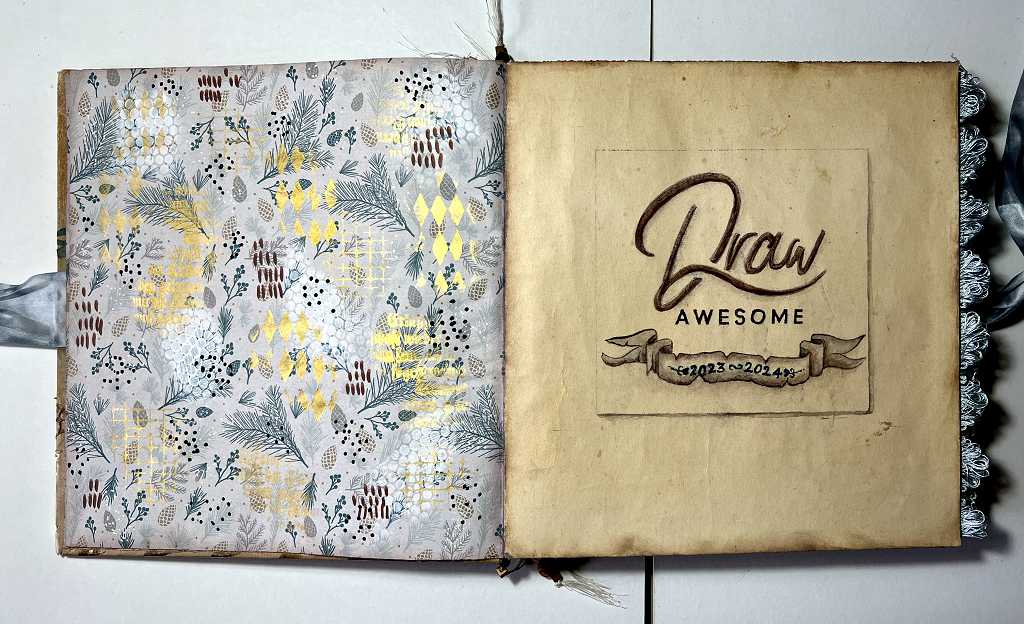
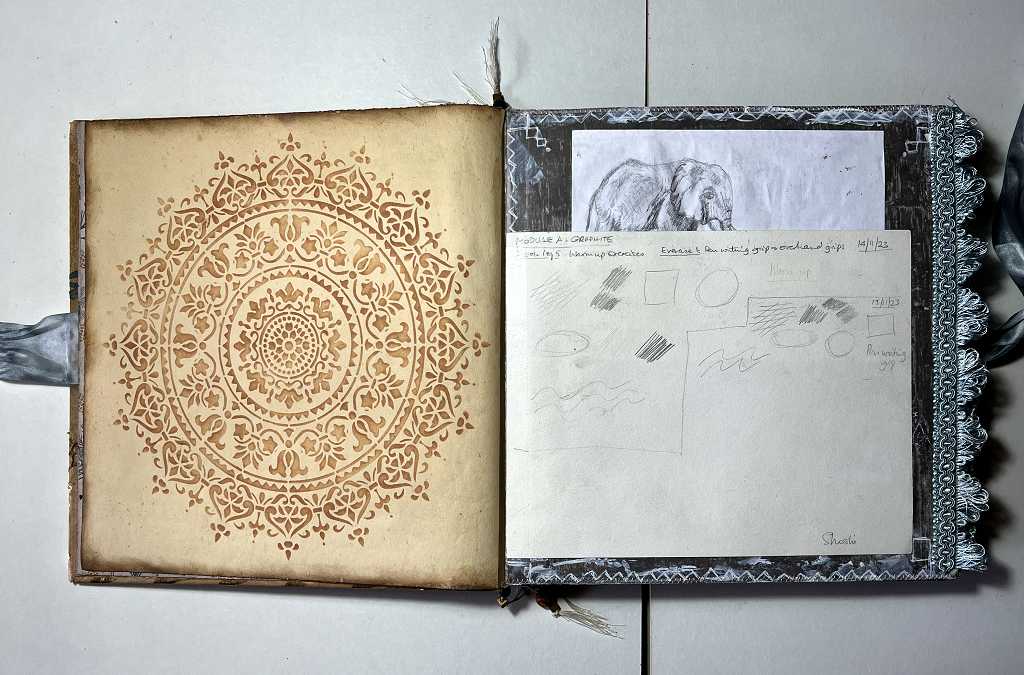
The stencil page and the first page showing our very first project in the DrawAwesome course.
This was the drawing I did, following Phil’s free online tutorial linked from his YouTube ad – the one that got me hooked! Not a bad little elephant drawing, but my goodness, what I learned during the year, and how I improved! I still find it hard to believe what I am now capable of, thanks to Phil’s excellent teaching. The background for this little drawing is an example of the sort of embellishment I did on many of the pages. This was dictated by the context, trying to match colours, and balance the amount of embellishment compared with the complexity of the art work.
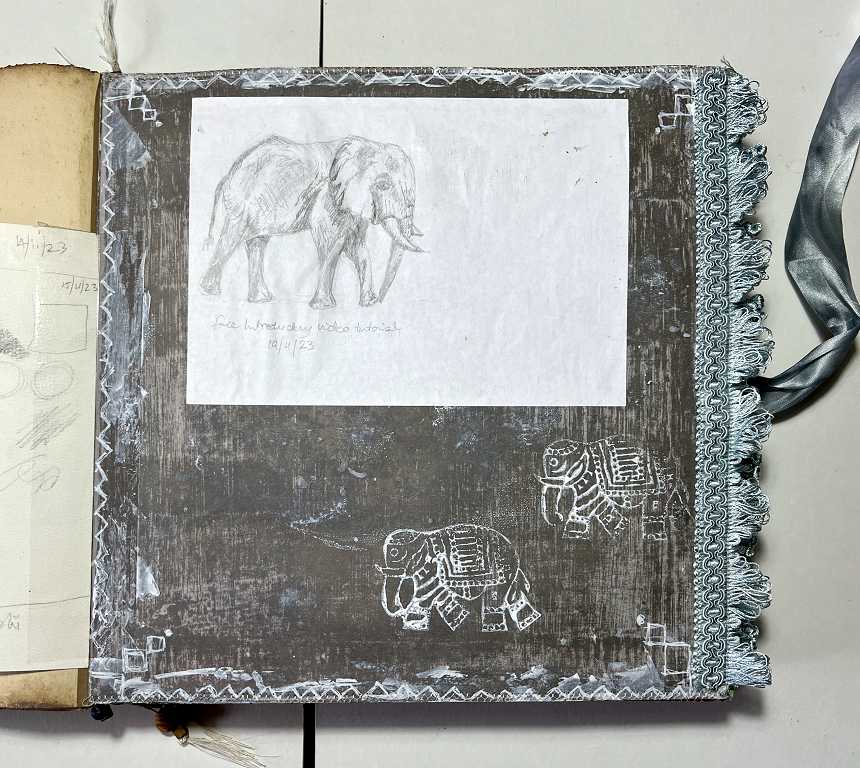
I did not add trims to every single page, or the book would have got too thick at the fore-edge side.
Here is a selection of pages from the book, the ones with trims added.
The trim for this one was cut from a dress I bought in a charity shop. The whole thing was covered with these silver flower/star shapes and it was hideous! The silver thread was really scratchy and I couldn’t imagine ever being comfortable wearing such a garment, even if it had been large enough to fit me! However, I knew I wanted it for cannibalising for art as soon as I saw it! I’ve got a LOT of this material remaining in my stash!
When adding the trims, I was aware of how they would look on the back when you turned the page.
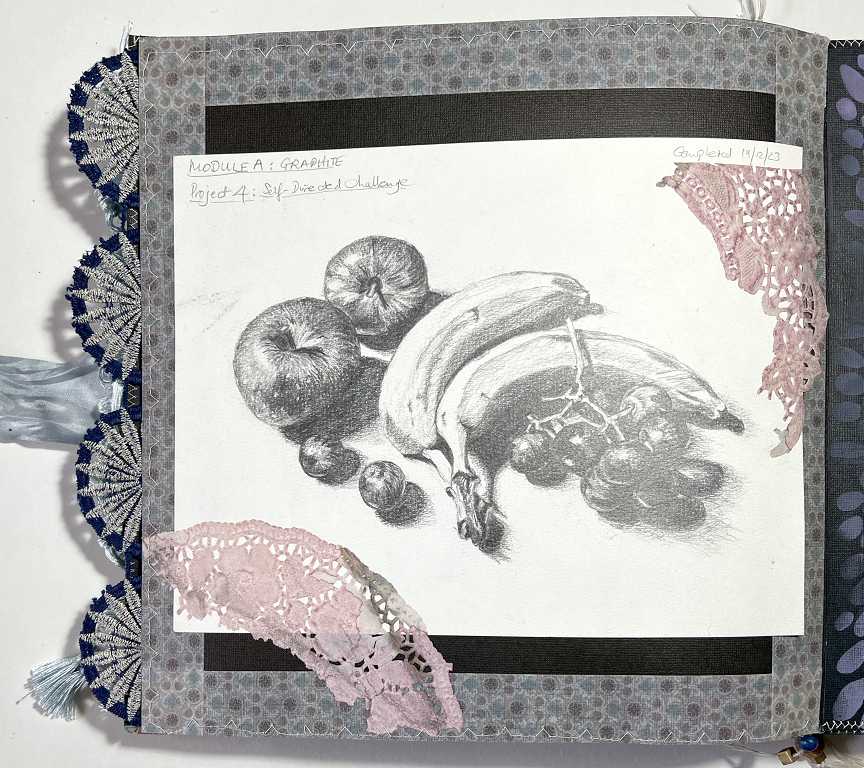
Some of the embellishments were a combination of more than one trim, in this case a red braid and some narrow lace.
Turning the page, only the lace is visible, but also a glimpse of the previous trim.
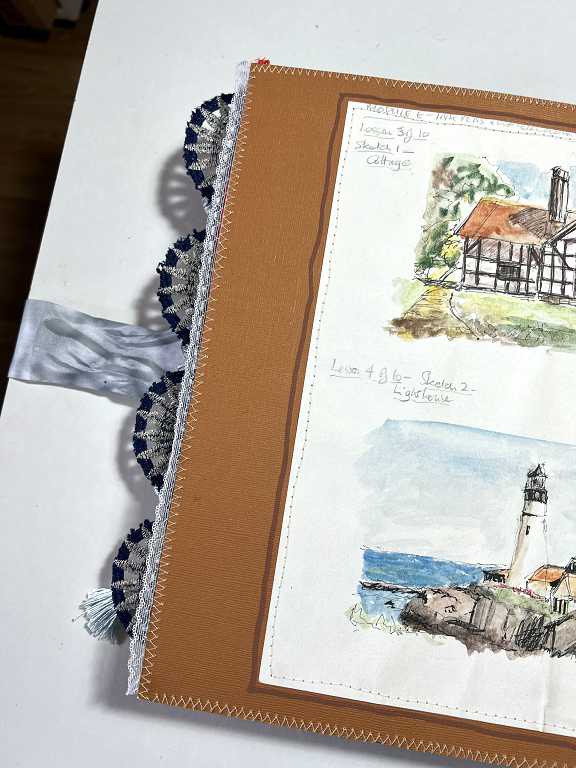
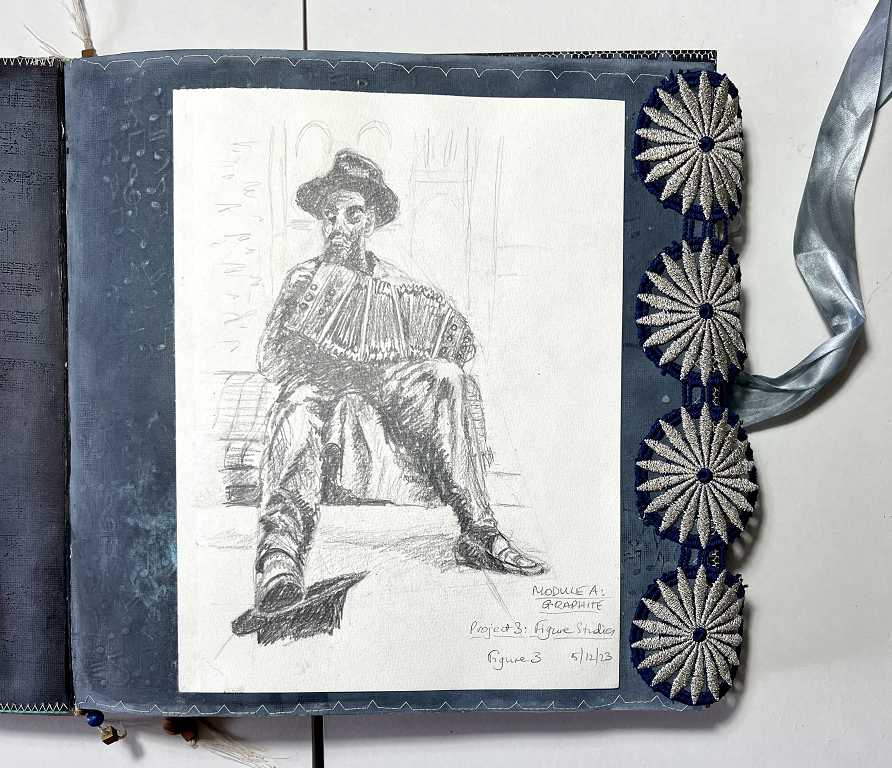
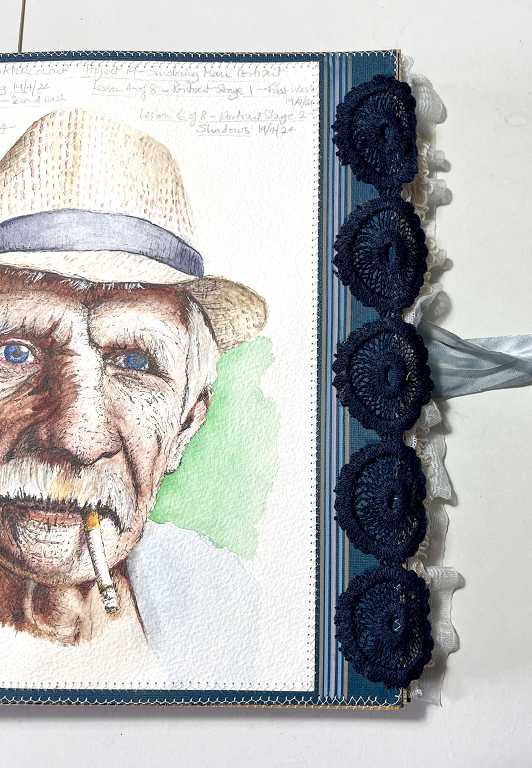
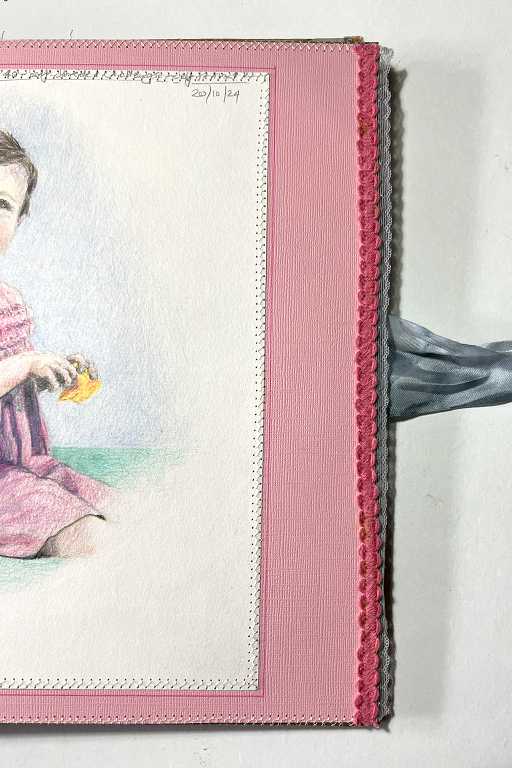
This dark blue circular trim as also from a charity shop find – a top made entirely of these circles. Much better cut up for art. The frilled trim on a later page complements it.
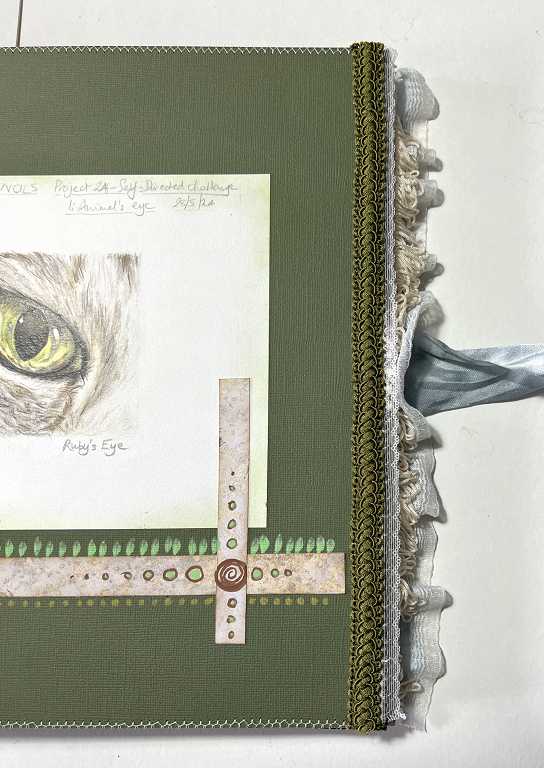
The reverse side isn’t intrusive on the current page. The green embellishment down the side of the picture was one of many strips that I made from strips of coloured card which I painted and doodled on. A useful resource in my stash for all sorts of projects.
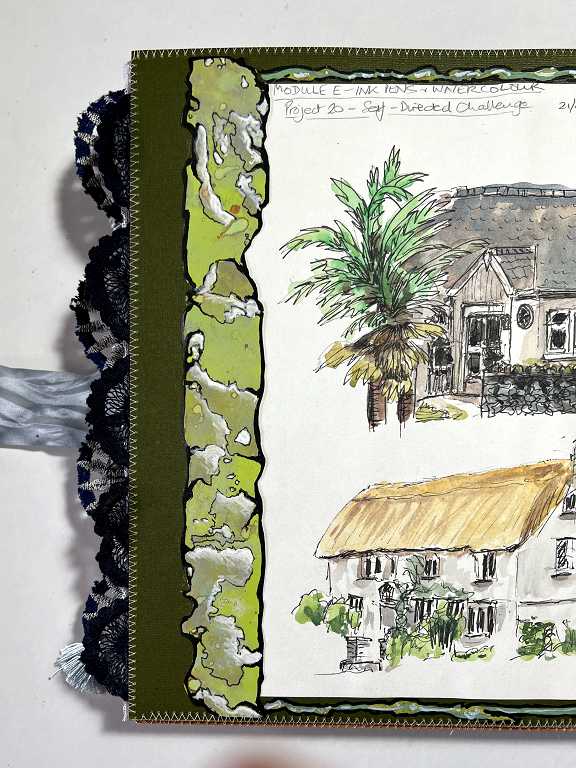
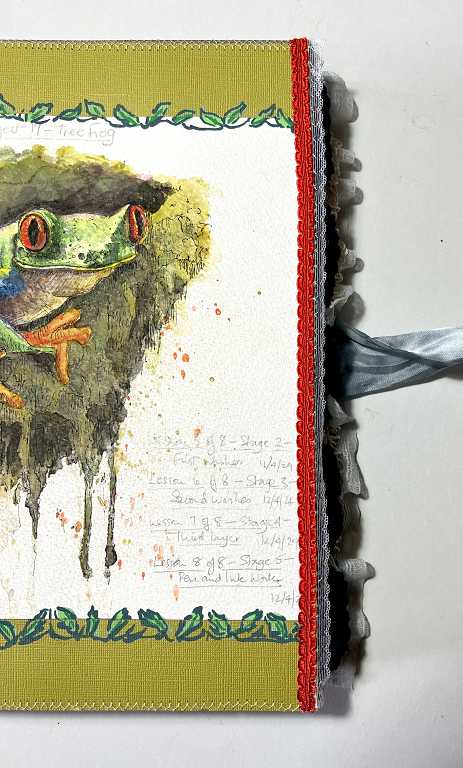
Another dual trim – green braid and lace.
Again, a trim (in this case a cream fringed one) complemented by the trim on an underlying page.
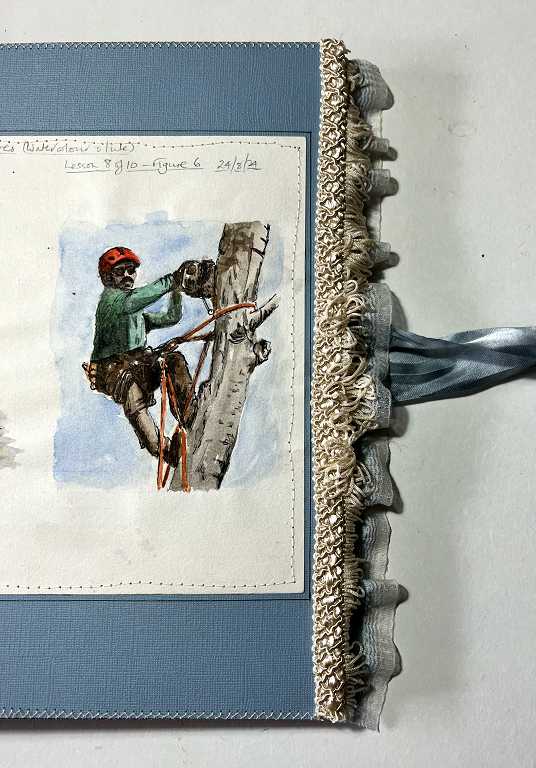
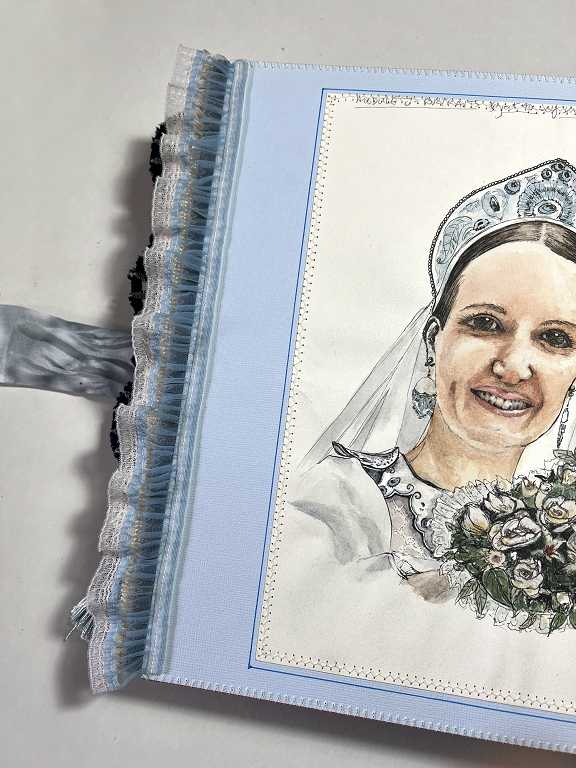
This fringed trim was attached on the back of the page. I have a lot of this stuff (given to me many years ago by an old lady) and I never liked it – it feels nylon-y and I didn’t think I’d ever use it but stuffed it in the stash “just in case” and every time I’ve used it, I have liked it very much in situ! It just goes to show that even if you don’t like something in its original state, used in the right context, it comes into its own.
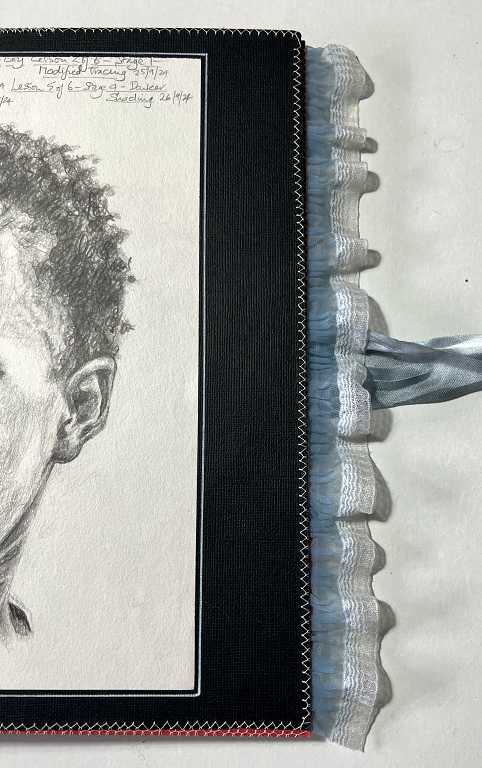
The “right side” of this trim. It complements my wedding self-portrait perfectly! This picture is one of several which I have stitched down onto the page. Some of the papers were buckling, even with glue stick which is fairly dry, and the stitching helped keep it down, and added another layer of texture as well which was pleasing.
Braid and lace once again.
The final project of the course – my grateful “Thank you” to Phil, partnered with the back end-paper.
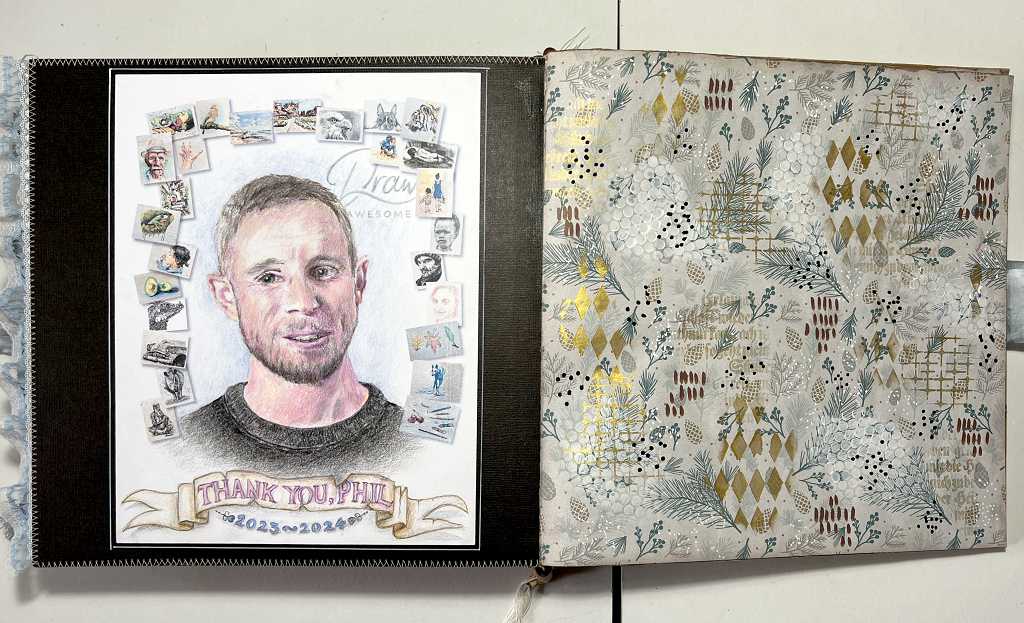
The back end-papers.
The back cover of the book.
Finally, a little video of clips, handling the book. Eventually I shall make a proper flip-through video but that will take time.