DRAW AWESOME ALBUM PART 8 – COMPLETING THE COVER AND MAKING THE SPINE EMBELLISHMENT
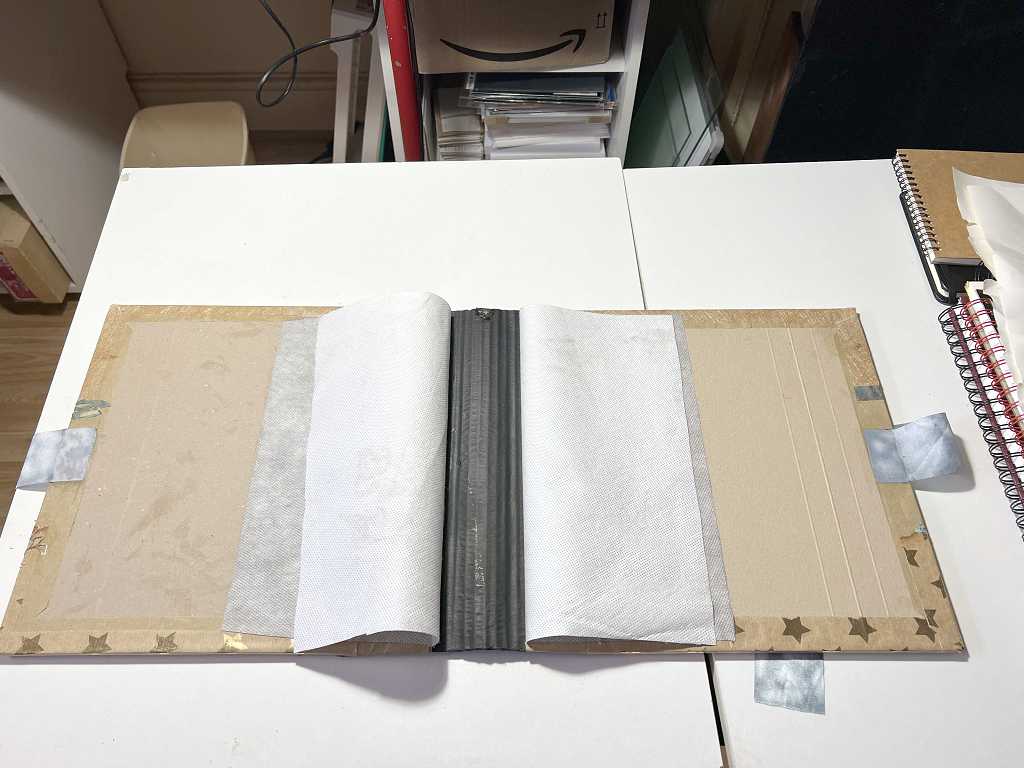
I was a bit concerned about glueing the end-papers onto the cover and expecting the fairly thin paper to bear the weight of the whole binding. I therefore decided to add some hidden reinforcement between the end-paper and the inside of the cover before finally assembling the binding.
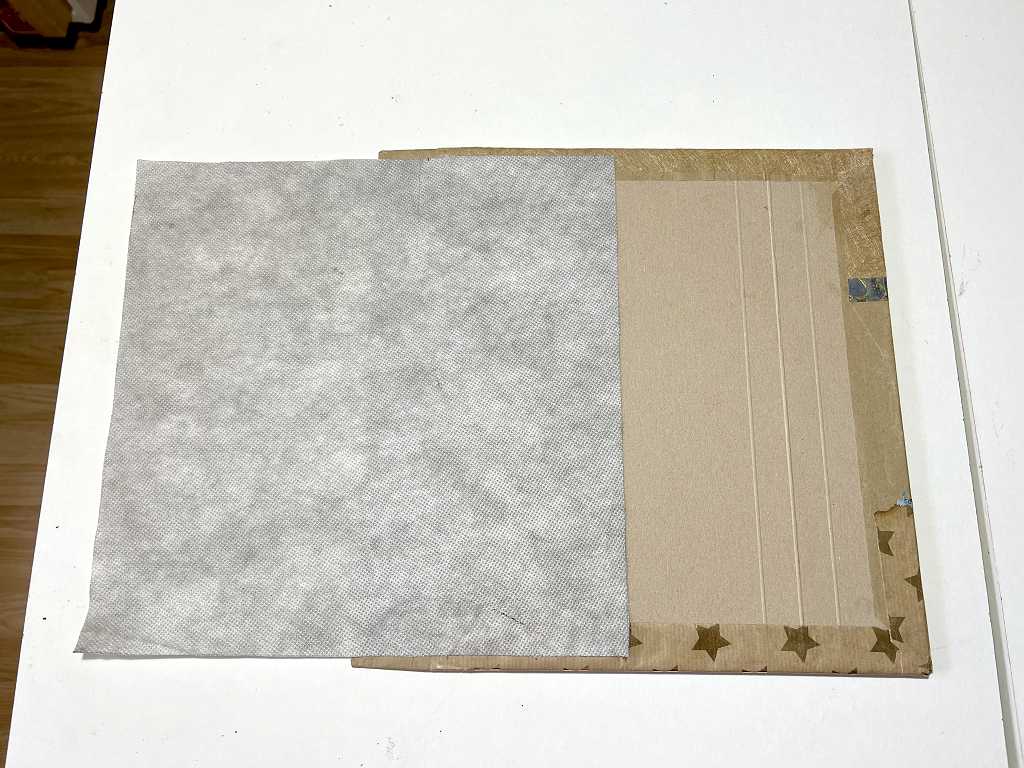
I cut a couple of pieces of roofing felt to glue across the join.
I glued the spine cover onto the front and back cover boards, and then glued the roofing felt onto the inside of the cover boards, ready to attach to the end papers.
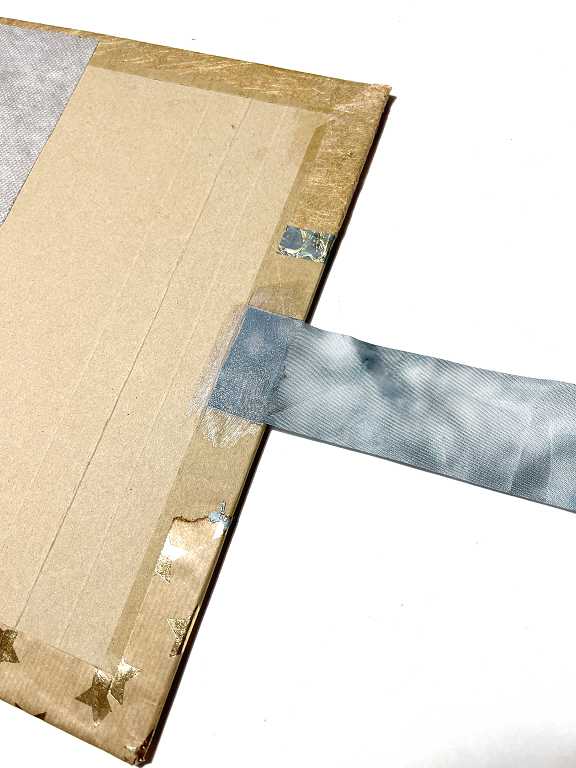
Attaching the ribbon closure
Now was the time to attach the two pieces of ribbon so that they would be covered up when the end-papers were glued down.
The spine embellishment
I have seen a lot of hand-made books with a tassel or cluster embellishment hanging from the top of the spine. This adds more visual and tactile interest, and complements the design of the cover. These embellishments can be a bit cumbersome when one wants to open the book, so they are often made detachable. This is what I have chosen to do with this book.
Making a tab
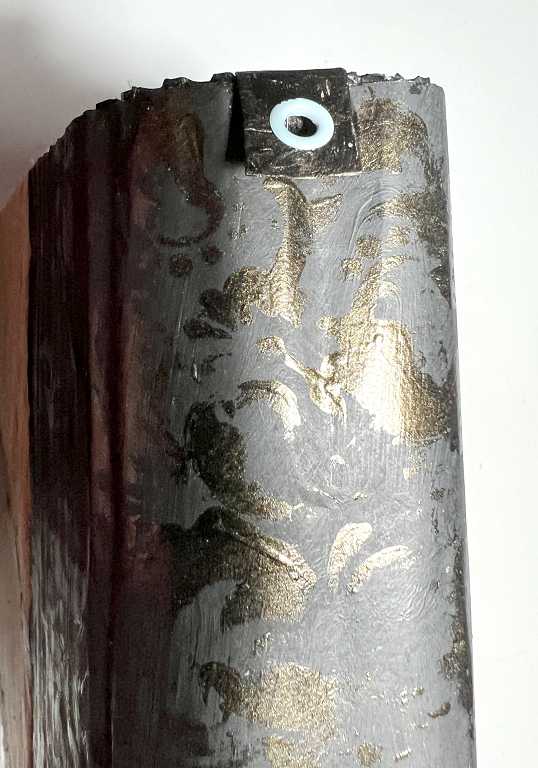
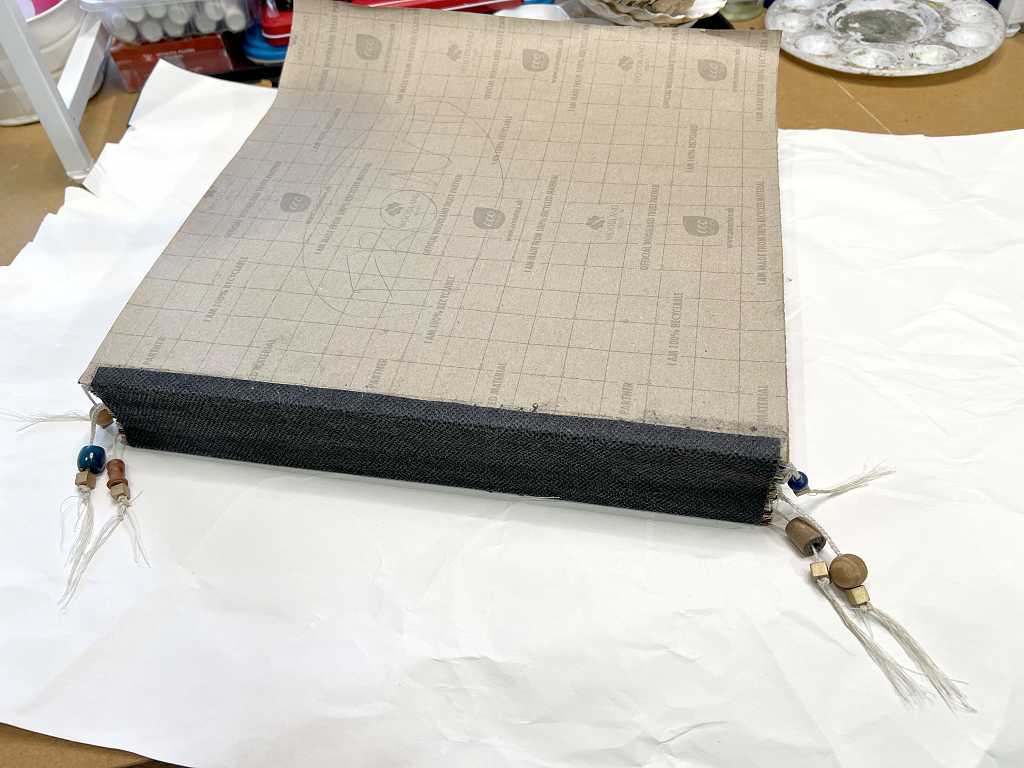
My spine cover is quite thick, and includes corrugated cardboard. It would therefore be difficult to make a hole for an attachment, so I therefore made a separate tab with an eyelet. This was designed to be folded over at the top and stuck down inside the top of the spine cover.
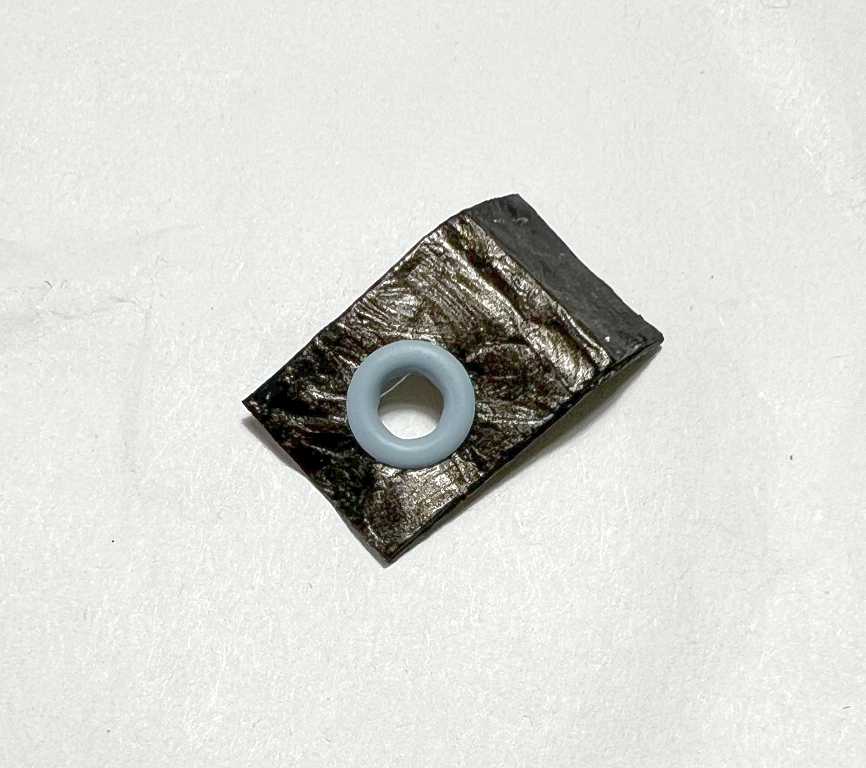
I made the tab from a small piece of Tyvek doubled over and stuck together. I painted it with the same Fancy Black acrylic paint I used for the spine cover stencilling.
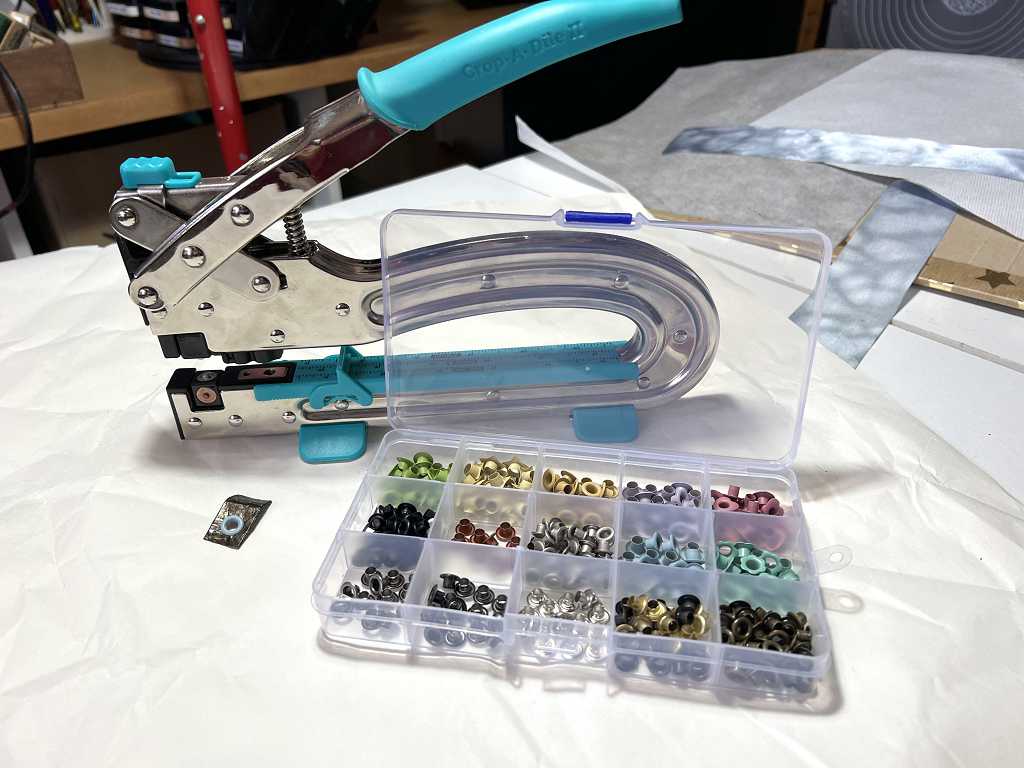
I punched the hole and inserted a pale blue eyelet, using my Crop-a-Dile Big Bite eyelet setter.
The tab attached to the top of the spine cover.
Making the spine embellishment
This was a really fun part of the whole project. With my huge stash of materials I had a lot to choose from. Most of my trims, ribbons, beads and charms are recycled or offcuts – I very rarely buy anything new. I’ve been given a lot of bits and pieces over the years, and I often buy junk jewellery at village fetes or in charity shops, and remove trims from recycled clothing etc.
Apart from separating them into categories such as ribbons, beads etc., I am not an organised stash-storer. I love rummaging! The beads are separated into bags according to type, though, which helps me find what I want.
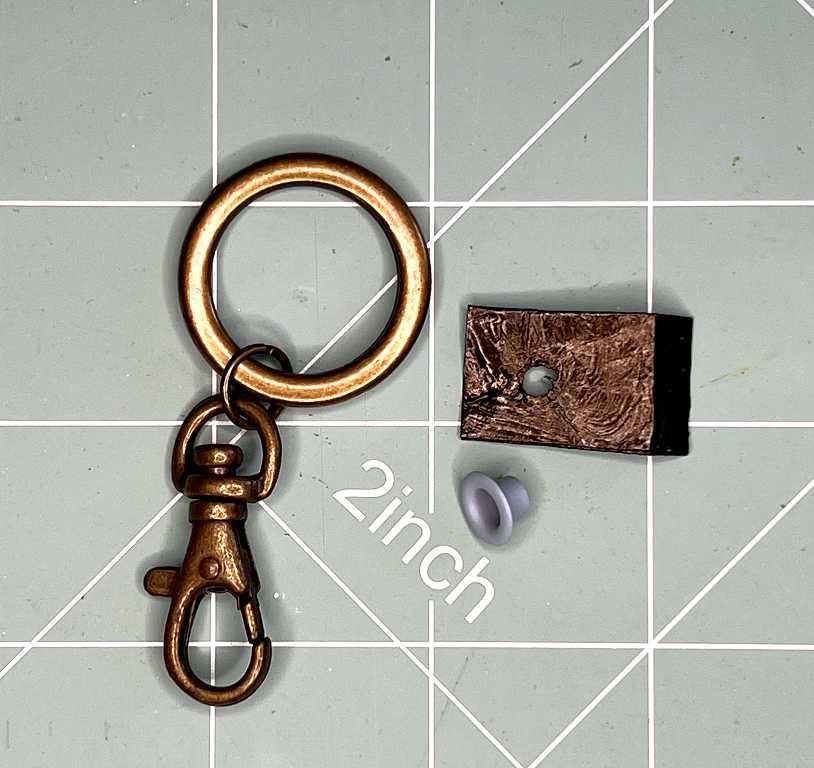
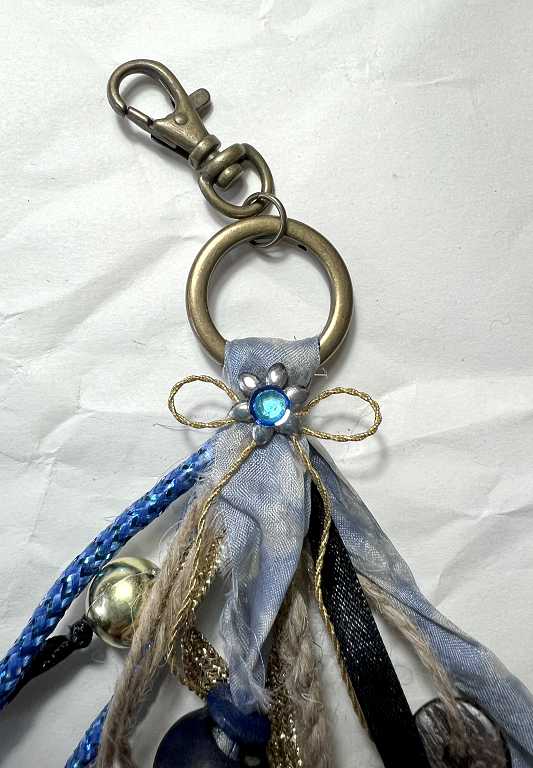
The hardware for the attachment
All the bits came from my stash. I think the bronze-coloured ring was probably from a junk necklace. I joined it to the fastener with a jump ring. You can see the punched tab with its eyelet beside it.
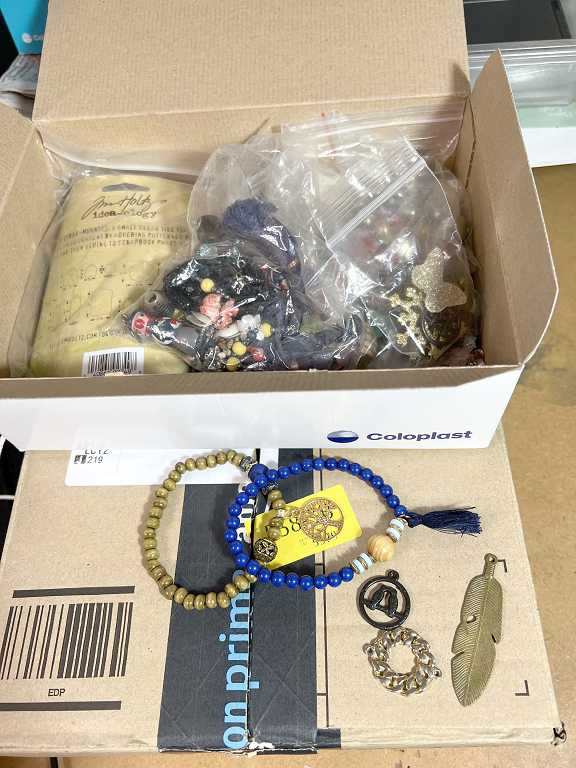
Rummaging for ribbons and trims. I have several small vintage leather cases and antique boxes which I used to store this stuff. The small case on the left is my ribbon scraps store, and the antique box contains metallic ribbons and trims. It’s like a pirate’s treasure chest full of gold!!
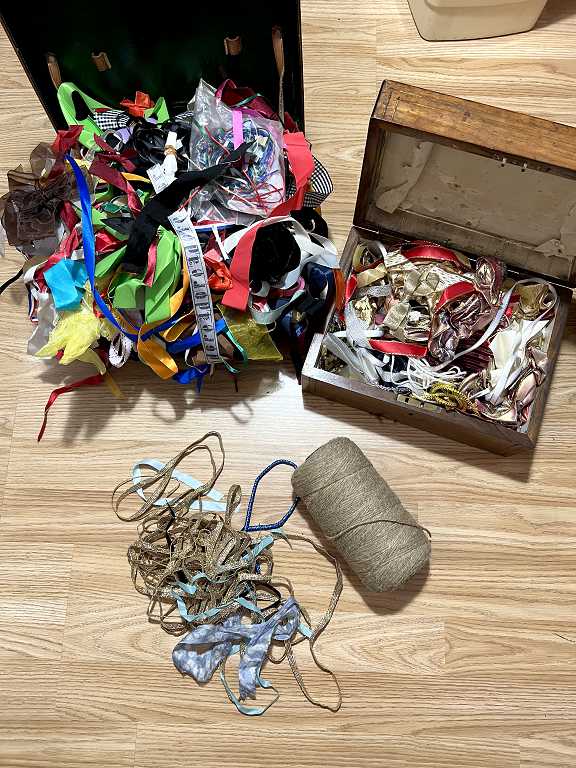
You can see that I’ve chosen a mixture of gold braid, the blue sari silk I mentioned in a previous post, some metallic blue braid and some natural jute yarn. These were cut into varying lengths and slotted through the bronze ring. I tied it off with some fine gold thread.
To decorate the top of the embellishment, I chose a gemstone and a couple of sequins.
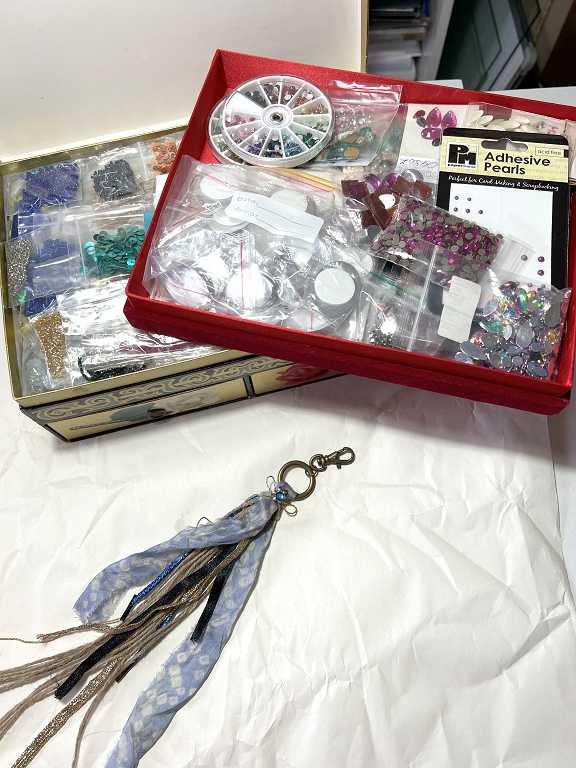
Rummaging for beads and charms.
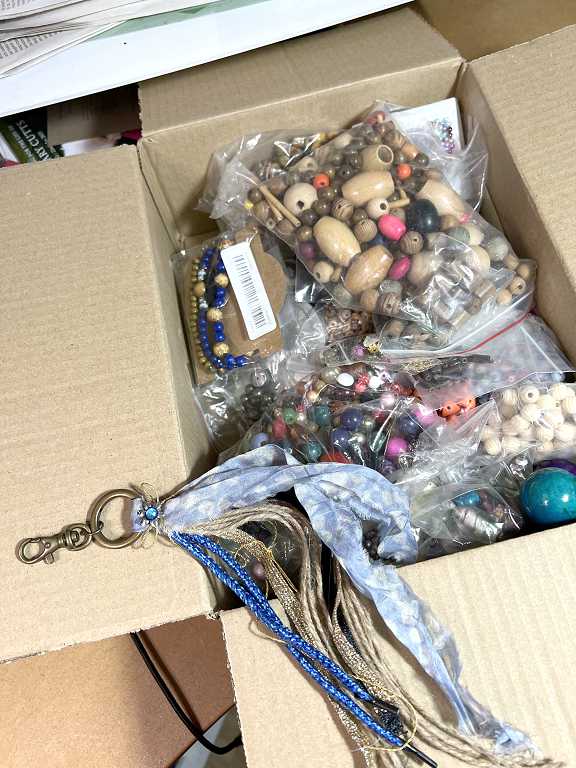
I threaded them on and knotted the various trims and yarns to hold them in place. There’s a mixture of wooden, glass, plastic and vintage carved bone beads, various metal charms and a small Indian bell. I had to rub glue into the ends of some of the threads and let it dry hard in order to force them through the beads – some of the holes in my chosen beads were too small and I had to reject them which was a pity.
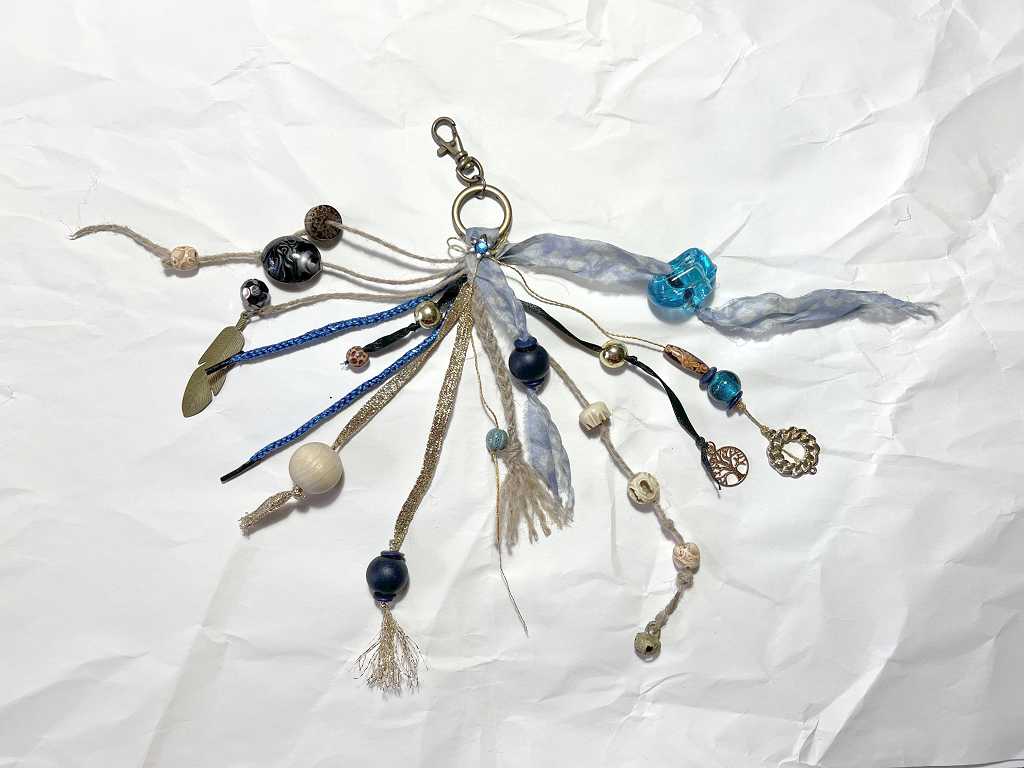
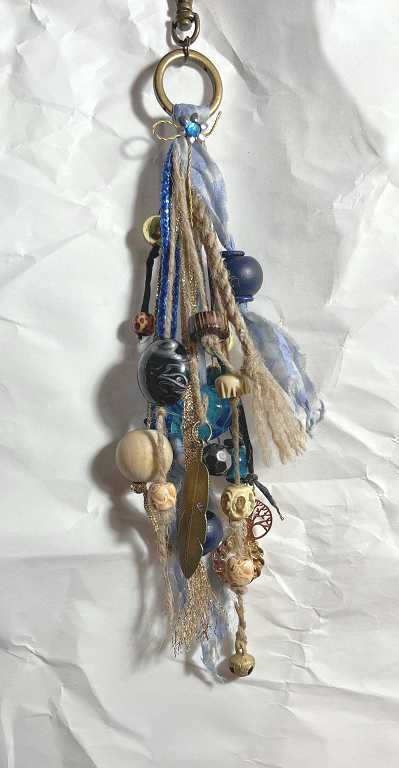
It’s really chunky and heavy and tactile! It makes a great noise as well!
The binding beads
When I stitched around the pages, I deliberately left the machine sewn threads long, so that I could utilise them later in embellishing the book. I divided them into three groups and plaited them. I then got a bodkin and threaded some wooden beads onto each one.
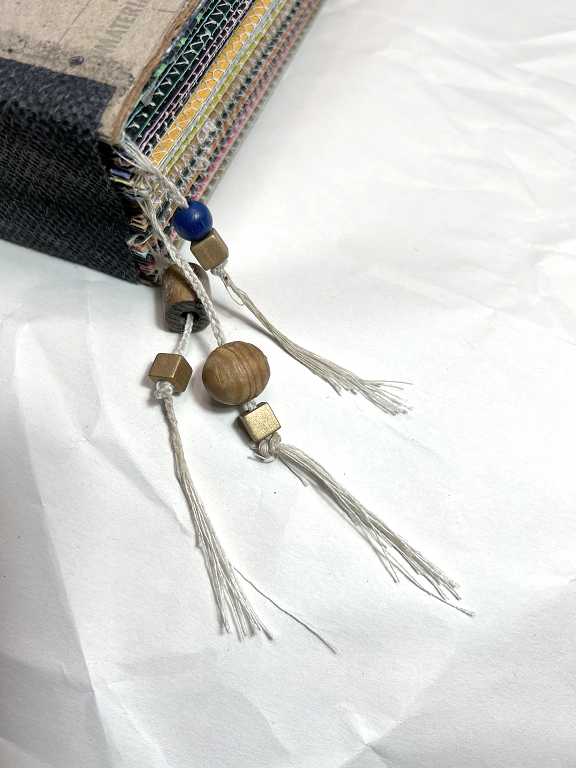

It’s just another layer of embellishment.
In the final installment of this project, I will post all the photos of the finished book.