DOUBLE TRI-FOLD JUNK MAIL FOLIO PART 1 – CONSTRUCTION AND BEGINNING THE COVERING
Looking at junk mail as potential art material
Several weeks ago we had a couple of identical advertising fliers delivered, from a local eatery. Following my usual custom, I looked at them before throwing them in the bin and decided that I had in my hand the potential for a rather interesting folio.
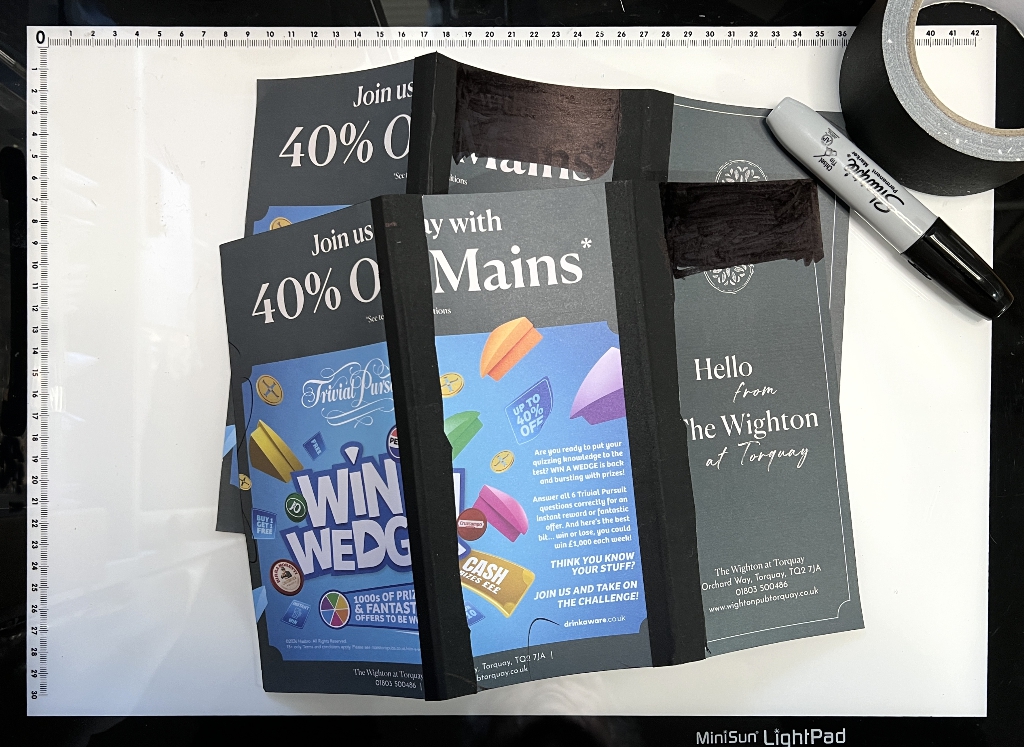
I decided that the folds should remain black, so I extended the black with a large Sharpie marker. I also made extra folds close to the original ones to create gussets, which would provide more room to add papers inside. To reinforce the folds, I added black book-binding tape.
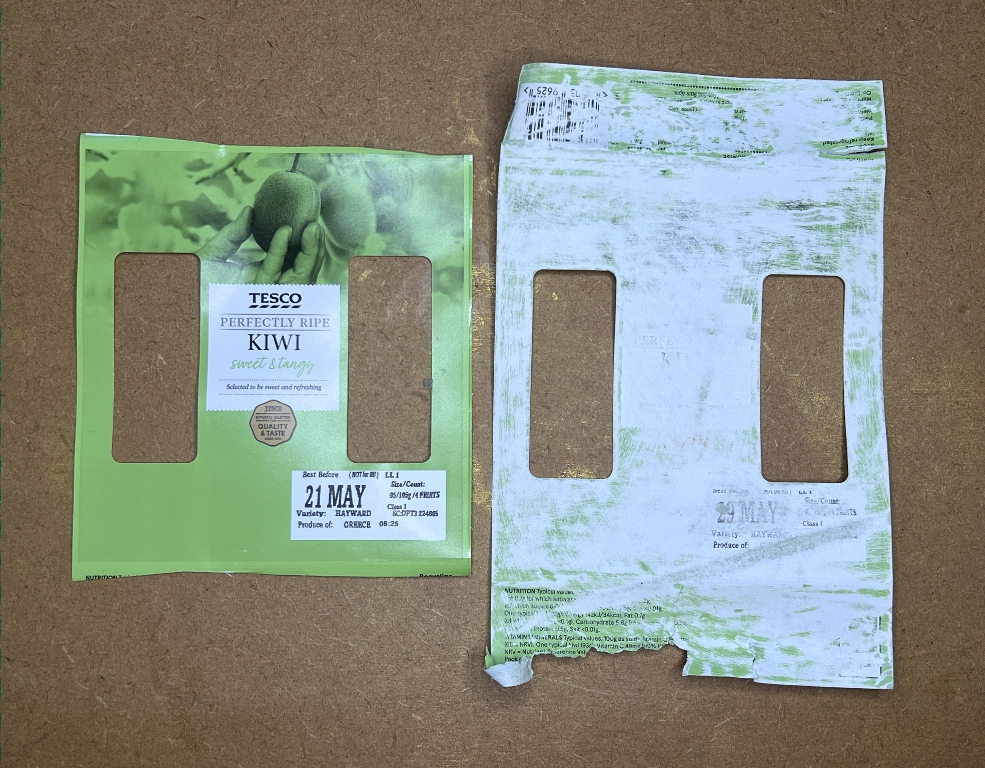
I also found some more useful packaging in the form of kiwi fruit labels. They have two interesting windows. Anything with windows in it tends to get saved as they make interesting embellishments.These papers are rather shiny, and have horrendously sticky borders to them, to stick them to the box, so I cut these off.
Making the pocket and tag for the front cover
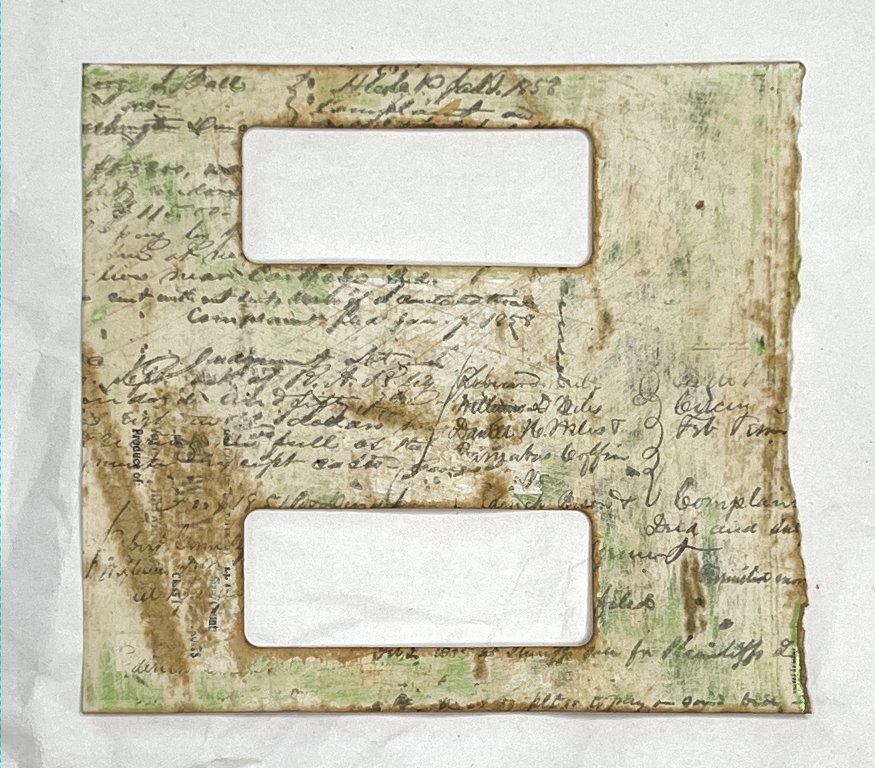
To remove the shine and most of the printing, I sanded one of the papers. After this, I sprayed it with tea but this didn’t show up very well, so I sprayed it with rust water. As the surface still wasn’t that interesting, I added some stamping with grey archival ink which doesn’t run if you add more water-based media to it.
We received a beautiful bouquet of flowers for our ruby wedding, and I saved the packaging for art.
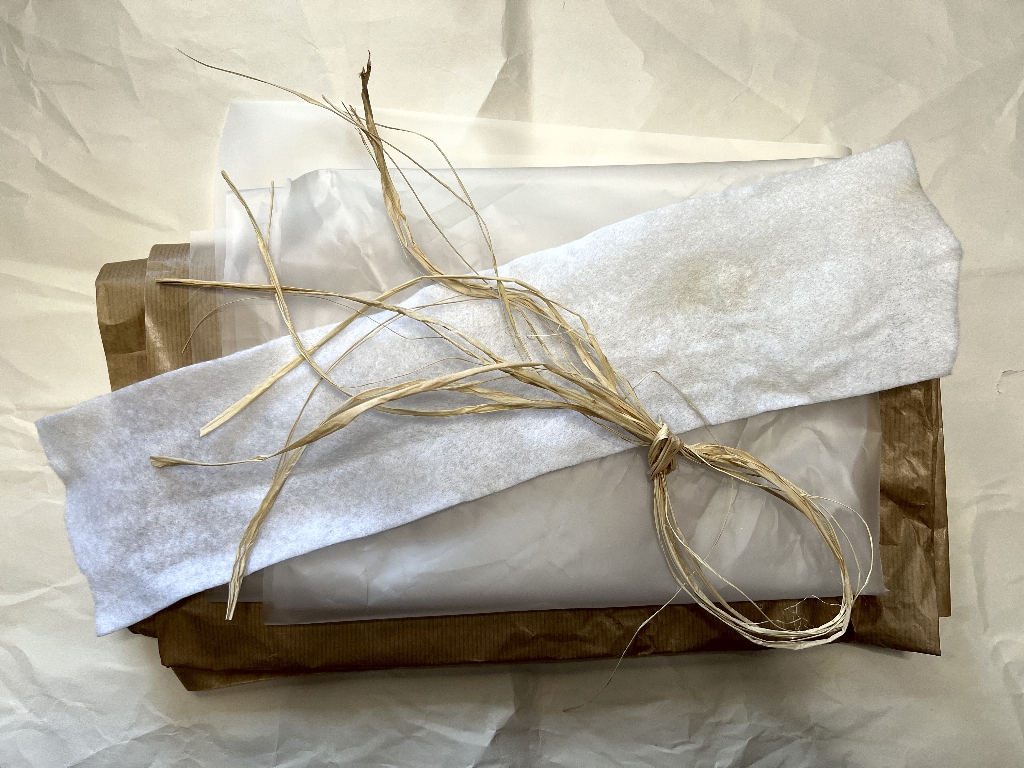
Included was a large sheet of translucent plastic which is going to be fabulous for making windows out of as it’s less shiny than acetate, and softer, and I love the translucent look. I cut a piece of this for the two windows for the current project, and stuck it down on the back of the pocket with double-sided tape.
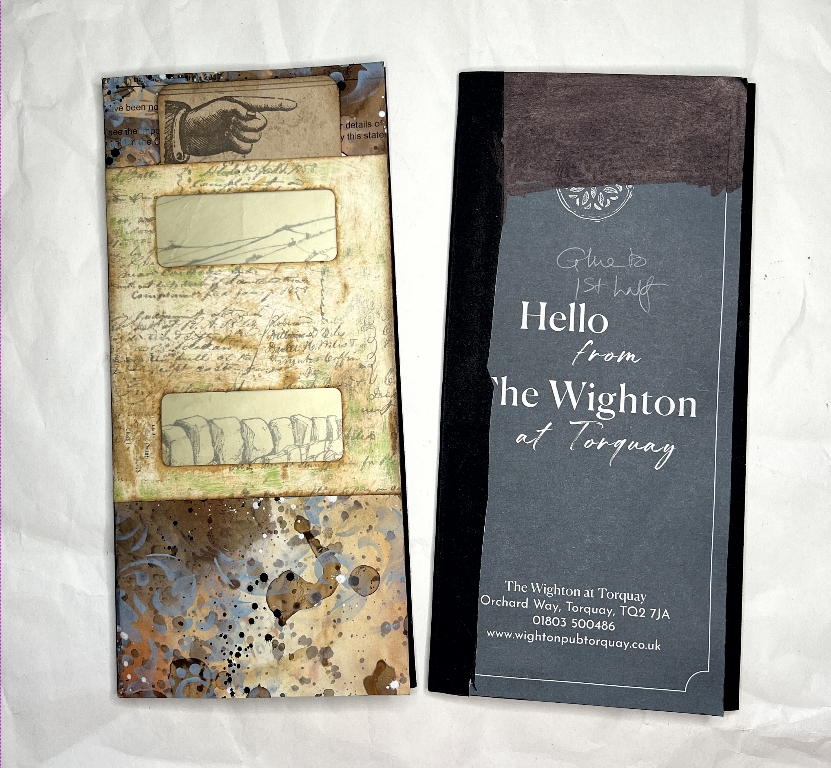
I covered the front of the first folio with some of my mixed media paper that I made from official letters from the bank. The text is not very noticeable and where it is, it adds texture to the piece. I attached the kiwi fruit piece at the sides and bottom to create a pocket for a tag to go in, using double-sided tape as this card is rather shiny.
The tag for the front cover
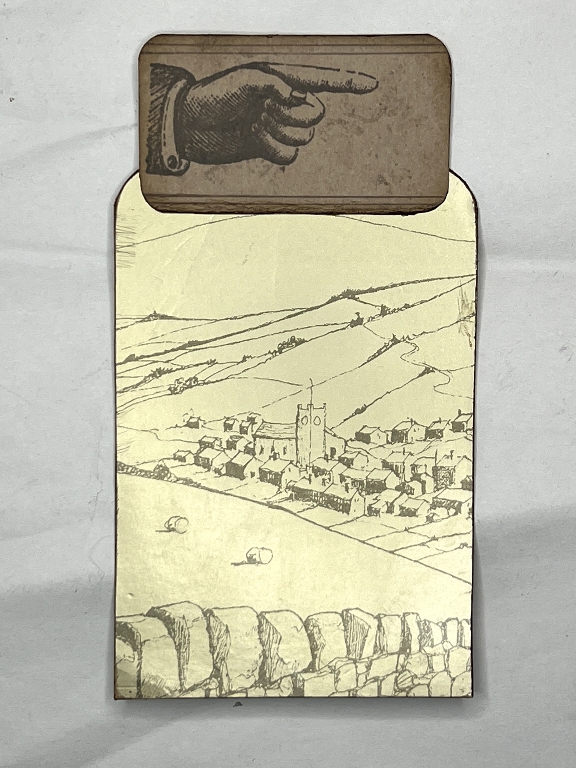
I made the tag from illustrations cut from a Yorkshire Gold teabag box.
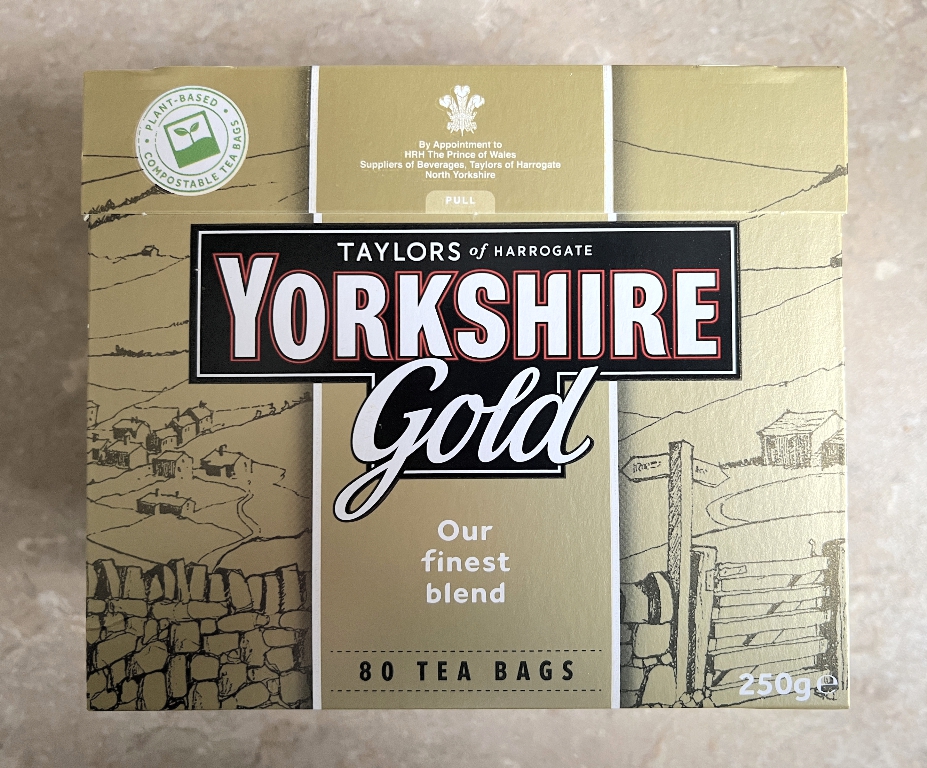
This tea packaging is dull gold card with lovely illustrations of Yorkshire on it. I cut it up to use the illustrations.
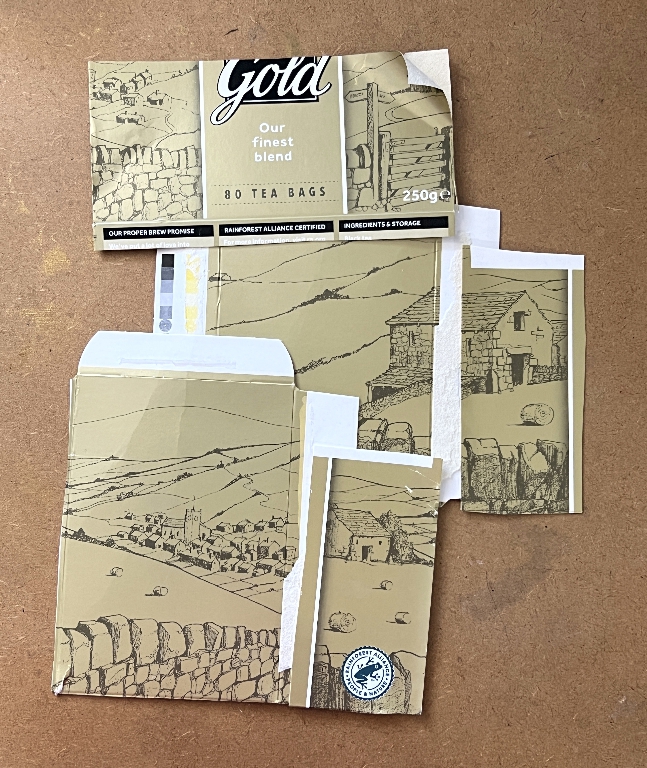
The large one at bottom left was ideal for this project. I trimmed it until the dry-stone wall at the bottom, and the hills at the top, would show through the windows of the pocket, and as you pull the tag out, the village in the centre is revealed.
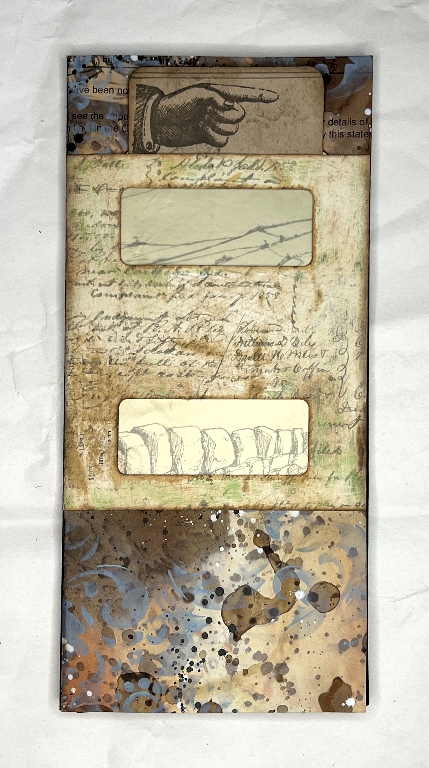
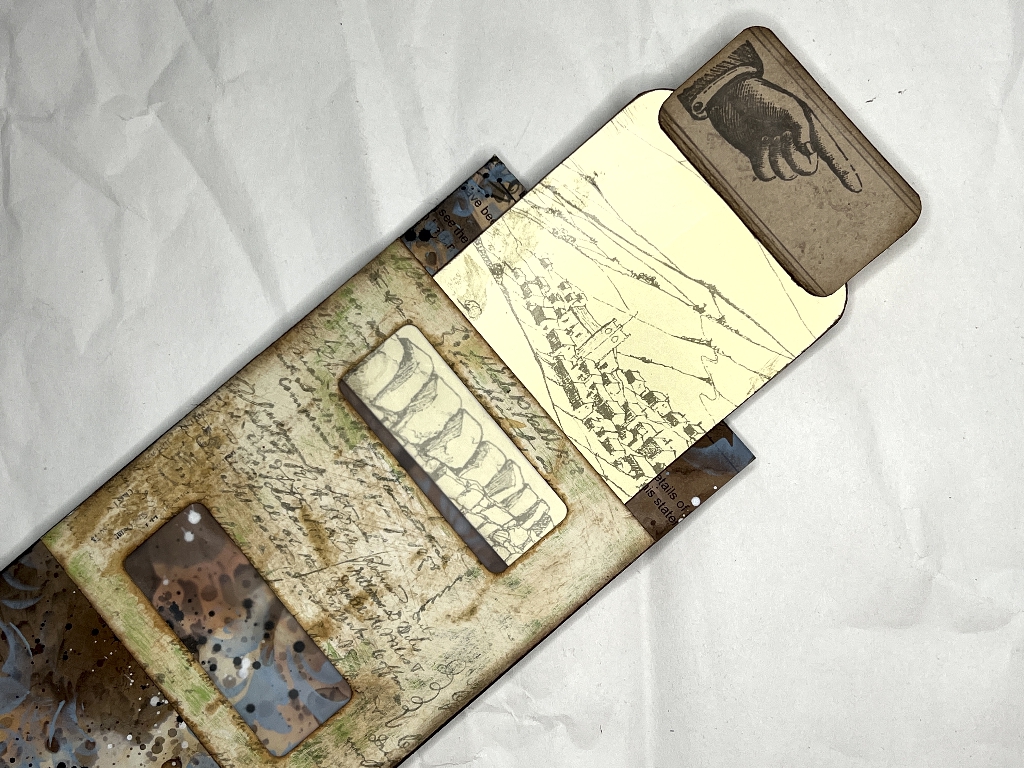
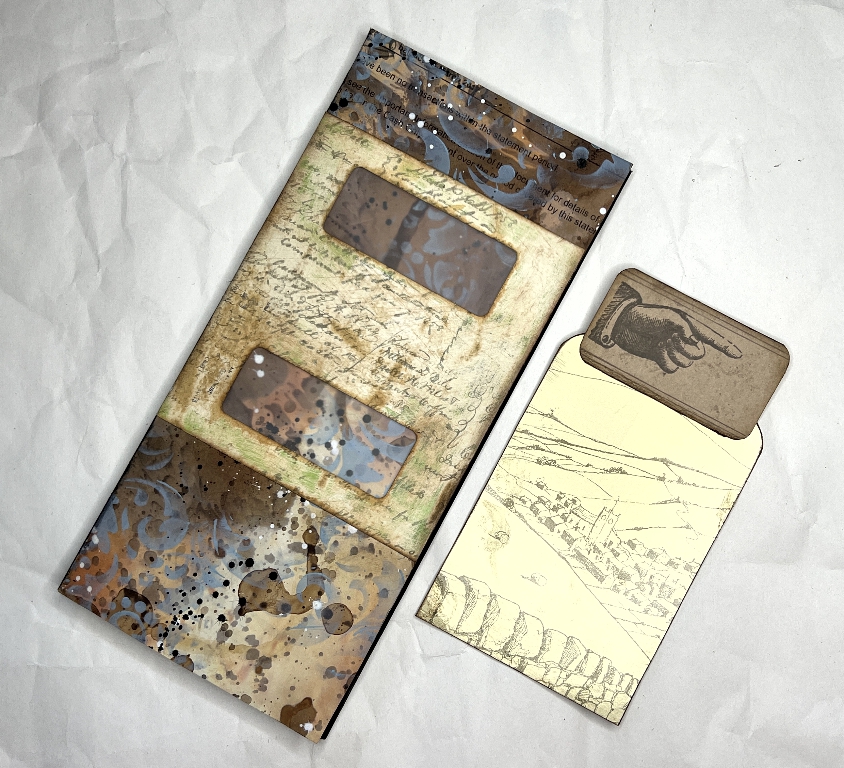
I made the tag puller from a label in my stash, trimmed to fit after I’d rounded the corners of the tag, and backed it with another piece of card.
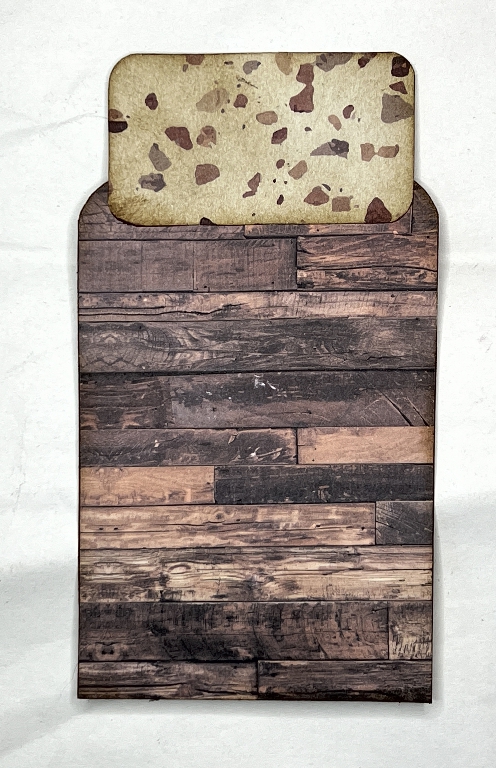
I backed the tag itself with a scrap of decorative paper left over from a previous project.
Lining the first folio
I chose a piece of coffee-dyed paper from my stash, from a batch I made some time ago, layering the wet papers between plastic lace table runners and doilies.
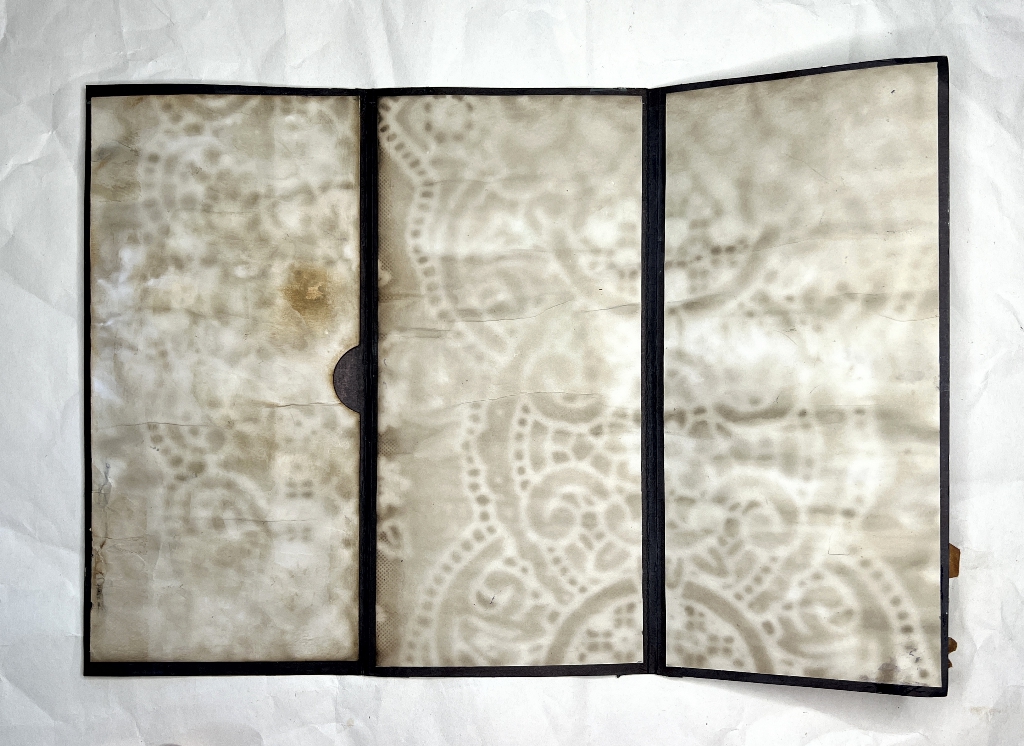
The papers are large enough to cover the whole of the interior, but I didn’t want any trouble with the folds, and I also wanted to add a pocket or two inside the folio. I therefore trimmed them down, allowing a small border of the black of the base to show. On the left, I only glued the piece at the top and bottom and left-hand side, to create a pocket, and cut a finger notch at the centre.
The outside of the right-hand panel
I am not doing a great deal of decorating at this stage but I did go to town a bit on this page because I wanted the base of it to be interesting.
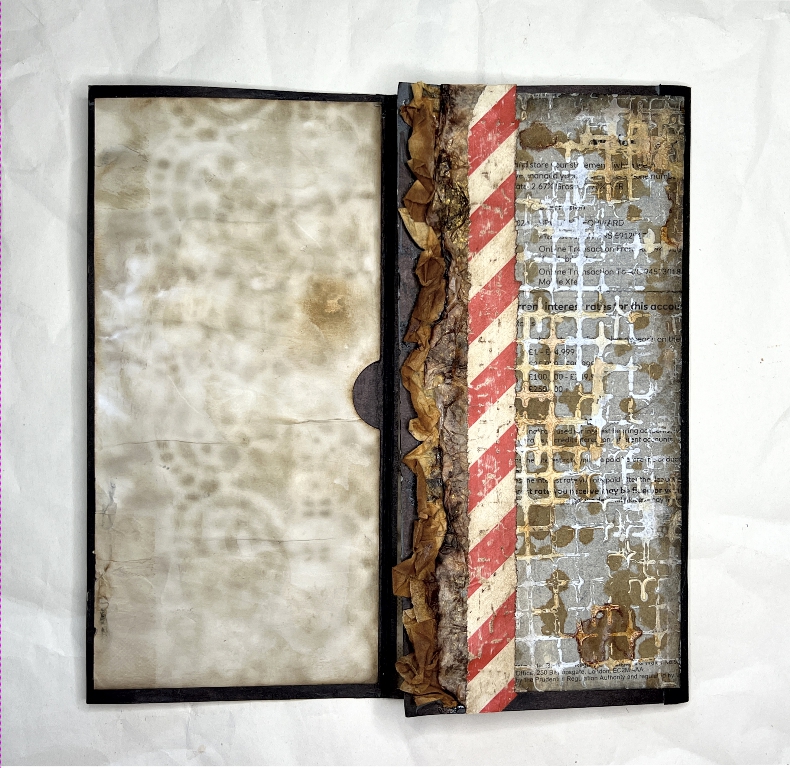
The background paper is another old tea-dyed bank letter with white acrylic (or possibly gesso – I can’t remember) stencilling. I wanted a bit of contrast with the left-hand page so I painted it with some of my Payne’s grey water (water with a small amount of acrylic paint mixed in) which turned it a nice grey, and then spattered it with rust water. On the left-hand edge I created a ruffle from a piece of rust-dyed coffee filter and an interesting piece of tissue with mixed media stuff on it. To cover the join I used a strip of my wrapping paper washi tape which I sanded to age it.
Folding this panel over, this as yet uncovered portion of the folio is visible.
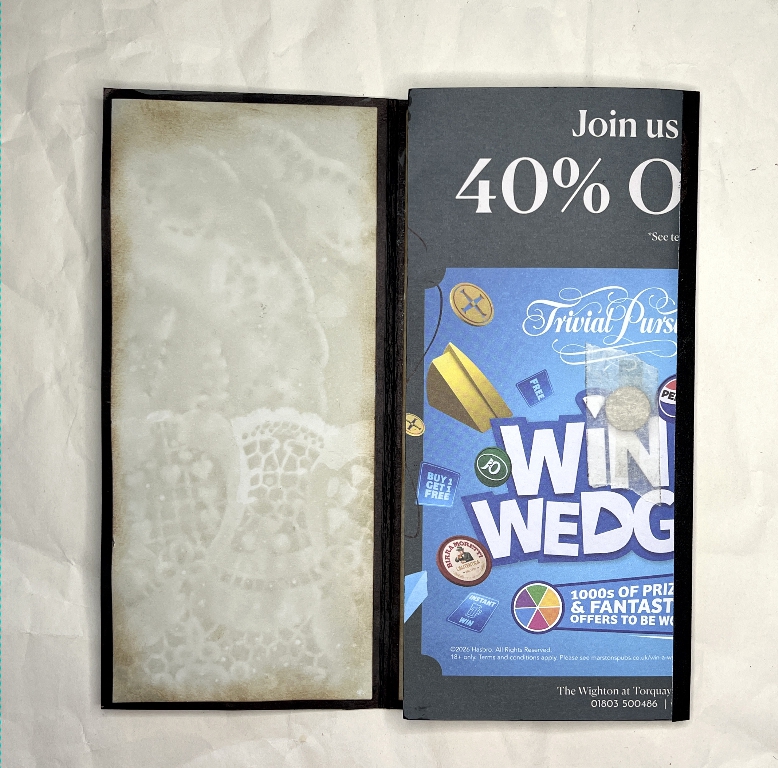
Covering the inside of the second folio
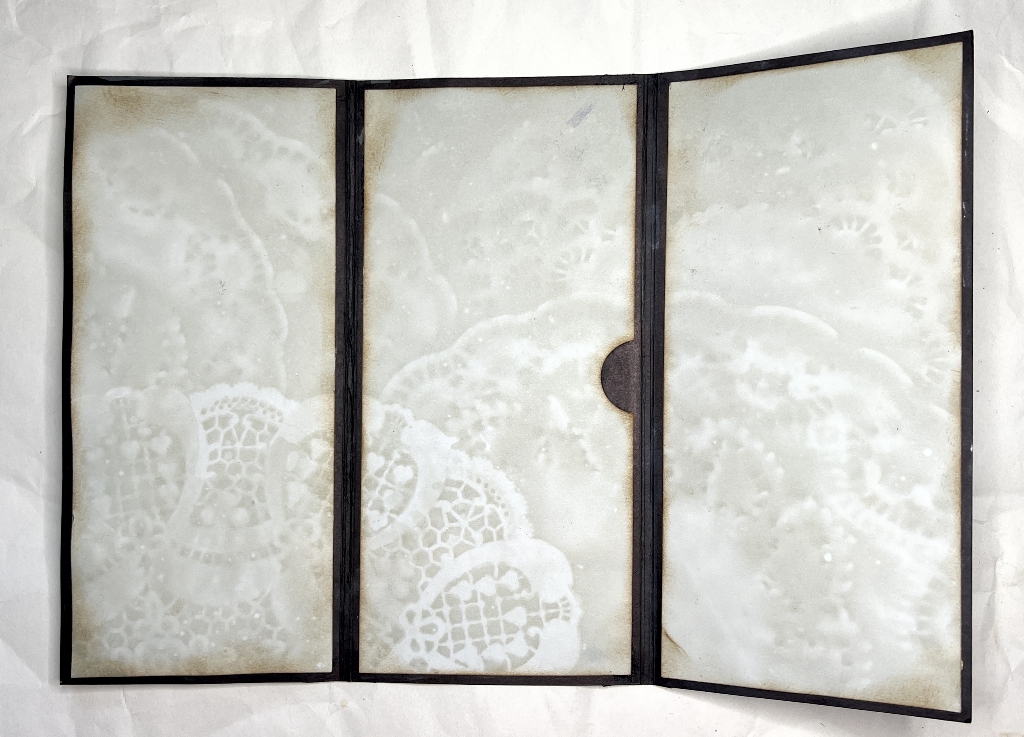
This was done with some more dyed paper which has a greenish tinge. I can’t remember what I used for this – it may have been avocado. Again, I created a pocket with one of the panels.
How the folio will be constructed
Before covering some of the pieces, I stuck down some magnets to keep the folios closed. The cover papers hide these nicely.
When the tri-fold brochures are closed, I shall glue them together back-to-back, along the sides and bottom, leaving it open at the top to create another pocket. This will most likely be the final stage of the project after the decoration is done.
So far all the papers I have used are whole sheets or scraps from my stash. I have decided I must use some of this as I have far too much stuff! There will be very little purchased paper in this project, although I shall definitely be using quite a few fussy-cut digitals for the embellishment of the folio.