HOW I START A NEW PROJECT USING UPCYCLED RUBBISH
A little lesson in recycling!
I thought you might be interested in seeing how I begin to plan a project using packaging to create folios and elements for albums.
Whenever I’m about to throw something away, I examine it to see if it could be transformed into art. Actually I think everything can be, but if one were to save everything, one would quickly become overwhelmed with heaps of rubbish – a state of affairs which is rapidly taking over in my studio, unfortunately. This whole scenario is indicative of just how much rubbish is produced in our world today, and how much over-packaging there is, most of which is thrown away without a second thought. I have an overflowing cardboard box under the worktop in my studio and I really need to start using its contents instead of constantly adding to it!
A lot of basic food packaging is actually made of pretty high quality stuff. Cardboard cartons and packaging have to be fairly robust in order to protect the contents during transit. Cereal boxes are great, but we don’t eat cereal so I am dependent on our lovely next-door neighbour to pass on her empties, but since she lives alone, it doesn’t happen very often!
We have a lot of smaller packages such as biscuit boxes, tea packets and stuff like that, and of course endless junk mail, envelopes (window envelopes are good), packaging paper, corrugated cardboard and correspondence on standard copy paper. It is all grist to the mill and ripe for transformation.
Food packaging
Today I made inroads into a small pile of boxes, taking them apart and deciding which construction flaps to remove and which to retain.
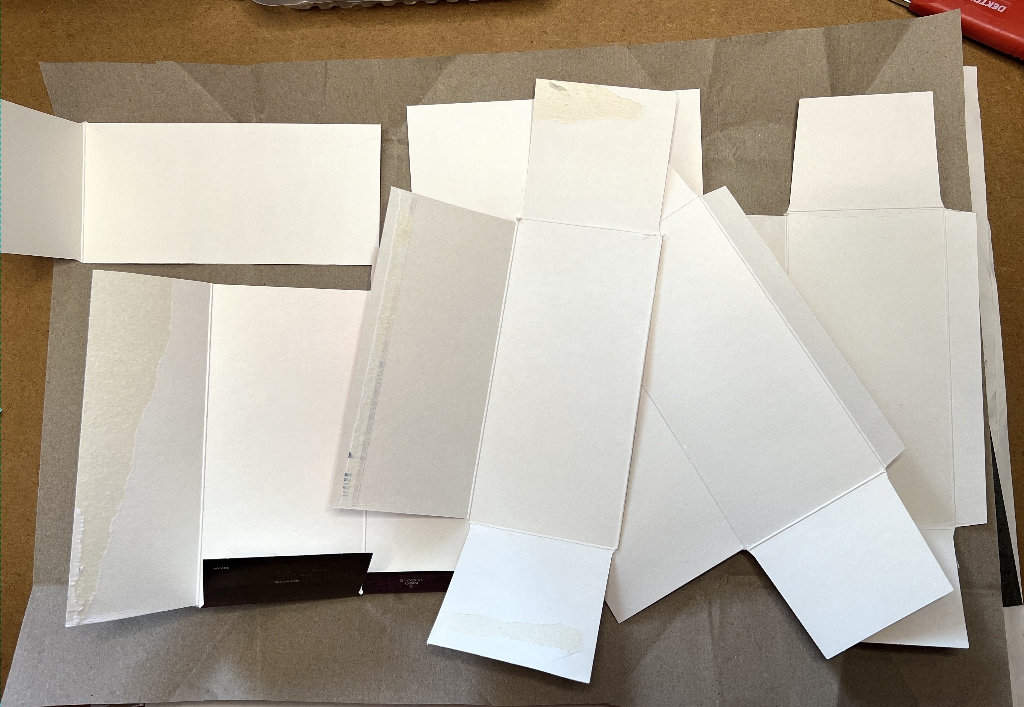
This is the result of opening them up and cutting off the bits I didn’t want.
The next photo shows a single panel from a biscuit package with one flap which I have folded up. This can be turned into a tag with a pocket. I can shape the top, glue the sides of the flap down and add a finger notch. The flap could also be a flip-down, revealing something interesting inside. The item could be a stand-alone, inserted into a larger pocket on an album page, or stuck down onto a page. It is easy to cover all visible surfaces with paper and add embellishments.
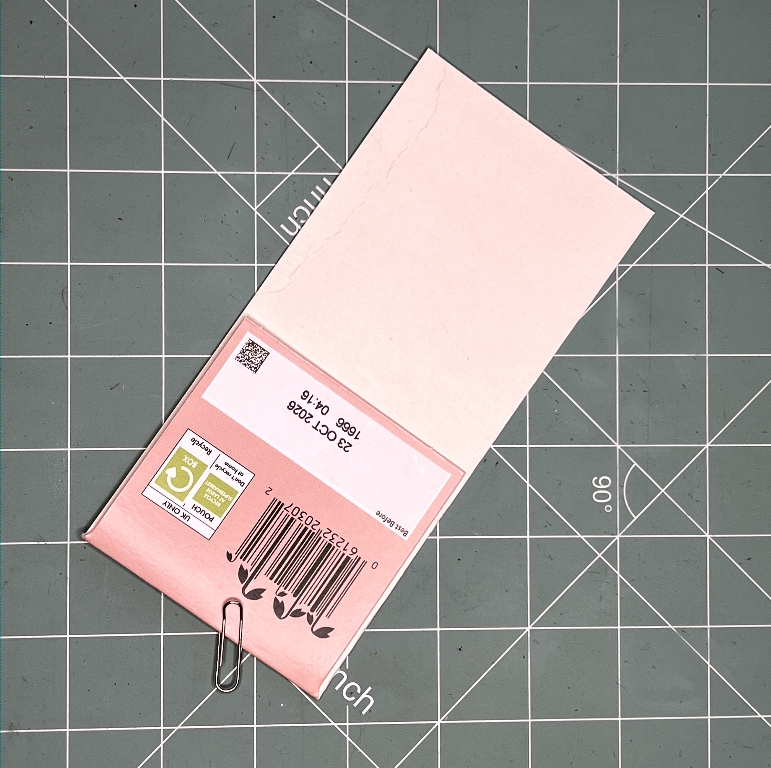
This portion of an oatcake box has lots of potential. The flap folded over the front on the right is the original tab that created the shape of the box. It could be used as a closure, or for the attachment of a full-height page edge tab, or an attachment into a binding or onto a page.
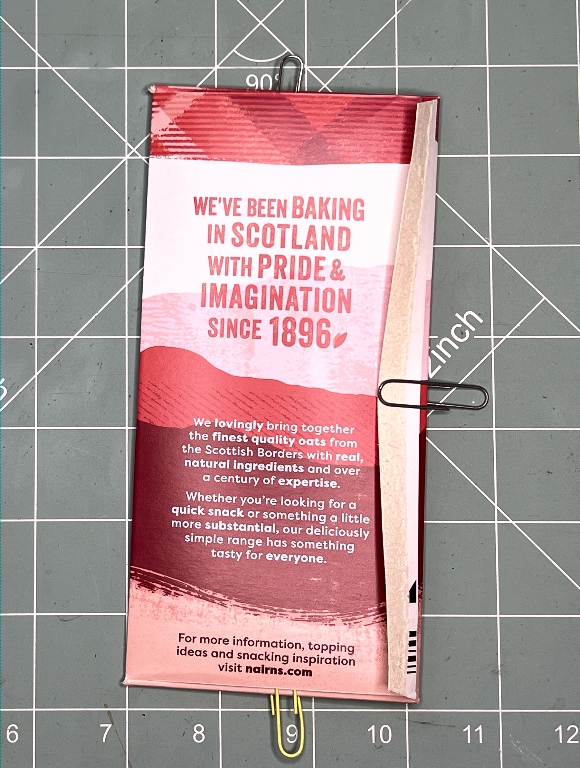
Opening it up:
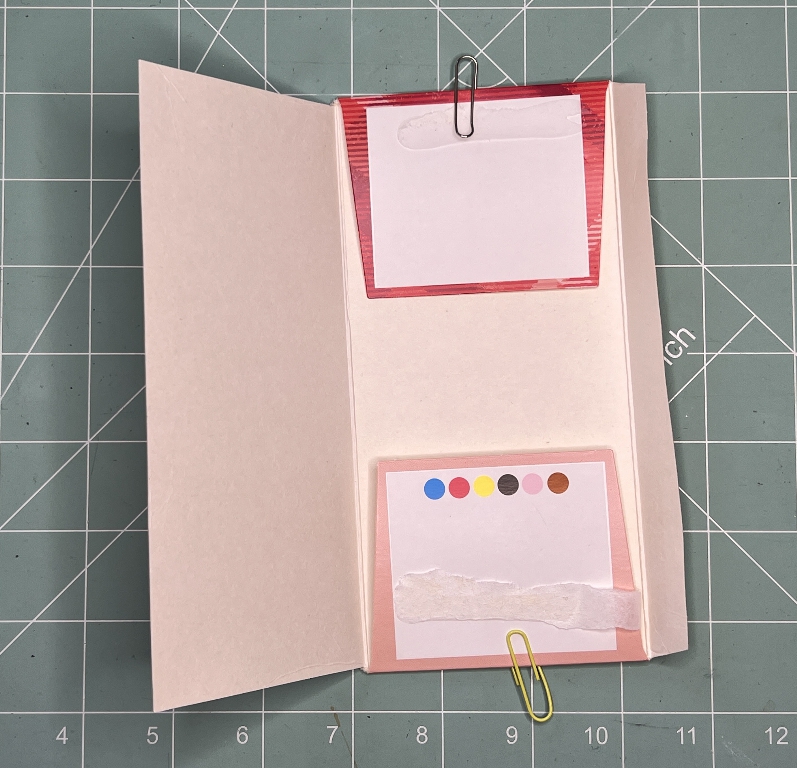
Two flaps, top and bottom, and a “cover” opening from the right. The top flap could be removed, or folded over to the back if the piece wasn’t going to be glued down. The bottom flap could be a pocket or flip-down, or the two flaps could be connected with a string closure or formed into a belly band with the addition of another piece to close the gap. This piece could be an insertion into an album or made into a stand-alone folio.
Another idea for an oatcake box. Here it is closed:
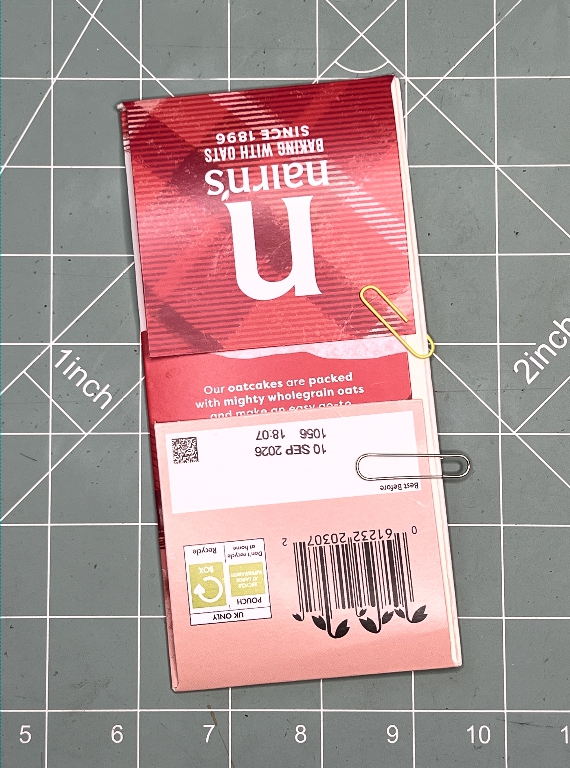
and partially open:
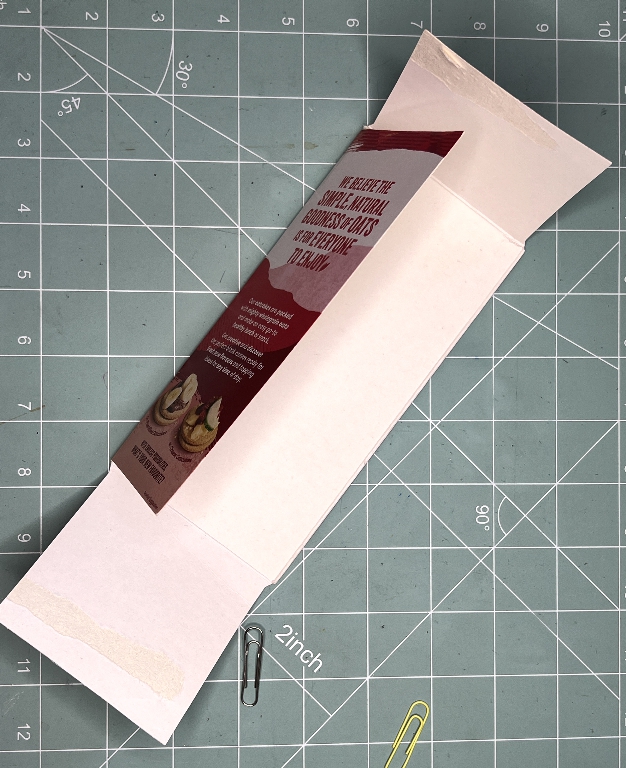
It is basically the same as the first one, but this is the other half of the box so it doesn’t have the tab that closed the box. In this case I have folded the flaps so that they are on the outside of the front of the piece, and could have a string closure, keeping the bi-fold folio closed.
Here’s a Tesco crackers box, in the closed position.
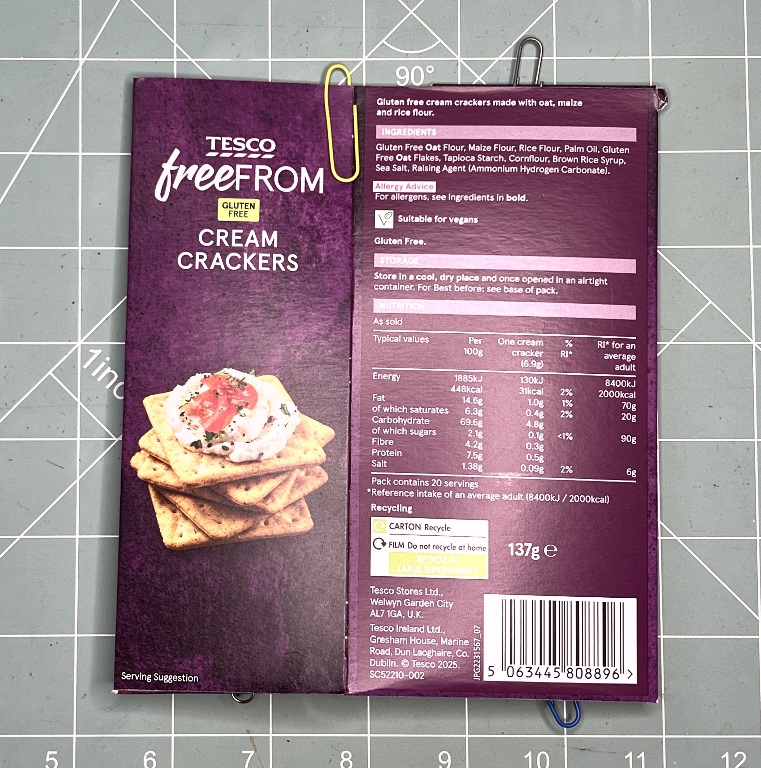
Partially opened, it looks like this:
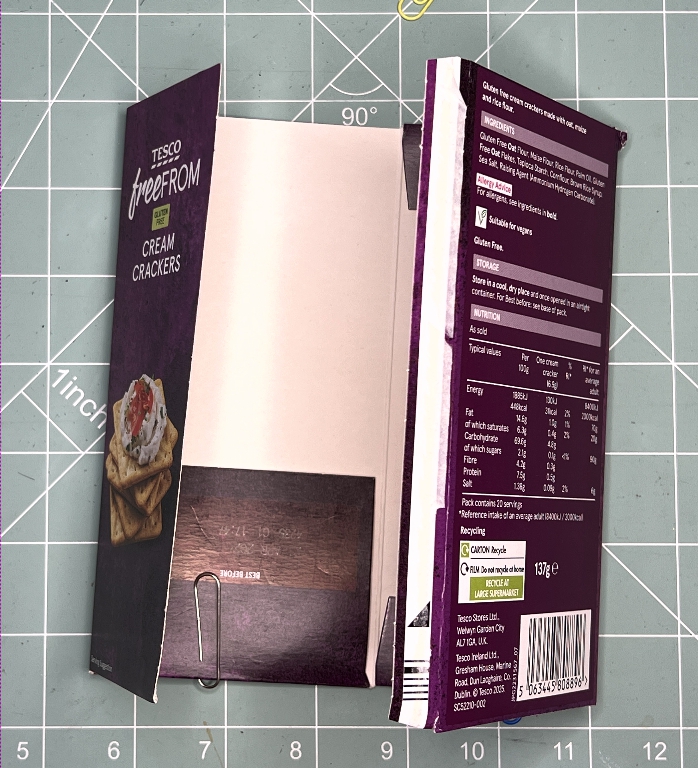
You can see the original construction tab on the right. There is a flap at the bottom inside that would form a pocket. Opened fully:
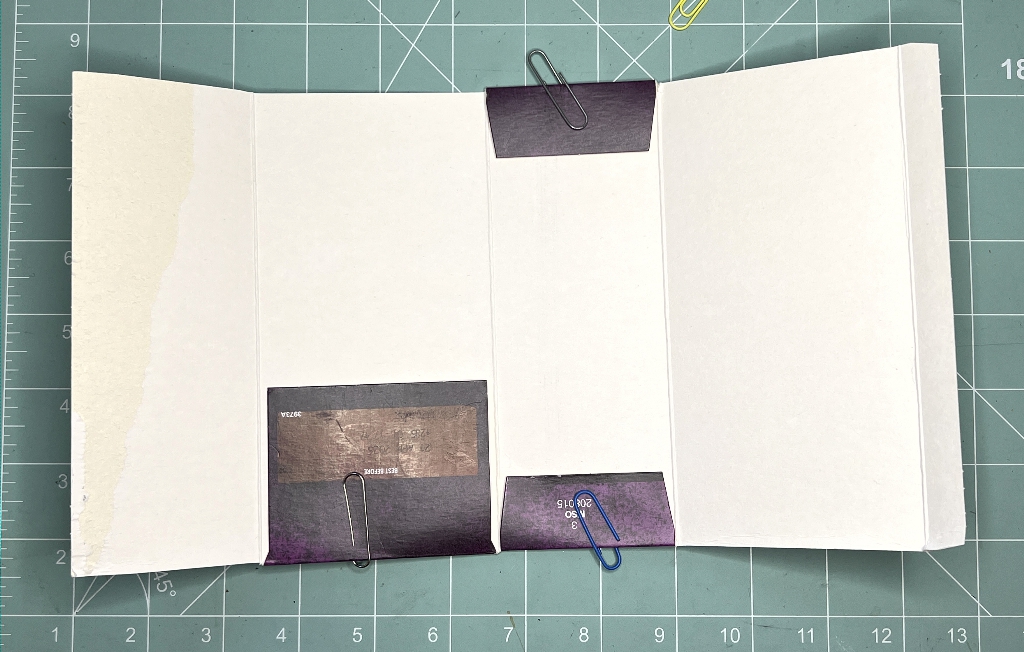
You can see the larger flap, and also two smaller ones which again could be joined with a string closure or formed into a belly band with extra material. The tab on the right could have a page tab on it or serve as an attachment for something else. This asymmetrical opening arrangement is quite interesting, with the smaller opening on the left and the larger one (with the tab) on the right, meeting when closed. When opened, there is a large flat area in the centre (with the tabs) and plenty of room on the side panels too, for covering and embellishment.
A single panel from a packet which can be made into a tag. I have any number of these! All they need is a shaped top and perhaps a hole with some sort of yarn embellishment as a tag pull, covering and embellishing. Tags can go anywhere in an album or folio.
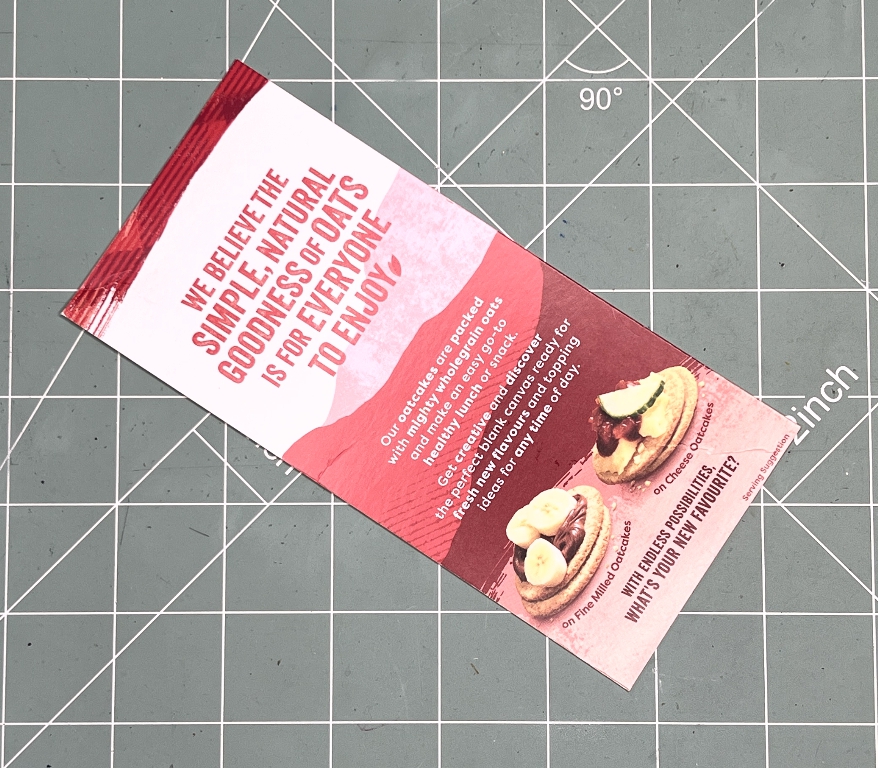
The card from all this packaging is thin and strong. It isn’t generally too shiny either, which makes adhering other materials easier. Anything shiny can be sanded or painted with gesso.
Packaging with windows
The ubiquitous kiwi fruit packaging!
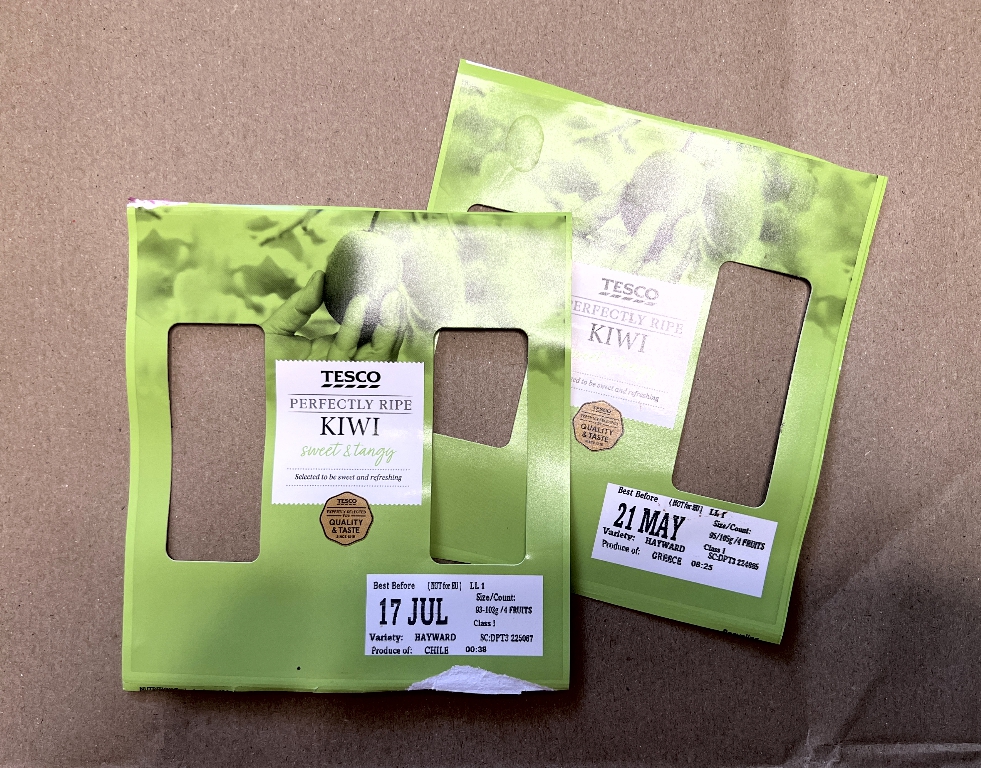
I’m getting one of these most weeks. You can see it’s pretty shiny but sanding and gesso take care of that. The flaps top and bottom have been cut off as they were extremely sticky, stuck down onto the sides of the box containing the fruit.
I have decided to make a specimen slide out of a pair of these, lining up the windows and sandwiching a botanical or entomological image between them, with acetate or cellophane on either side. Plenty of room at top and bottom and down the centre for embellishment, the addition of eyelets etc. I love any packaging with windows which lend themselves so well to all sorts of creative mayhem.
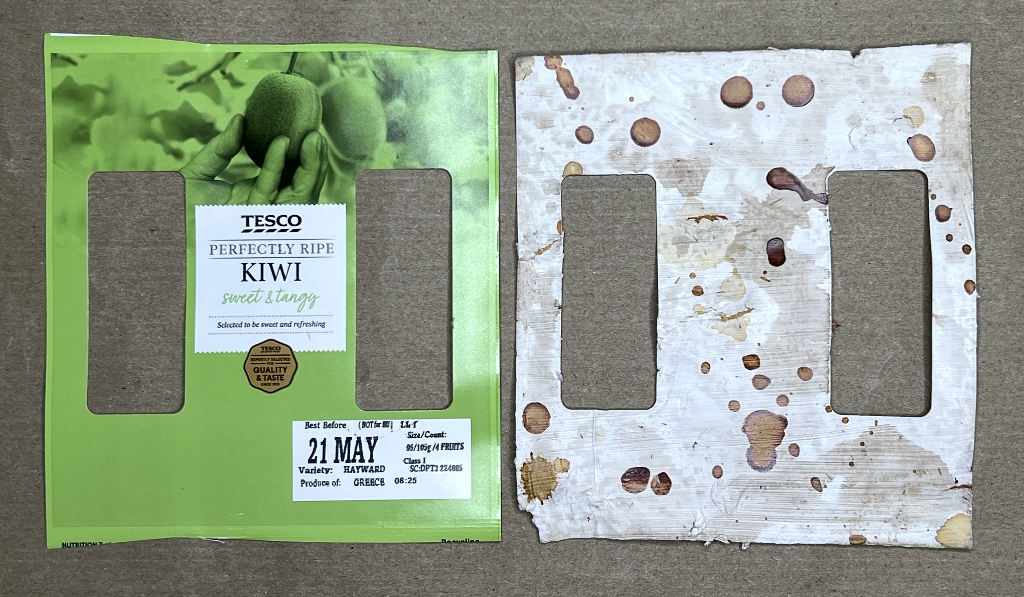
I started working on one of these kiwi fruit pieces last week, painting it with gesso and tea dyeing it and then spattering it with rust water. When I came back, it had welded itself to my glass mat!! Next time I must remember to do this sort of thing on a plastic sheet so I can peel it off. I nearly wrecked it, trying to get a palette knife underneath, and I did tear it in one place, but all that has happened is that it has turned out even more extra-grungey than I intended! It actually looks much better in the photo than it does in real life. It definitely has potential, though – even disasters can be put to good use!
Fliers and leaflets
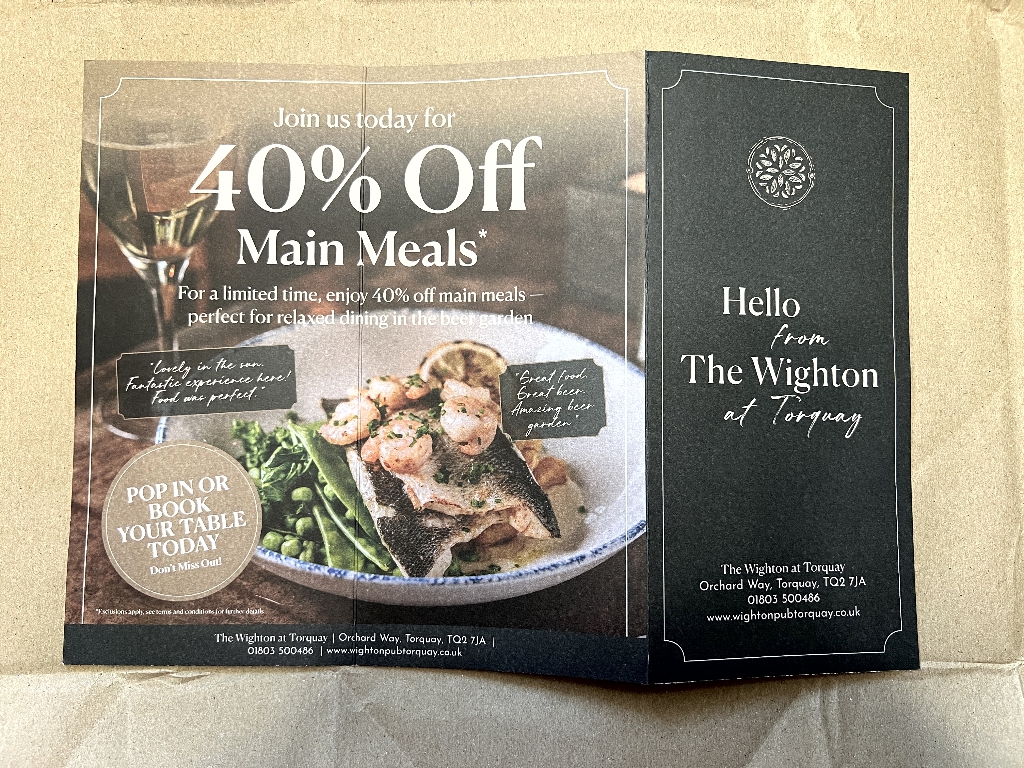
This week we got another tri-fold flier from The Wighton, which I have grabbed before it ended up in the recycling bin! These fliers aren’t made of such sturdy material as the packaging, of course, but it is fairly heavy-weight paper. Anything you add to cover up the printing naturally adds to its robustness.
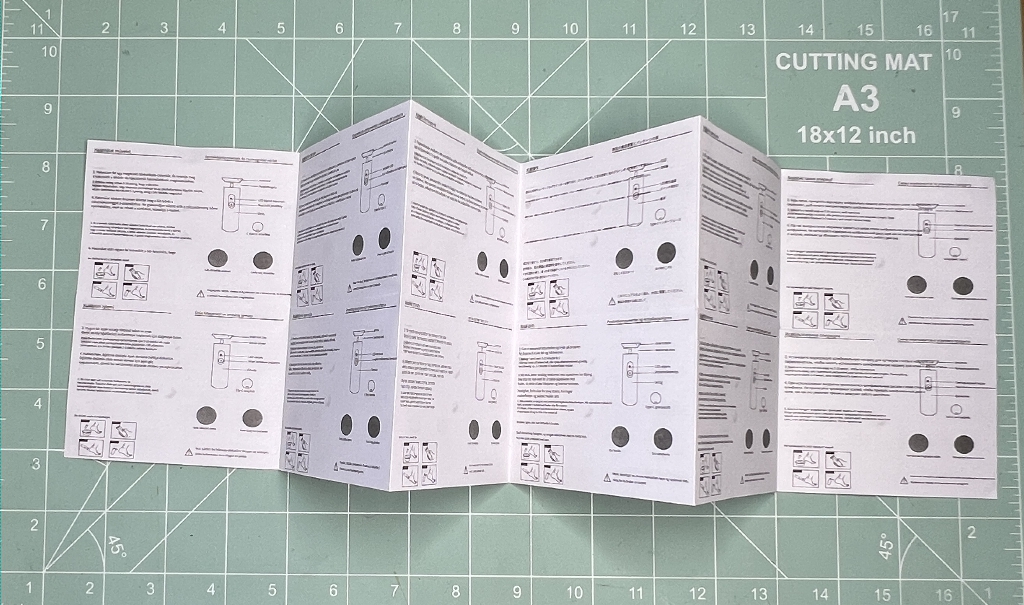
I got this accordion-folded instruction leaflet in something I bought recently, which is crying out to be used! The instructions are fairly minimal but being in dozens of different languages, it has provided a nice big folded piece! Of course, the paper is thin and wouldn’t stand up to much wear and tear on its own, but again, once covered and embellished, it’s amazing how this process strengthens it. There is a horizontal fold right across the whole piece but once it is covered, this won’t matter.
Plans for a tiny teabag album
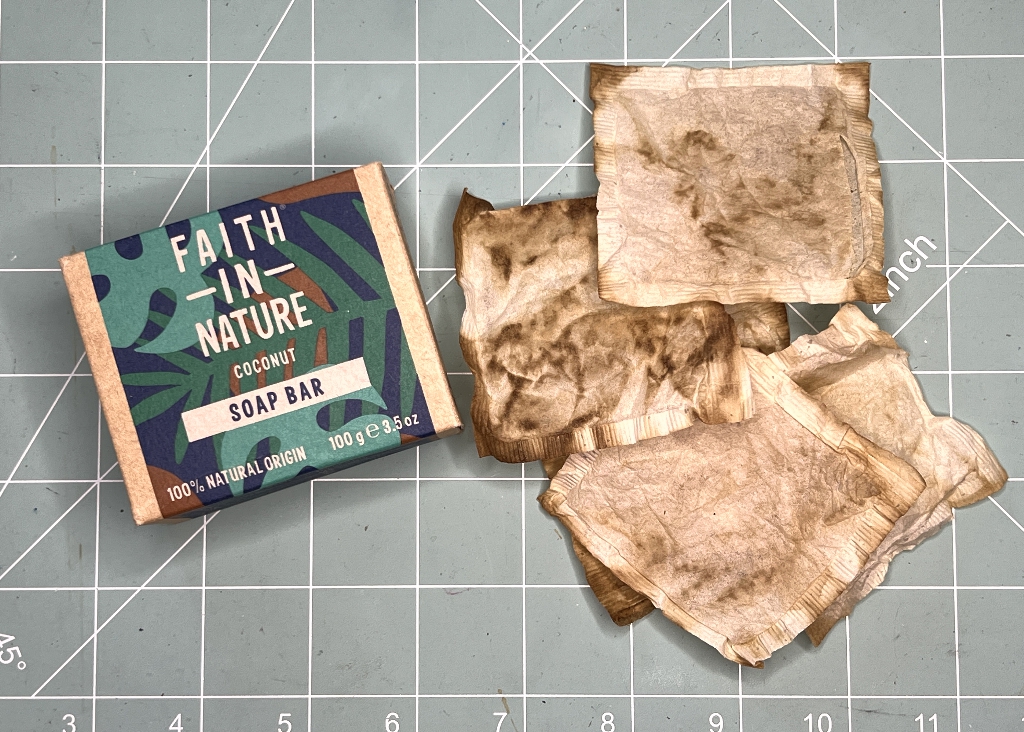
I started a new soap the other day and the box was diverted away from the recycle bin into the studio. I thought it might be about the same size as a standard UK teabag. The teabags are slightly taller but I can cut the seams off the top – this way I can kill two birds with one stone, empty the tea (if I hadn’t already done so as in these examples) and also form a translucent pocket for the addition of something interesting.
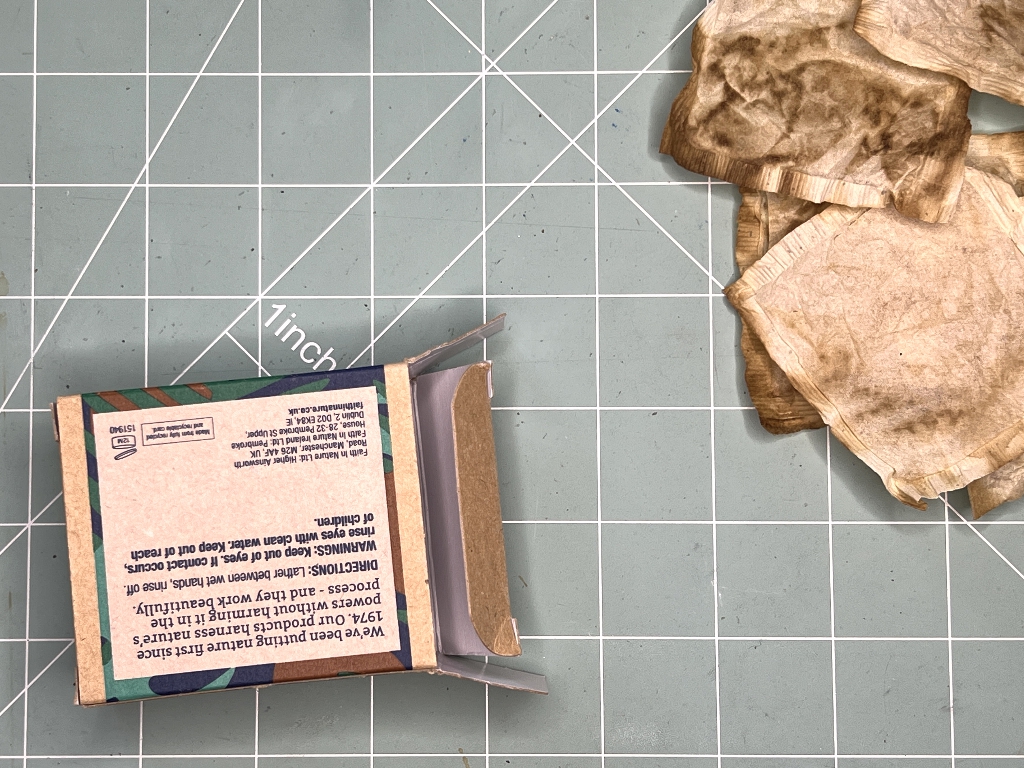
When opened, the box has a nice little flap that tucks in (same the other side). I thought that if I cut off the side panels with their little tabs, and glued the other end closed, I could turn what remains into a cover for the album, using the fold-over flap as a closure. There are some little areas of decorative printing on the box which could remain exposed. I was watching a video today where someone created a little book by glueing pairs of teabags together to form folios which were then gathered into a signature. It is rare to find tutorials online using British teabags. In the USA and elsewhere in the world, they are fortunate to have the longer teabags which are folded and have a string. These are actually a lot easier to use for art, but there aren’t many tea brands in the UK that use them, unfortunately.
I recently bought a pack of refillable teabags from Amazon – larger bags with drawstrings that you can use to put your own loose tea in. I shall start using them with my own loose tea and then empty them out. I love the random stains from the tea. It seems pointless to do what so many people do with teabags – they empty them, and then colour them with ink! Much better to drink the tea and not throw it away, and use the natural staining that it produces. From my experiments over the years with teabags, different kinds of tea yield different shades of stains and the whole thing is fascinating. This is especially so if you use what I think is my own invented technique – once used, dry the teabags on watercolour paper and utilise the stains they leave behind.