STASH BUSTING – TAGS FROM TRASH
I’m on a stash busting binge at the moment because I’ve got far too much stuff in my studio, and it’s time I used some of it.
Today I used recycled packaging as the base or initial embellishment for several tags. I have some odd sheets of patterned paper which isn’t very thick, which came free with a craft magazine years ago, and this was a good opportunity to use some of it. Adding scraps and bits and pieces, I ended up with three very acceptable tags, to which I can add further embellishment as the need arises when I use them in projects.
Whale tail tab punch
I have just treated myself to a large whale tail tab punch. I know how to make this shape of tab without a punch, using circle punches, but it’s fairly labour intensive, and the punch makes short work of it. I already have a punch for a small-sized whale tail tab. This large punch was pretty expensive but I think it will be very useful long-term. I try not to buy things that will have limited use.
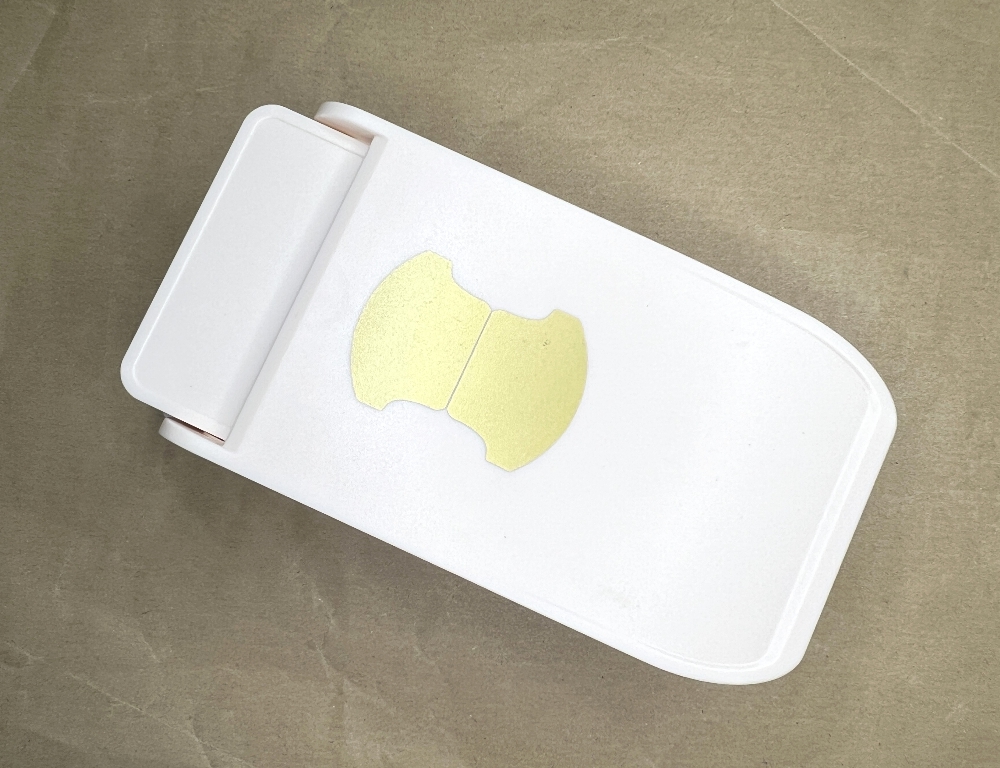
This is the underside.
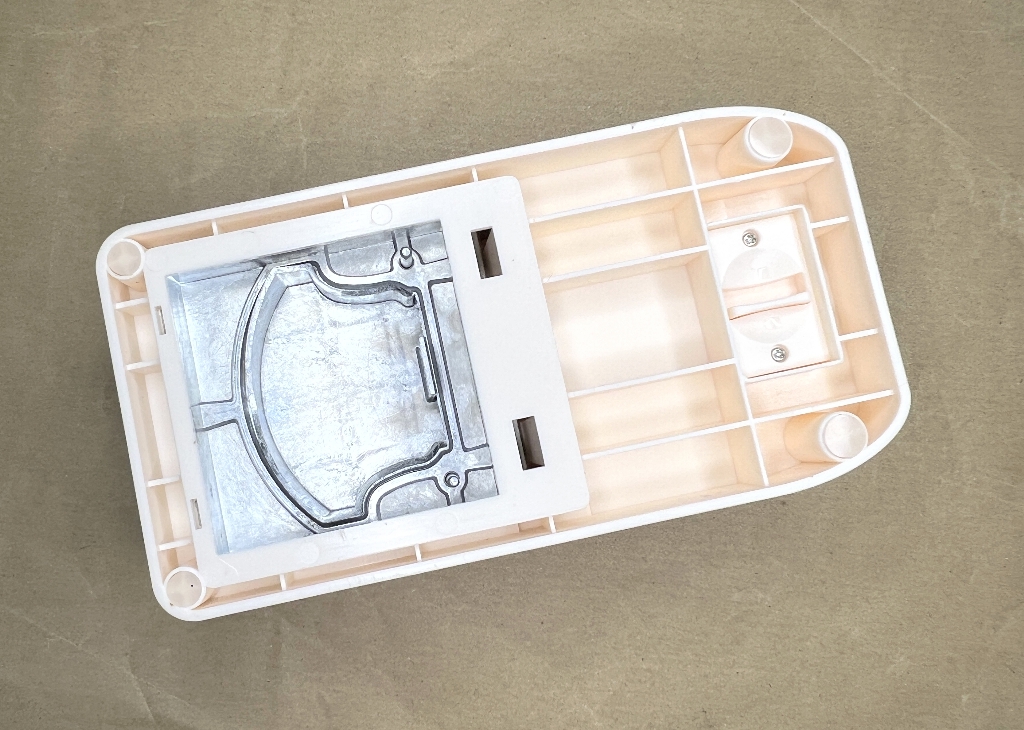
You can use it to make either a single layer tab, or if you insert a folded piece of card, you get the double tab which you can fold over a page edge or tag top etc.
Making a tag from the packaging
The punch arrived in a blister pack with a cardboard base which was double, and hinged at the top. It was a bit damaged and creased in places, but I thought it could still be used as the base for a tag.
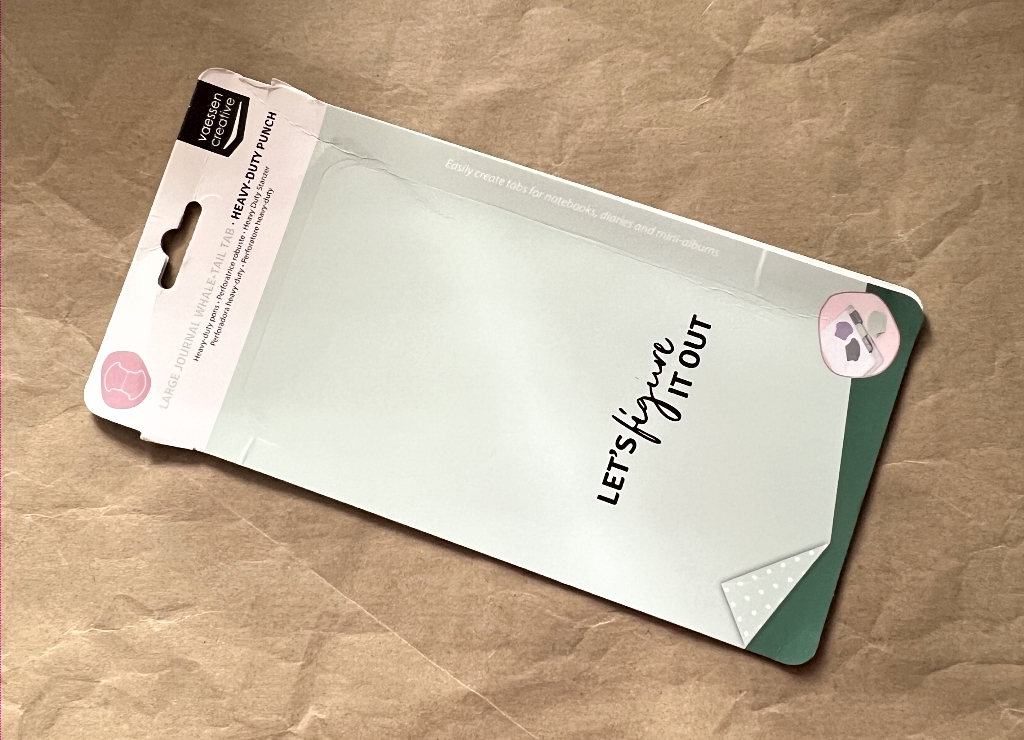
I trimmed it down on either side to make a narrower tag. My plan was to make a double tag which hinged at the top, which could be put over the top of a page, or just inserted into a pocket on a page. Adding a tab at the top presented a problem because it would prevent the double tag from opening properly. In the end, from one of my new banner tabs and a scrap of card, I made a tab which folded over the top of the tag and stuck it down on the front and back. This covered the original punched hole in the piece. To make this tab stand up higher than the main body of the tag, I trimmed the latter down to the width of the tab. In use, I will have to devise some way of preventing the hinge of the folded tag from dropping down onto the top edge of the page or the effect will be lost.
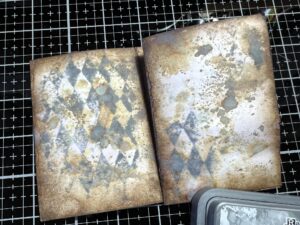
The completed tag
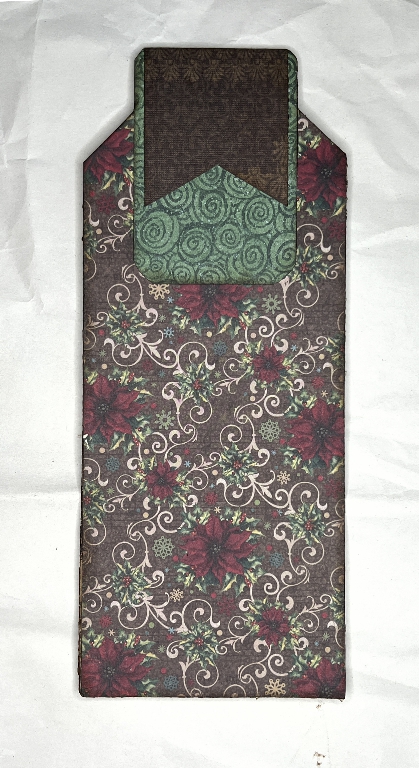
The back is identical to the front. I think these papers co-ordinate well. The brown banner tab was one of a collection I made the other day – a production line of clipping! I’ve got lots of different shapes and sizes of banner tabs now, in different colours.
I can now embellish this large double-sided tag as I wish, to co-ordinate with the project where it ends up.
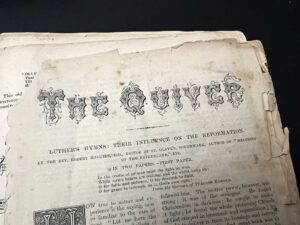
On the inside, I stuck down some book pages taken from the Victorian book “The Quiver,” trimmed to size. I added bits cut from scraps to cover the inside of the hinged part.
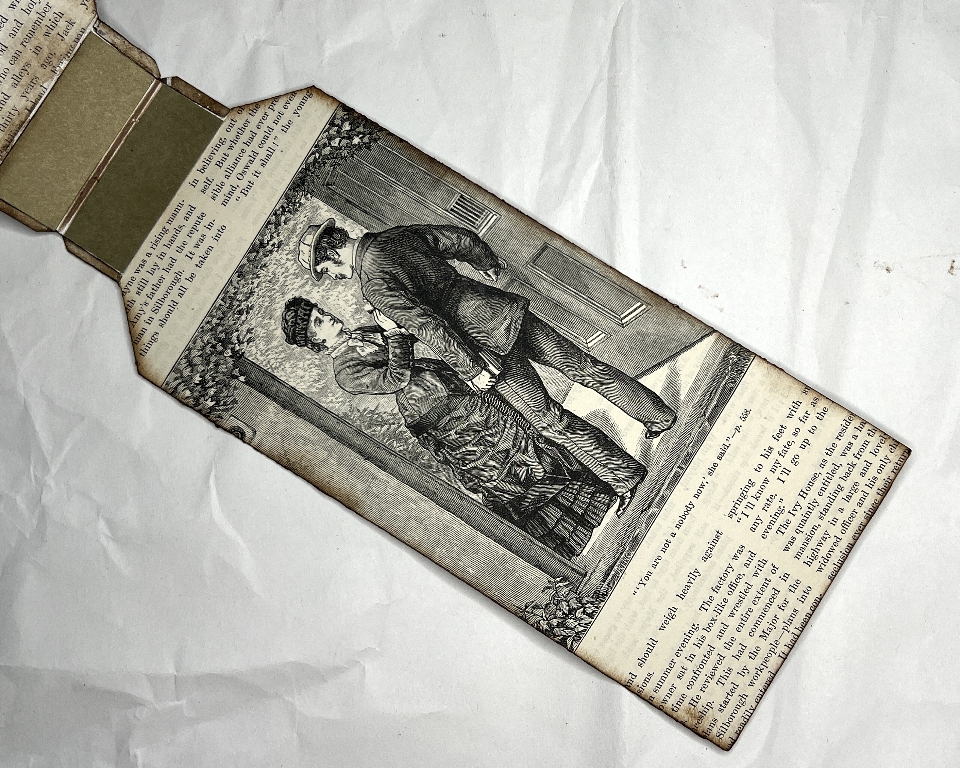
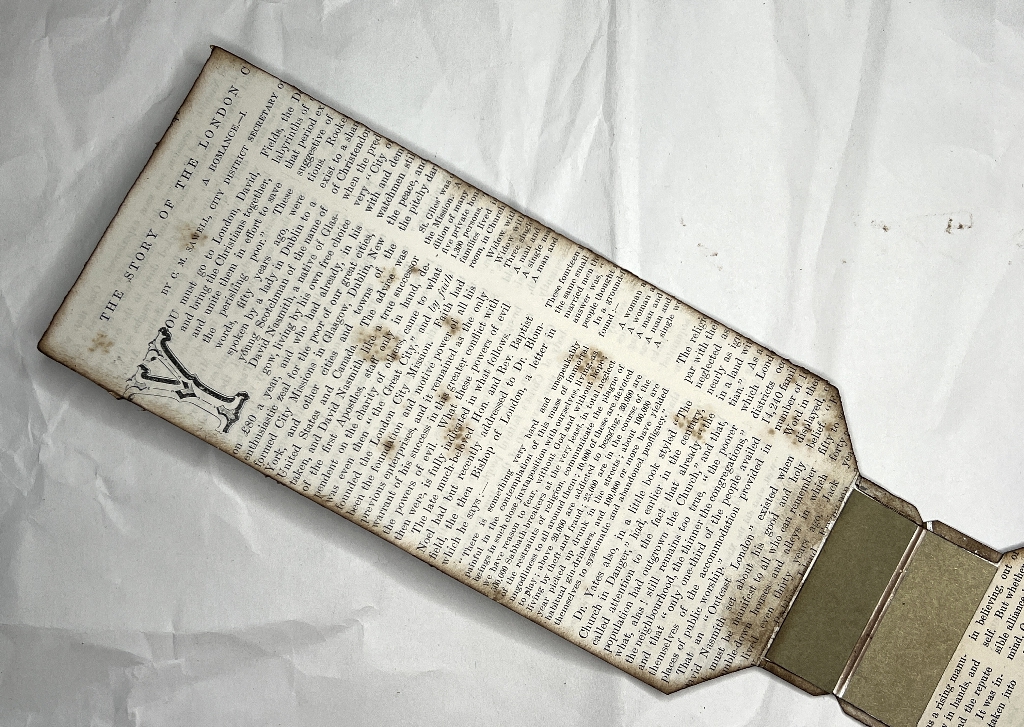
I love the genuine foxing on this paper. I inked around the edges to add to the vintage feel and to blend the edges together well. Again, if I wish to add further embellishment to these surfaces, I can do so when the time comes to use the element in a project.
Kiwi fruit packaging tag
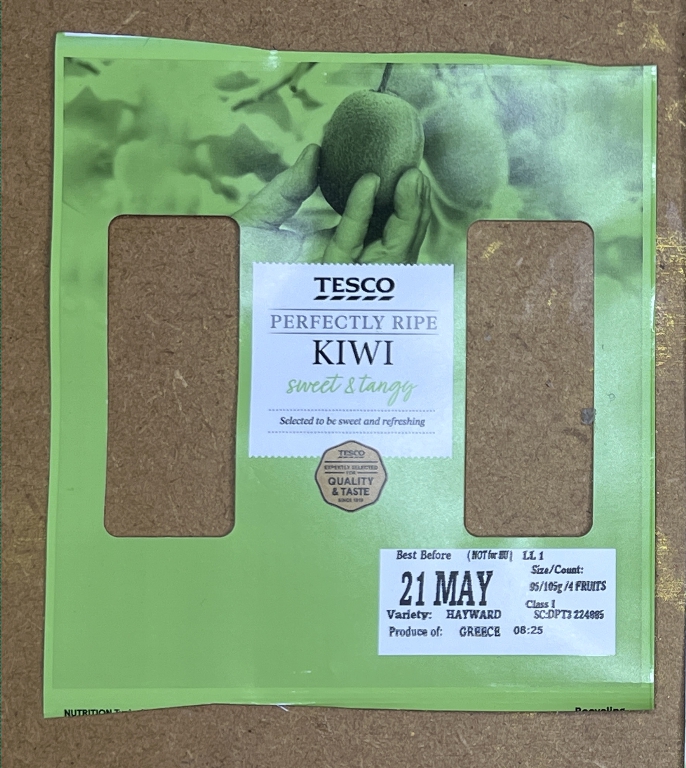
I have some more of this packaging since I made the last project. I like the two windows cut in the card.
I began by sanding the front and back surfaces to dull the gloss surface somewhat, to allow the glue to stick better.
I trimmed the edges of the piece so that they were square and the windows were centralised, and folded the piece in half vertically. I then laid down a narrow double-sided tape around the two windows on the back side and cut a folded piece from a cellophane bag ready to stick down on the inside of the windows.
Using my light panel, I traced around this piece onto some patterned paper laid on top, to show me where to cut out the windows. I stuck the cellophane down.
I took a small flower transfer from my box of Paperlogy stuff and stuck this down onto one half of the cellophane. I hinged the other half of the cellophane over it so that it was safely sandwiched between the two layers. I stuck this transparent element down onto the inside of the kiwi packaging so that the flower filled the aperture, and then removed the protective tape from the double-sided tape on the other side and folded it over so that the cellophane layer was secured between the two outer layers.
I covered the piece front and back with some decorative paper and added some washi tape to cover any gaps and to add further interest to the piece. (Washi tape is so useful – it covers a multitude of sins!) It was quite difficult lining up this covering paper with the tag so that I could take best advantage of the red border design on it, and this left the other side of the tag exposed because the edge of the patterned paper wouldn’t reach the edge of the tag. Washi tape solved the problem. The final touches were to mitre the top corners, round the bottom corners, add a green eyelet and a scrap of dark red ribbon for a tag embellishment.
![]()
This is the back.
![]()
This little project enabled me to use a single kiwi packaging piece, folded over to line up the windows and create a specimen card. A tag like this would be useful in any nature or garden journal.
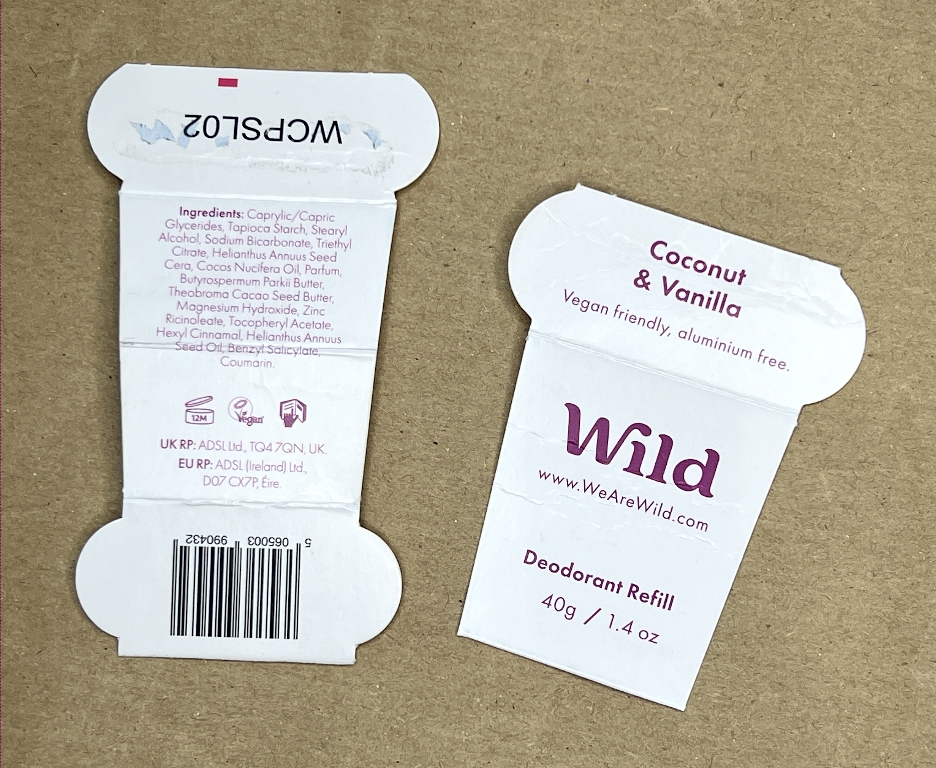
Deodorant refill packaging tabs
I opened up a new pack of deodorant refill the other day and saved the shaped card wrapped around, because I thought I could make something from it. I cut it into two pieces, and then folded the larger piece in half across the middle.
I covered them with more of the patterned paper. I fiddled and faffed a bit with my scissors till I was happier with the result.
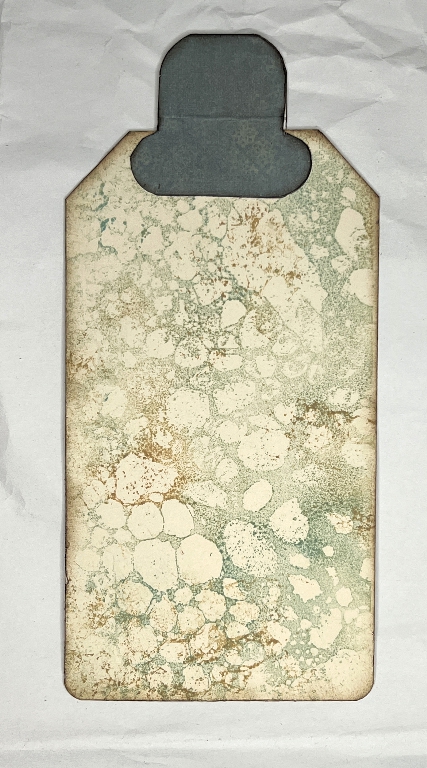
Mixed media tag
This was cut from a piece left over from an inked piece of thin card used in another project. I can’t remember exactly how I did this, but it looks as if I inked the card first, then laid down the stencil and lifted off the colour through the stencil (negative stencilling). I went round the outlines with a fine sepia permanent marker, and the finished piece was spattered.
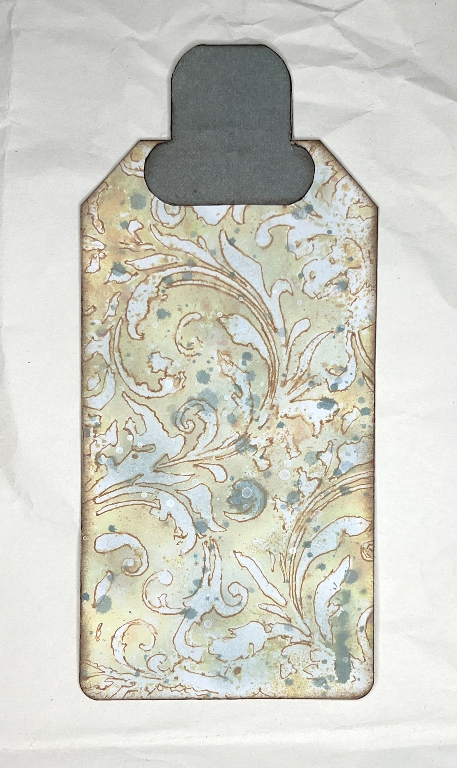
I trimmed the top into a tag shape and rounded the bottom corners, and then attached the topper made from the larger piece of deodorant packaging. I had to straighten up the edges as I didn’t like the outward slope of them, and I made the rounded part the same on both sides. Glueing it down was a simple matter. When I want to use this tag, it will be easy to add embellishments in keeping with the project, and I may add an eyelet and some sort of tag embellishment. This piece of card has been hanging around a long time and I was reluctant to use it because it was the only bit I had!!
The piece wasn’t very strong so I glued on another piece of card and trimmed it to size. I then stamped it, using two different colours of Distress Ink for a subtle effect.
Three tags
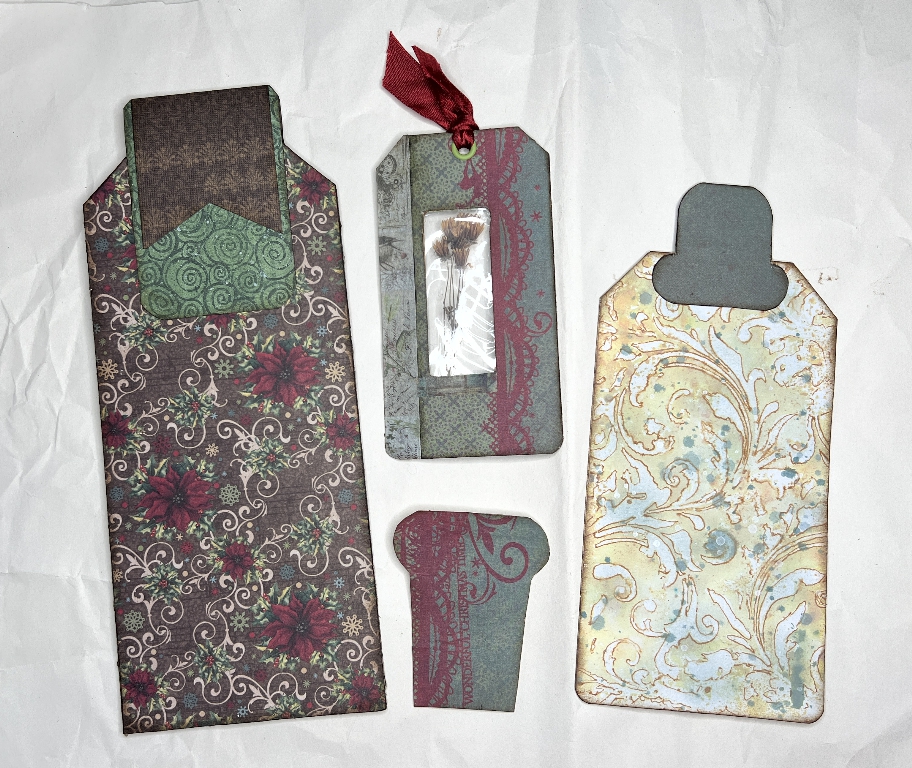
Three usable finished (but unfinished) tags and a small “work in progress” at bottom centre. I am not sure yet what I shall use this remaining deodorant packaging piece which is only a single thickness. I’ll find a use for it eventually, but I hope it doesn’t stay lurking around in my stash for another 20 years!
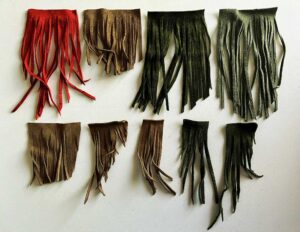
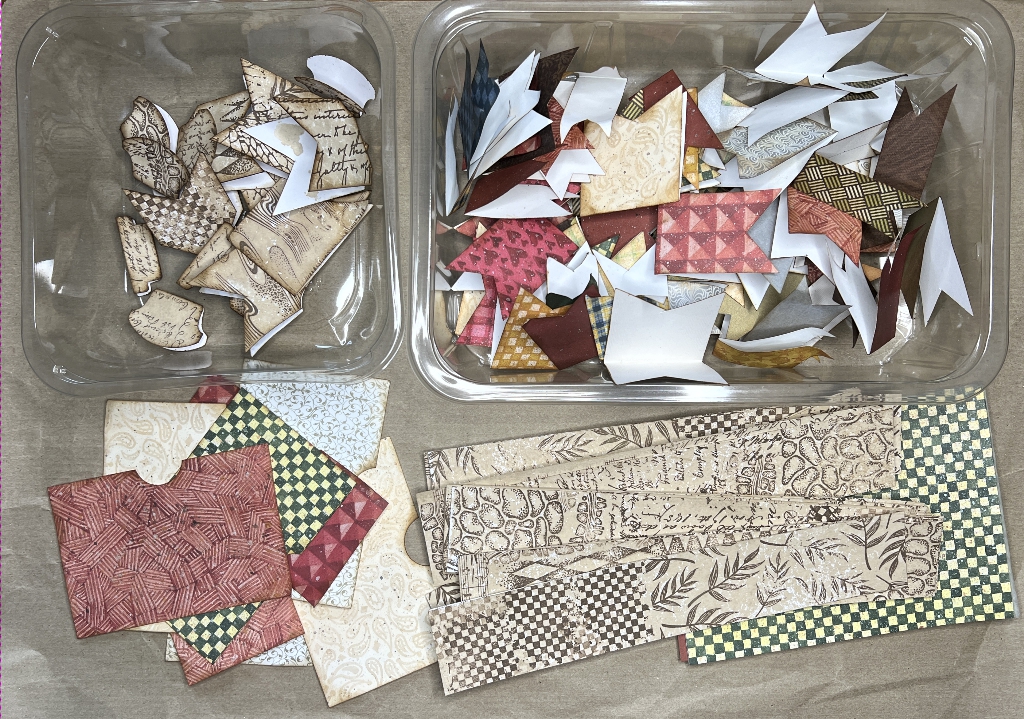
Tag collection
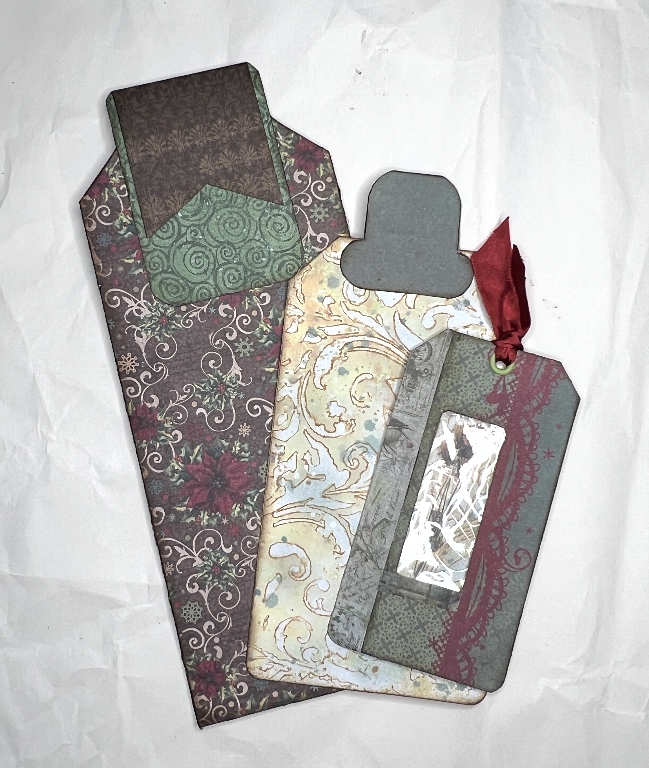
I think all these colours co-ordinate pretty well, and I am looking forward to using them in a project at some point.