DOUBLE TRI-FOLD JUNK MAIL FOLIO PART 9 – COMPLETING THE PROJECT – THE CLOSURE, DECORATING THE COVER, AND FINISHING TOUCHES
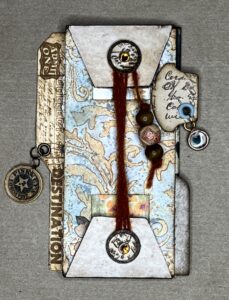
On Saturday night I completed this project, working till 2 a.m. to get it done!! I wanted it complete to show to my friend at our lunch out on Sunday, and it took longer than I hoped, because I couldn’t decide how to do the closure. I had some fun with it in the end, and I must say I’ve never done a closure like this before! Here’s the front cover.
The closure
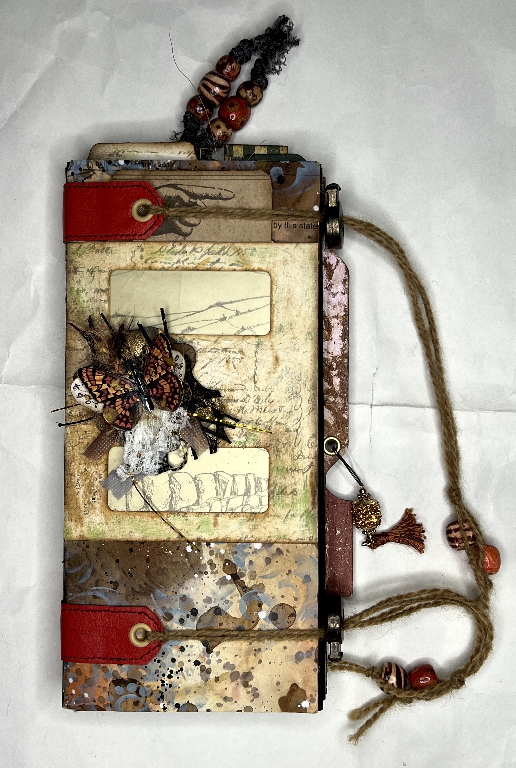
I cut two small strips from a sheet of red faux leather fabric I bought as an offcut (really cheap) in a local haberdashery shop some time ago, originally with the intention of using it for album covers, which I still might do. I bought several sheets of this in different colours. I did try to dull down the red a bit with some ink but the surface was too slick and it just rubbed off. In the end I liked the red, as there are touches of red throughout the project.

I stitched around them with the sewing machine and added the eyelets. I stuck them down around the spine of the folio, but leaving the ends free, so that I could insert the jute twine for the closure. I cut four quite long pieces of this, and inserted each one into the eyelets front and back on the two straps.
My original plan was to tie them in a bow but it didn’t look too great. I had a rummage in my “fastenings” box and found these toggle thingies – I don’t know what they are called, but you get them on anoraks and other clothing. You press the spring-loaded button to move them along the cord, and when you release the button, the toggle is held in place by the spring. I added beads on the ends for a bit of embellishment.

They are knotted together, so when you release the closure, you can move the twine out of the way top and bottom in order to open the folio.
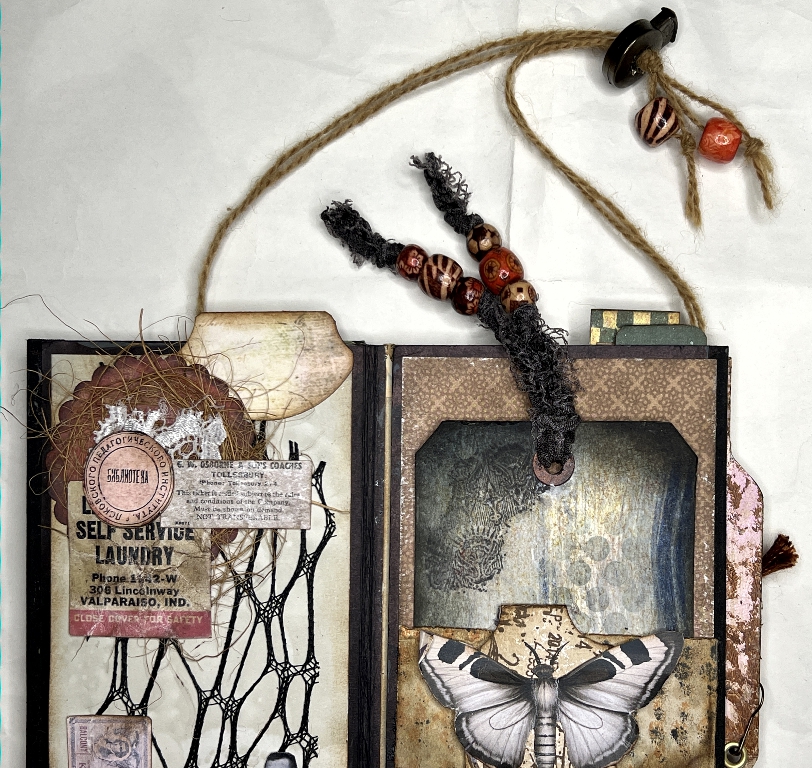
When closed, the strings are quite long, but it all adds to the interest in the project, I think!
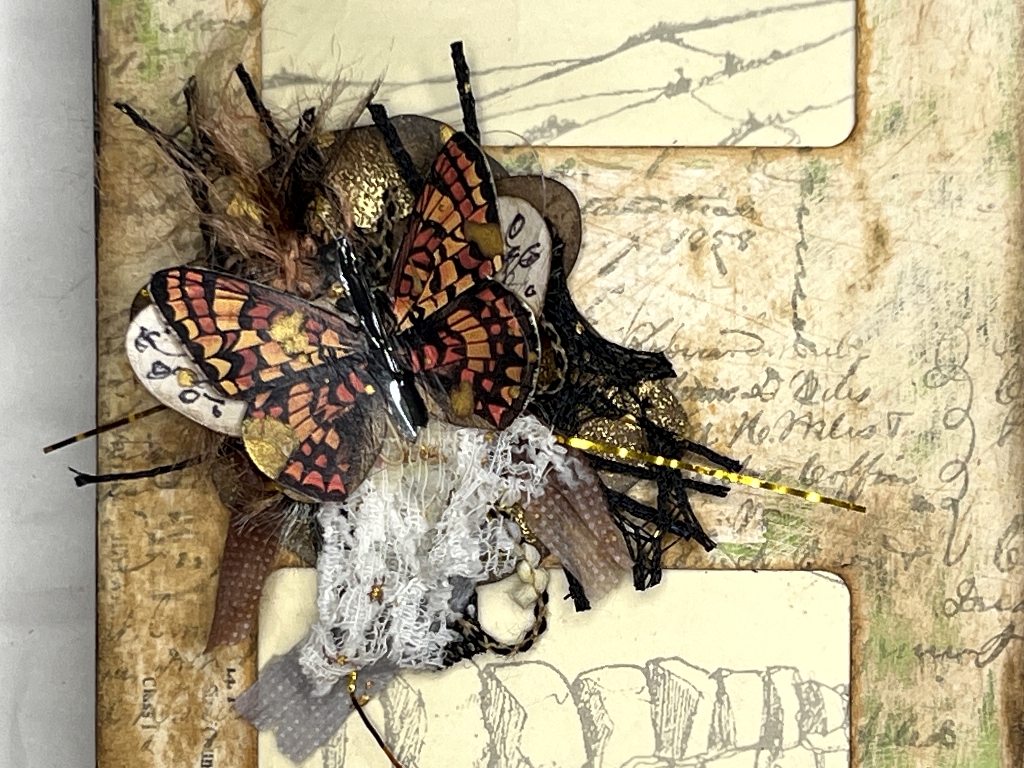
Cluster embellishment
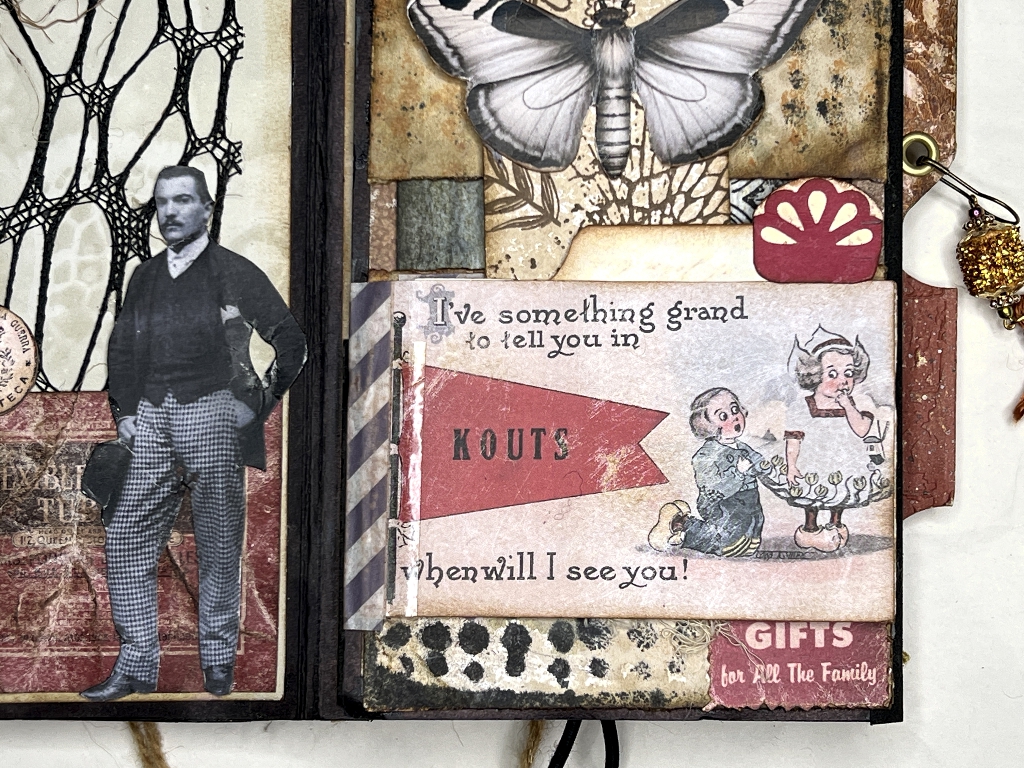
I chose the smallest of the collection of clusters made following Luise Heinzl’s tutorial – they are very dimensional with lots of different materials. The base of each is a piece of Amazon packaging paper with some random gold heat embossing, and you build up the layers and top it off with a multi-layered butterfly.
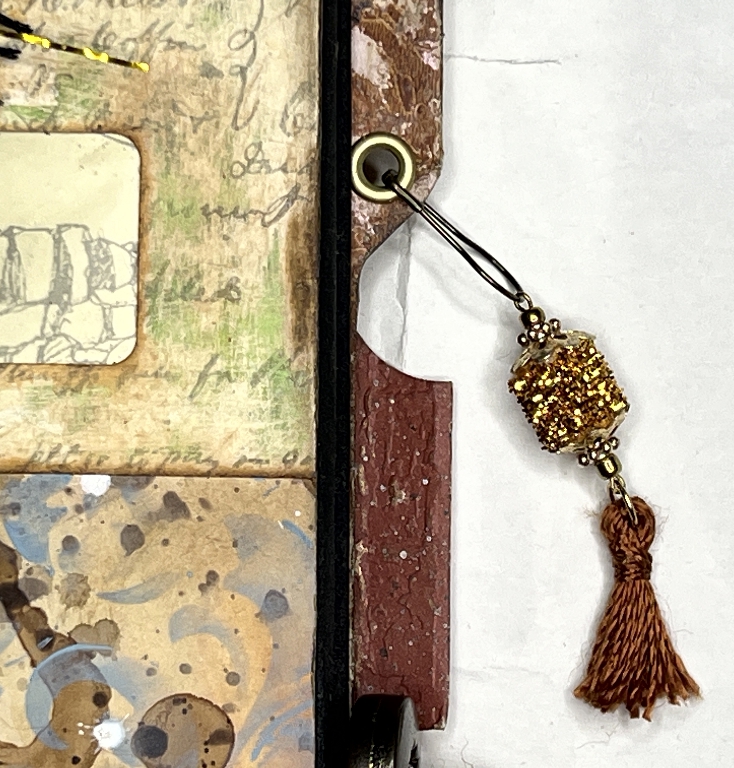
Sparkly ribbon bead dangle
I added another eyelet to one of the page tabs on the side of the folio, and attached one of my sparkly ribbon beads with a bulb pin.
Running repairs with added bits and pieces
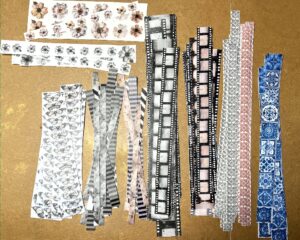
As with all projects like this, there are some running repairs that need to be done. When you first do it, everything seems fine, but with use, some of the hinges and fixtures become loose and need a bit of reinforcement. I noticed that the edges of some of the panels were a bit rough, so I added some washi tape – in this case some of my DIY washi from red and white striped wrapping paper, which is slightly wider than my other DIY washi tapes. I stuck it down with double-sided tape to make sure it would stay secure, and then distressed it with sanding and inking.
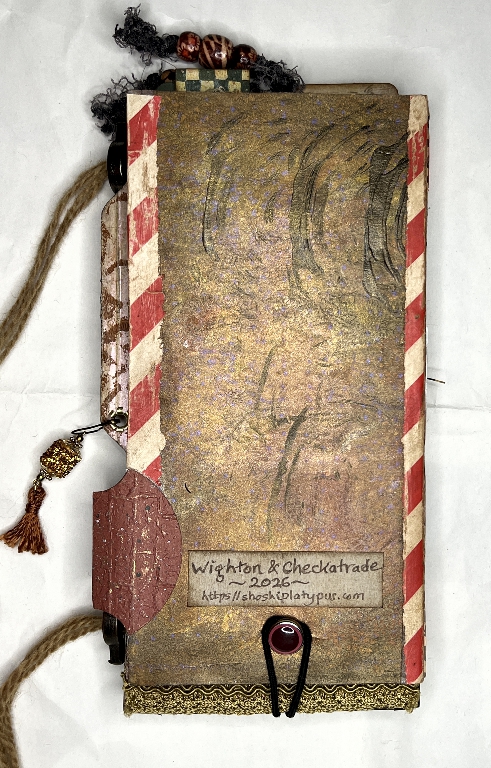
I also made a little label to go on the back, indicating what the folio was made from.
While I was out yesterday and showing this project to someone, unfortunately one end of the black elastic around the brad at the bottom, which closes the Checkatrade flip-up, pulled out. This is a major pain as I’m not going to be able to take the thing apart to get it back in again. I intend squirting in some E600 glue and stuffing the end back in and hoping for the best – this is the strongest glue I’ve got! I hope it’s going to work.
Some reinforcements in the first folio
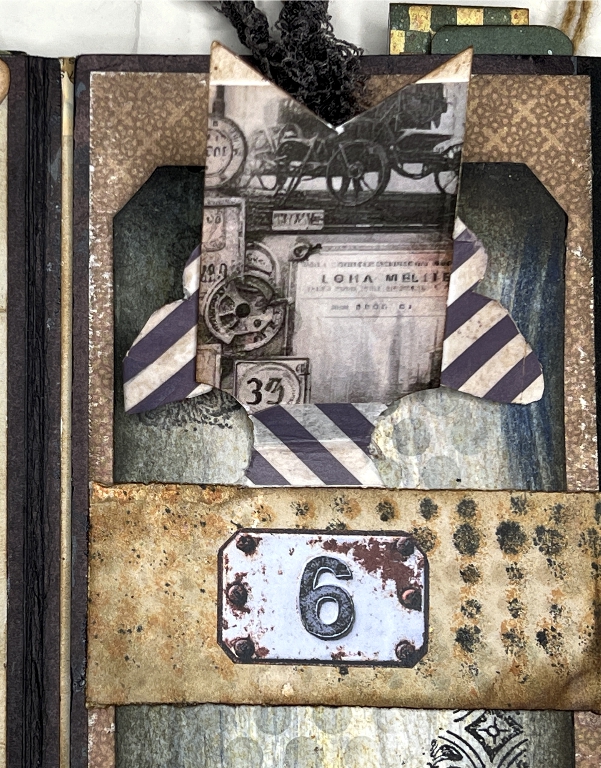
While working on the second folio, I realised that a couple of hinges in the first folio were pretty floppy and would need reinforcing. This is the interactive part with the flip-out which holds the flip-up closed.
I added some washi tape, again sticking it down with double-sided tape to be sure it would remain secure, and the effect is fine. For the little flip-out, this goes around the edge of the panel to the other side. It really doesn’t affect the look of the layout on that panel, so I’m satisfied with it.

I am glad I chose this particular washi tape, because it was the same one I’d chosen for the underside of the butterfly wings of the flip-up.
I stuck it down with double-sided tape as before, and then trimmed away the excess with a sharp knife, following the curve of the hinged piece.
The two hinges now feel very much more secure and the pieces lie nice and straight in place on the background.
The closure on the back cover
The red leatherette straps have go go on the folio itself on the back, and not on the Checkatrade brochure, or the latter would not open. The straps lie flat enough not to interfere with the flip-up.
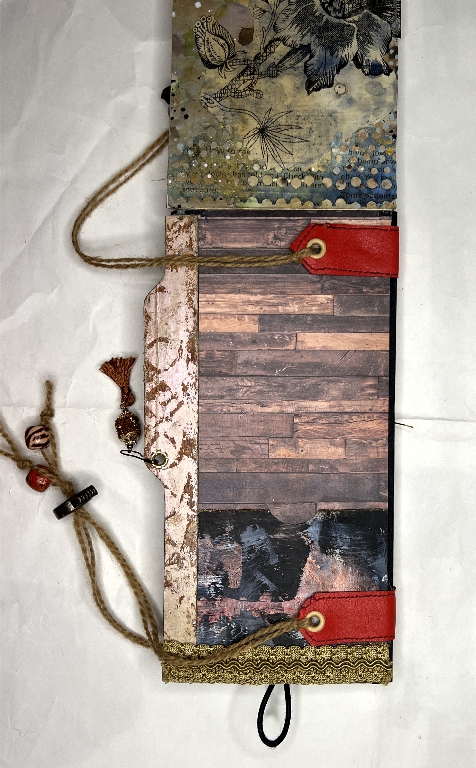
Both straps are as near to the top and bottom of the folio as possible, to avoid covering the windows in the front cover. I think they work pretty well.
Second folio repair
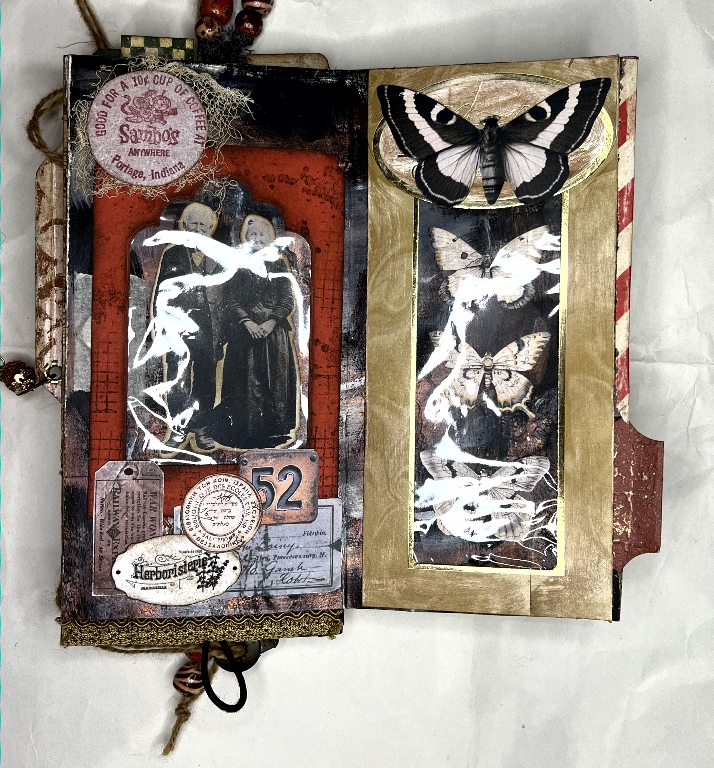
I stuck some more of the gift wrap DIY washi tape to the edge of the fold on the second folio which also looked a bit rough. It is just wide enough to cover the edge, and again I stuck it down securely with double-sided tape. In the following photo, you can see the reflective cellophane windows I made – the photos in the earlier post were done in natural light to avoid the reflections, but I thought in this case, now you have seen the images under the windows, how the shininess adds interest to the panels.
Final detail shot of closure
Just another photo of the beaded twine for the closure, and the sparkly ribbon bead dangle.

Conclusion
This concludes this project, which ended up being quite a bit more complex than originally intended! As I mentioned before, this sort of project makes itself up as it goes along, and apart from the initial basic plan of how the main structure will work, the rest is open to conjecture! I’ve never made such a weird closure as this before, but it makes it kind of fun!
I hope you have enjoyed this double folio made from junk mail. I should be offended by Caroline’s remark that she thinks of me whenever she’s throwing away rubbish, but instead I am highly amused and flattered! Long live recycling!!! I hope this has inspired everyone to look at their trash in a new light and realise that even the humblest of stuff that most people chuck away without a second thought deserves at least a second look to see if it has the potential for art. It’s the most satisfying thing ever, to transform trash into treasure.