
LITTLE TEA BAG BOOK
Have you ever gone into your studio intending to do one thing, and coming out having done something completely different? I have – this afternoon.
I am in the middle of a major tidy-up in the chaos pretending to be my studio, and have made good progress. I fully intended tackling the last pile of packaging and recycled greetings cards etc. There was a collection of dried tea bags on the draining board of my studio sink which had been there for ages, and the other day I spattered them with bleach to see if I could make them more interesting – something I haven’t had much success with in the past but I thought I’d give it a go. The results were interesting. Here they are after I ironed them.
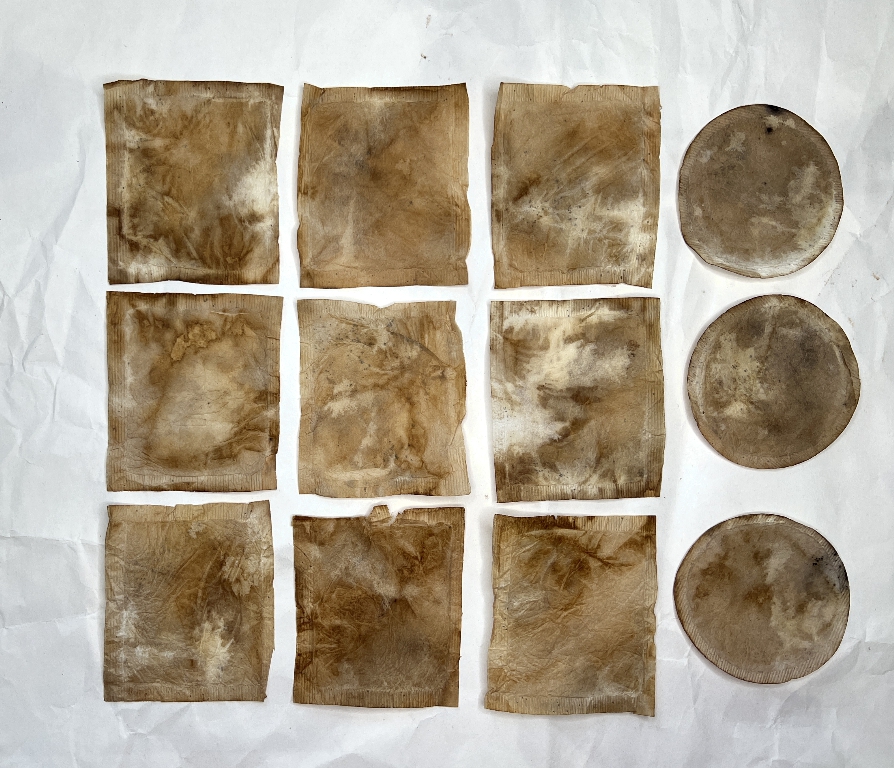
I should have opened them up before ironing them, because I’d forgotten that this tends to fuse the layers together. I was able to separate them without too much damage, using a thin bladed knife.
I didn’t photograph every stage of the project I created with them as I was on a creative roll!
A tiny album made in an afternoon
Unfortunately most of the intriguing marks left by the tea and bleach disappeared in the process but they formed an interesting substrate.
I slit each teabag open along three sides, leaving one of the vertical seams intact to form the binding. Most of the smaller sections cut away from the seams were glued to the larger section of the subsequent teabag, until I had formed a complete book.
Processes and materials
Collage with rice paper and napkin fragments – I thought it was high time I made inroads into all the fancy thin papers I’ve got in my stash.
Stamping with some of my DIY foam stamps.
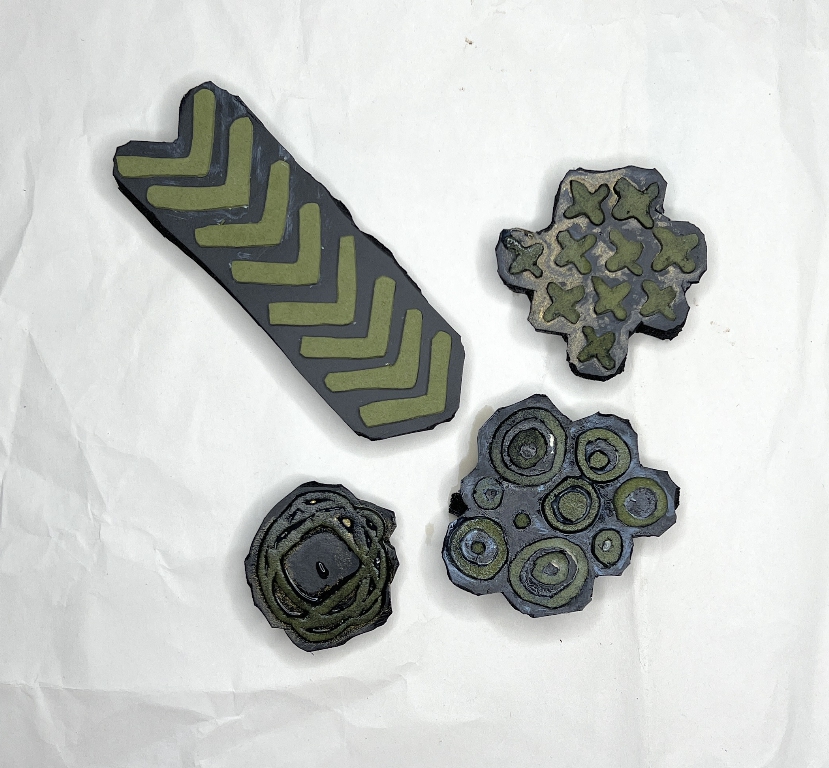
I made a whole lot of these several years ago – some small like these, and some larger ones. The patterns are cut from self-adhesive fun foam and stuck down onto pieces of thick rubber yoga mat – I had to buy a whole huge mat and have hardly used any of it! I don’t think I’ll ever run out of it.
Doodling and emphasising with a selection of marker pens – Posca, Sharpie etc.
Mark making, mostly with a broader gold acrylic pen.
Spattering with white Indian ink.
Machine stitching.
A little Distress Ink for the edges and to darken some areas.
The adhesive used throughout was acrylic matte medium.
Throughout the series of photos you will see that I have used a small red clip to hold the pages flat so I could photograph them.
The album
The front cover
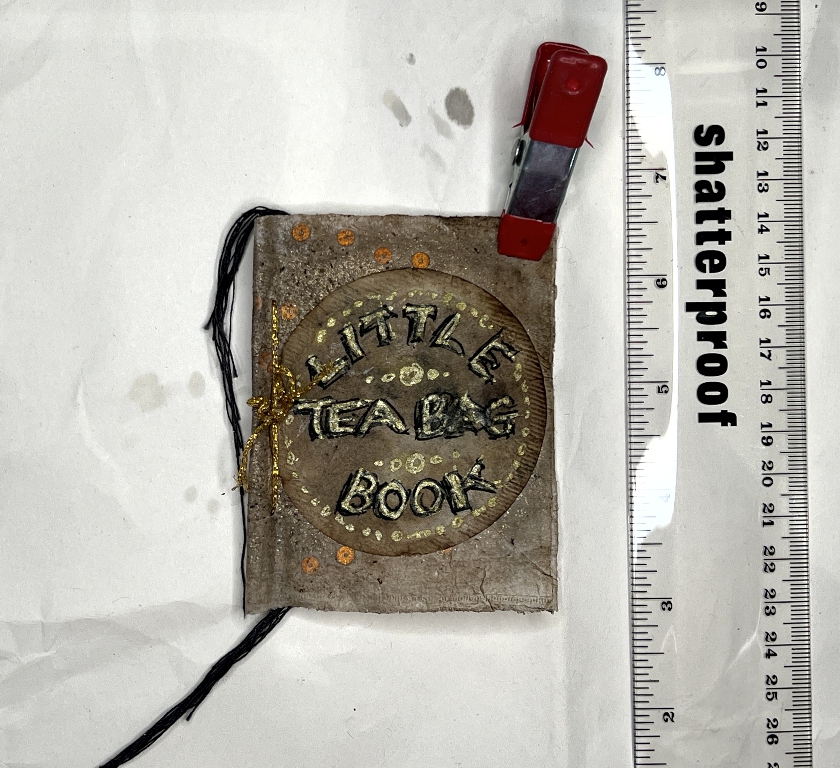
I photographed this, and subsequent pages, with the ruler alongside to show how tiny this little book is.
I made the cover last. The pages of the book are all made from the UK-style pillow-like teabags – these are a lot less suitable for art than the American ones which are made of a single larger sheet of teabag material, folded and with a string attached. The paper is slightly different too. The UK bags have a seam all around the four sides and it’s hard to get a decent-sized sheet even when opening them up on three sides – there is always that final seam down the centre.
I made the cover of the book from two pieces of the US-style teabags – I had some fruit tea and saved the bags. On their own they were too flimsy so I glued them together. This provided me with the opportunity to sandwich something between, so I chose some copper-coloured tiny sequins and sprinkled on some gold glitter before glueing the two layers together.
I wrote the title on a little book plate made from a circular teabag, writing with black and white Posca pens and a gold Artistro pen.
I did a three-hole pamphlet stitch binding parallel to the edge of the spine, using gold twine and securing the bow with glue. I tied all the machine stitching threads on the pages together and left them dangling.
Inside the front cover and page 1
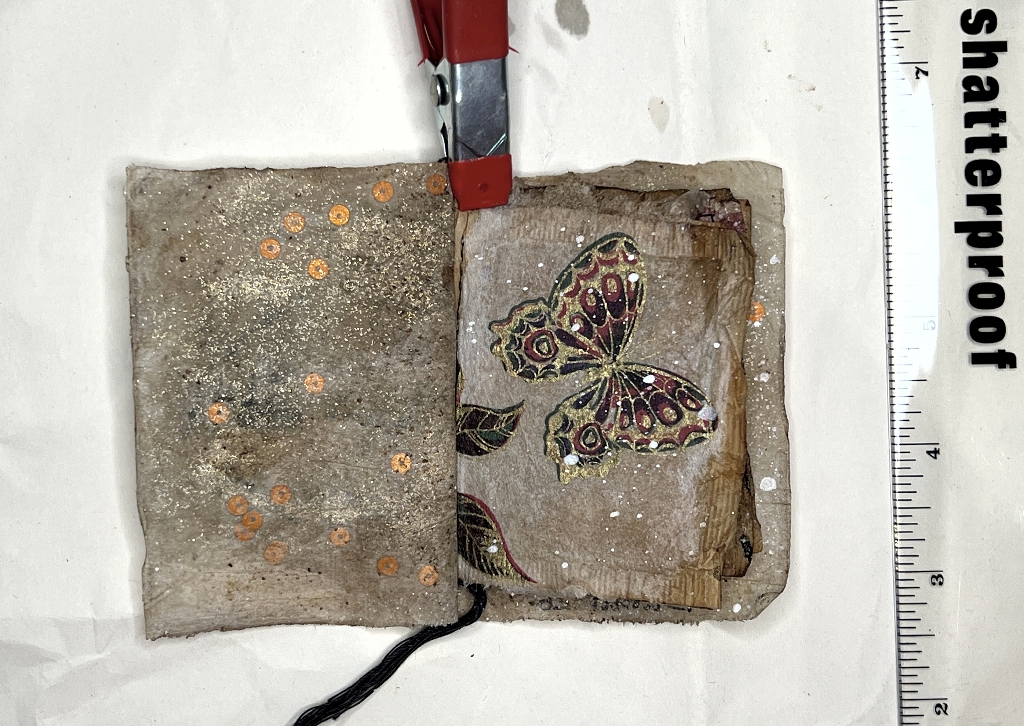
You can see the glitter and sequins embedded in the cover. The first page has a fragment of rice paper collaged onto the page. Thin paper like tissue paper, napkin and rice paper tend to become more transparent once the glue has dried.
Pages 2 and 3
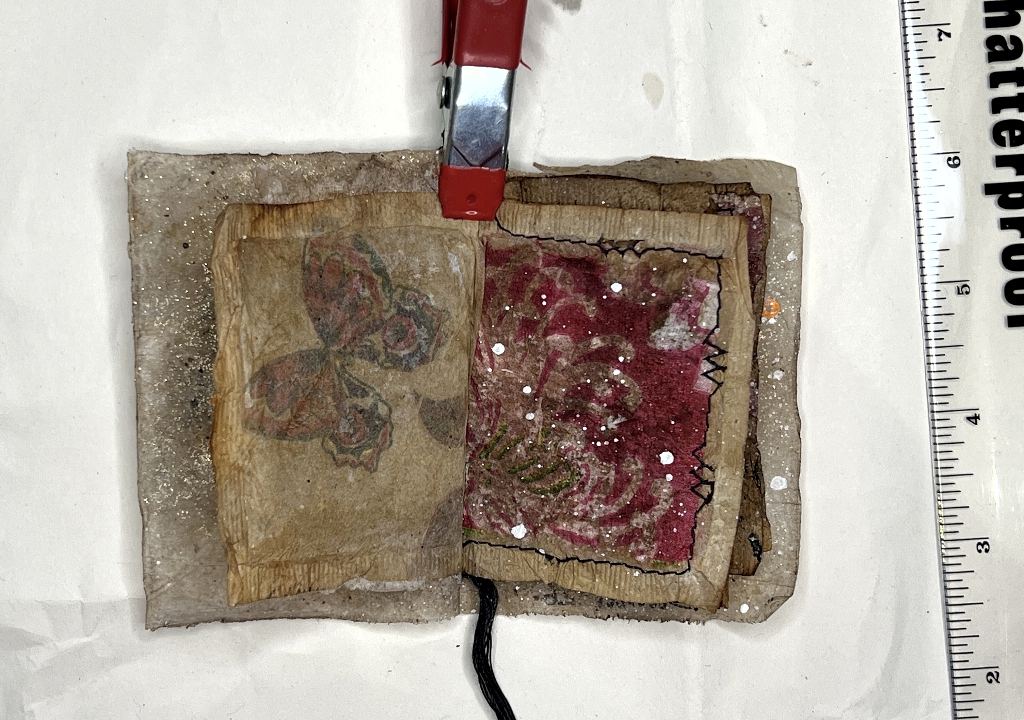
I didn’t do anything on page 2 because the butterfly on page 1 was showing through. Page 3 was another collaged fragment of rice paper with some white spattering.
Pages 4 and 5
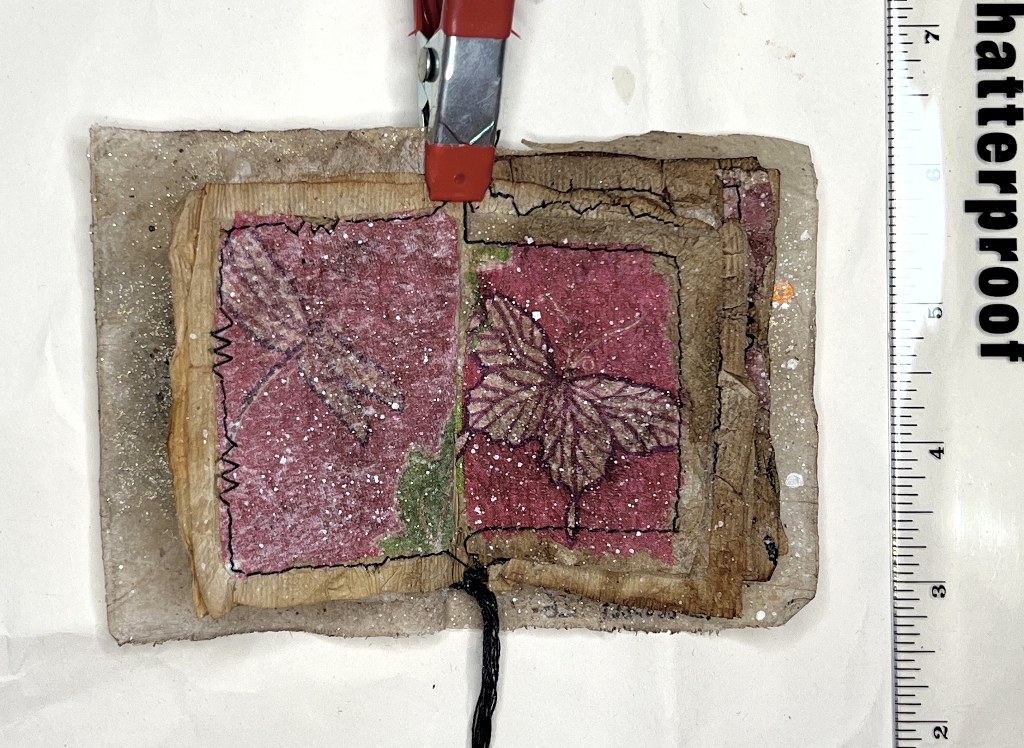
More collaged fragments – this time a dragonfly and another butterfly.
Pages 6 and 7
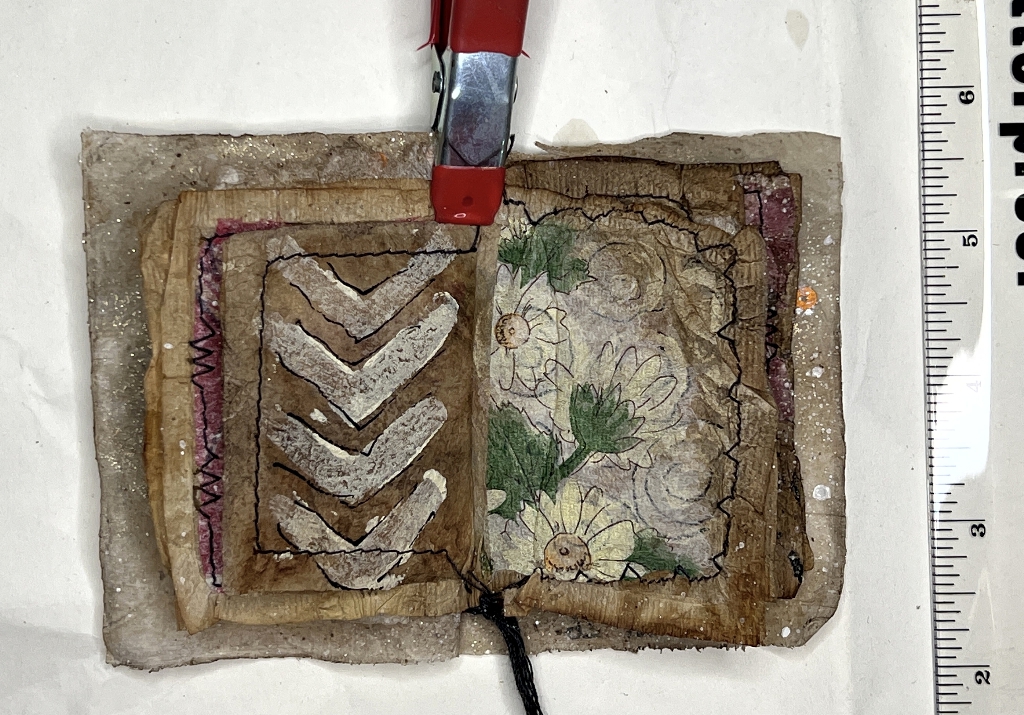
The first of the DIY foam stamping on page 6, done with unbleached titanium acrylic paint and outlined with black pen once dry. Page 7 was another rice paper collage with some daisies.
Pages 8 and 9
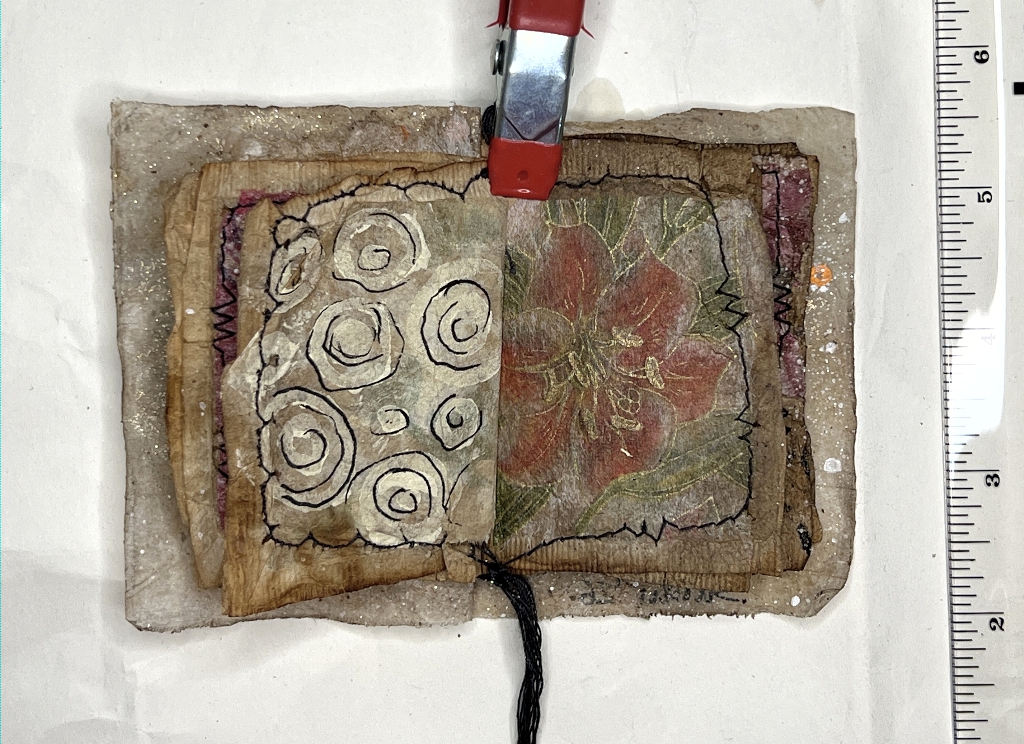
Another foam stamp plus some outlining on page 8, and yet another rice paper collage on page 9. This particular paper has gold on it.
Pages 10 and 11
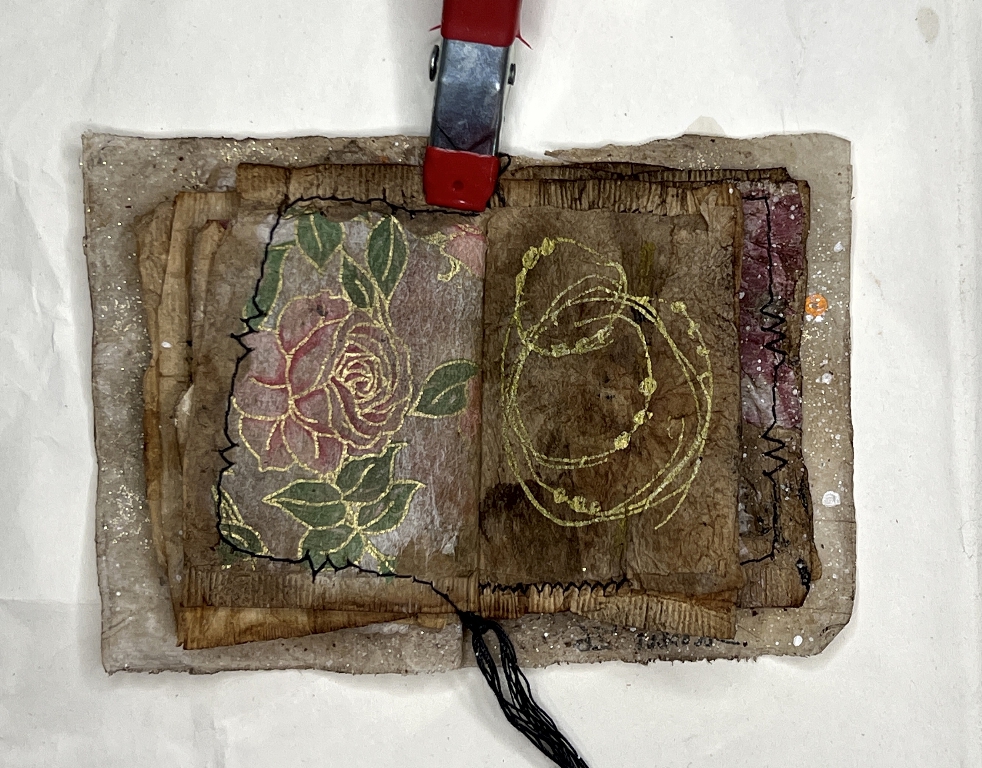
Another fragment of the same rice paper on page 10, and some random gold doodled circles on page 11, done with the Artistro gold pen.
Pages 12 and 13
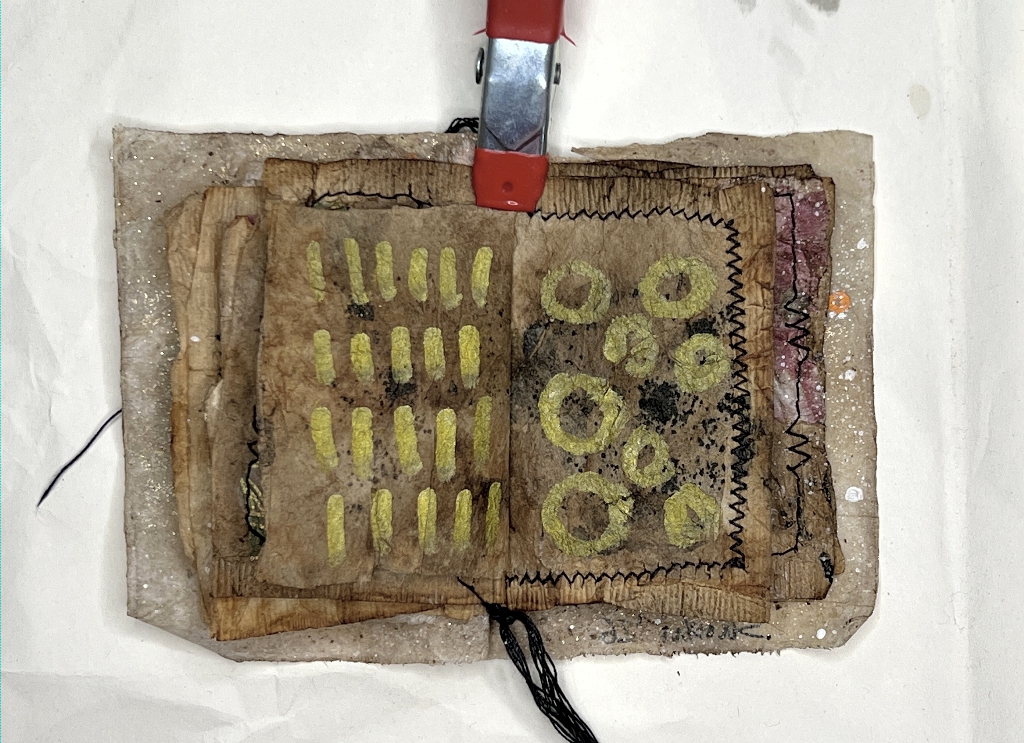
Mark making done with the thicker end of the Artistro gold pen.
Pages 14 and 15
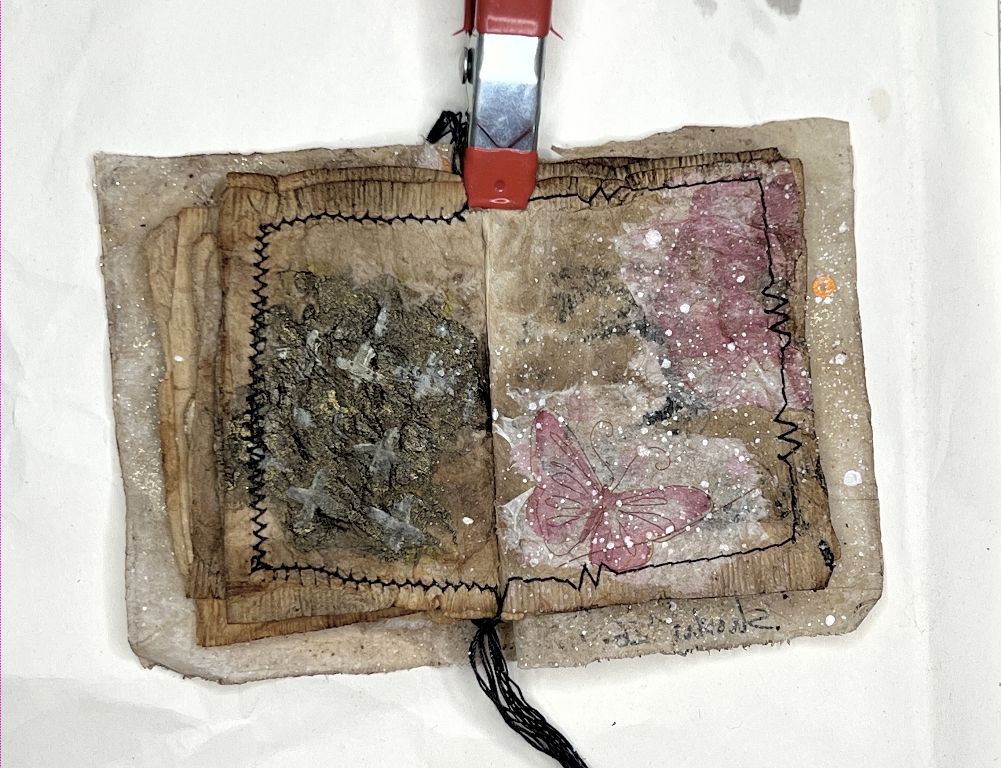
More stamping with a foam stamp on page 14. This didn’t come out too well so I went over the marks with some unbleached white titanium acrylic. Another collaged rice paper butterfly and flower on page 15.
Pages 16 and 17
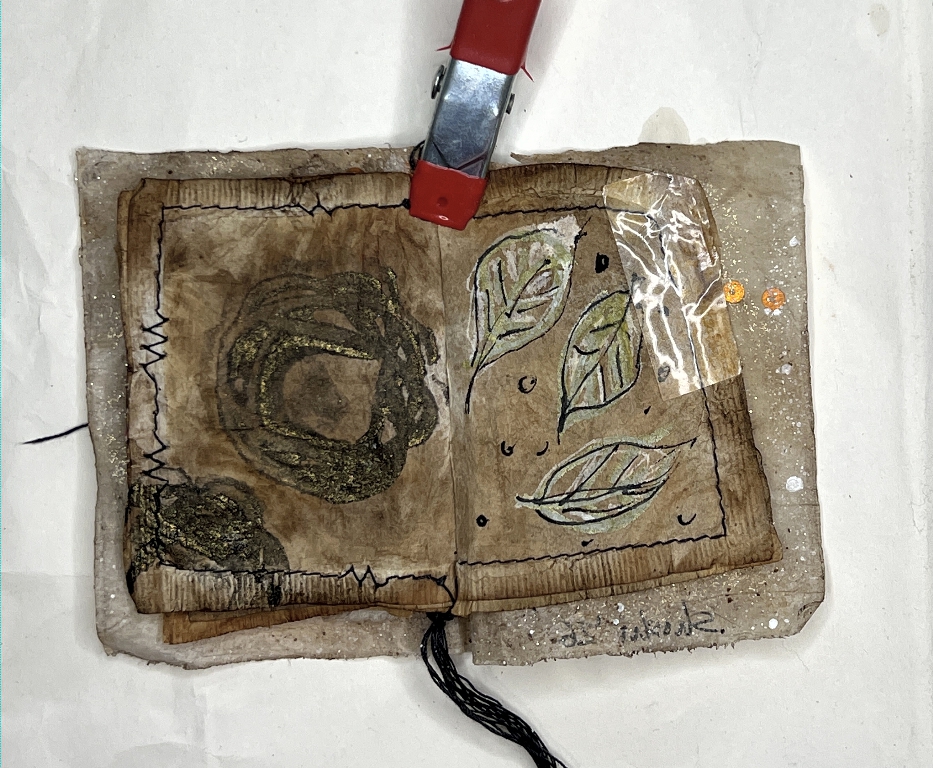
Page 16 is stamped with a wreath-like DIY foam stamp, using Arteza Fancy Black acrylic paint – this is more of a brown really, with flecks of gold in it. It’s utterly gorgeous! Page 17 has some doodled leaves and a bit of my DIY faux vintage Sellotape – more on the details for page 18.
Page 18 and inside the back cover
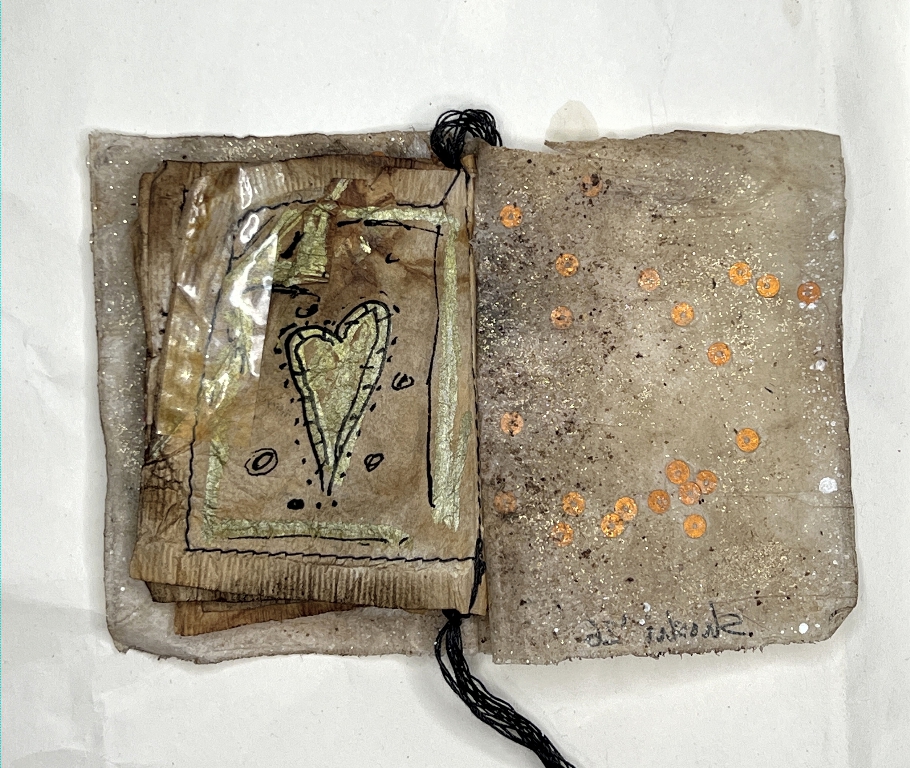
When I was stitching around this particular page, I didn’t realise that the underside had been folded down and caught under the stitching. I couldn’t unpick it because teabag paper is a lot more fragile than fabric, so I had to go with the flow, and decided to make a feature of it! I added some black and gold acrylic marker to emphasise the folds. I noticed that the edge of the teabag had ripped along the stitching line so I repaired it with some vintage Sellotape which adds a bit of texture, even though the background is too dark to show up the colouring on it.
Inside the back cover is a repeat of the inside of the front cover. Again you can see the sequins and a little sparkle from the glitter.
The back cover
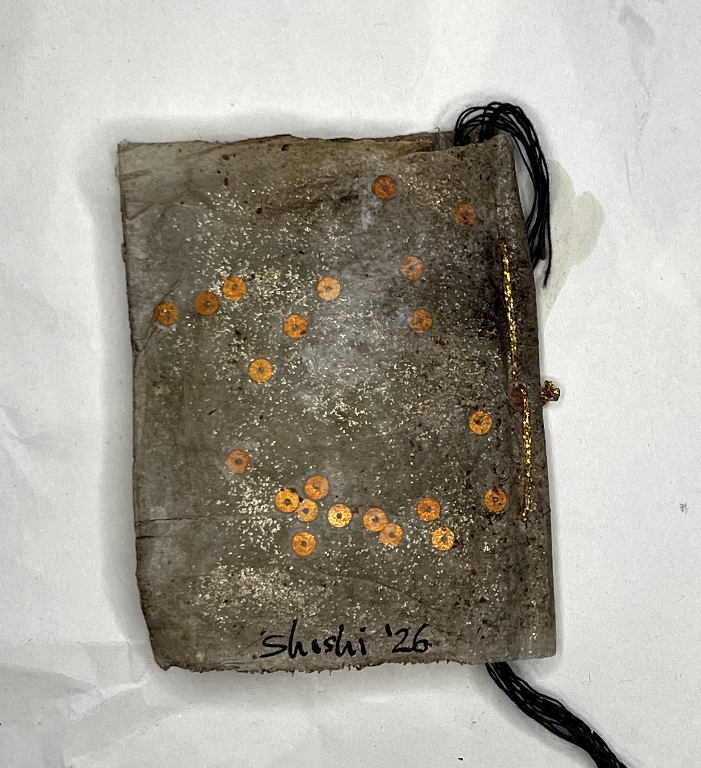
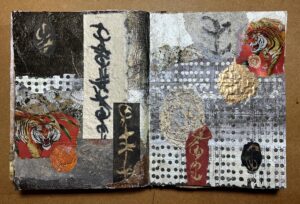
This has turned into a really grungey little book! I’m sad that the bleaching marks have disappeared under all the embellishment but I’m definitely going to try that technique again.
Next task – back to my procrastinated tidying!













Truly lovely Shoshi! …and “grungey” is a new word for me, I had to look it up but not sure it gave me the right meaning?!! It certainly isn’t “grunge”? It’s unique and has a beauty all of its own.
I still have the beautiful teabag booklet you gave me, I have all your lovely gifts right beside me now in my trolley, and they’re a blessing, especially as I recover from my op!