ORIENTAL STYLE ALBUM PART 3
Please see part 1 for details of the cover and part 2 for the first pages of the book.
Sorry to leave you on a cliff-hanger last time but I had to make a break somewhere or the posts would get far too long!
Page 8 – Twist and Pop
A recap of the pages 7 and 8 spread for context.
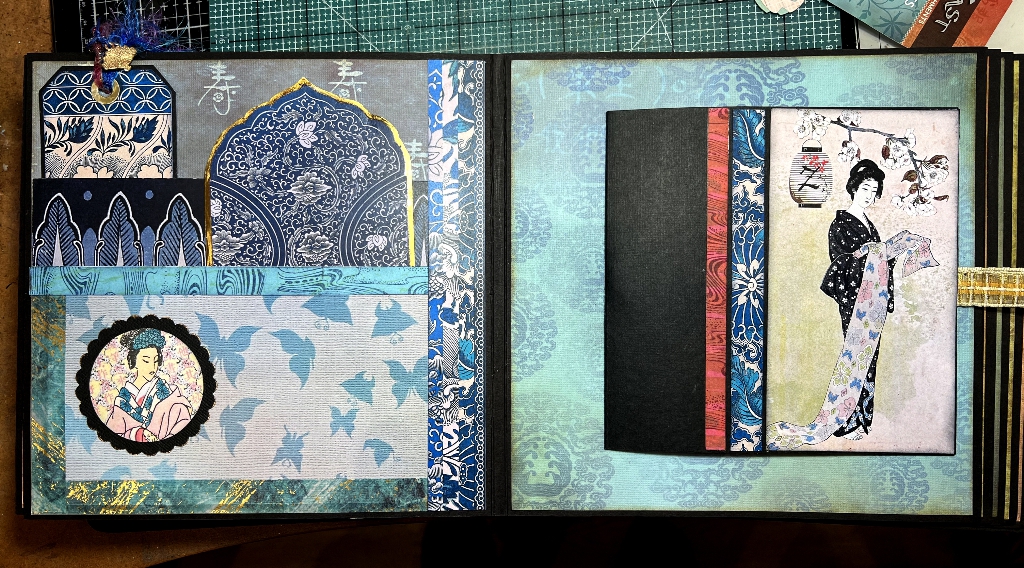
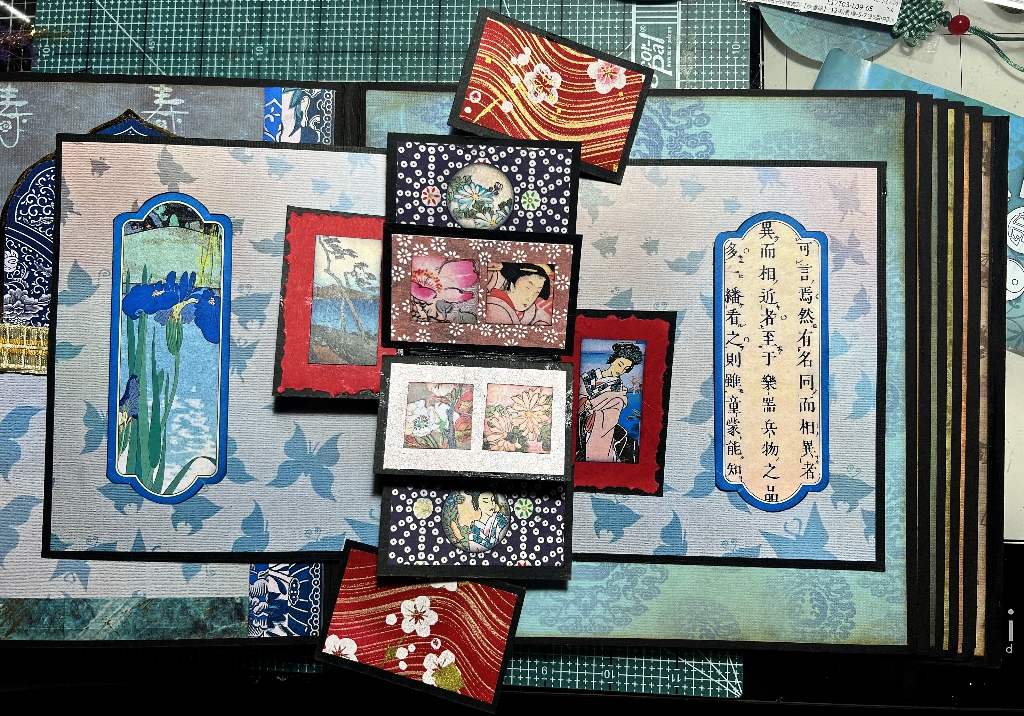
The pop-up on page 8 is the most complex in the book and I spent a long time and a lot of trouble getting it right, and making sure that it didn’t bind during its action. The main problem with its construction was that it needed constant adjustment while the glue was still wet, which meant that bits kept falling off when I tested it, because the glue wouldn’t hold them! At one point I seriously wondered if I had bitten off more than I could chew with this embellishment, but perseverance and patience bore fruit in the end. As with all pop-ups, they can be a bit stiff and difficult to begin with, but with use they settle down and work smoothly. You really need to see a video of this in action but for now, photos will have to suffice.
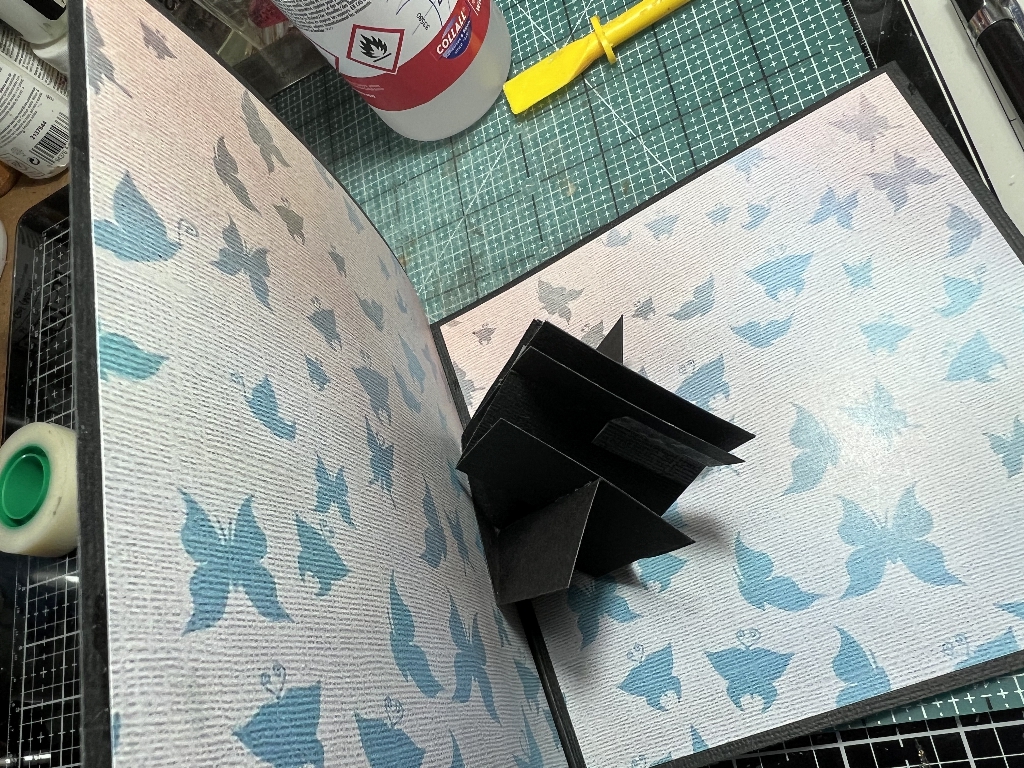
The element consists of a folded piece forming the base, smaller than the book page size. It opens like a book, using the gold ribbon tab on the right. This is the mechanism glued into place, ready for the elements to be attached.
The twist and pop element completed and fully open. Each small rectangle is topped with a different little image or decorative paper.
Another view, from an angle, to try and give a better impression of how this looks.
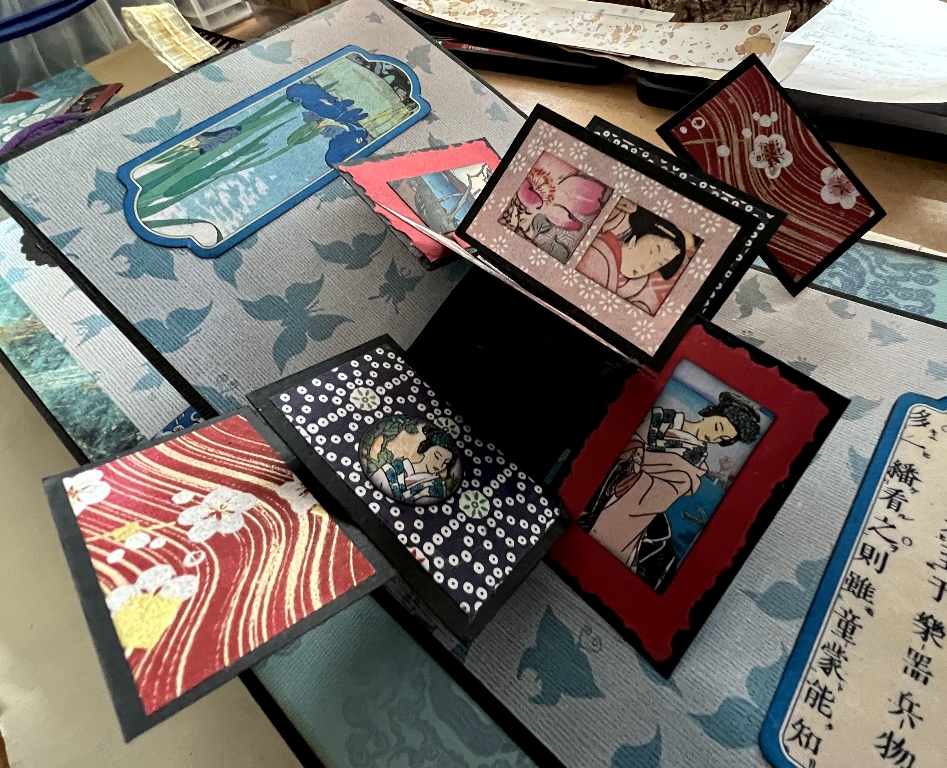
In action, it snaps into place in a most pleasing way, and goes back down in an equally satisfying fashion.
There are numerous tutorials online teaching you how to make pop-ups like this. I have always been fascinated by pop-ups since I was a small child and we had pop-up books. There is something miraculous about a 3-D solid-looking scene or object springing to life when a page is opened, and then it vanishes back out of sight when the page is closed. This has always had a special appeal to me and I love making pop-ups. Hand-made books should always contain surprises to delight the reader.
Either side of the pop-up is a tall tag glued down. The background paper with the butterflies is the same as that on the previous page so there is some continuity.
Pages 9 and 10 spread
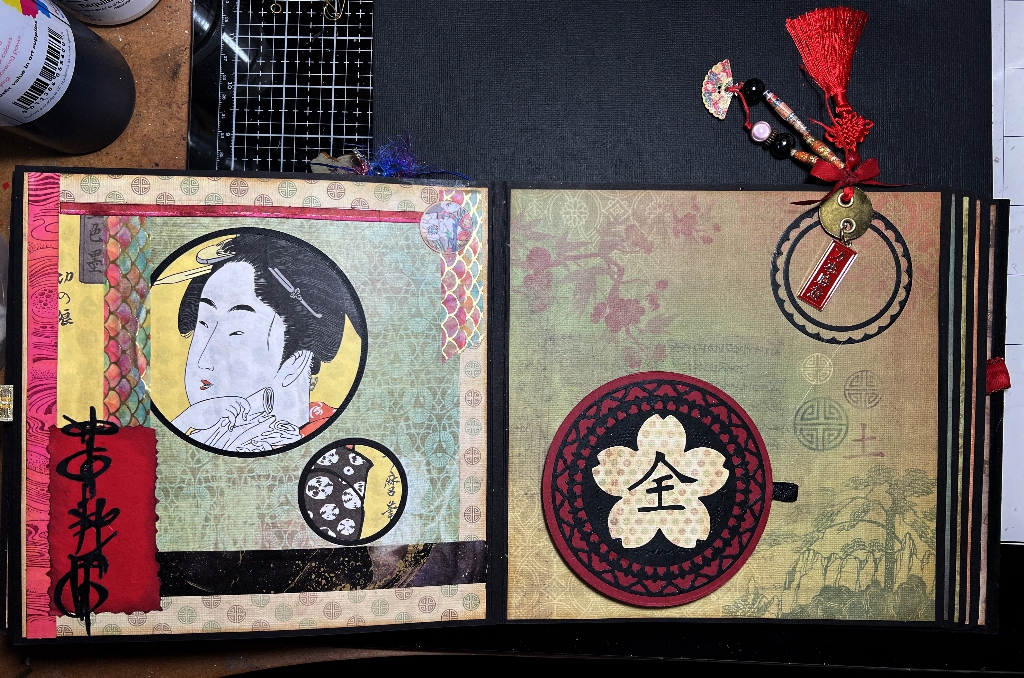
Page 9 looks relatively straightforward, but it consists of two layers. The pale green layer has two circular holes cut in it, with a larger black piece stuck behind to form a frame. In real life you can feel the edges of these circles. The layer underneath is a large image of a Japanese lady, and the two circular holes act as windows, revealing parts of this image. Further embellishment takes the form of stamped strips of card, washi tape and another cut-out of my faux Oriental script, all on a background paper from the DCWV paper stack “The Far East” which forms the basis of this whole album.
Page 10 – Turkish map fold
On the top right of this page is a static embellishment consisting of a disc with eyelets and some dangles and charms, the top ones sticking out above the top edge of the book.
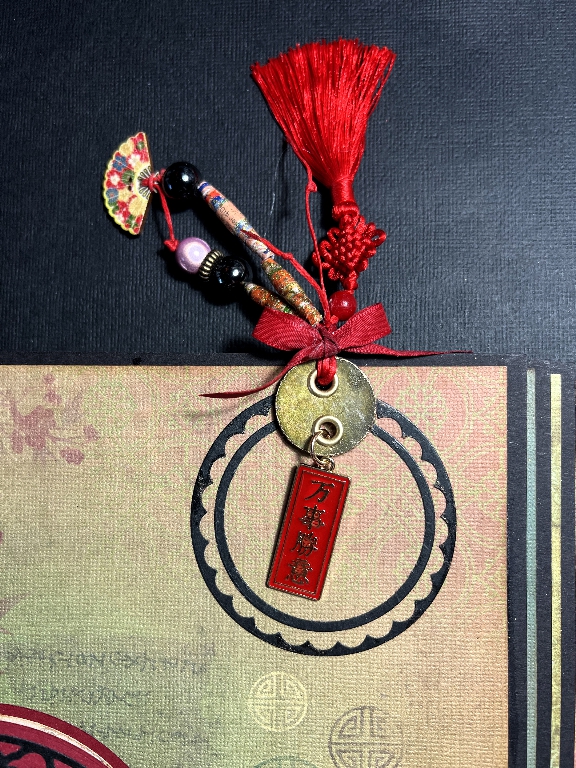
There is a small wooden Japanese fan, a red Chinese tassel and some beads and hand-made paper beads at the top, and a red enamelled metal charm at the bottom with some Chinese characters on it.
Whenever I die-cut or punch circles, I always keep the “waste” part. I used the scalloped “waste” from a previous cut, and a narrow die-cut circular frame, to stick down onto the background to frame the embellishment.
The background paper is subtly decorated with blossoms, a tree, Oriental script and motifs. These papers are truly gorgeous, and I have done my best not to cover them up too much.
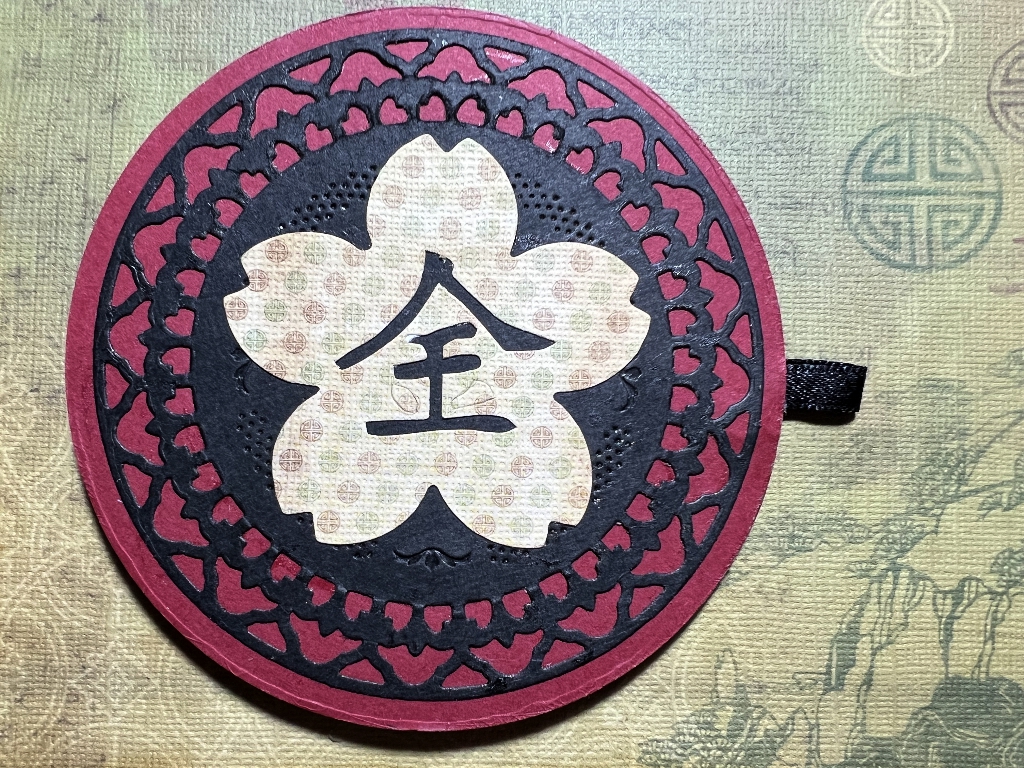
Above is a photo of the interactive element on this page. The black part was cut with a fancy cutting and embossing die, and it is overlaid with one of the die-cut embellishments that I got with the paper stack. I attached a ribbon tab on the right of the dark red base circle, which you use to open the circle like a book.
As you open it, a much larger piece of paper is unfolded. The fold is known as a Turkish map fold. I stuck down various images on the flat parts of this fold so they wouldn’t interfere with the mechanism. As you close the circle once more, the larger piece miraculously folds itself back inside! All great fun – both to make, and to experience.
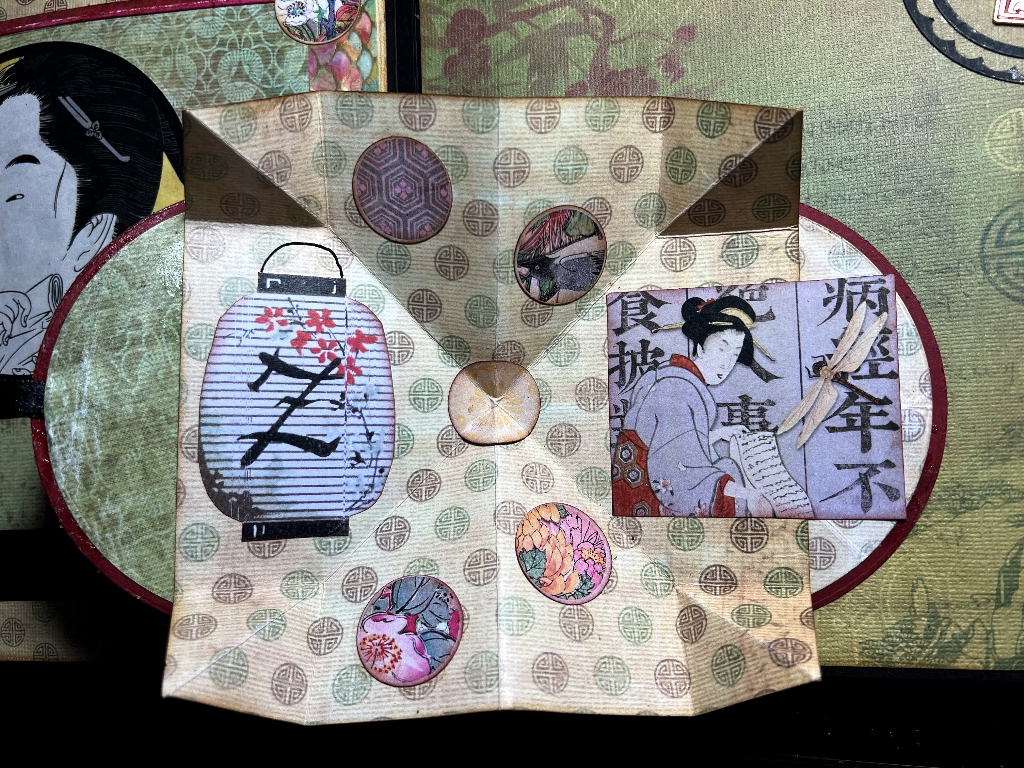
The two circles are also lined with decorative paper from the collection.
Pages 11 and 12 spread
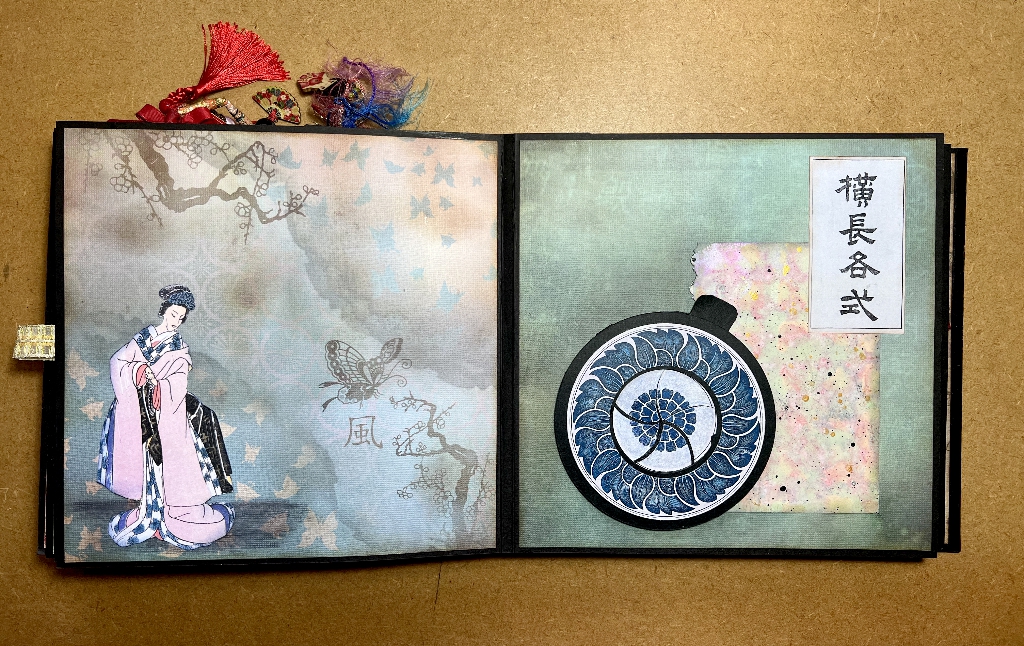
Page 11 is another simply gorgeous paper and all I have done is to stick down a Japanese lady in the corner, adding a bit of shading to ground her, and have left the rest unadorned so that its beauty can be appreciated. There are echoes of the butterflies featured in the papers on previous pages.
The background of page 12 is one of the plainer papers in the collection. I have added a rectangle of mixed media stencilled and spattered paper to pick up the colours in the previous page, and a piece of Chinese script, and the focal point of the page, the circular motif, is the interactive element.
Page 12 – Iris shutter
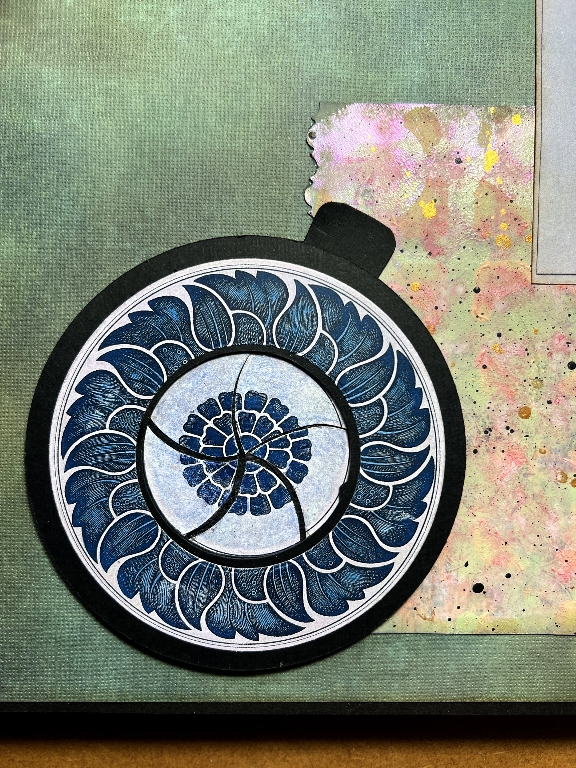
An iris shutter, or iris diaphragm, is a mechanism consisting of several parts which when rotated, disappear behind one another, revealing something beneath in an expanding circle, like the iris and pupil of an eye (hence the name). You also see this on certain cameras. The mechanism is worked by moving the black lever at 1 o’clock downwards in a clockwise direction.
Here is the mechanism partially opened.
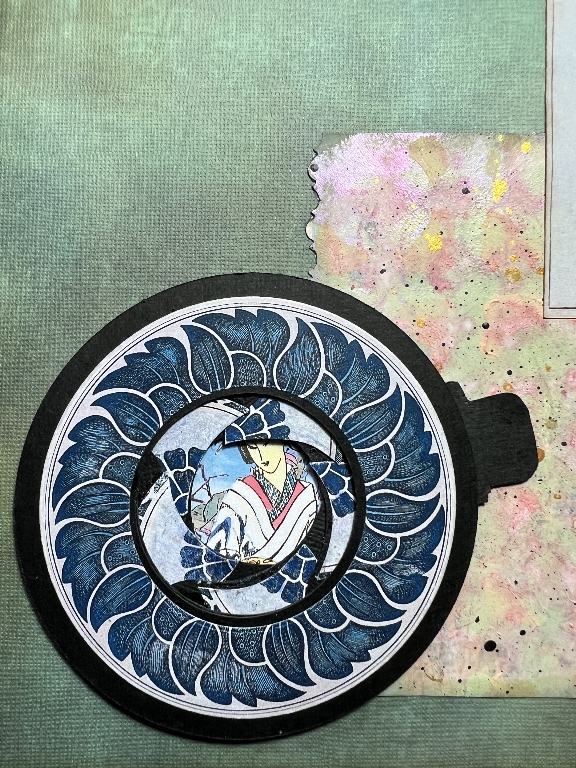
I think you can see how the shaped pieces are drawing back, overlapping one another, to reveal the image underneath. You can also see a bit of the black card mechanism as the diaphragm opens.
Here is the mechanism fully opened, showing the Japanese lady concealed underneath.
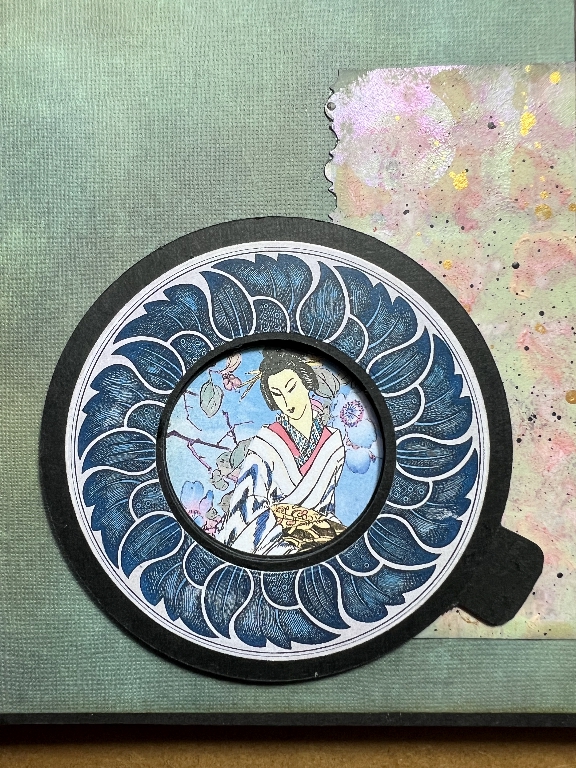
This was another element which caused me a great deal of trouble to perfect. It is much easier to make with plain card, but in this case, I took a complete motif (the blue floral disc) and had to cut it in a way that the leaves of the iris shutter could be cut without the image being distorted – I didn’t get it 100 percent perfect as you can see from the image with the mechanism closed, but it was the best I could do. Each piece had to be backed onto another piece of card which incorporated the mechanism and it was very difficult getting this right. When fully opened, it is miraculous how the whole iris shutter disappears behind the border! You can see where the tab now is, when the shutter is fully opened. To close it, you simply move it back up to its original position. Working this embellishment is immensely satisfying and fun.
I shall close now, and hope to complete the account of this book in the next post. I hope you have enjoyed it so far.