TYPEWRITER ALBUM PART 3 – BUTTERFLIES
Today I have had a wonderful time splashing about with spray inks in the studio, and a somewhat frustrating time with die-cutting.
Butterflies
I am making a collection of butterflies and butterfly-themed papers for the Typewriter Album. Several weeks ago I bought Tim Holtz’s “Perspective Butterfly” die by Sizzix. This is a very large butterfly and the die only just goes through my little die-cutting machine. It was an expensive single item but the scale of it makes it a useful item because you can use parts of it as well as the whole.
It is an intricate die and I had a lot of trouble getting it to cut cleanly, and afterwards it took a long time removing all the tiny bits from the die. I had seen somewhere that it was supposed to be easier if you cut a piece of greaseproof paper at the same time as the card. This is supposed to release the item from the die more easily. It may have been silicone baking paper but I can’t be sure; I couldn’t remember the details, and wondered if a piece of glassine paper would work as well. It didn’t. The greaseproof paper wasn’t much better.
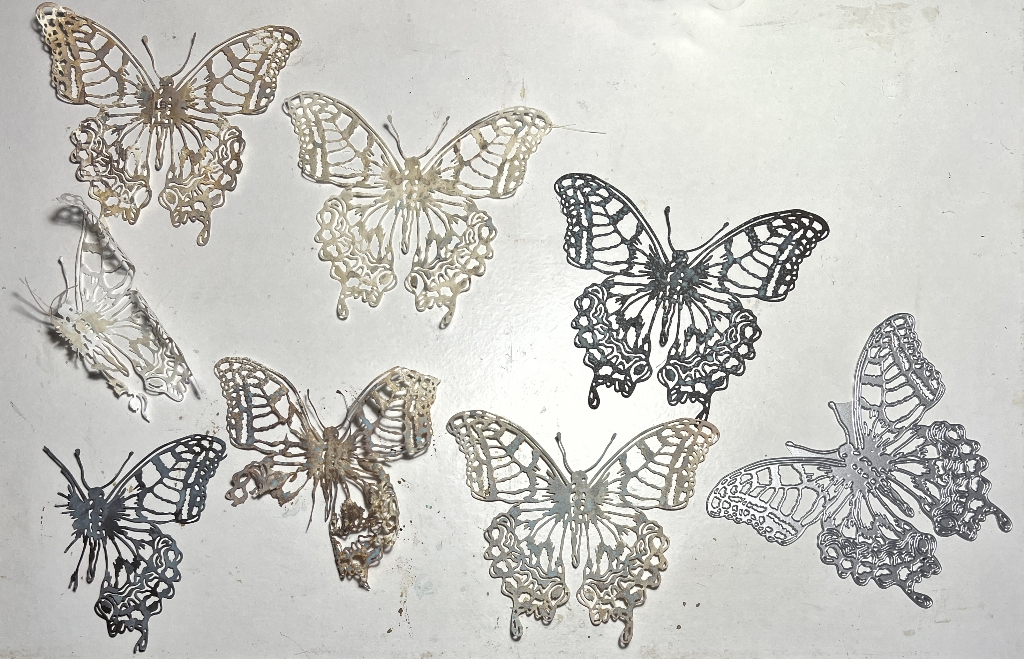
The result was that I had a number of perfect butterflies cut from dark brown and thin cream card, a decent greaseproof paper one and some partial butterflies cut from the glassine paper and my first brown card cut which didn’t go well.
Inking the die-cut butterflies

This photo shows all the butterflies I cut, with the actual metal die on the far right. I was not worried about the spoiled die-cuts resulting in partial butterflies because these can be used.
I chose mostly Distress Oxide sprays by Ranger in Frayed Burlap and Speckled Egg for this, with the addition of some Walnut Stain Spray Stain.
The Spray Stains are basically the same ink as in the Distress Ink pads but in liquid spray form. These inks are transparent. Distress Oxides are different in that they are a combination of dye ink (transparent) and pigment ink (opaque), the combination having unique qualities. All these inks are activated by water and behave in interesting ways. The Oxide inks have a chalky finish which is activated further with the addition of water, giving a wonderful oxidation-looking effect, hence the name. I don’t have all the colours but have enough to make good choices for combinations.
The individual butterflies
I raided my stash of card scraps for this, and began with some dark brown cardstock.
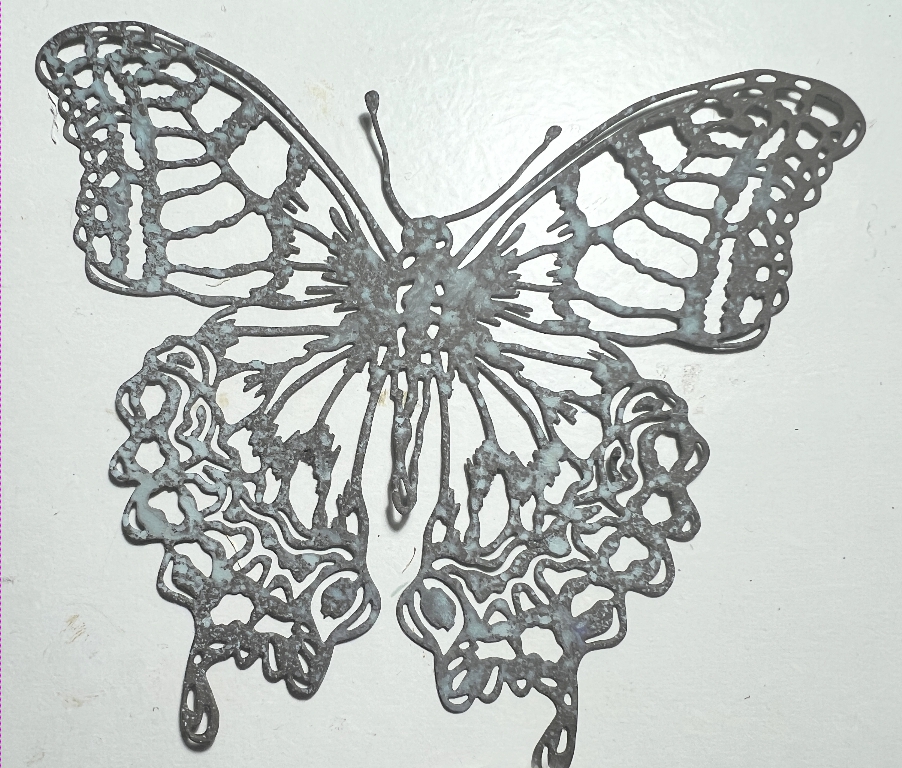
This butterfly was sprayed with Frayed Burlap Oxide Spray and then immediately with Speckled Egg Oxide Spray. A light spritzing of water gave the desired oxidised effect.
This is the greaseproof paper layer I cut at the same time. I sprayed it with the same inks as before.
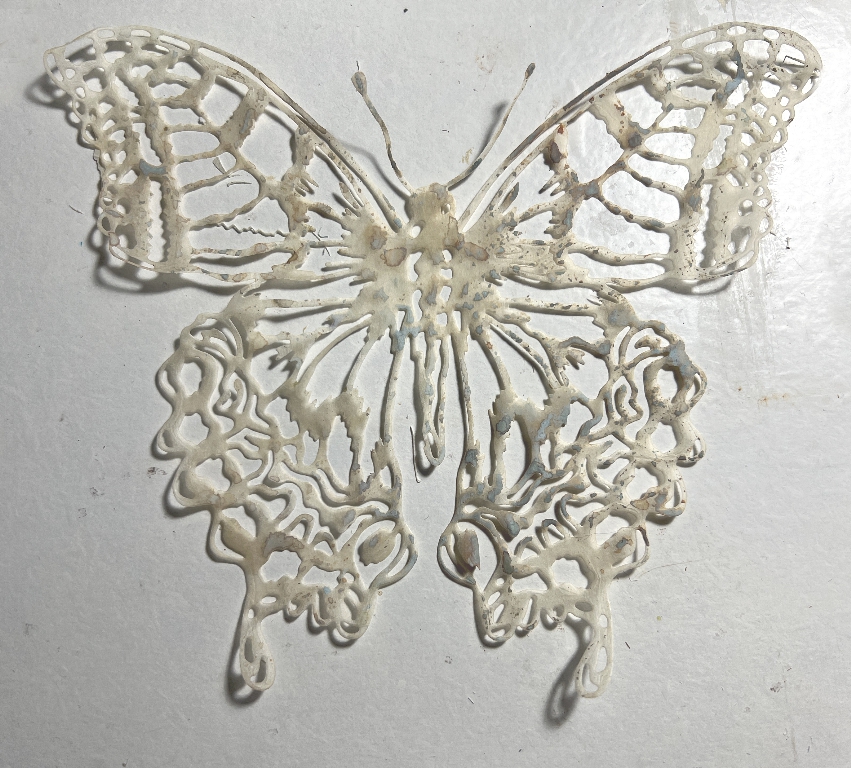
A very different effect on this thin translucent material. The Speckled Egg ink doesn’t seem to show up in the photo but it is subtly there.
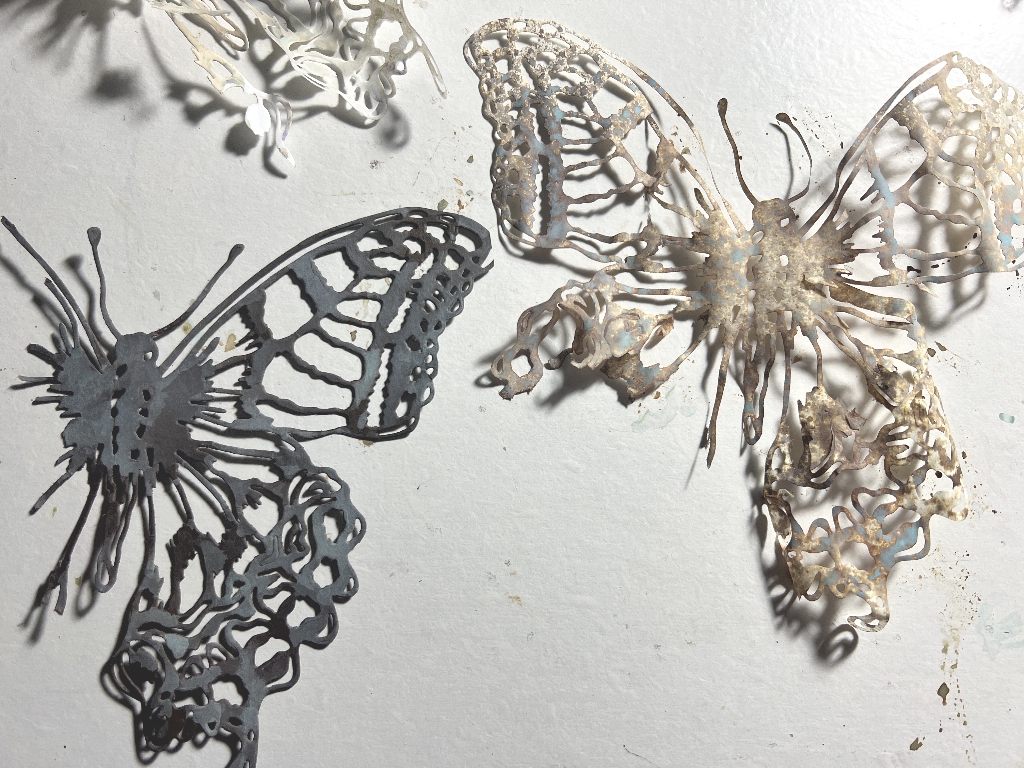
Very tattered fragmented butterflies! They will make nice page additions. The dark coloured one was dark brown card. This was the first butterfly I cut and it was a disaster (but we don’t believe in those – we learn, move on, and possibly give the piece a good home in due course, possibly altered or rescued in some way). The colour in patchy as before but it’s very dark in the photo and not easy to see. I used this piece to mop up some of the excess spray inks from my mat. The one on the right is another glassine one. Both have the Frayed Burlap and Speckled Egg Distress Oxide sprays, and also some Walnut Stain Spray Stain (the transparent ink).
I used the next one, a fragment cut from glassine paper, to mop up, and it curled up. I managed to flatten it out a bit and it should glue down OK. It is quite delicately coloured.
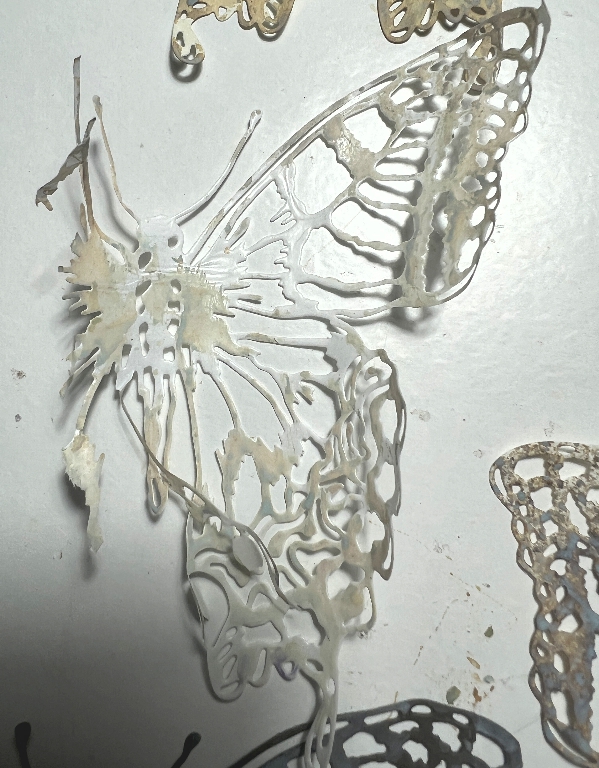
I then found a stack of old wedding service covers collected after a wedding. This is fairly lightweight card in cream. For the first butterfly I used the side with minimal printing on it which adds to the texture.
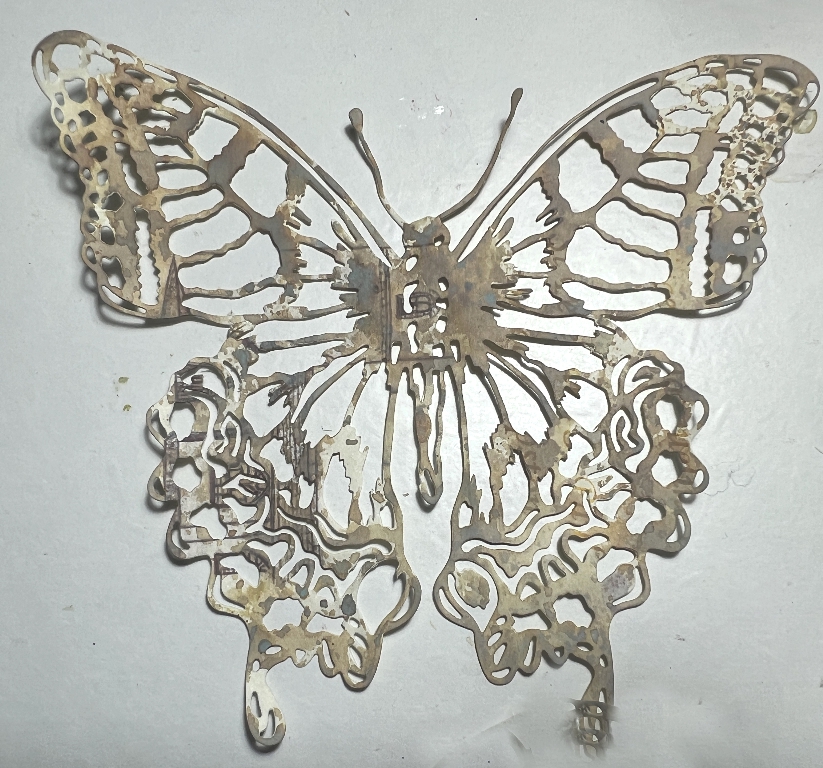
I like this one a lot. I used it to mop up some of the spray mess on top of its original inking which included some Walnut Stain Distress Spray Stain. Whenever I did the mopping up with the butterflies, I dabbed it into the spray mess and then dried it, doing this three times to build up the layers.
For the second cream card one, I used the reverse of the card with no printing on it. I used the same combination of inks but after drying it, I added some more of the Speckled Egg Oxide Spray.
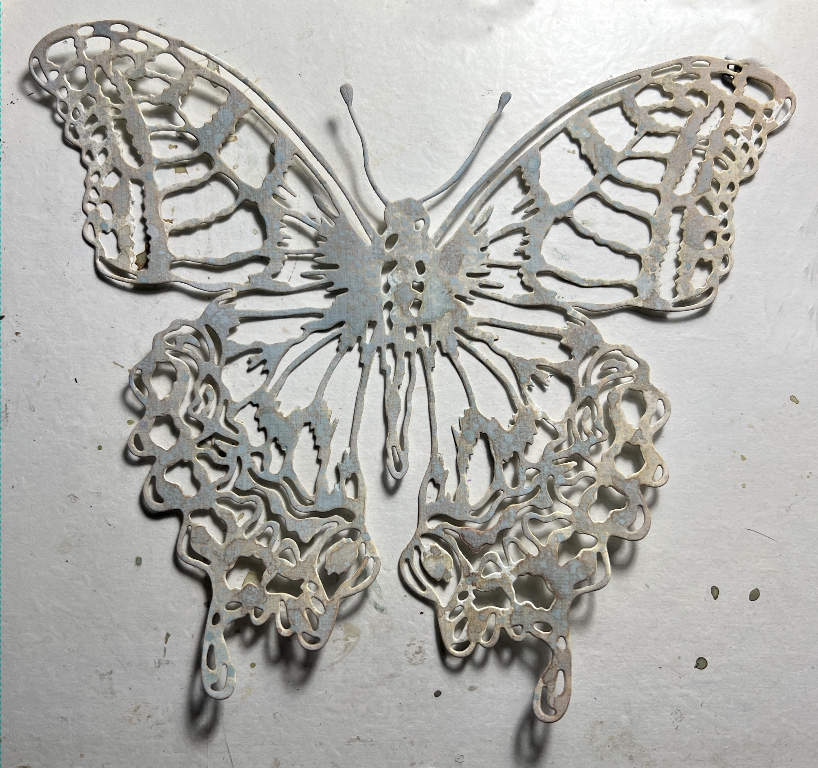
These butterflies are all quite similar, but unique in their own way, being sprayed with the same colours onto different substrates. The oxidation effect makes them look a little as if they were made from metal with corrosion and patina.
Smaller die-cut butterflies
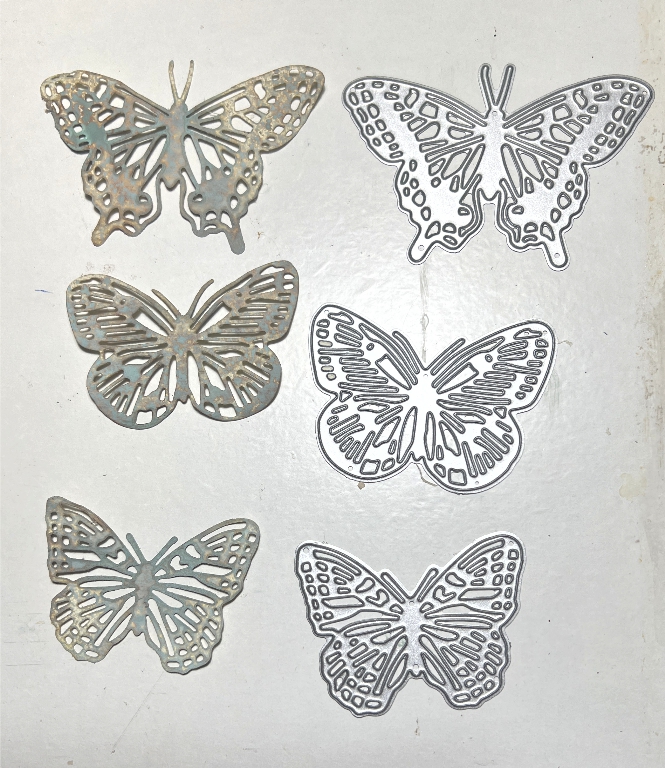
I chose three dies from an unbranded stamp and die set for this part of the project. Not being such intricate dies, they were easier to use. Here they are with their accompanying dies.
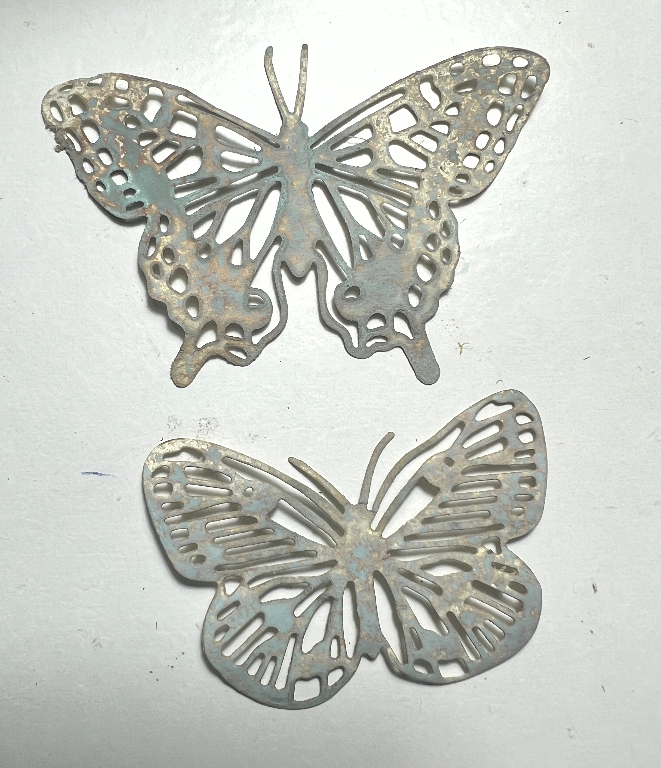
Here’s a detail shot of a couple of them., Distinctly worn and grungey metal look! Really pleased with these.
When I initially coloured these by using them to clean up the spray mess on the mat, there wasn’t quite enough colour on them. The final effect was achieved when I used them as masks, to create an interesting paper.
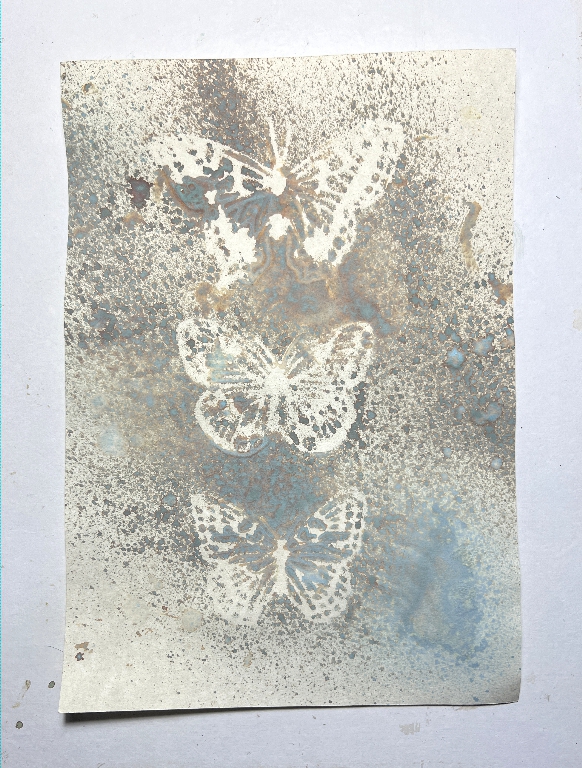
I love this. The combination of spattering from the Frayed Burlap and Speckled Egg Oxide sprays with the more solid areas where I blotted off an excess of water spritzing, and the soft indistinct shapes of the three butterflies. This was done on the same cream wedding card.
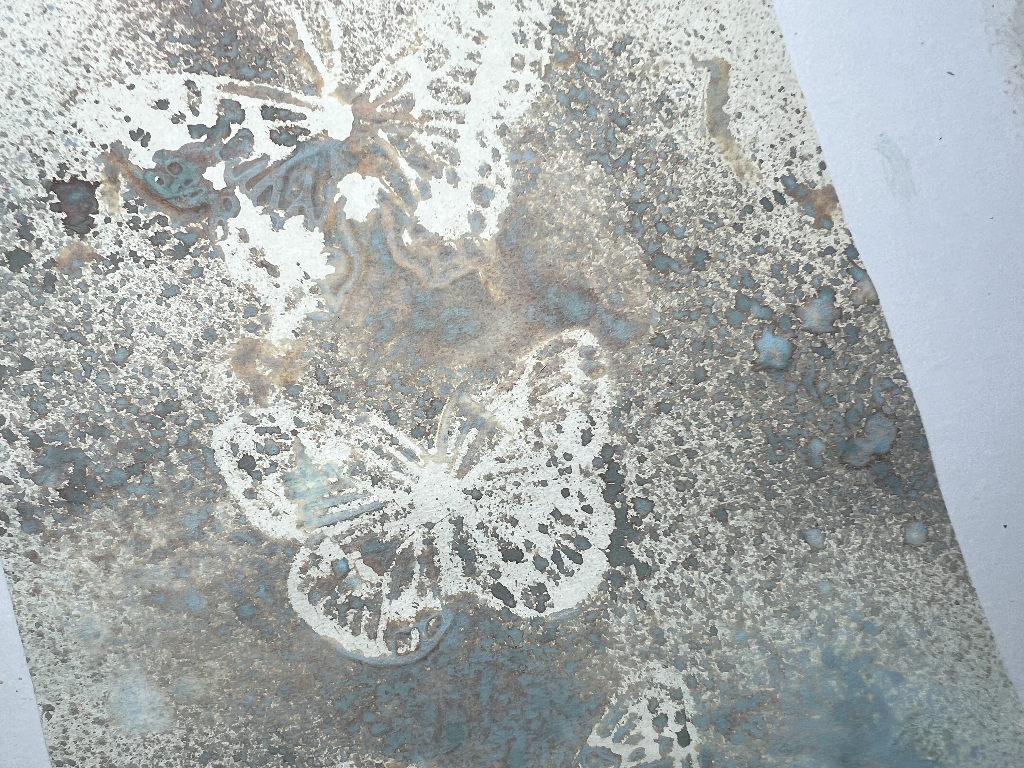
Here’s a real close-up detail shot which shows several areas where the oxidation has taken place to a high degree. It’s a gorgeous effect.
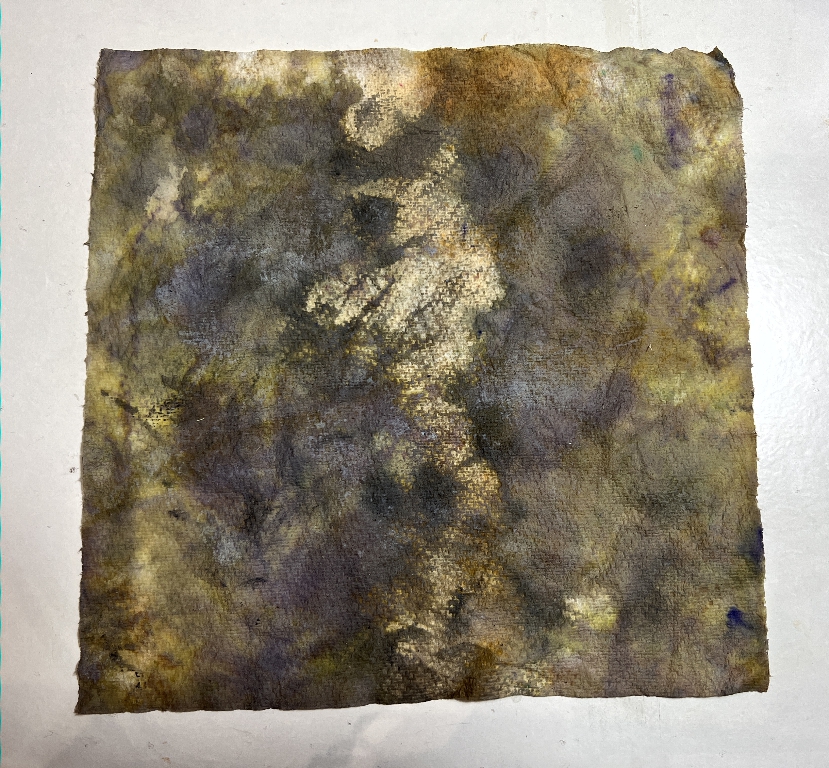
After all the mopping up that I did with the butterflies themselves, there wasn’t much liquid ink left on the mat but it needed a further clean. I grabbed one of my partially covered pieces of kitchen paper and used this to mop up the rest with a good spritz of water, and it’s now ready to use in a project (possibly this one).
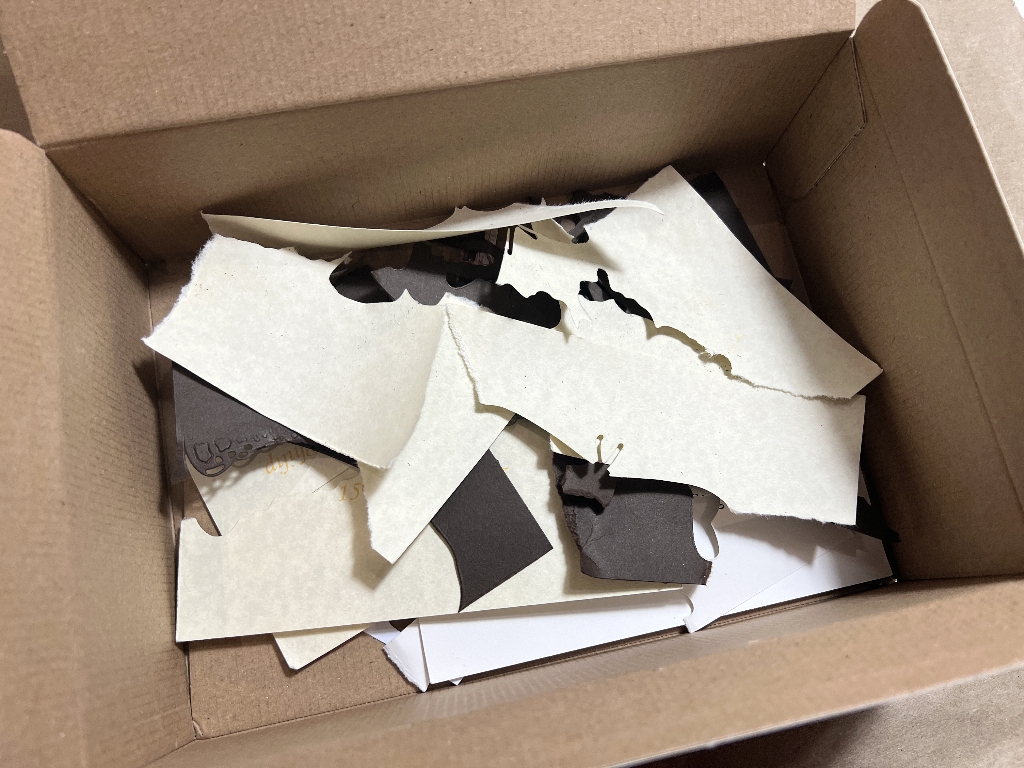
I also generated a nice new lot of die cutting waste, ready to make into the next mixed media masterboard as taught by Luise Heinzl and shown in a previous post of mine.
Stamping butterflies
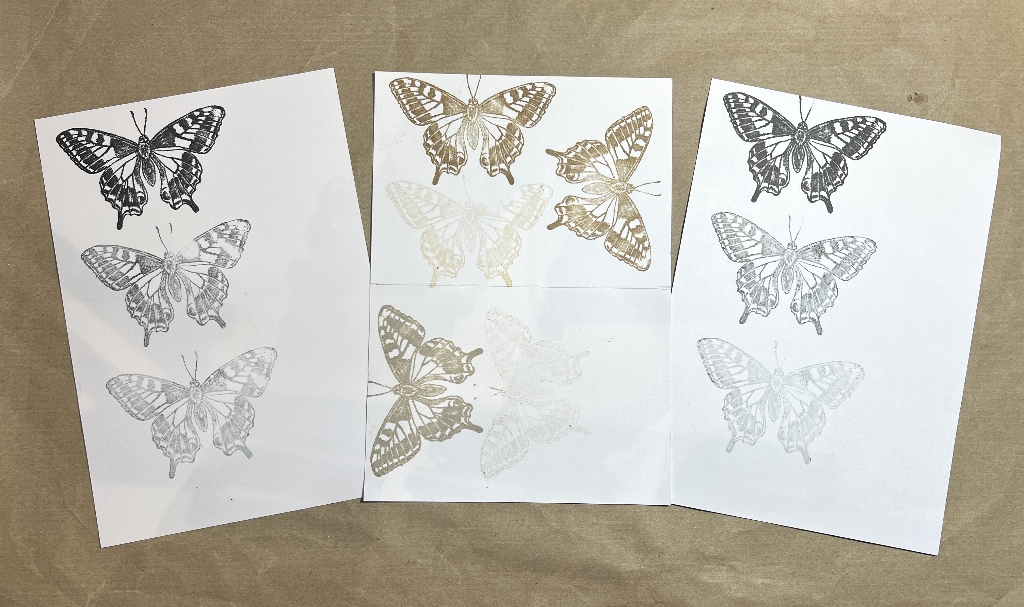
The final part of this project was to stamp, using the ghosting technique. I chose a large butterfly stamp from an unbranded stamp and die set, and used Versafine Clair black archival ink, Ranger archival inks in Vintage Photo and Pebble Beach for the stamping, in each case continuing to stamp after the initial one, but without replenishing the stamp with ink. The Pebble Beach one didn’t produce such good ghosts as the others. These were all stamped on scraps of smooth white card, and they will be fussy cut, ready for future use.
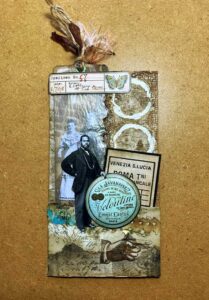
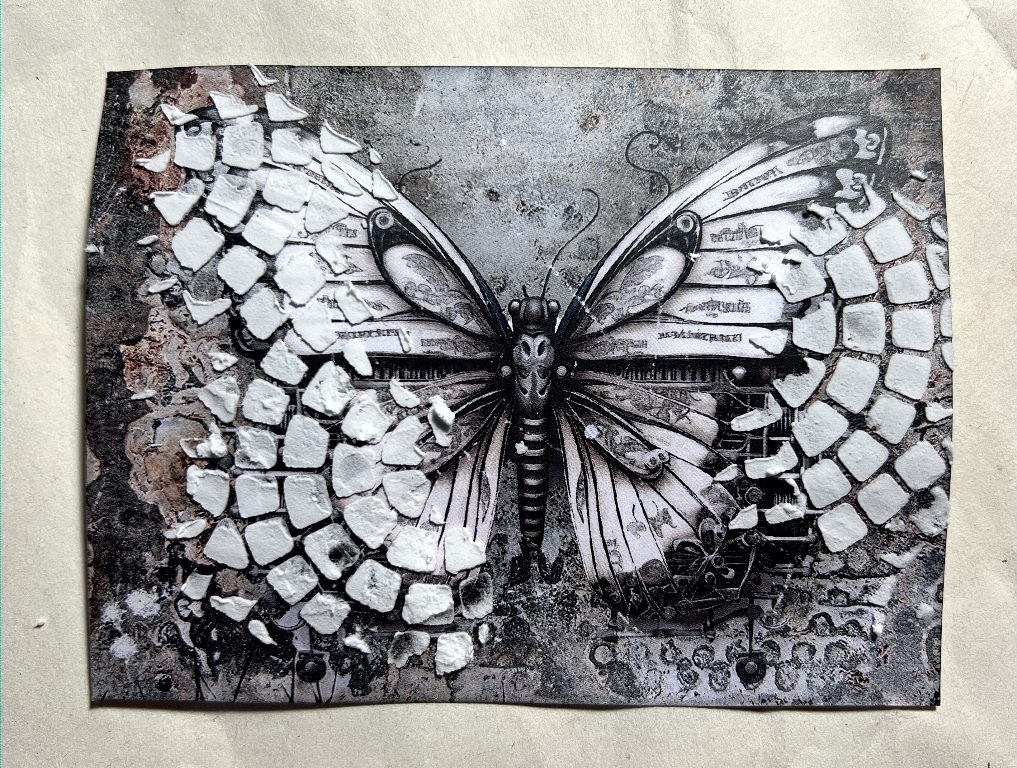
On a final note, the other day when I was stencilling with Polyfilla One Fill (joint compound), I added some of the stencilling to a butterfly journaling card from Luise Heinzl’s Typewriter Ephemera Kit. I really love how this turned out.
Everything in today’s project is designed to co-ordinate, ready for use in the Typewriter Album in due course. I’ve used a bit of scrap material and generated a few more scraps on the way! Further developments will ensue.