SCRAP BUSTING – LUISE HEINZL’S MIXED MEDIA MASTERBOARDS – MY SECOND ONE
Following on from my previous post where I detailed the creation of the first masterboard, I will now pick up where I left the second one, where I added inks to the wet gesso layer.
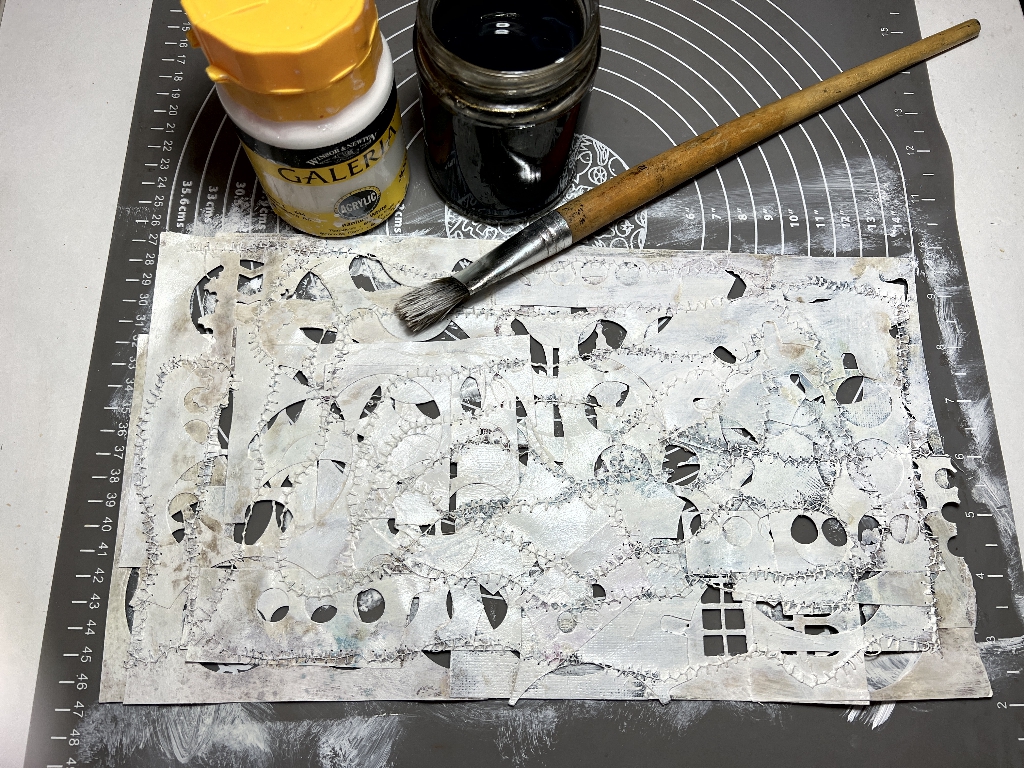
White acrylic layer
I painted on some white acrylic mixed with a bit of coffee and dirty paint water (you see – nothing gets wasted chez Shosh!!! Even dirty paint water has its uses!) to make it less bright white.
Stencilling
This time I abandoned the art-supply soft moulding paste in favour of my old standby favourite – Polyfilla! I bought a tub of Polyfilla One-Fill from the DIY store ages ago – it was considerably cheaper than the art stuff and does a better job. A much bigger pot, too, which lasts for years. It should see me out! This is the ready-mixed version of Polyfilla (known as joint compound in the USA). The One-Fill has a finer texture than the powder version that you mix with water. It does dry up a bit in the pot but I mixed a bit with water in the palette, and it came back to a nice paste.
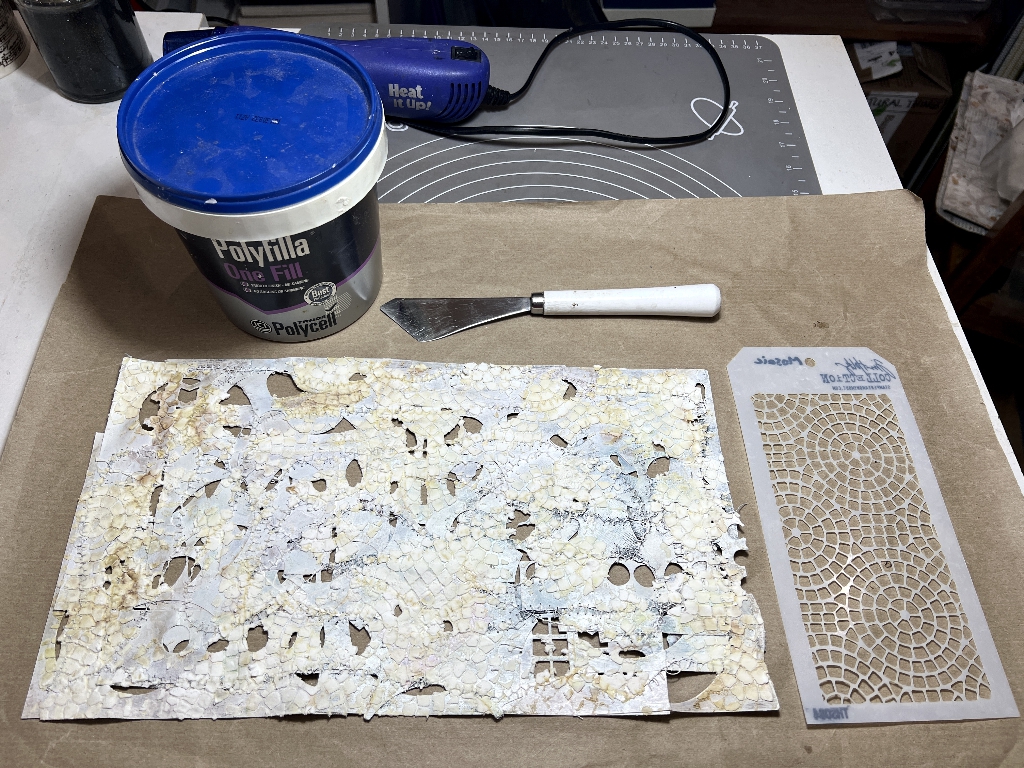
This is a new stencil that arrived a couple of days ago, by Tim Holtz, known as “Mosaic.” I really like the texture it makes.
You can see that the Polyfilla has taken up a bit of the colour from under the paint (which might have been a bit wet still) as it dried, but I don’t mind that. When it was completely dry, it was yellow-ish.
A detail shot.
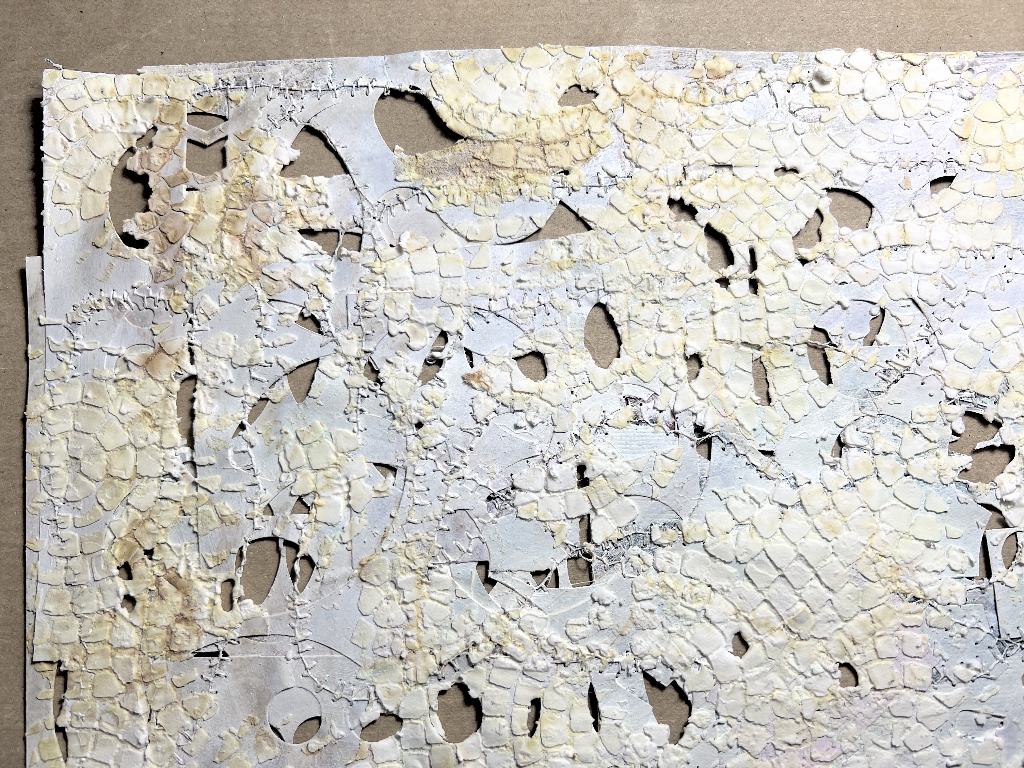
There are a nice lot of holes in this masterboard, which is going to make it interesting in use.
Tearing up
Rather than leaving it to the end of the process before tearing it up, Luise tore her version of this one into smaller pieces than the first one, at this early stage. Spreading them out, she was able to treat each piece differently, and end up with a variety of colours, which makes them more versatile as additions to clusters etc.
The worst part of mixed media work is waiting for stuff to dry! People are always saying how patient I am with the work I do, but when it comes to hanging around waiting to do the next stage, patience is not one of my virtues! In this case, I left the Polyfilla to dry overnight.
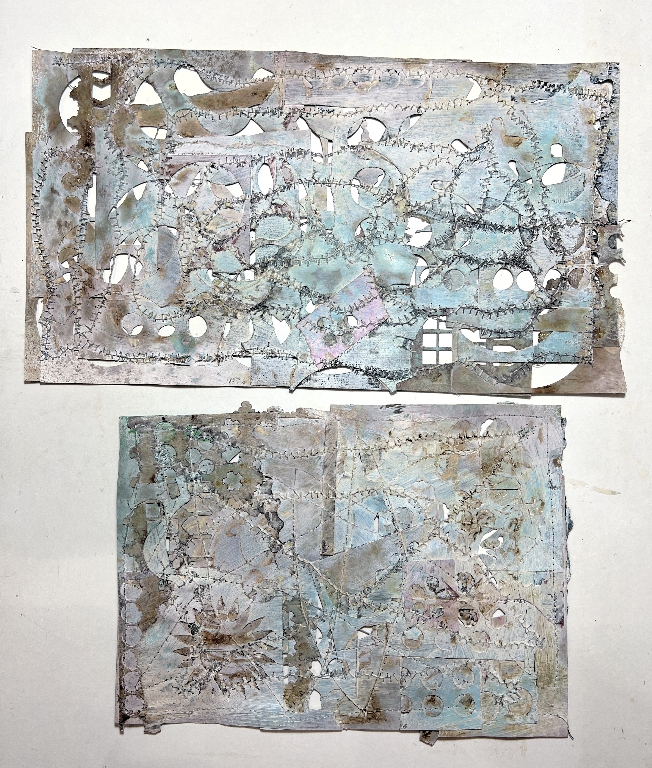
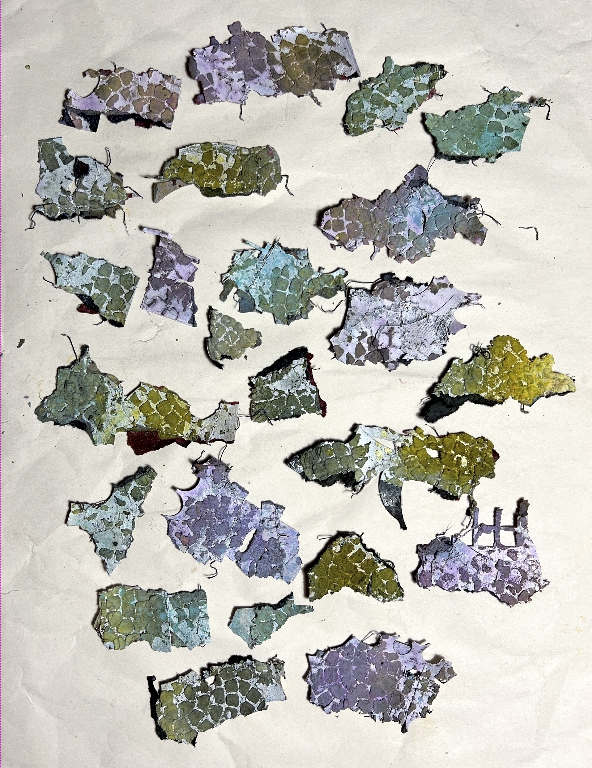
I tore up half of this masterboard. It’s larger than the first one, and I’ve got plenty to play with. Here are the resulting pieces. Nice irregular edges.
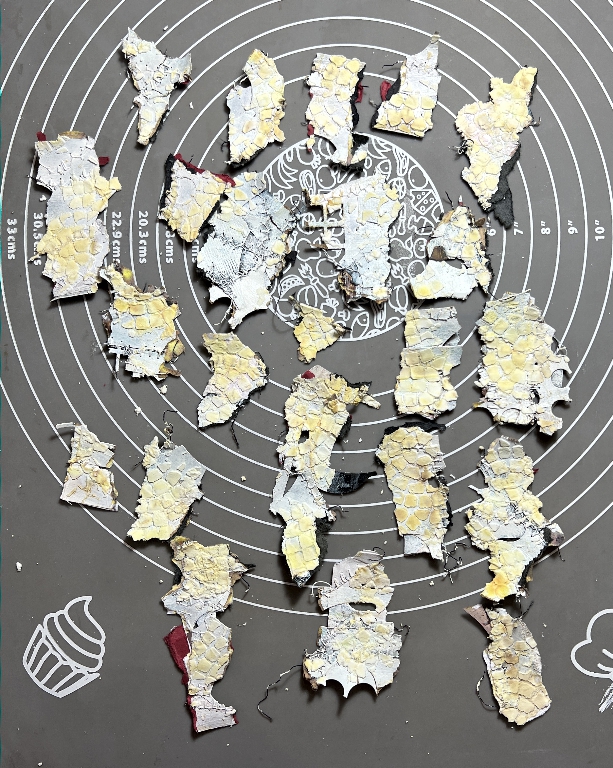
These are the inks I used to colour them. I didn’t have all the colours Luise has, but with this sort of thing, you use what you’ve got.
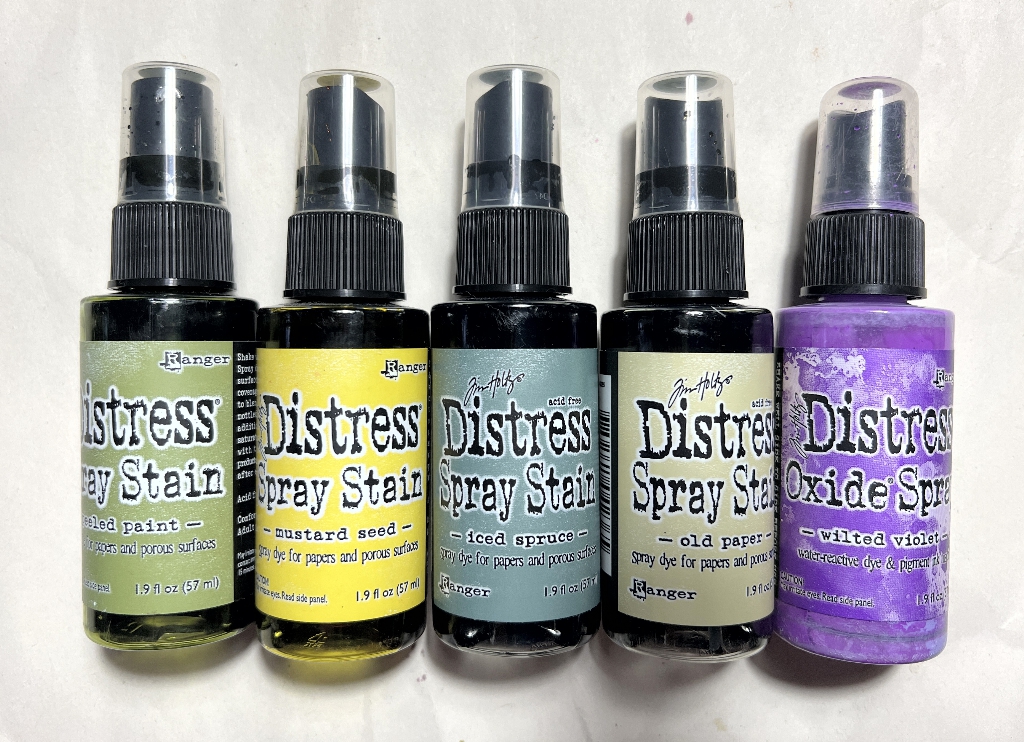
I spritzed each layer with some water to get the ink moving. This is the result of my spraying. Interestingly, Luise’s pieces picked up the colour between the stencilling, and on mine, the colour is concentrated where the Polyfilla is. It’s probably something to do with the properties of the media we both chose to use. Anyway, I am pleased with the result – lots of nice texture and rough edges, and quite muted colours.
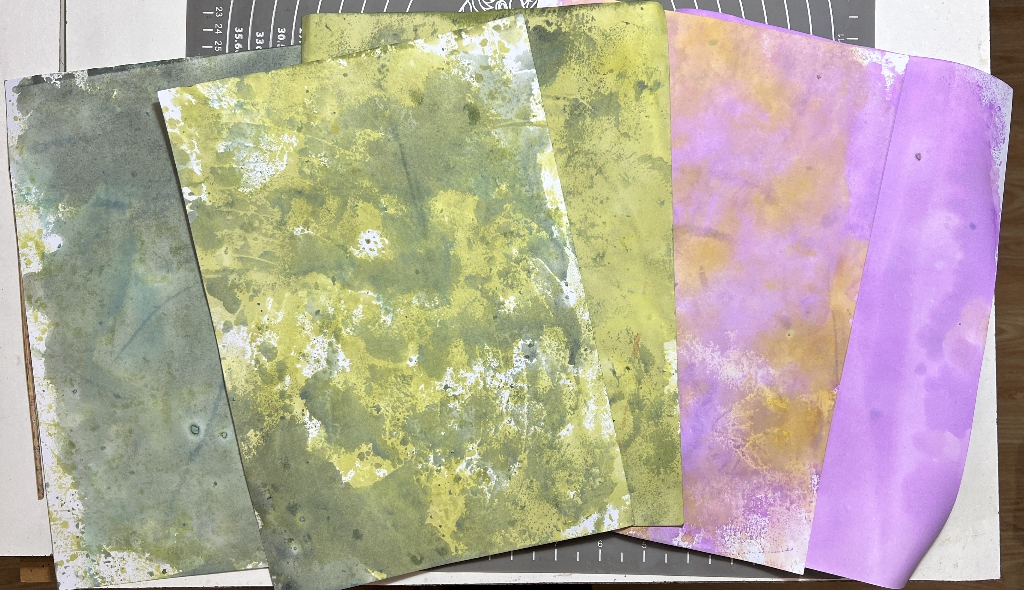
After spraying with each colour, there was a lot of ink on my table. My silicone cake making sheet is ideal for this sort of thing – it wipes clean brilliantly, whatever I throw at it!
I took fresh sheets of 160 gsm white printer card and smooshed them around, picking up the ink, and adding more layers. The result is great. All these papers are useable.
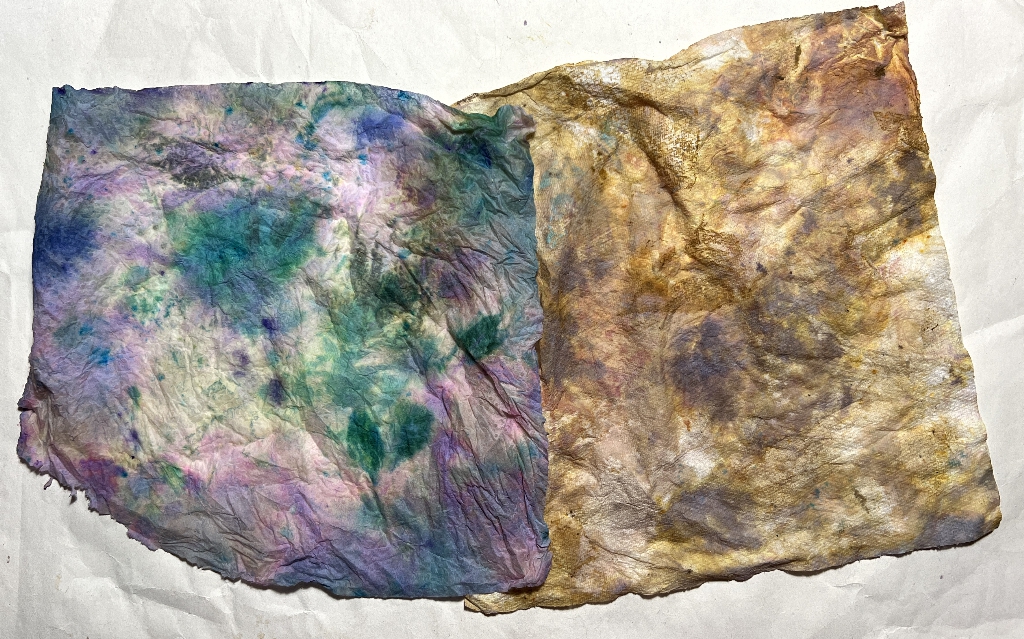
I did the final clean-up with kitchen paper, taking two sheets that had already been used for this purpose previously, adding to the existing colour on them. They are now ready to go into the pizza box with the others that are ready to use.
I shall be adding these small fragments of masterboard to the various ephemera elements in the Typewriter Ephemera kit, layering and building up texture and interest.