BEGINNING BONNIE BAGGIE NO. 2: SMALL NECK PURSE – WORKING WITH LEATHER
This baggie is made from curtain fabric with a leather fringe at the bottom.
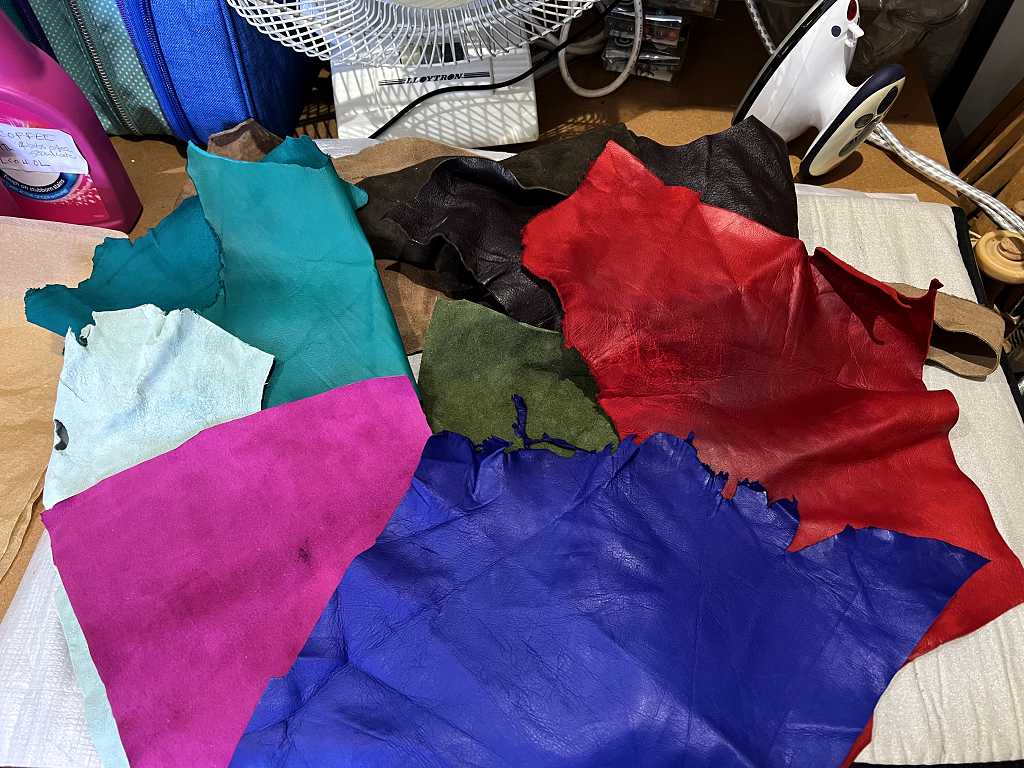
I got out my large box of leather scraps. Very many years ago I was given a whole lot of fine leather offcuts from a glove maker, in all sorts of colours, some suede on both sides. None of the pieces is very large, but ideal for small projects like this. I have barely scratched the surface of this particular stash.
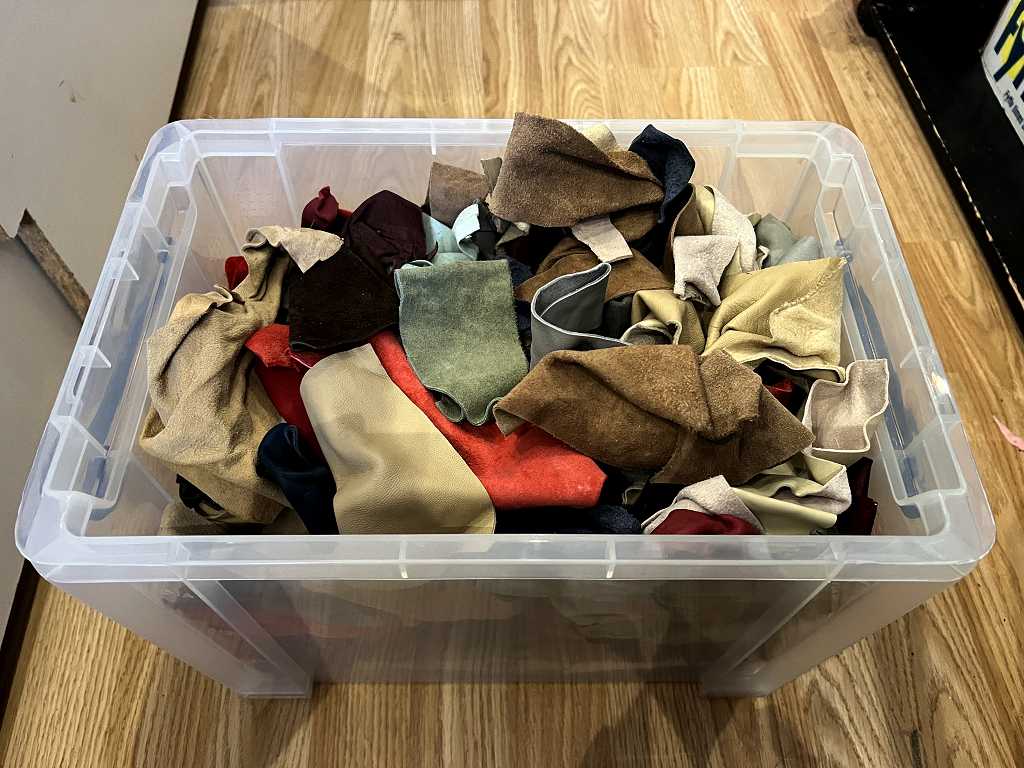
A few of the pieces are a bit larger and I am not cutting into these, but saving them for larger projects.
All of this leather is extremely fine and soft, and can be sewn with a normal sewing needle, albeit requiring a bit more effort than sewing through fabric.
Years ago, I made a lovely little brown cross-body pouch, from a larger piece of brown leather from this haul, with appliqued leather flowers. No photo as yet so I must line up all the wee baggies I made in the past and photograph them!
I decided to follow Traci’s instructions for making a leather fringe for the bottom of this neck purse. She explained the process so well, and made it look so easy. A long time ago I bought a small quilter’s ruler which I had never used, and watching her using her large one with a rotary cutter, I thought I should make use of this combo of tools more in future. The ruler is large and flat and covers quite a big area, and it really holds the material you are cutting firmly on the mat, and the rotary cutter works like a dream with it.
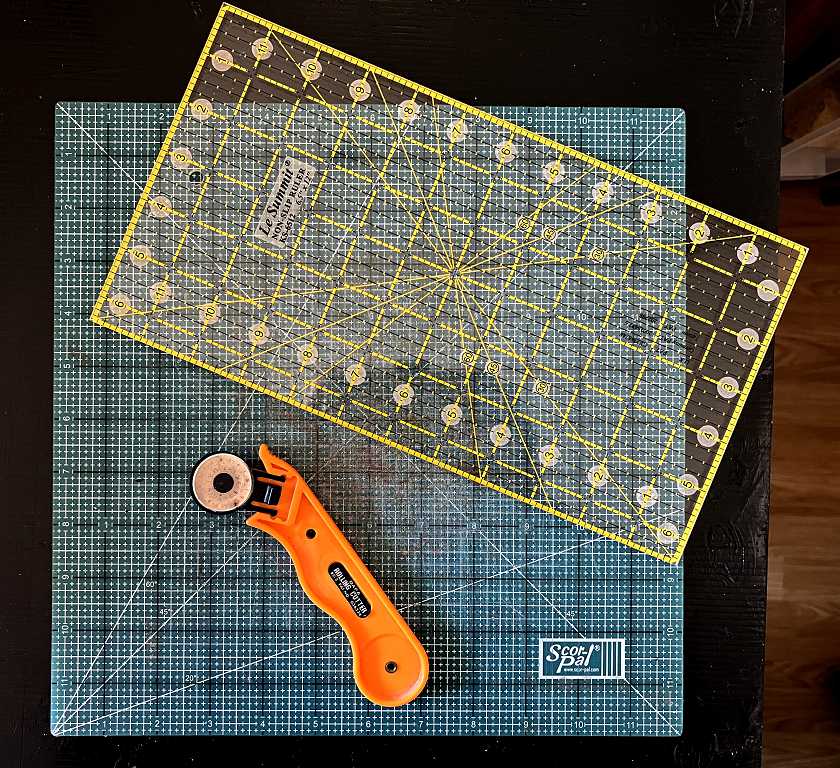
For the fringe, the ruler holds the leather scrap so firmly that it will even hold the final 1/8 inch as you make the final cut! I was well impressed.
You take a small rectangle of leather and make parallel cuts along the entire length with the exception of a small amount at the top, which holds all the fringe pieces together and also provides a solid area to stitch onto your project. You move the ruler after each cut – in this case 1/8 in as the fringe is fine, for a small bag, and make the next cut, and so on until the end. For Tracy’s larger bag projects, she recycles leather jackets she buys in charity shops (or thrift shops, as they call them across the pond). She makes gorgeous boho shoulder- and cross-body bags with sumptuous fringes – I must make myself one of these before too long!
I chose an olive green suede scrap for this particular fringe as the base fabric for the baggie (a scrap from some curtain material from the studio in our old house) has this colour in it. I also made several other fringes in readiness for other baggies, and with some odd shaped scraps of leather I cut narrow triangles which I then cut into fringes, to be rolled up to form leather tassels. The soft leather cuts like butter with the rotary cutter – my hubby’s pouch straps required a bit more effort but it was certainly a lot easier than with scissors.
In the following photograph, fringes along the top row, and pieces for tassels below.
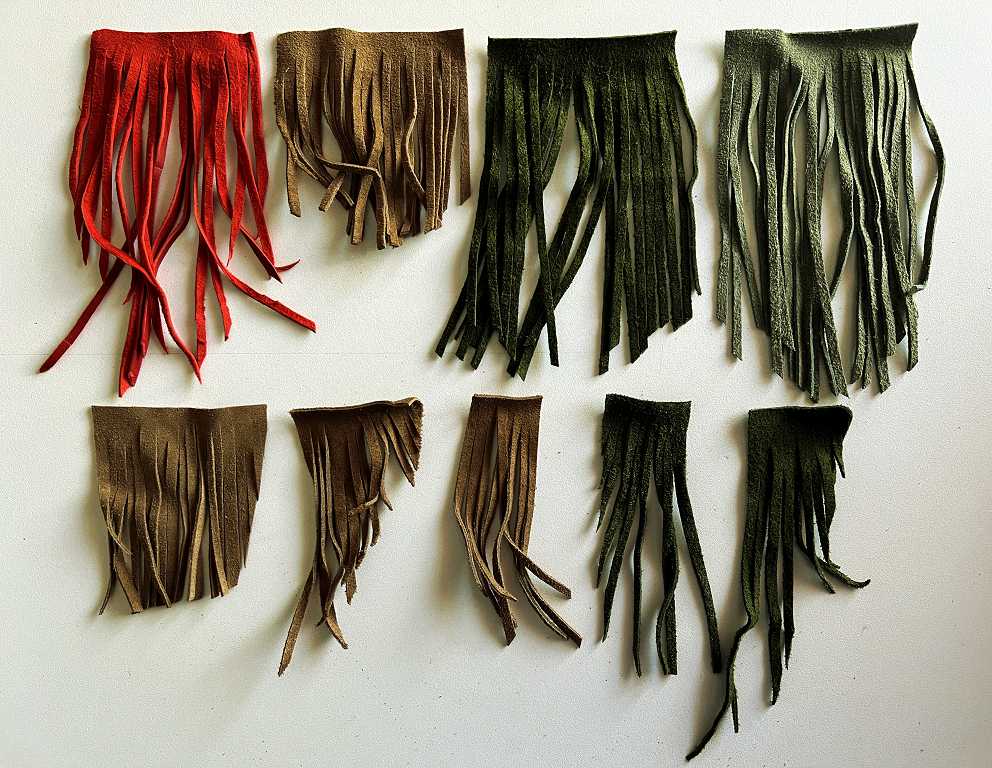
Once the fringe for the bag is cut, you can taper the fringes to a point in the centre, or in a gentle curve, which looks nicer than when they are just cut straight across. It is easy to get this point symmentrical if you lay the fringe on a gridded cutting mat. You then place the quilting ruler on top, lining it up with whatever measurement looks right, and cut right through all the fringe pieces, repeating the process for the other side.
The base fabric for the baggie has vertical pattern stripes on it, and I cut my two rectangles (front and back) so that I got the pattern where I wanted it on the piece in each case. The pattern is centred on the back, but for the front I put it a bit lower than centre, so that it would not get obscruted by the embellishments I would add towards the top. I chose a scrap of dark blue velveteen material for the lining for this one. It wouldn’t need any interfacing as the fabric is a lot more robust than Bonnie Baggie #1, and also because of the small size (I cut the pieces 3 1/2 x 4 1/2, following Tracy’s pattern) and made a template from scrap card. I didn’t make a pattern for Bonnie Baggie #1 and as a result I struggled a bit because I hadn’t cut it quite square. It’s worth the effort of taking this extra little step.