ALTERED BOOK: “THE JOURNEY” – TITLE PAGE, TEXTURE PLATE AND MARK MAKERS
A red letter day for me – first day back in action in the studio after my recent run-in with Covid. I can’t tell you how good it feels to be back.
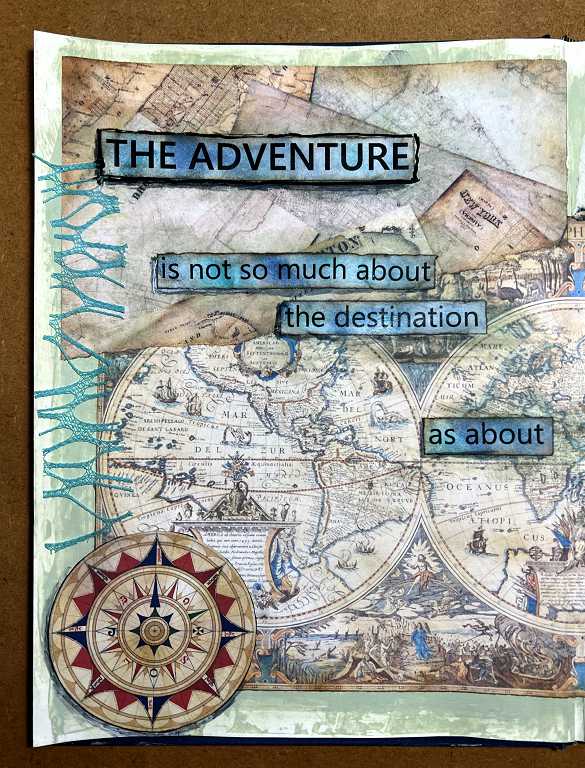
Title page of my new altered book
Just a reminder about this project, which I started back in September. My hubby gave me several large-format hardback books which he no longer wanted, and I set about preparing the first one, which was about the history of naval guns – removing pages and glueing the remaining ones together in pairs. I had got as far as adding some paint to the title page when I abandoned it.

I had already chosen the theme for this journal, which was to be travel with mail art. I had been inspired by a recent series on this theme by Robyn McClendon on YouTube. In the meantime I managed to get some mail art stamps from Ali Express, and this week I got a lovely rubber stamp set from Darkroom Door, called “Correspondence.”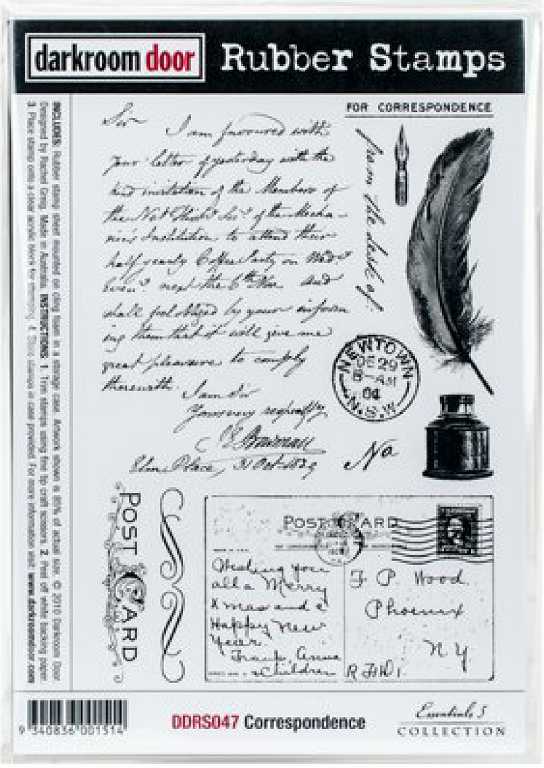 Today…
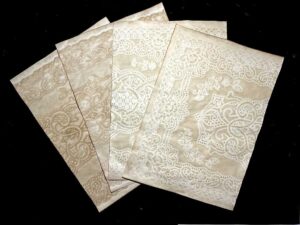
In today’s session, I began by sorting through the papers I’d already set aside for this project, and selected what I thought I would need for the first page.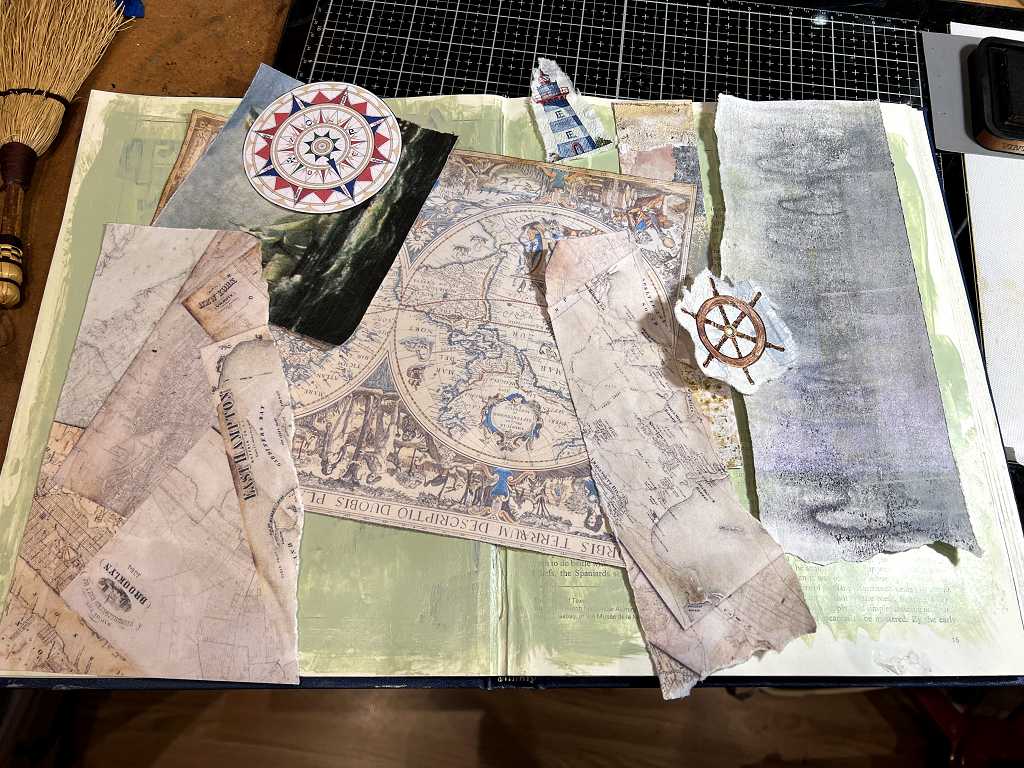 This is a selection of printables (I reduced the opacity of the maps to make them lighter for the background), and a couple of elements from a napkin, part of a brayer-off from a gel printing session (on the far right) and an image from the original book.
I inked the edges of the maps and added some general disressing here and there on these pieces.
Once I’d decided on my layout (which took me a long time!) and I had selected some textured pieces, I was ready to assemble the page. Most of the elements were stuck down with matt gel medium.
The completed page
 Deails of some of the materials
I printed the text on the computer and cut out the strips. I coloured them with a combination of Peacock Feathers and Faded Jeans Distress Inks, and distressed the edges as before, with Vintage Photo Distress Ink.
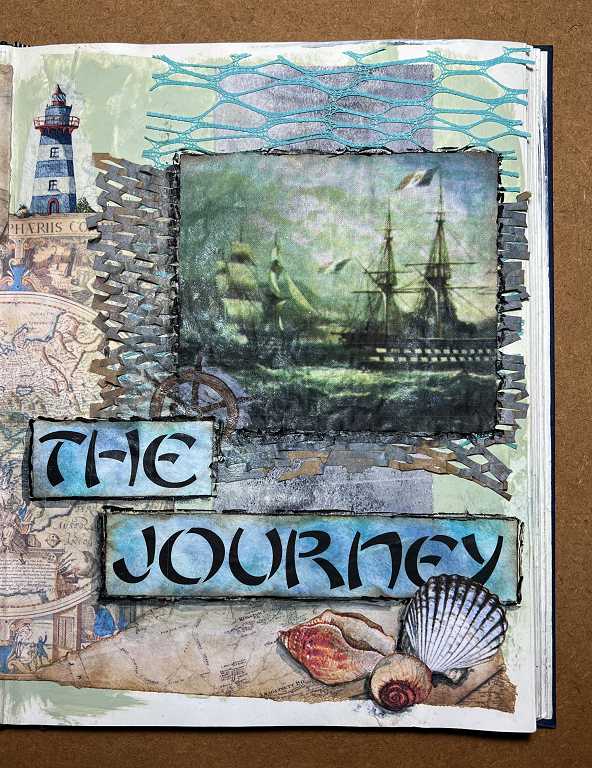
The textured paper under the ship image is paper mesh for packaging; I’ve got a lot of this, and this particular piece was cut from a larger sheet which I had used to spray through as a stencil. The colours seemed good with this scheme, and I wanted something to suggest waves.
 The finer mesh stuff in turquoise was cut from one of the large sheets that I got not long ago:
 and again, I thought this might suggest the waves of the sea. The narrow offcut ended up on the left-hand page.
The ship’s wheel and the lighthouse were cut from a napkin, and the compass was downloaded. The shells were cut from a sheet I printed, which was a scan of another napkin. I have printed out several sheets of these in different sizes.
Now for a closer look
The left-hand page:
 and the right-hand page.
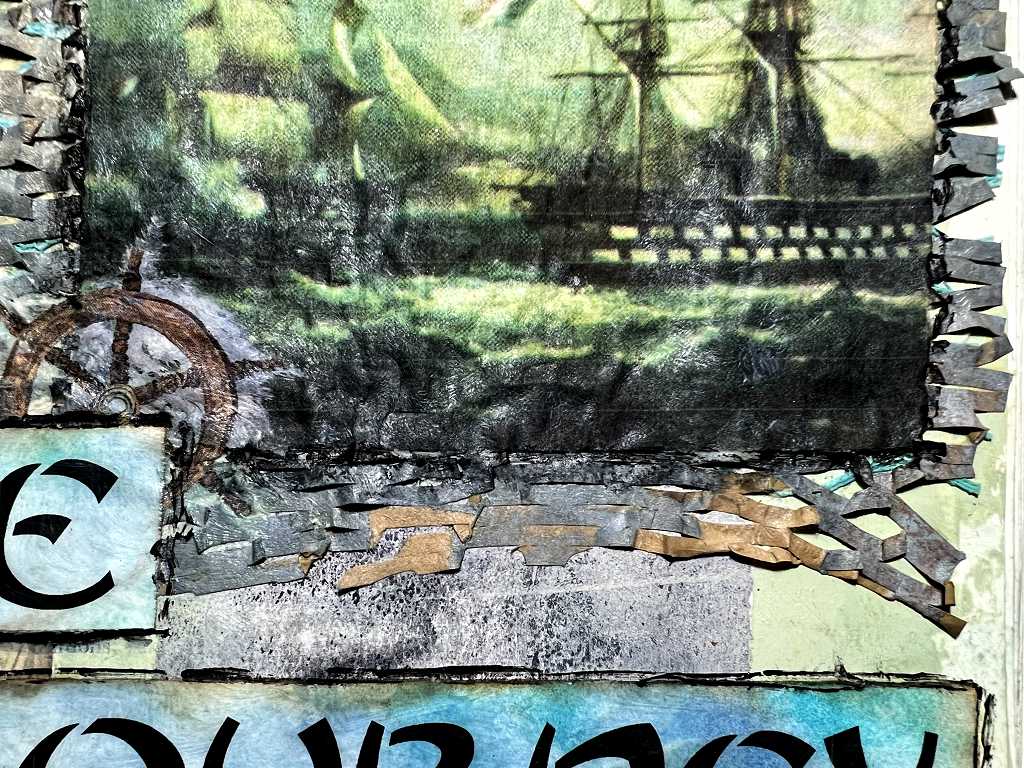
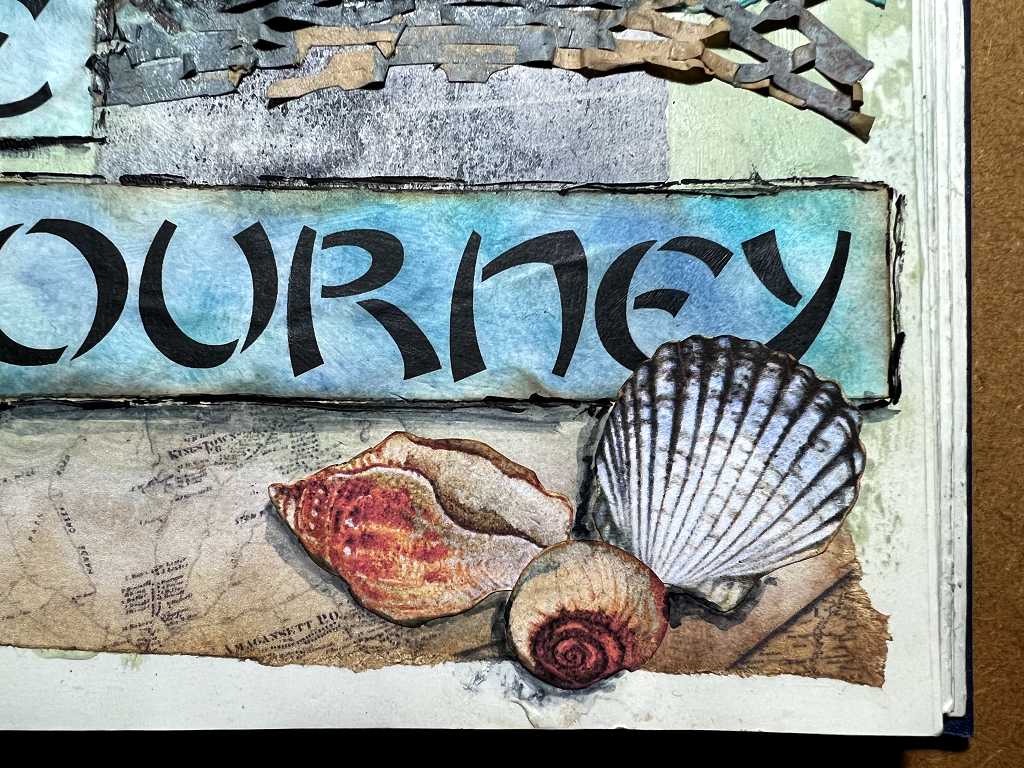

Once everything was stuck down, I went round the edges of certain parts with a black Posca pen and added some shadows with some watered-down Payne’s Grey acrylic paint.
A final look at the completed spread once more.
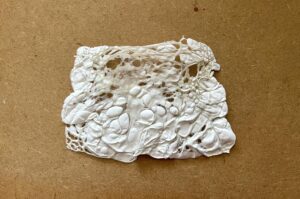
Texture plate made from empty medication blister packs
Some time ago I started to make a texture plate for use on the gel plate, glueing down empty medication packs onto a piece of mount board. This was as far as I got at that time:
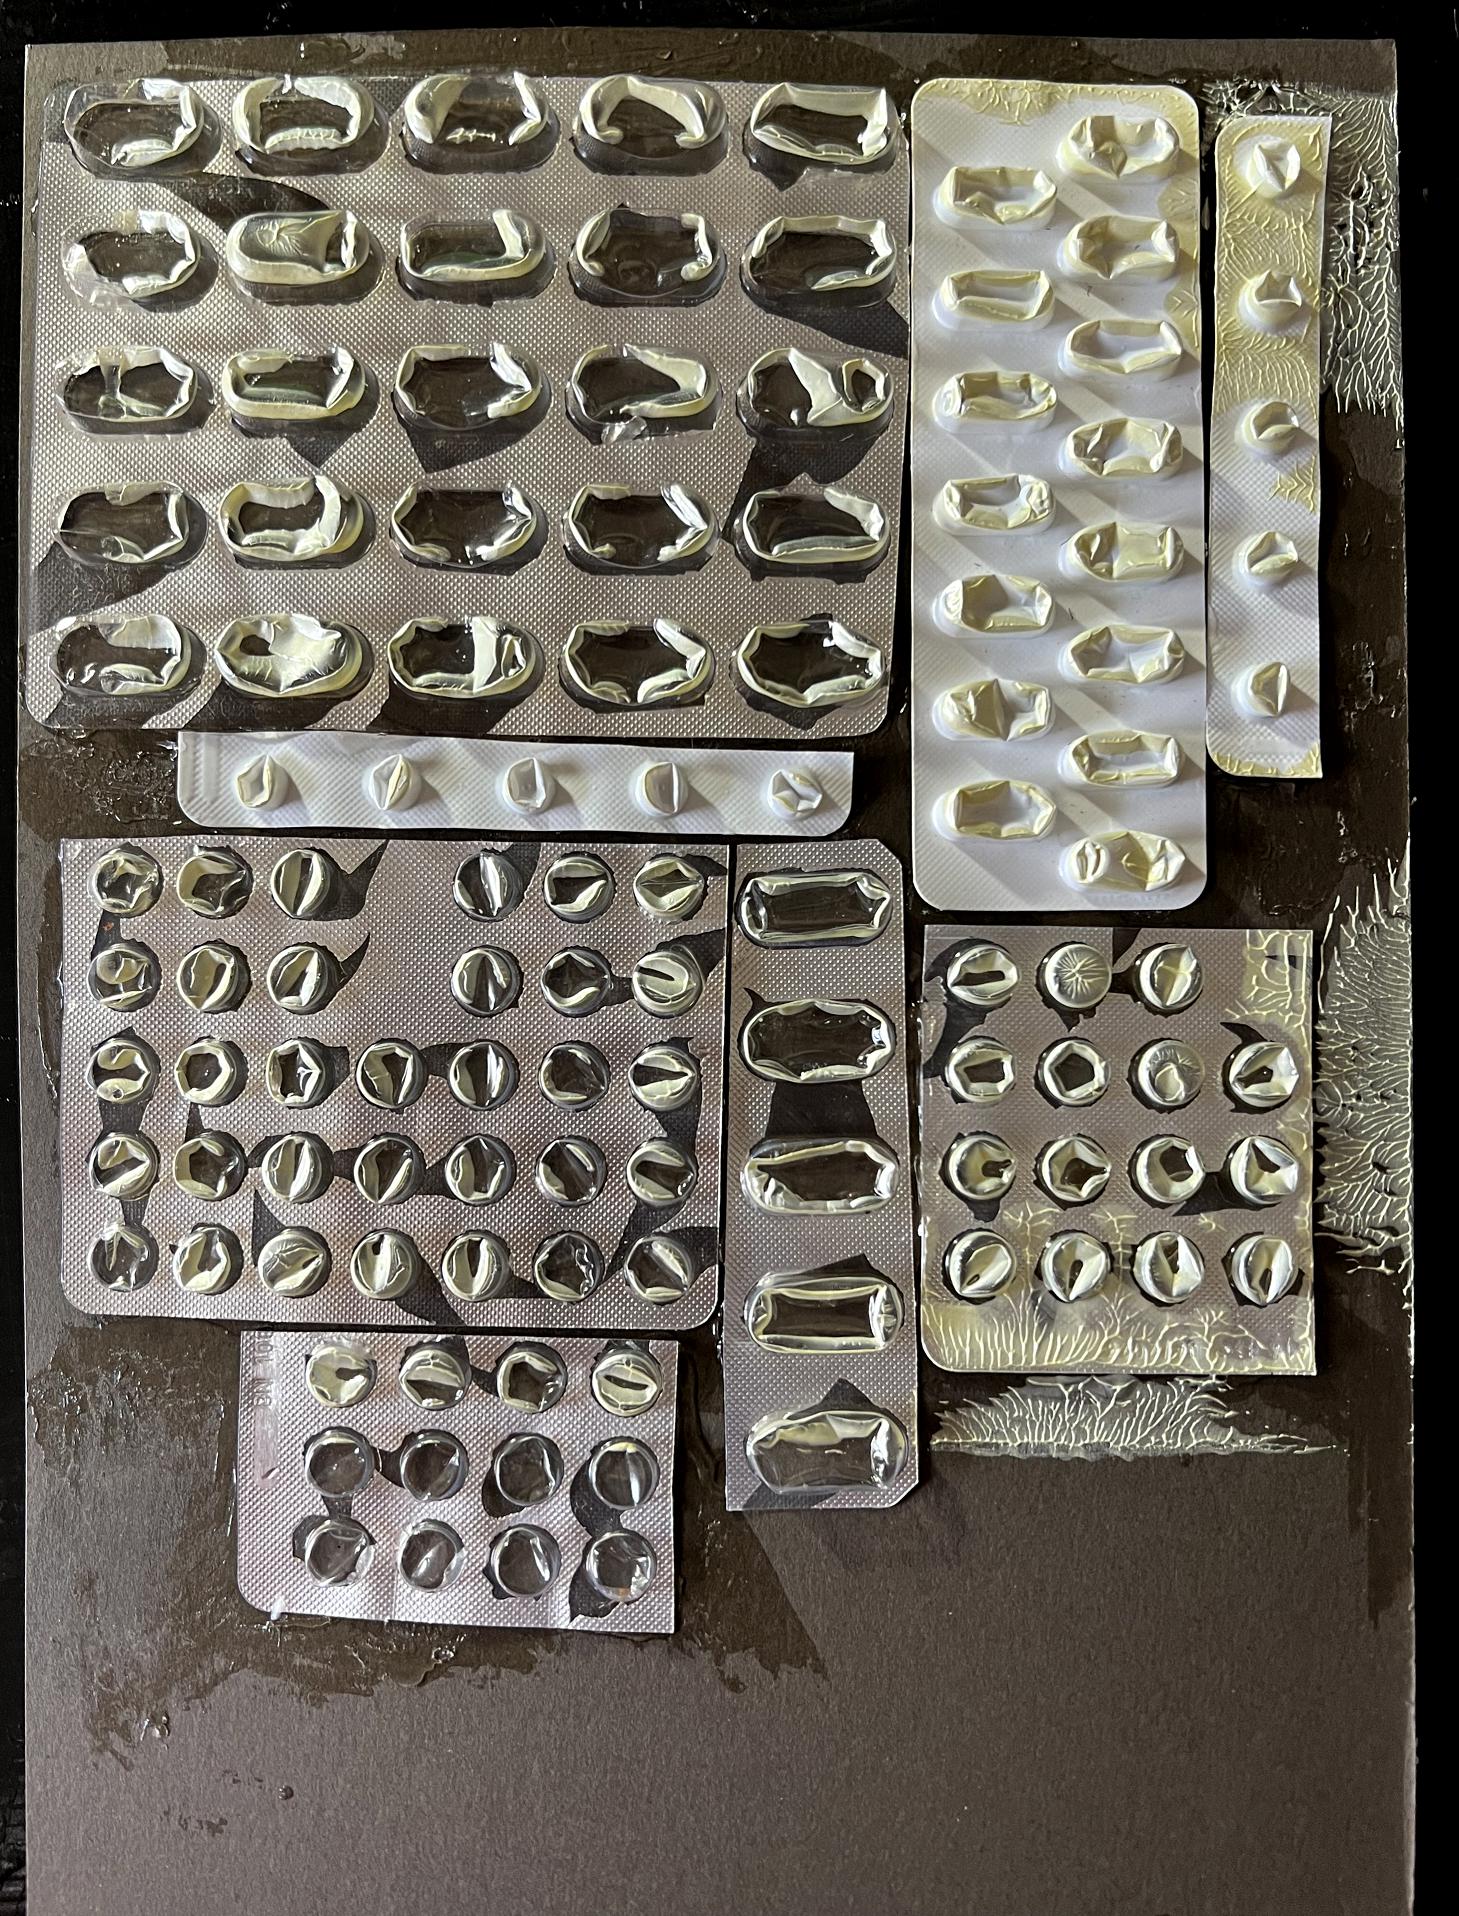
I had an awful job getting them to stick down. I used heavy body matt gel medium and then put a load of heavy books on top and left them to their own devices for a few days.
Today I got around to filling the remaining space on the mount board with more blister packs. This time I stuck them down with superglue which worked a lot better.

I did try using this texture plate when I had added the first batch of blister packs, with pretty unsatisfactory results, but I think that was more due to my choice of paint colours than any fault with the texture plate. When I do some more gel printing I shall try it out again. It’s amazing to see all the different patterns they pack the pills in! I did cut up some of the strips to fill in small gaps. I shall be making some individual, small texture plates with these, too.
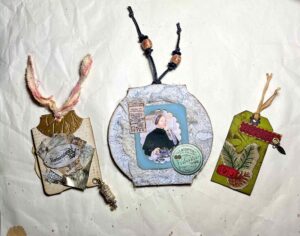
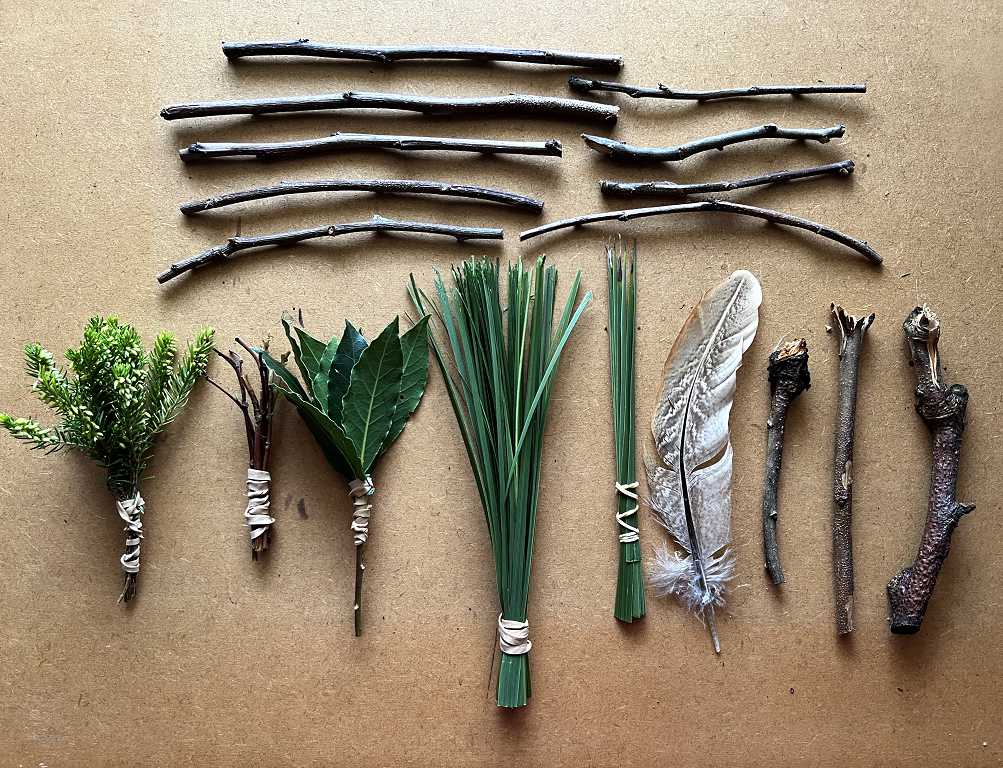
Mark making tools
I watched a fabulous video by Robyn McClendon this morning on YouTube, where she was mark-making with DIY organic materials – leaves and feathers etc. that she’d picked up.
I went up into the garden with a pair of scissors and started snippping bits of this and that, and trimmed them down. I shredded sections of the long slender palm-like leaves along their length to make one tool, and used the ends of these leaves to make another. I also cut a few twigs, some of which can be used for mark-making (I shredded the end of one of them), but these twigs are mostly for making handles later. For now I have bunched the materials together with rubber bands, but they will shrink a bit as they dry, so eventually I shall bind them with string and glue, around a twig handle.
It will be fun to try them. Robyn brayered down a thin glazing layer of metallic paint onto her gel plate, and then made marks with black ink before pulling the prints onto masking paper (cheaply obtained from her local hardware store). For the final one she used a glaze of Golden Quinacridone Nickel Azo Gold, and over the brown paper it was absolutely stunning. Gotta try this!!
Nice to be back in action again
It feels so good to have had a creative session in my studio today! I am hoping to go up again tomorrow, time permitting. I have an exciting parcel awaiting delivery, full of fabulous new stuff to inspire me. This is going to be fun.