At last I have got around to doing a blog post about my DIY foam stamps! I’ve been promising to do this for ages.
Fun foam and yoga mat
Looking up videos on YouTube, most people seem to mount their DIY foam stamps on cardboard. This didn’t seem very satisfactory to me because you can’t wash them. I commented about this under one person’s video and she said she didn’t worry about that – she never bothered washing them, and if they got too clogged up with paint, she’d throw them away and make new ones. I didn’t want to have to do that as it seems pointless to duplicate all the effort you put in in the first place. Also, when I first began and was doing crafting, I bought some acrylic blocks for clear stamps, and they were very cheap, and very thin. I found them quite difficult to handle, and they would often slip out of my fingers when I picked them up, and generally land stamp side down, plus ink, on my work! Later I invested in a set of nice thick ones and that really helped. I thought I might have the same problem with handling my foam stamps if they only had a thin cardboard backing.
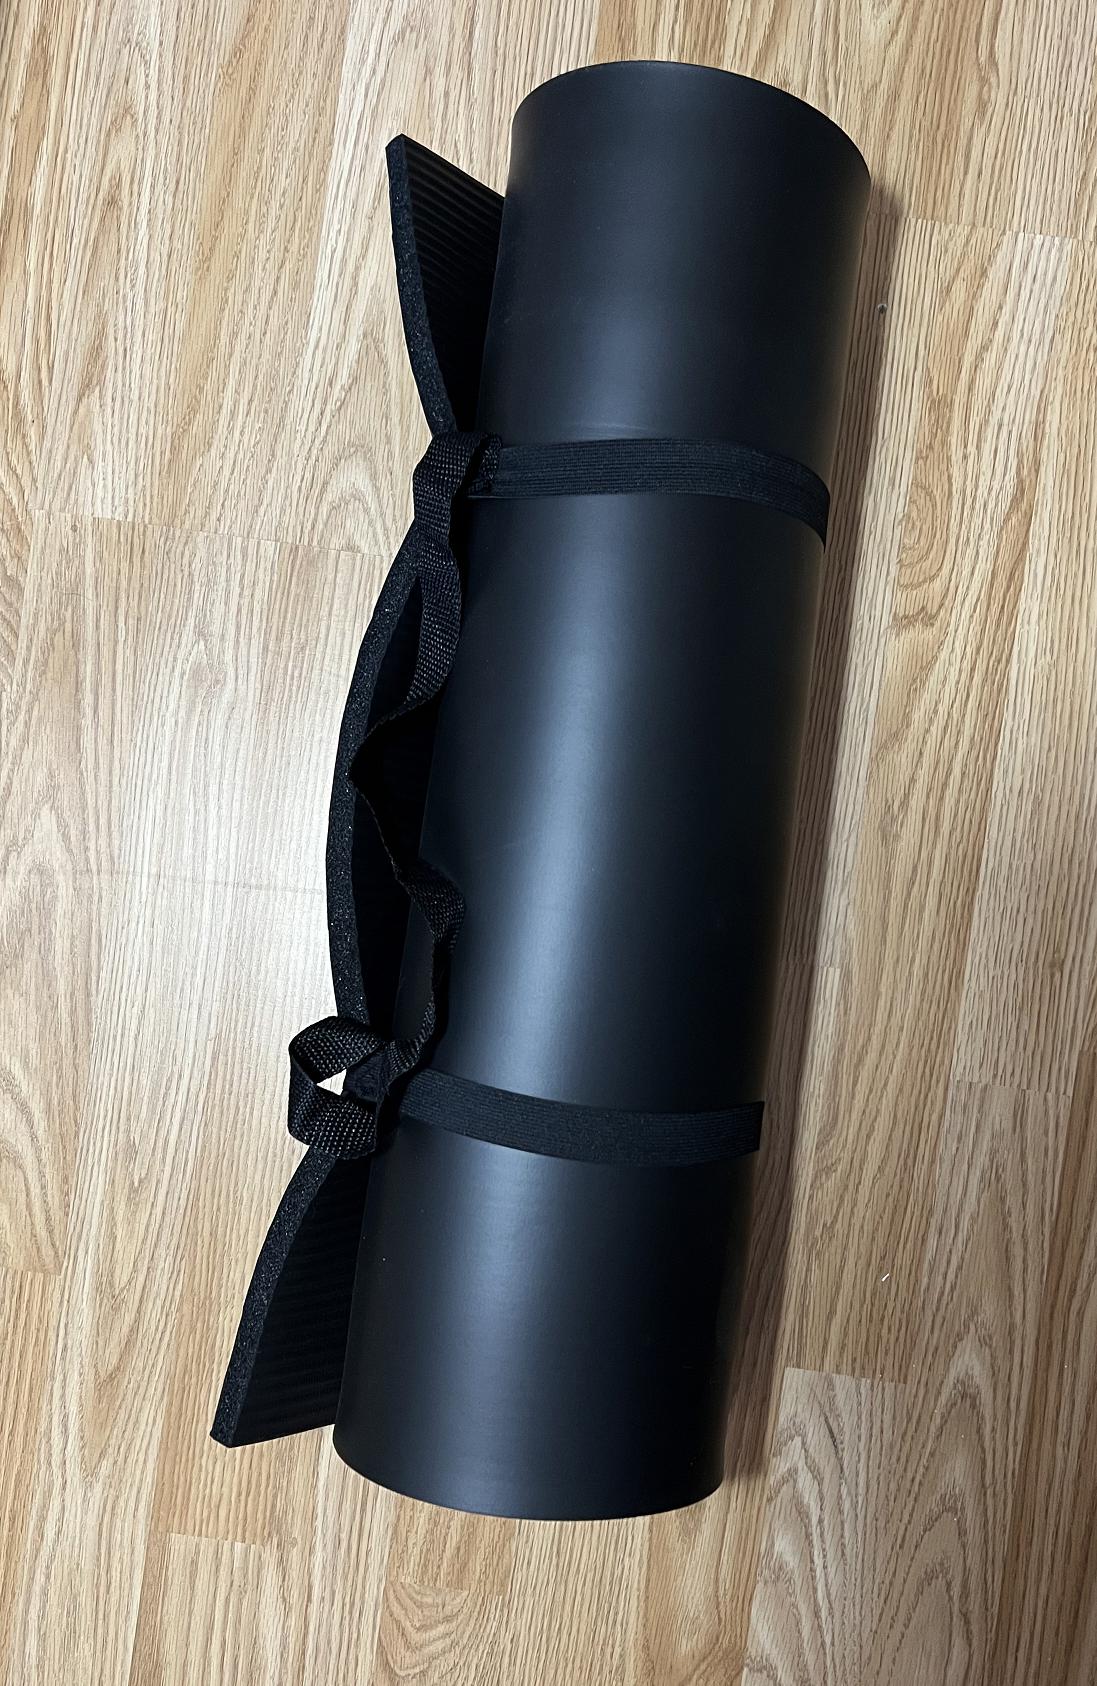
For these reasons, I wanted a thicker, and more permanent material to mount my foam stamps. I have some reduntant wood blocks from old rubber stamps that I unmounted, but none of these were big enough. Eventually I thought of rubber matting, and found a really nice thick black yoga mat on Amazon, which was a full 2 cm thick, rather than the usual 1 or 1.5 cm thickness. It is ridged on one side, but smooth on the other, and ideal for mounting my cut out shapes. An advantage of using this is that you can bend the stamp as you are using it, and partially stamp if you want.
This is the yoga mat. I have cut some off it now so it’s smaller than it was. It came with the nifty elastic straps with carrying handle, and this keeps it tidily rolled up when not in use. I think I shall find all sorts of uses for this thick, resilient foam.
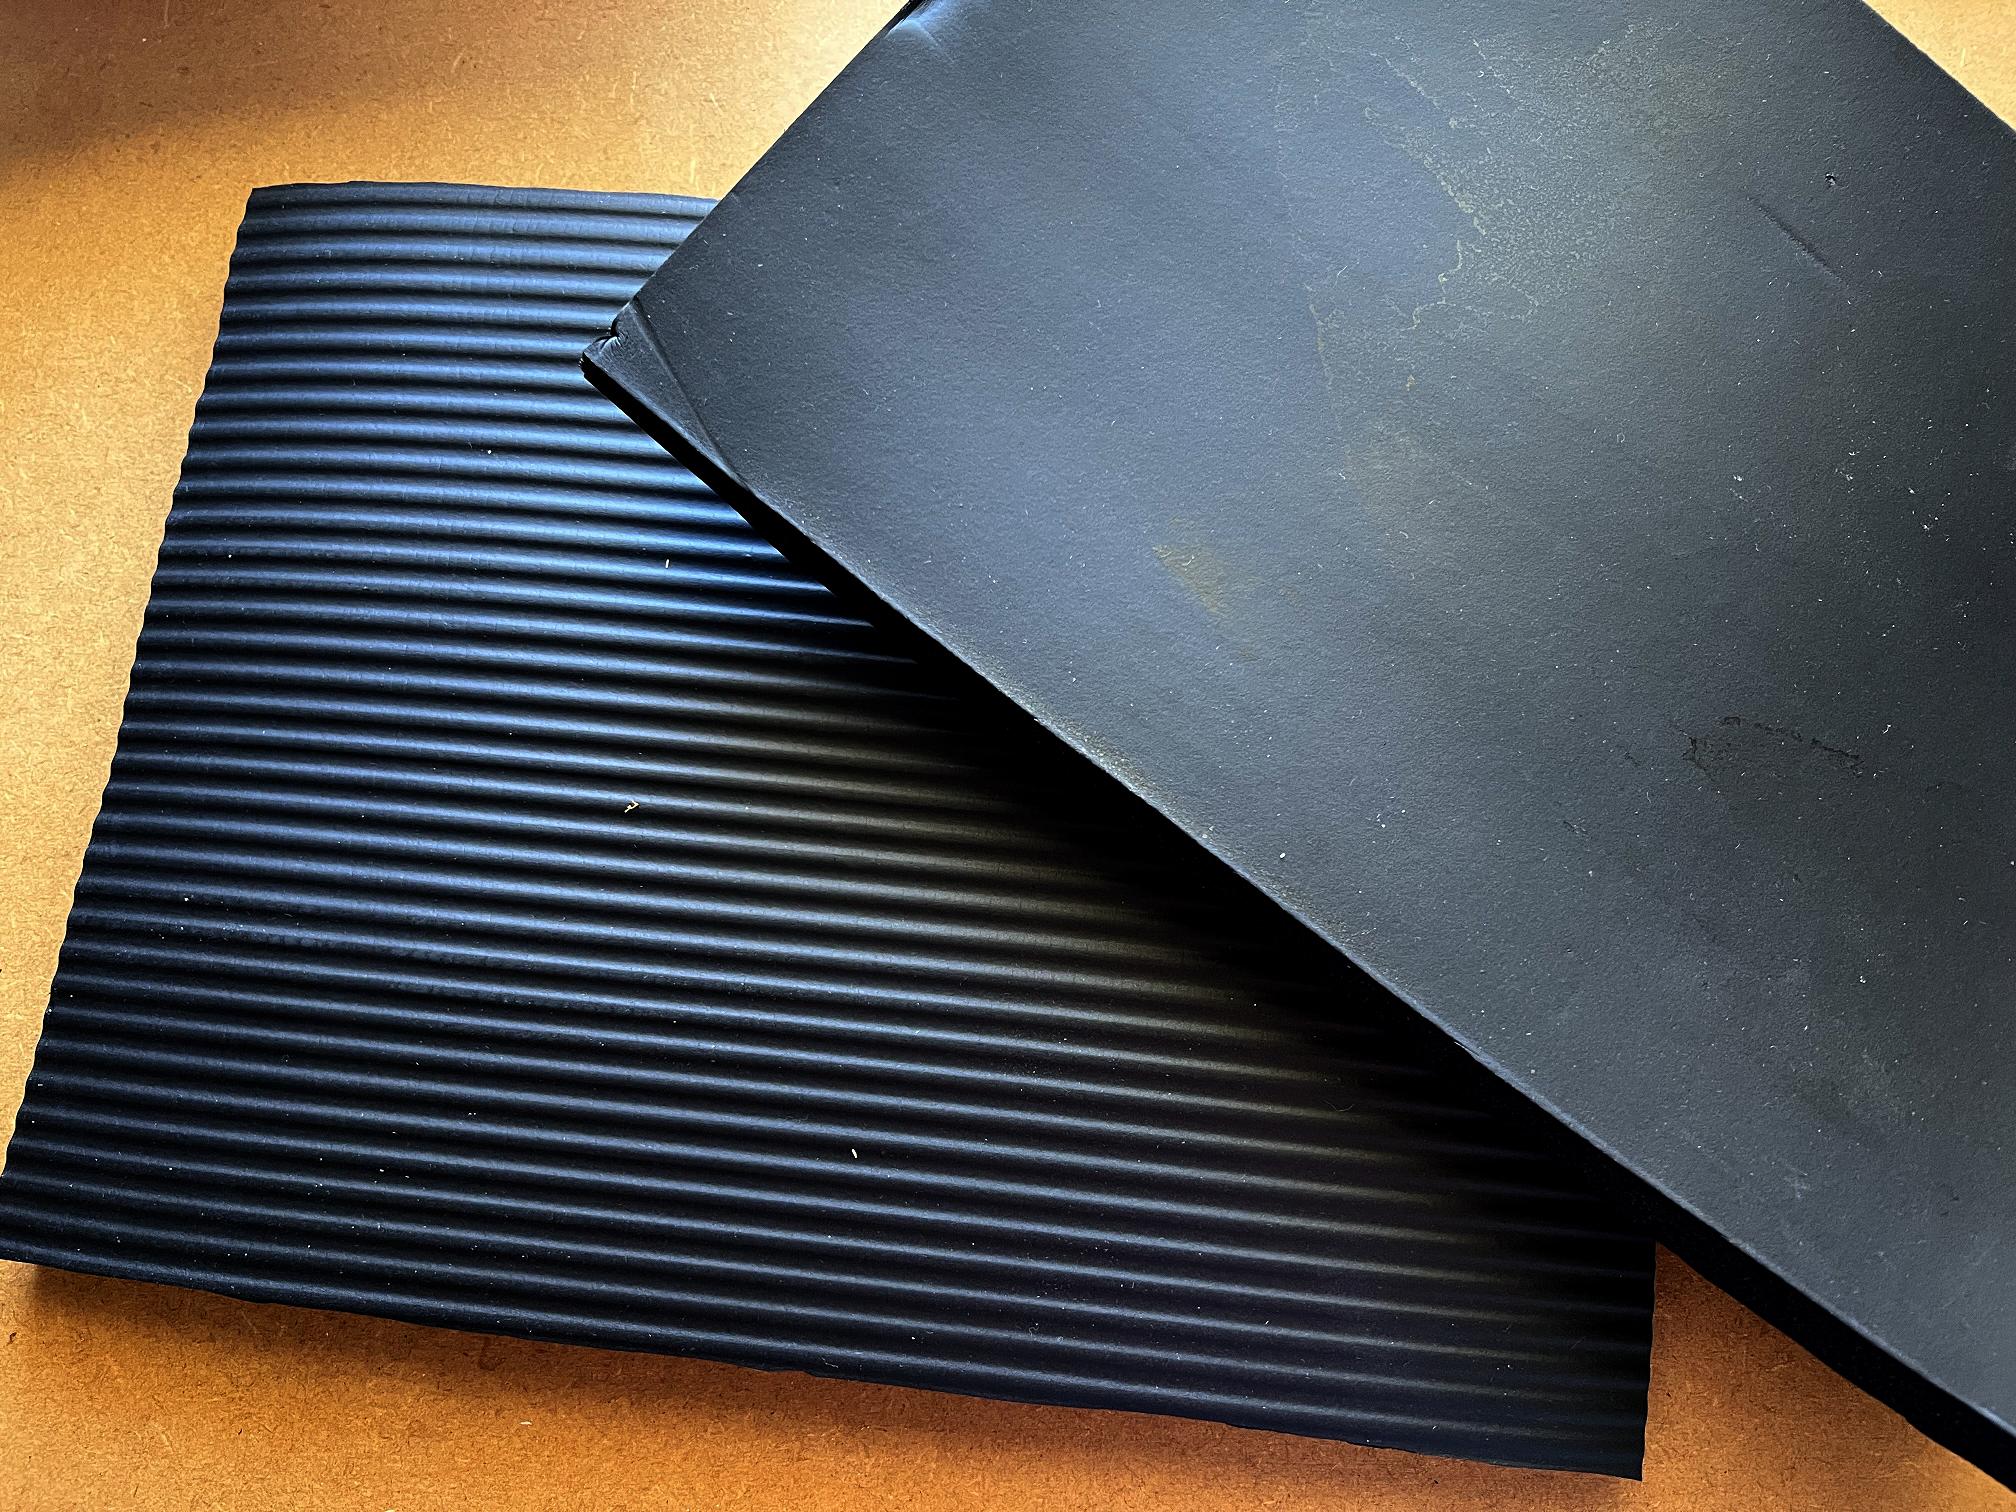
Pieces of the foam mat, showing the smooth upper surface and the ridged underside.
I already had some fun foam but it wasn’t self-adhesive, and I didn’t want to mess about with glue, so I bough a pack of the self-adhesive variety. You can also buy ready cut self-adhesive shapes if you want to go down that route – the only shapes I’d be interested in would be things like hearts, stars or geometric shapes, and certainly not any cutesy ones! (I’m definiely not into cutesy.) I haven’t bought any of these shaped ones yet.
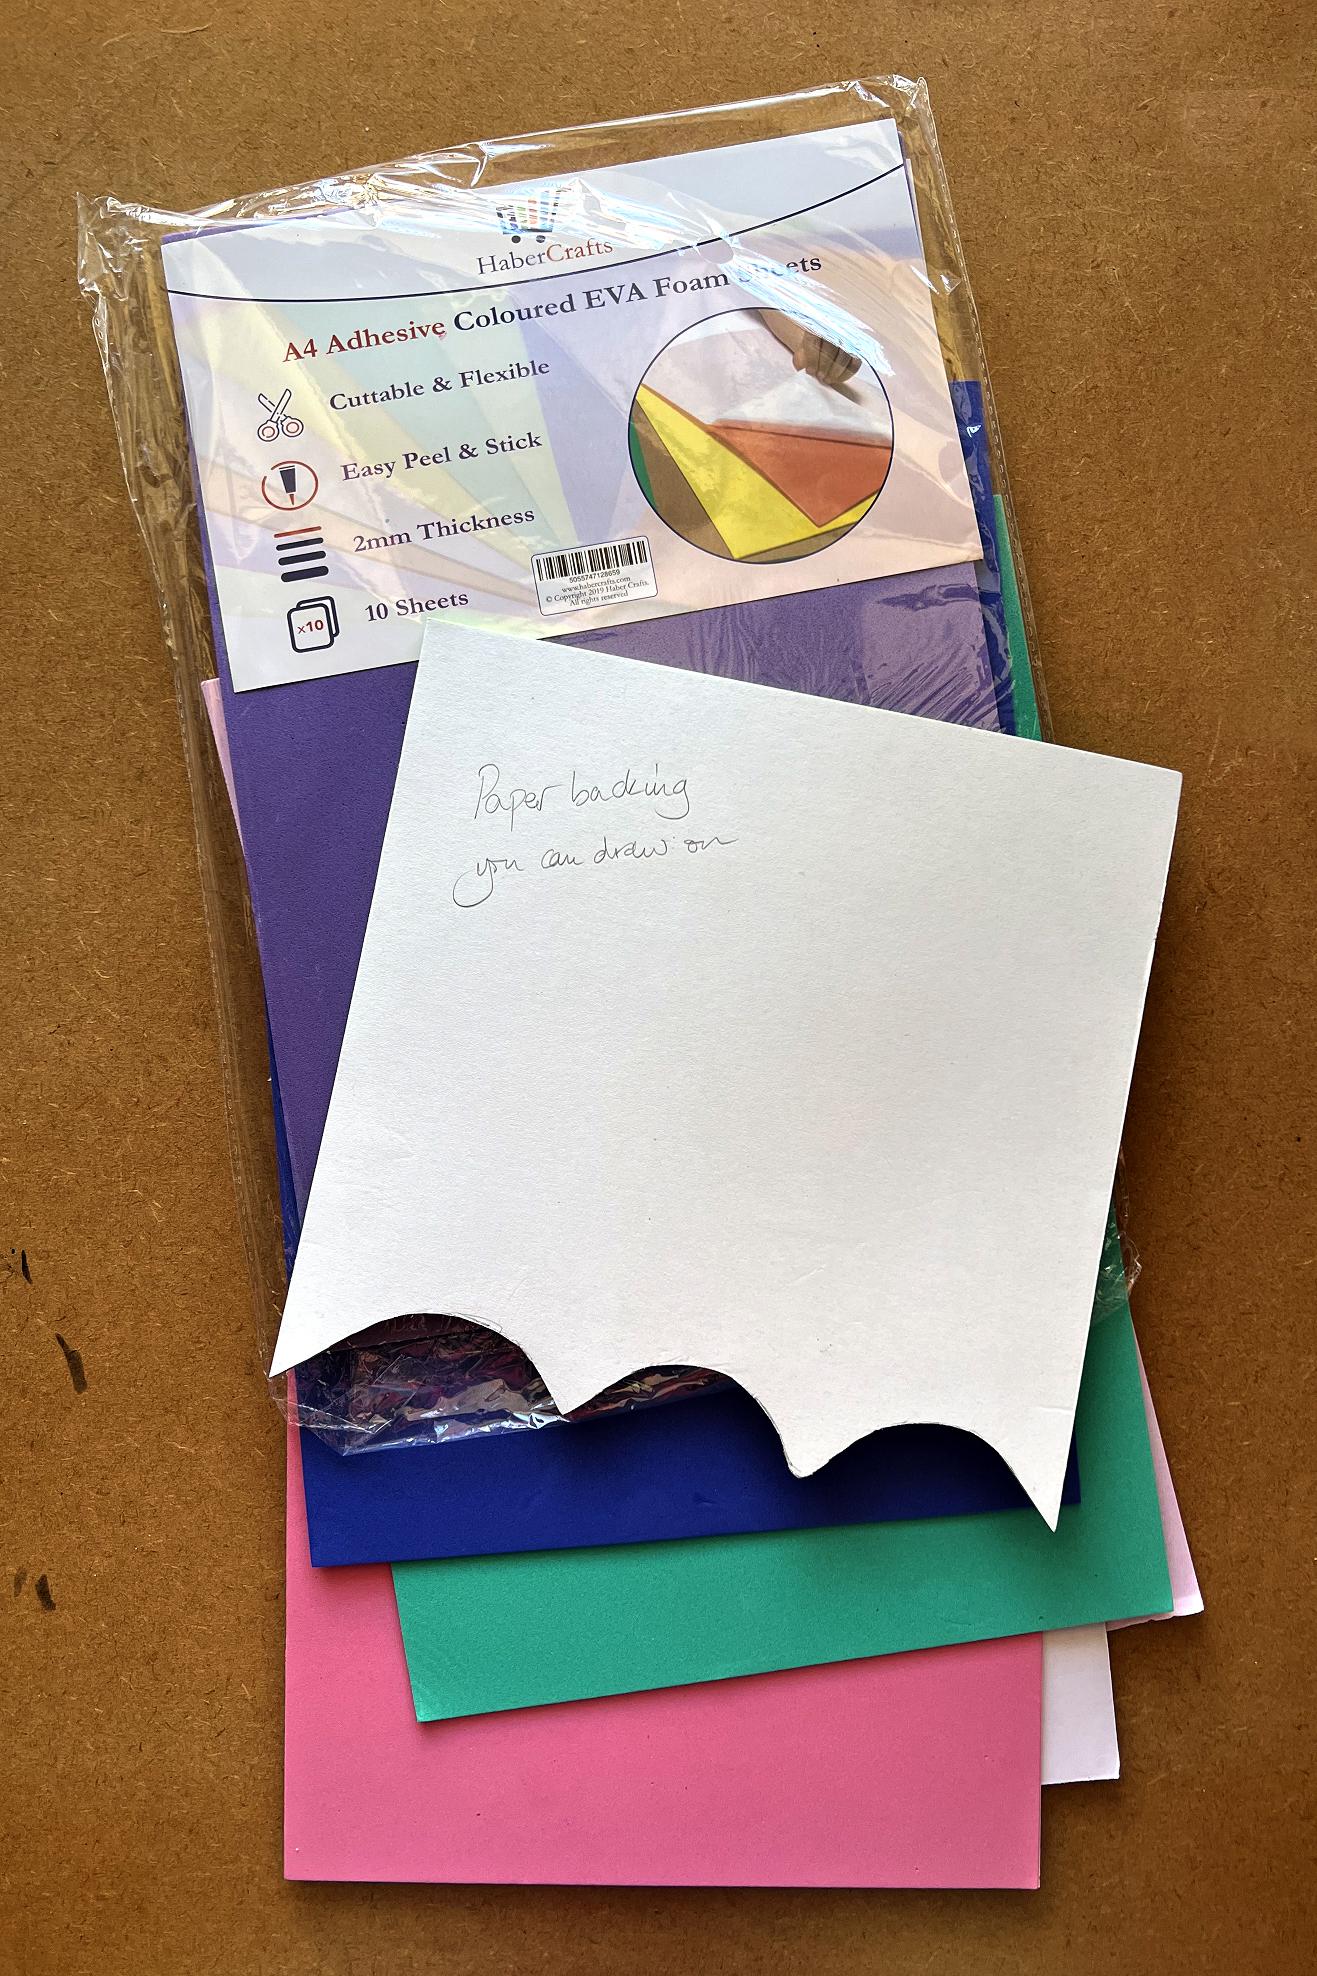
Another advantage of the self-adhesive foam is that it has a paper backing to protect the adhesive surface, and you can draw on this, mapping out your shapes, which are then simple to cut out with scissors.
I thought that cutting up the yoga mat would be most easily done with a sharp Stanley knife but in the end I found that scissors worked the best. I tried to keep the sides as vertical as possible. To begin with, I cut some sections of the foam from the huge, unmanageable acreage of black foam mat which had a tendency to keep rolling up!
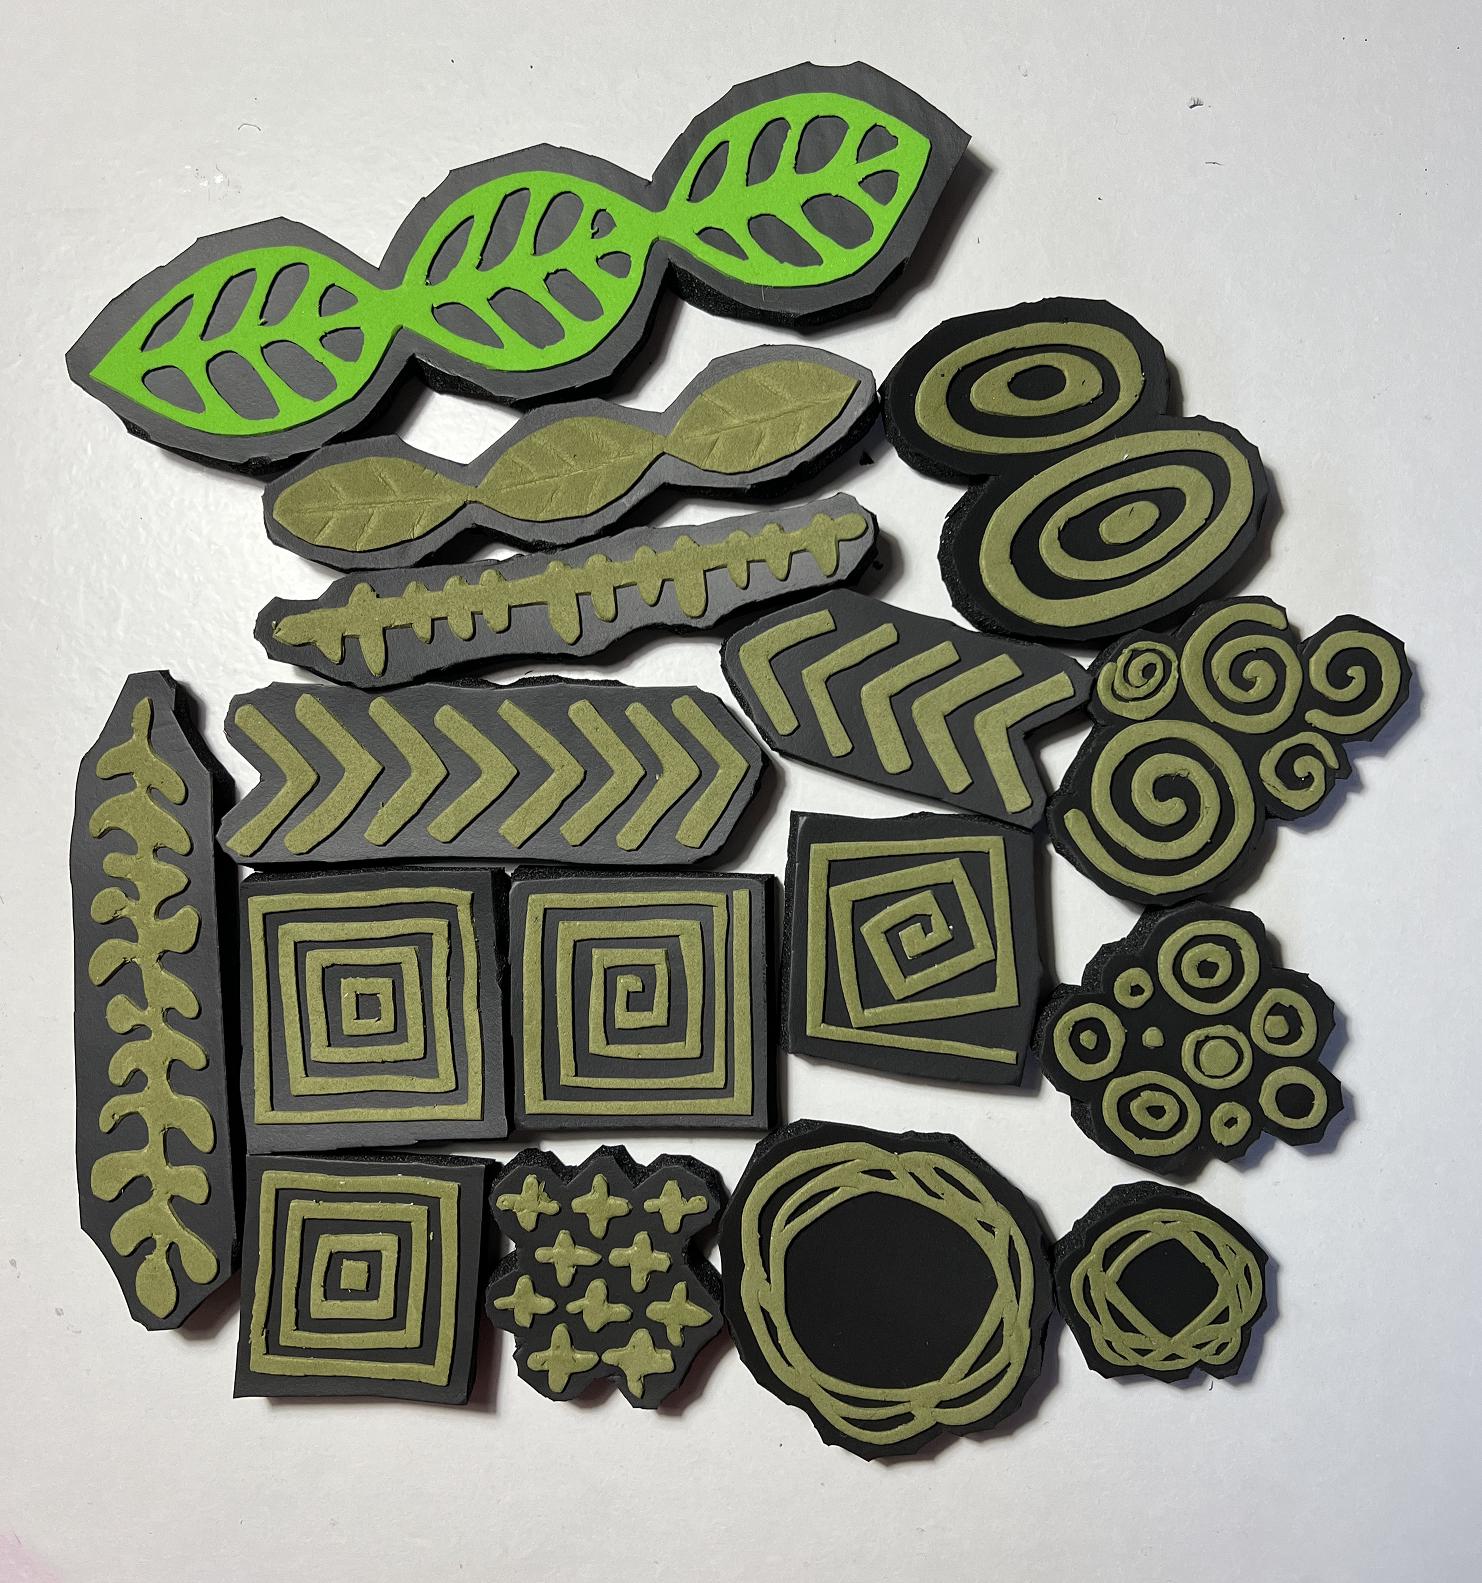
It was then a simple matter to arrange my cut out foam shapes and stick them down, and then cut around them, leaving as narrow margin as possible.
I chose simple geometric shapes, circles, spirals etc. and ended up with my first batch of useful stamps.
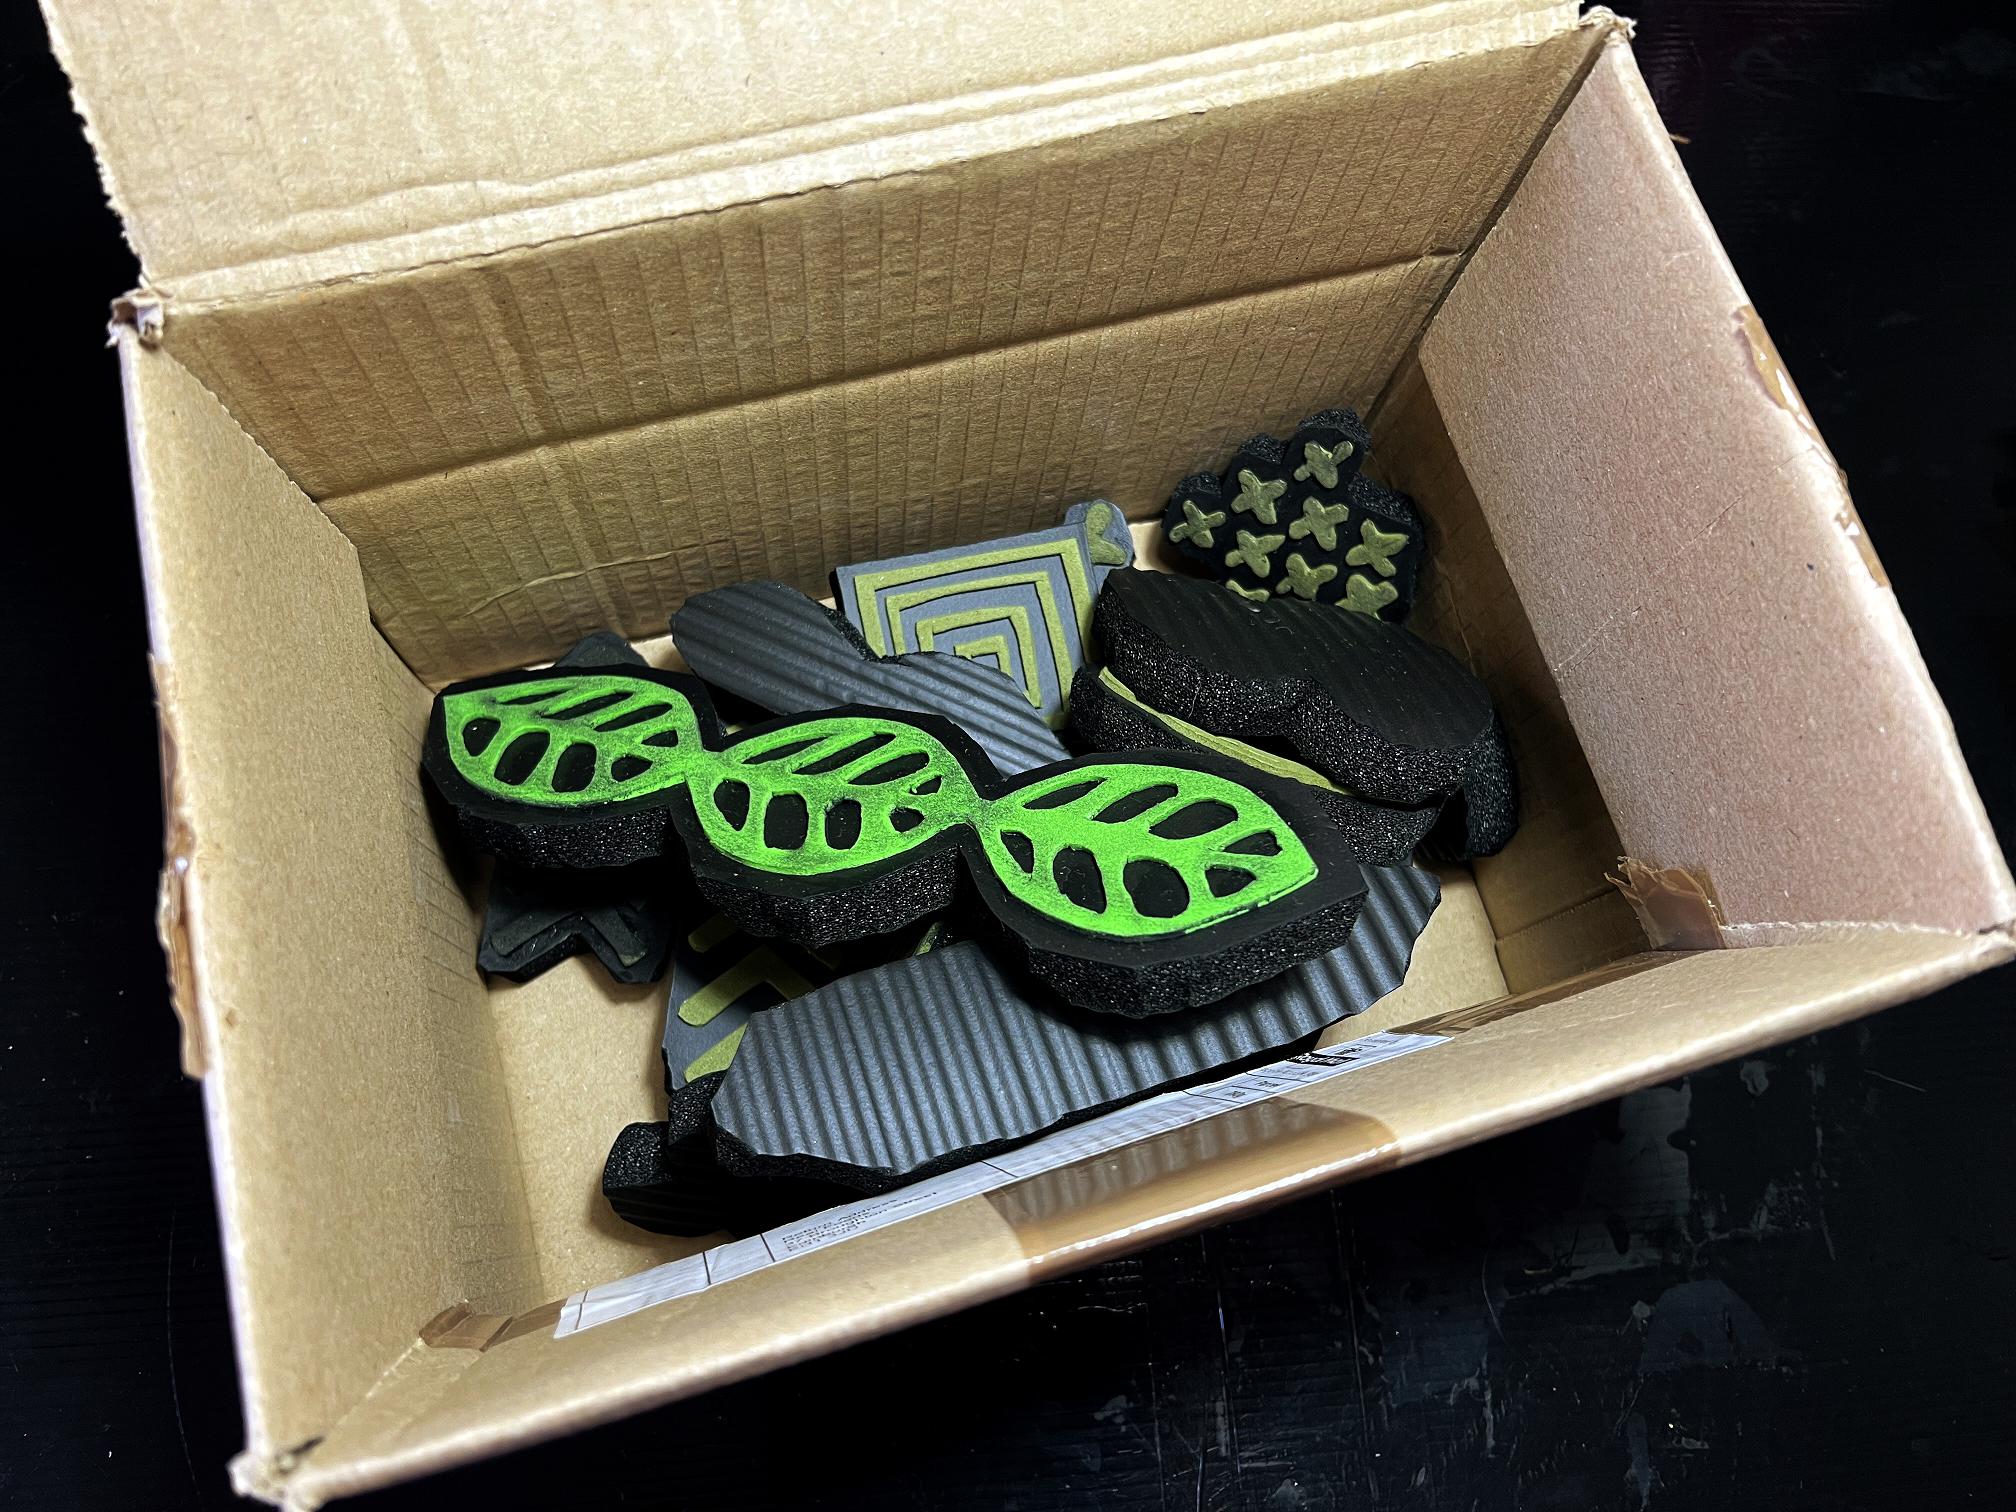
I am storing them loose in a cardboard box and it’s fun rummaging through them to find the one I want. I love the soft, bouncy feel of them.
Here is one of the stamps showing the thickness of the foam backing.

To test them out, I chose a large piece of Amazon packaging paper. I love this stuff! It prints really well on the gel plate, and you can do mark making on it, and really let rip because it’s free and that takes all the stress out of it, associated with all that silly worrying about wasting expensive paper lol!
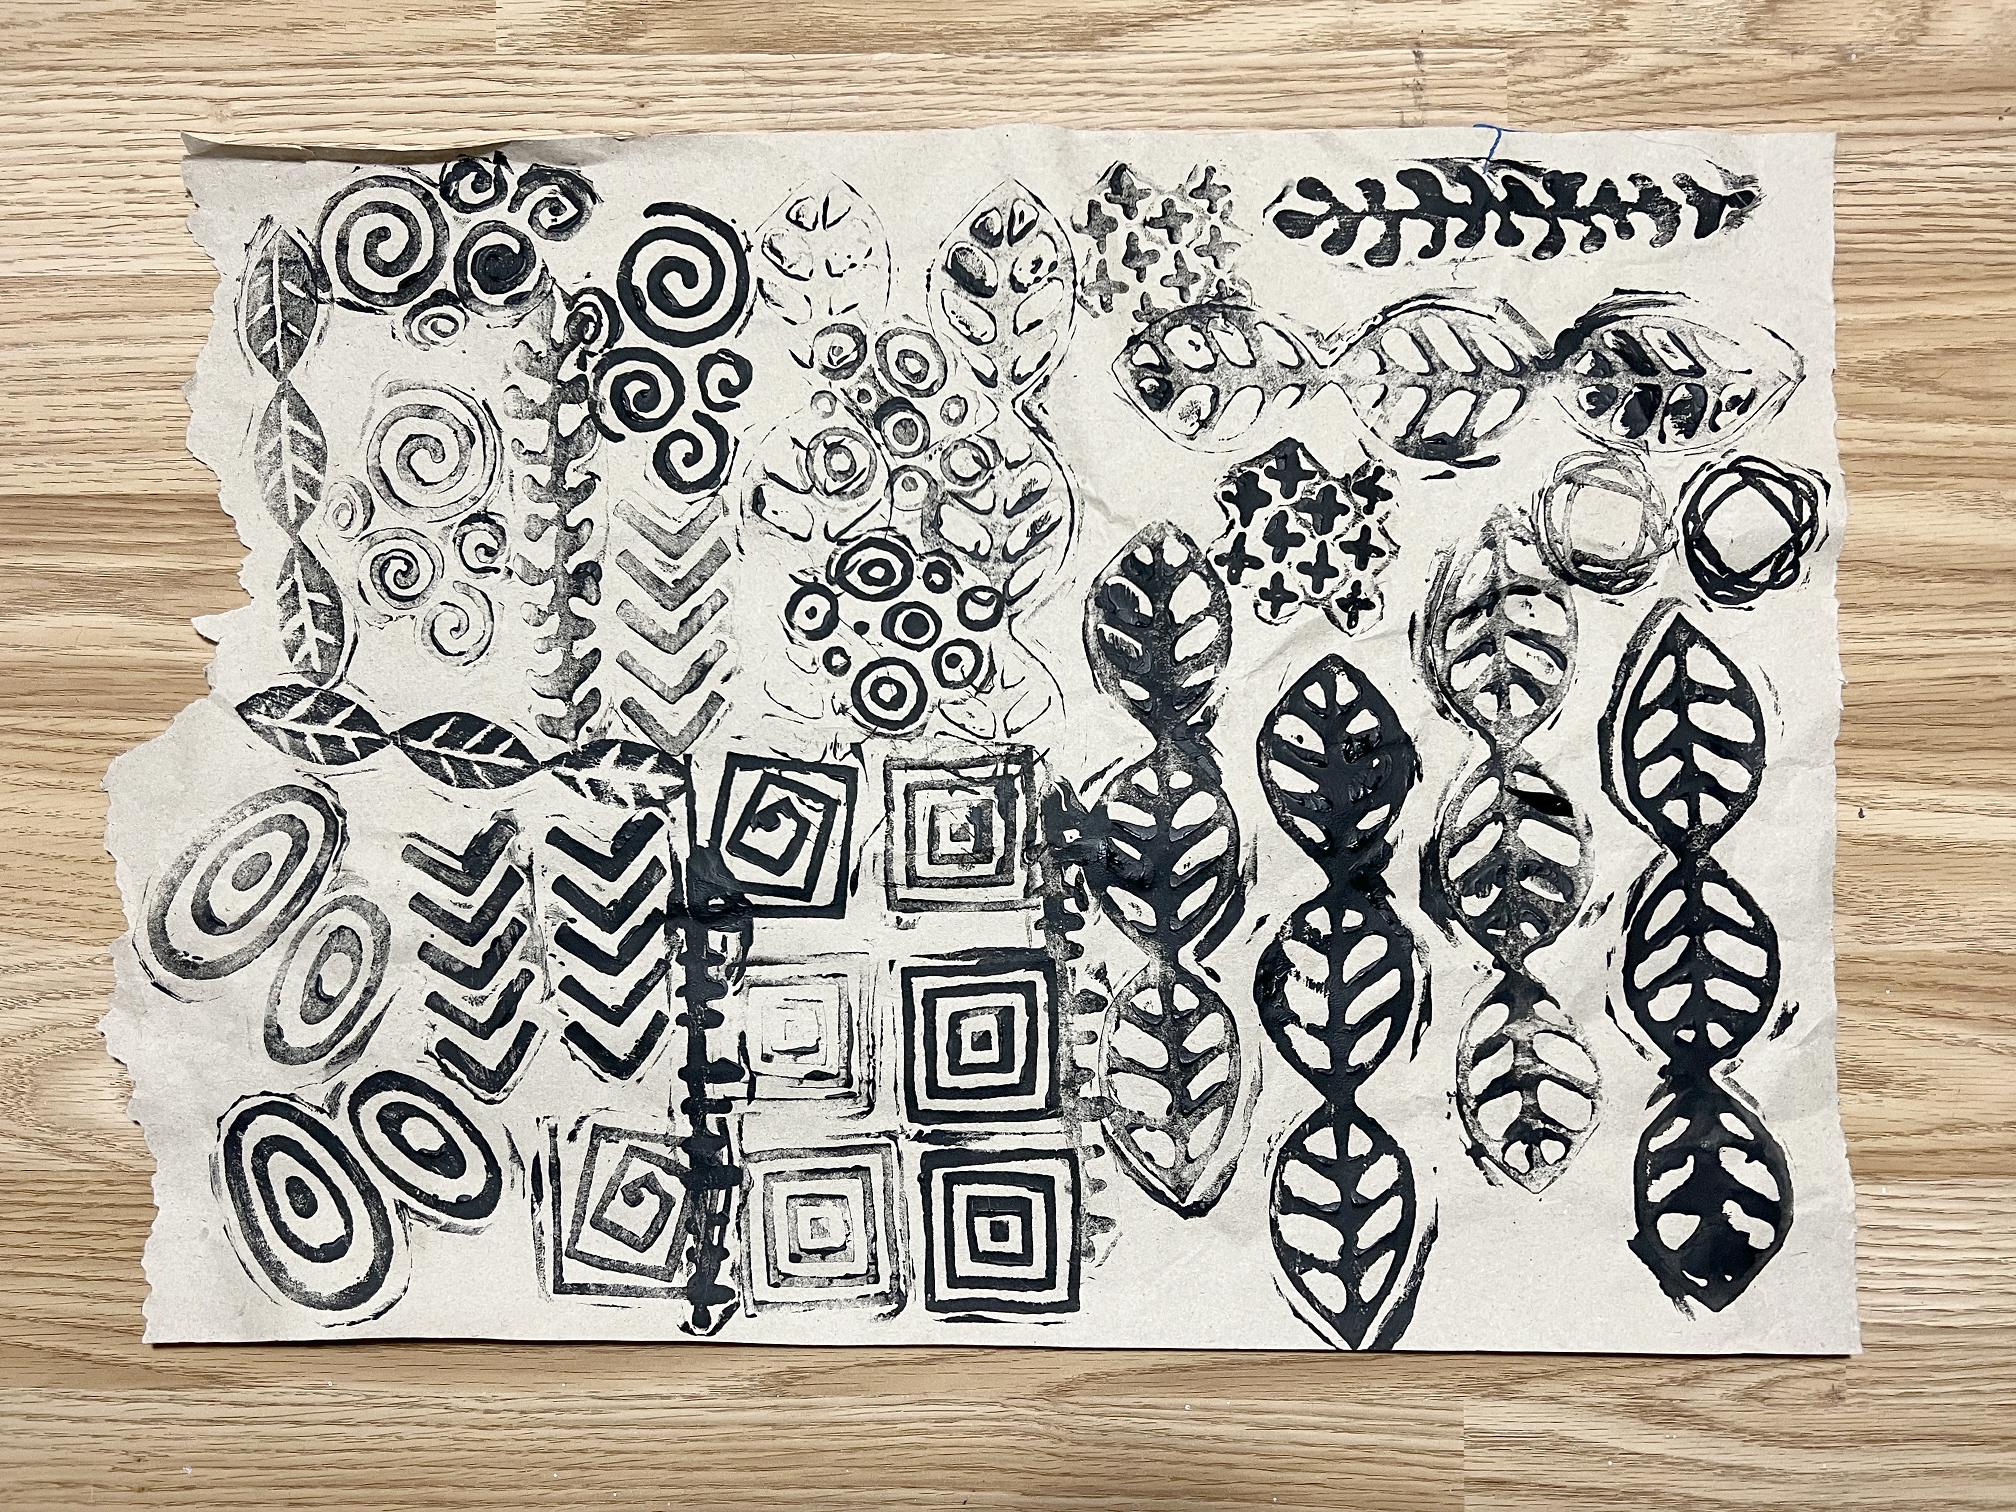
I applied black acrylic paint to the stamps with a brush, and just stamped them down randomly. You can see the first print ones, and then the subsequent ghosting ones, whicih I honestly prefer. Some of them show the edge of the cut yoga mat where I wasn’t careful enough to avoid getting paint on it, and then pressed down too hard, but it all adds texture in the end!
I am definitely going to make some more of these. They are fun to make, and fun to use. There’s something chunky and organic about them that you don’t get with commercial rubber stamps, and I love the grunginess of them. Somehow it feels a lot more “hands-on” than regular rubber stamping.
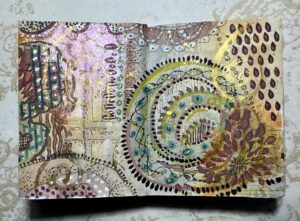
I haven’t used them very much in projects as yet, but the Organic Journal page I made the other day has the multiple spirals stamp being used on the cut out circles.
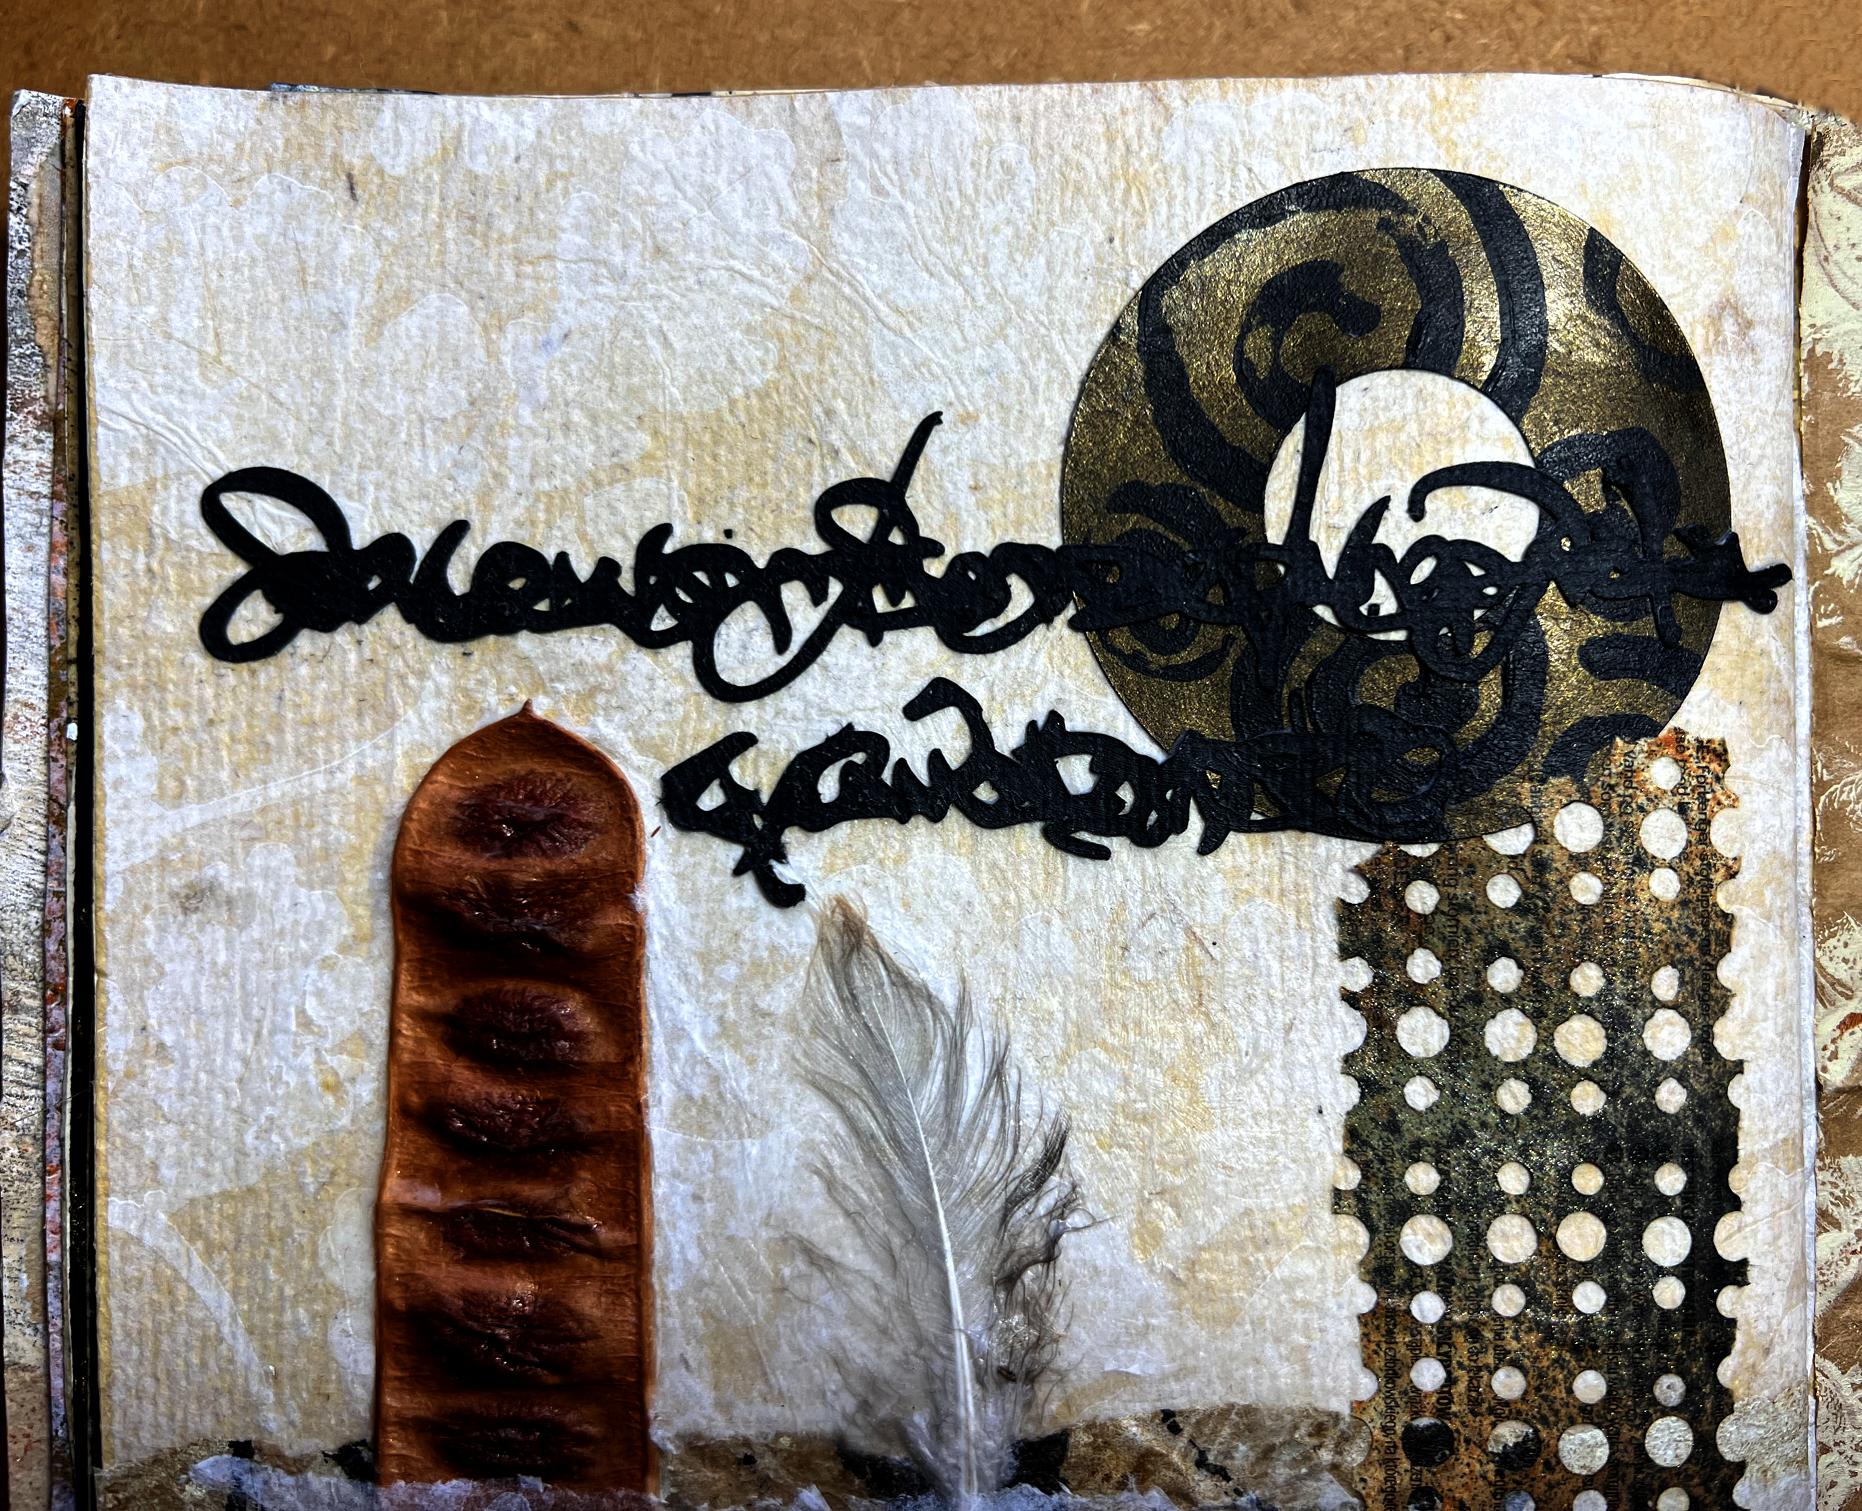
I love it when you don’t get a perfect print with them, where there are gaps.
I have yet to try them out on the gel plate. They should make interesting textures as you use them to remove paint prior to pulling a print.
Watch this space!
Coffee and ink staining from yesterday’s session
The papers that I left very wet yesterday are all dry today, and I was able to unfold the accordion ones, and have a good look at the results of everything I did.
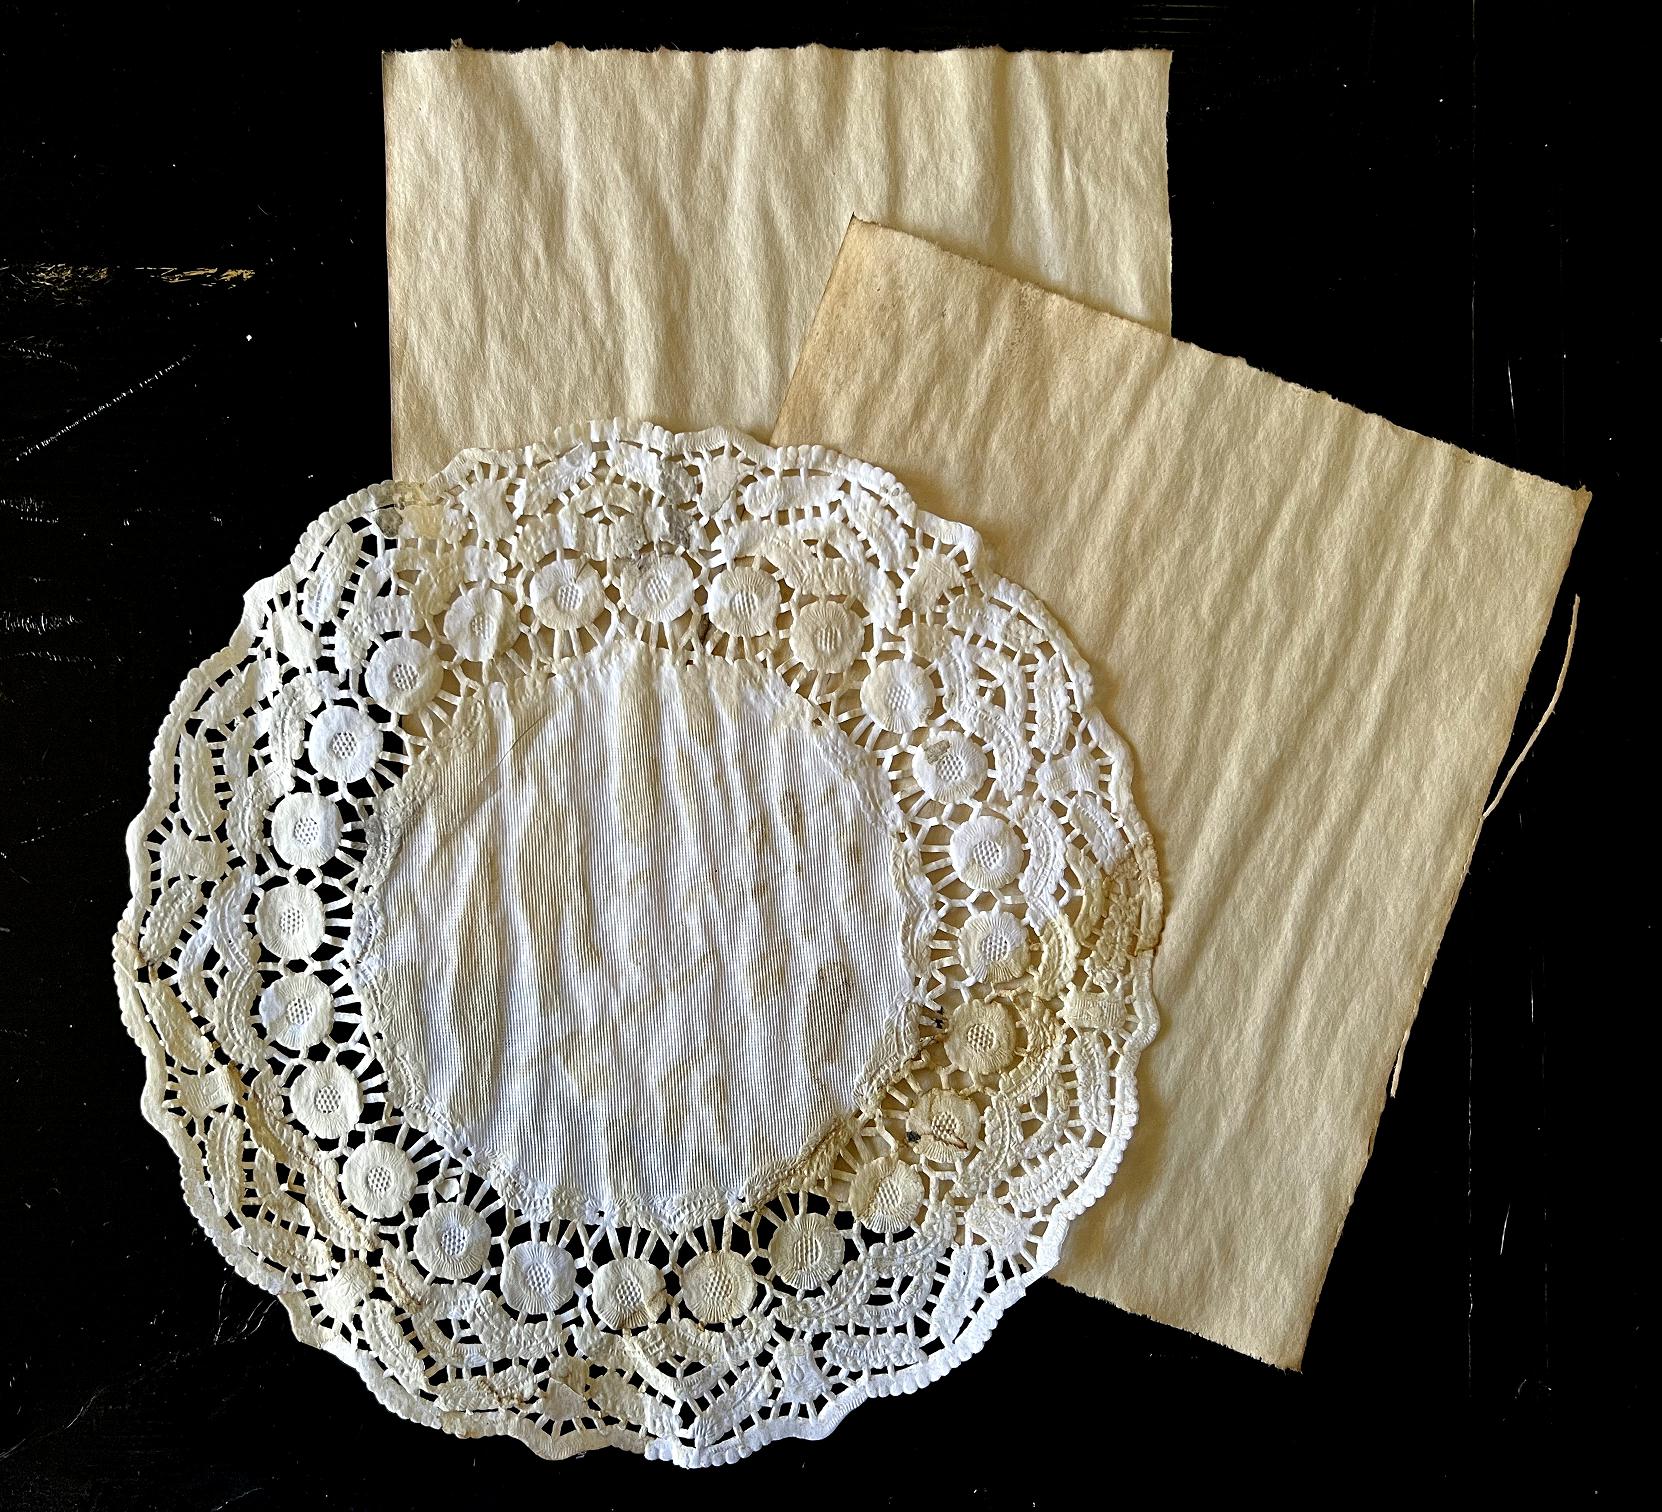
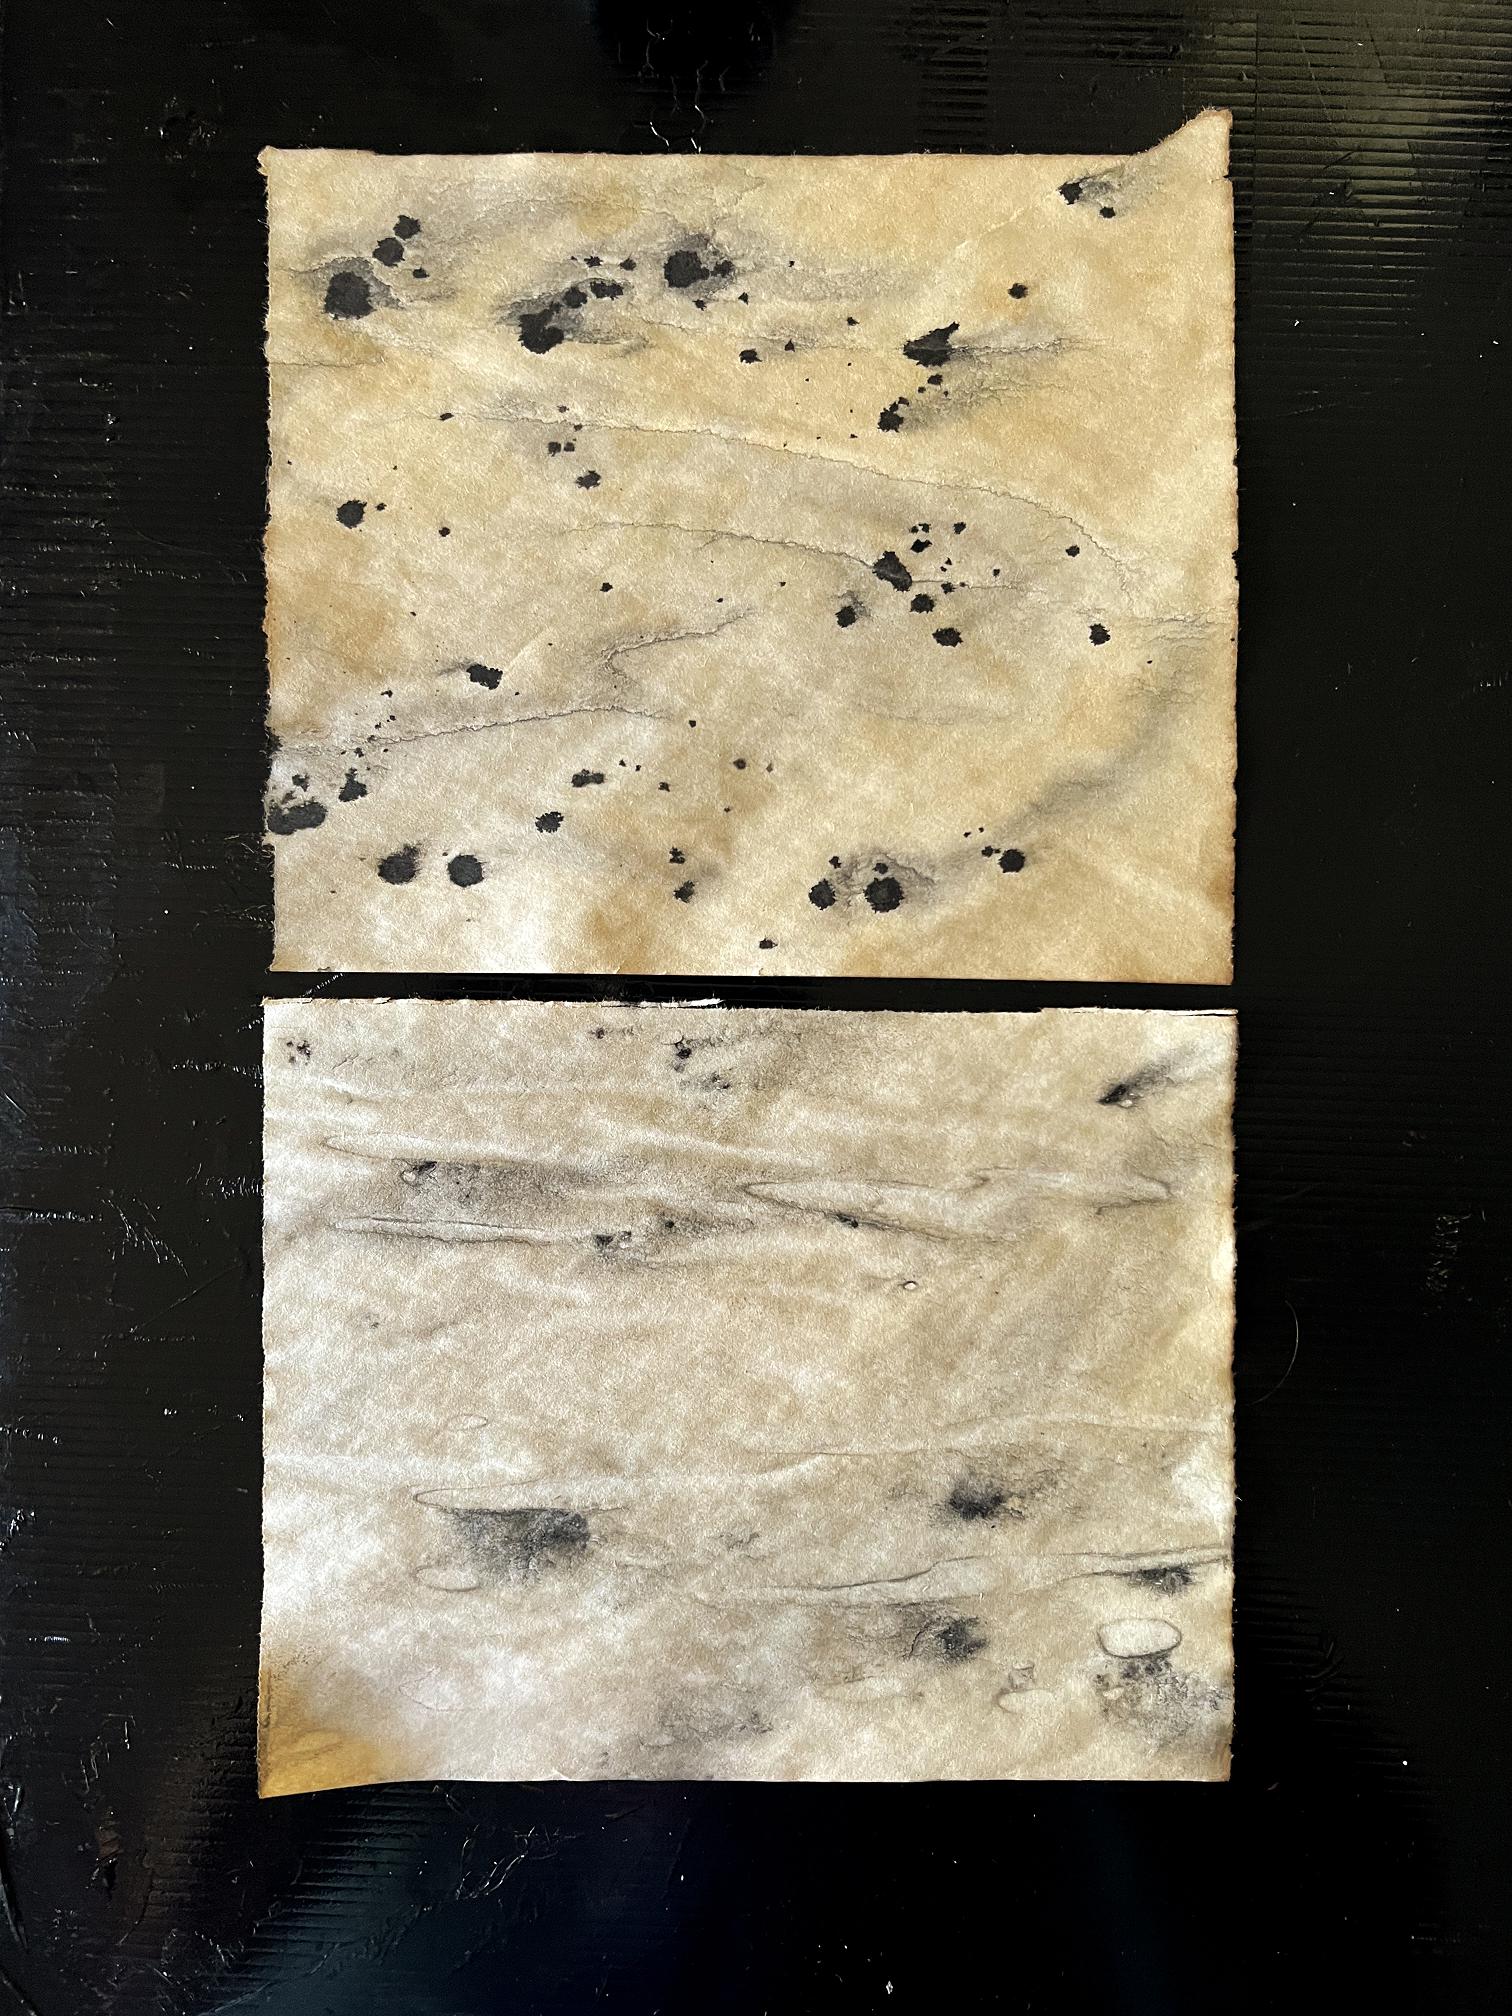
The pieces layered with the doiley were disappointing. No interesting pattern. However, there is coffee staining, and I shall be able to add to what there is and create useful papers.
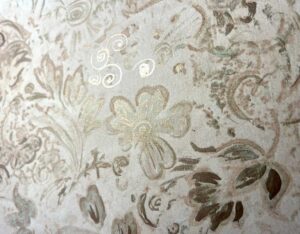
The random spots of ink on the wet coffee-stained paper came out beautifully.
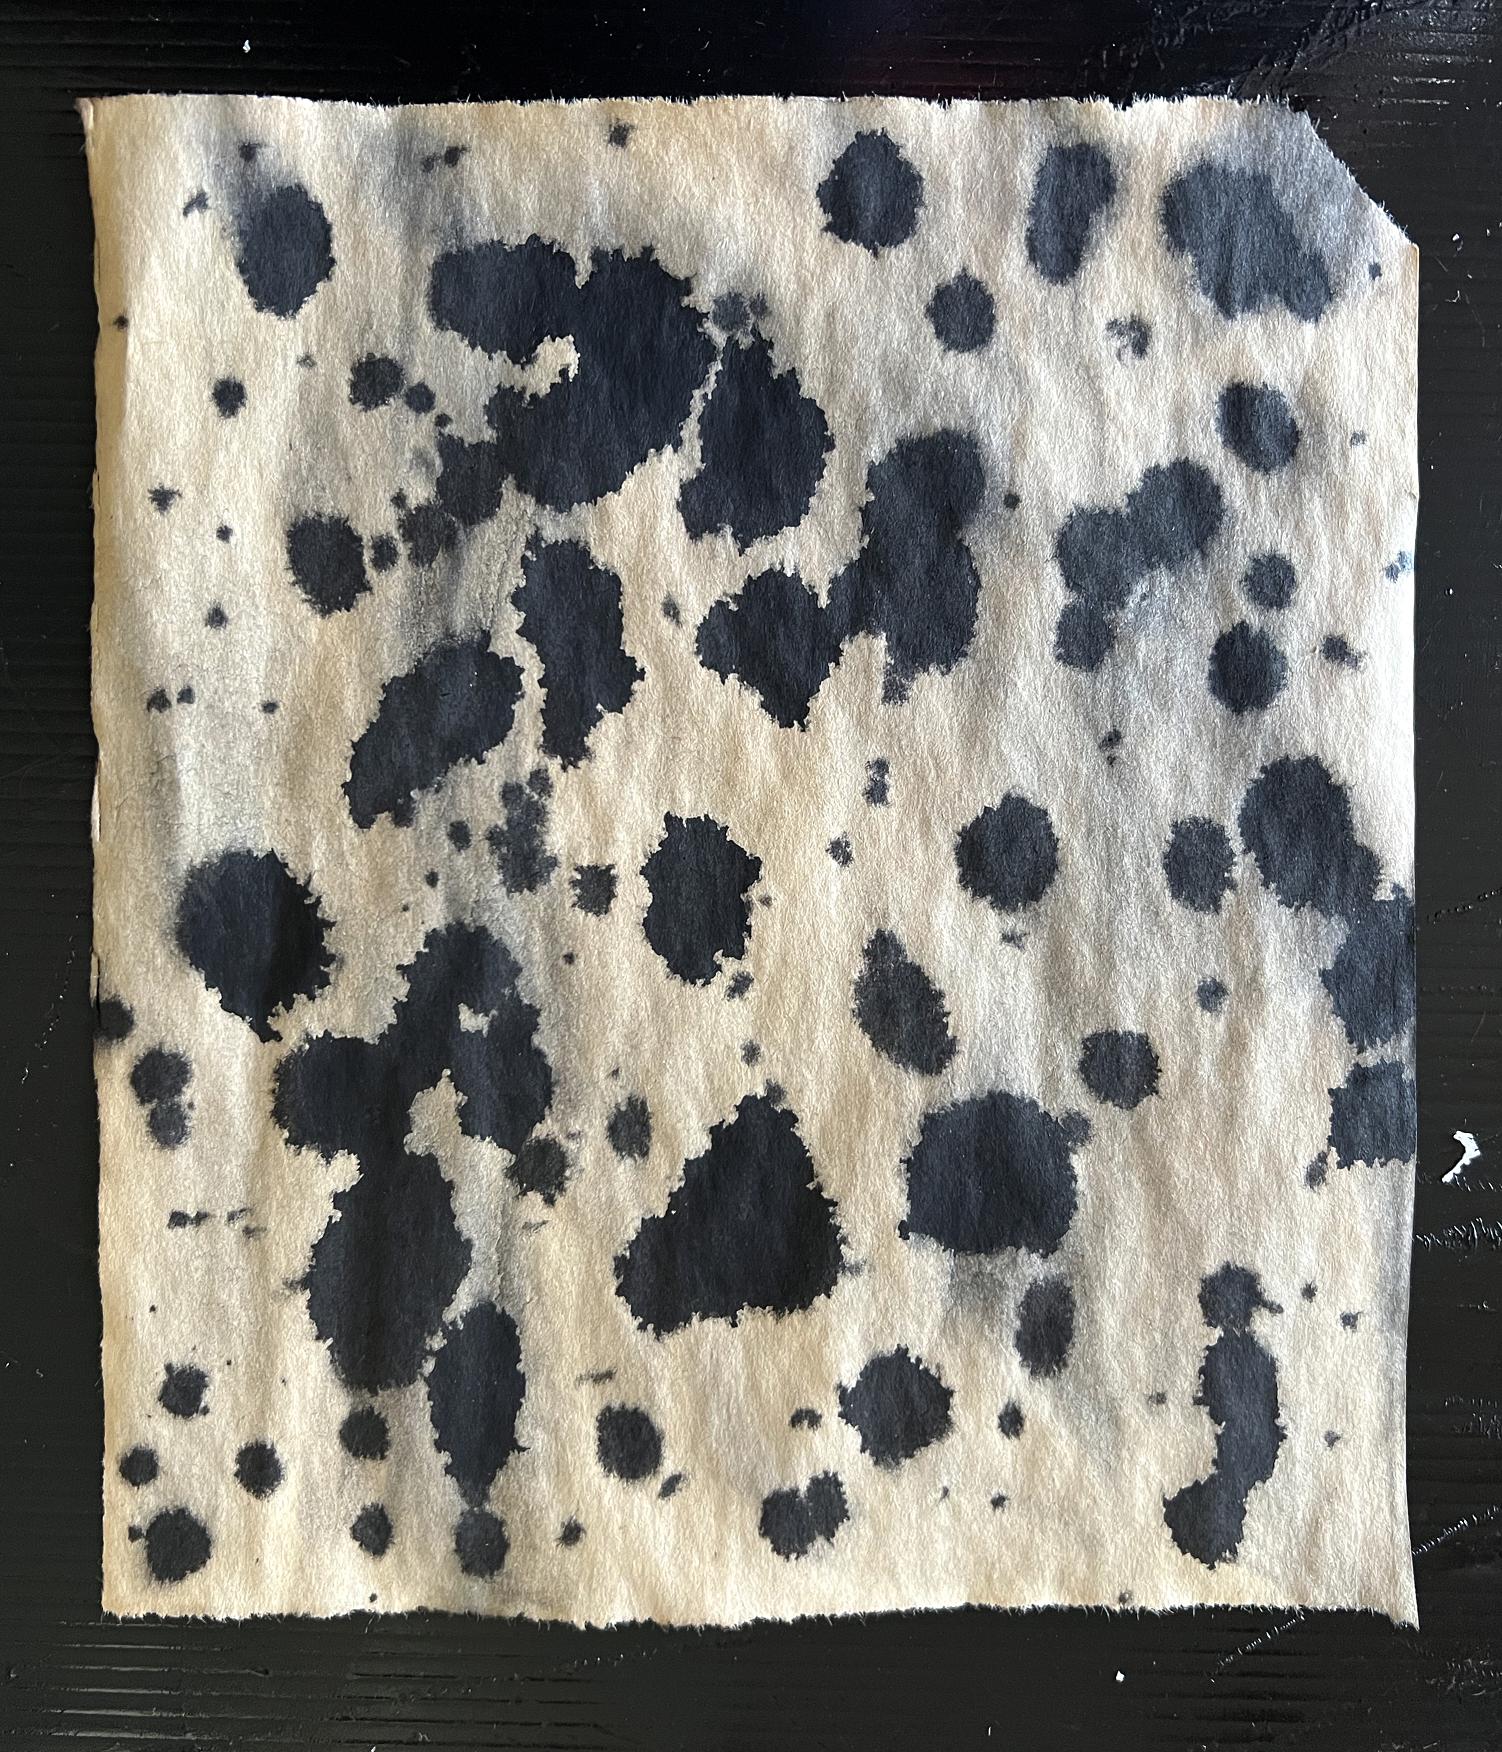
The most successful ones were those with the pooling of coffee and the smaller random spots of ink. These papers are just gorgeous! I love how the black ink bleeds into the coffee. This is definitely a winner, to be repeated. The newsprint paper is thin enough to create quite a bit of distortion when wet, creating peaks and valleys to collect the wet medium and add some texture. Yum.
Moving on to the accordion folded pieces: as I mentioned in yesterday’s post, the ones I had left too long in the dipping bowl, and which soaked up too much ink or coffee, were far too wet to handle until today. They were still a bit damp, but with careful handling I was able to unfold them.
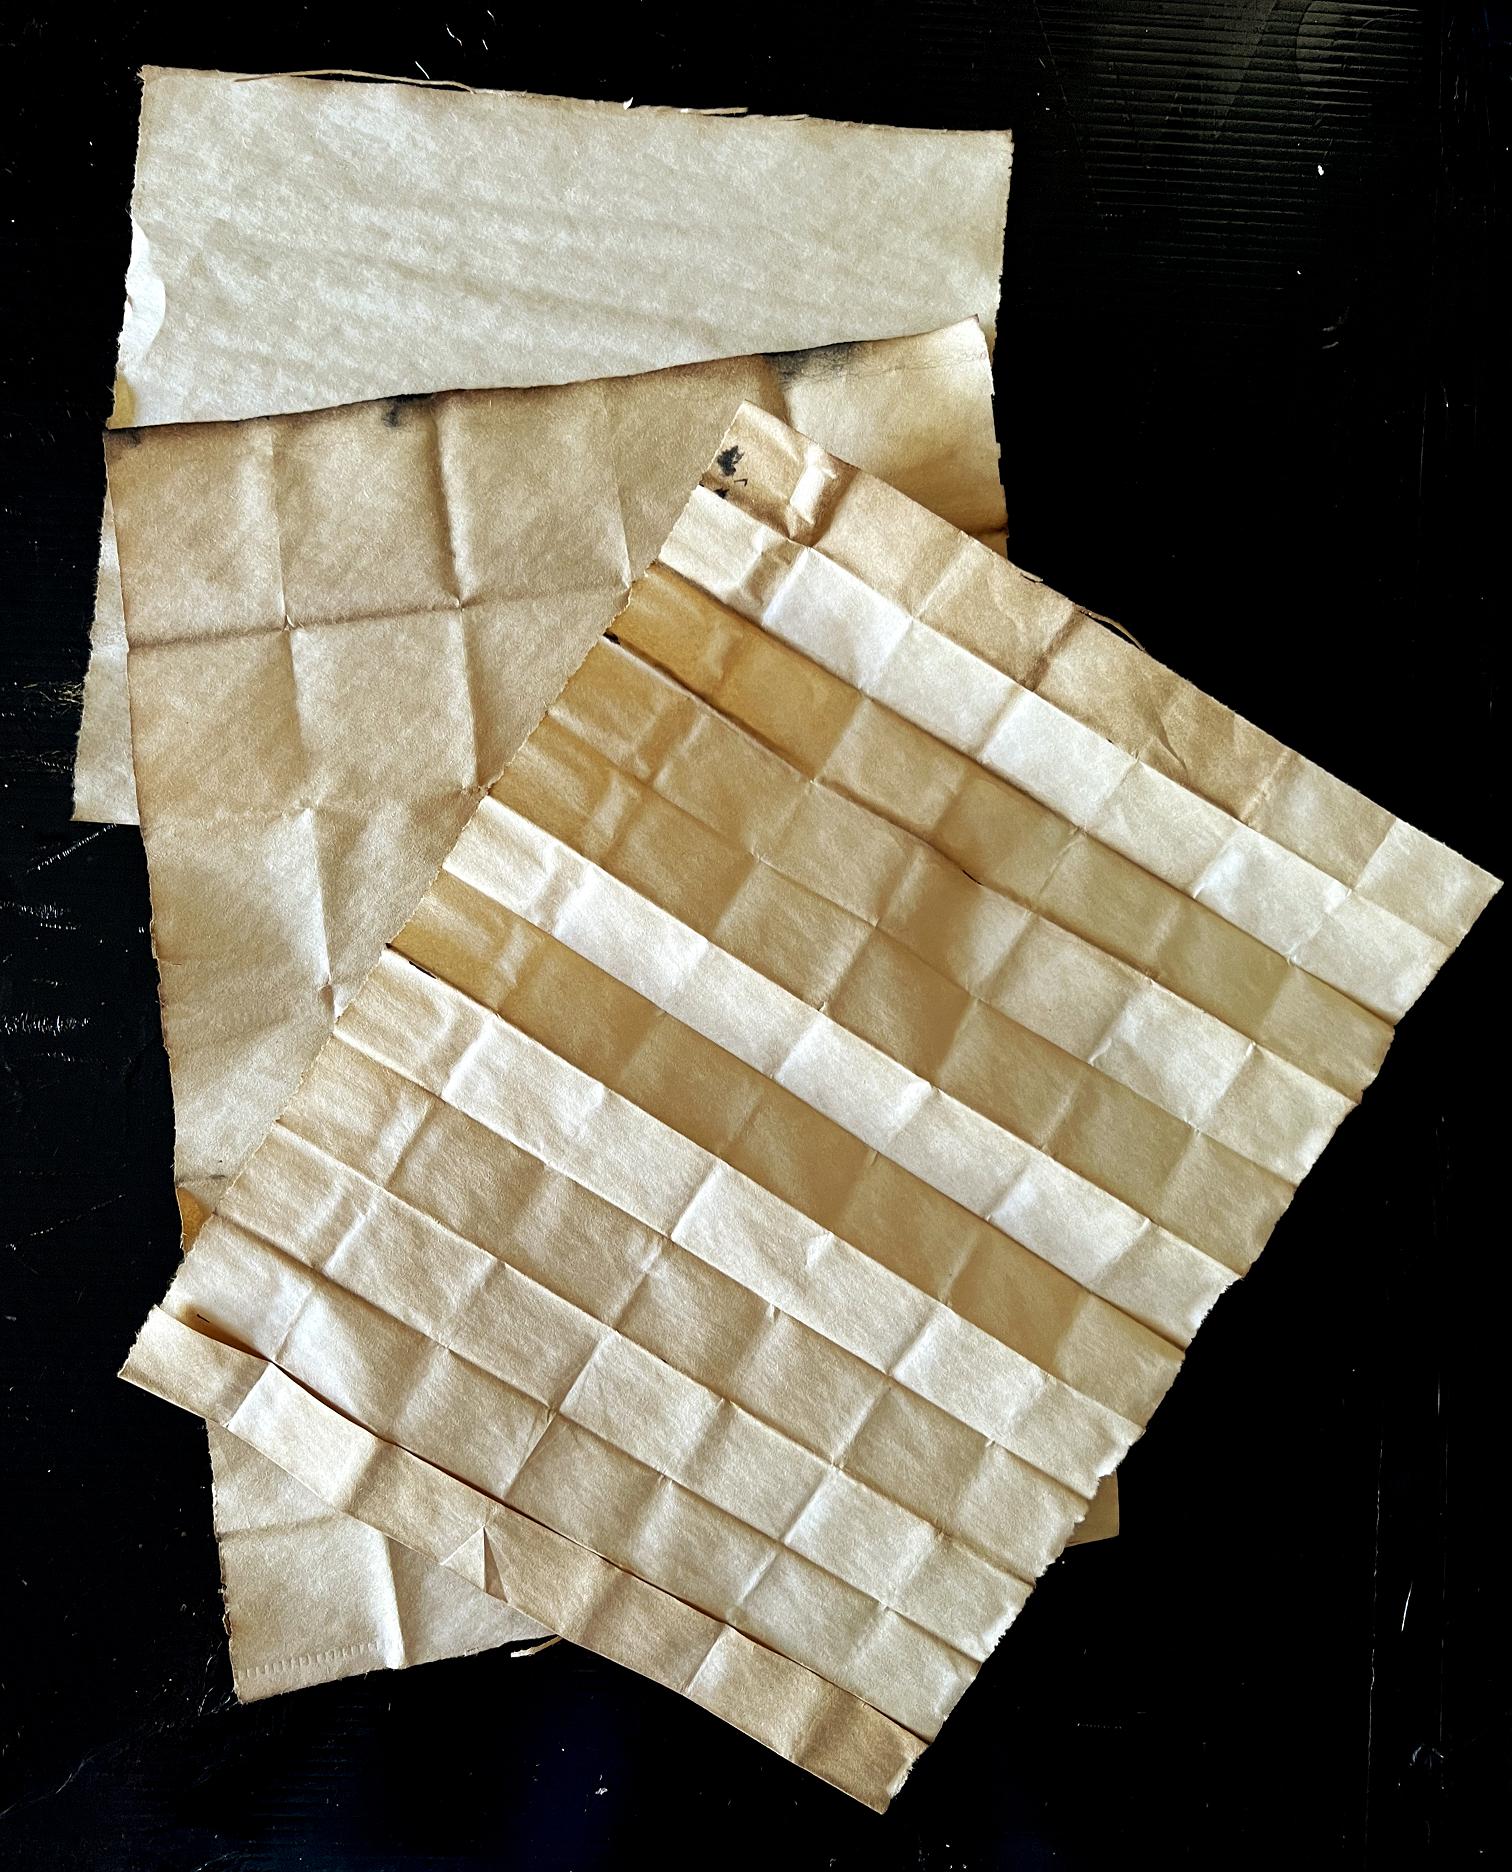
The coffee ones were disappointing. I’ve photographed them with a plain piece behind, so that you can see a bit of staining at the top edge. All I have really achieved is to produce some plain coffee-stained papers with folded lines on them! They will be useable though. Everything is useable!
The solid black one, which I thought was a total loss, actually ended up with some subtle patterning!
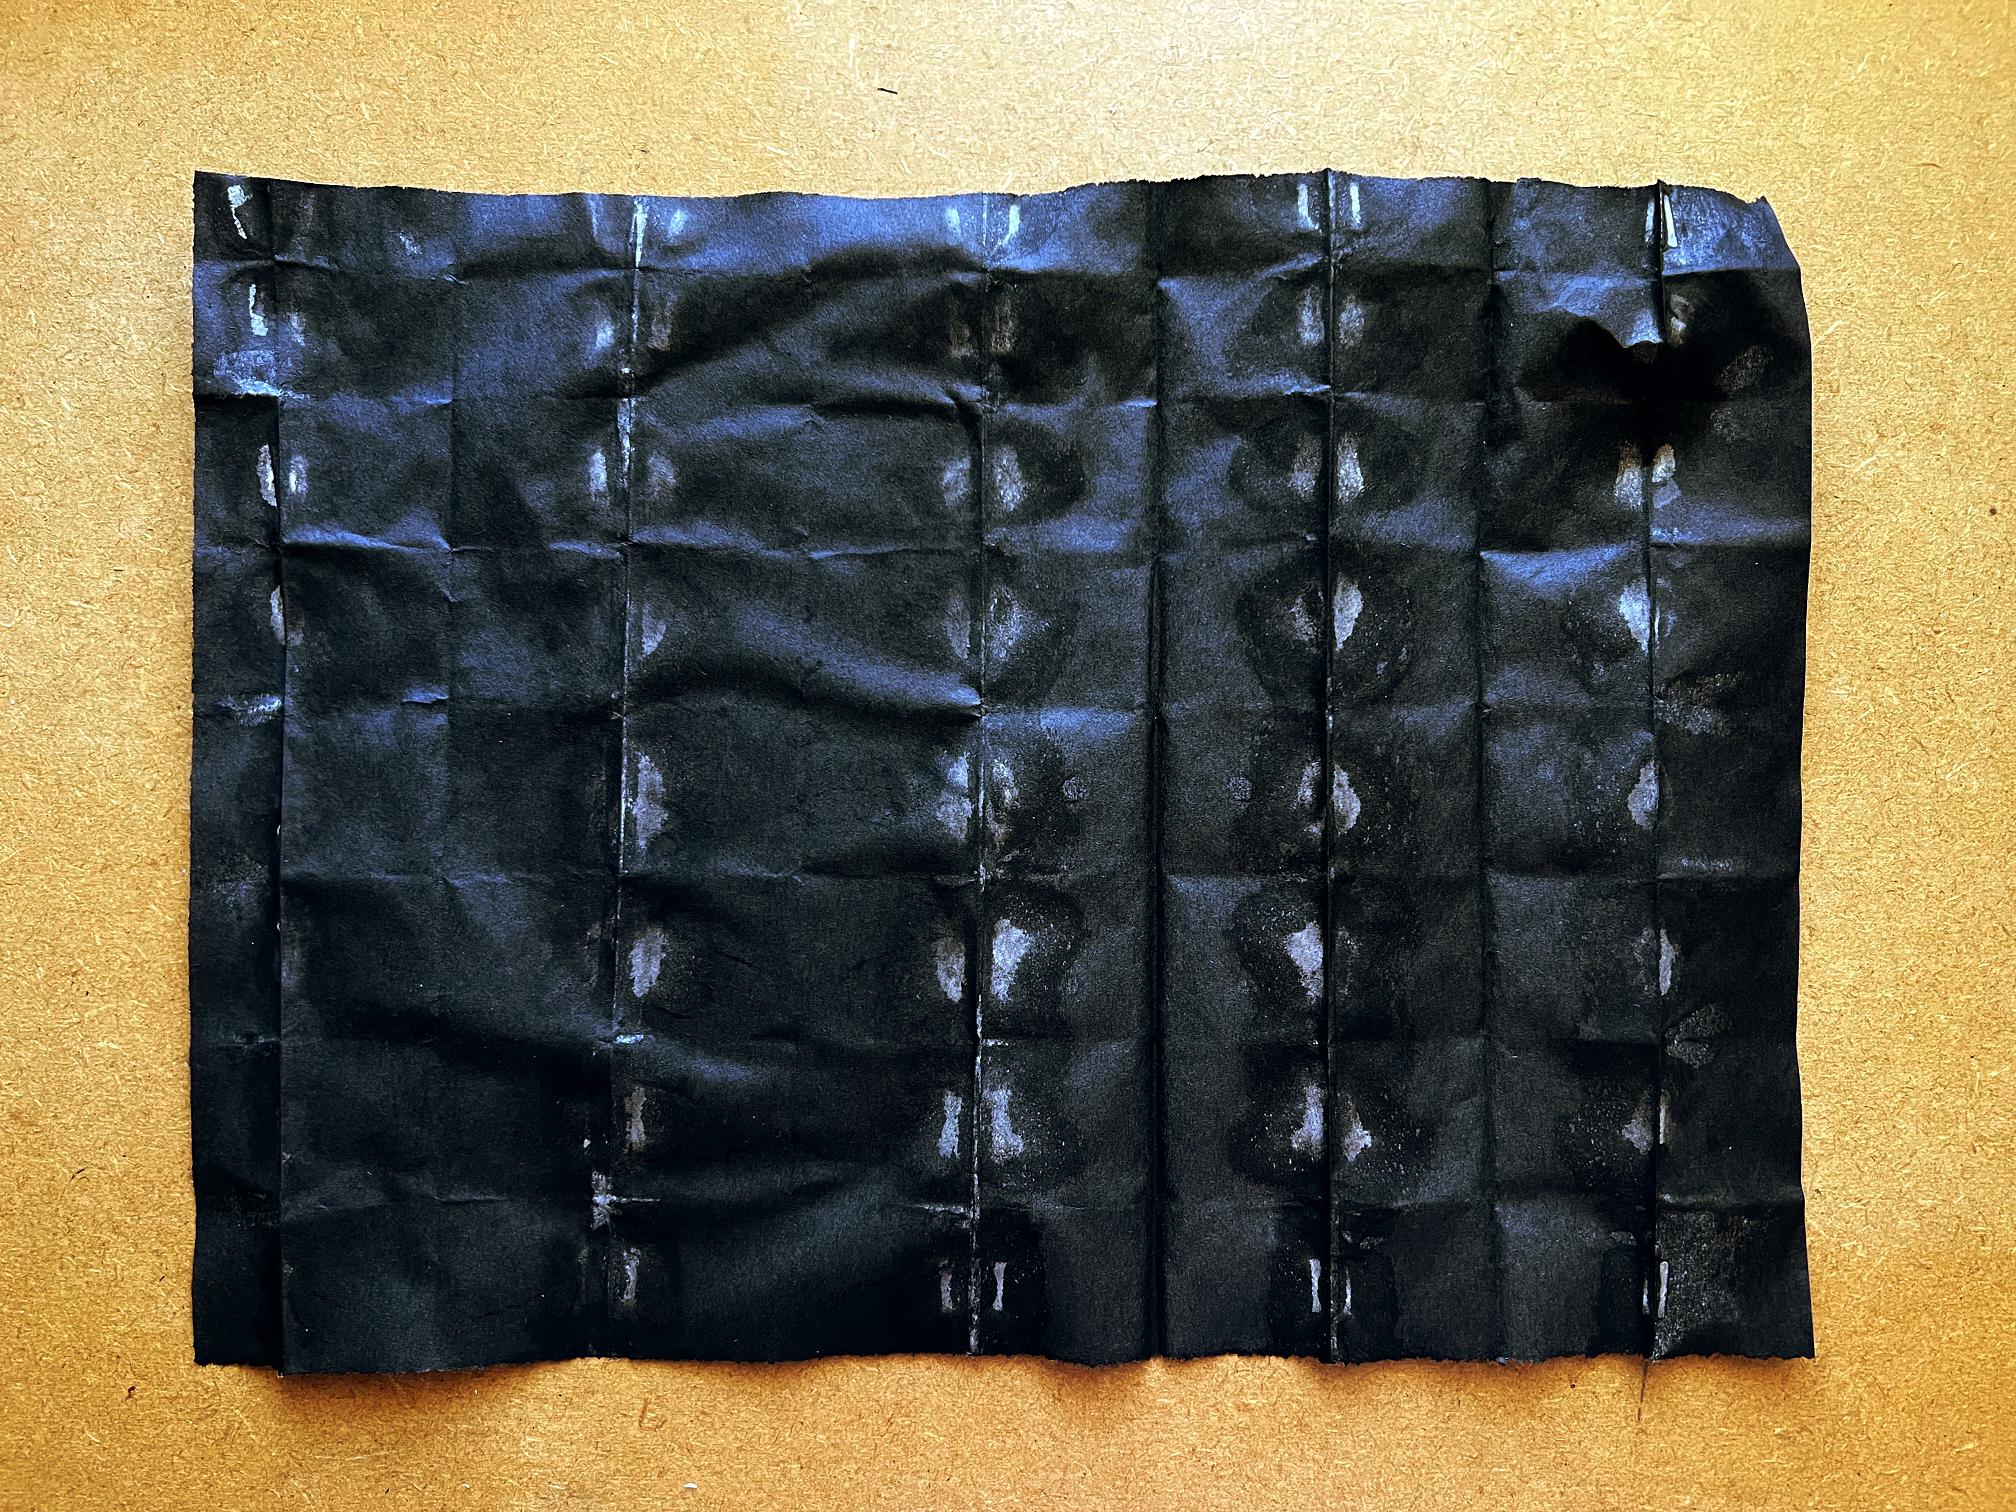
This could make quite a dramatic background, or be cut up for collage elements. Definitely a keeper.
I have subsequently discovered that the Japanese have been doing this for centuries. No big surprise there – their wonderful artistry and creativity know no bounds, and nearly everything they create is beautiful! This ancient art is called Orizomegami. Here are some examples of the things they do. They traditionally use natural dyes for the process, and can do multiple foldings and dippings in different colours to produce quite complex designs.
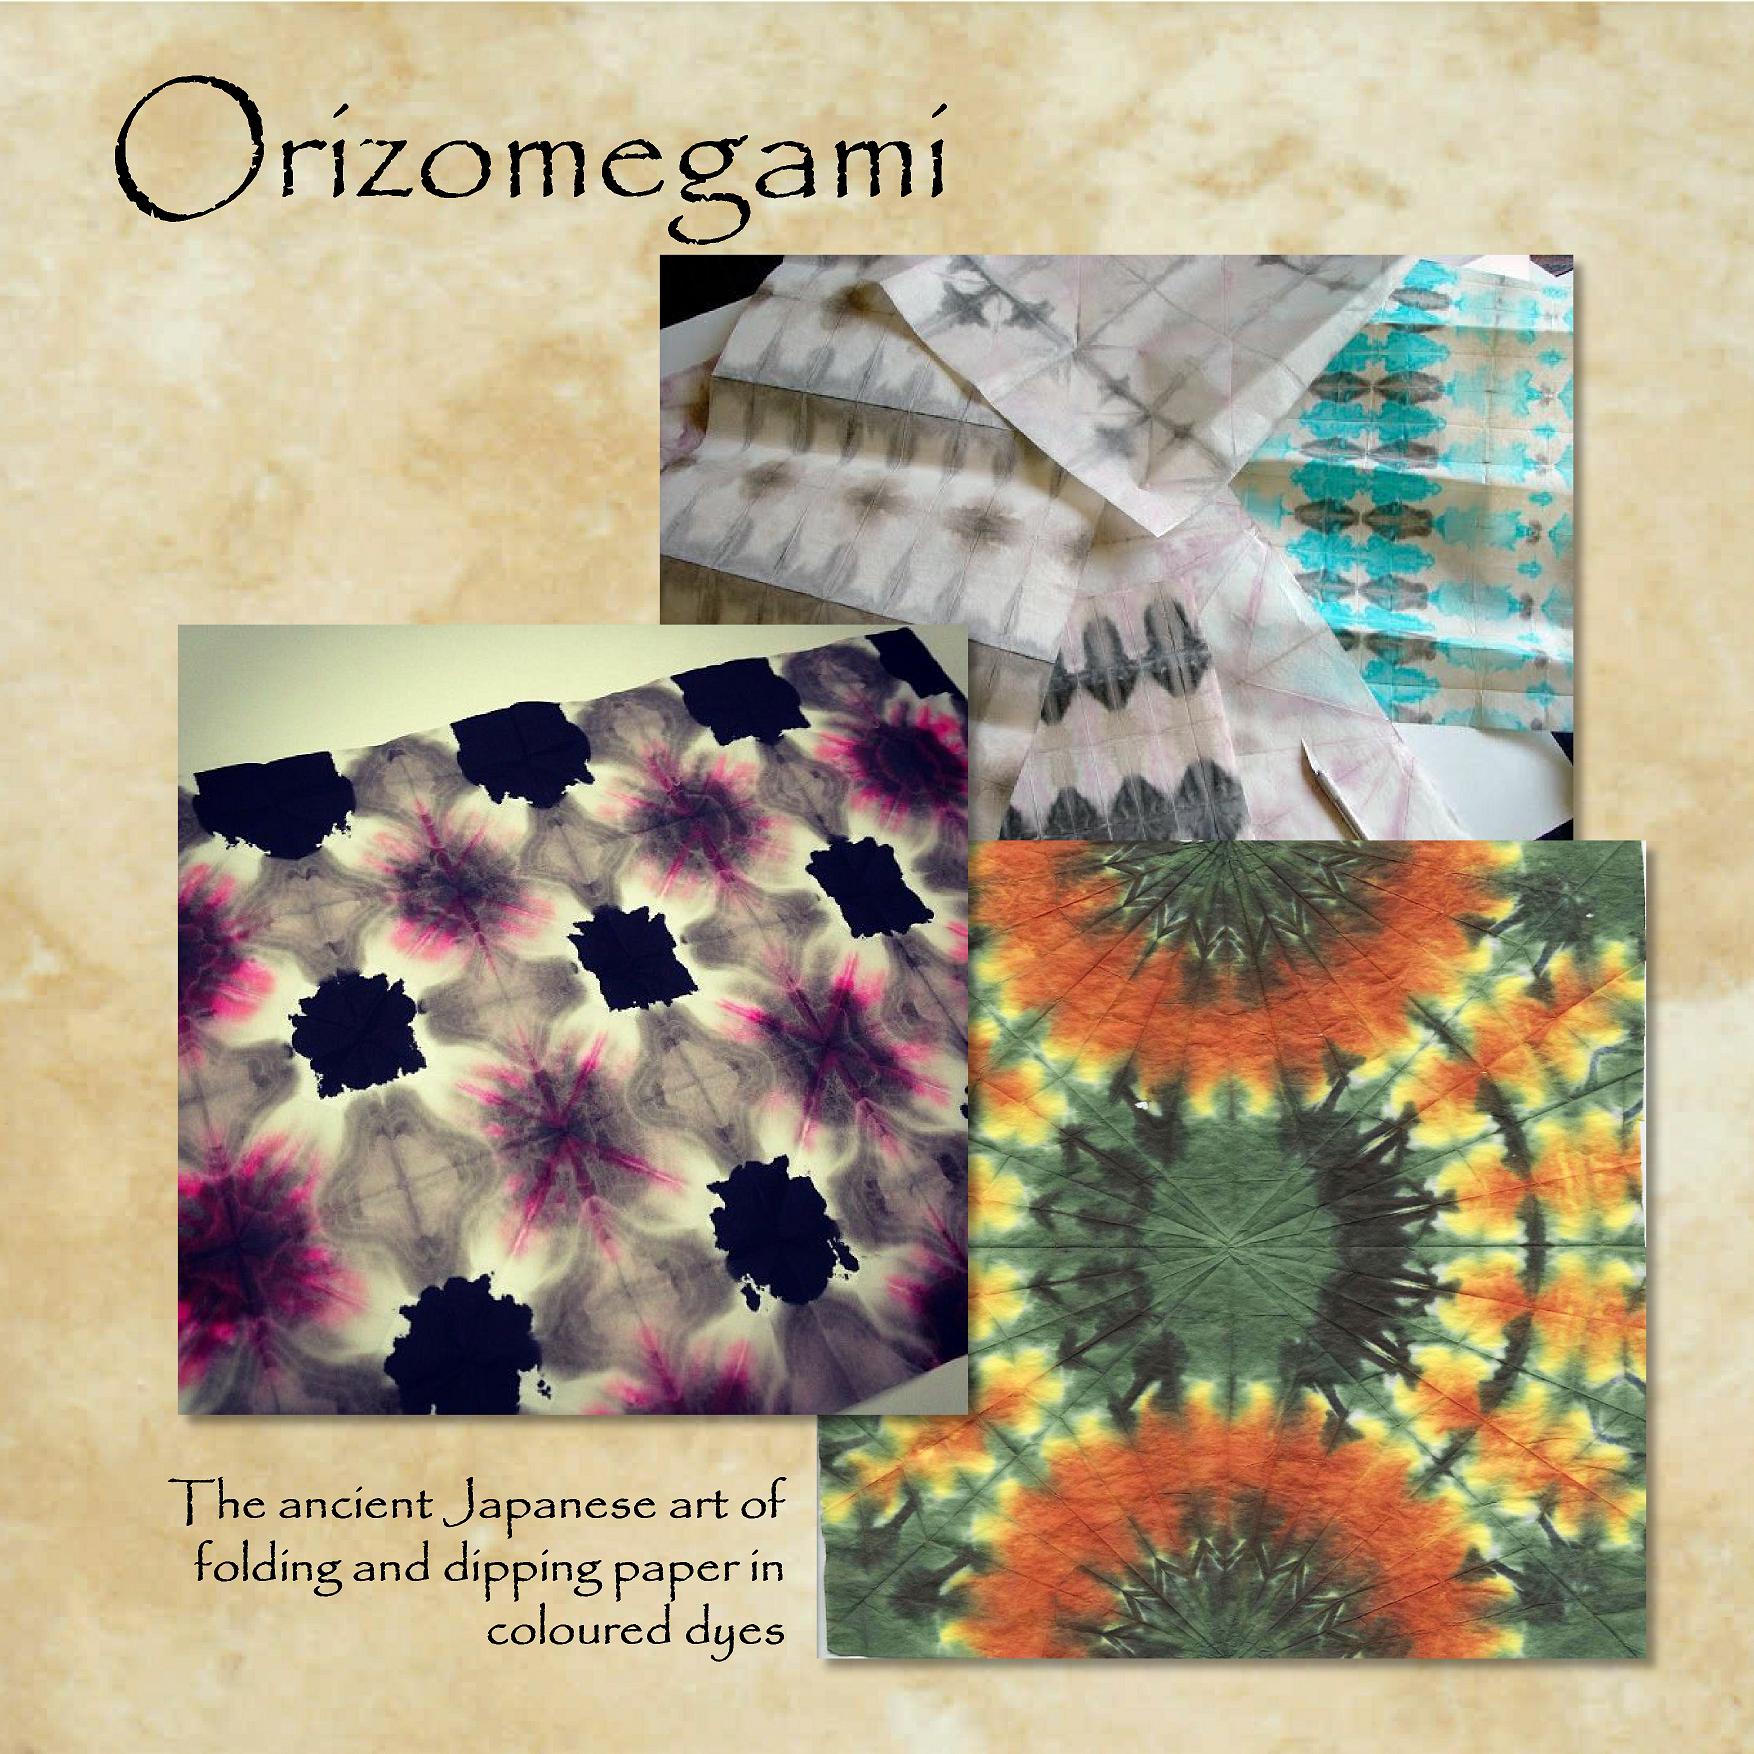
There are lots of tutorials online, so I think I must explore this and see if I can perfect my simple ink-dipping technique, and perhaps even develop it further.
The designs remind me of the tie-dyeing craze we were all involved with in the 1960s!
I am so glad now that I couldn’t find the original video I was looking for. If I had, I would never have discovered this beautiful art form!
Oh wow what stunning results Shoshi! You are so clever. Who’d have thought that such beauty and art could be created by such methods! A yoga mat – I never would have thought it! The pooling is a lovely effect, what an amazing artform Mixed Media is. Well done. Looking forward to seeing more soon.