DOUBLE TRI-FOLD JUNK MAIL FOLIO PART 3 – ADDING A QUADRI-FOLD!
In this session, I was planning to steam ahead with the addition of pockets and embellishments, but I got side-tracked with the arrival of more junk mail through the letterbox.
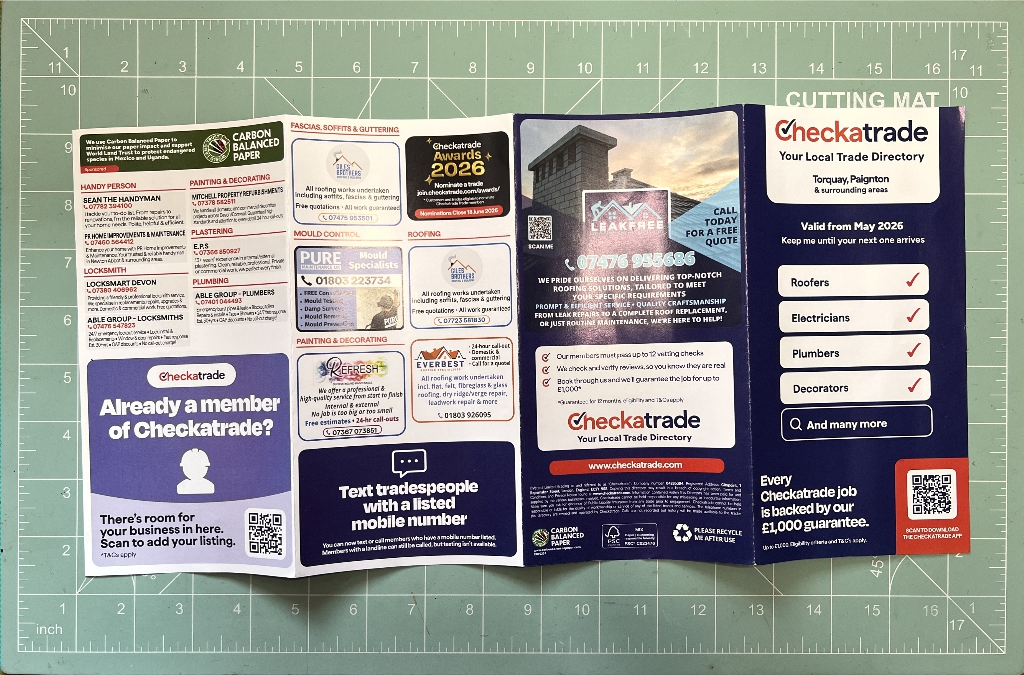
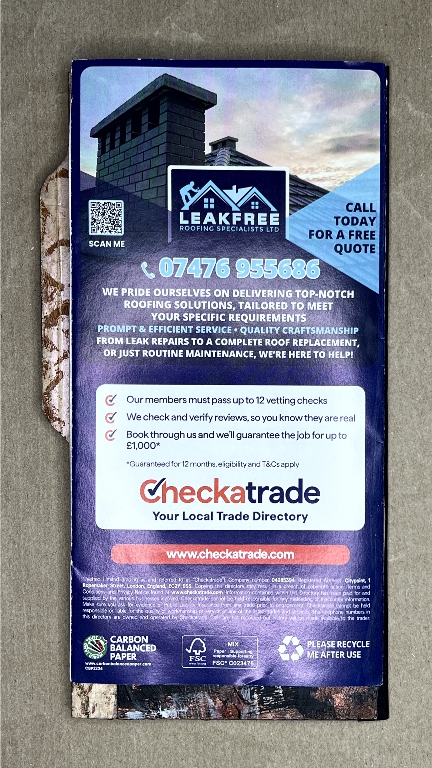
A Checkatrade flier! It is 4-fold, and I refolded it so it ended up as an accordion fold. I have attached it to the back of my folio, and I spent most of the afternoon covering all the panels and working out how it would operate and stay closed.
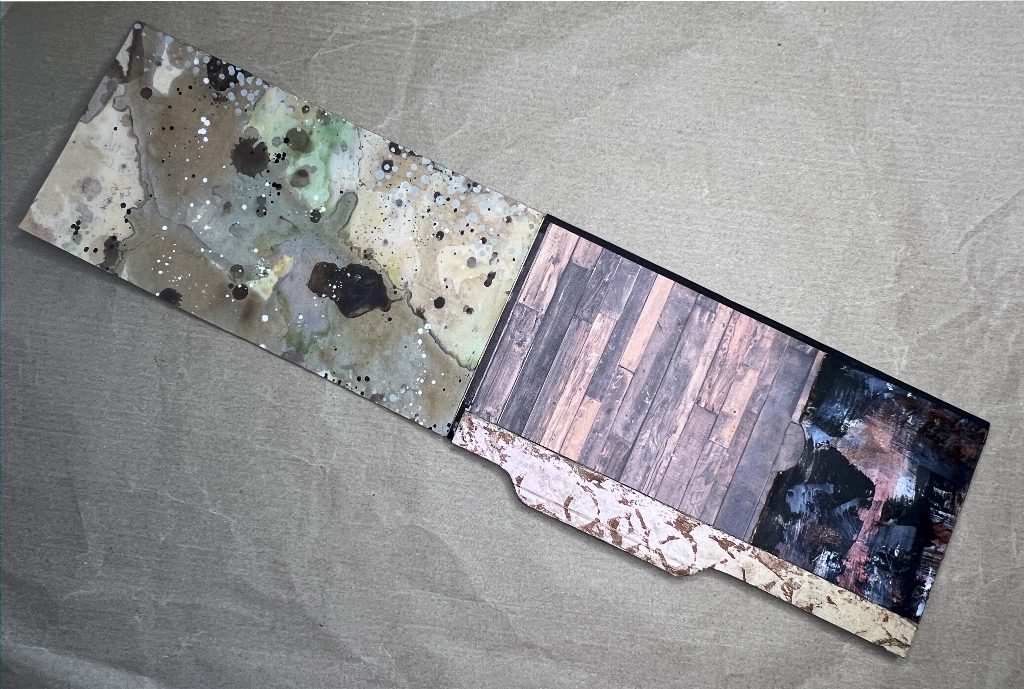
The paper for these fliers is usually pretty thin, but once you start adding covering papers and embellishments, they become a lot more robust. The original Wighton tri-folds that the folio is based on are made of thicker paper, which is all to the good. I am pleased that the Checkatrade one is fairly thin as I didn’t want to add too much more bulk to the project, especially as the decorations are still to come. Here it is, laid on top of the folio.
I attached it onto the back of the folio, but just along the top. I didn’t want to cover the wood plank paper with which I’d already covered the back of the folio, and I also thought it would be more interesting as a flip-up as well as a fold-out. As you can see, it is a bit shorter than the Wighton flier but I shall deal with this when I work on the embellishments.
I took a strip of one of my mixed media bank letter papers to make the hinge, and covered the underside with another piece. In the above photo, you can see it flipped up. The hinge is on the outside, so it is not visible on the inside. I also added a pocket on the bottom of the Wighton folio, cut from a scratch paper. Scratch papers are sheets of paper I keep to clean off brushes and my brayer etc., rather than washing paint down the sink. You can end up with some quite interesting random backgrounds this way. I usually try and keep each basic colour scheme on separate sheets so I don’t end up with mud. These papers are mostly covered with acrylic paint, which also strengthens the paper and makes it more useful.
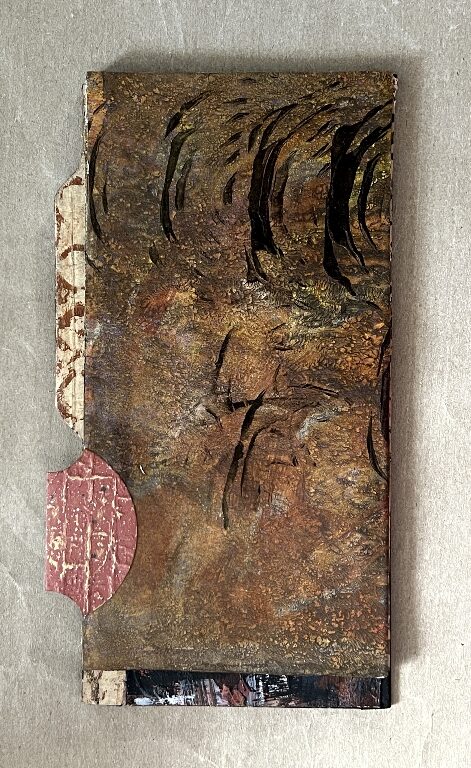
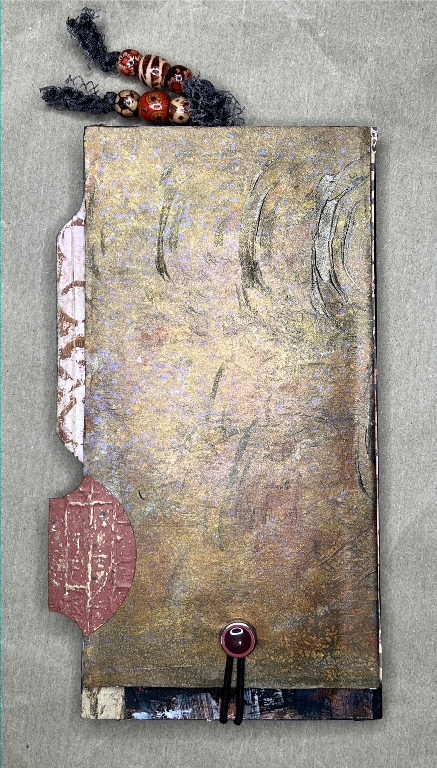
Here is the back of the folio with the Checkatrade flier folded back down into place and duly covered with some more paper. I also added a whale tail tab from my stash. I took this photo in natural light because the paint is quite shimmery and it didn’t come out well with the ring lamp.
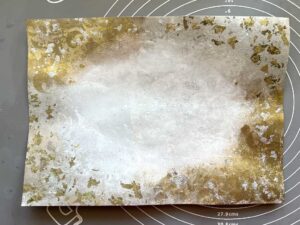
This covering paper was my first experiment on the gel plate using my graining tool. It was an epic fail, but the result was interesting, even if not as intended! This tool is a painting and decorating tool for creating faux woodgrain patterns. I used it when I was doing my Gothic-style murals and wall panels in our old house.

The idea is that you paint on the base colour and when it is dry, you add a layer of glaze, and then work over this with the tool. It is shown on the right in the next photo. (I think it’s propped up on a marker or something. Ignore what’s on the left – it’s just a fancy sink mat for texture on the gel plate.)
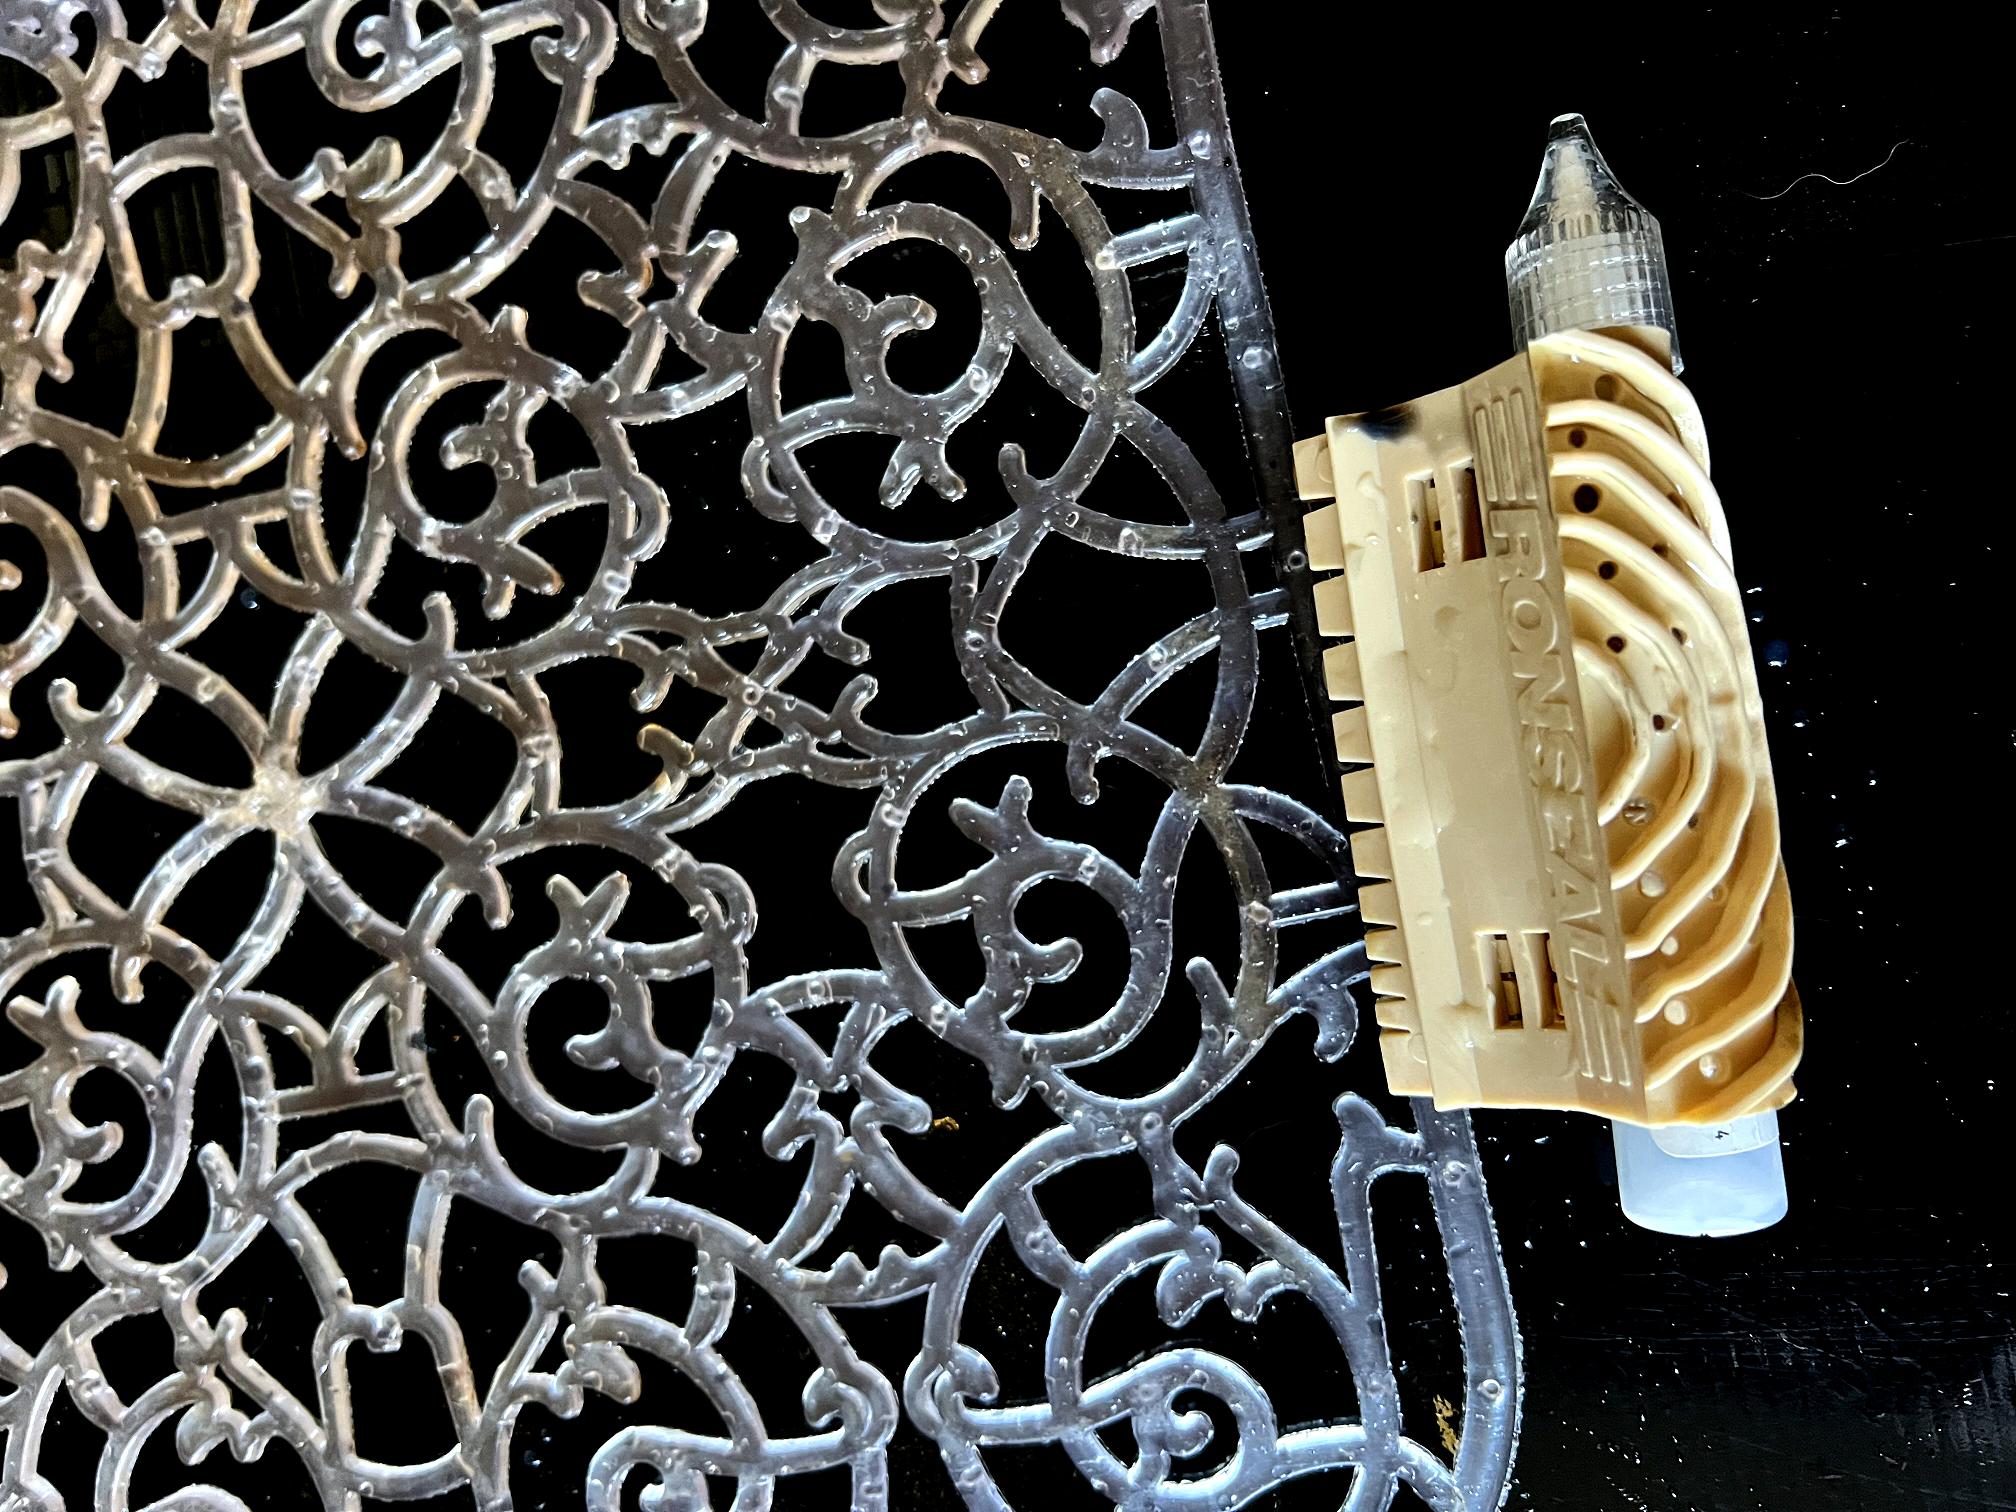
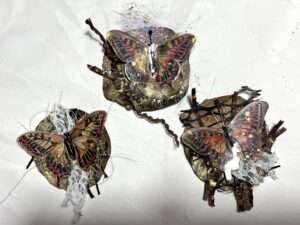
You use the comb side to create the grain, and then turn it over and rock the tool with the curved piece and this produces the knots in the wood. I discovered someone online who was using this tool for gel printing so I dug it out and had a try. Here are some of my prints.
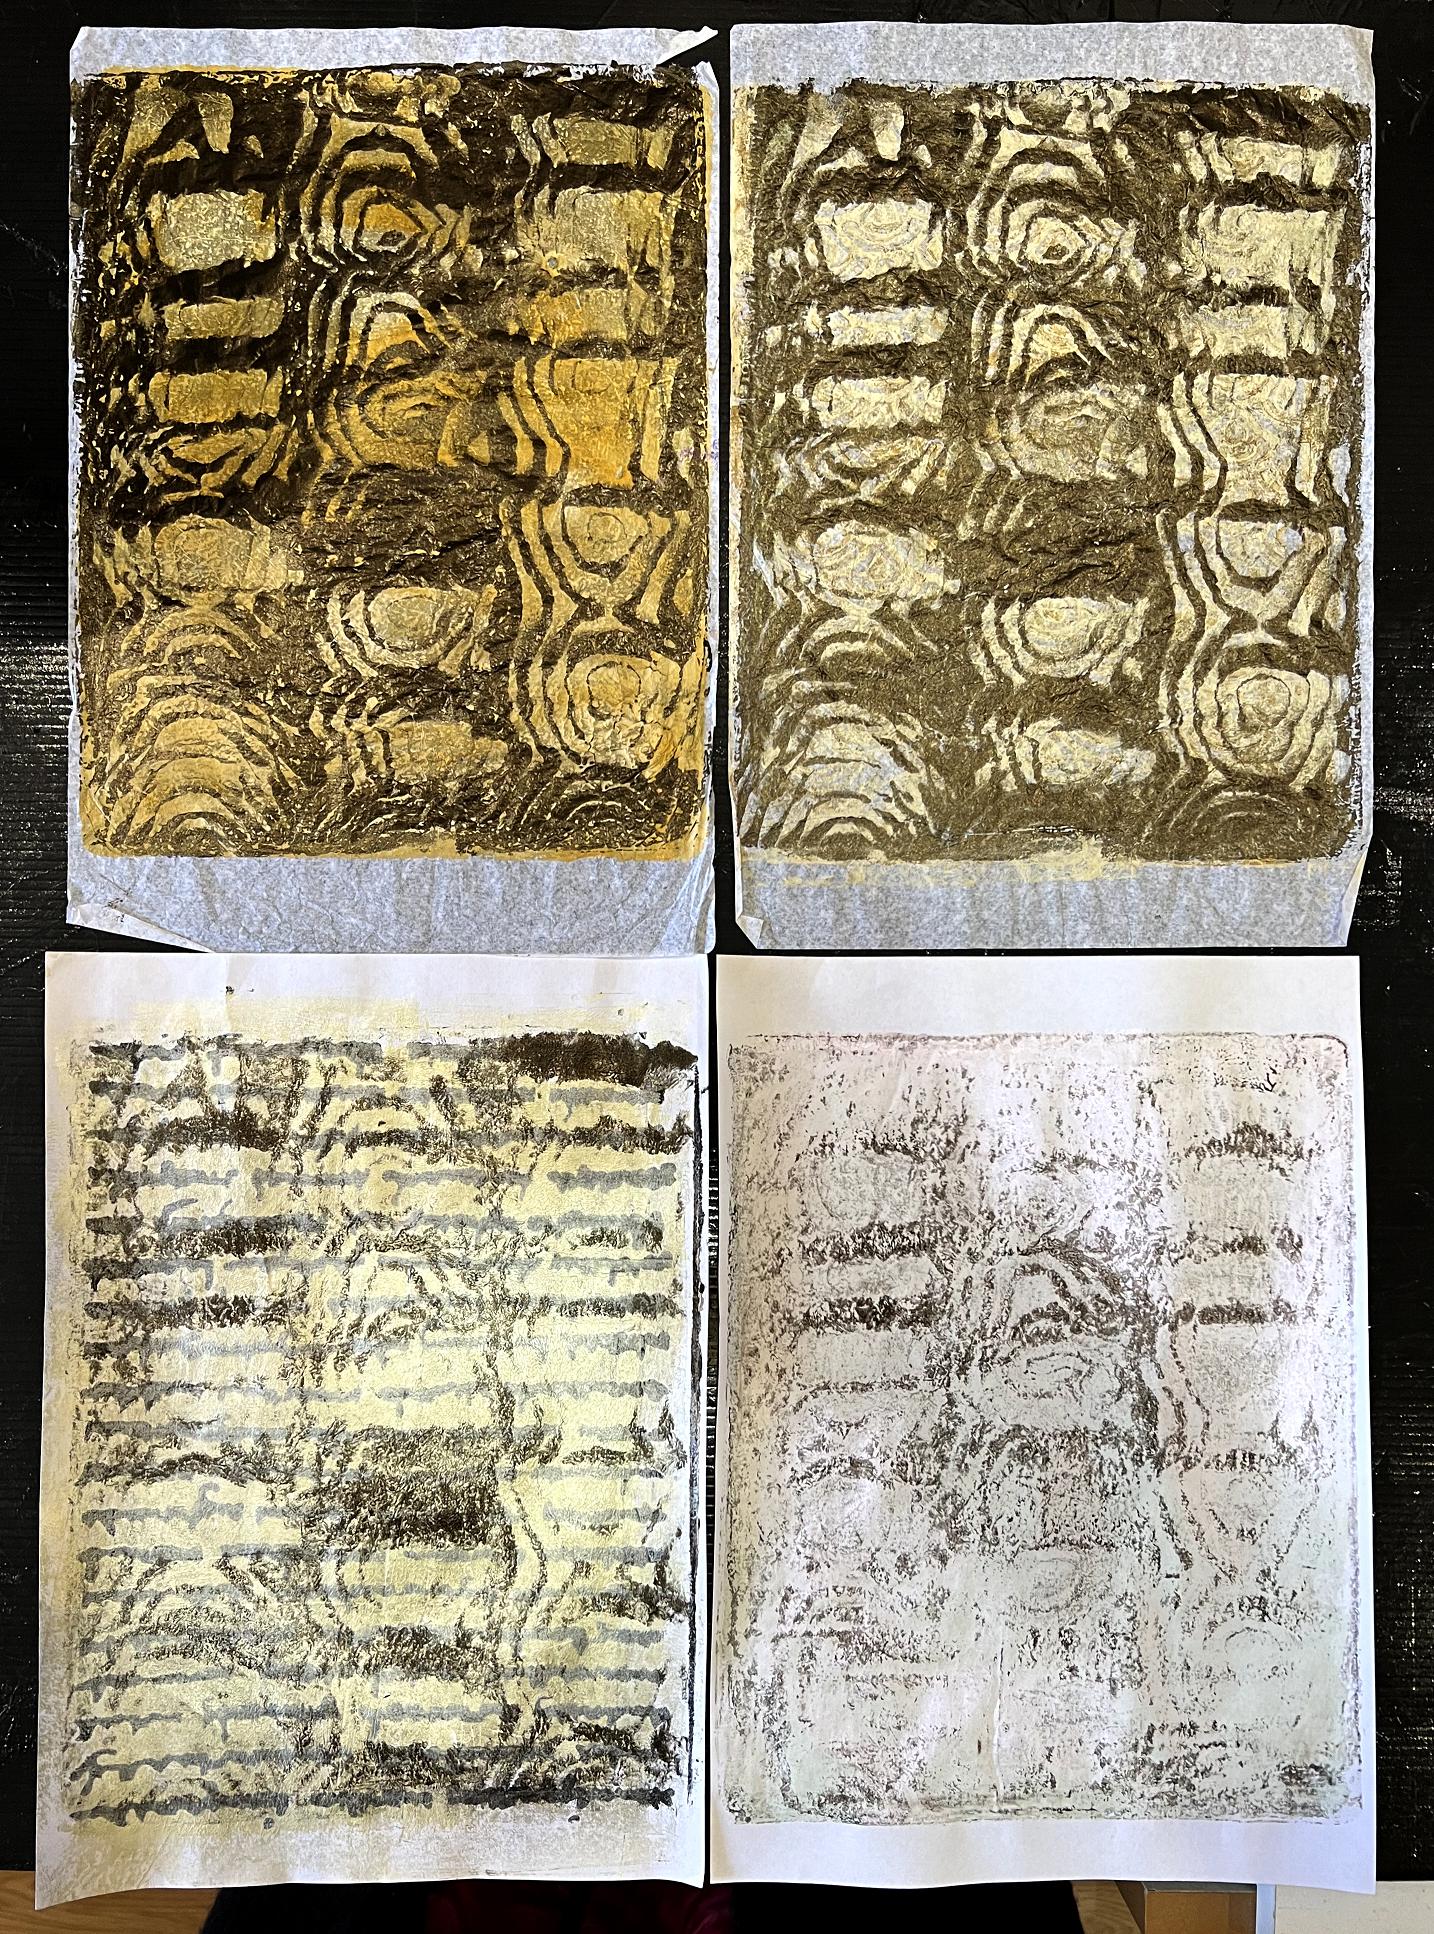
I didn’t get the effect I wanted because I overdid the rocking tool a bit! I’d forgotten you are supposed to slide the tool before adding more knot effects. Still, the papers are interesting, and still in my stash ready for use. I did some very successful and realistic graining in my first house which already had some of the original Victorian graining.
The next photo shows the same paper photographed under the ring light. At this stage, I have also added an elastic closure at the bottom, and you can see the beads on the tag inside the folio.
Adding this Checkatrade flier on the spur of the moment meant that I had not planned in advance about attachments and closures etc. With advance planning, much of this construction stuff could have been hidden under the covering papers. As it is, it necessitates the addition of pockets and collage etc. to cover it up!
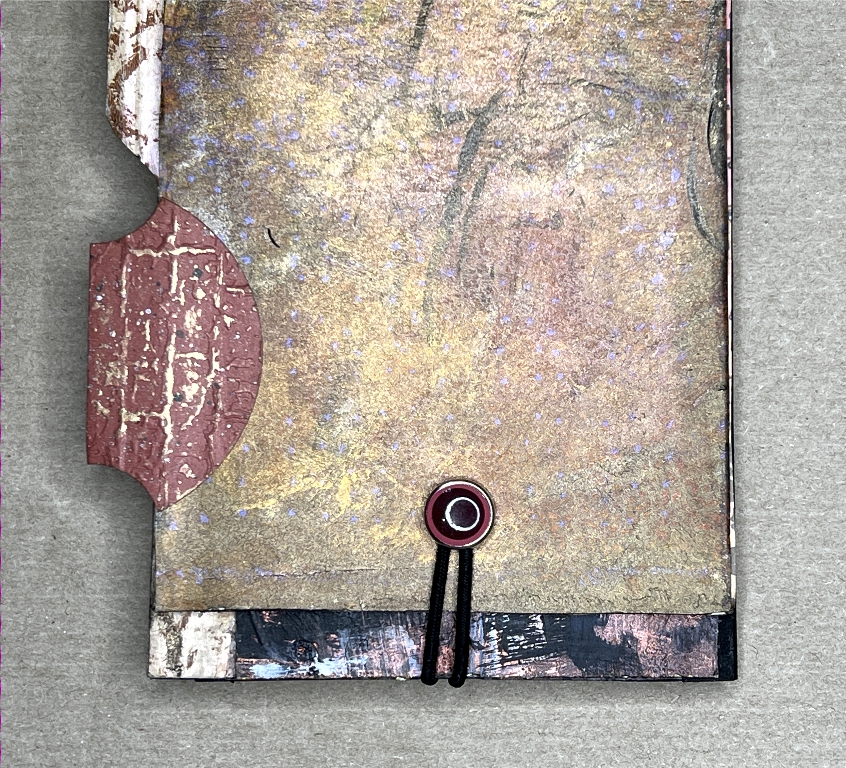
I made a hole through the back piece of the Checkatrade flier and another through the middle panel of the Wighton folio, and added a brad through the Checkatrade flier (which is unfortunately reflecting the ring lamp!). I made a brad gauge some time ago – a piece of thick card with a slot in it. You put the brad through the hole in the project, and then slide the brad gauge under the head of the brad, and then open the legs on the other side. This allows the formation of a neck below the head of the brad, providing space to wrap thread etc. around. In this case I used a piece of round black elastic which was quite thick, and I had to add a couple of credit cards in addition to the gauge to provide enough space for this under the brad head.
I pulled the ends of the elastic around the bottom of the folio and attached them on the inside with masking tape, adding some tension as I did so. I looped the ends of the elastic a bit to prevent it being pulled out. This was quite bulky unfortunately. I built up the area around it with bits of card glued down, and then added a pocket cut from black card to cover the business on the surface of the centre panel of the folio. I originally didn’t want to cover up the subtle lace pattern on the background paper but there’s enough left to see the continuity onto the other two panels. I shall add some embellishments to the pocket.
You can also see part of the hinge at the top, which attaches the Checkatrade flier.
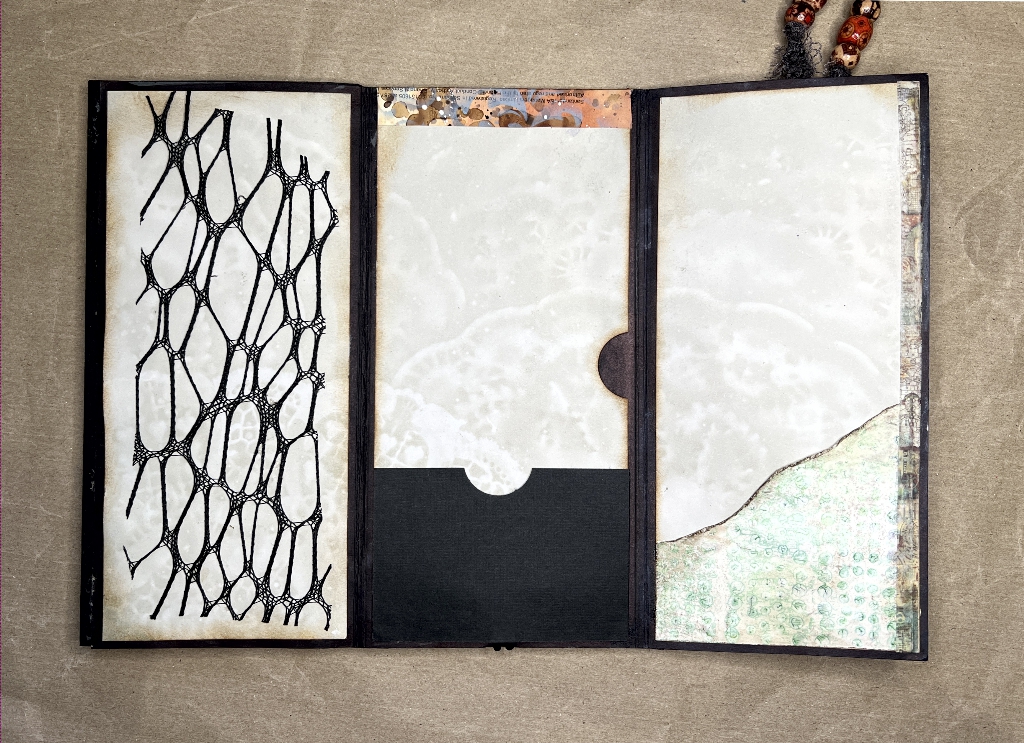
The next photo shows the Checkatrade flier fully extended. On the right-hand side you can see the whale tail tab, and also two magnets attached with masking tape. Again, these will have to be covered. This background paper is another scratch paper. On the left, the other two panels are covered with more of the faux graining paper, and you can see my original long page tab on the left-hand edge. You can also see the loop of elastic extending below the bottom edge of the left-hand panel.
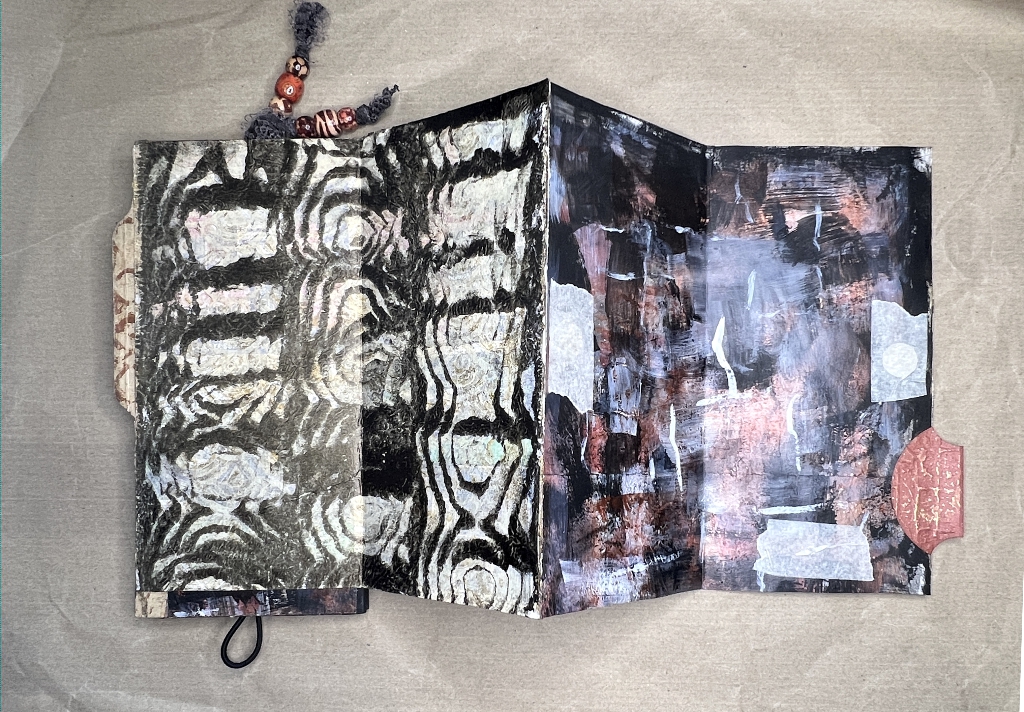
The magnets on the sides keep the top layers of the flier closed. Since taking the photo, I added a third one to keep the entire flier closed. The tape at the bottom is covering the legs of the brad, and the elastic closure at the bottom stops the whole flier from hinging upwards.
If you close the flier again, and open it the other way, this is what you see.
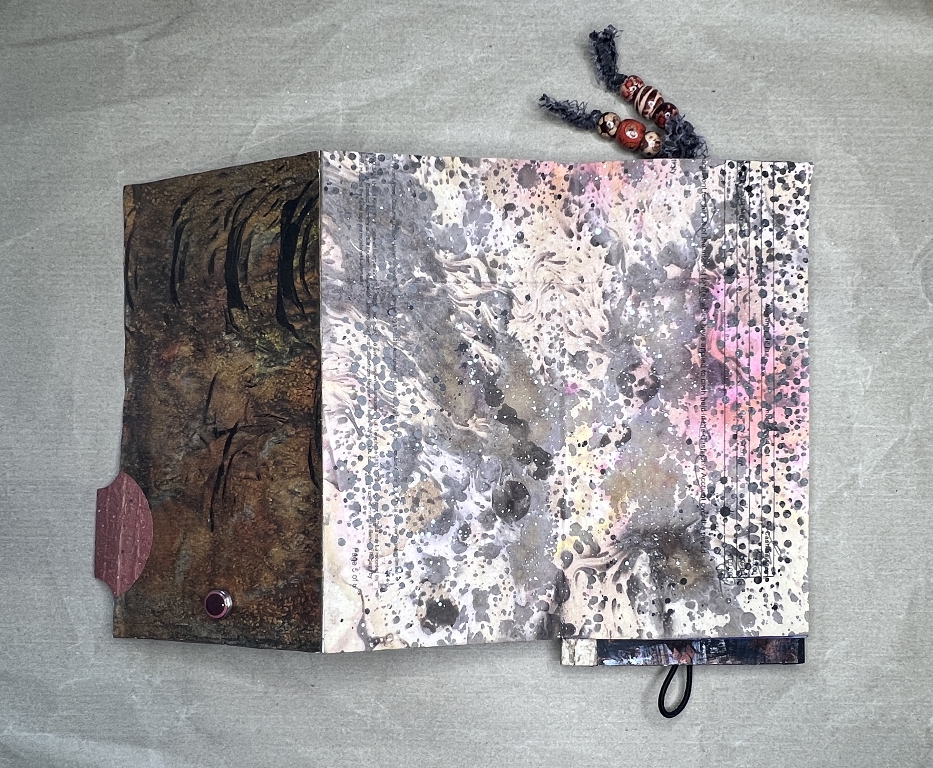
The back panel is on the left, and the other two panels are covered with more of the mixed media bank letter paper. Again, you can see the elastic loop hanging down, and on the left-hand panel (the back of the folio), the brad. There are only three panels visible this side because of course one of them is folded over the panel which is attached at the top to the Wighton folio.
The final thing before leaving the studio, was to glue the two tri-fold folios together, back-to-back, just around the edges and the bottom, to create a pocket for a tag. I used fabric glue for this, to make it good and strong, and because on the spine edge, the folds were covered with book binding tape.
All this takes a lot longer to explain than watching a video, even with the addition of photos. Once the folio is completed, I shall be doing a video flip-through and if anything is hard to understand at this stage, all will then become clear.
I am pleased to have the opportunity to be using up quite a bit of ancient stash, especially the “failed” gel prints! Even though these papers are all very different from one another, they do seem to be blending quite well into a cohesive whole.
This was quite a digression from the original plan! This sort of project seems to have a life of its own and make itself. Apart from the initial substrate, and a vague idea of where it will end up, I’m usually as surprised as anyone else how it ends up when it’s finished!