DOUBLE TRI-FOLD JUNK MAIL FOLIO PART 4 – DECORATING THE FIRST FOLIO
I had a very productive long session in the studio today and completed the decoration inside the first folio.
I didn’t take WIP photos but just ploughed ahead, so the following photos are all of completed panels, which I will describe in detail.
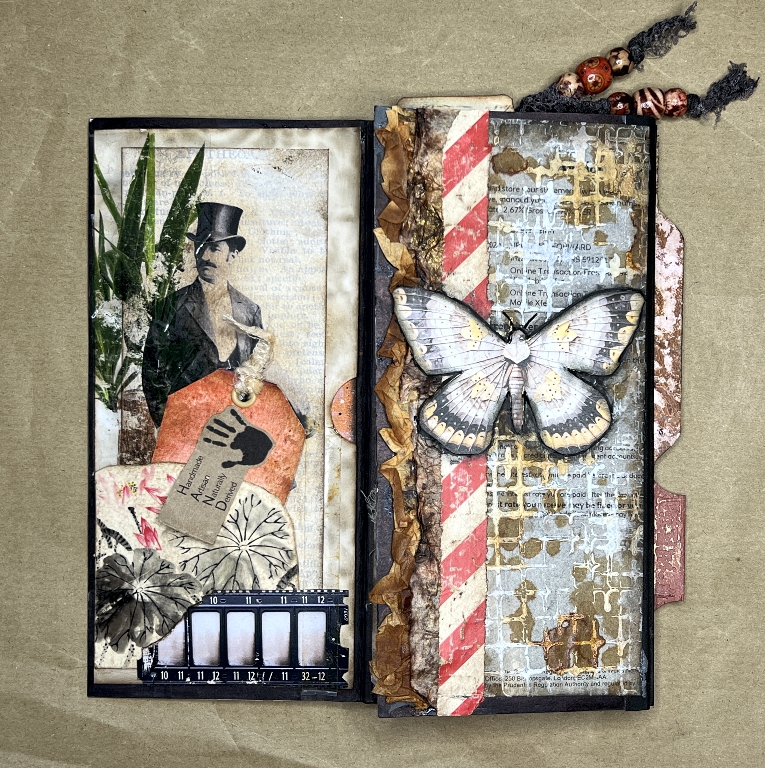
Opening the first folio
When you open the front cover of the folio, the first inside panel and the back of the third panel are exposed. I have used a lot of different elements to decorate all the panels.
The first panel in detail
I apologise for the reflections on this – it is always difficult to photograph anything shiny or reflective.
The main image on this panel is a “spare gentleman” left over from a previous project. He is a digital image which I superimposed on a text background. For this project I have inked him to distress and age the image, and trimmed the sides so that it would fit the panel.
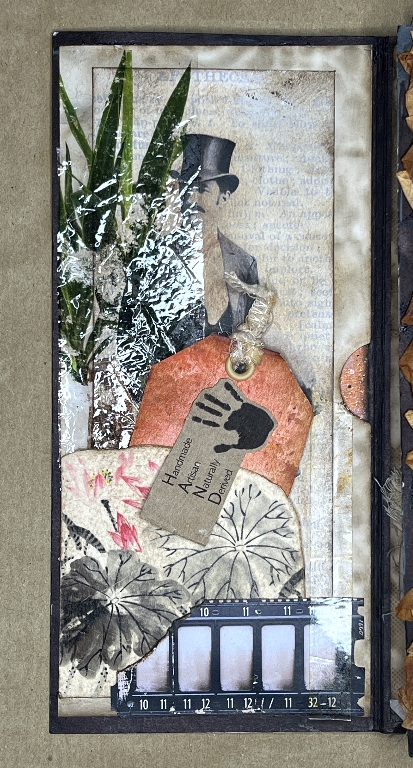
Overlaying him on the left side is one of my recent packing tape transfers – sticking clear packing tape down on magazine pages and pulling it off. This looks a lot better in real life, and it does look as it should in the previous photo.
Some time ago I ordered something from Ebay and the seller popped in a few little extras for me, including a washi sticker which I have stuck down onto a piece of card and made into a tuck spot on the bottom left corner of the panel. I added a bit of ink to tone down the white background.
Margareth of SevenPlaza recently produced a digital kit called “Vintage Photo” which I purchased, and the film strip along the bottom is a print-out of part of this, on thin card. I tore off the end so that it looks as if it is being hidden by the flower on the washi sticker. Running up the right-hand side of this I have added a piece of my faux vintage tape.
Panel insert
The first panel forms a full-length pocket with its opening at the fold. I made an insert for this. I spent more time on the front of this piece than on any of the other embellishments today! I found it in my card scraps box, and I cannot fathom what on earth possessed me to buy such card as this – probably 20 or 30 years ago (how my ideas have changed!) – it was bright lurid orange glitter card! Totally AWFUL. Its time had come for a complete make-over!!
I sanded it, inked it with brown, sanded it some more, inked it some more with brown and some green, stamped it, stencilled it, and finally spattered it! Phew. It was totally transformed. Then I proceeded to cover most of it up! This is the result.
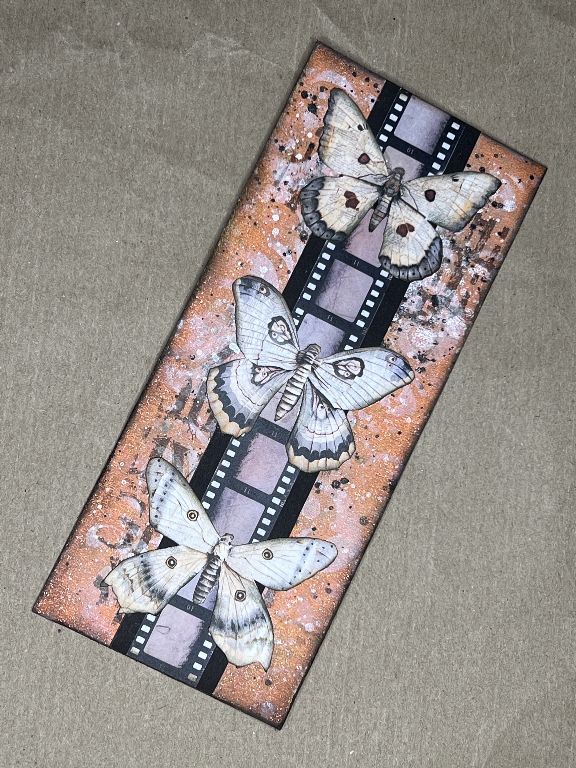
I have to say I am extremely pleased with the result of this. The film strip down the centre, overlaying a scrap of black card, is another from Margareth’s kit.
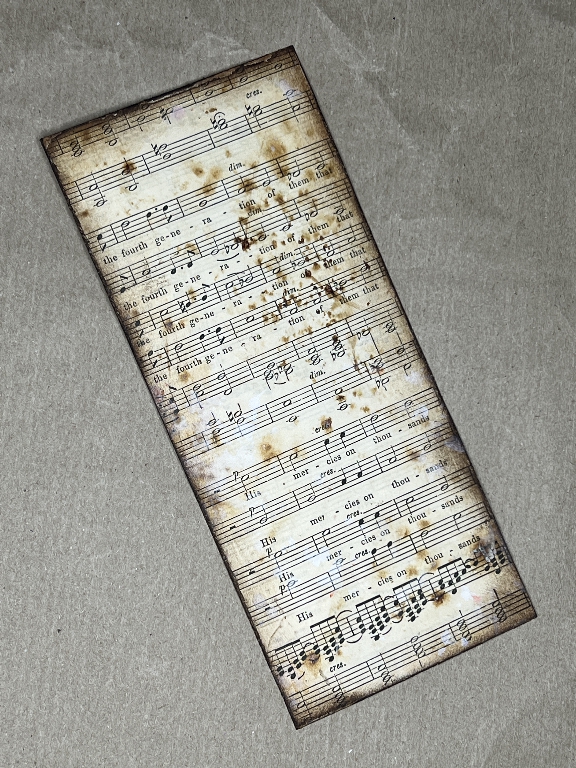
The back of this element was simple by comparison. It is covered with a piece of vintage musical score, heavily distressed with tea, coffee and ink.
The tag
In the tuck spot created by the washi sticker I have put a small tag from my tag box – I save lots of clothing tags, and in this case it was a reject tag from a previous project. In the tag box I also found a brown paper band from some hand-made soap and loved the hand-print – I cut it down to remove the word “soap” – the initials still spell “hand” (rather than the original “hands”) which works well for this project. I stuck down the top part of this only, so that it clips over the edge of the tuck spot.
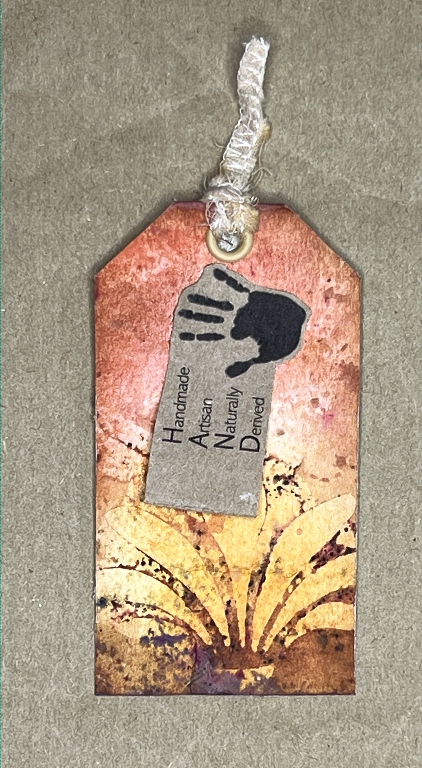
I added an eyelet and a scrap of fabric to the top of the tag.
Here is the reverse side of the tag.
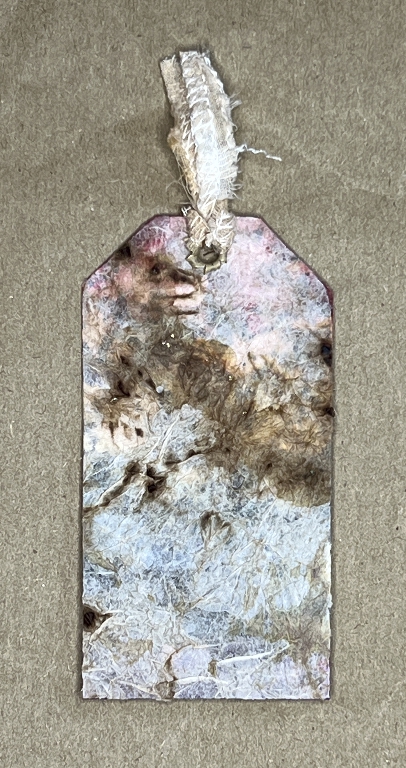
Originally this was very brightly coloured, but I covered it with some tissue paper from my scraps folder, which had been inked and crumpled up. You can see a bit of the underlying colour showing through the browns of the tissue, which just adds to the texture and interest.
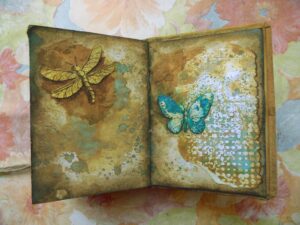
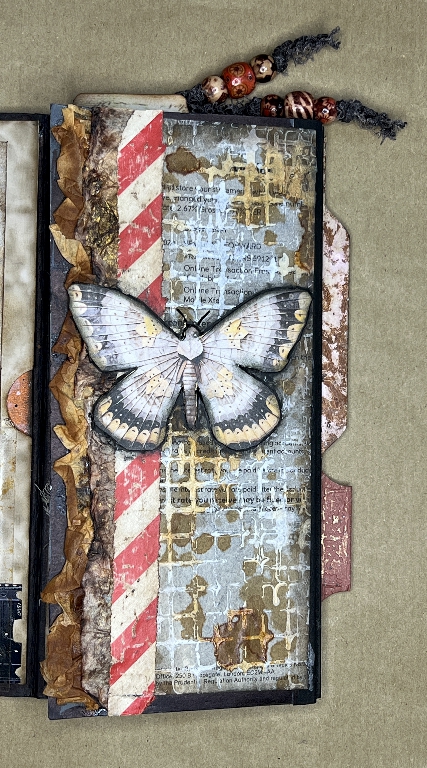
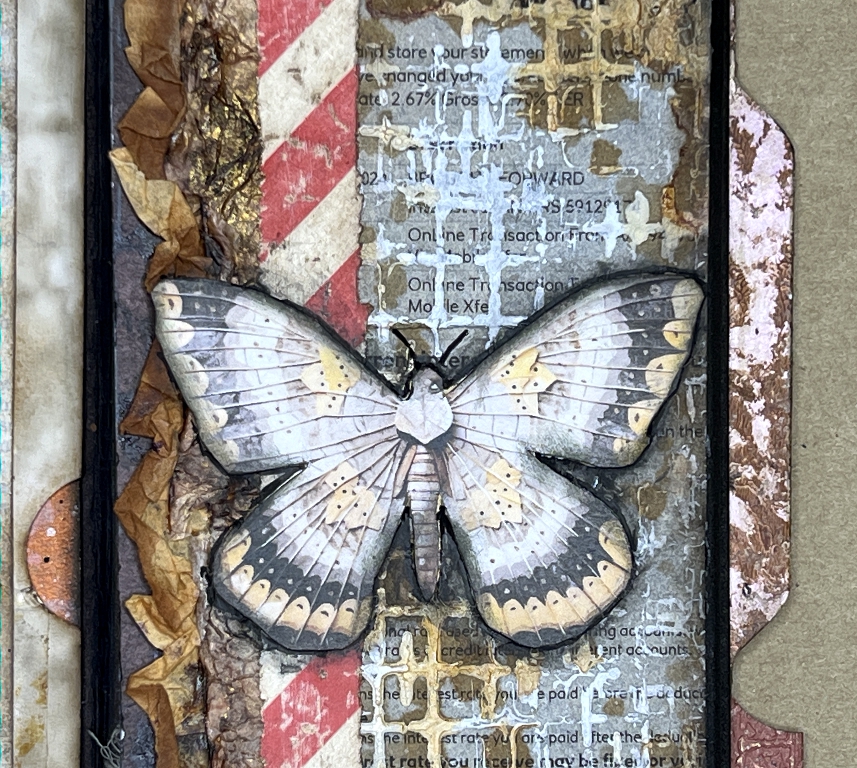
The back of the third panel
I had already done most of the decoration on this at the beginning of the project. To complete it, I added a butterfly which I outlined in black to make it show up a bit better.
Opening the folio right out
This exposes the centre (second) panel and the inside of the third panel.
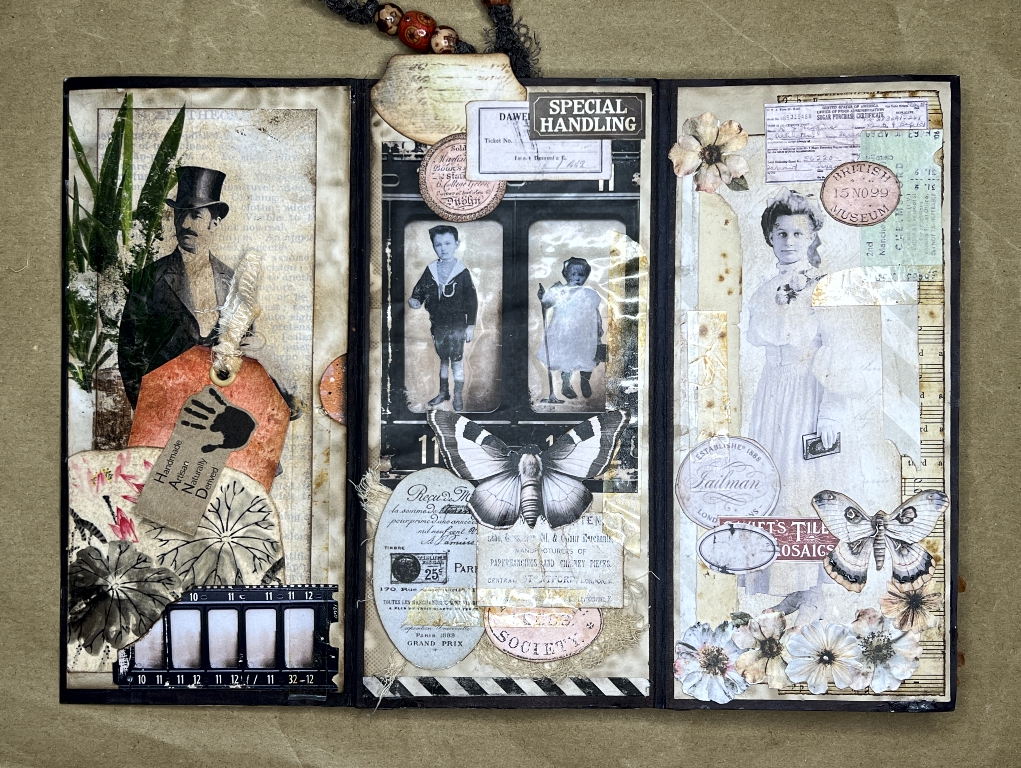
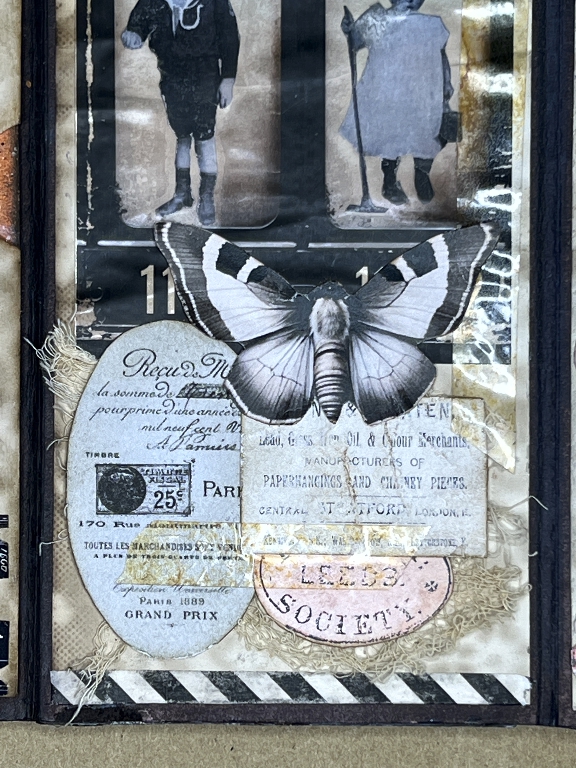
The second panel
I used another of Margareth’s Vintage Photo frames for this one, printed on clear sticker paper. It is stuck down over two fussy-cut images of children. The clear panels of the frame are already distressed so nothing needed to be done to the images except to stick them down first. It was a bit difficult positioning them correctly.
The rest of the embellishments are various labels and tickets selected from my stash. The ones at the bottom are stuck down over some tea-dyed cheesecloth, and I have also added some more of the faux vintage tape, and a butterfly. I have also added a whale-tail tab at the top. This will probably have a charm dangling from it eventually. I have stuck down a bit of washi tape along the bottom and trimmed it back to match the black border of the panel.
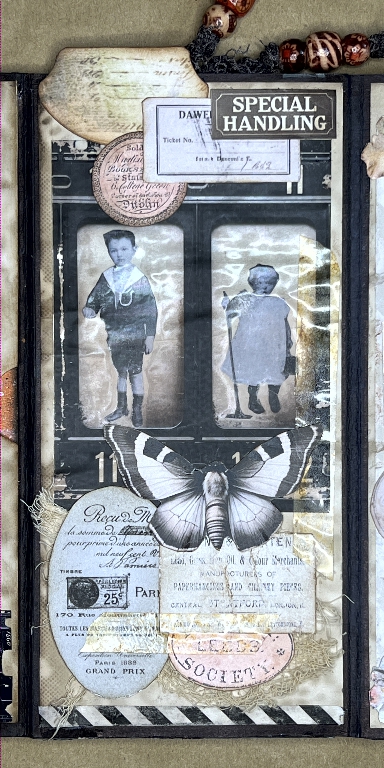
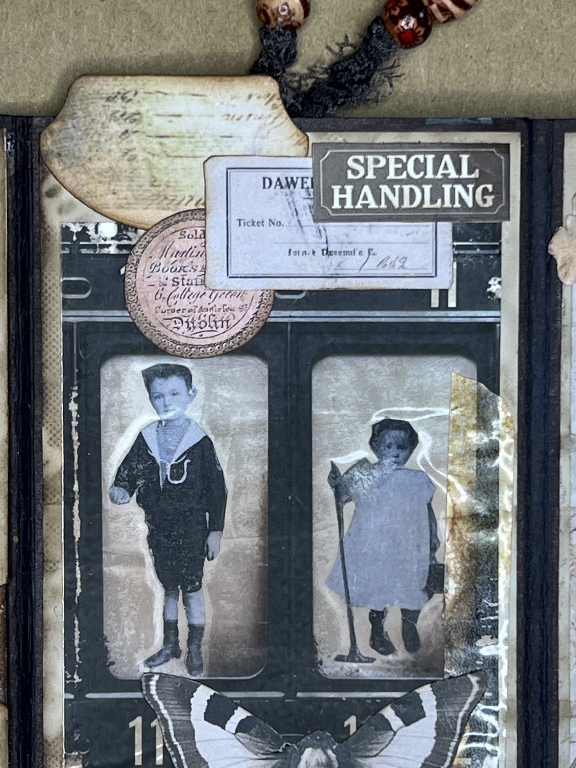
Here is a detail shot of the top of the panel. I love the grungeyness of Margareth’s photo strips!
The bottom of the panel.
The third panel
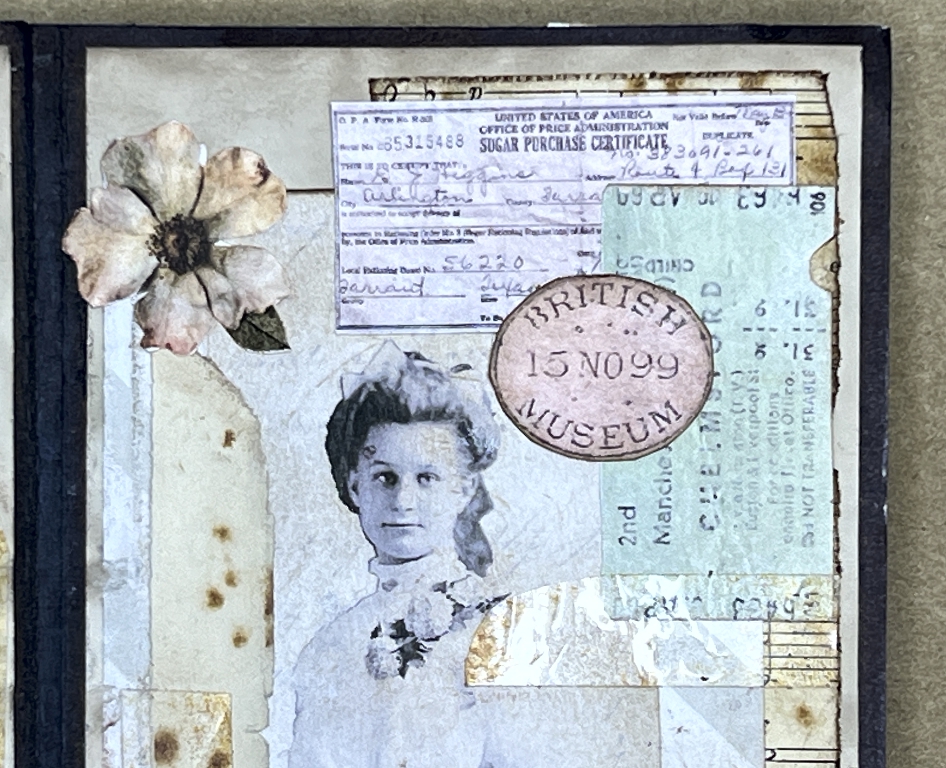
Again, I used a “spare lady” from a previous project. Like the gentleman, she is a digital image overlaying some text.
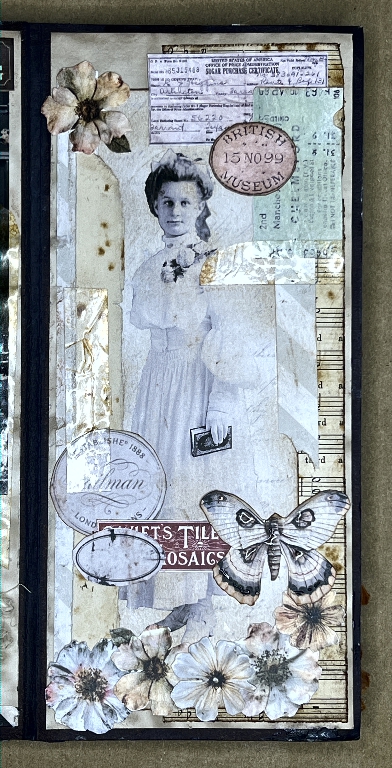
She is surrounded by numerous fussy cut labels, flowers and a butterfly, and the addition of a scrap tea-and-coffee dyed paper and more of my faux vintage tape. The background paper is another piece from the old musical score with added tea and coffee dyeing (from which the strip was torn).
Detail of the top of the panel…
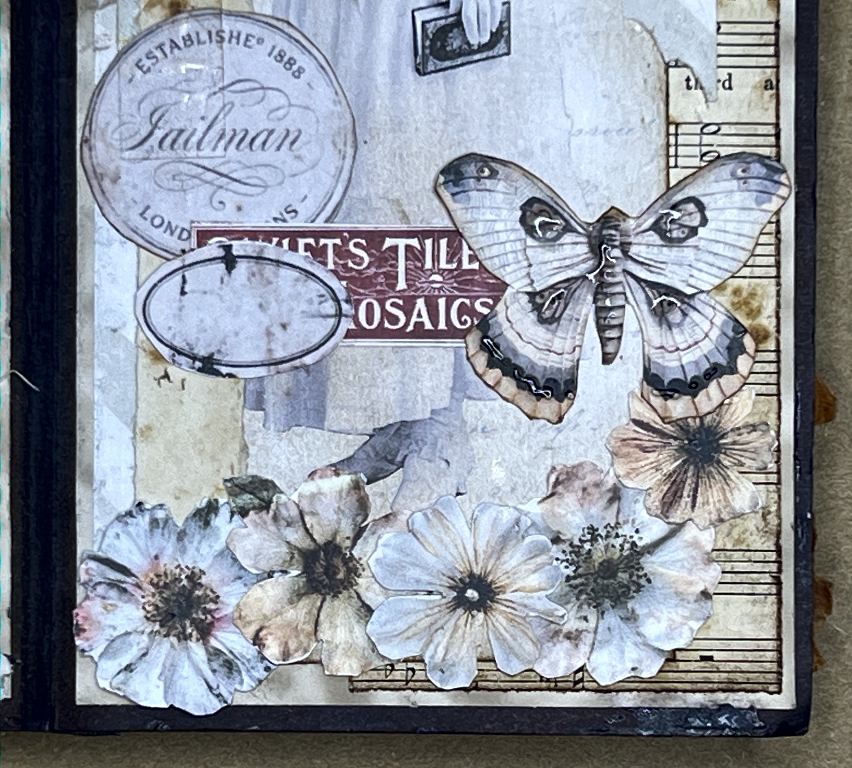
and the bottom. (Ooops, forgot to give the poor butterfly some antennae! This will get remedied.)
This completes the decoration of the inside of the first folio of the project.
Oh dear…
I have put so much Stuff on this, that the magnet for the closure no longer works!! Mega-Ooops. Back to the drawing board later for an alternative solution!