SASHIKO
I recently rediscovered Sashiko online. Some time ago I looked at this form of Japanese embroidery and thought how effective it was, and put it on the back burner as someting to explore further.
What is Sashiko?
“Sashiko” means “little stabs” in Japanese, and it refers to the small stabbing stitches of the needle, to form lines of running stitch arranged in repeating patterns, often geometric. It originated in the Edo period when the poor labouring classes only had access to indigo to dye their fabrics, so the predominant colour of this art form remains blue. They used the running stitches (usually in white) to reinforce the fabric, and when garments wore out, they patched them together to make new garments, joining and embellishing them with Sashiko.
In our modern day, this has become a very popular art form, and people use it to make all manner of things from coasters to cushion covers and wall hangings – in fact wherever embroidery might be employed. There is also a very popular use for it today, in the form of “visible mending” especially on denim jeans (which are dyed with indigo).
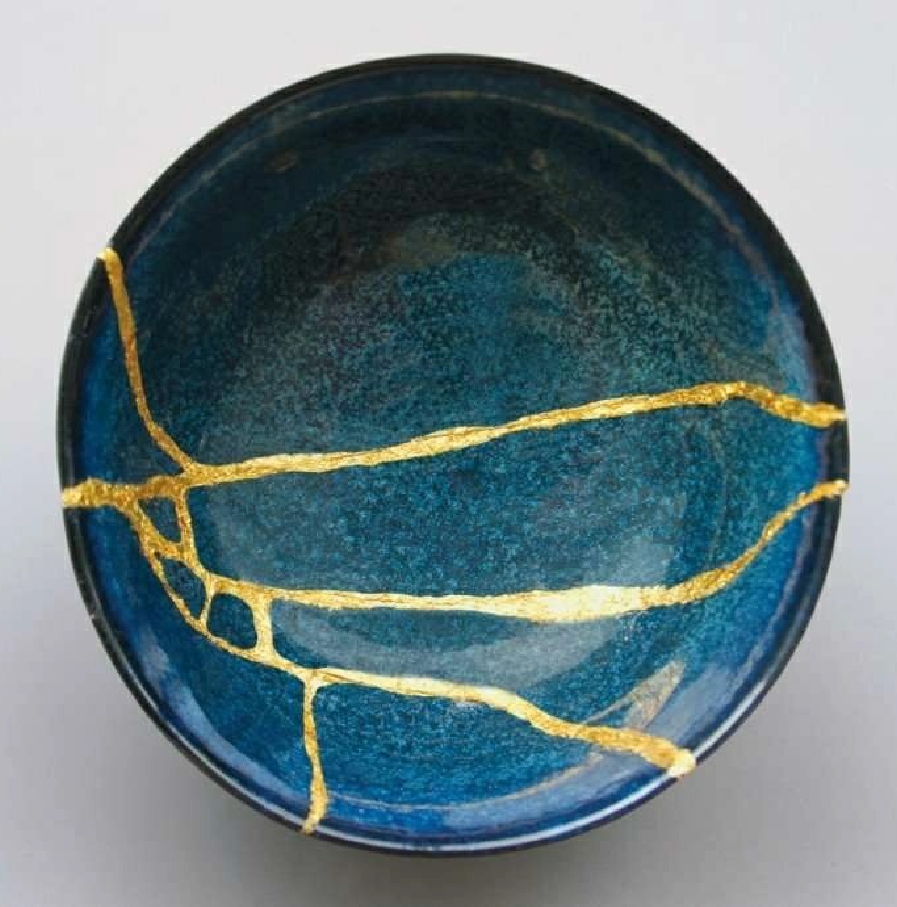
Like the ancient Japanese art of Kintsugi, the repairing of broken or cracked pottery with gold, Sashiko celebrates the repair and makes a feature of it. Some time ago I wrote a blog post about the Japanese celebration of the imperfect, known as Wabi Sabi, and showed this picture of a beautiful blue Kintsuki bowl.
You can search online for images and videos about Sashiko – and Kintsugi come to that – there are plenty!
Why I want to do it
Apart from the utter beauty of this art form, and my love for recycling and upcycling which is part of the whole ethos of Sashiko, I love to have “something on the go” that I can work on in the comfort of the sitting room if I am sitting watching TV with my hubby, or if I don’t feel energetic enough to work in the studio. It looks very simple to do, consisting only of small identical running stitches, which are not going to take a great deal of concentration. I understand that one does need to practise a bit in order to get the stitches nice and even, but I am sure I shall manage it OK.
I will probably design and transfer the patterns for my projects in the studio as I’ve got everything I need up there, and there are easier surfaces to work on for that, but the actual embroidery is a downstairs sort of job!
Equipment and materials
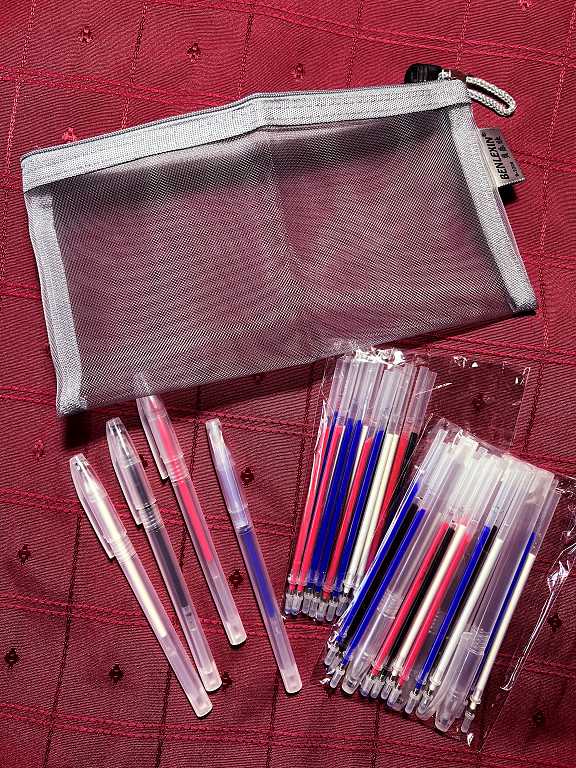
For my last project, the traditional linen apron, I traced the embroidery designs using a water-soluble marker. I knew that this marker would not work on dark coloured fabric so I purchased a set of heat-soluble markers in four colours – red, blue, black and white – which came in a zipped pouch with plenty of refills of each color. To remove the markings on completion of your project, all you need to do is apply some heat, either from an iron or a hair drier, and the marks mirculously disappear. Until you do this, they remain on the fabric and are a lot more permanent than traditional chalk.
I’ve watched a number of videos about Sashiko, and the best way of working it. I do most of my small-scale embroidery work in a frame, but this is worked in the hand. Soft cotton thread is used, and I have some of this ready to use, and I am also going to experiment with some other threads that I have in my stash. Fairly long needles are used, which make the technique more efficient.
Technique
The little running stitches are formed by rocking the needle up and down with one hand as you advance and pleat the fabric with the other. When the needle is full, you push it through and stretch and straighten the fabric so that the little stitches lie flat and do not pucker the fabric. The needle is pushed through rather than pulled initially – this involves great economy of movement because the hand is already in the correct position. Of course, you wouldn’t want to push the needle with your bare palm as the back end of a needle is pretty sharp and after a few times, you’d end up with a sore hand! You therefore need some kind of thimble.
Sashiko thimbles
Following one video, I saw someone making one of these, and following the recycling ethos, she made it from some old denim fabric. I had never seen a thimble like this before, only being familiar with traditional Western ones (which I don’t use as I’ve never got on with them).
I decided to make myself a Sashiko thimble, in advance of the arrival of my needles, which have been on order for a couple of weeks now. If you have followed any of my “Bonnie Baggie” posts recently you will have seen my huge stash of leather scraps, given to me probably 50 years ago by a glove-maker. The pieces are small, and are gorgeous fine leather that you can sew with a regular needle (although that can be quite hard work), and I have scraps of many colours.
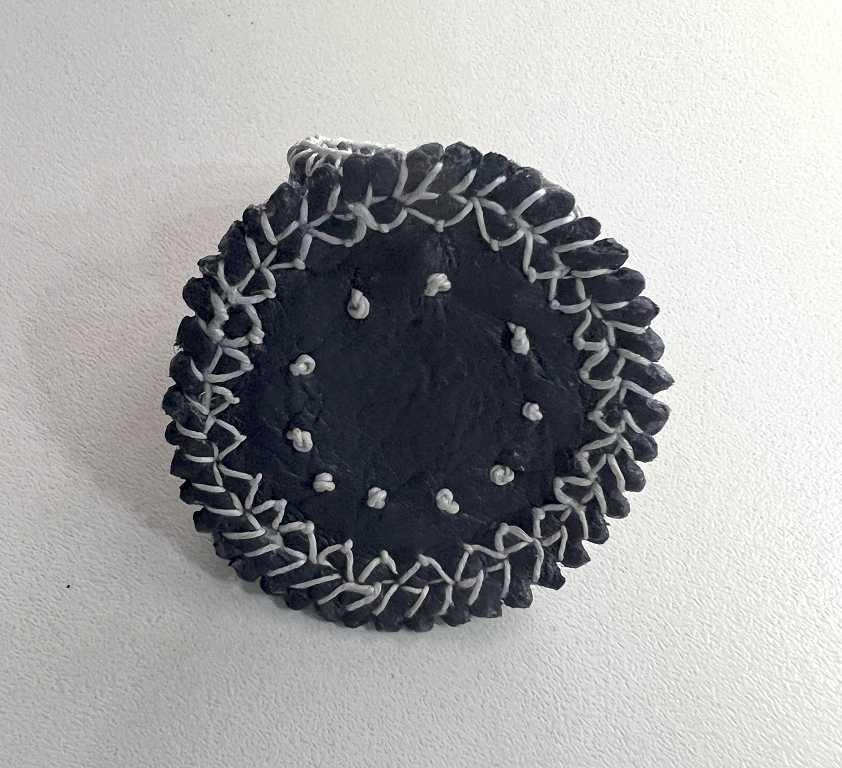
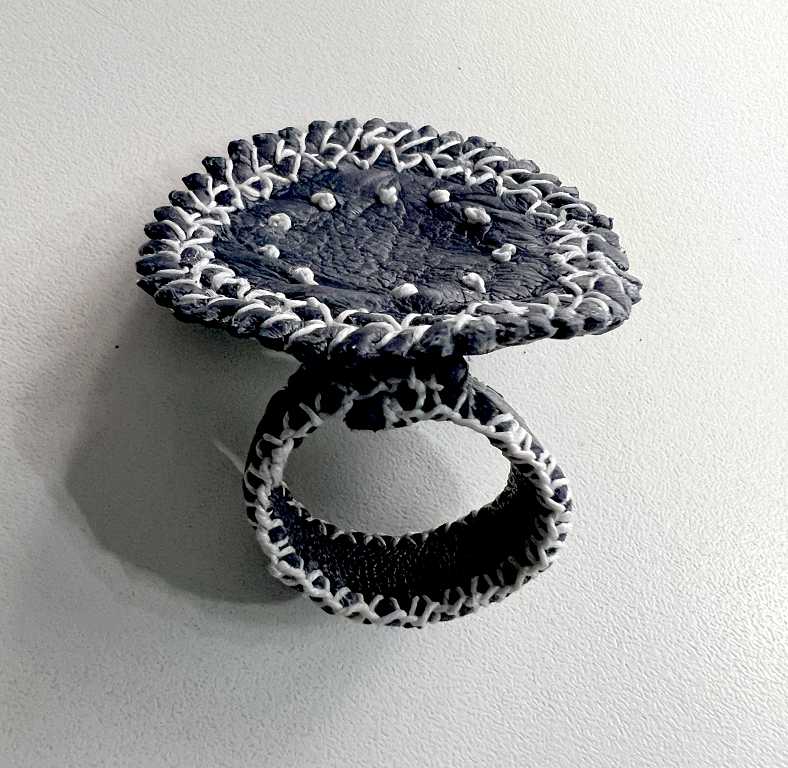
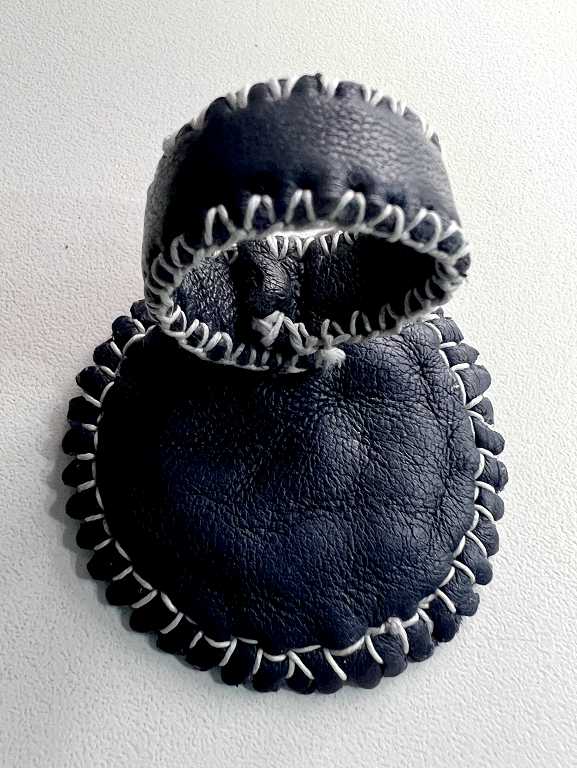
As a nod to traditional Sashiko, I made my thimble out of dark blue leather with white stitching. I thought it would be fun to make the construction stitches visible, and in so doing, make them decorative, and add further decorative stitching as well.
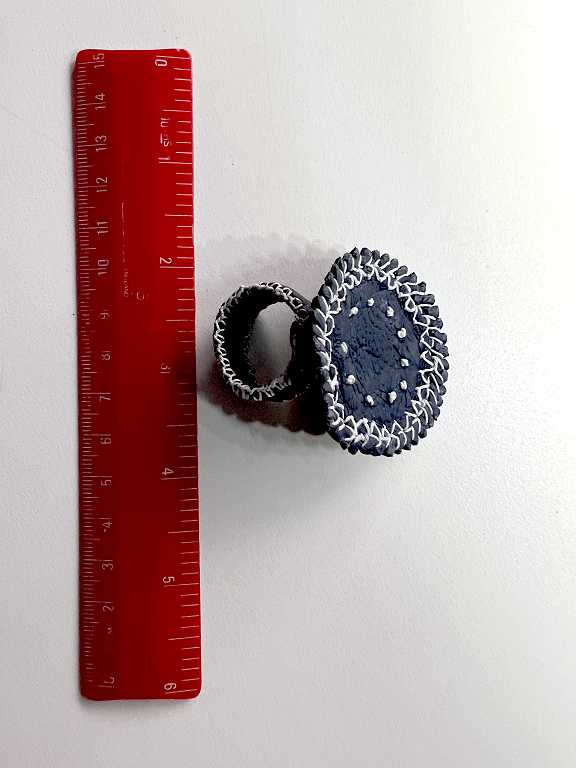
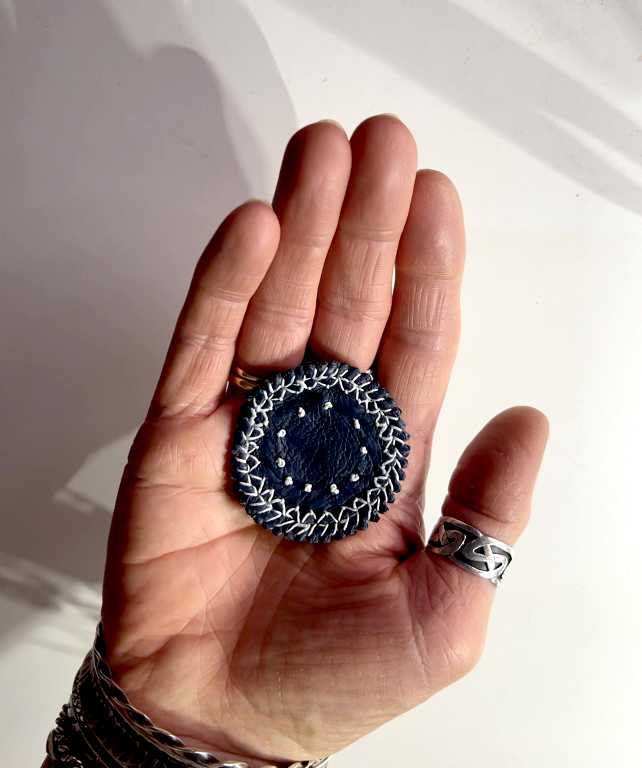
When I showed it to my hubby, he said, “That’s a palm!” I agreed. For centuries in the West, sail-makers have used a leather palm to push the needle through the coarse sailcloth. The Sashiko thimble is much smaller, and consists of a circle with a ring attached to it, which goes over your middle finger, to anchor the thimble in place on your palm.
I used white linen thread which I waxed, to consruct the thimble and to add further embellishment. It was fairly tough to sew, but well worth the effort in my opinion, as this functional tool is now quite decorative too.
I cut the leather pieces with dies, and was surprised just how well the leather cut in this way. I cut two circles with gear teeth for the main part, between which I passed the decorative stitching, to produce a more interesting edge. I also cie-cut a smaller plain circle to be sandwiched between to give some extra padding. I cut the two rectangular pieces for the ring using my rotary cutter and quilting ruler on a cutting mat.
My hubby took the final two photos of my hand with the thimble in place.
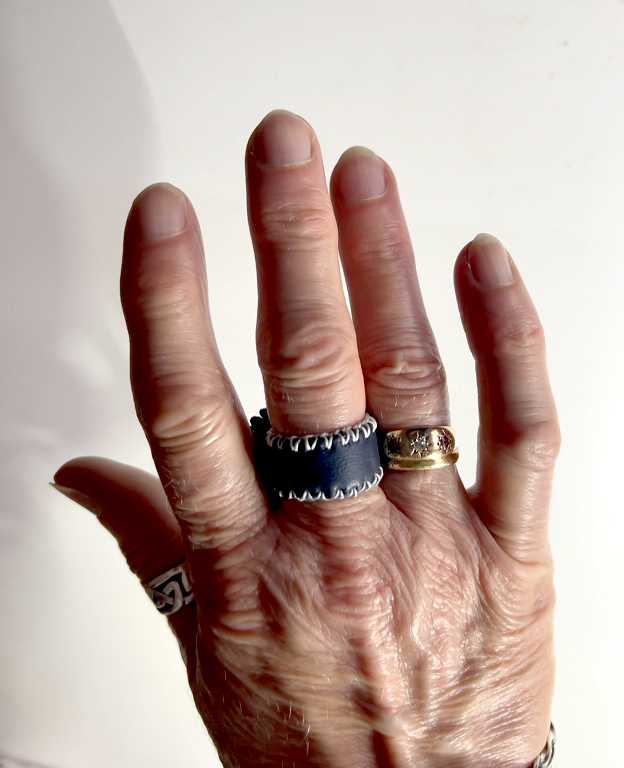
Looking at this final photo, I am shocked how old and wrinkly my hands have become, and how swollen the joints are! I see my hands every day of course, but somehow the photo exaggerates the fact that my hands, like the rest of me, are now 70 years old!! I am not going to let that prevent me from continuing to be creative and enthusiastic about every aspect of my life, however.
Watch this space for further posts on the subject of Sashiko. My needles should arrive soon, and I have a rather fun project in mind, to embellish with this simple but stylish decorative technique, if the fabric I have got proves to be suitable.
What a beautiful art form!! I’d never heard of it before – the Japanese are SO good at this sort of thing. I’m familiar with Kintsugi because we use the imagery of that to help people who suffer from baby loss (for whatever reason) – lives can feel broken and in pieces after such a traumatic event, but putting those pieces back together by working through pain and grief can bring healing and strength.
I look forward to seeing more of this from you soon Shoshi!