MORE PAPER EMBELLISHMENTS, AND COLD WEATHER KITTIES
I’ve been having fun with paper, mostly in the comfort of the sitting room on the recliner. The weather is quite cold now and we are trying to conserve the heating, and it’s easier to heat just the one room. I do want to spend some time in the studio again, though, because I am quite limited in what I can do downstairs.
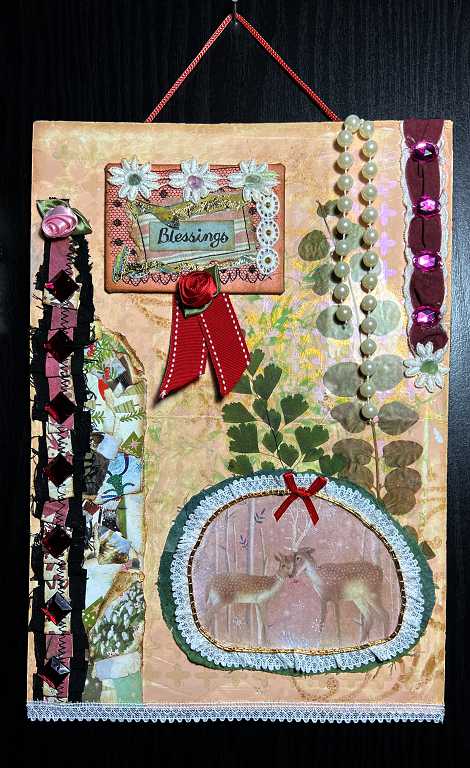
Our neighbour Margaret’s mixed media piece
On Sunday we went round to see Margaret and her husband for a cup of tea, so that I could give her the mixed media hanging I had made for her, almost entirely out of bits and pieces she had given me recently. A reminder of what I made:
Fortunately she was very pleased with it! She said she would hang it in her work room, which she showed me – it’s a very small room compared with mine, but room enough for what she wants to do. She is finding it hard to make things now she’s in her mid-eighties, and is very happy to pass on various bits and pieces to me! I am always a willing recipient because I love to have lots of materials to choose from in the studio.
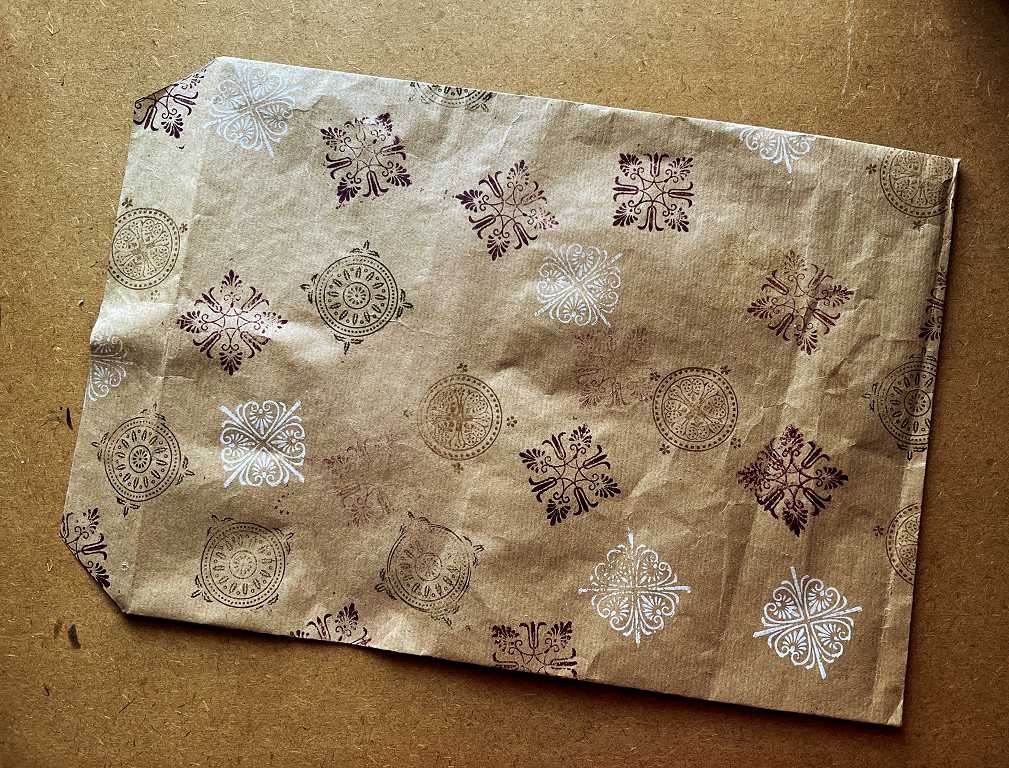
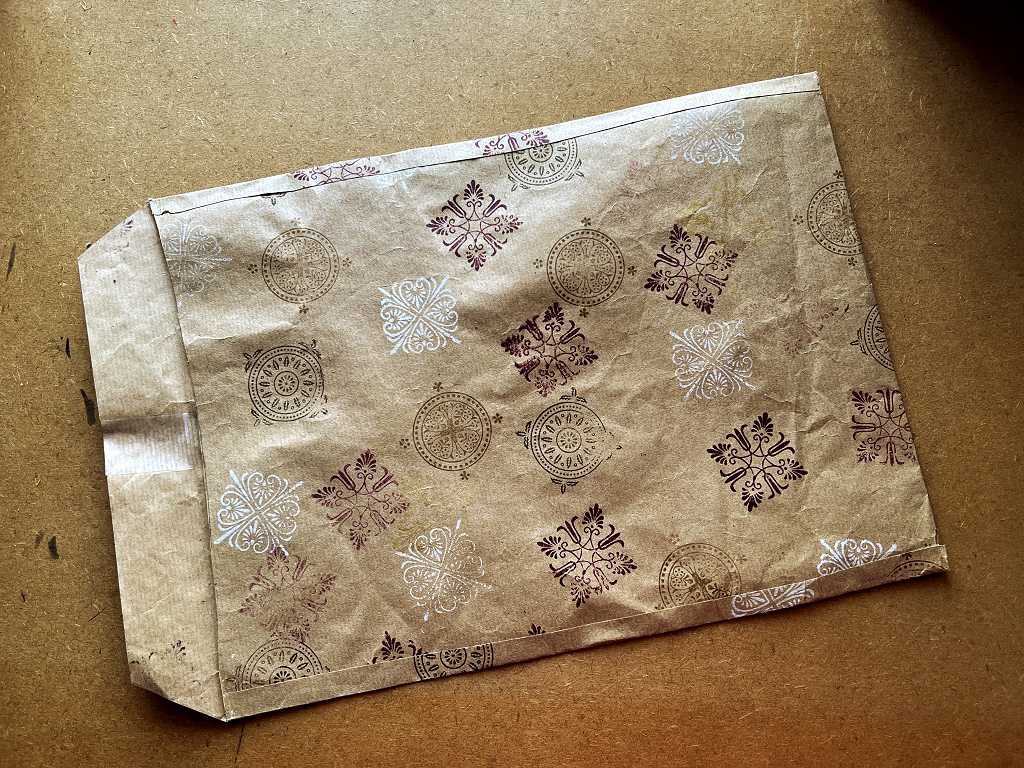
Before we went, I found a piece of brown wrapping paper and stamped it randomly with a set of stamps permanently on acrylic blocks that I bought many years ago. I made an envelope to fit the hanging.
We had a lovely chat about art in general – she is very knowledgeable, and we discovered we shared a love for early Dutch paintings. She showed me a beautiful framed canvaswork embroidery she had done of Vermeer’s “The Lacemaker” which is a favourite painting of mine. She had worked it in various different stitches to add texture and it was exquisite.
We had such a lovely afternoon with them.
More paper embellishments
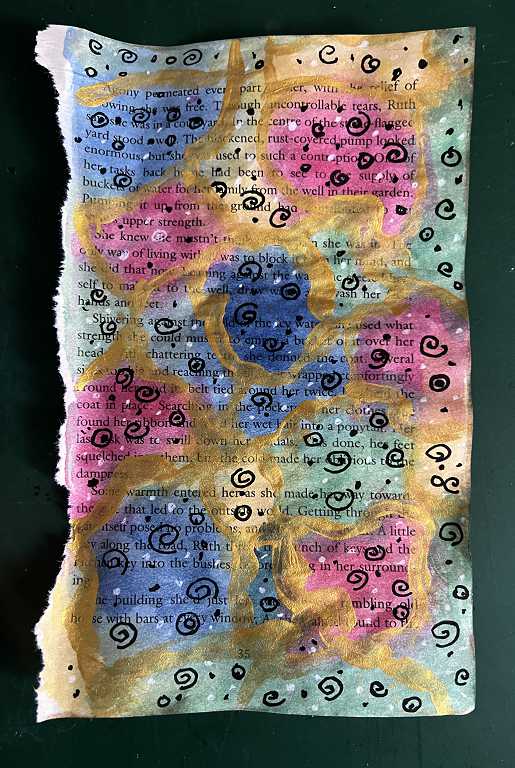
Multi-coloured watercolour with gold on book pages, and some funky flowers
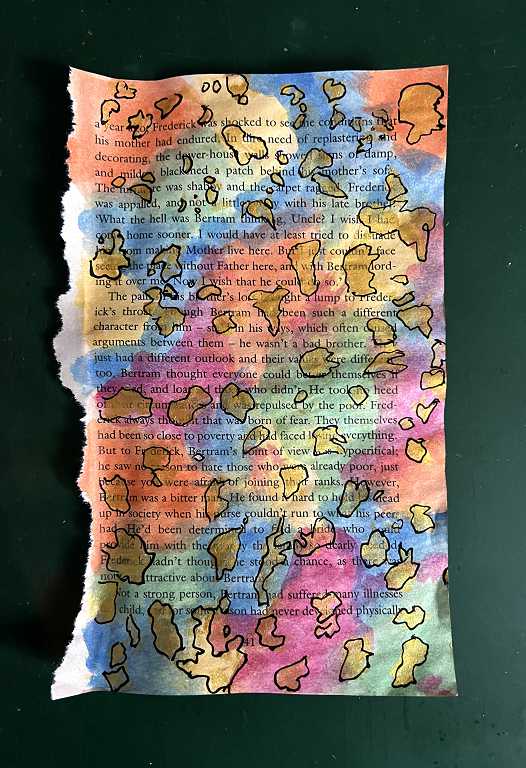
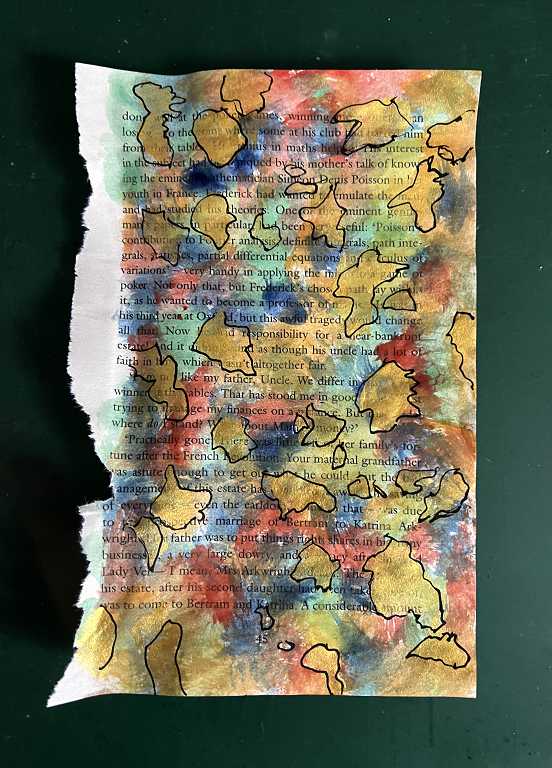
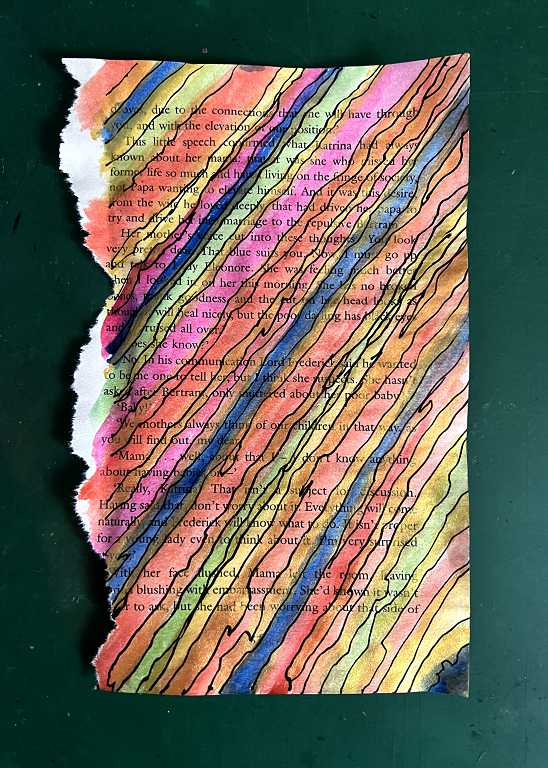
I painted a few more book pages with watercolours, this time with a multi-coloured theme, and laying on the paint a bit more thickly this time for a richer colour. I also added some accents with gold guache, which I then doodled.
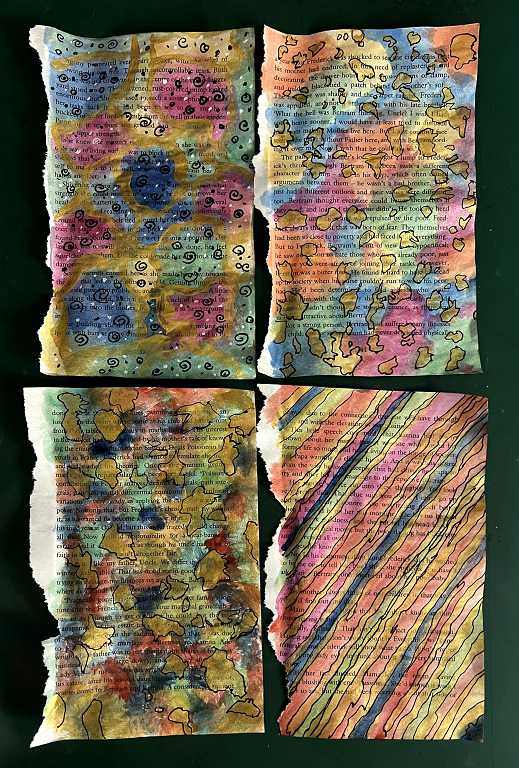
As usual, the shimmer of the gold doesn’t show up on the photos. I have outlined the gold patches with a fine black Posca pen on most of the sheets..
Some scratch papers on which I cleaned off my bush before washing it. Shame to wash all that lovely paint down the drain.
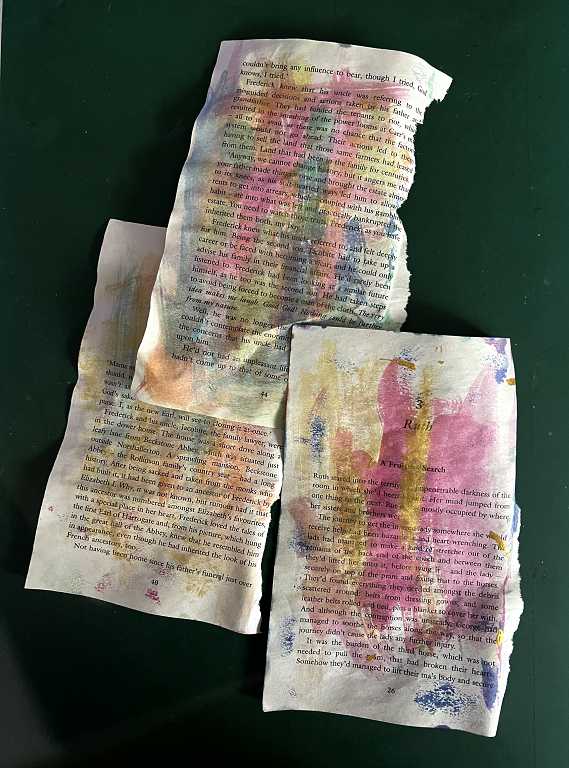
I shall use this for future pages and the colours will gradually build up.
From these mult-coloured watercolour and gold pages I made three funky flowers, each one made up of layers cut from the various pages. I outlined them with a thick black Posca pen before cutting them out, as I did with my first flower embellishments from these book pages.
With a bit of added doodling, they are now ready to go in my stash. I shall be making more of these larger, multi-layered flowers as they are so nice and bold, and will make useful embellishments.
More paper beads
I’ve been watching quite a few paper bead making videos on YouTube this week, and I’ve learnt a lot since my first attempts using magazine pages.
Many people use a bead rolling tool which makes the process much quicker, and also less strain on your hands. I found one person who had developed a method of making her own bead rolling tools, so I followed her directions and made three.
Each one requires a split pin, also known as a cotter pin. Looking these up, I found the minimum number I could buy was ten. I asked my hubby if he had any and he brought a box down from the garage, with several sizes, so I chose a small (about 2.5 mm), a medium and a larger one.
I followed the YouTube instructions and all seemed to be well, using the medium-sized one, but after a while I could tell it had worked loose from the handle and was turning in the hole. I squirted some superglue into the end and around the bottom, and so far as is well. They aren’t as nice and neat as hers but when I gt round to it I am going to paint and varnish them. For now, I am storing them in a micro-cassette box.
The cotter pins are perfect, because you begin your bead rolling by inserting the end of the paper between the prongs, which hold it in place until the bead is more stable.
I have had a horrible stack of scrapbooking paper in my cabinet for many years. I did use up quite a bit, after altering it, on the album and its accompanying box which I made after Mum died, but there is still quite a lot left. Making paper beads is the ideal solution because the general horribleness of the paper becomes a lot less obvious and you just get the nice colours.
Bits of this paper are quite nice, but the surface is slightly waxy and it’s horrible to try and put water-based inks on it. I struggled with this, working on Mum’s album, but with perseverence, got there in the end. These days I’d probably add clear gesso.
Some triangular strips ready to make into beads. The smaller ones are 1 inch at the widest end, and the larger ones are 2 inches, a bit too wide for my bead rolling tool but I got it to work OK.

Here are the beads I made with these papers.
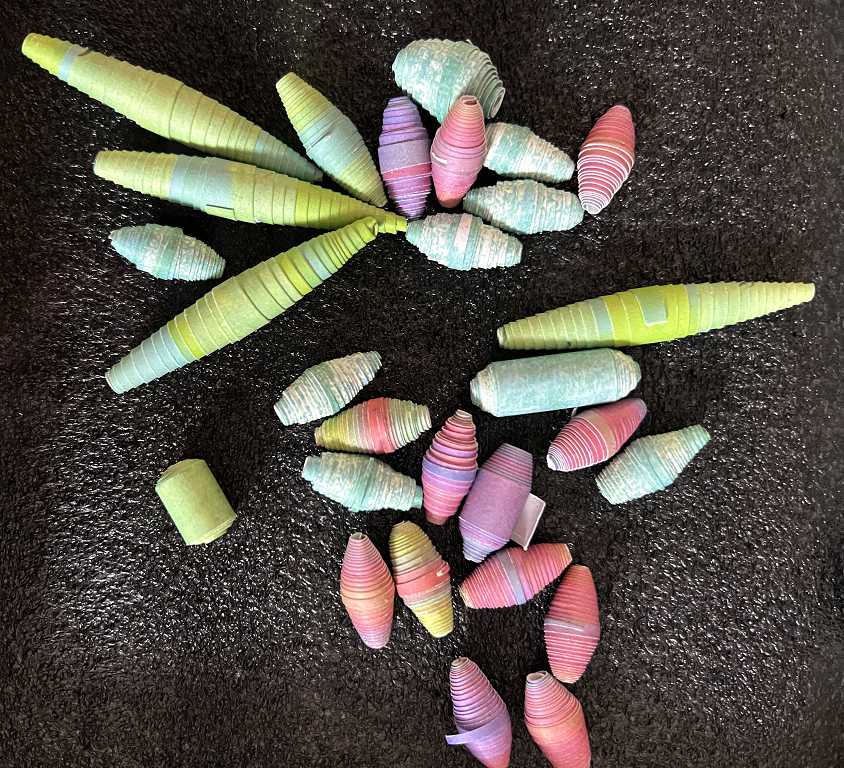
You can see that a few of the papers in the above photo are starting to becone unravelled. I only used a basic glue stick. They really need some tacky adhesive or any good liquid glue which is going to be stronger.
I have learnt how to glaze the beads and have some varnish on order. I have also watched various ideas for embellishing the beads and am keen to try this, as I am to try making Tyvek beads. I found a video about that today.
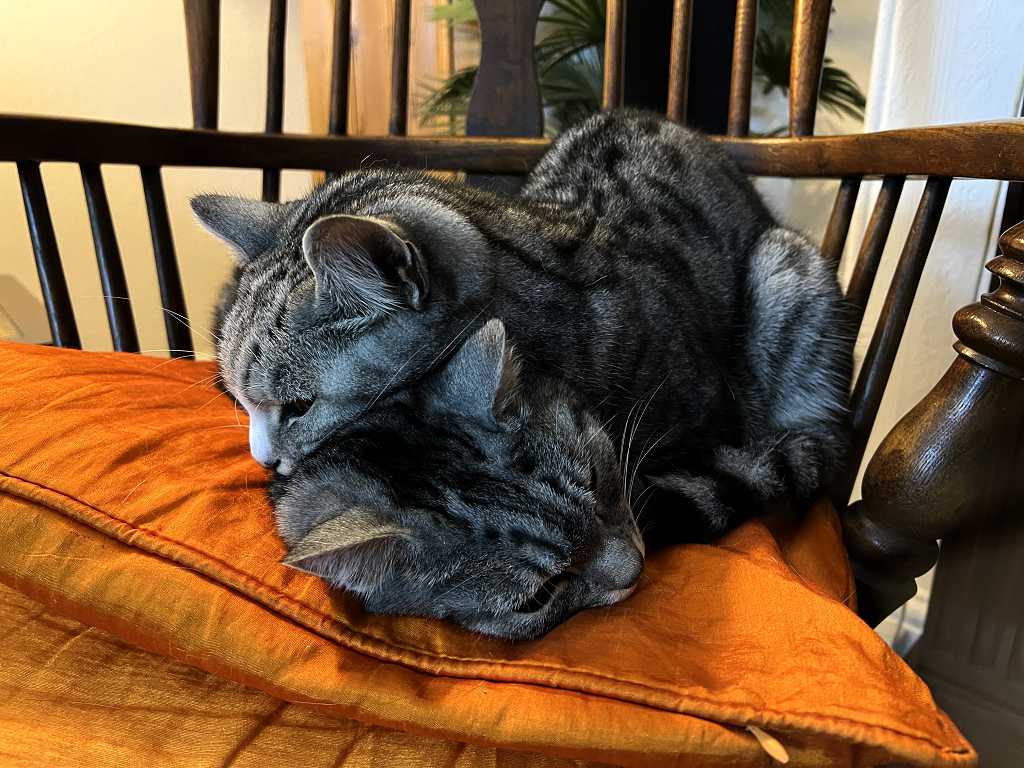
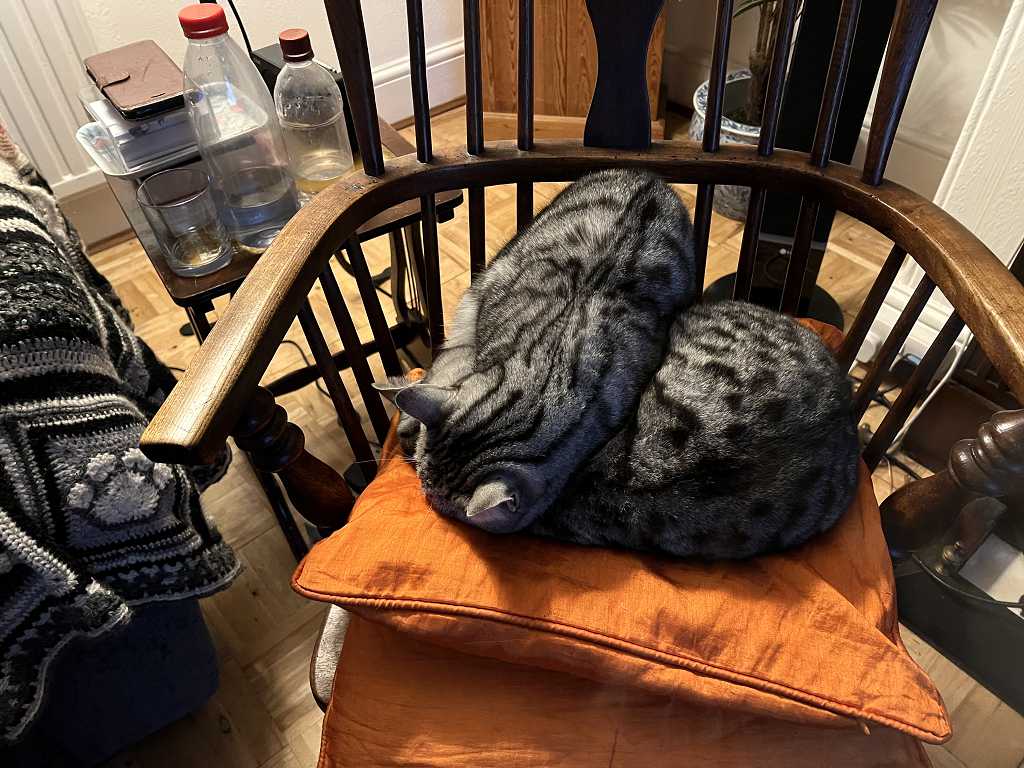
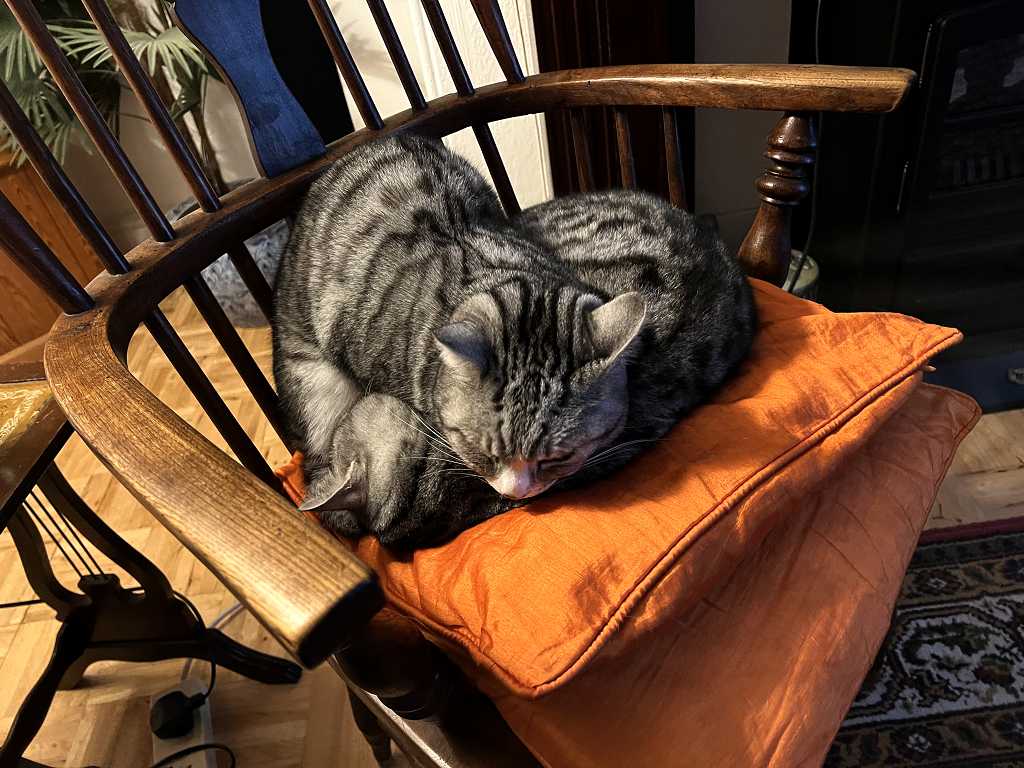
Kitties
The kitties know how to keep each other warm in the cold weather. Lily never seems to object when Ruby lies on top of her! If I wasn’t so big, I would lie on top of her, too, because she is so soft and warm, like the best feather pillow.


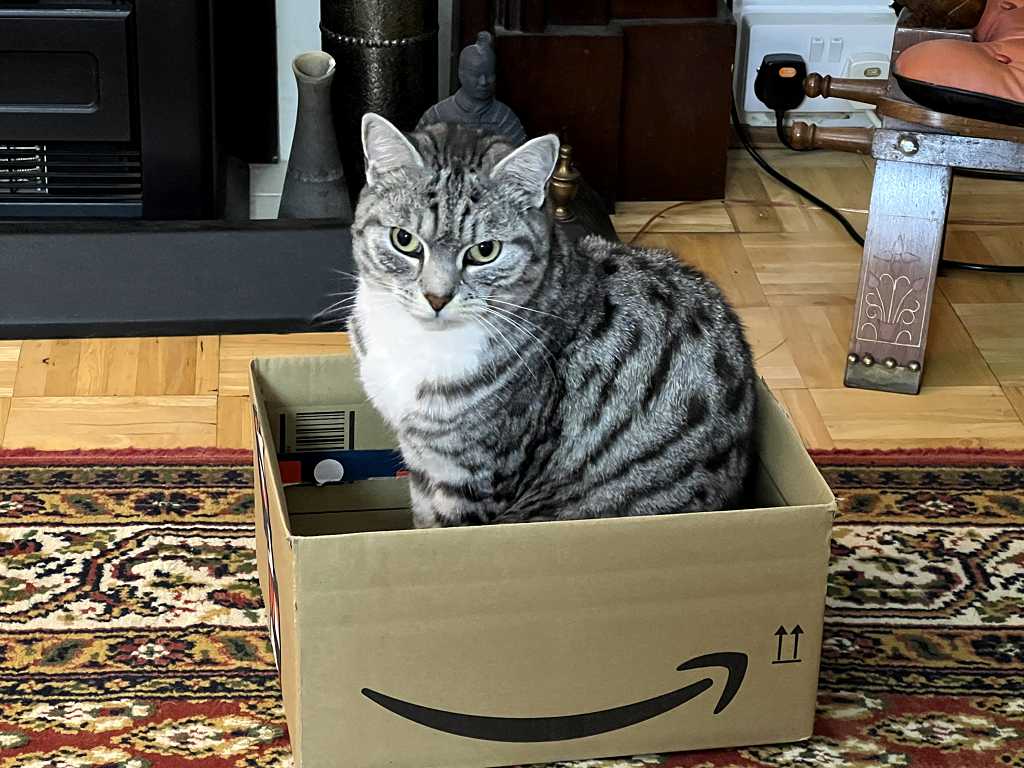
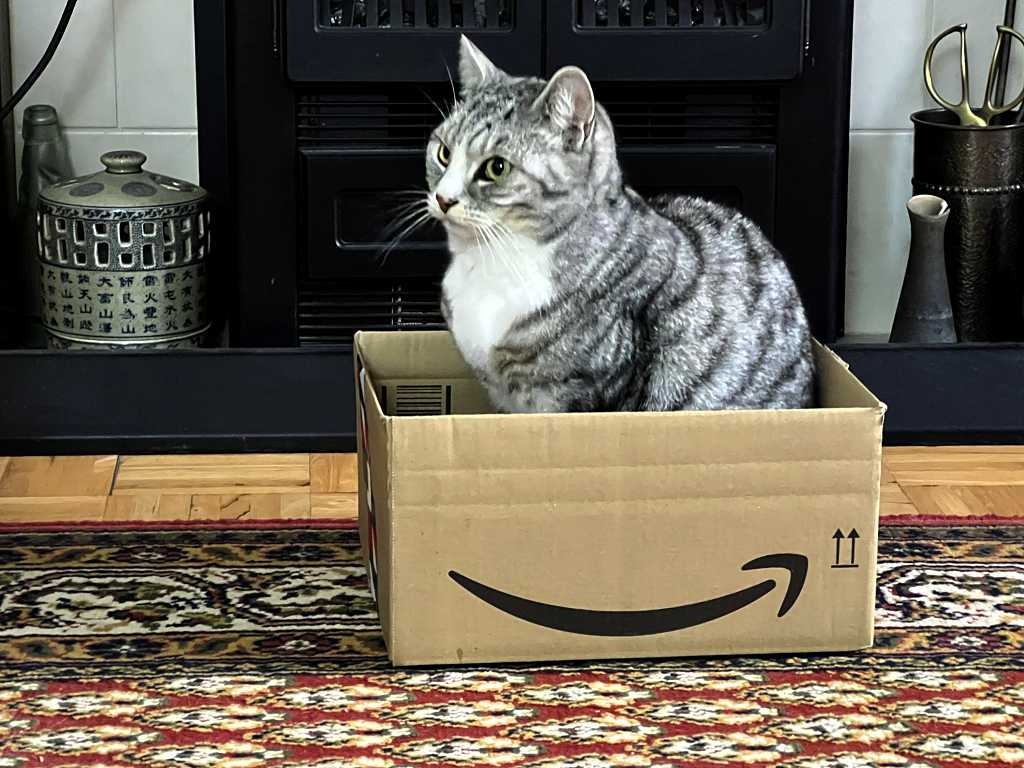
I had a wonderful gift from a friend via Amazon (I shall be writing more on this in another post) and of course both kitties had to try out the box. Ruby likes boxes better than Lily.
Ruby:
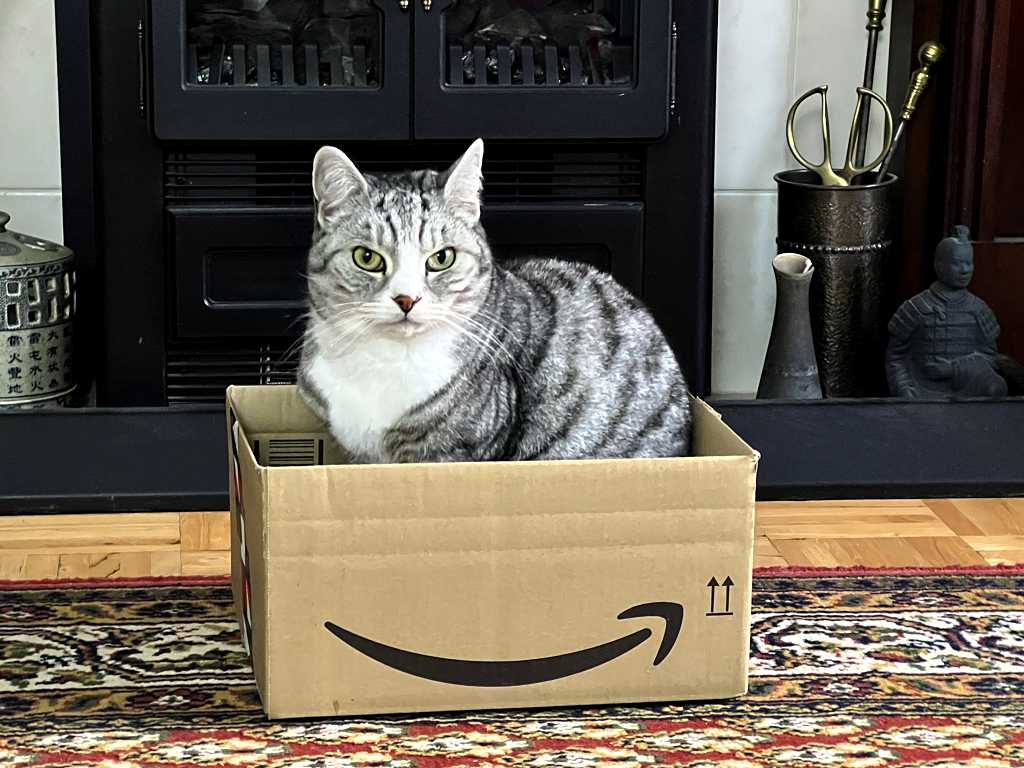
Lily: