PAPER EMBELLISHMENTS – LITTLE SPARK PLUGS FOR NEW IDEAS!
Easy peasy things to do while sitting on the recliner watching TV.
Paper beads
I have wanted to try making these for ages. They are super-easy and fun, and with a bit of work afterwards, they can be made stronger, and you can add embellishments. So far, I have just made the beads.
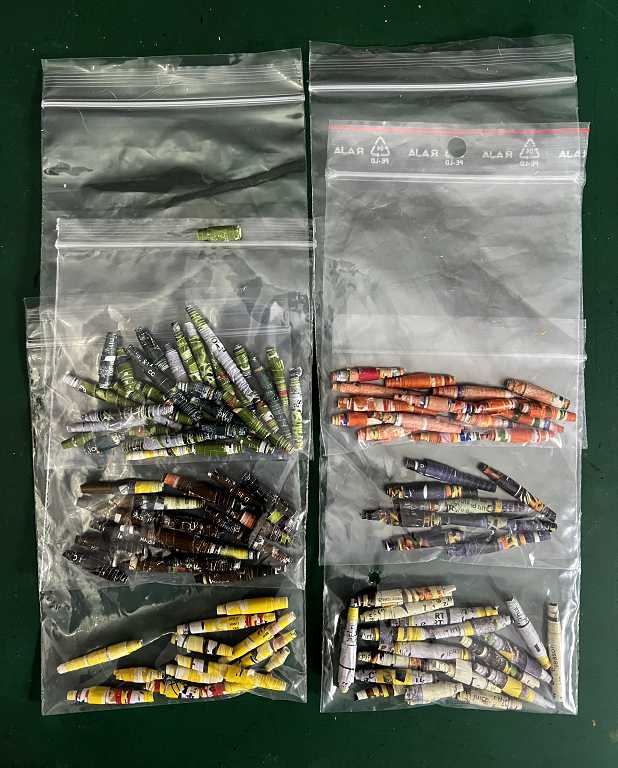
I used an old food magazine from the Co-op for this. Leafing through the pages, I was able to find certain ones that were predominantly of one colour, so I was able to make a selection of beads of different colours. The printing and other minor colours on the page just added interest to the beads.
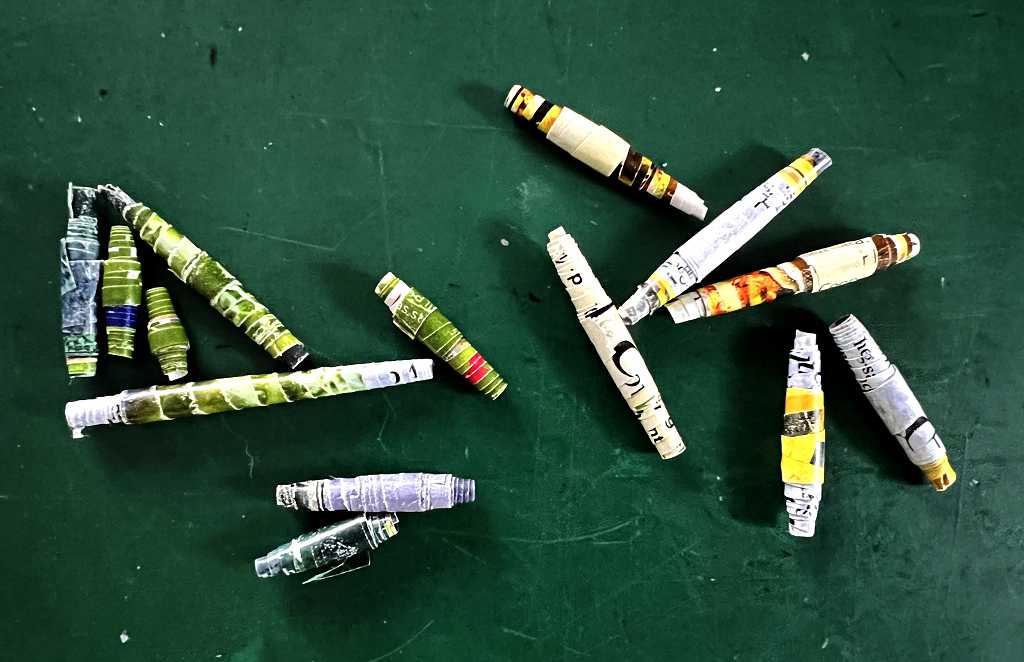
There are lots of instructions online, how to make them, but basically you just cut a triangle of paper and roll it around a stick from the broad end to the tip, adding some glue to stop it unravelling. The length of the bead is determined by the width of the base of the long triangle. So far I haven’t managed to make any round beads but you probably need to cut a longer, narrower triangle of paper for those. I used a wooden barbecue skewer but you could use a cocktail stick or a knitting needle. This obviously determines the size of the hole, which you need to bear in mind when you think of how you might use the beads, and what you will string them on.
Here are the little baggies of different colours of beads that I made. You can make a lot just from one page.
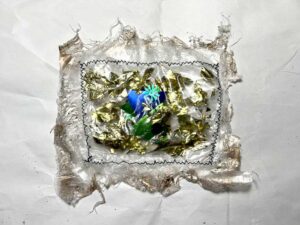
A few beads in close-up.
They need a coat of varnish to protect them, and after that I may wrap thread or wire around them. You can add gold thread, or thread with small beads on it, or paint, or glitter… the possibilities are endless. Obviously these beads are not particularly durable but they will be useful for creating embellishments for journals etc.
Watch this space to see what I do with them.
I am also intending to make some out of Tyvek. This breathable synthetic material is used in the building trade and it melts beautifully if you iron it or heat it with a heat tool, distorting and bubbling. I have seen some gorgeous Tyvek beads online. You would make them in the same way, but leave them on the stick while you melt them, so that the hole doesn’t disappear. Obviously these are going to be a lot more durable than the paper ones. Painted with pearlescent acrylics and metallics, with the additiion of wire and further beads, they are fabulous.
Flowers from book pages
I came across this video on YouTube recently, and loved the wimsical flowers! I’ve got an old paperback book I no longer want, and have used some of the pages from that. Book pages are fun for collage, mixed media and journal making because they provide an interesting background texture with no effort. Once you cut up the paper, or layer other stuff on top, the text is no longer actually readable which prevents it being too much of a distraction.
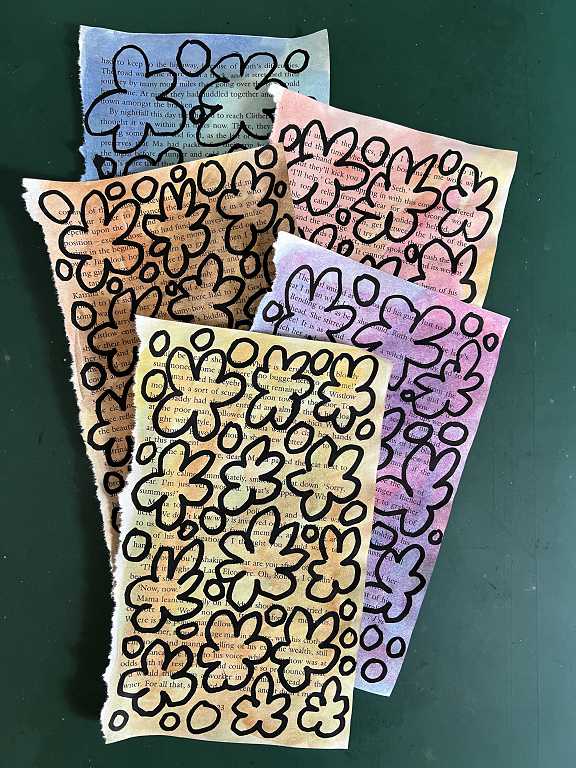
I covered whole pages with watercolour paint, using a large soft brush that was very wet. I did this before removing the pages from the book as the paint tended to soak through – anything on a page underneath can be added to later. Having them still in the book made them easier to handle. I chose similar colours for each sheet, blending them with water, and then drying them with my heat tool, since I was too impatient to let them dry naturally. The paper wrinkles a bit but that doesn’t matter because you are going to cut it up anyway.

The watercolour paint is great, because it is very transparent, allowing the print to show through.
The next step was to draw freehand flowers of varying shapes and sizes. Some of them are pretty funky and irregular but that’s what you want! I filled in the gaps with circles. I drew them with a medium thickness Posca pen.
Time for some fussy cutting. I found my hand getting quite sore and tired using my large scissors, until I thought of oiling them! They are quite stiff, but a quick spray with WD40 sorted the problem beautifully, and they cut like a dream now.
You have to cut the flowers out by following the outside line of the shape, so that the flowers end up with a black border.

After cutting out the coloured sheets, I also made another sheet of unpainted paper just for a bit of variety, and cut those out too.
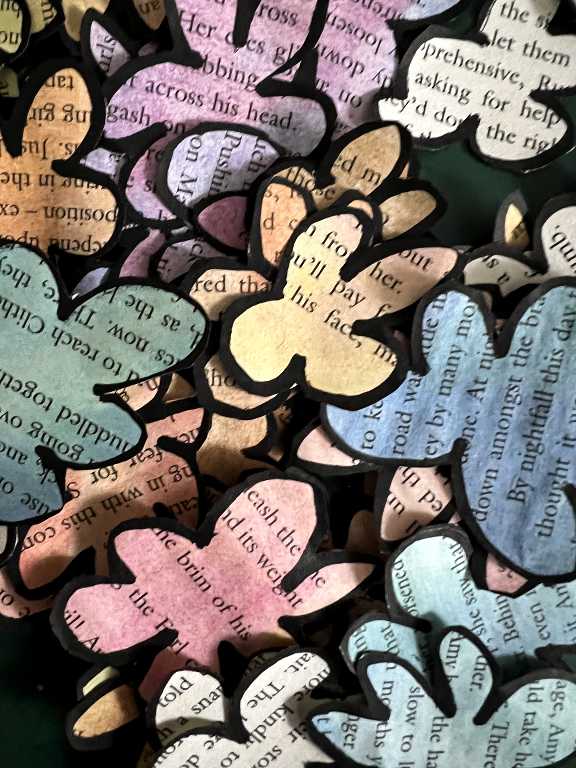
It is good to keep the shapes irregular and free – neatness and regularity isn’t the name of the game here, although you do need to take care cutting them out, to retain the nice black border.
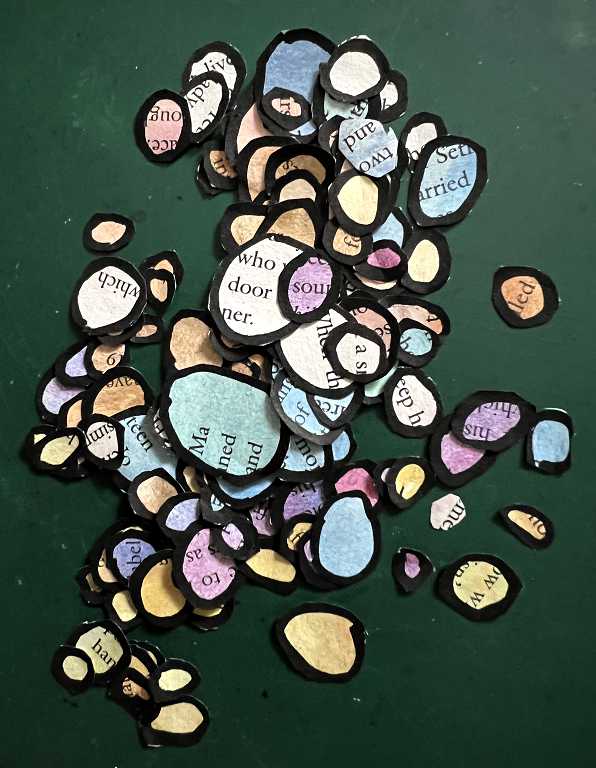
I then laid out all the flower shapes and the circles separately – that was a pain, as a lot of the circles are very small, and I wanted them all right side up. I chose contrasting colours of circles to stick onto the centre of the flowers. Some of the flowers were quite big and had larger centres, and I stuck a smaller circle on top of those, again for more variety. I used a tacky liquid glue for this, as I wanted to make sure they didn’t come apart later.
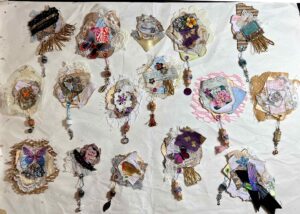
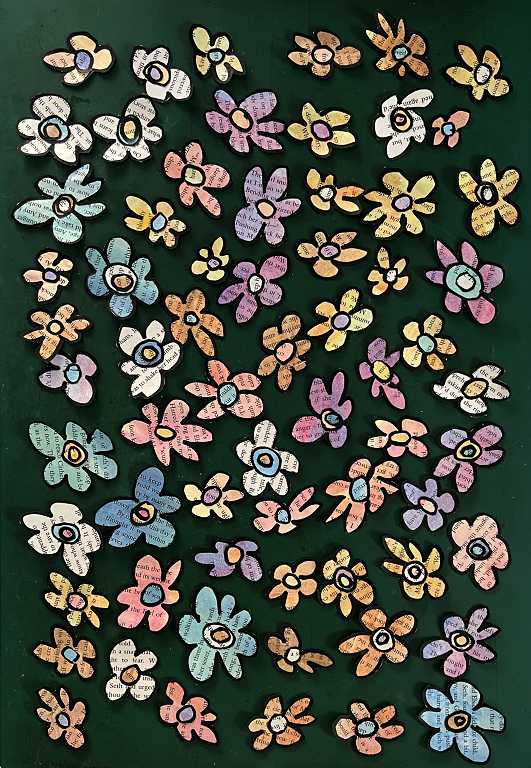
This is the completed set. I’ve just got a few small circles left now.

You can add further embellishment in the form of small gems or glitter glue in the centres, drawing in veins on the petals, or adding some doodles. Perhaps covering the centre with Glossy Accents would look good too.
These flowers make nice little accents or focal points on collage elements. I thought they would be nice on greetings cards, too. Very simple to make, if a little fiddly at the cutting out stage. However, I find fussy cutting quite relaxing, as long as I’ve got something interesting to watch or listen to while I’m doing it. They are also cheap as chips, being made from recycled paper and using minimal paint and ink, and each one is unique.
Leaves would be fun to make as well – or any random or abstract shape that takes your fancy.
I am going to try making some using inks rather than watercolours, for bolder colours, and maybe cut some from some of my less successful gel prints, and scratch papers used for mopping up paint and ink, and cleaning brushes. Eco-dyed paper would be good too – tea or coffee-dyed paper, for instance. I have also got quite a lot of fairly awful scrapbooking paper which I have had for many years, bought in the early days when I wasn’t really sure what I was doing or wanted to do, and which has sat in drawers not being used. Made into small elements with other stuff added would be an ideal solution. Definitely time to bash that stash!
I shall definitely be making some more little paper embellishments. It is something I can do in the comfort of the sitting room. They have also sparked off a lot of ideas for future projects!